/


Latest Post

How to achieve the Inked Block Technique; you only need 3 things!


I shared the Inked Block technique on Tuesday's Facebook Live video.  It's fun, easy and you need just 3 things!

I chose to feature the Garden Wishes stamp set & a variety of colors. This first one is Highland Heather, Gorgeous Grape & Pacific Point. 

You need a clear block, Stampin' Write markers and a spritzer filled with water.  Below are the measurements for the cards. 
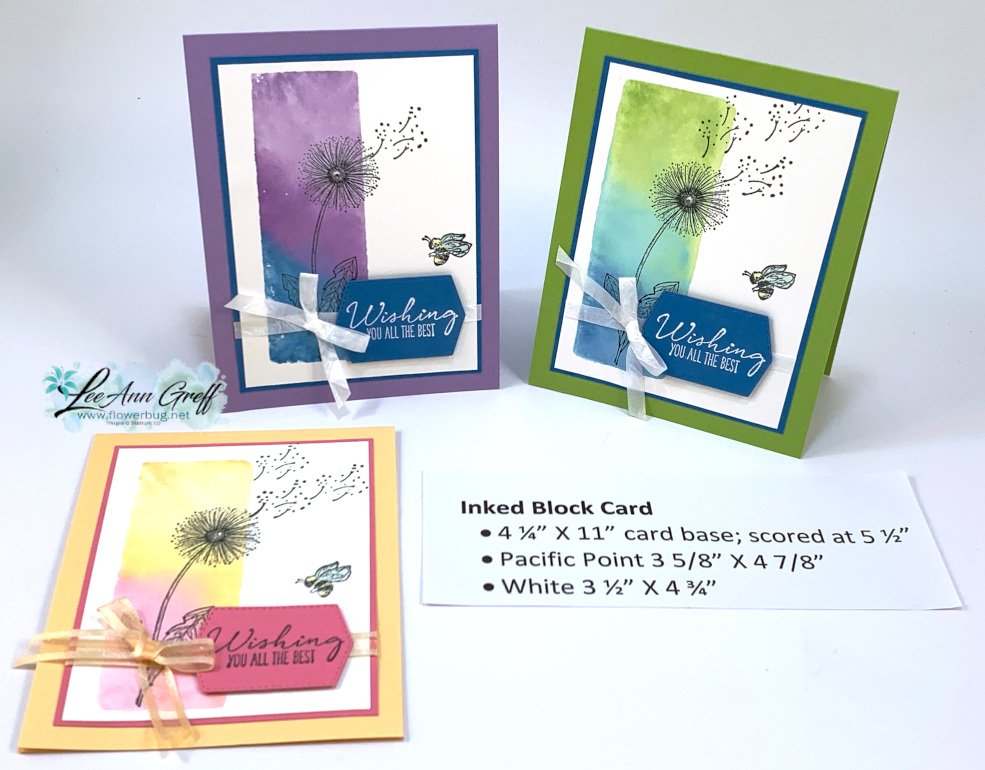
Watch the video here to see how it's done.  It's the first of 3 projects I share.   

Tips for success:

  • Use Stampin' Write 'water based' markers on your block; do not use Blends which are permanent markers.
  • Start with the lightest color first so you don't get a dark color on your marker tip
  • After filling up the block with ink (I colored on the diagonal) spritz it with water until dots form. 
  • The more water you add the better the inks blend.  But don't do too much or the colors blend too much. 
  • Press the block directly on your White card stock and hold for a few second. 
  • Have a tissue or paper towel ready to dab up excess water off the paper. 

The Stampin' Write markers I used on this next card are Granny Apple Green, Coastal Cabana and Pacific Point.
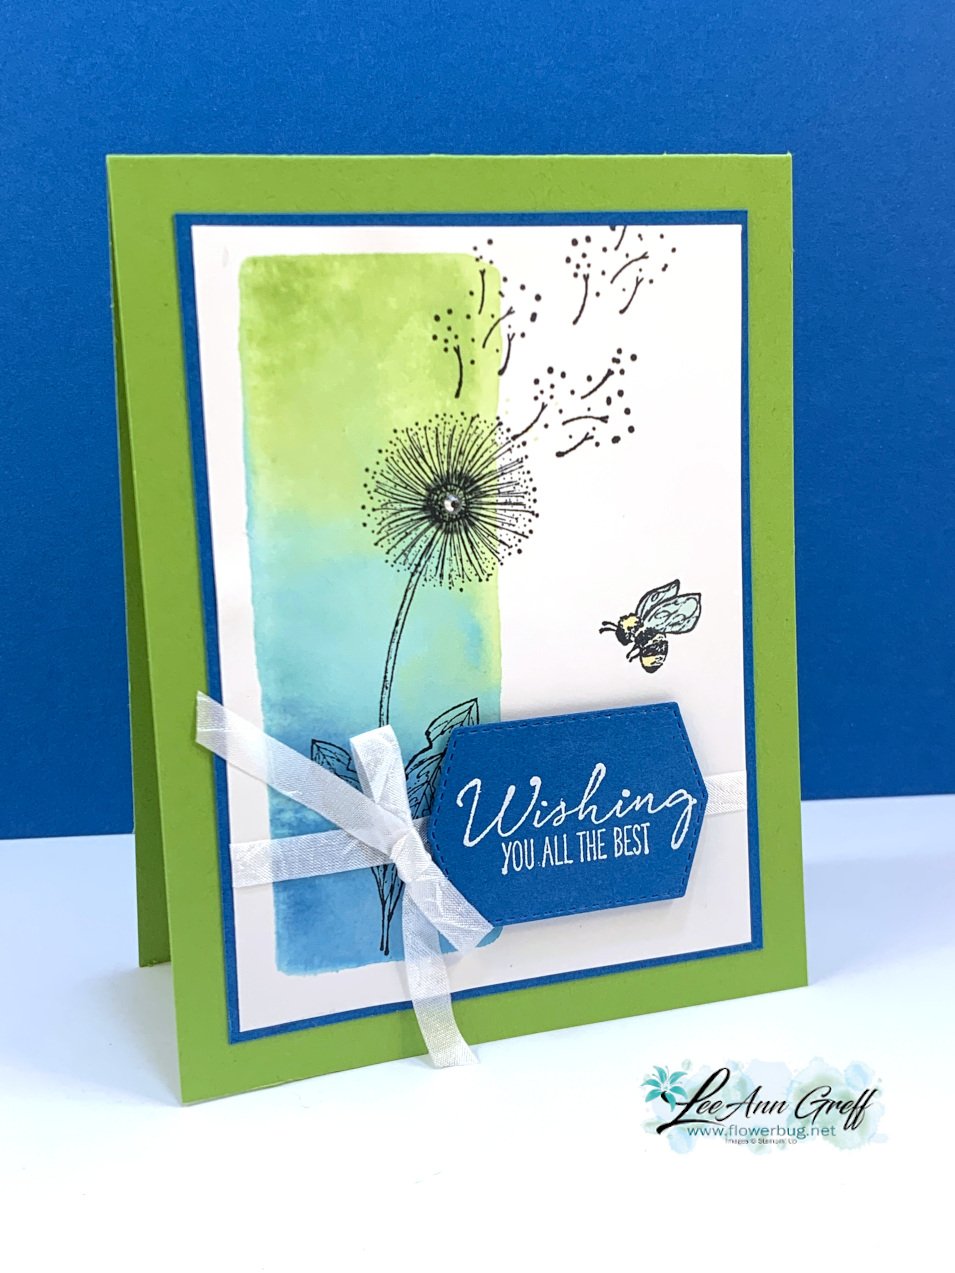
The card below has a softer feel.  The colors are Pale Papaya, Pumpkin Pie & Polished Pink. 
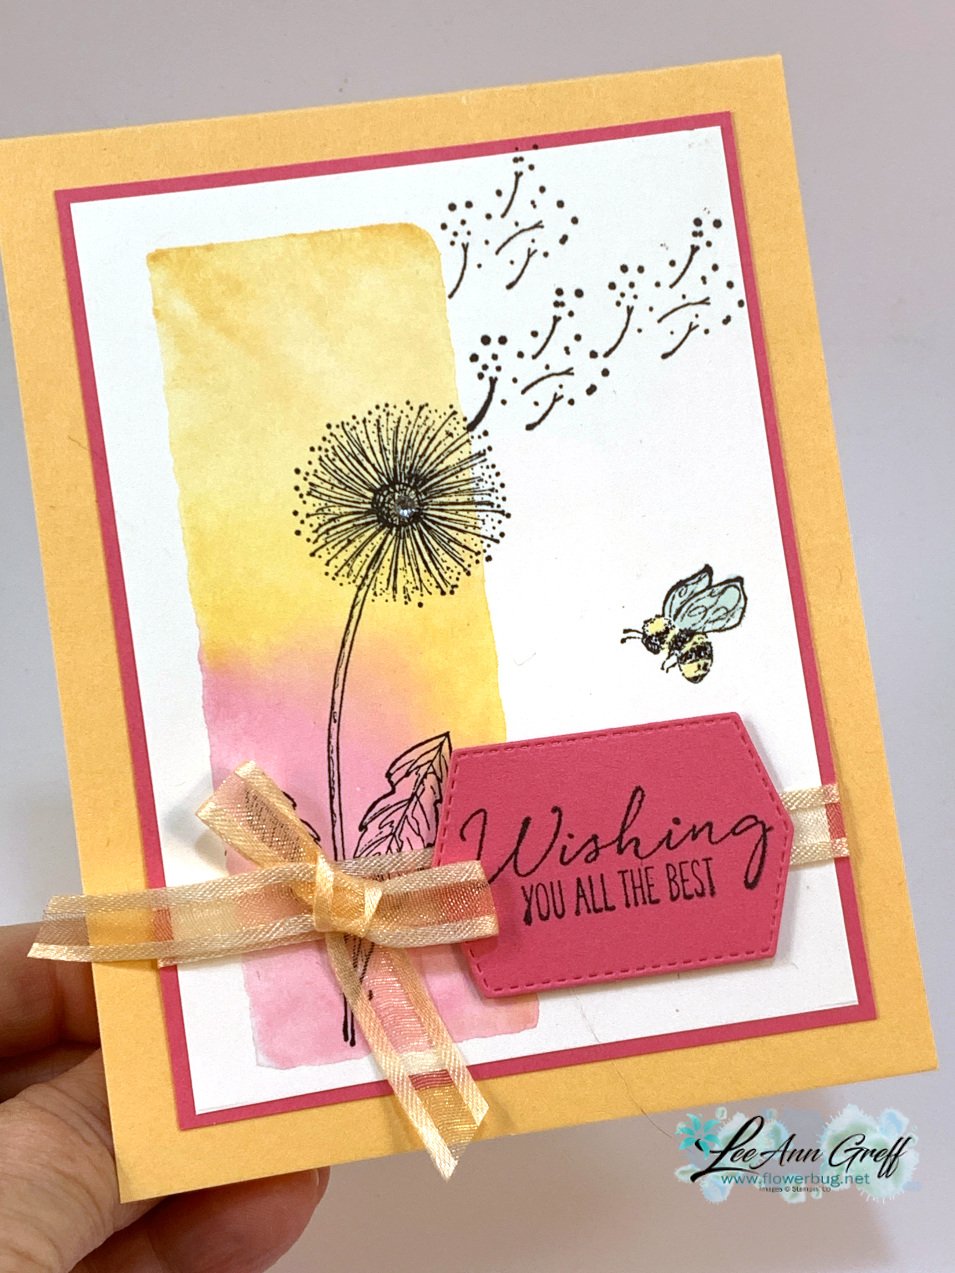
Which one is your favorite?  
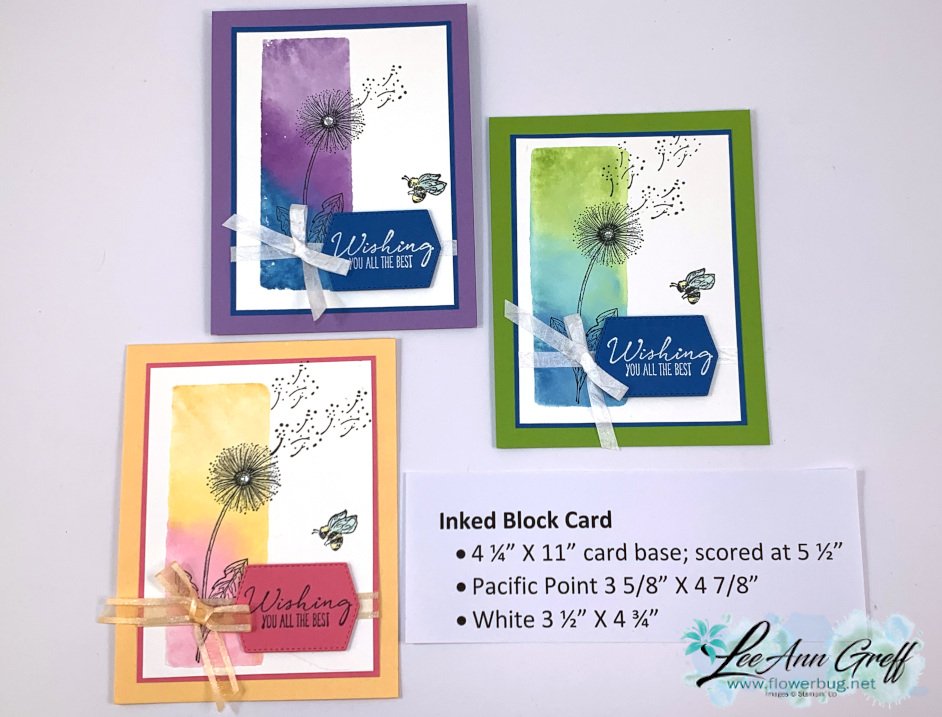
Click on the photo below to watch the video.  

~~~
The Last Chance list is out!
Tons of items from the 2021-22 Annual Catalog are retiring and many are deeply discounted from 20-50% off.
 
Remember that these items are while supplies last and may run out. 
Click here to see it all online along with the discounts.

Host codes: 6QFA66WT

 *click here to order 

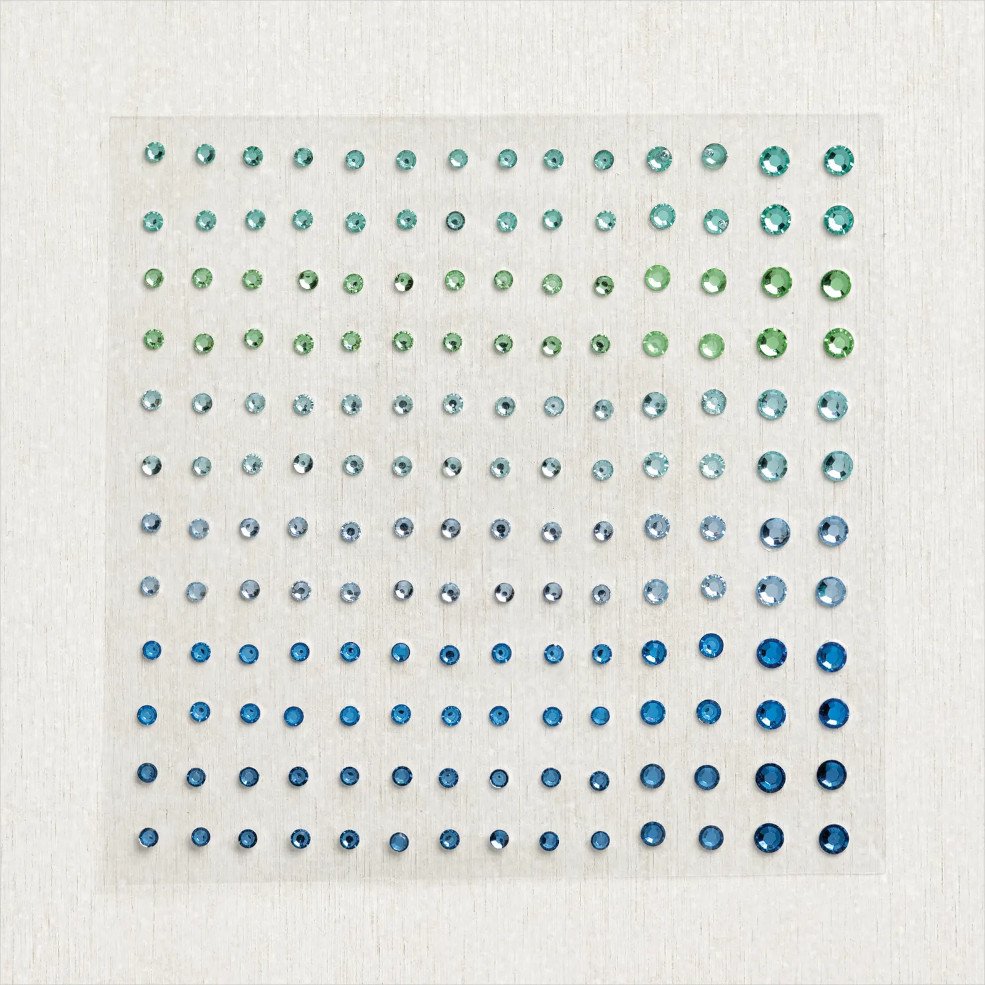
If your order is over $50 you'll receive free Polished Dots or In Color jewels and 3 hand made cards from me.
 

Don't forget about my loyalty rewards! 

Click here to download yours and earn a $50 shopping spree!  
All Posts

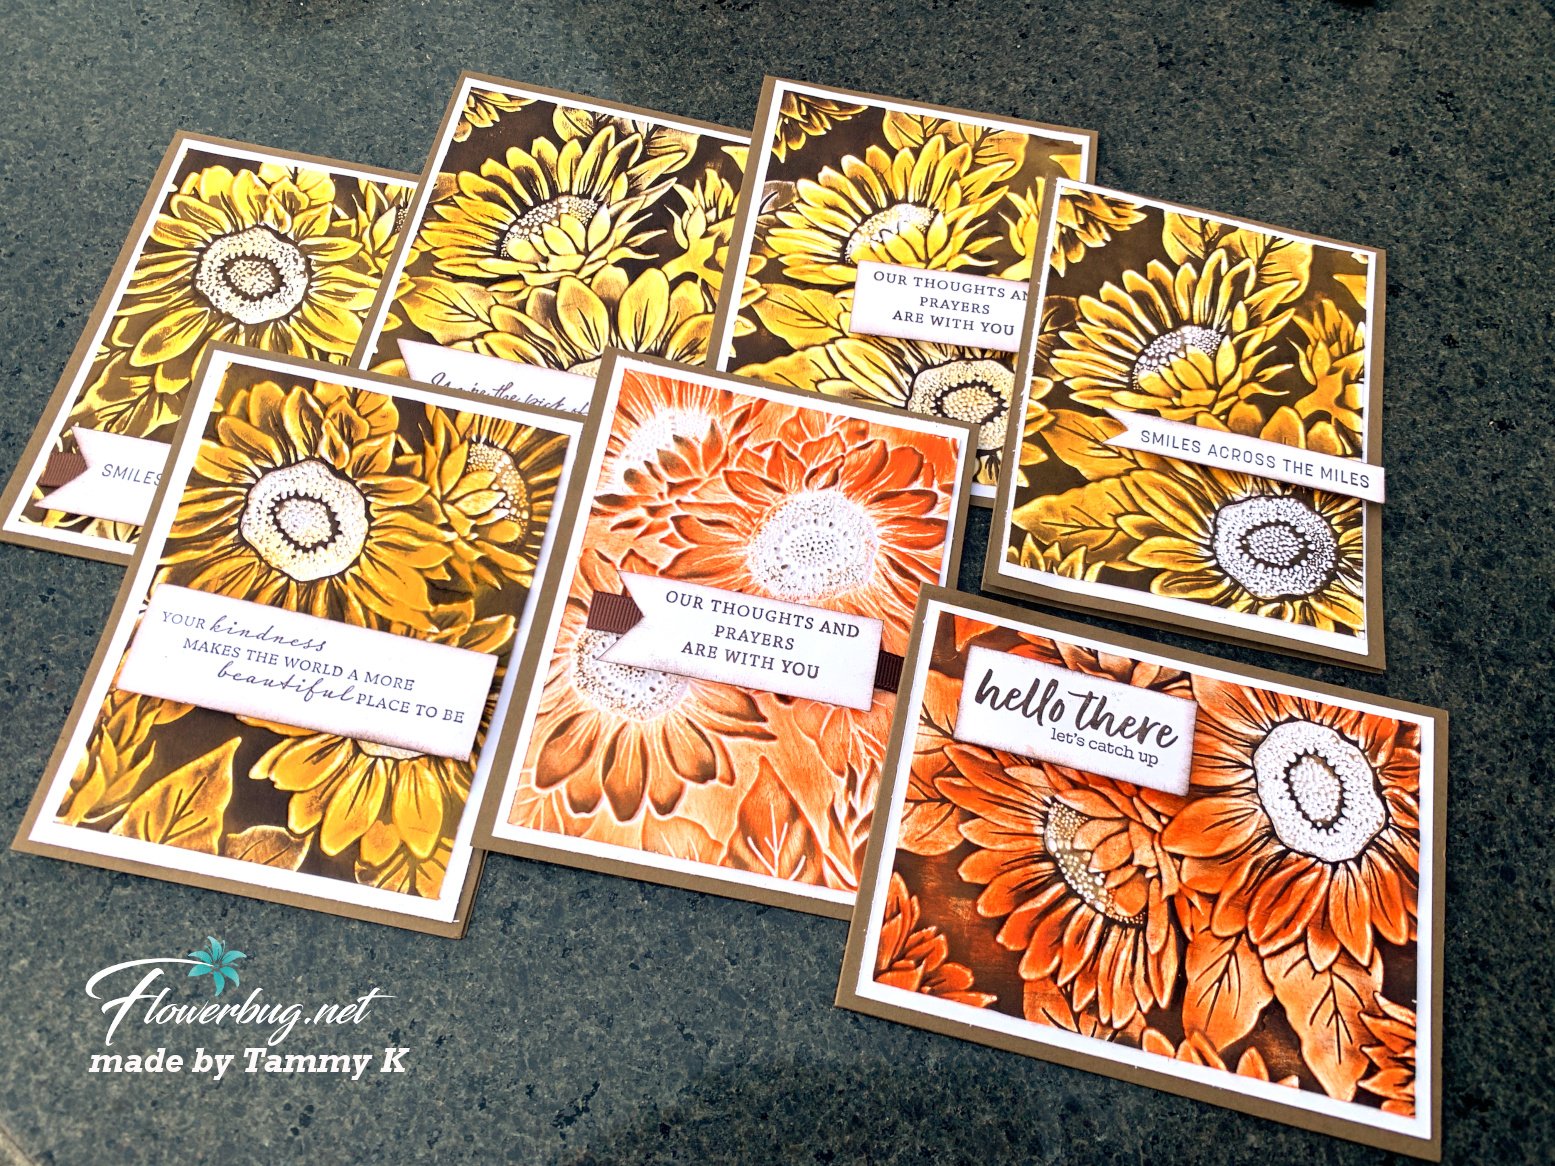
  • Look at these gorgeous Sunflower cards


    My friend Tammy shared these gorgeous cards she made with the Sunflower 3D embossing folder.  

    She was inspired by the card we made at Club in August.

    I shared how to do this technique on this video.  Or see it below. 

    This Sunflower 3D embossing folder has been out of stock twice already and it’s in low inventory again!  You can see it here. Get it while you can!  Online Exclusive products are while supplies last….. 


    Below is the video tutorial for this technique.  It works with any ink colors you can dream up! 

    ~~~

    September Specials

    ~~~

    ~~~

      To see all of the new Online items click here.  Or download & save the Download Online Exclusives flyer 

    Get a free project tutorial with any online order in September! 


    Leave a Reply

    Your email address will not be published. Required fields are marked *

  • Add color to the Sunflower 3D embossing folder. Wow!


    You’ve likely seen lots of cards made with the new Sunflower 3D embossing folder but have you seen any like this?!  

    We made this card at my August card clubs and it was a big hit!  Turquoise might not be a traditional color but it sure is pretty!  This technique will work beautifully with yellows & oranges too.

    We started by embossing a white layer of card stock with the embossing folder. Then using the debossed side, added Coastal Cabana ink to the petals with a sponge dauber.  

    Next we did the ‘direct to paper’ technique – rubbing our ink pad directly onto the embossed card stock – with Pecan Pie ink.  After that we did the same with Early Espresso ink.  This picked up the fine details in the embossing.  Gorgeous!!

    This Sunflower 3D embossing folder has been out of stock twice already and it’s in low inventory again!  You can see it here. Get it while it’s available!  Online Exclusive products are while supplies last….. 

    Get the free project sheet for this pretty card here.  Click on the following link to print or download it.  Download Multicolored Sunflower card

    Below is the video I made showing this technique.  I hope you watch it.  Don’t forget to follow me on YouTube here or Facebook here.  

    ~~~

    September Specials

    ~~~

      To see all of the new Online items click here.  Or download & save the Download Online Exclusives flyer 

    Get a free project tutorial with any online order in September! 


    Leave a Reply

    Your email address will not be published. Required fields are marked *

  • Changes are coming!


    Stampin’ Up! announced a few upcoming changes last week.  I mentioned and explained them in this video.  

    1. First up is the change in the type of stamps they’ll be offering.  Currently we have both red rubber/cling and clear photopolymer.  Starting in November all new stamps will be clear photopolymer.  

    Why? They are having difficulty sourcing the product needed to produce cling or red rubber stamps.  In addition they are not selling as well as photopolymer do.  It seems most people like the clear stamps; my customers have mentioned this to me too. 

    So for stamp sets from the current Annual and Holiday catalog here’s how it works going forward.  Once they run out of stock of the cling stamps they’ll switch over to clear photopolymer.  

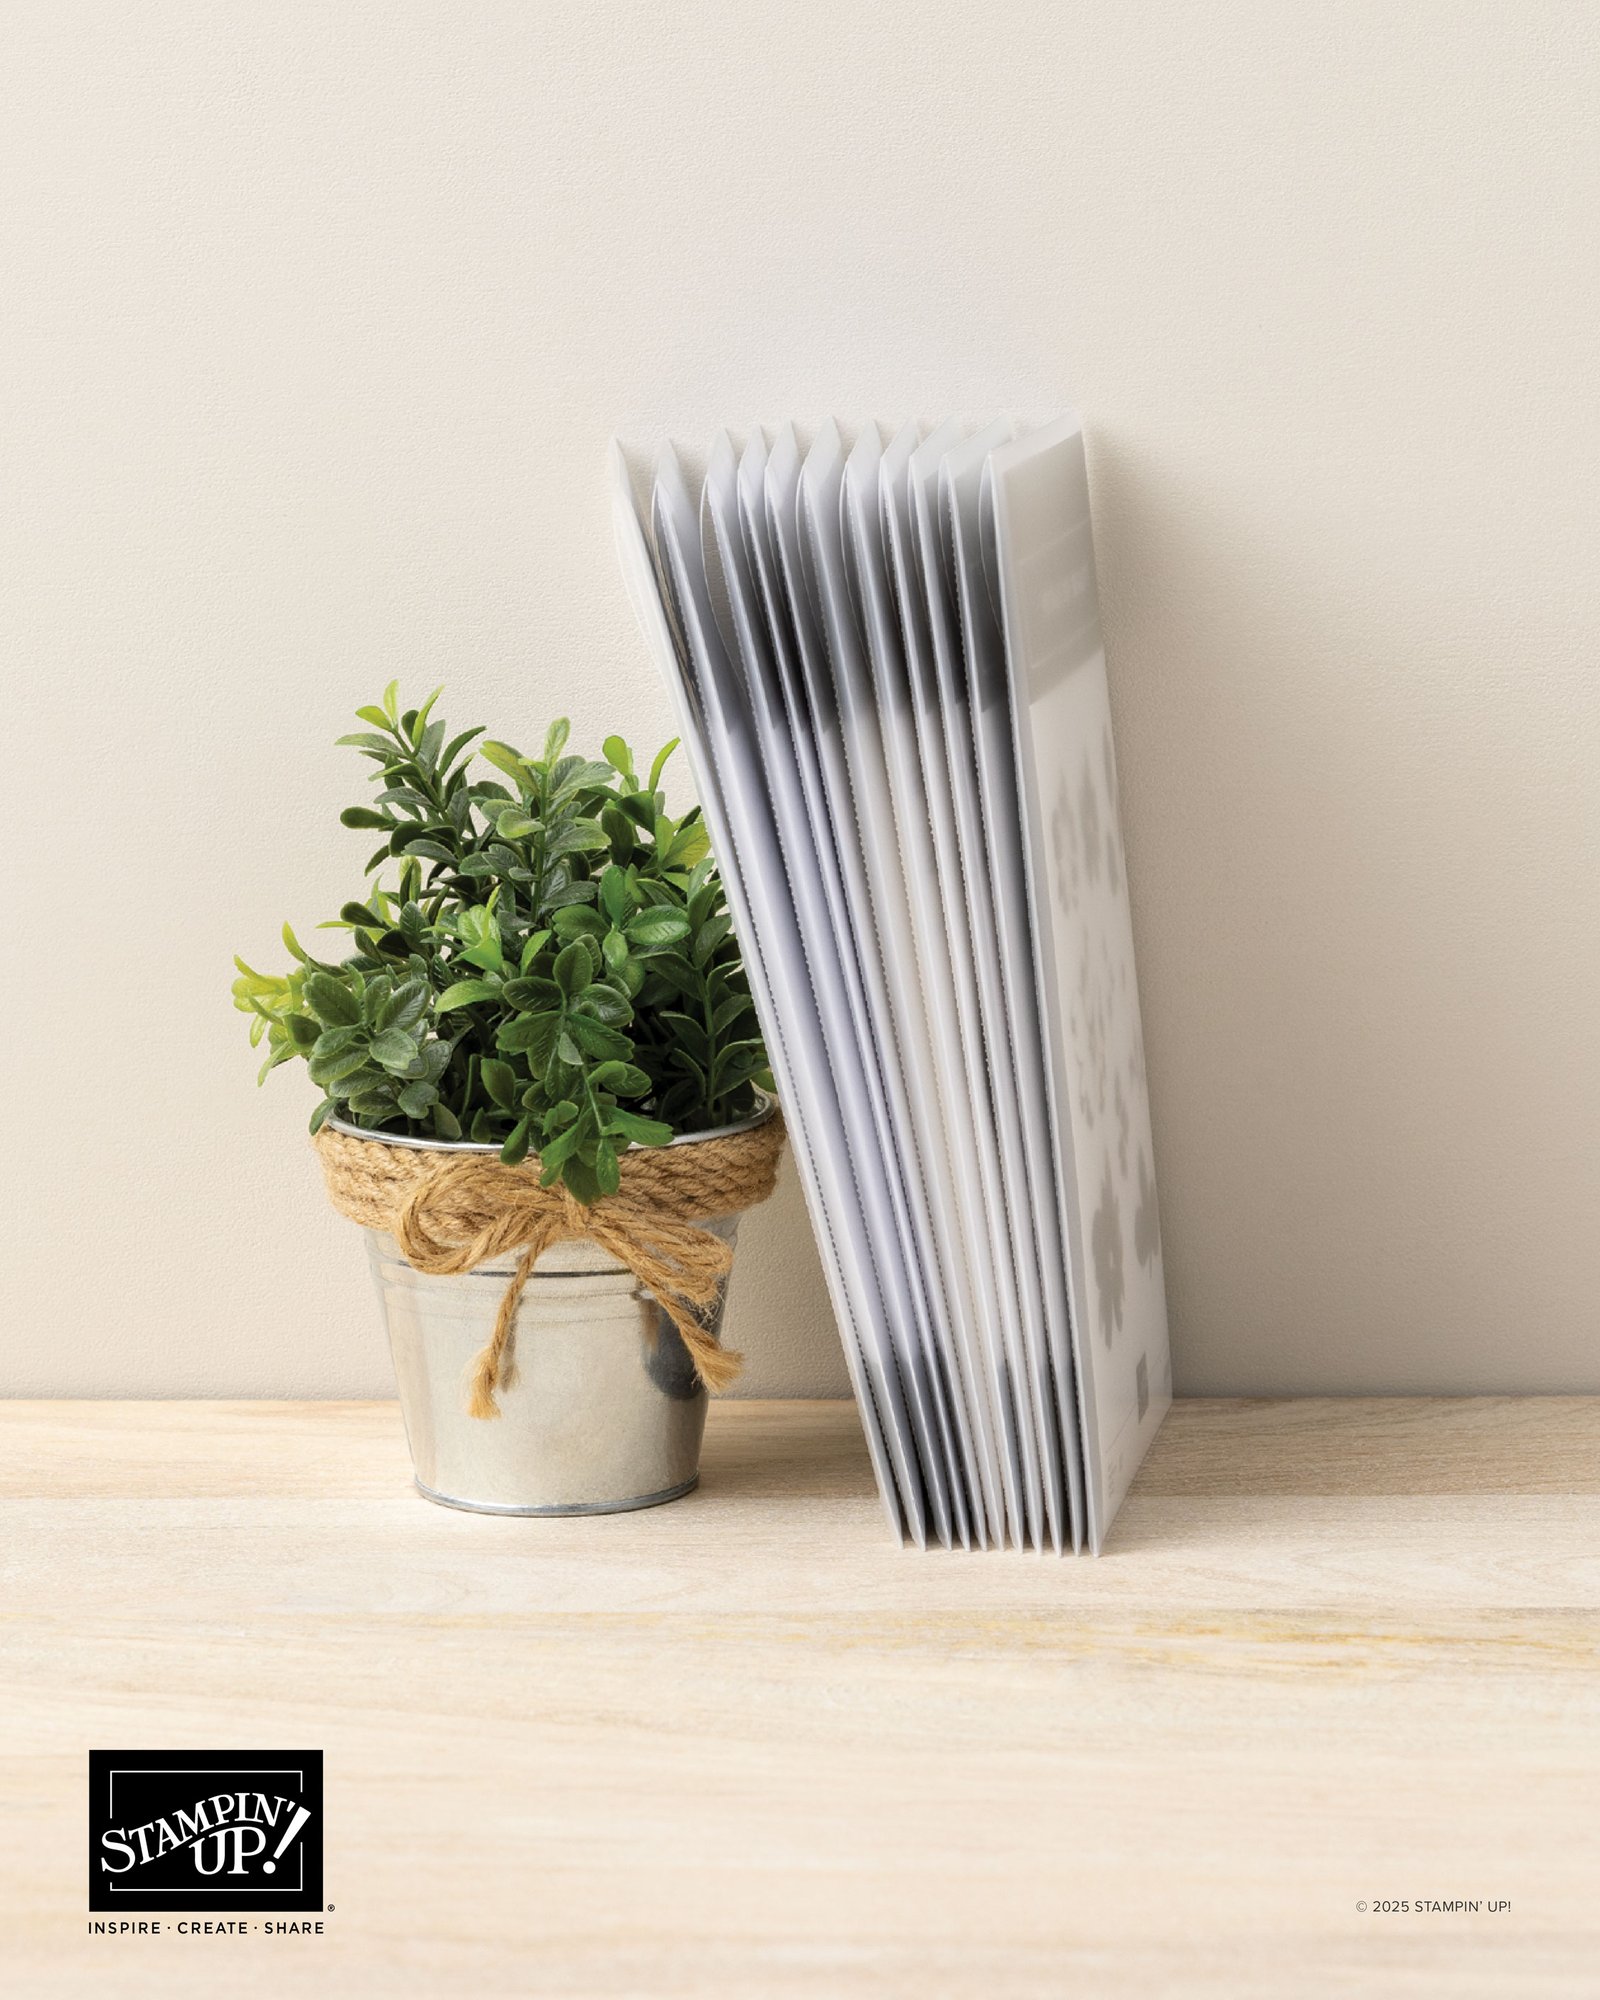
    2. Next is the packaging.  Because most stamps will be in photopolymer after November they will be in new packaging – clear sleeves.  These will be approximately 5″ X 9″ in size.  They are phasing out the DVD cases.  However they will continue to offer them in 4 packs like they currently do.  See them here.  They will also offer bulk packs of the new thin sleeves as well.  

    3. The die-cut sleeves will change too and will be the same as the stamp set sleeves. They’ll now have photos of the dies on the cover like you see below. 

    4.  Lastly they are discontinuing our Stampin’ Write markers. The Blends markers are outselling these by far. And because they were originally intended to be used to color directly on red rubber stamps (as well as coloring) they won’t be needed for this.  

    In my opinion I love coloring with the Blends so much I would never use these for coloring. They leave lines on larger images where the Blends do not.  They color so smoothly!  

    All of our Stampin’ Write markers are now on the Last Chance list and will be available while supplies last.  If you love them I’d grab some while you can. See them here.  

    ~~~

    August Specials

    Lots of In Color products are discounted in August!!

    Go here to see them all. 

    Get a free card class with any online order over $55 during August!

    Order online here

    The last chance list has new products! See them here. 

    Leave a Reply

    Your email address will not be published. Required fields are marked *


Notice: LeeAnn Greff, Independent Stampin’ Up! Demonstrator, Manager. The content of this website is my sole responsibility as an independent Stampin’ Up! demonstrator and the use of, and content of, the classes, services, or products offered on this website is not endorsed by Stampin’ Up! Copyright 2025