/


Latest Post

How to achieve the Inked Block Technique; you only need 3 things!


I shared the Inked Block technique on Tuesday's Facebook Live video.  It's fun, easy and you need just 3 things!

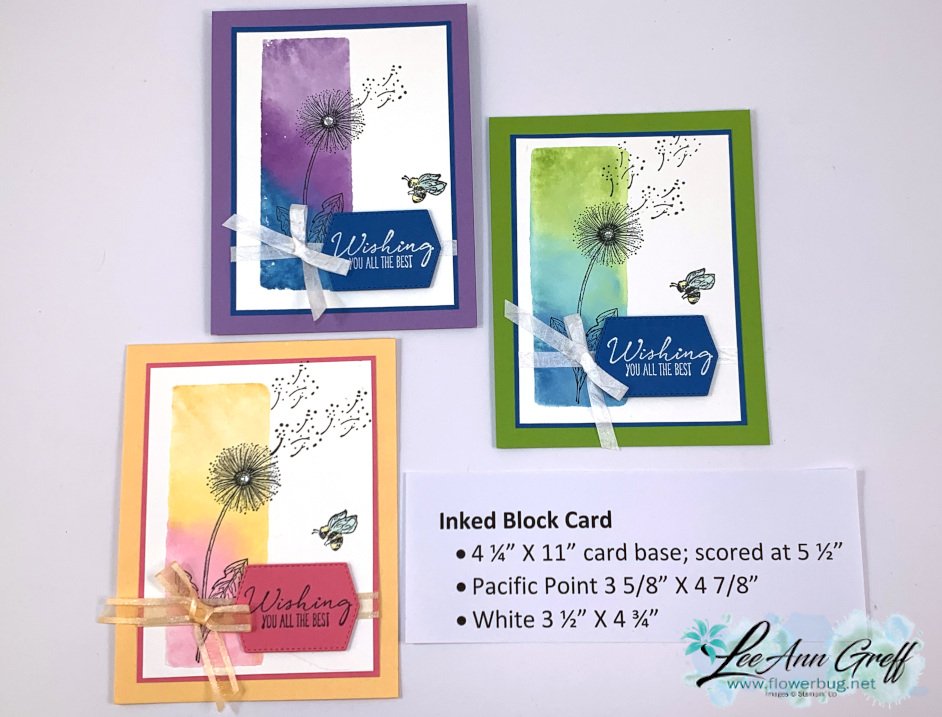
I chose to feature the Garden Wishes stamp set & a variety of colors. This first one is Highland Heather, Gorgeous Grape & Pacific Point. 

You need a clear block, Stampin' Write markers and a spritzer filled with water.  Below are the measurements for the cards. 
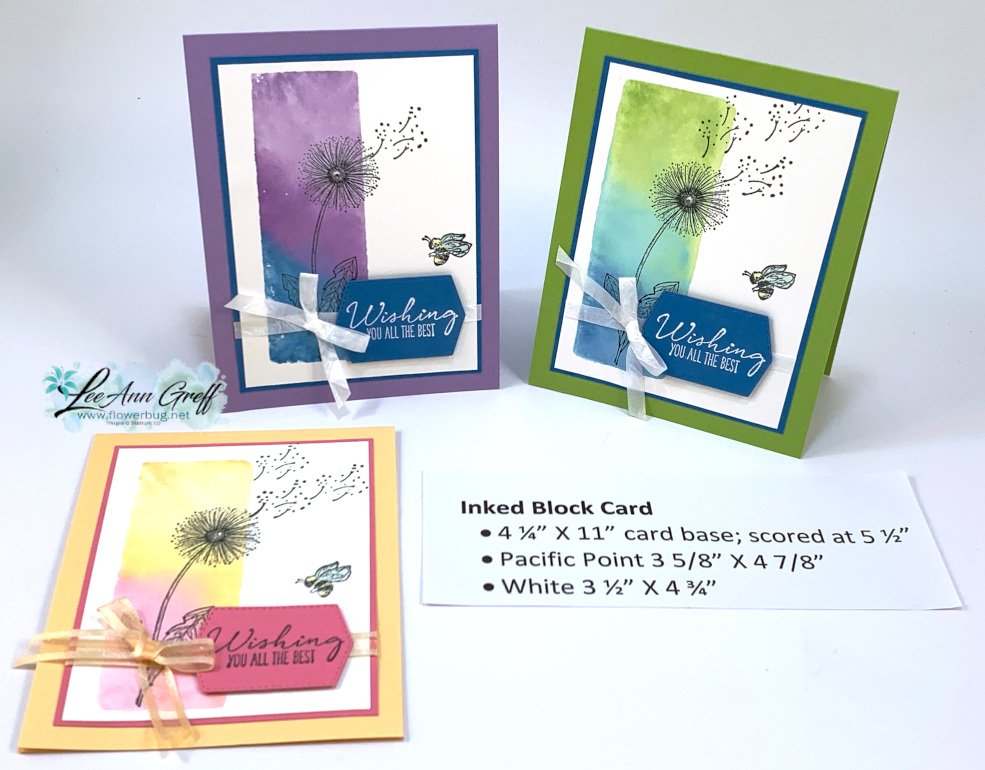
Watch the video here to see how it's done.  It's the first of 3 projects I share.   

Tips for success:

  • Use Stampin' Write 'water based' markers on your block; do not use Blends which are permanent markers.
  • Start with the lightest color first so you don't get a dark color on your marker tip
  • After filling up the block with ink (I colored on the diagonal) spritz it with water until dots form. 
  • The more water you add the better the inks blend.  But don't do too much or the colors blend too much. 
  • Press the block directly on your White card stock and hold for a few second. 
  • Have a tissue or paper towel ready to dab up excess water off the paper. 

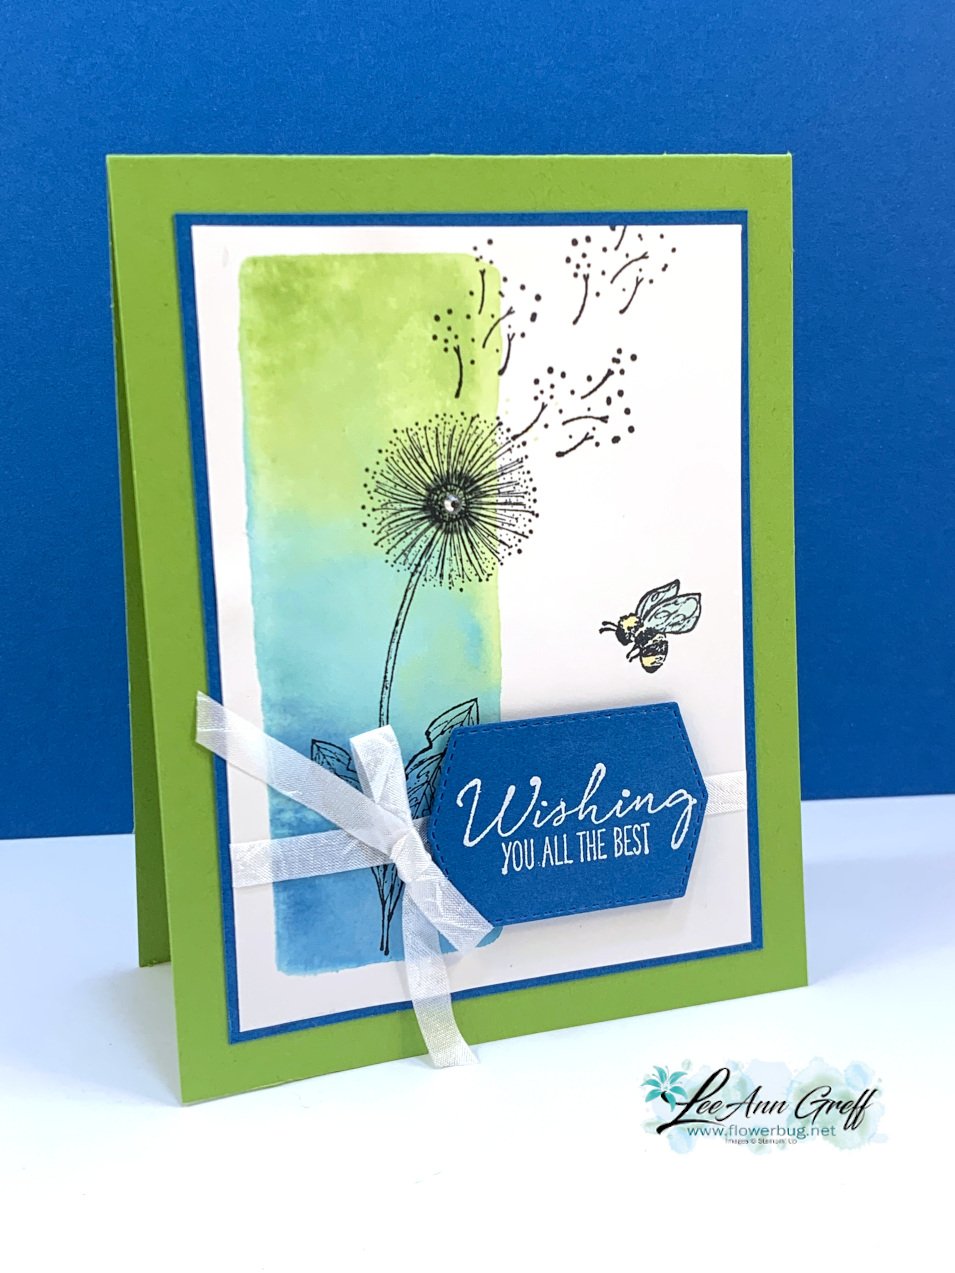
The Stampin' Write markers I used on this next card are Granny Apple Green, Coastal Cabana and Pacific Point.
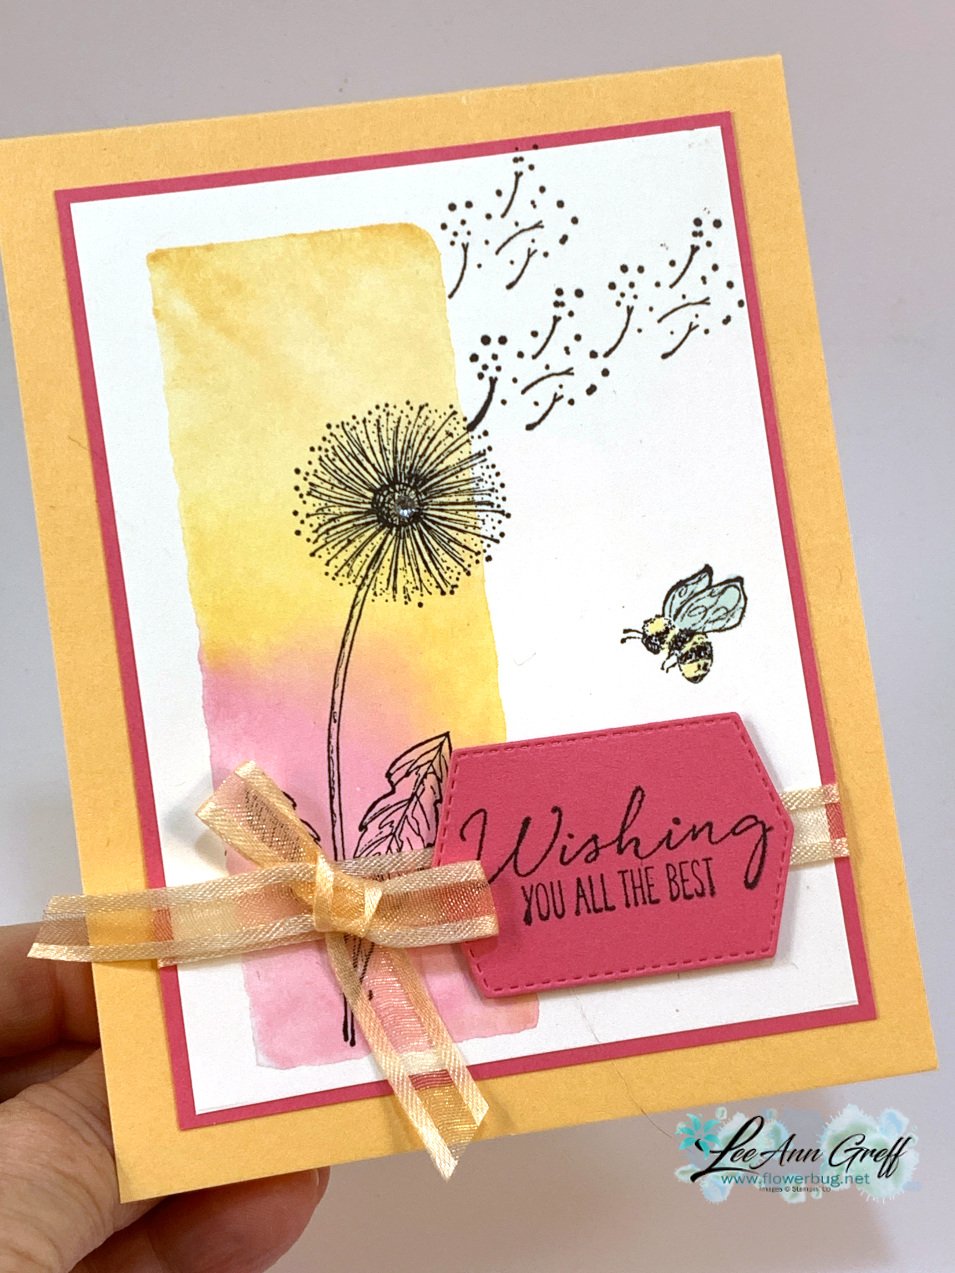
The card below has a softer feel.  The colors are Pale Papaya, Pumpkin Pie & Polished Pink. 
Which one is your favorite?  
Click on the photo below to watch the video.  

~~~
The Last Chance list is out!
Tons of items from the 2021-22 Annual Catalog are retiring and many are deeply discounted from 20-50% off.
 
Remember that these items are while supplies last and may run out. 
Click here to see it all online along with the discounts.

Host codes: 6QFA66WT

 *click here to order 

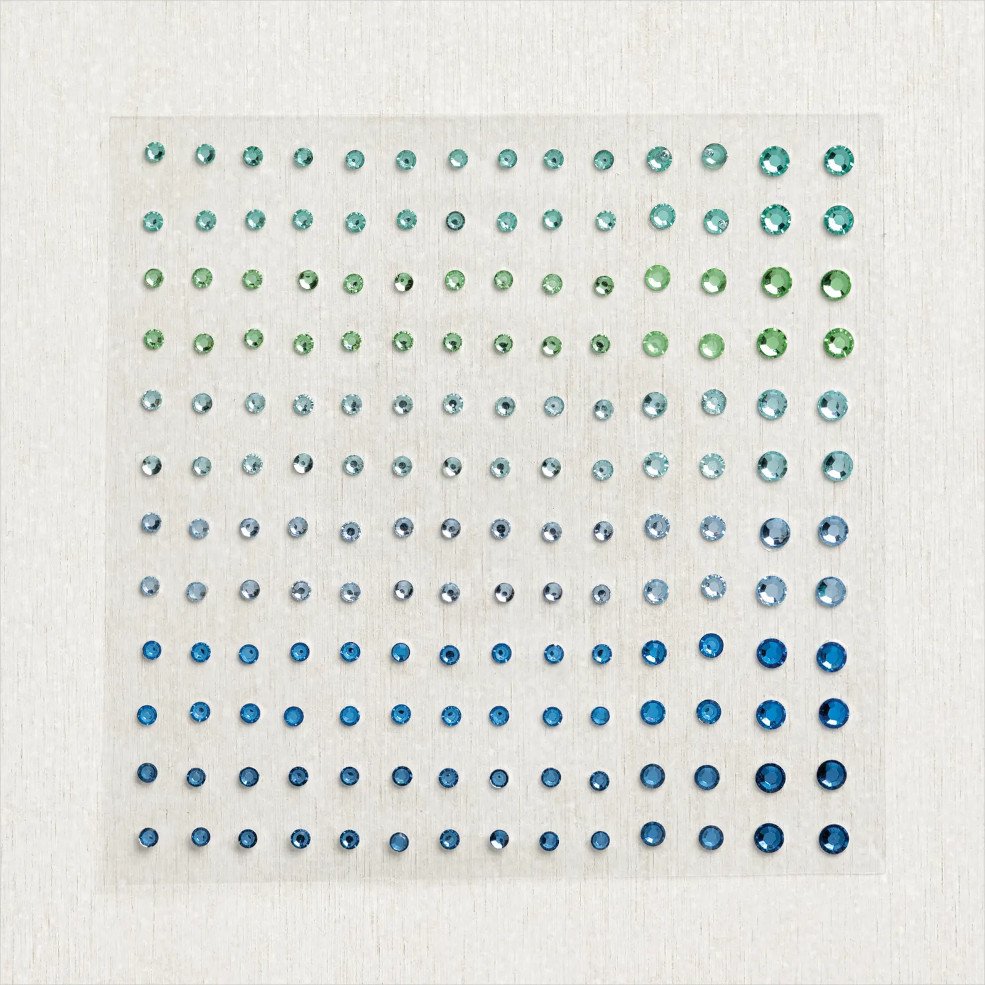
If your order is over $50 you'll receive free Polished Dots or In Color jewels and 3 hand made cards from me.
 

Don't forget about my loyalty rewards! 

Click here to download yours and earn a $50 shopping spree!  
All Posts

  • 3 great ideas with the Peaceful Prints Designer Paper


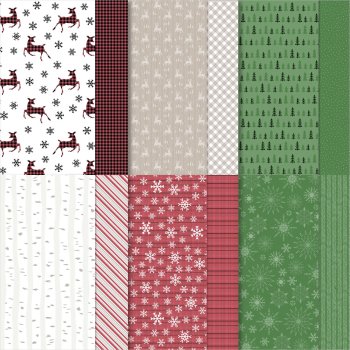
    Have you seen the Peaceful Prints designer paper?  It's in our Sale-a-Bration catalog and is free with any $50 order through September. Click here to see it. 

    This photo does not do it justice!  The colors are rich & vibrant – Black, Cherry Cobbler, Real Red, Garden Green & Sahara Sand.  

    Our August Team swap featured all Sale-a-Bration products.  I sure love sharing what my Flowerbug's made!  These three cards all feature this fabulous designer paper. 

    Candy made this first card with the Peaceful Deer bundle. It coordinates with this free designer paper too!  

    She did stamp the image in the set using Red ink and punched it out. Then she added the Soft Suede antlers and a Red rhinestone. 

    Lots of details on this card:

    • Stitched Whimsy dies
    • Stitched Rectangle dies
    • Merry Melody 3D embossing folder
    • Colors are Real Red, Crumb Cake & Garden Green with White 

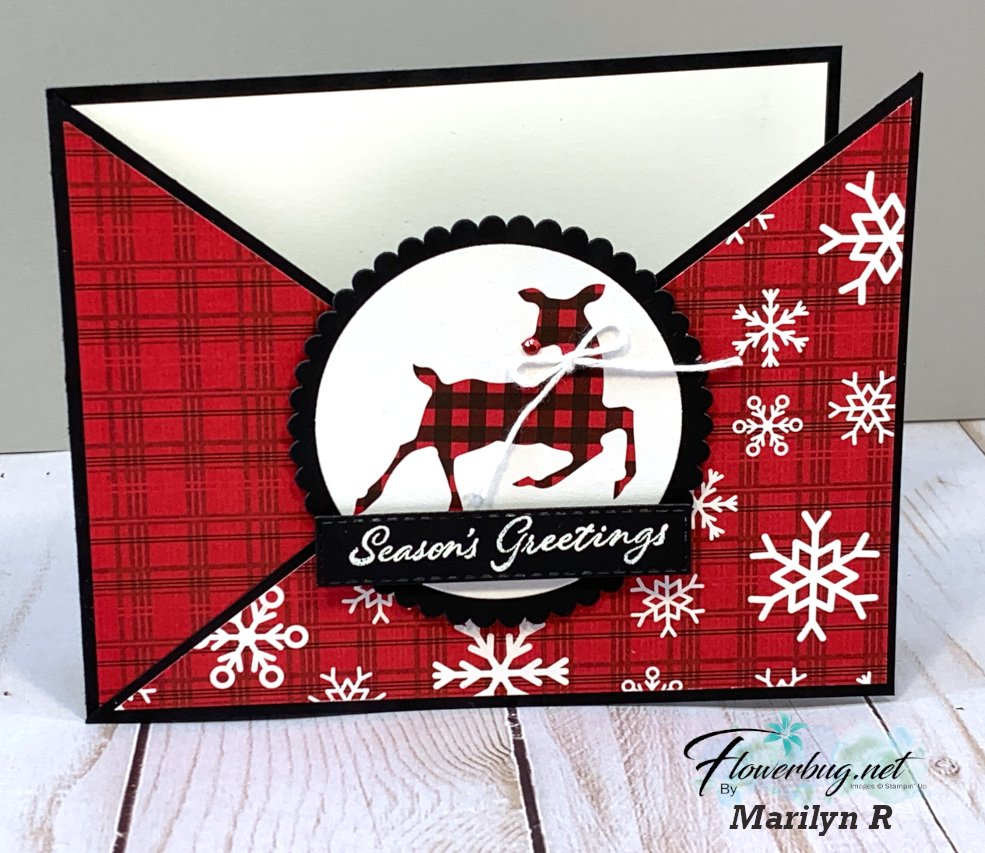
    Marilyn made this next card with one of my latest fun folds shared on FB Live.  It's called a Faux Pocket card. You can see the video for this fold here. 

    She used the Layering Circle dies and the Stitched Rectangle dies for her main pieces.  The deer on the circle is cut from the actual designer paper. The greeting is from the Time of Giving stamp set and is heat embossed with White embossing powder on Black CS. 

    This card fold might look complicated but it sure isn't!  Again, click here to see the video. 

    Next is Annette's card featuring Garden Green, Black & White

    Her greeting is from the Peaceful Cabin stamp set.  It's on an Everyday Label punch.  She punched a second piece in Black and cut it in half vertically to layer on the White one. Simple & beautiful! 

    ~~~

    August Specials

    Host code: ASETFASJ

    *click here to order

    All online orders will receive a free PDF tutorial filled with projects featuring

    the Harvest Meadow Suite!

    Get the Cute Star Adhesive-Backed Sequins with a $50 online order from me in August! 

    Order here


    Get a Free Bundle  from the Holiday Catalog when you choose the Starter kit!  Pick out $125 in product of your choice for just $99 and shipping is free!  

    Leave a Reply

    Your email address will not be published. Required fields are marked *

  • Summer Shadow dies & Shaded Summer; a beautiful pairing!


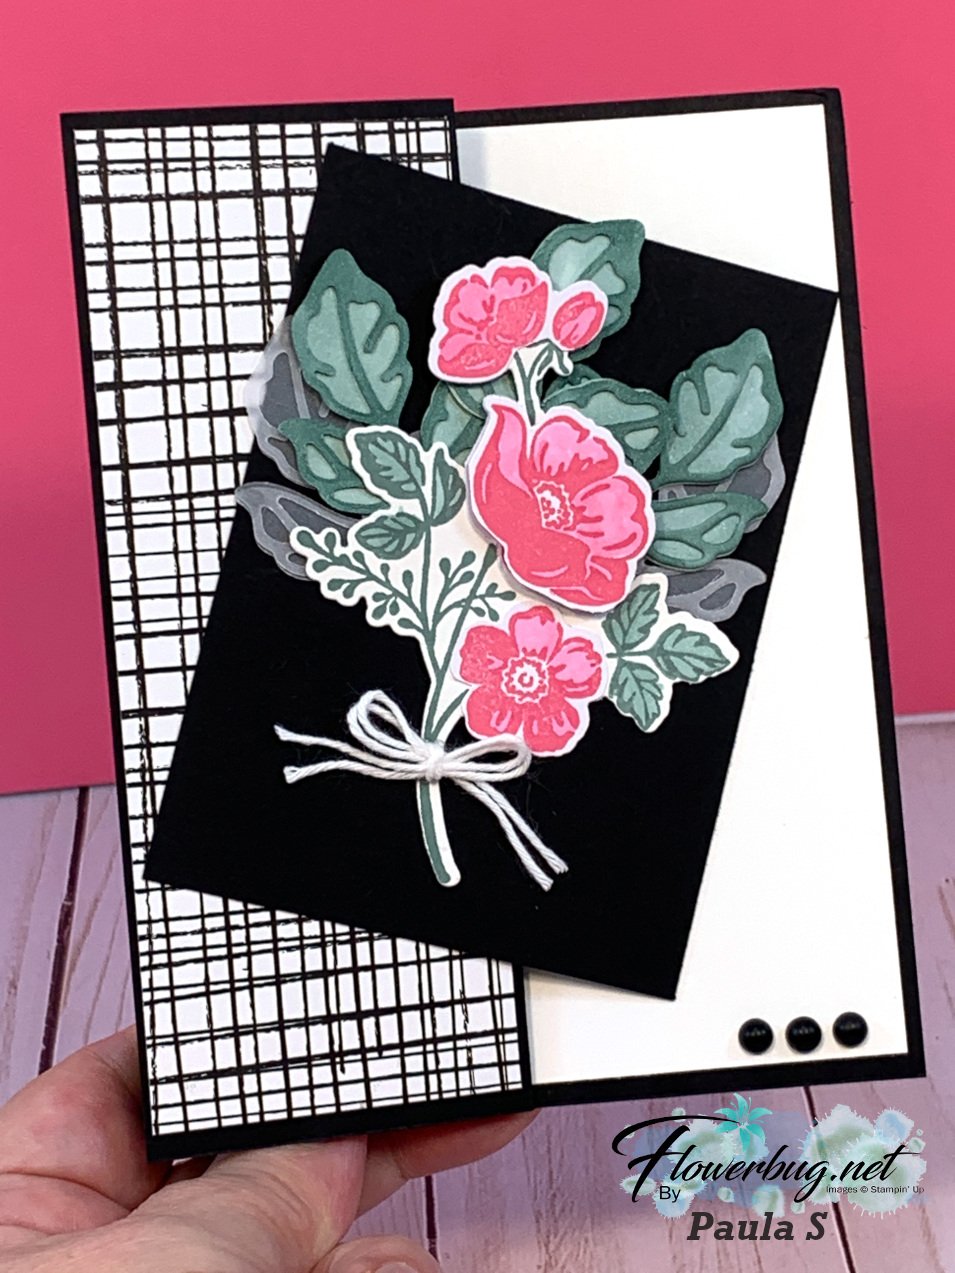
    I'm sharing our Flowerbug Team swaps featuring Sale-a-Bration choices. This amazing card was  created by Paula. 

    She used the Summer Shadow dies seen here along with the Shaded Summer stamp set. This stamp set is in the Annual Catalog on page 75 and the dies are a free choice during SAB/Sale-a-Bration. However remember that these dies are expected to sell out before the end of September when SAB ends.  See them here. 

    This is also a fun fold card.  Her Black card is 5 1/2" X 8 1/2" and is scored at 2 1/8" X 4 1/4".  The front left panel is folded back.

    Look at the many layers of die-cuts she added here!  Lots of Vellum along with Polished Pink ink and Just Jade & Soft Succulent card stock & inks. Placing the die-cuts on Black really brings out the color & details. 


    The designer paper on the left panel is from the Pattern Party 12 X 12 Host paper.  It's one of the choices you get free with an order over $150; host rewards kick in at this level.  See it here or on page 171 in the Annual catalog. 

    Have a great weekend everyone! 

    ~~~

    August Specials

    Host code: UTDM9JQG

    *click here to order

    All online orders will receive a free PDF tutorial filled with projects featuring

    the Harvest Meadow Suite!

    Get the Cute Star Adhesive-Backed Sequins with a $50 online order from me in August! Use this host code: 7JB43RUH

    Order here


    Get a Free Bundle  from the Holiday Catalog when you choose the Starter kit!  Pick out $125 in product of your choice for just $99 and shipping is free!  

    Leave a Reply

    Your email address will not be published. Required fields are marked *

  • Unique Triangle Gate-fold card with video


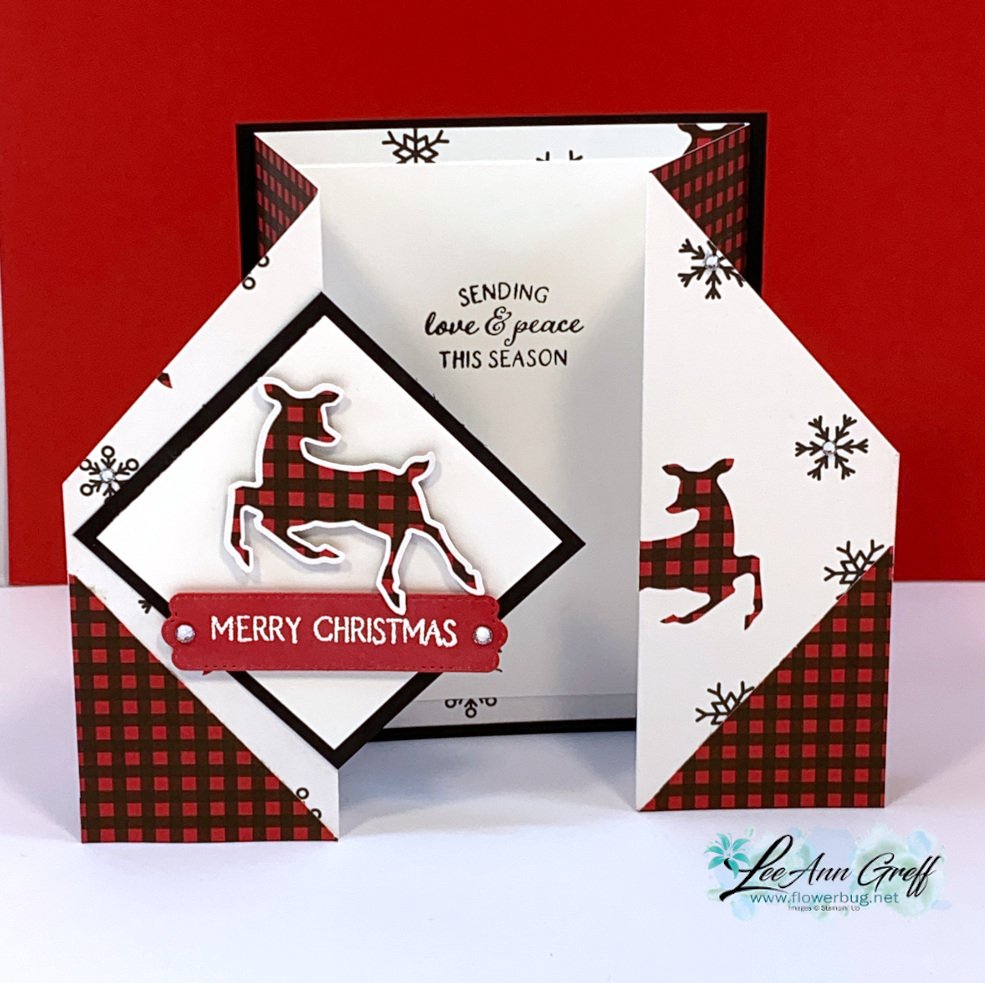
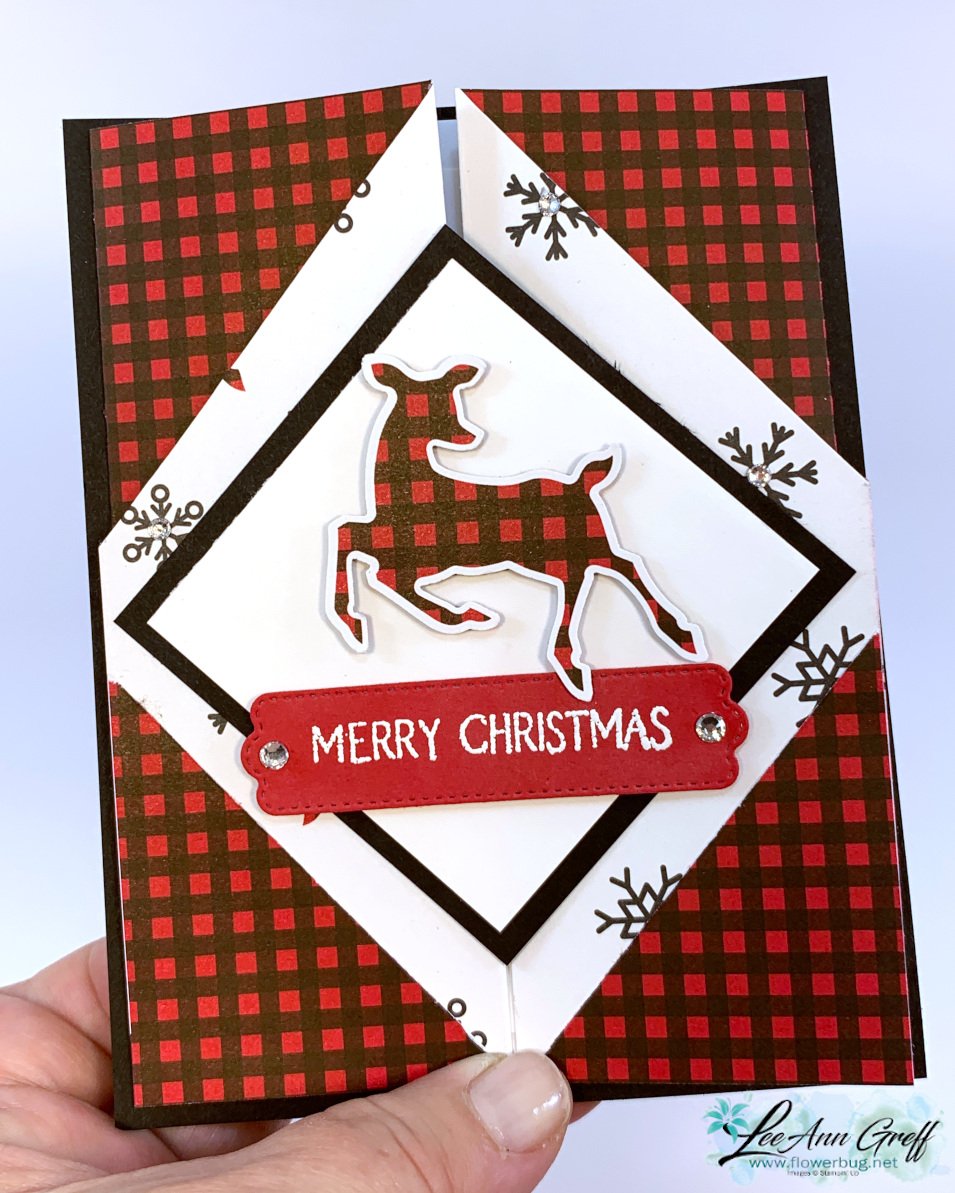
    Check out this fabulous fun fold card that shows off both sides of your Designer Paper!  

    I had a request to do a video for it so I featured it in this week's Stamp with Me Live on Monday night. If you aren't following me on FB here's the link to my page. 

    Here is the card made with the Peaceful Prints DSP in the Sale-a-Bration catalog seen here.  Right now it's FREE with a $50 order during Stampin' Up!'s Sale-a-Bration promotion. It coordinates with the Peaceful Deer bundle.  I punched the deer on the front panel right from this paper!  


    The card on the above right is made with the Peaceful Prints specialty DSP.  I added a few wreaths cut from the Seasonal Swirl dies – one in Black and one in Silver.  

    Watch the video below to see how it's made.  It's actually quite easy and really does showcase both sides of your 2-sided Designer Paper!  

    ~~~

    August Specials

    Host code: UTDM9JQG

    *click here to order

    All online orders will receive a free PDF tutorial filled with projects featuring

    the Harvest Meadow Suite!

    Get the Cute Star Adhesive-Backed Sequins with a $50 online order from me in August! 

    Order here


    Get a Free Bundle  from the Holiday Catalog when you choose the Starter kit!  Pick out $125 in product of your choice for just $99 and shipping is free! You also receive a free Paper Pumpkin kit in addition to catalogs & business supplies.  

    Leave a Reply

    Your email address will not be published. Required fields are marked *


Notice: LeeAnn Greff, Independent Stampin’ Up! Demonstrator, Manager. The content of this website is my sole responsibility as an independent Stampin’ Up! demonstrator and the use of, and content of, the classes, services, or products offered on this website is not endorsed by Stampin’ Up! Copyright 2025