/


Latest Post

How to achieve the Inked Block Technique; you only need 3 things!


I shared the Inked Block technique on Tuesday's Facebook Live video.  It's fun, easy and you need just 3 things!

I chose to feature the Garden Wishes stamp set & a variety of colors. This first one is Highland Heather, Gorgeous Grape & Pacific Point. 

You need a clear block, Stampin' Write markers and a spritzer filled with water.  Below are the measurements for the cards. 
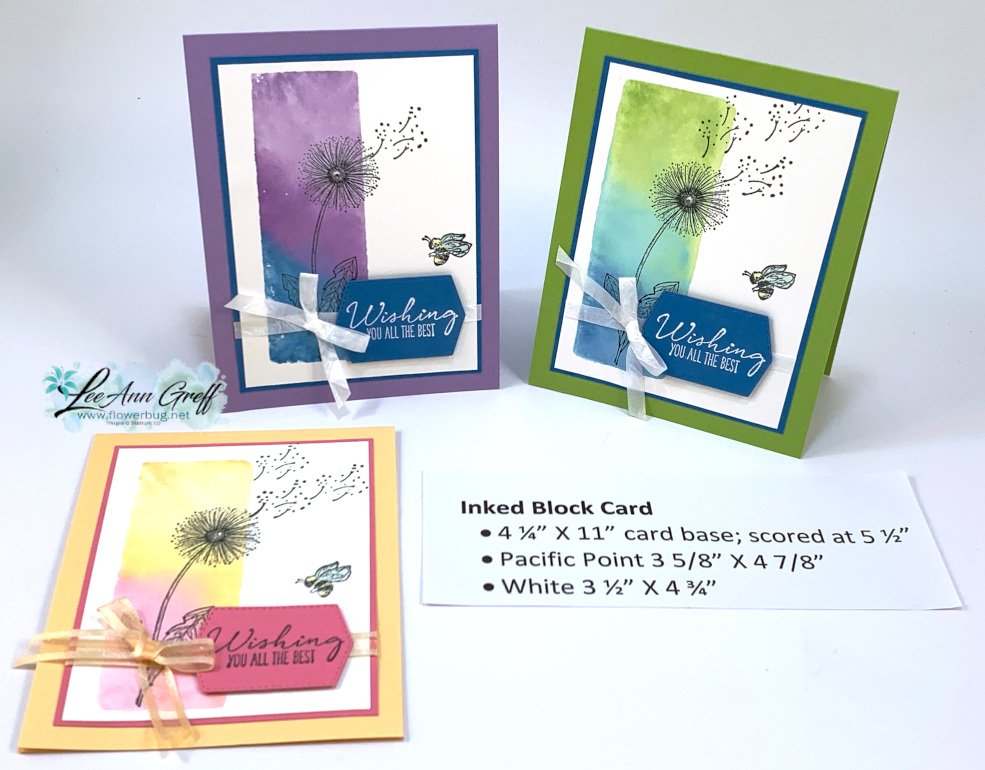
Watch the video here to see how it's done.  It's the first of 3 projects I share.   

Tips for success:

  • Use Stampin' Write 'water based' markers on your block; do not use Blends which are permanent markers.
  • Start with the lightest color first so you don't get a dark color on your marker tip
  • After filling up the block with ink (I colored on the diagonal) spritz it with water until dots form. 
  • The more water you add the better the inks blend.  But don't do too much or the colors blend too much. 
  • Press the block directly on your White card stock and hold for a few second. 
  • Have a tissue or paper towel ready to dab up excess water off the paper. 

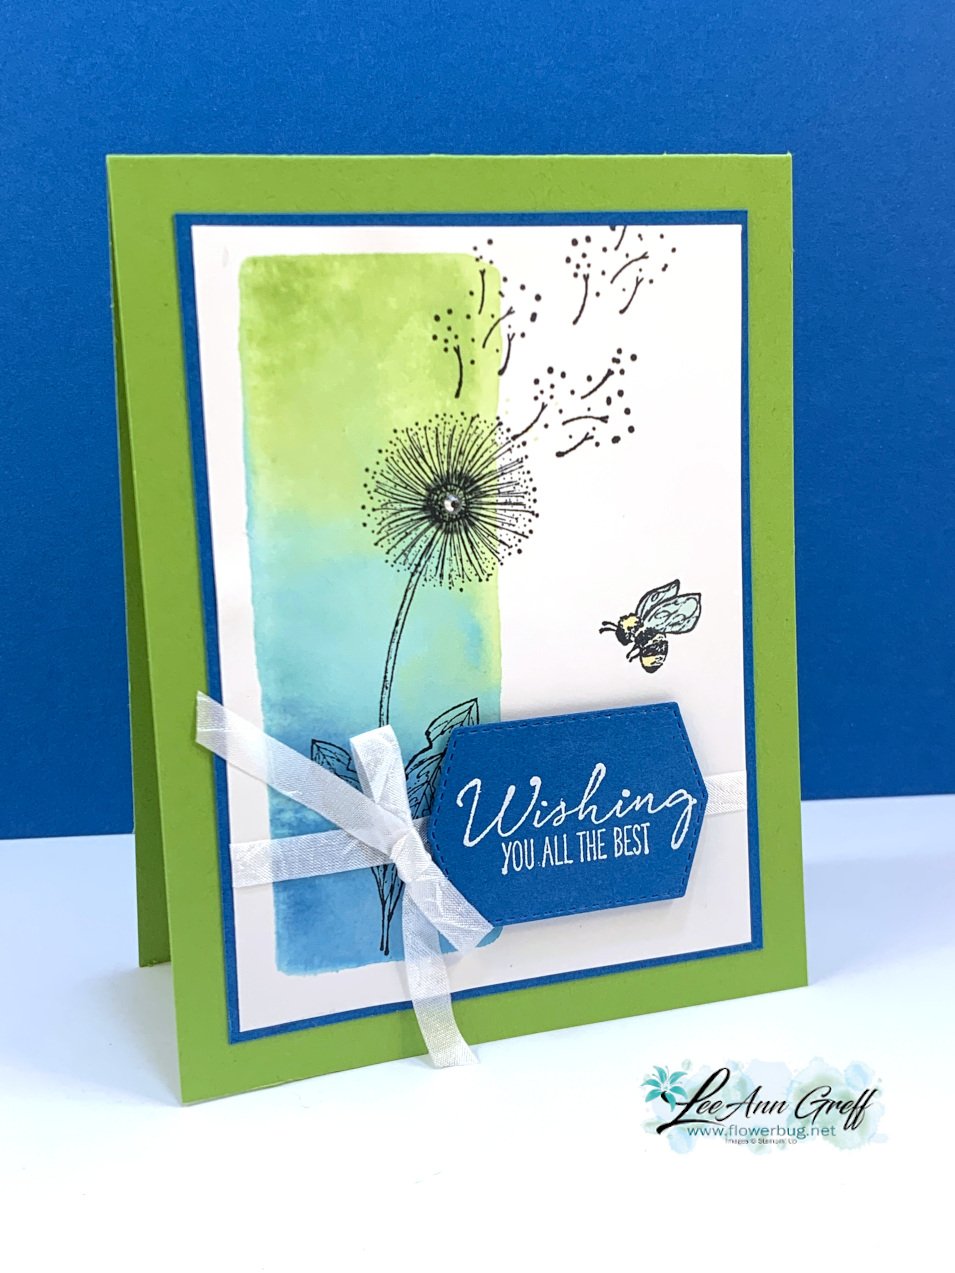
The Stampin' Write markers I used on this next card are Granny Apple Green, Coastal Cabana and Pacific Point.
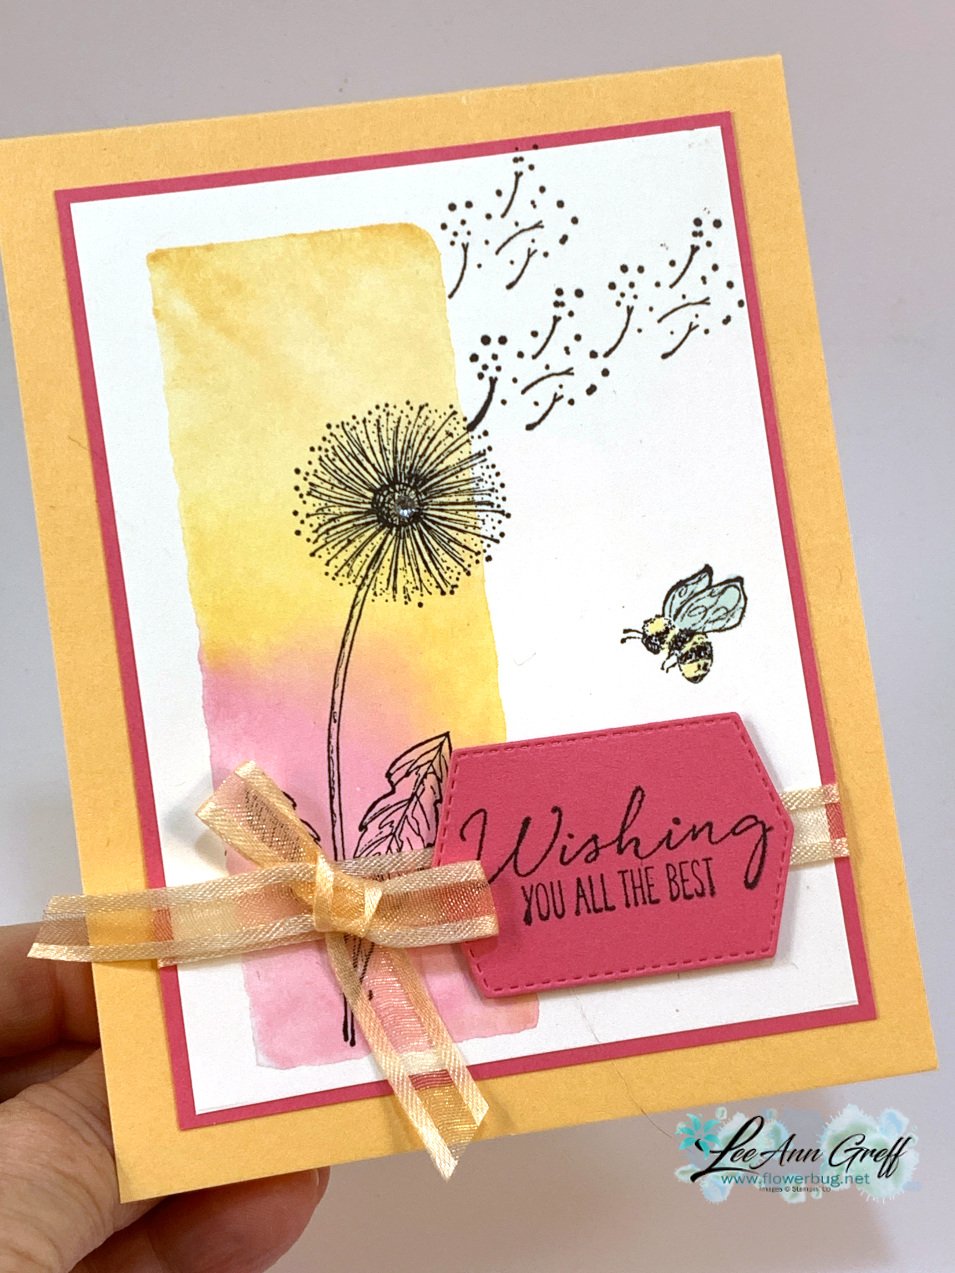
The card below has a softer feel.  The colors are Pale Papaya, Pumpkin Pie & Polished Pink. 
Which one is your favorite?  
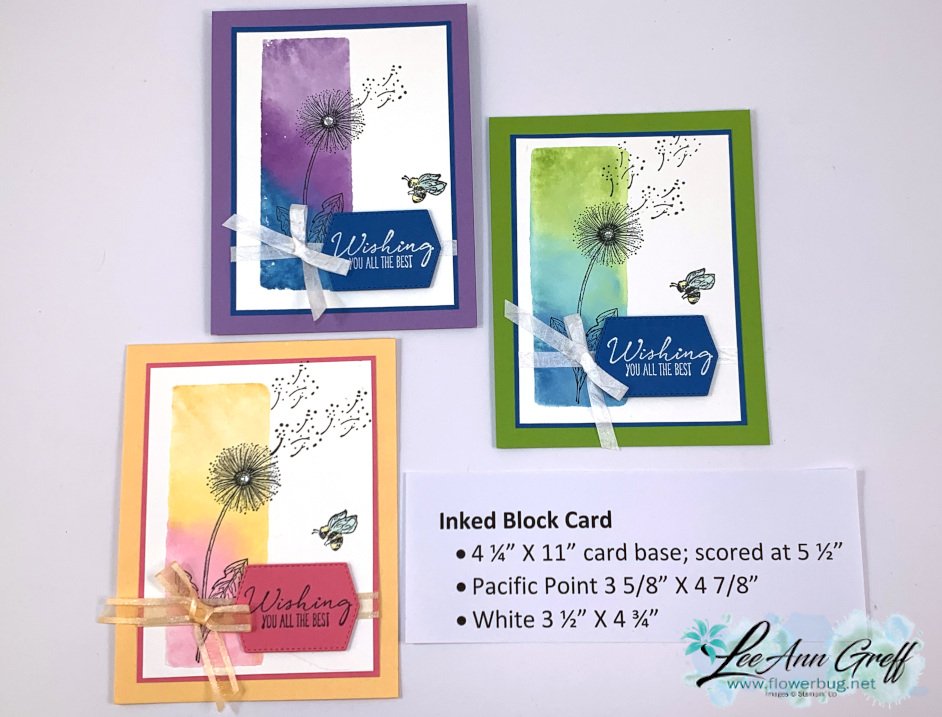
Click on the photo below to watch the video.  

~~~
The Last Chance list is out!
Tons of items from the 2021-22 Annual Catalog are retiring and many are deeply discounted from 20-50% off.
 
Remember that these items are while supplies last and may run out. 
Click here to see it all online along with the discounts.

Host codes: 6QFA66WT

 *click here to order 

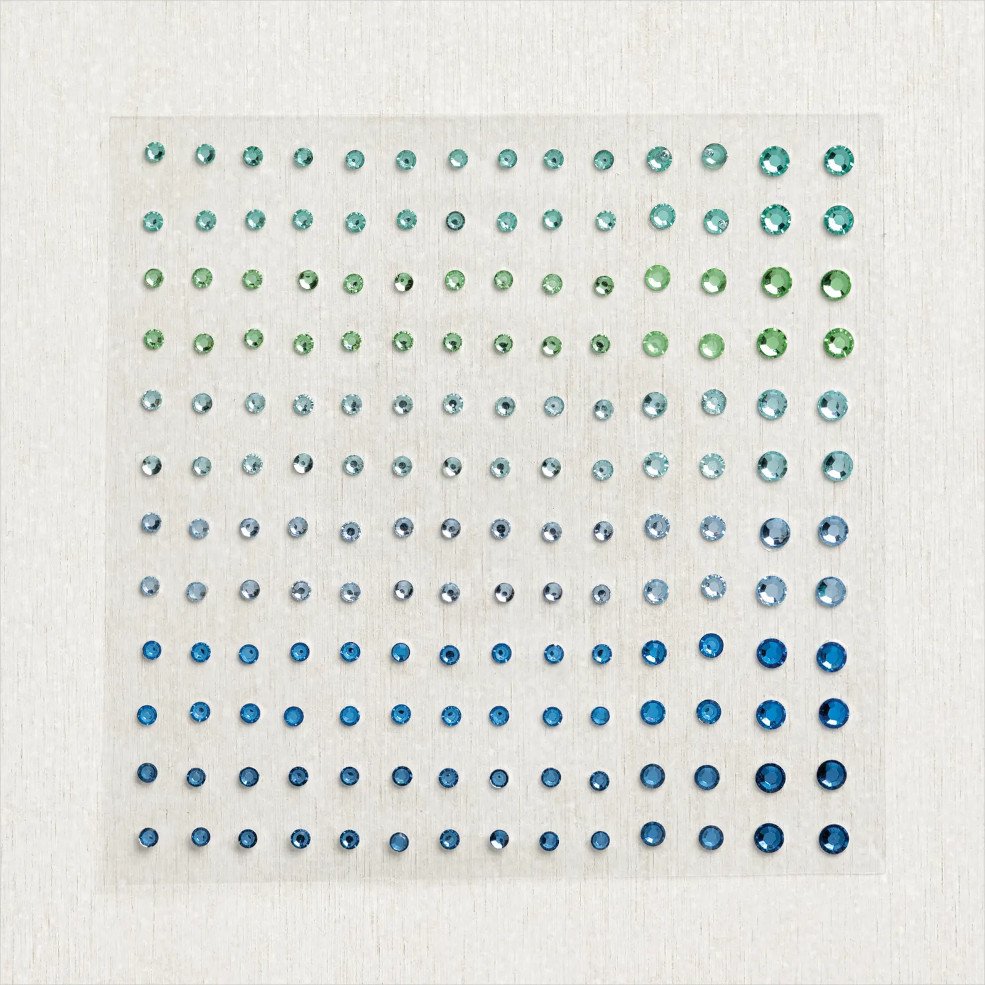
If your order is over $50 you'll receive free Polished Dots or In Color jewels and 3 hand made cards from me.
 

Don't forget about my loyalty rewards! 

Click here to download yours and earn a $50 shopping spree!  
All Posts

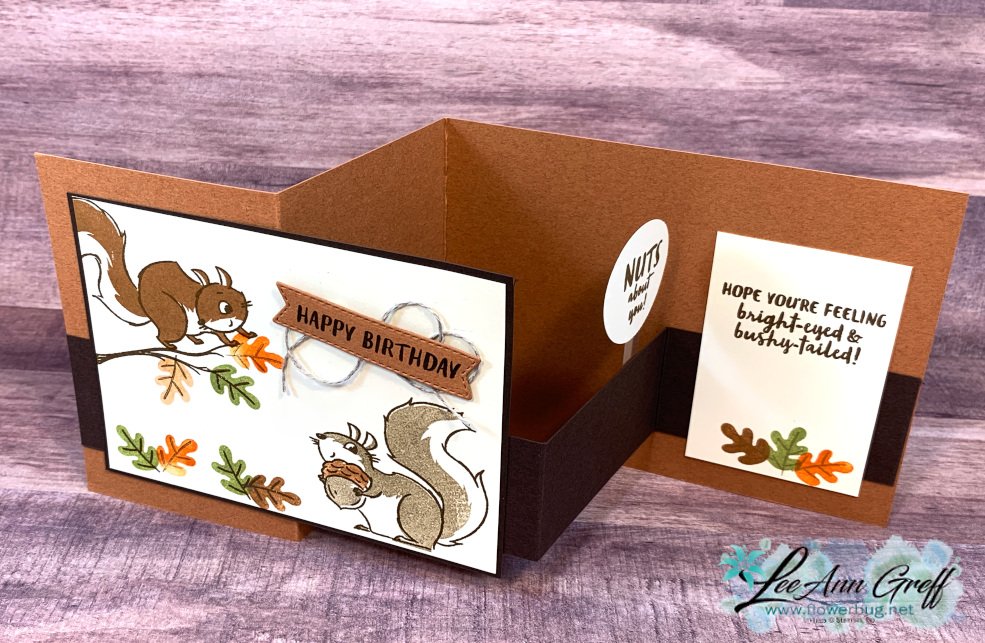
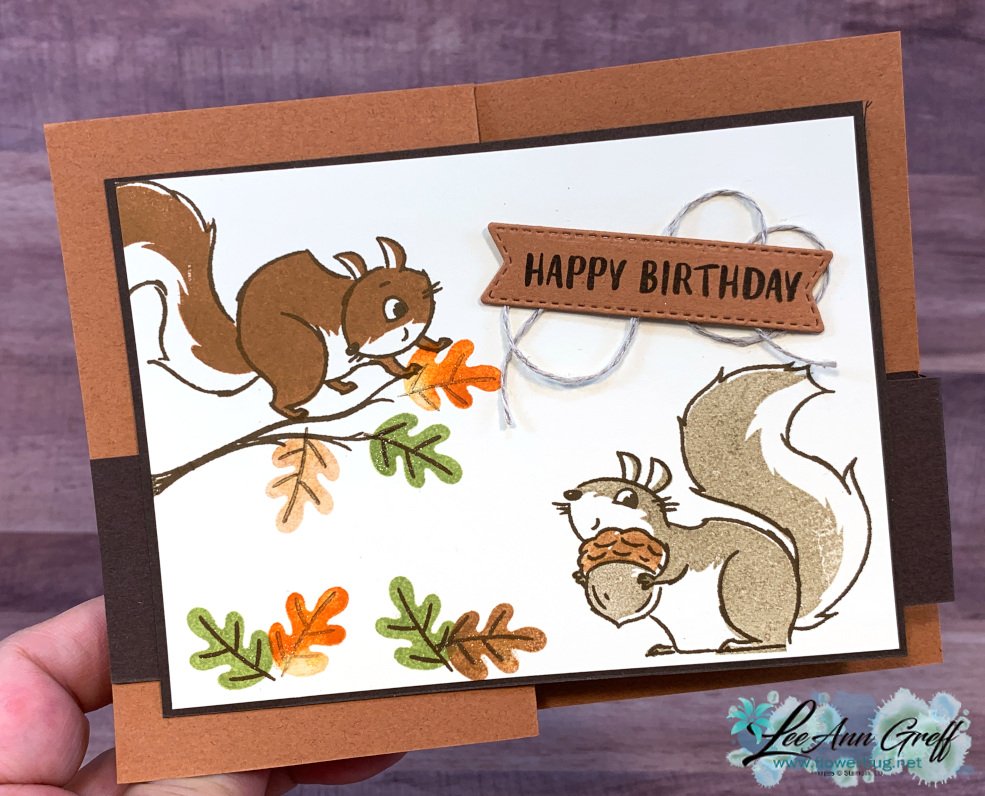
  • Nuts About Squirrels Z-Fold card!


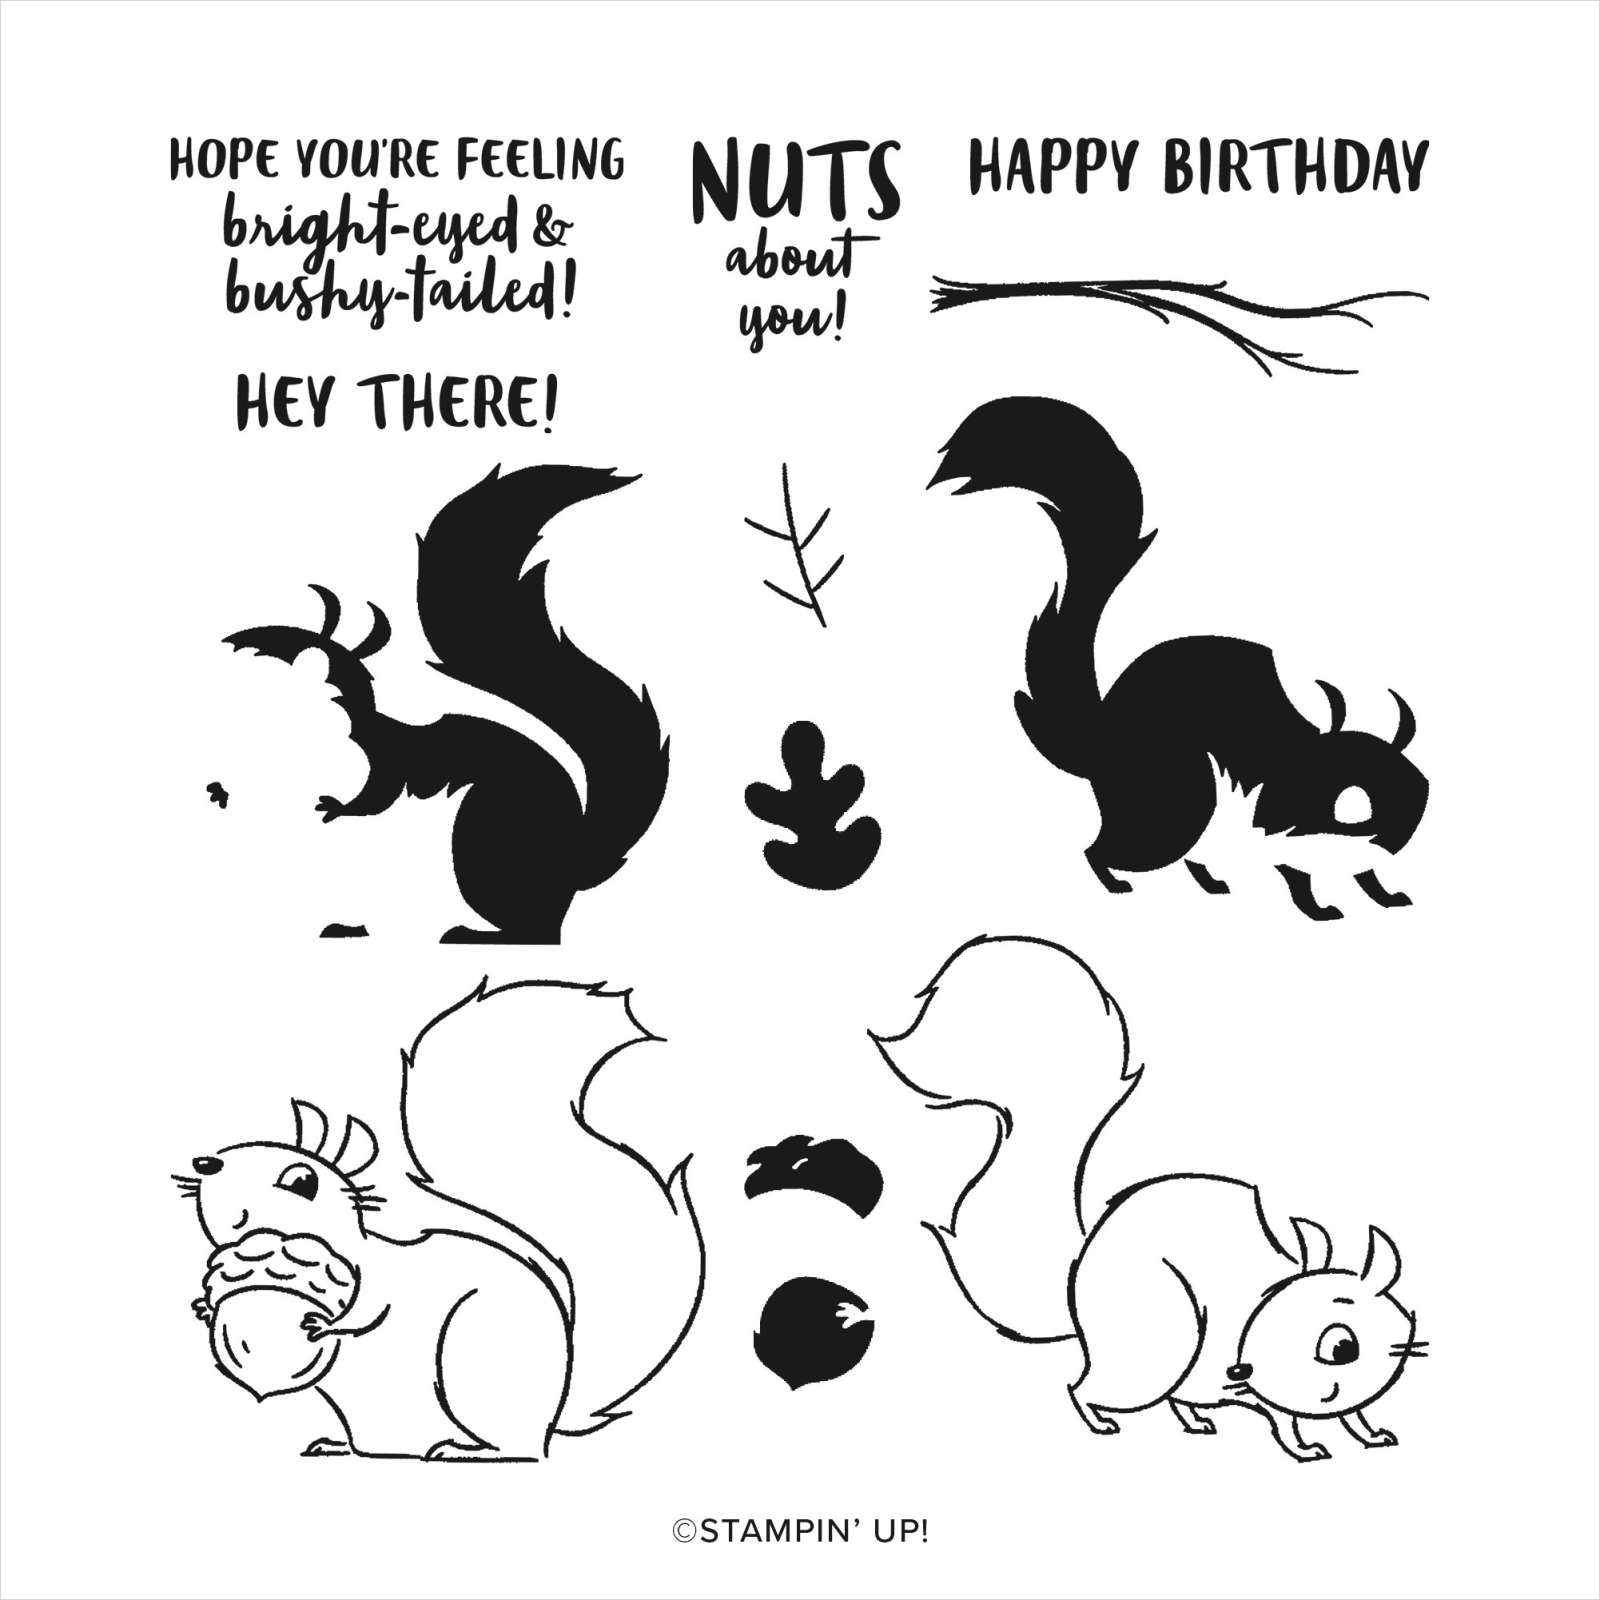
    The Nuts About You stamp set is just plain cute!  It's a 2-step set as you can see.  The squirrels, leaves and even acorn have two images each so there's no need to color!  

    I created this card for our Flowerbug's Team swap in September.  Our theme was Fall or Halloween.  

    Card stock & ink colors are Cinnamon Cider, Early Espresso, Very Vanilla, Crumb Cake, Pumpkin Pie, Pear Pizzazz

    See that little surprise pop-up circle inside?  That's attached with a thin strip of window sheet and adhered to the inside of the Early Espresso strip. 

    Measurements:

    • Cinnamon Cider 4 1/4" X 11" scored at 2 3/4" and 5 1/2" & scrap for die-cut greeting
    • Early Espresso 1 1/2" X 11" scored at 2 3/4" and 5 1/2" & 3 1/2" X 4 7/8"
    • Very Vanilla 3 3/8" X 4 5/8", 2 1/8" X 3" tall for inside plus a small circle

    ~~~

    October Specials

    Host code: G3FX9NGA

    *click here to order

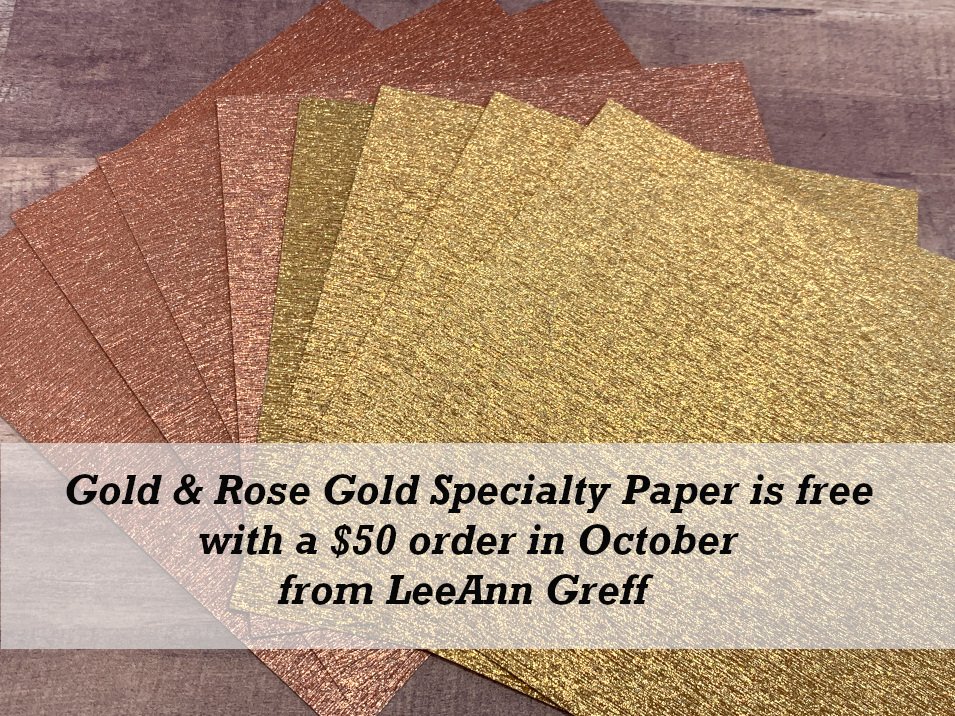
    Get a free package of Gold & Rose Gold Metallic specialty paper from me with a $50 online order in October! 

    All online orders will receive my October PDF tutorial free! 

    This month it features the Gingerbread & Peppermint suite.

    *click here to order

    Get a free package of Gold & Rose Gold Metallic specialty paper from me with a $50 online order in October! 

    All online orders will receive my October PDF tutorial free! 

    This month it features the Gingerbread & Peppermint suite.

    Leave a Reply

    Your email address will not be published. Required fields are marked *

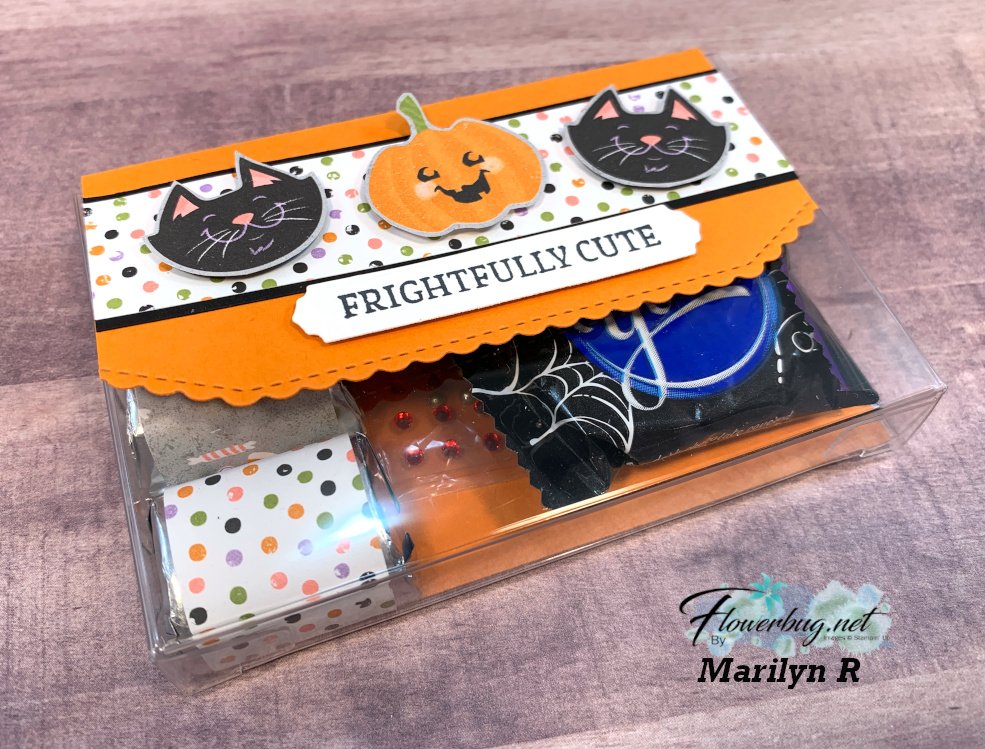
  • Fun Treat box made from our Acetate Card Boxes


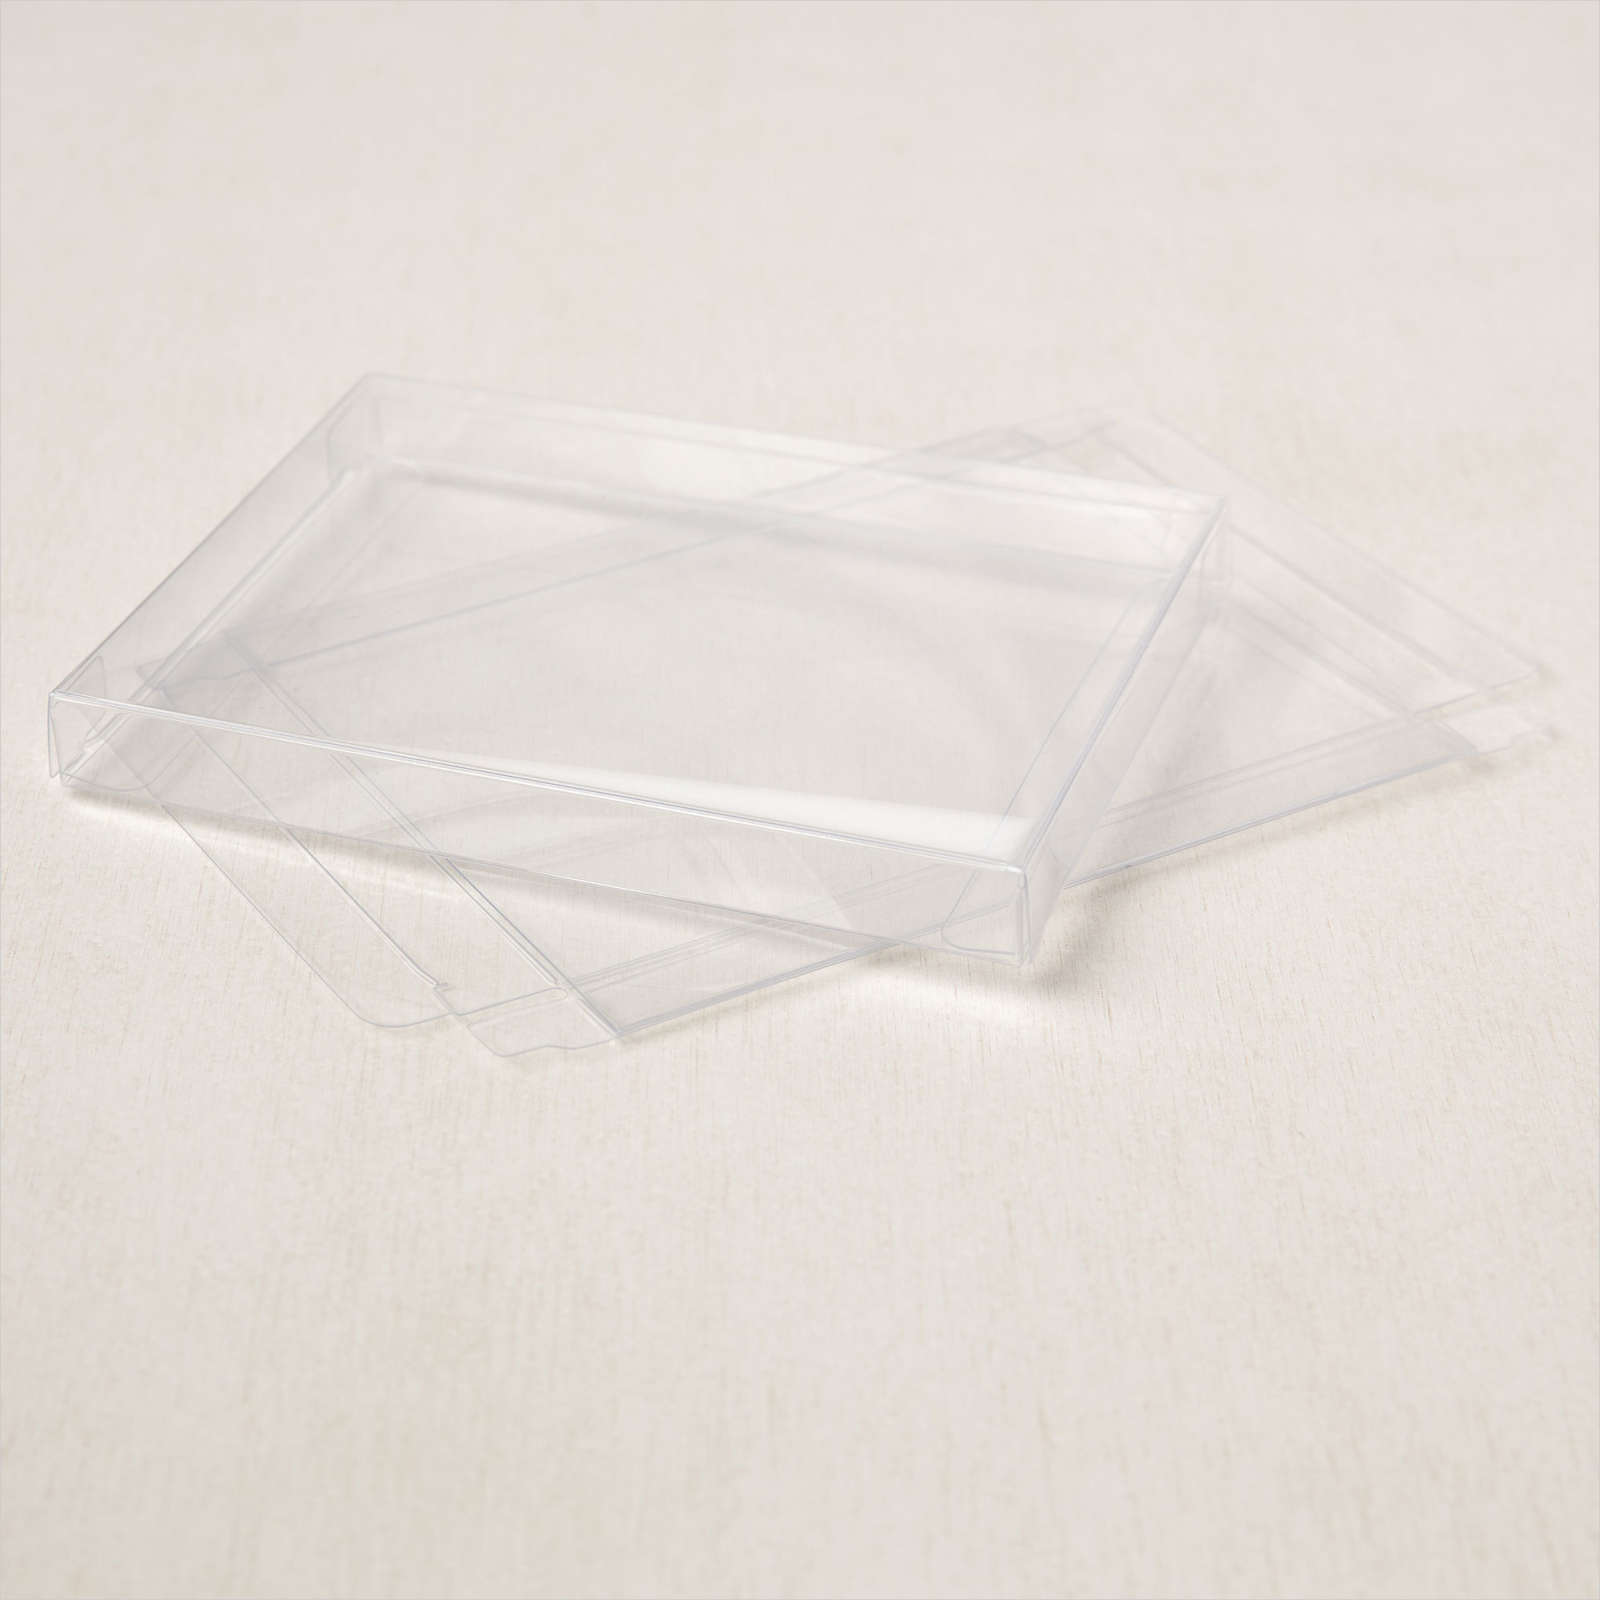
    Did you know we carry the perfect size clear box for gifting a set of A2 cards?  You can see them here or on page 137 of the annual catalog. They fit about 4 cards inside depending on how many layers there are. 

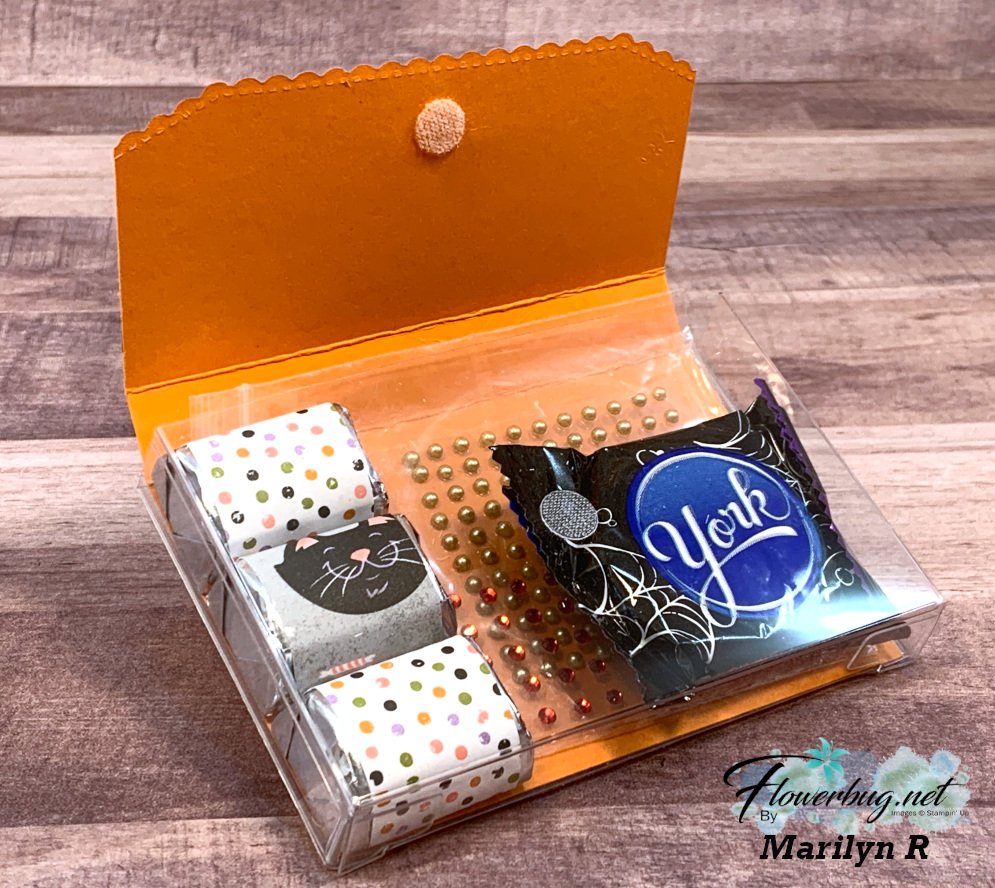
    Well Marilyn cut one box in half and created this adorable treat box for her Card Club friends!  

    It features the Cute Halloween designer paper and Frightfully Cute stamp set. 

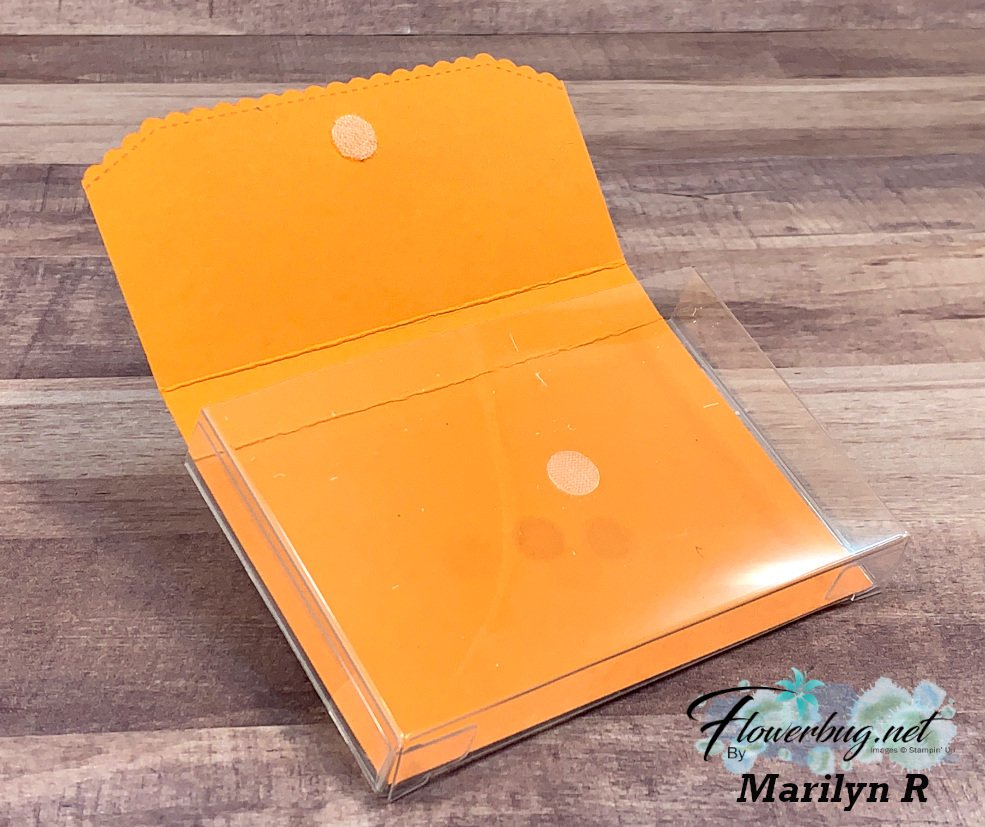
    There's a template for the card stock below.  She used the Basic Border dies (seen here) to cut the bottom edge but you wouldn't have to.  If you don't use the Basic Borders Dies on the edge, you could cut the 5-1/2" down to 5".

    She filled it with lots of treats & embellishments.  It also fits an entire full size Kit Kat bar! 

    She uses a mini velcro dot for closure.  The card stock is actually inserted inside the box and mini glue dots are used to keep it in place.  

    And here's the template for the card stock insert. 

    ~~~

    September Specials

    Host code: WGVUYXTF

    *click here to order

    Get 10 beautiful hand-made cards from me with a $50 online order

    from September 20-30th! 

    All online orders will receive a free PDF tutorial filled with projects featuring

    the Painted Christmas Suite!

    BEST DEAL!

    Get a Free Bundle  from the Holiday Catalog when you choose the Starter kit! 

    Plus pick out $125 in product of your choice for just $99 and shipping is free! 

    You're getting up to $205 in products for just $99!

    Leave a Reply

    Your email address will not be published. Required fields are marked *

  • Get 10 FREE Cards from me in September!


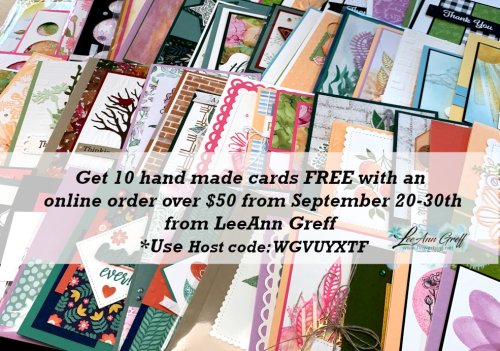
    There are just 10 days left of Sale-a-Bration!  The free products end on September 30th.  I'd like to sweeten the deal a bit and give away 10 free hand made cards with each order over $50 that uses this host code: WGVUYXTF

    And if your order is over $100 I'll add a free embellishment.  But really, if you're ordering that much you should choose the Starter Kit deal and get an extra $100 in free product! *see details below or click here

    These cards include swaps, my FB Live projects and more.  They are multi-layered, fun folds and technique ideas you'll enjoy having for ideas or to use yourself. 

    Go here to place your order and get both free Sale-a-Bration product and free cards from me! 

    ~~~

    September Specials

    Host code: WGVUYXTF

    *click here to order

    Get 10 beautiful hand-made cards from me with a $50 online order

    from September 20-30th! 

    All online orders will receive a free PDF tutorial filled with projects featuring

    the Painted Christmas Suite!

    BEST DEAL!

    Get a Free Bundle  from the Holiday Catalog when you choose the Starter kit! 

    Plus pick out $125 in product of your choice for just $99 and shipping is free! 

    You're getting up to $205 in products for just $99!

    Leave a Reply

    Your email address will not be published. Required fields are marked *


Notice: LeeAnn Greff, Independent Stampin’ Up! Demonstrator, Manager. The content of this website is my sole responsibility as an independent Stampin’ Up! demonstrator and the use of, and content of, the classes, services, or products offered on this website is not endorsed by Stampin’ Up! Copyright 2025