/


Latest Post

How to achieve the Inked Block Technique; you only need 3 things!


I shared the Inked Block technique on Tuesday's Facebook Live video.  It's fun, easy and you need just 3 things!

I chose to feature the Garden Wishes stamp set & a variety of colors. This first one is Highland Heather, Gorgeous Grape & Pacific Point. 

You need a clear block, Stampin' Write markers and a spritzer filled with water.  Below are the measurements for the cards. 
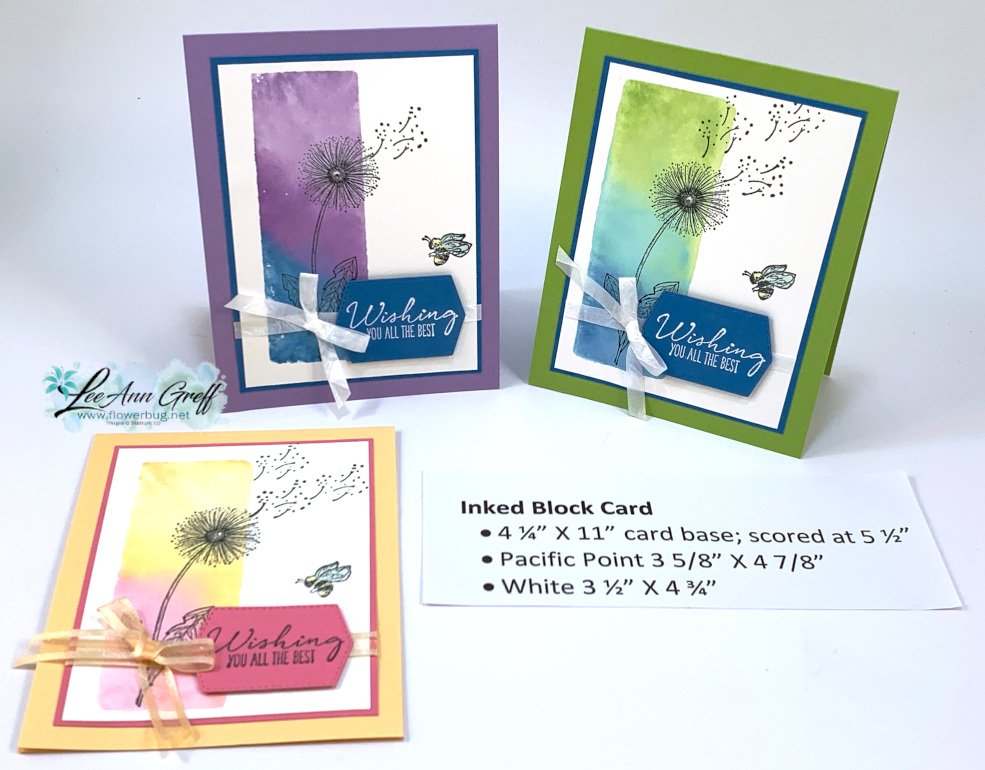
Watch the video here to see how it's done.  It's the first of 3 projects I share.   

Tips for success:

  • Use Stampin' Write 'water based' markers on your block; do not use Blends which are permanent markers.
  • Start with the lightest color first so you don't get a dark color on your marker tip
  • After filling up the block with ink (I colored on the diagonal) spritz it with water until dots form. 
  • The more water you add the better the inks blend.  But don't do too much or the colors blend too much. 
  • Press the block directly on your White card stock and hold for a few second. 
  • Have a tissue or paper towel ready to dab up excess water off the paper. 

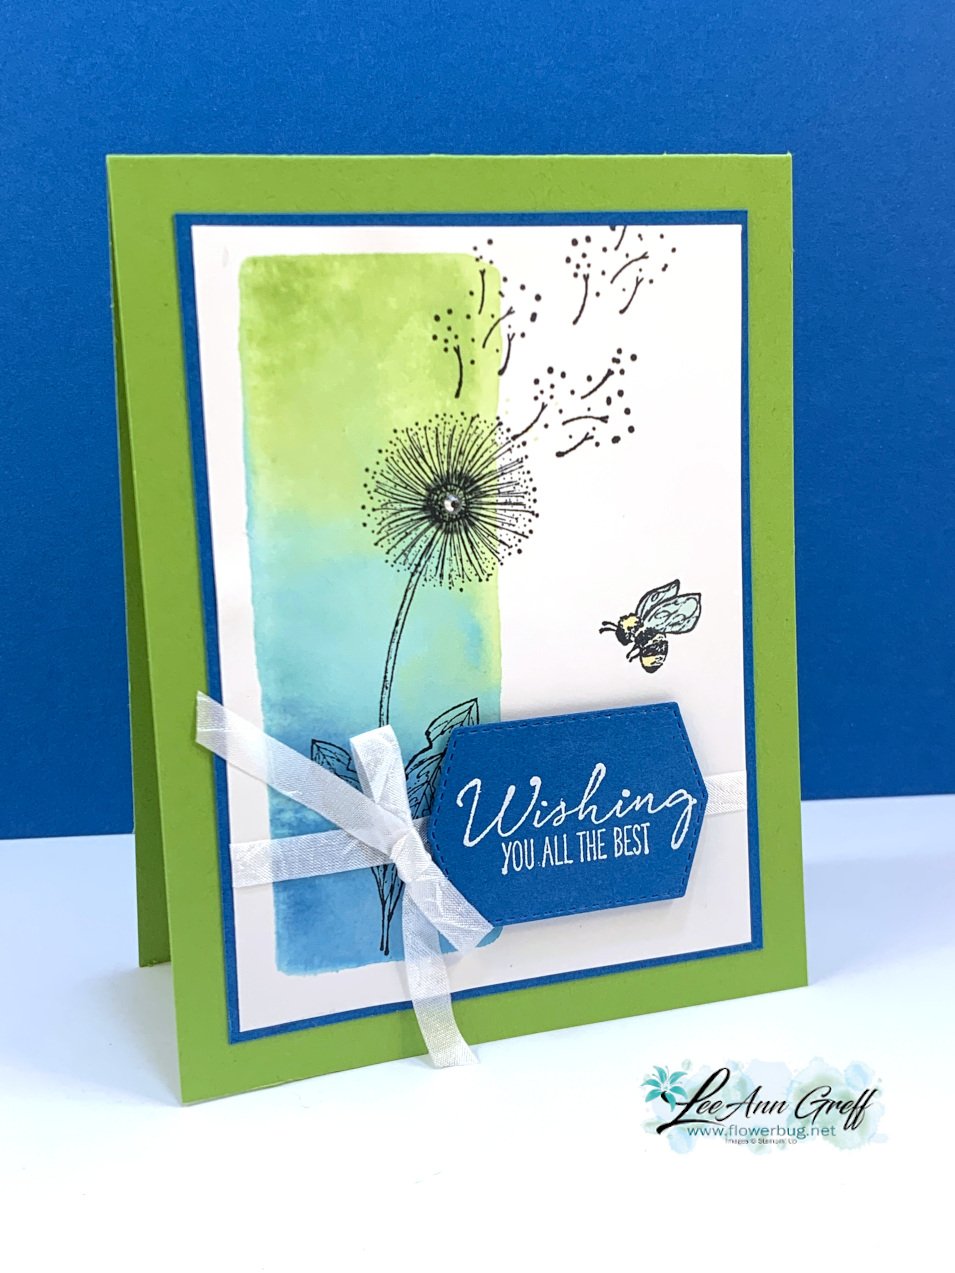
The Stampin' Write markers I used on this next card are Granny Apple Green, Coastal Cabana and Pacific Point.
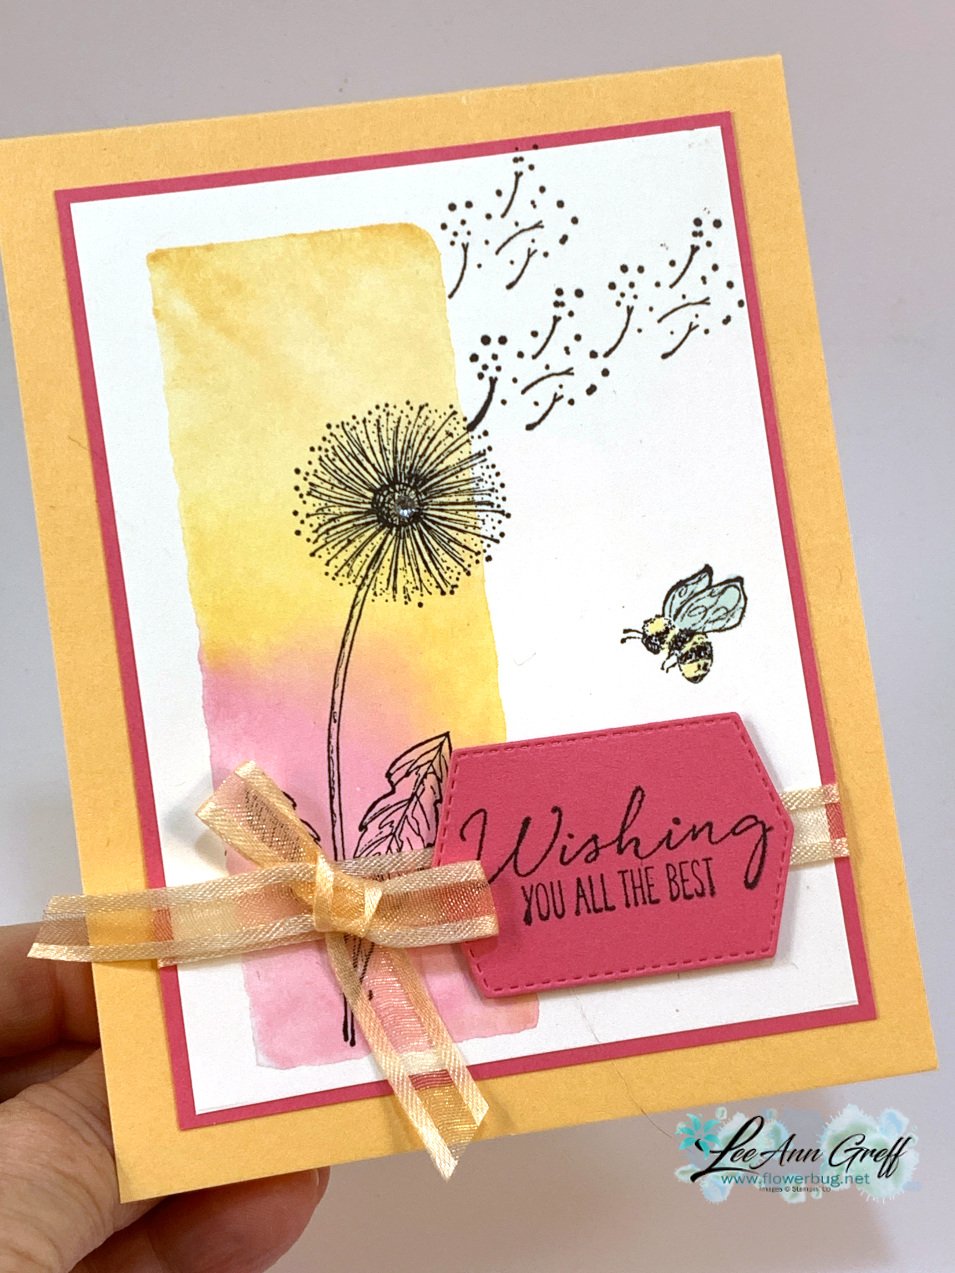
The card below has a softer feel.  The colors are Pale Papaya, Pumpkin Pie & Polished Pink. 
Which one is your favorite?  
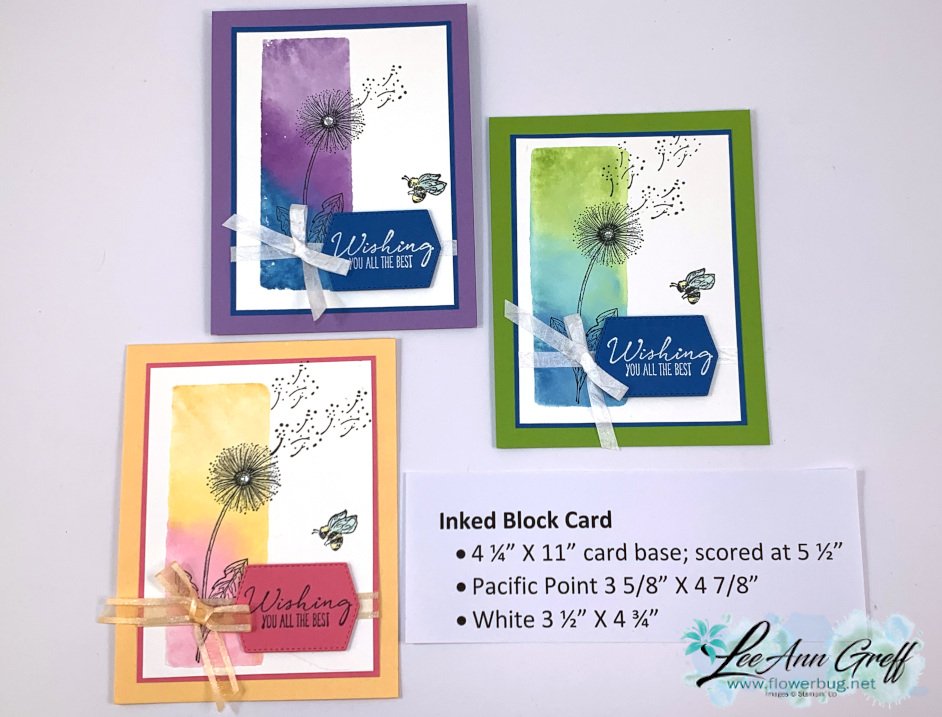
Click on the photo below to watch the video.  

~~~
The Last Chance list is out!
Tons of items from the 2021-22 Annual Catalog are retiring and many are deeply discounted from 20-50% off.
 
Remember that these items are while supplies last and may run out. 
Click here to see it all online along with the discounts.

Host codes: 6QFA66WT

 *click here to order 

If your order is over $50 you'll receive free Polished Dots or In Color jewels and 3 hand made cards from me.
 

Don't forget about my loyalty rewards! 

Click here to download yours and earn a $50 shopping spree!  

All Posts

  • 3 options for my Christmas Card class;, attend, kit to go or tutorial!


    Here's the 2nd of my 3 Christmas card classes I'm offering this year.  I love planning & designing for these classes!   

    *Opt in to attend this class by October 5th. 

    If you want the pre-cut kit to go click here.  Or just the PDF tutorial click here. 

    We'll make 3 of each card at class and of course you'll stamp your envelopes to coordinate as well.   

    Stamp sets: Tidings & Trimmings, Snowflake Wishes, Peaceful Cabin, Perfectly Plaid & Merry Snowflakes 

    Ink: Old Olive, Real Red, Highland Heather, Pacific Point, Smoky Slate, Cherry Cobbler, Evening Evergreen, Garden Green 

    **Click here to see all of my tutorials, kits to go and glue stands. 

    ~~~

    October Specials

    Host code: YYUAWBVA

    *click here to order

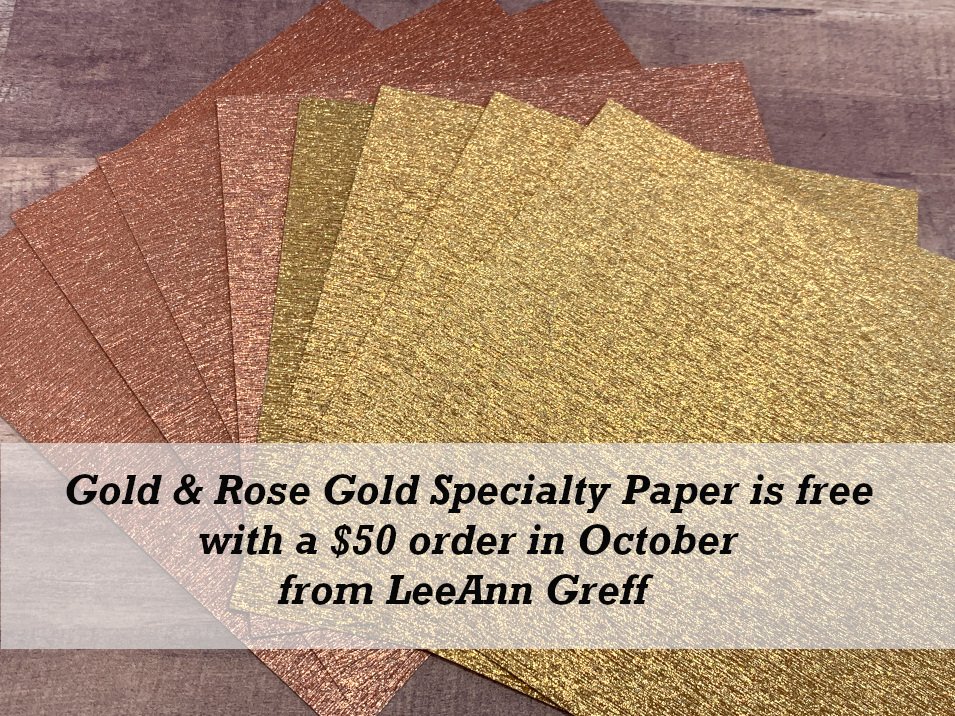
    Get a free package of Gold & Rose Gold Metallic specialty paper from me with a $50 online order in October! 

    All online orders will receive my October PDF tutorial free! 

    This month it features the Gingerbread & Peppermint suite.


    Leave a Reply

    Your email address will not be published. Required fields are marked *

  • Gorgeous Leaves paired with the Timber embossing folder


    Today I get to share two cards made by my talented Team members who used the beautiful Gorgeous Leaves bundle seen here.  I shared a bunch earlier this week as well. Click here to see them. 

    First is a beautiful card made by Marilyn.  Her colors include Crumb Cake, Cajun Craze, Old Olive & Crushed Curry. 

    It's hard to see in this photo but after she stamped the background she ran it through the die-cutting machine with the Timber embossing folder.  

    Her die-cut leaves are darker than the normal hues since she sponged the corresponding color over each one.  Neat effect! 

    Measurements: 

    • Crumb Cake 5 1/2" X 8 1/2"
    • Cajun Craze 3 3/4" X 5" & Stitched So Sweetly die-cut 2 1/2" X 3 5/8"
    • Vanilla 3 1/2" X 4 3/4" & 2 1/8" X 3 1/4" 

    ~~~

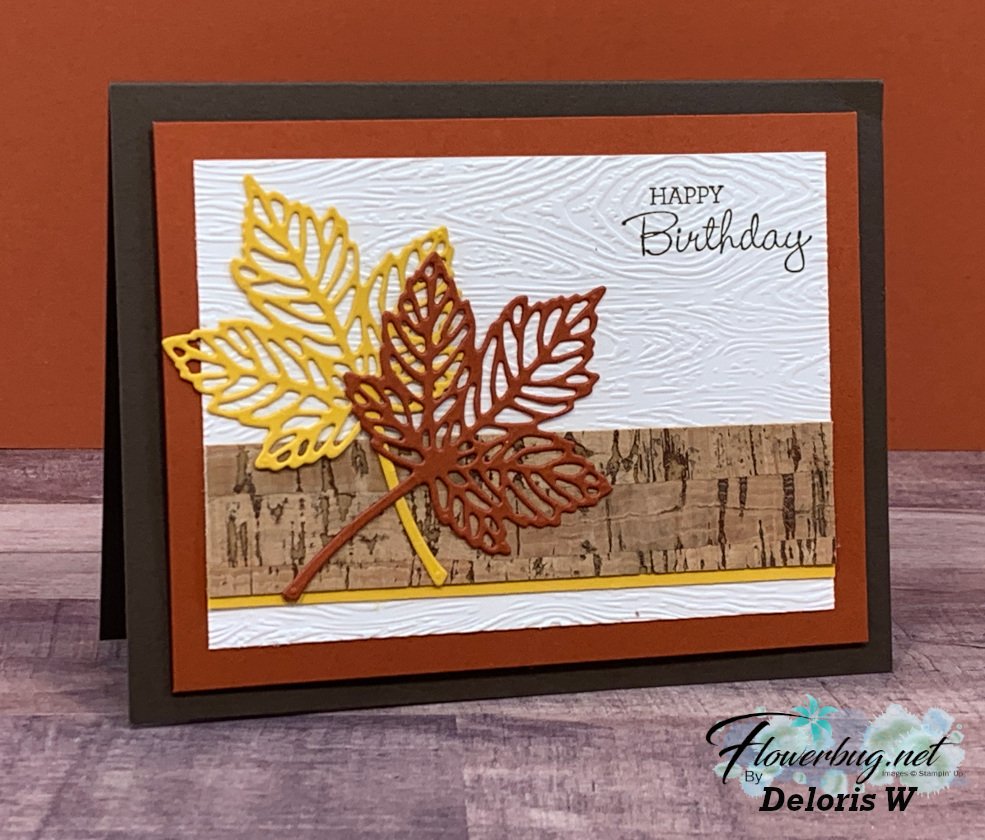
    Next is a lovely card made by Deloris. She also used the Timber embossing folder seen here. 

    She also added a strip of the Cork specialty paper.  This paper can be found in the Holiday catalog on page 55.  It sure adds a neat touch to autumn or men's cards! 

    Her colors include Early Espresso, Cajun Craze & Bumblebee. 

    Measurements:

    • Early Espresso card 5 1/2" x 8 1/2"
    • Cajun Craze 3 3/4" X 5"
    • White 3 1/4" X 4 1/2"
    • Cork 1" X 4 1/2"
    • Bumblebee 1/4" X 4 1/2" strip

    ~~~

    October Specials

    Host code: YYUAWBVA

    *click here to order

    Get a free package of Gold & Rose Gold Metallic specialty paper from me with a $50 online order in October! 

    Leave a Reply

    Your email address will not be published. Required fields are marked *

  • Look at all of these fabulous card ideas! Last chance for free items


    Today's the last day of Sale-a-Bration!  Do you have everything you want?  

    Shop here to stock up on essentials or get those items you've been wanting and choose something FREE! 

    Or choose the best deal and get up to $205 in product for just $99.  If you're one of those people who likes to save money this is the best option! Click here to read more about this.  You will not regret it!!

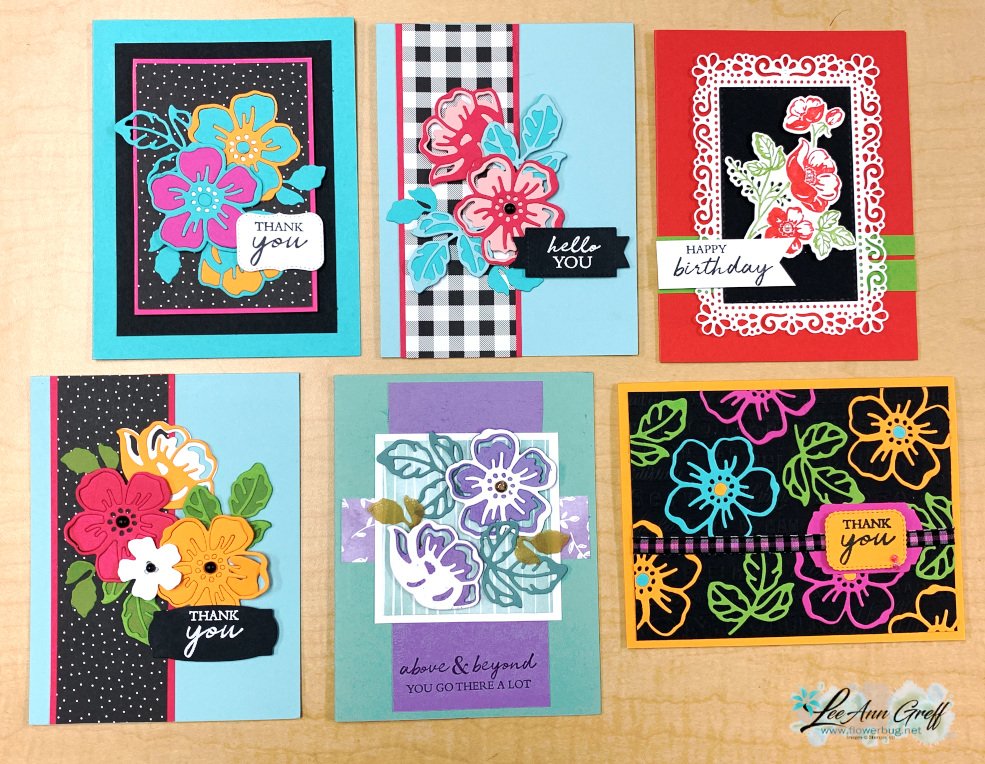
    I'm sharing some group photos of some of my favorite Sale-a-bration projects today. Many are made by me and others are swaps from my Demonstrator friends or team members. 

    Maybe you already own some of these Sale-a-Bration items.  I hope you're inspired by these projects.  Or maybe these will give you a little nudge to add one or more to your order….?  

    First are cards made with the Delicate Dahlia stamp set.  This was an easy favorite of mine.  The 2-step DistINKtive images are gorgeous!  

    See it here online.  

    Next is the Feels Like Home stamp set.  Line art images that you can color in or stamp in one color.  

    See the Feels Like Home stamp set here.  

    Next is the Summer Shadow dies.  These dies can stand alone (as you can see!) or pair with the Shaded Summer stamp set seen here in the Annual Catalog. 

    See those here:

    Here are the Textures & Frames cards I made on a recent FB Live. See that video here. 

    I LOVE this unique set!  It is way more fun and easy to use than I thought it would be. As you can see I had trouble stopping!  See it here. 

    Lastly is the Peaceful Prints designer series paper seen here.  

    I love this paper so much!  Classic prints in Black, Red, White, Sahara Sand & Garden Green.  In fact I like it so much I created one of my October kits to go around it!  I'll share that next week.  

    Well I hope you enjoyed seeing some of my favorite Sale-a-Bration projects today.  It's always sad when this amazing promotion ends.  I hope you were able to get the items you wanted!  See all of the free options here.   

    **Use the host code below and if your order is over $50 you'll get a nice stack of 10 cards from me!  Orders over $100 get the 10 cards AND a new embellishment as well! 

    ~~~

    September Specials

    Host code: WGVUYXTF

    *click here to order

    Get 10 beautiful hand-made cards from me with a $50 online order

    from September 20-30th! 

    All online orders will receive a free PDF tutorial filled with projects featuring

    the Painted Christmas Suite!

    BEST DEAL!

    Get a Free Bundle  from the Holiday Catalog when you choose the Starter kit! 

    Plus pick out $125 in product of your choice for just $99 and shipping is free! 

    You're getting up to $205 in products for just $99!

    Leave a Reply

    Your email address will not be published. Required fields are marked *


Notice: LeeAnn Greff, Independent Stampin’ Up! Demonstrator, Manager. The content of this website is my sole responsibility as an independent Stampin’ Up! demonstrator and the use of, and content of, the classes, services, or products offered on this website is not endorsed by Stampin’ Up! Copyright 2025