/


Latest Post

How to achieve the Inked Block Technique; you only need 3 things!


I shared the Inked Block technique on Tuesday's Facebook Live video.  It's fun, easy and you need just 3 things!

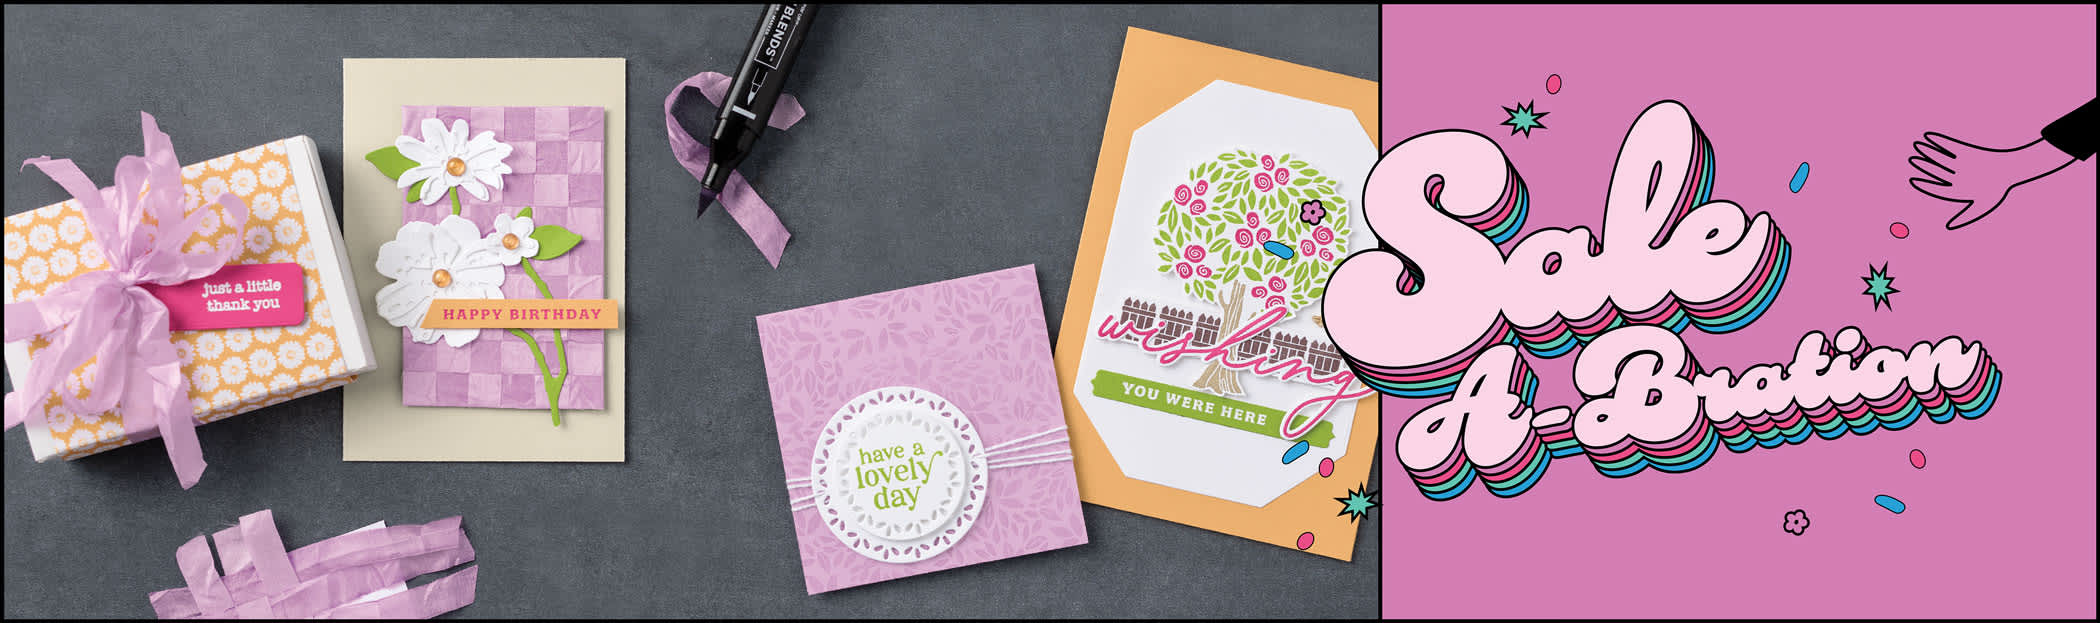
I chose to feature the Garden Wishes stamp set & a variety of colors. This first one is Highland Heather, Gorgeous Grape & Pacific Point. 

You need a clear block, Stampin' Write markers and a spritzer filled with water.  Below are the measurements for the cards. 

Watch the video here to see how it's done.  It's the first of 3 projects I share.   

Tips for success:

  • Use Stampin' Write 'water based' markers on your block; do not use Blends which are permanent markers.
  • Start with the lightest color first so you don't get a dark color on your marker tip
  • After filling up the block with ink (I colored on the diagonal) spritz it with water until dots form. 
  • The more water you add the better the inks blend.  But don't do too much or the colors blend too much. 
  • Press the block directly on your White card stock and hold for a few second. 
  • Have a tissue or paper towel ready to dab up excess water off the paper. 

The Stampin' Write markers I used on this next card are Granny Apple Green, Coastal Cabana and Pacific Point.

The card below has a softer feel.  The colors are Pale Papaya, Pumpkin Pie & Polished Pink. 

Which one is your favorite?  

Click on the photo below to watch the video.  

~~~

The Last Chance list is out!
Tons of items from the 2021-22 Annual Catalog are retiring and many are deeply discounted from 20-50% off.
 
Remember that these items are while supplies last and may run out. 
Click here to see it all online along with the discounts.

Host codes: 6QFA66WT

 *click here to order 

If your order is over $50 you'll receive free Polished Dots or In Color jewels and 3 hand made cards from me.


Don't forget about my loyalty rewards! 

Click here to download yours and earn a $50 shopping spree!  

All Posts

  • Corners in Bloom fun fold card


    I made this card for our monthly team swap using the Corners in Bloom stamp set. 

    I colored the flowers in with Blends markers in Melon Mambo, Peach Pie & Granny Apple Green. The pretty greeting and die-cut are from the Mixed Labels bundle seen here. 

    I added the new Bloom Impressions designer paper on the left side; a free choice with a $60 order during Sale-a-Bration.

    This pretty Corners in Bloom stamp set is also free during SAB (Sale-a-Bration) – with any $120 order.  There are lots of choices you can earn free through February 28th. 

    We haven't had many corner shaped stamps for a long time and now we have two!  I love the many options you have with these line art stamps. 

    My colors include Peach Pie with Melon Mambo & Black. This fun fold is called a 'Joy' fold where the two flaps overlap each other. It was perfect for this stamped frame.

    If you'd like the measurements for this card here's a free project sheet. Click on this link to download or print it. Download Corners in Bloom fun fold

    ~~~

    January Specials:

    *current host code link:  

     6ZYNKJ6E

    Get this free tutorial with any online order in January!

     Sale-a-Bration is Live! For every $60 (or $120) you spend you can choose a free item from the SAB catalog!  

    Get a free card kit with any online order over $55 in January!


    Opt in for my Spring catalog Designer Paper share and/or the Spring catalog embellishment share seen below. 

    See the details here. 

    Contact me here

    Leave a Reply

    Your email address will not be published. Required fields are marked *

  • Beautiful Butterflies with Mixed Florals swap card; free project sheet


    Here's one more pretty card I made for an online swap in December.  I just love the colors!  

    I used Petal Pink, Mossy Meadow & Poppy Parade; all taken from the Mixed Florals designer paper seen here.  It's from our newest Online Exclusives release. See all of the newest items here. 

    There's just something about this layout that I love.  It might be the balance of the vertical & horizontal layers along with the circle.  It just feels right. 

    The greeting and butterfly die-cut are from the new Beautiful Butterflies bundle seen here.  

    There's so many neat things about this new bundle – the wonderful greetings, the pretty Hybrid embossing folder that matches the butterfly die and the fact that there's a large butterfly die that creates a butterfly folded card front like the one below!


    If you'd like to save this free project sheet click on the following link to print or download it: Download Beautiful Butterflies swap card


    Click here or below to watch the video for this card and two more!

    ~~~

    January Specials:

    *current host code link:  

     6ZYNKJ6E

    Get this free tutorial with any online order in January!

     Sale-a-Bration is Live! For every $60 (or $120) you spend you can choose a free item from the SAB catalog!  

    Get a free card kit with any online order over $55 in January!


    Opt in for my Spring catalog Designer Paper share and/or the Spring catalog embellishment share seen below. 

    See the details here. 

    Contact me here

    Leave a Reply

    Your email address will not be published. Required fields are marked *

  • Storybook Moments fun fold card with video & free project sheet


    I shared this easy fun fold card on last week's video. I made it for an online swap in December.  

    It features the Storybook Moments designer series paper from our new 2025 Spring catalog. It reminds many people of Beatrix Potter. You can see this unique paper here.   It has two sheets of printed die-cuts in each pack that make it easy to add coordinating layers. 

    I love this fun fold because it uses your card stock so effectively.  It starts with a card base at 11" X 4 1/4".  Simply trim off 3 1/4" square from one end and use it as the extra layer on the front flap.  The DSP in the center is 3" square and the side is 2" X 4". Super simple and a great use of your double sided designer paper.


    If you'd like to print out the free project sheet or download it for card layout ideas click on the following link: Download Storybook Memories fun fold


    Click here or below to watch the video for this card and two more!

    ~~~

    January Specials:

    *current host code link:  

    P243X6VH or 6ZYNKJ6E

    Get this free tutorial with any online order in January!

     Sale-a-Bration is Live! For every $60 (or $120) you spend you can choose a free item from the SAB catalog!  

    Get a free card kit with any online order over $55 in January!


    Opt in for my Spring catalog Designer Paper share and/or the Spring catalog embellishment share seen below. 

    See the details here. 

    Contact me here

    Leave a Reply

    Your email address will not be published. Required fields are marked *


Notice: LeeAnn Greff, Independent Stampin’ Up! Demonstrator, Manager. The content of this website is my sole responsibility as an independent Stampin’ Up! demonstrator and the use of, and content of, the classes, services, or products offered on this website is not endorsed by Stampin’ Up! Copyright 2025