/


Latest Post

What is a ‘Live Edge’ card? Check it out and the video tutorial too


You may have heard of 'Live Edge' tables; but have you ever heard of a 'live edge' card?  Well that's what I'm calling this technique! 
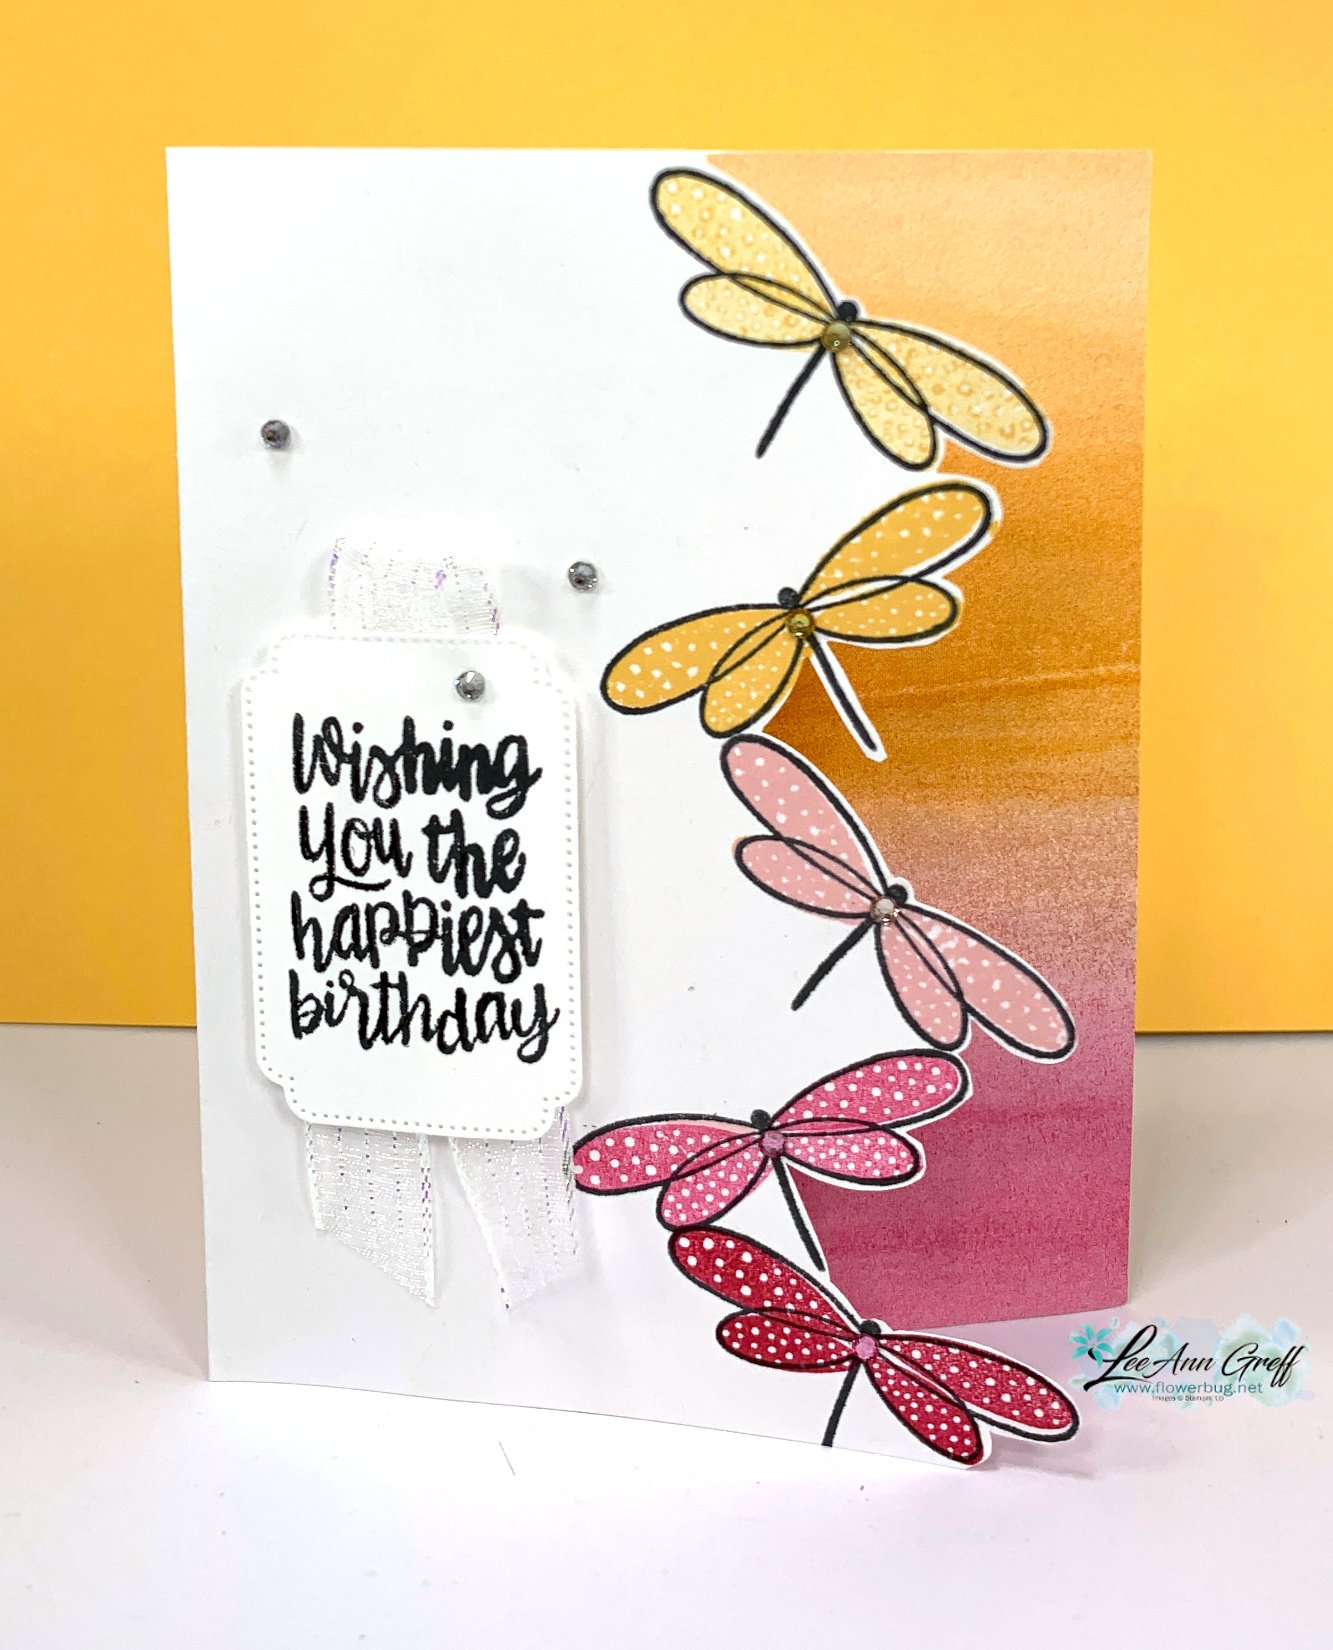
I stamped the sweet dragonfly repeatedly along the right edge of my White card base.  I twisted the image each time and made sure they were touching or very close to each other. After stamping I fussy cut the edge off from the dragonflies. I think it took less than a minute to trim. I think it's well worth the effort!  

The Happiest Day stamp set is adorable; I love the whimsical dragonflies and the bold greetings. Having two separate images for the wings means you can change up the colors for 2-toned results.  See the set here.

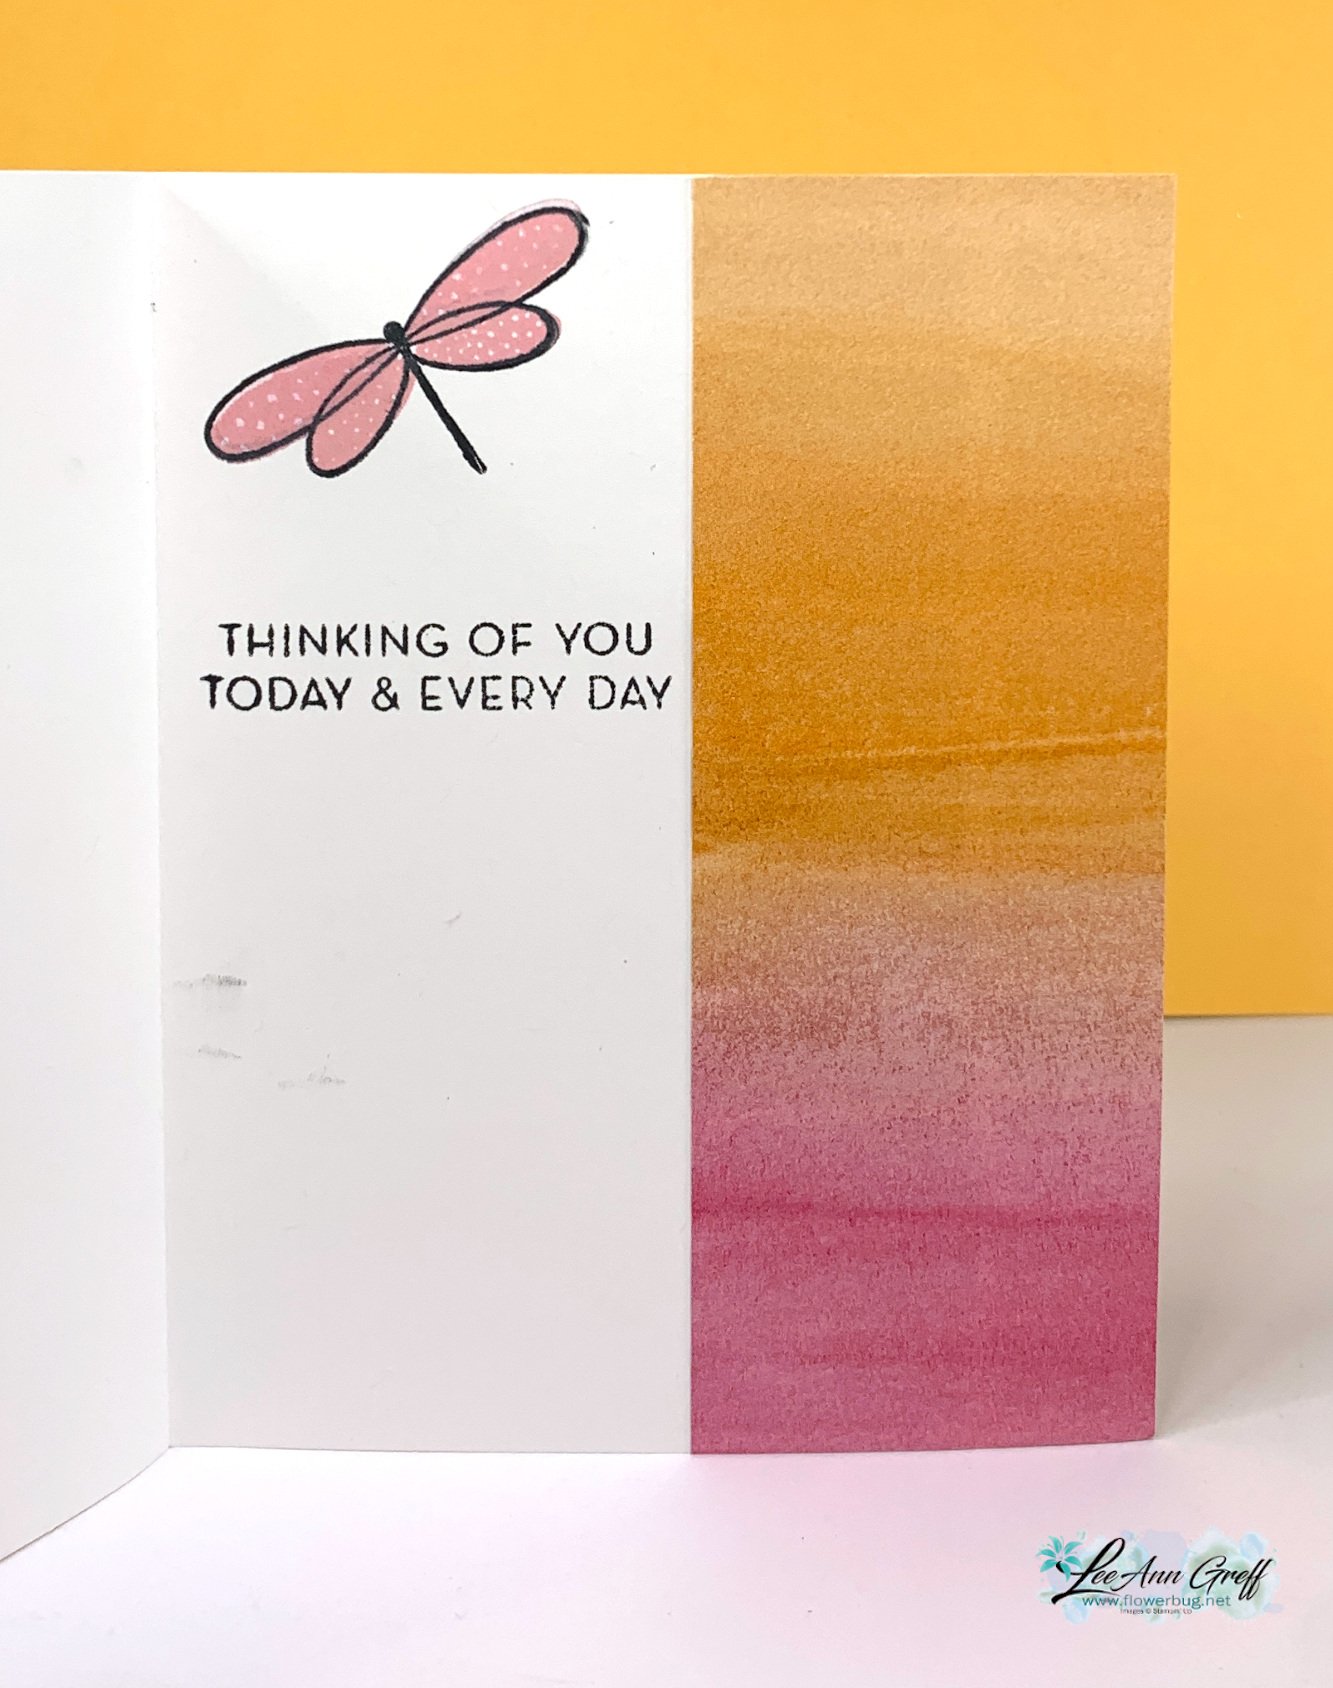
Here's how I stamped the inside: 
Products used:

  • Happiest Day stamp set
  • Inks – Peach Pie, Pretty in Pink, Melon Mambo, Memento Black
  • Other – Something Fancy dies, Paper Snips, Iridescent striped ribbon, Full of Life DSP

I love the way the colors fade from top to bottom mimicking the Full of Life Designer Series Paper.  I achieved this with just 3 colors of ink, but stamping off for a few of them. 

Do you ever stamp off to get a lighter hue of ink? Sometimes it's the perfect shade! 
Here's the free project sheet; click on the following link to download it or print it off.  Download Happiest Day Live Edge card

Check out the video below; I share one more unique card with an easy addition of glimmer strips and a few other ideas as well.  

~~~

October Specials:

*current host code link: 3U6NZJFZ

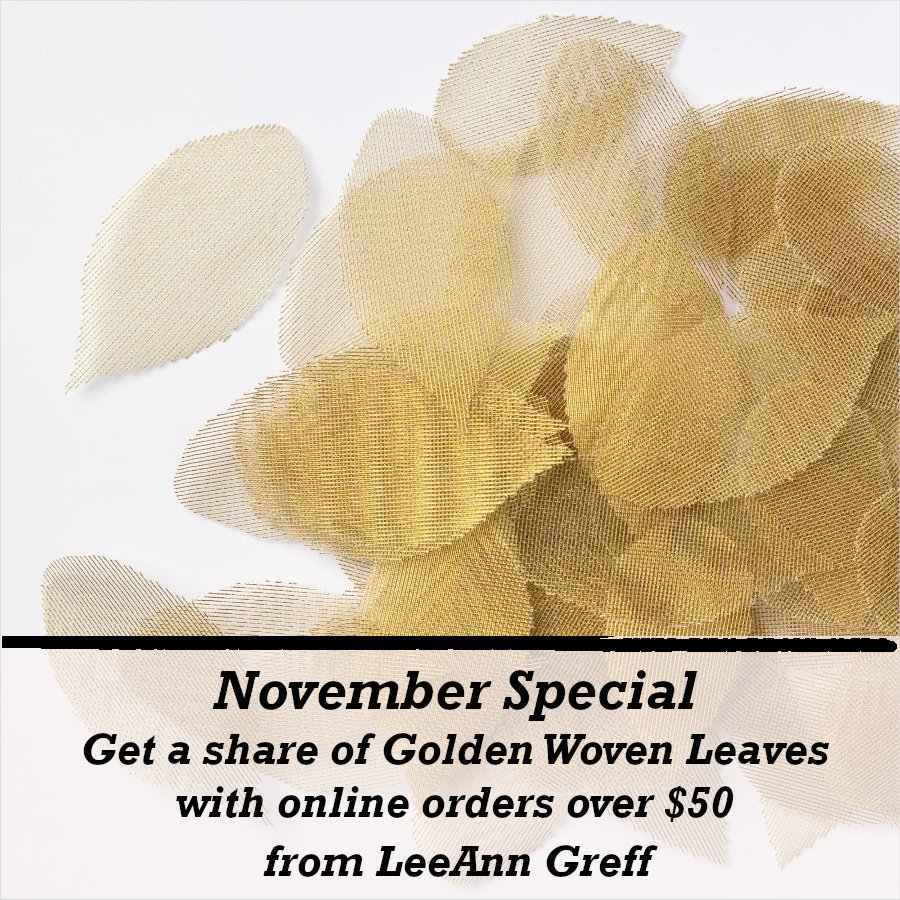
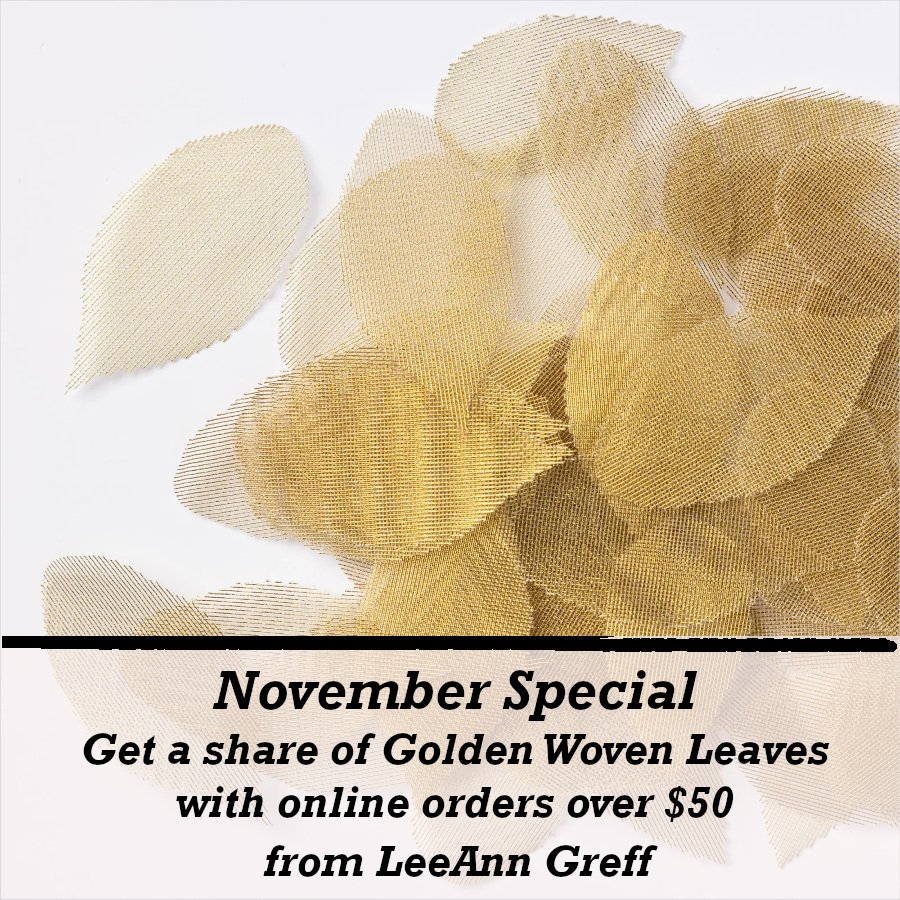
Get a share of Woven Golden Leaves  


~~~

Get an extra $30 in your Starter kit in October!  Click here to read more

~~~

The Kits Collection is on sale!  Check it out here.

~~~

       All online orders in October will receive a free PDF tutorial featuring the Season of Elegance suite

All Posts

  • Noel Tidings fun fold Christmas card with video & free project sheet


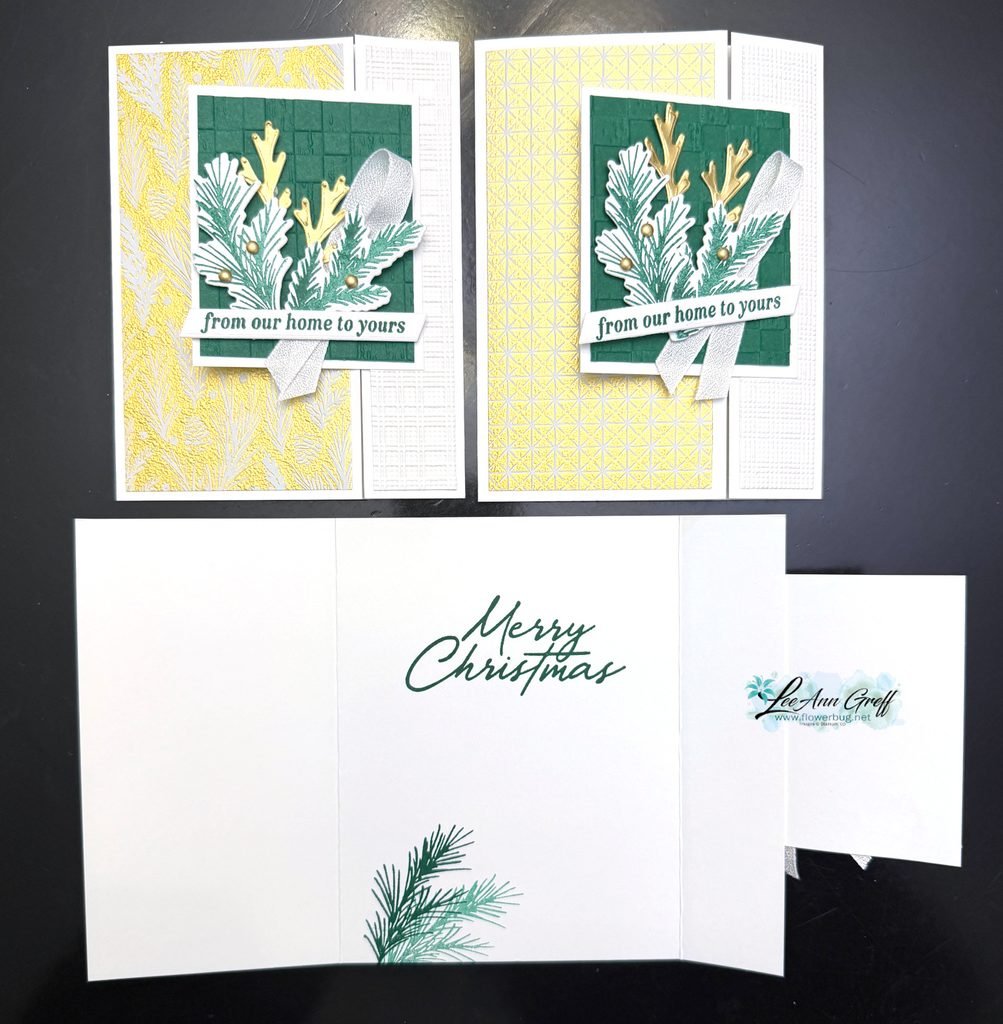
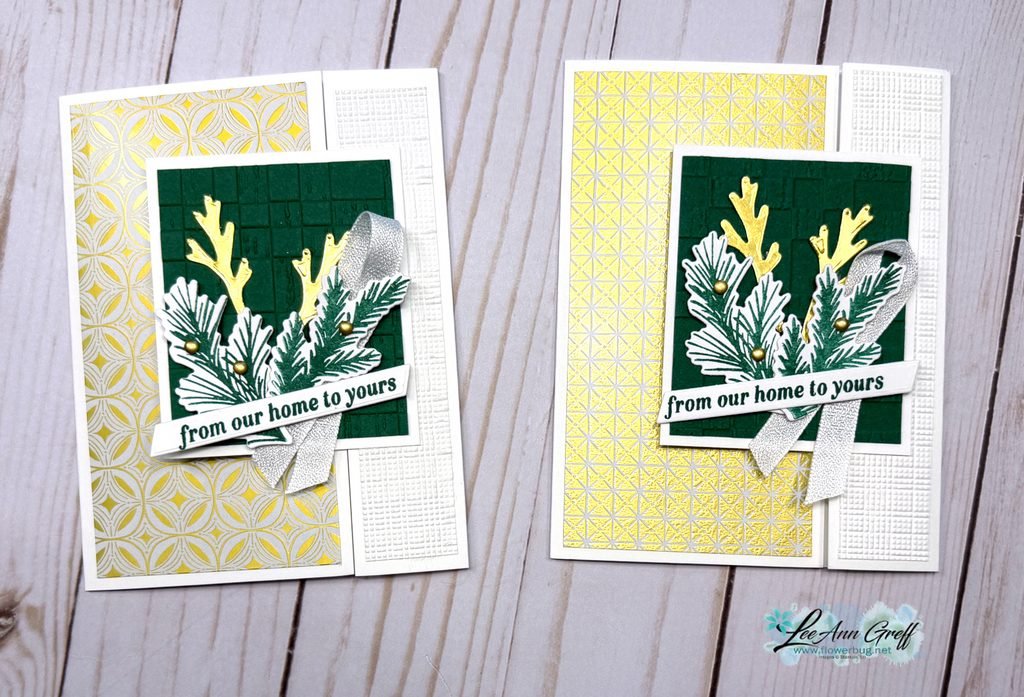
    Here’s the card I shared on last week’s video; it’s one I made for a long distance card swap I joined.

    It features the Neutral Noel suite seen here. I used the Noel Tidings bundle along with the Neutral Noel specialty designer paper seen here. My colors include Shaded Spruce, White and Gold.

    Notice the textures on the Shaded Spruce and White layers. These are new embossing folders from the 2026 Holiday catalog; however both are unavailable right now. They’re out of stock but returning later this month.

    *Remember that when you want to know when something is back in stock you can opt in to be notified; this is right on the product item page online. See the Rustic Check folder here and the Softly Woven folder here.

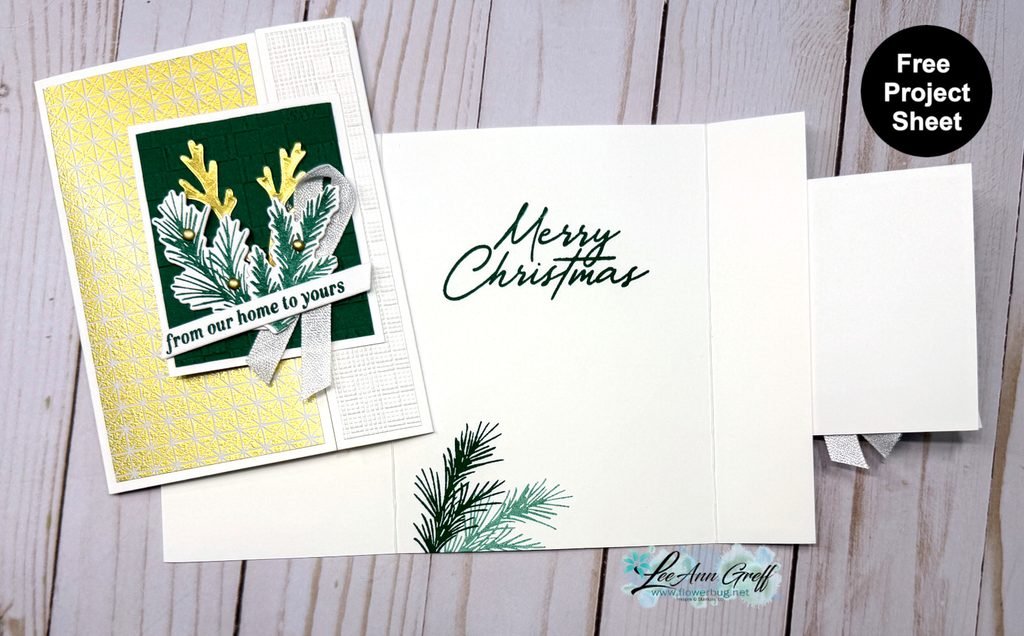
    This card opens in a unique way; the center panel is attached to the right side instead of the usual left side. It’s fun to switch things up now & then.

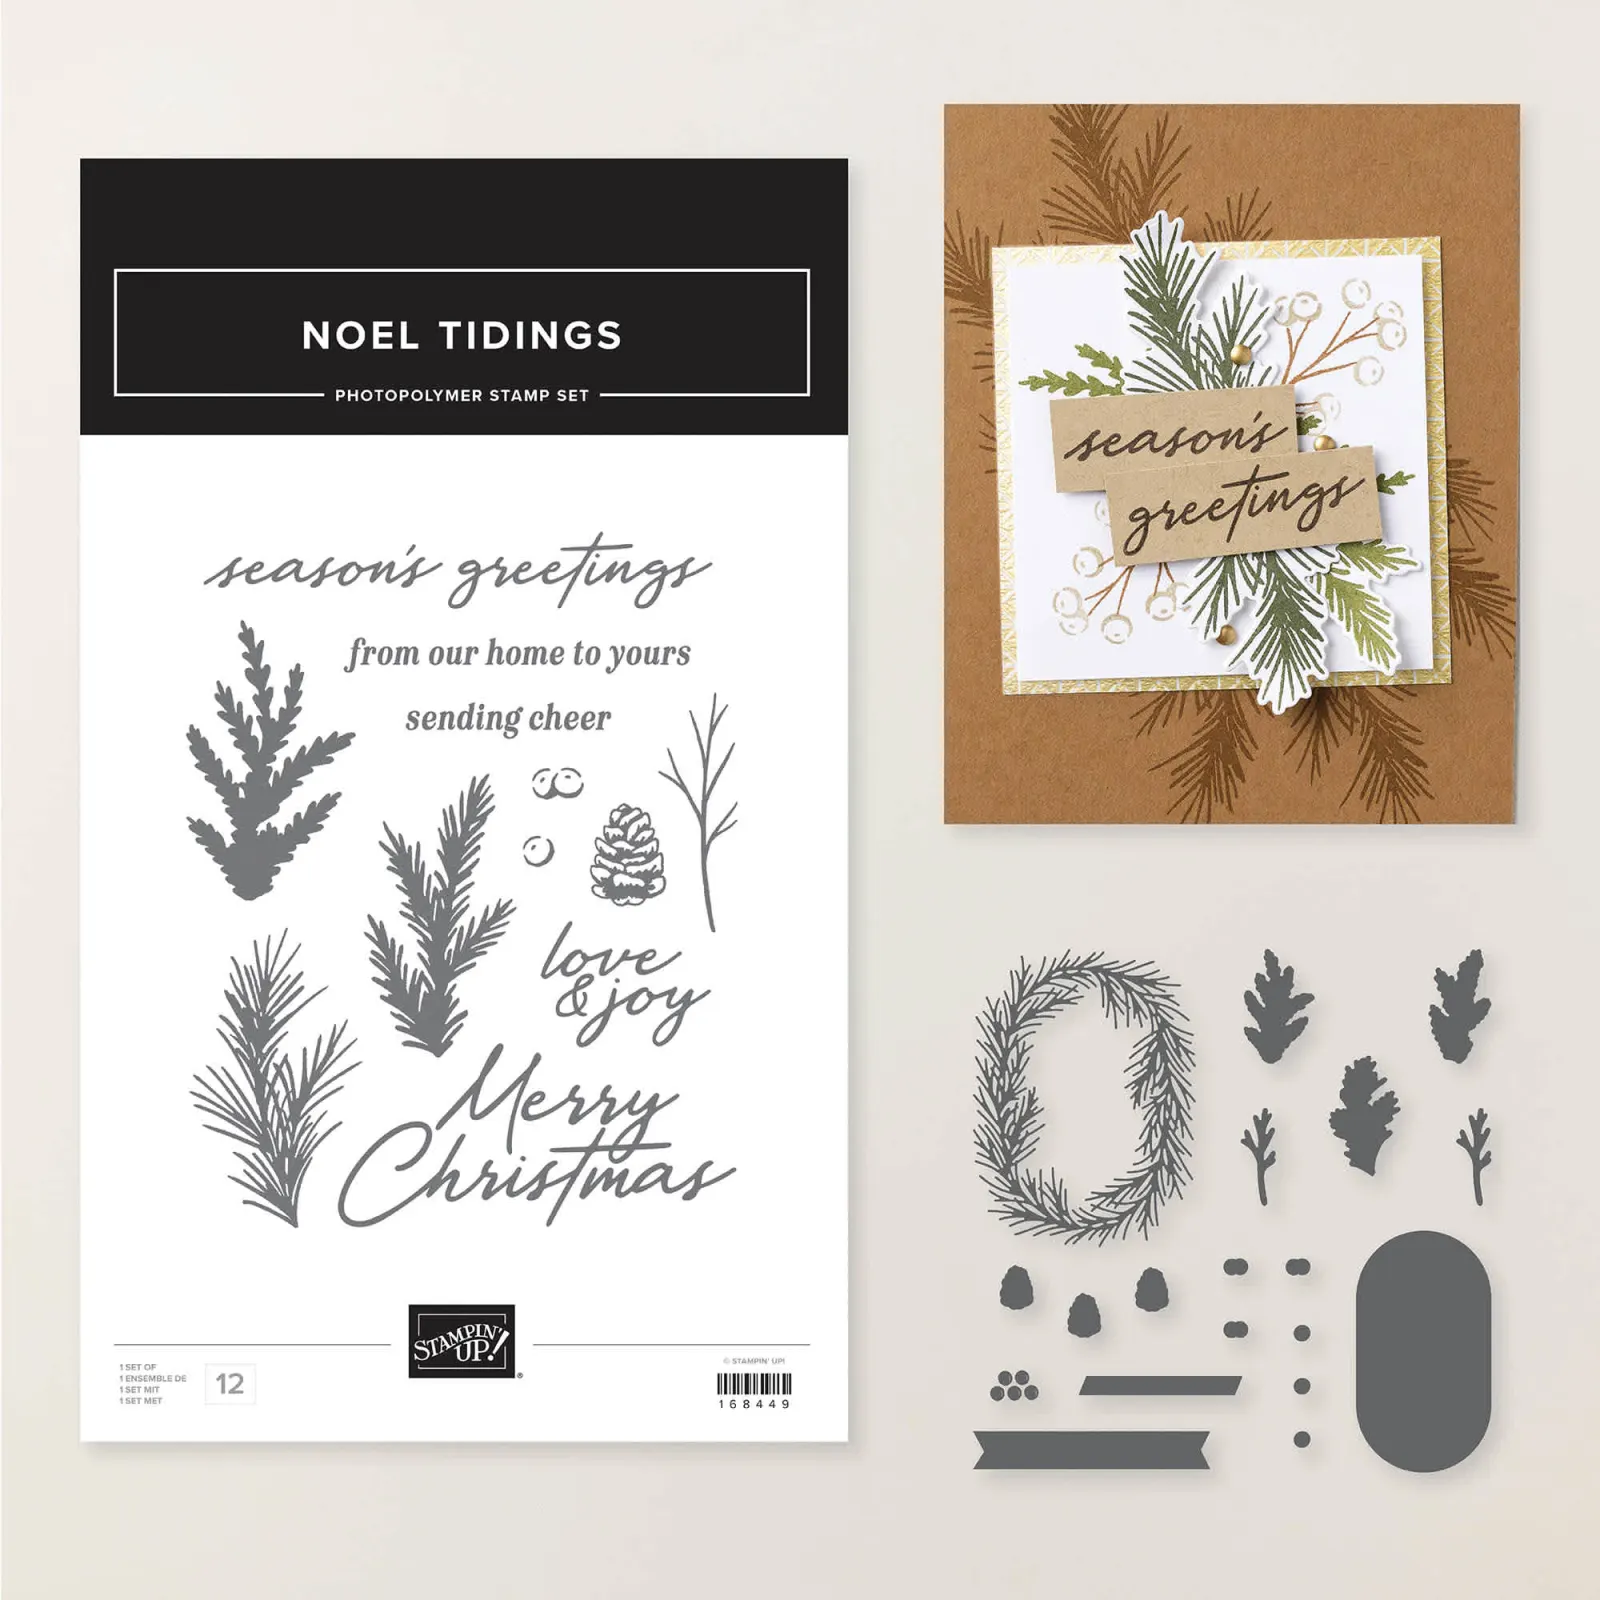
    I stamped the pine boughs and the greetings using the Noel Tidings stamp set; the dies coordinate with many of the images. See the bundle here.

    I shared how to make this card on last week’s video. You can see it here or click on the link below.

    I also created a free project sheet with measurements. Click here to download or print it. *Remember that I have a bunch of these free project sheets stored on my blog here.

    Below is the video tutorial for this card. You’ll get a few stamping tips from me as usual.

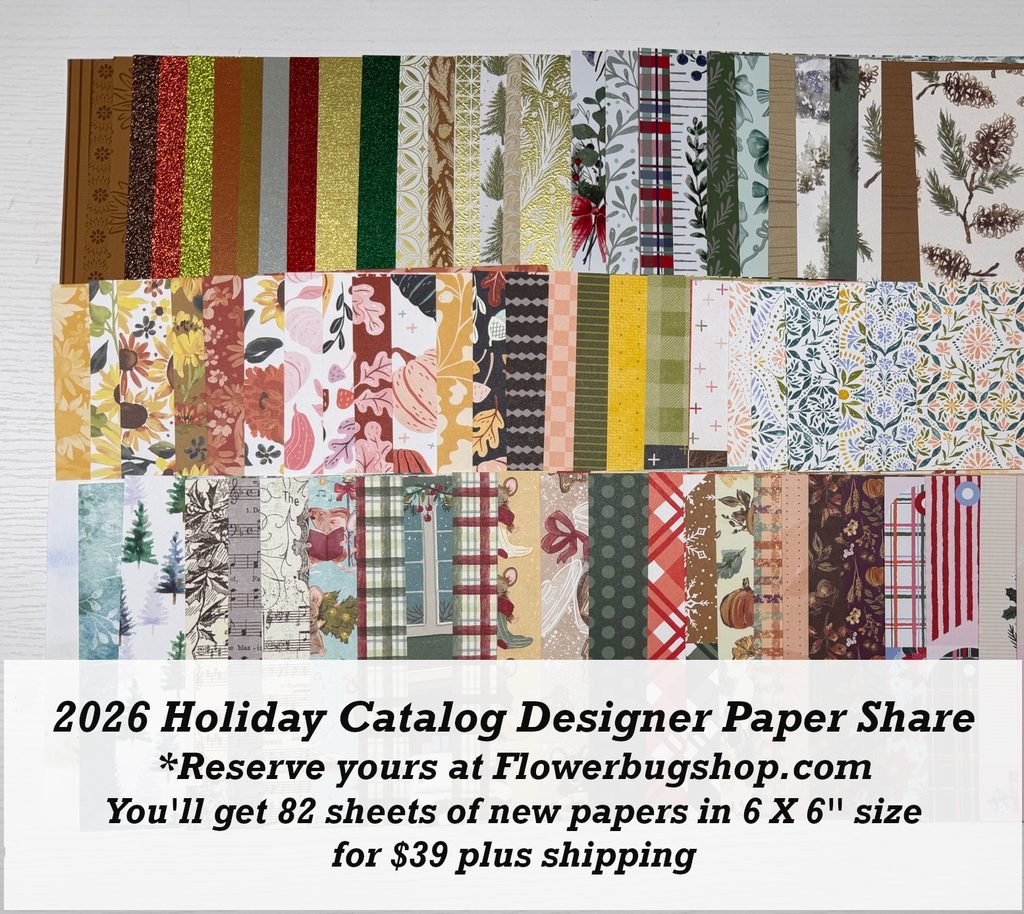
    I still have spots left in my Holiday designer paper share. Opt in for it here; it’s the last share I’ll offer this year.

    Leave a Reply

    Your email address will not be published. Required fields are marked *

  • Timeless Tidings fun fold card kit to go with tutorial


    My other September card kit is the Timeless Tidings card kit which features all fun fold layouts.

    This designer paper includes multiple printed tags and other elements that makes creating quick and easy. Look!

    Each of the cards above has a unique fold and the layouts make the most of the fun tags and printed elements in the kit.

    There are 3 different layouts and you’ll make 3 of each. Besides the Timeless Tidings DSP I also added the 3 color Christmas twine and the Christmas berries & leaves to the cards.

    The pre-cut kit includes 1/2 pkg of the designer paper and a share of the twine and berries/leaves gems. You’ll receive the PDF tutorial AND all pre-cut pieces. To complete your cards just add stamped greetings and cut your new DSP using the tutorial provided. Everything else is done for you. It’s so fun to play and create with these pre-cut kits; I get a ton of compliments and lots of repeat customers.

    Click here to opt in for the pre-cut kit – $32 plus shipping. The kits will ship out in mid September.

    Click here to get the PDF tutorial for $16. The tutorial is emailed to you immediately after payment; check your spam or junk folder.

    I have multiple kits available; grab another one or two and save on shipping costs. Or add on my Holiday designer paper share. See it all here.

    Leave a Reply

    Your email address will not be published. Required fields are marked *

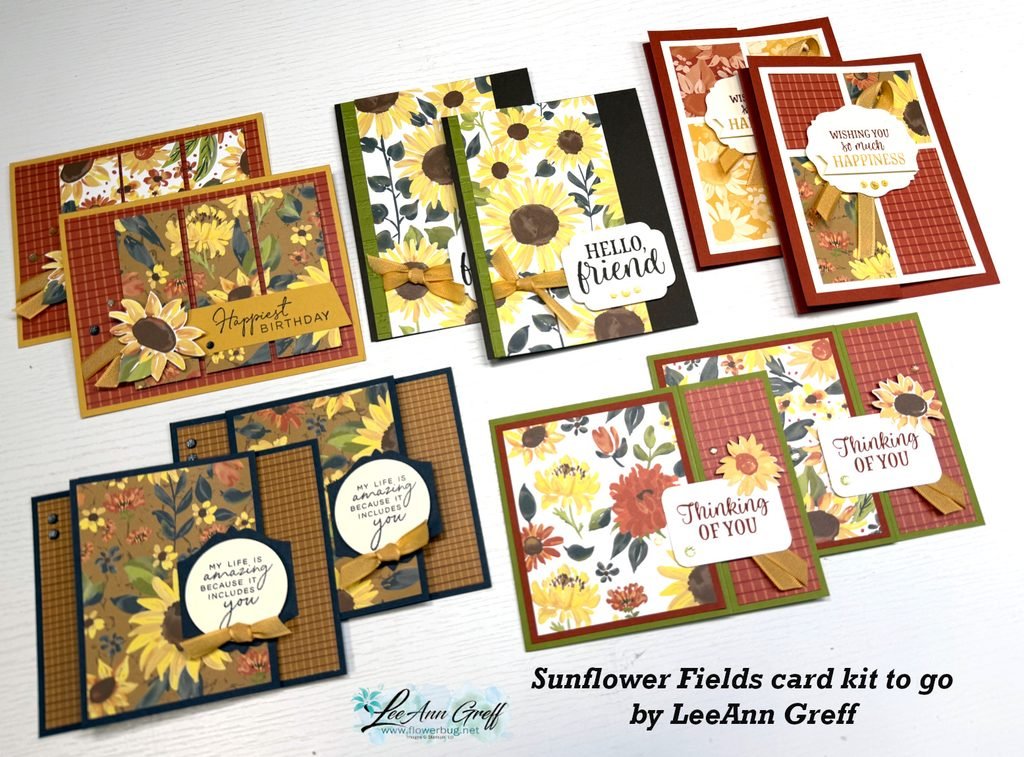
  • Sunflower Fields card kit to go; or PDF tutorial option. Reserve yours!


    Fall is coming soon for some of us and the new Sunflower Fields designer series paper may be just what you need to get your autumnal cards made.

    I chose it for one of my September card kits to go. You can see the entire suite here.

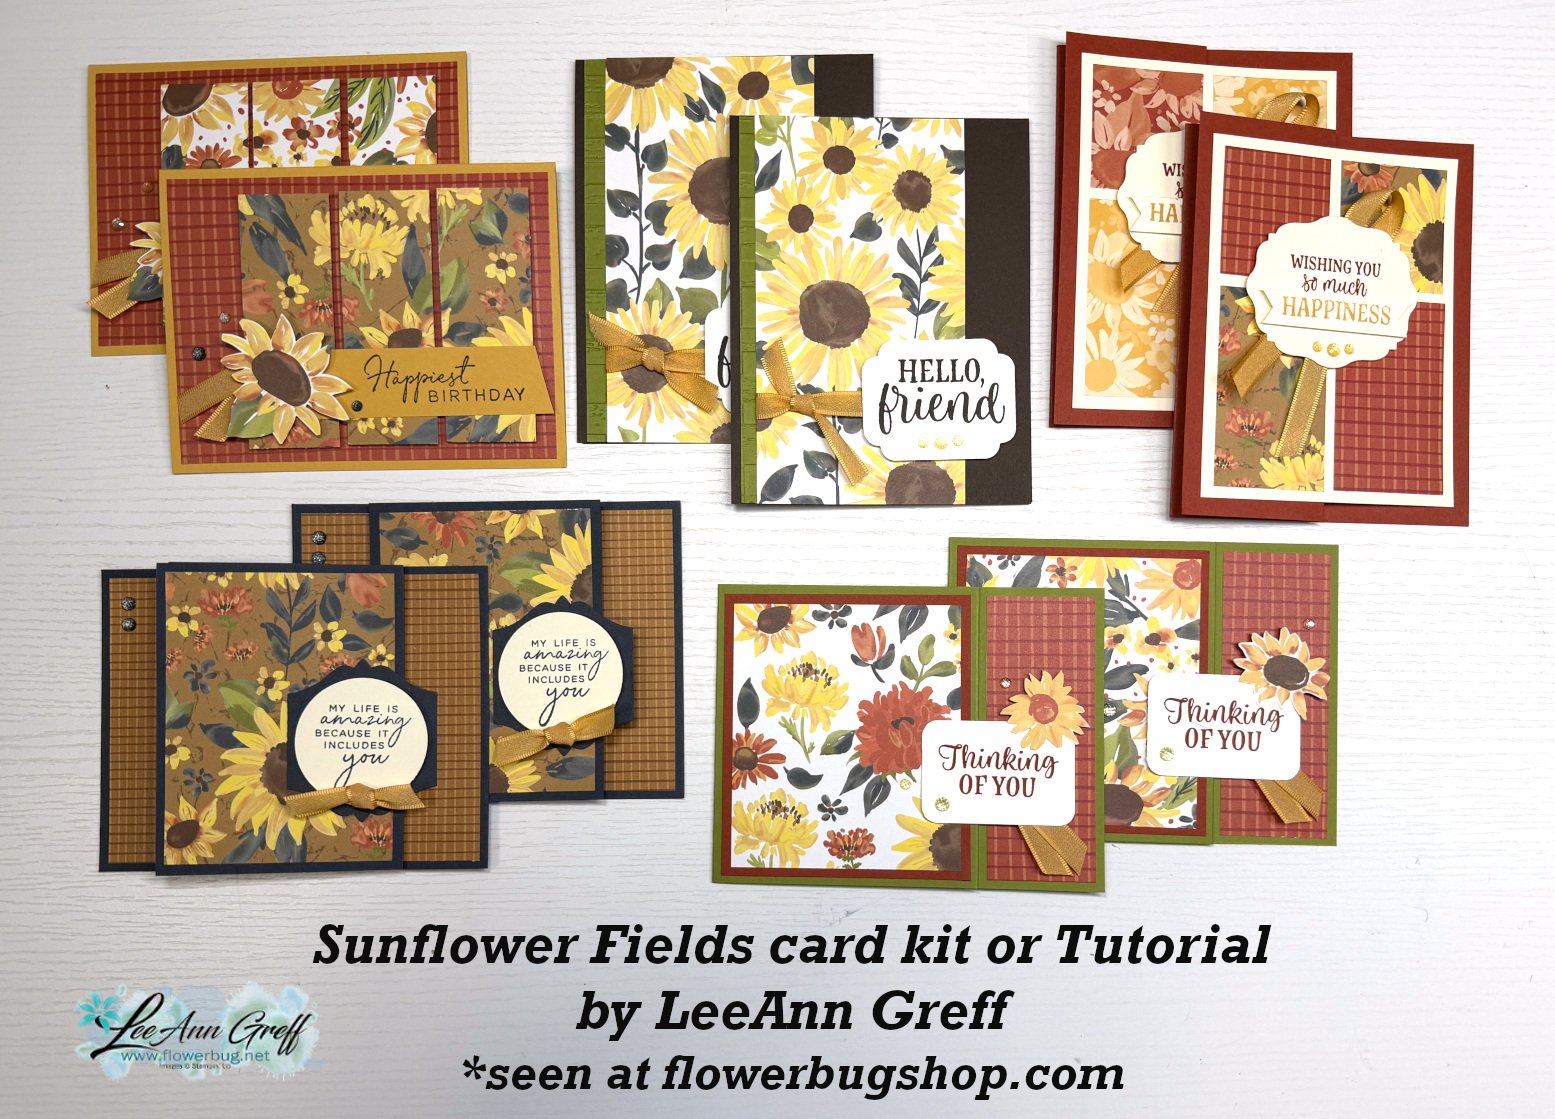
    Most of these cards are special fun fold layouts and one includes a gift card option. I design my card kits to feature the designer paper, ribbons and gems. You don’t need any special stamps to finish them; only greetings.

    My pre-cut kits to go include all pre-cut pieces including die-cuts and punched pieces. You will receive 1/2 pkg of the Sunflower Fields designer paper and will use the measurements in the tutorial to cut them for each card. Everything else is cut for you.

    You also receive a share of the Golden Glow ribbon and the Radiant Gems; it’s about $20 in Stampin’ Up! products! The PDF tutorial is included in the price of $32 plus shipping. I highly recommend adding on another card kit to save on shipping costs.

    You can get the pre-cut kit to go here. There is also a PDF tutorial option for $17 here.

    See all of the choices in my shop here. I have many other kits or tutorials available.

    I’ll share my second card kit to go tomorrow; think Christmas!

    September Specials:

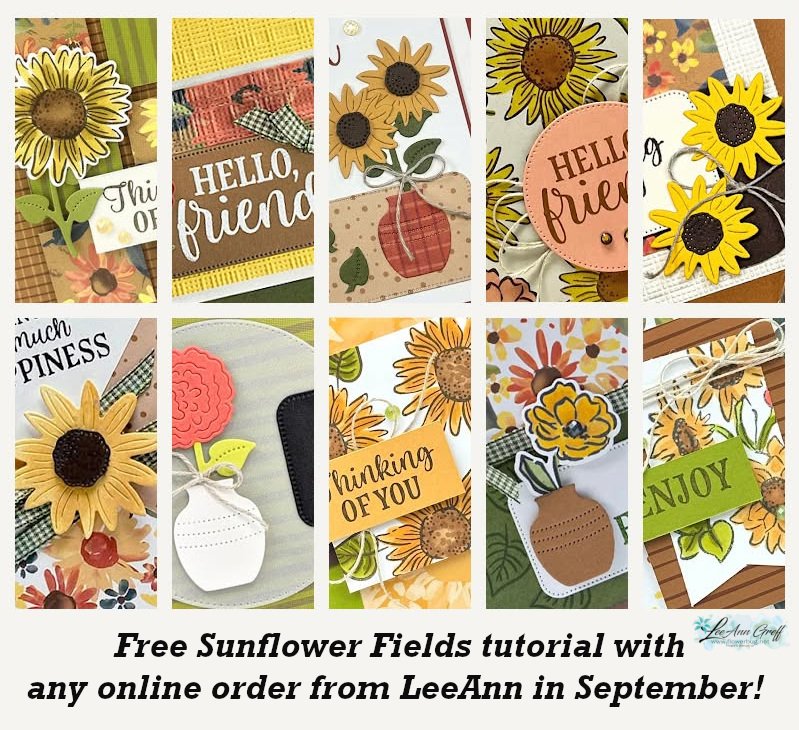
    Get this PDF tutorial FREE with any online Stampin’ Up! order from me in September. Go here to shop.

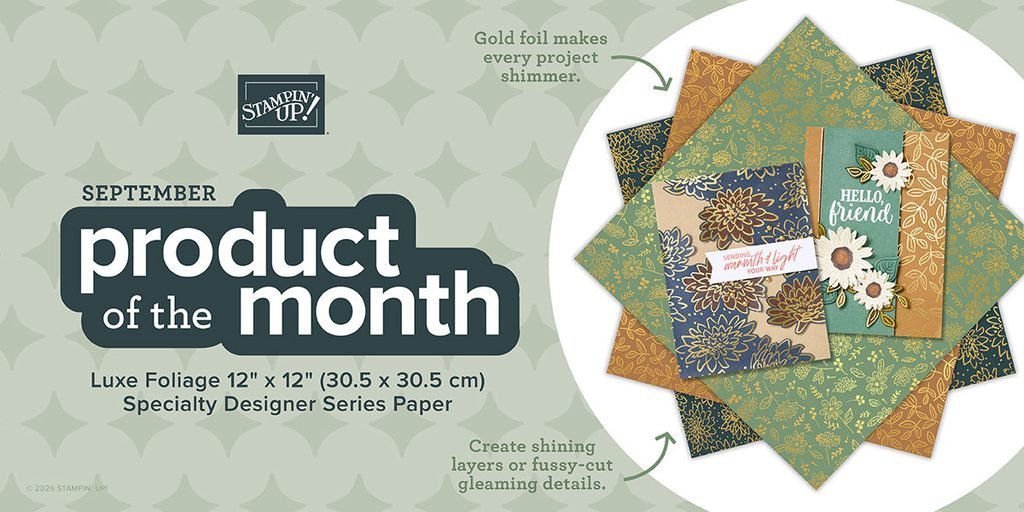
    Check out the newest Product of the Month below; it’s just $5 once your order reaches the $75 point.

    Leave a Reply

    Your email address will not be published. Required fields are marked *


Notice: LeeAnn Greff, Independent Stampin’ Up! Demonstrator, Manager. The content of this website is my sole responsibility as an independent Stampin’ Up! demonstrator and the use of, and content of, the classes, services, or products offered on this website is not endorsed by Stampin’ Up! Copyright 2025