/


Latest Post

Honey Bee Fun Fold-card with Golden Honey paper


Here's a unique fun fold card that's super easy too!  We made them at my March card clubs.  

They had a choice of colors, either Pineapple Punch or Lovely Lipstick to go with the Golden Honey specialty designer paper. Unfortunately this gorgeous paper is no longer available; they ran out of it a few weeks ago.  It was free during our Sale-a-Bration promotion that is still happening!  Be sure to get your favorites while supplies last and before March is over!  
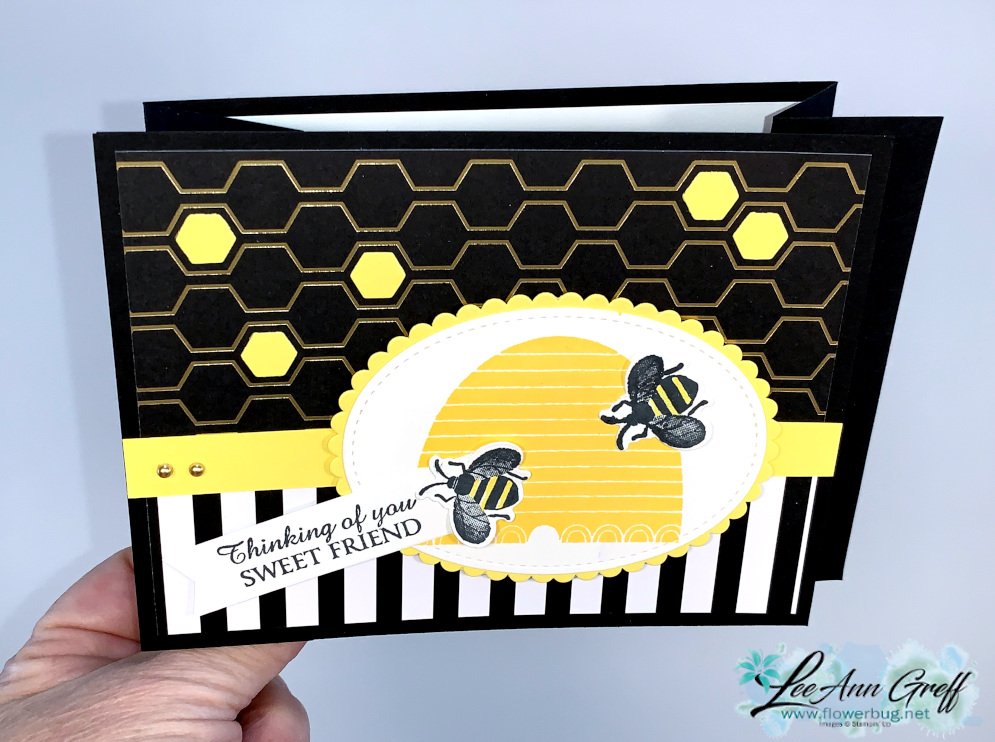
On the above card we stamped the hive in Pineapple Punch and added a few die-cut bees and a greeting.   Here's the inside view: 

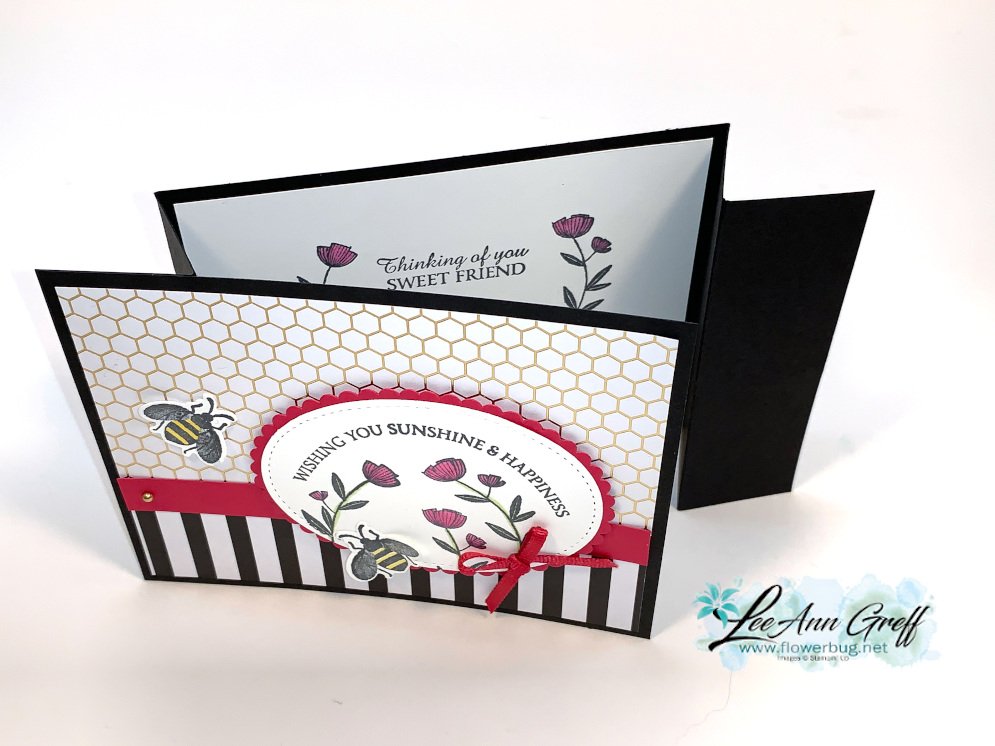
And below is the Lovely Lipstick version.  Each of the cards uses the Honey Bee bundle seen on page 30 of your January – June mini catalog.  Click here to see it online.  The Detailed Bee dies have been unavailable for a few weeks but I hope they'll be back soon!  
And below you can see the video I made for this fun fold card.  

Measurements:
Black CS 4 1/4" X 11" scored at 1 3/8" and 2 3/4" from each end, 4 1/4" X 5 1/2" for front
Honey Bee Designer paper – upper piece is 2 3/4" X 5 1/4", lower is 1 1/2" X 5 1/4"
Pineapple or Lovely Lipstick CS strip is 1/2" X 5 1/2", 2 3/4" X 3 3/4" for die-cut oval
White scrap 2 3/4" X 3 3/4" for oval die-cut, inside is 4" X 5 1/4", greeting strip is 3/4" X 3" and
scraps for bees

~~~

There are new Sale-a-Bration items out for the last few days! 

Click here to see them. 

March host code is 4J7C9GFY

All Posts

  • Create this eye-catching scene with ink and blending brushes; video tutorial too!


    Here's another card I created on last week's video. Do you love colorful scenes too? 

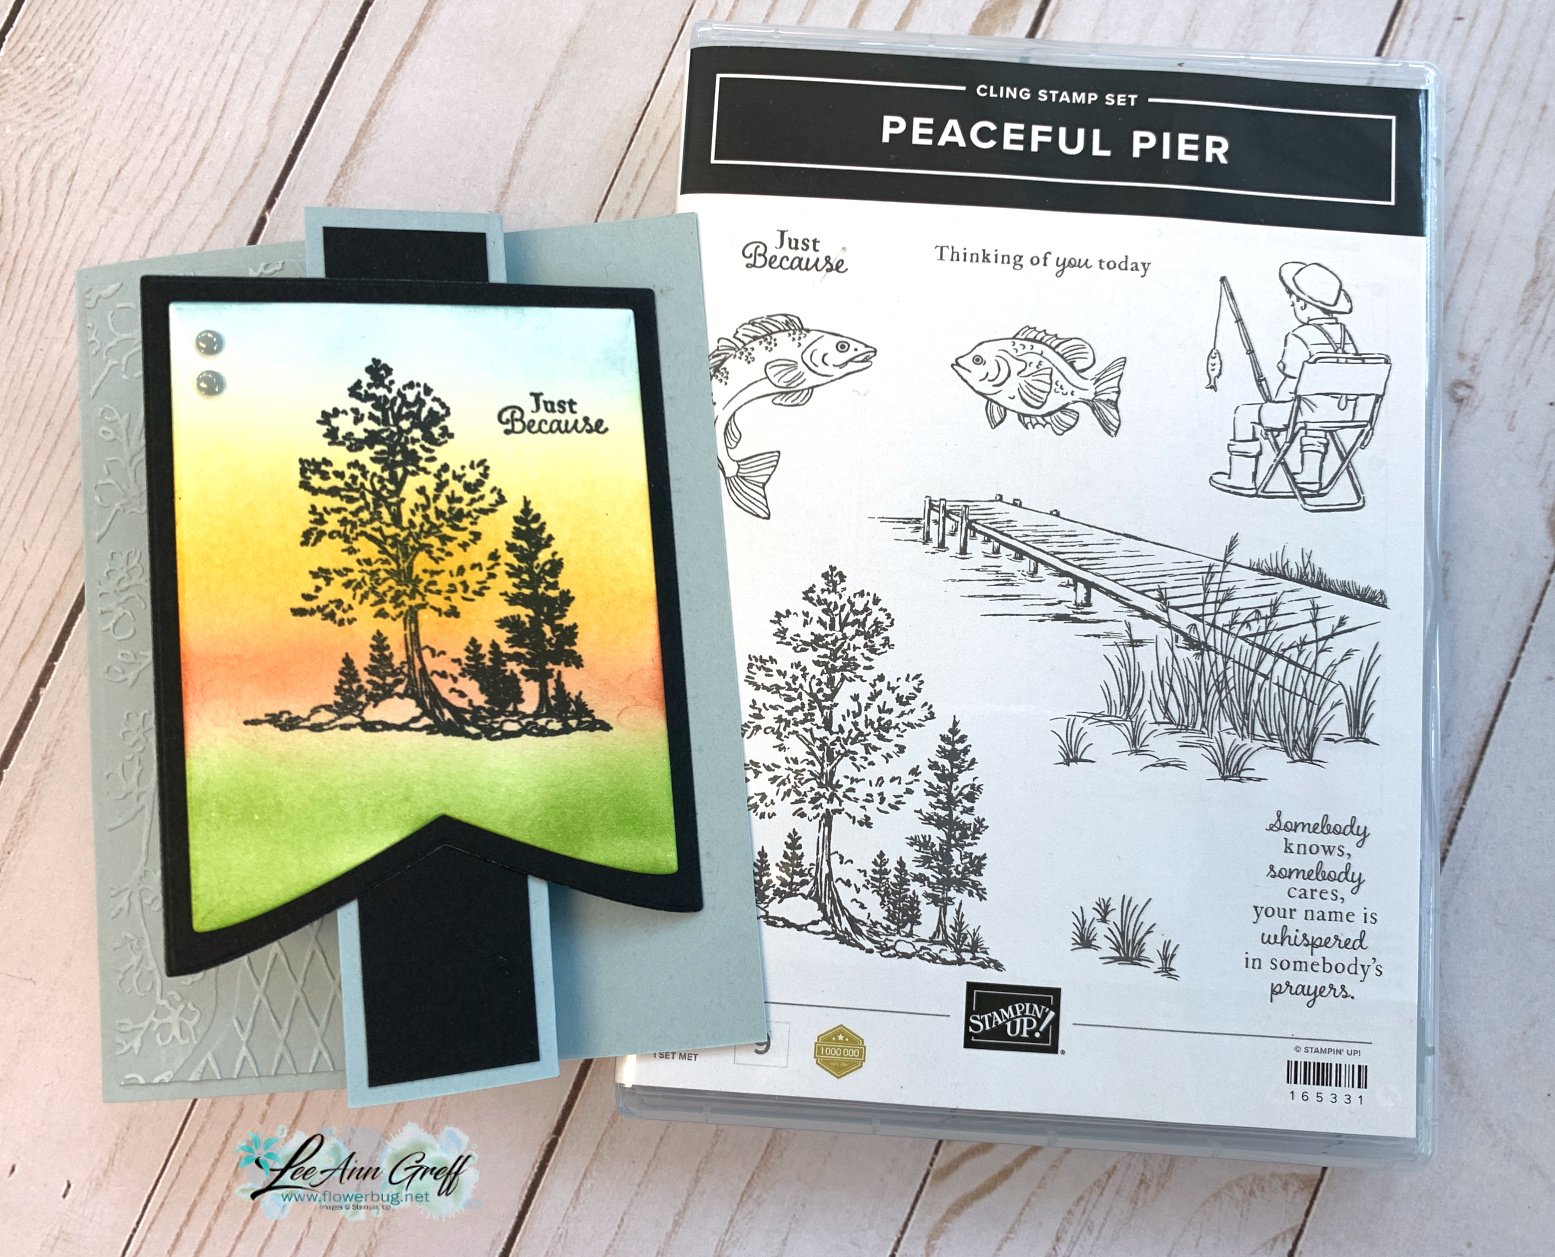
    Here I used Cloud Cover cardstock for my base; scored it an extra time to create a flap near the center. This is a great way to add the main element of your card.  In this case it's a stamped and colored tree scene on our new Party Banner dies.  

    I found the Peaceful Pier stamp set seen here to be perfect for my scenes. It's a great line-art set you don't have to color in, as you can see in my example. 

    Here is the free project sheet with measurements and supplies listed: Click on the following link to download it.  Download Peaceful Pier fun fold scene

    I am now adding my project sheets to my Flowerbug's Stamp & Share FB group the same day I share the live video.  Click here to join the group. 

    I used these inks for blending; from bottom to top – Granny Apple Green, Calypso Coral, Daffodil Delight and Cloud Cover. Blending brushes make it easy to add ink smoothly. But there are tricks to it!  

    Below is the video tutorial on how to add ink smoothly with Blending Brushes.  I hope you watch it!

    ~~~

    June Specials:

    The Suite Sale is on! 

    Buy one get 50% the second item – on all available suite products. 

    Shop here or see products below: 

    ~~~

    Last Chance List has been updated!  see it all here. Don't miss out on the deals!

    ~~~

    Earn free card kits in June with online orders! Get 4 kits with a $50 order and orders over $80 receive all 6 cards. All you need are greetings, gems and adhesives to assemble. 

    Order here 

    ~~~

    Get my Celebratory Sips PDF tutorial free with any online order in June!

    Leave a Reply

    Your email address will not be published. Required fields are marked *

  • How to create a beautiful scene with the Peaceful Pier set; a free project sheet & video tutorial


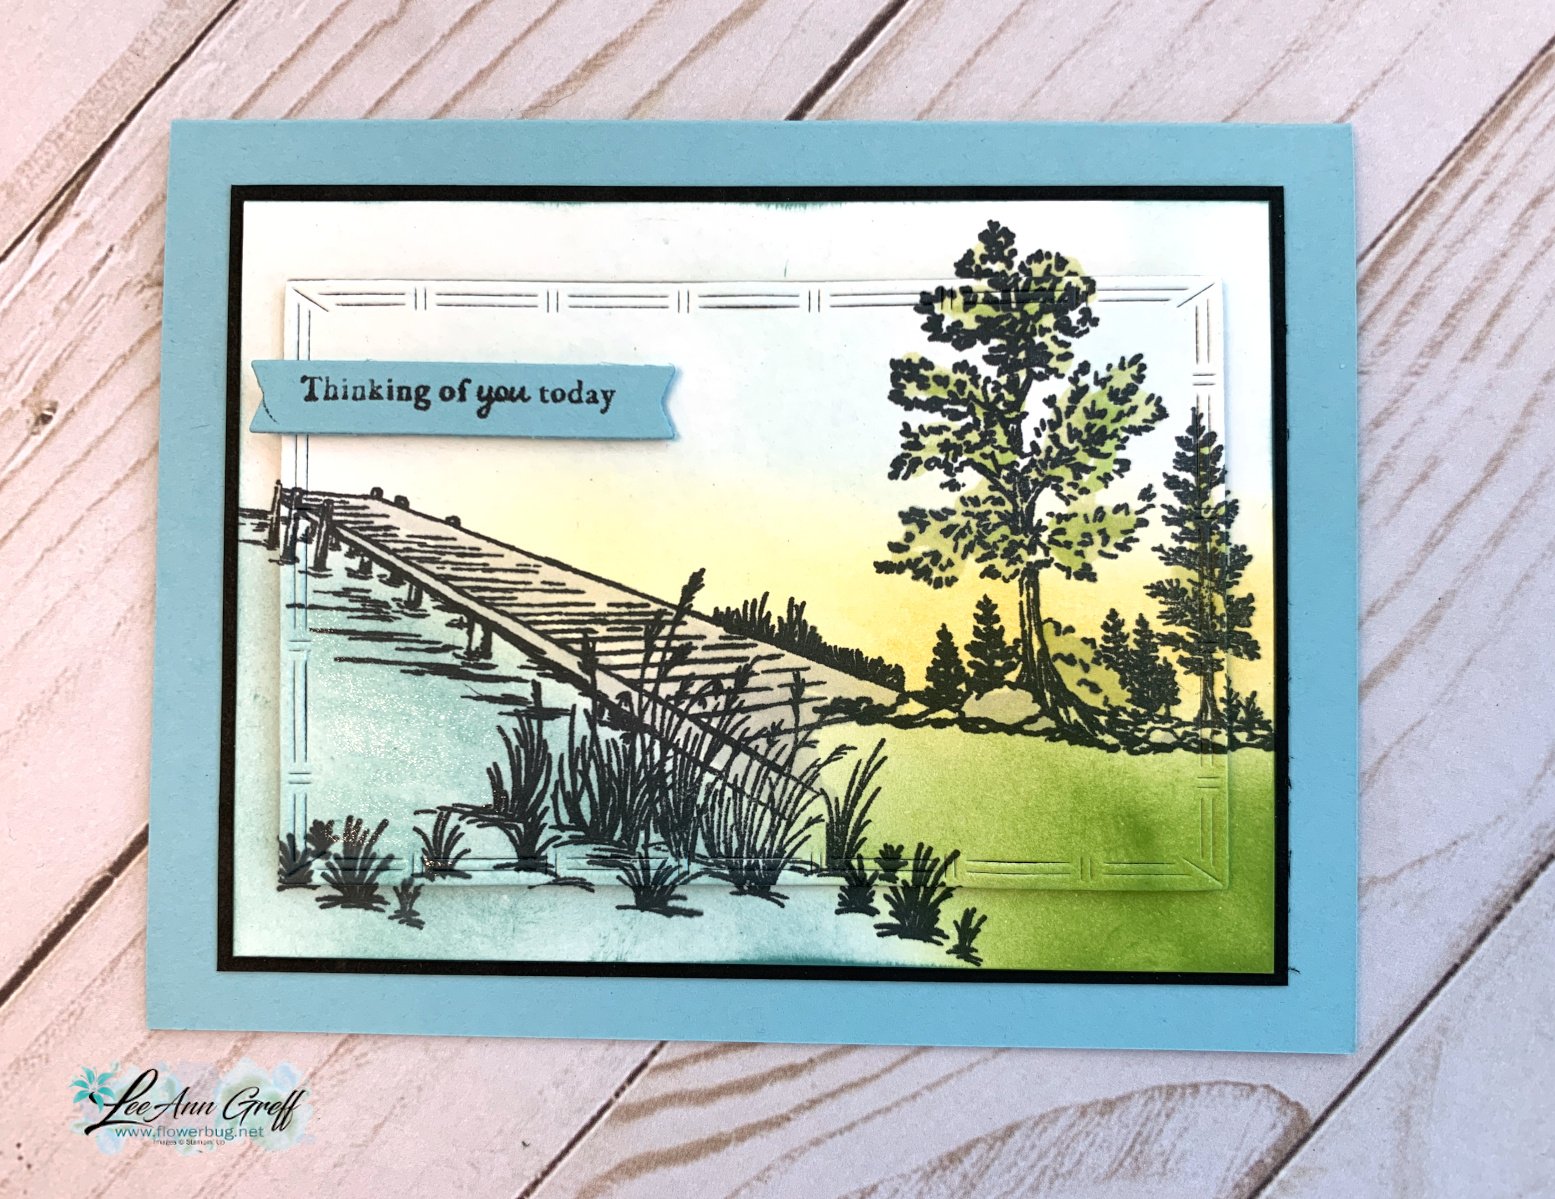
    I shared a video tutorial on how to create this gorgeous scene last week.  

    I used the Peaceful Pier stamp set, inks and blending brushes.  

    I first stamped the dock and tree images using Black Memento ink. Then added a few more 'grass' images at the bottom. Next you add ink with Blending Brushes.  I used Lost Lagoon for the water, Granny Apple Green for the grass, Balmy Blue and Daffodil Delight for the sky. 

    I did color the dock and trees with Blends markers. I did not need to mask anything. As long as you're adding ink lightly with the Blending Brushes you shouldn't need to.  

    After I was finished adding color I used the Textured Notes dies to cut my image into 2 pieces. Ad added the frame to a Black CS layer and added the center with Stampin' Dimensionals.  I love the dimension this gives to the card scene. 

    Here is the free project sheet for this card: Click on the following link to download or print it. Download Peaceful Pier scenic card

    Below is the video tutorial on how to add ink smoothly with Blending Brushes.  I hope you watch it!

    ~~~

    June Specials:

    The Suite Sale is on! 

    Buy one get 50% the second item – on all available suite products. 

    Shop here or see products below: 

    ~~~

    Last Chance List has been updated!  see it all here. Don't miss out on the deals!


    ~~~

    Earn free card kits in June with online orders! Get 4 kits with a $50 order and orders over $80 receive all 6 cards. All you need are greetings, gems and adhesives to assemble. 

    Order here 

    ~~~

    Get my Celebratory Sips PDF tutorial free with any online order in June!

    Leave a Reply

    Your email address will not be published. Required fields are marked *

  • Celebratory Sips card kit to go with PDF tutorial option & exclusive video!


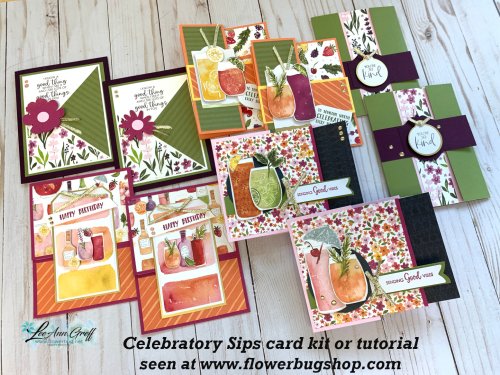
    Here's my newest pre-cut card kit to go – featuring the Celebratory Sips designer series paper.  I love that this paper is so unique; something we haven't had before. 

    There are 10 cards in this kit; most are fun fold layouts too.  This paper was super fun to play with.  I love how the cards turned out!  

    The kit includes 1/2 pkg of the Celebratory Sips DSP (6" X 12), a share of both 1/8" gold trim and Low-profile gems.  Plus you get the pdf tutorial free!  It also includes an exclusive video tutorial. 

    This kit will be ailed out at the end of June;  reserve your Celebratory Sips pre-cut card kit to go here.  

    Or choose the PDF tutorial here for $16. 

    I also added two other new kits to my shop too.  You can save on shipping and get more for your $$ when you purchase more than one kit. See them all here. 

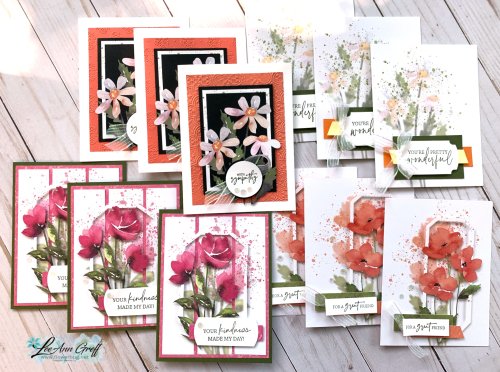
    First is the Painted Petals 12 card kit – created with a former Paper Pumpkin kit but jazzed up with extra cards & product. See it here. 

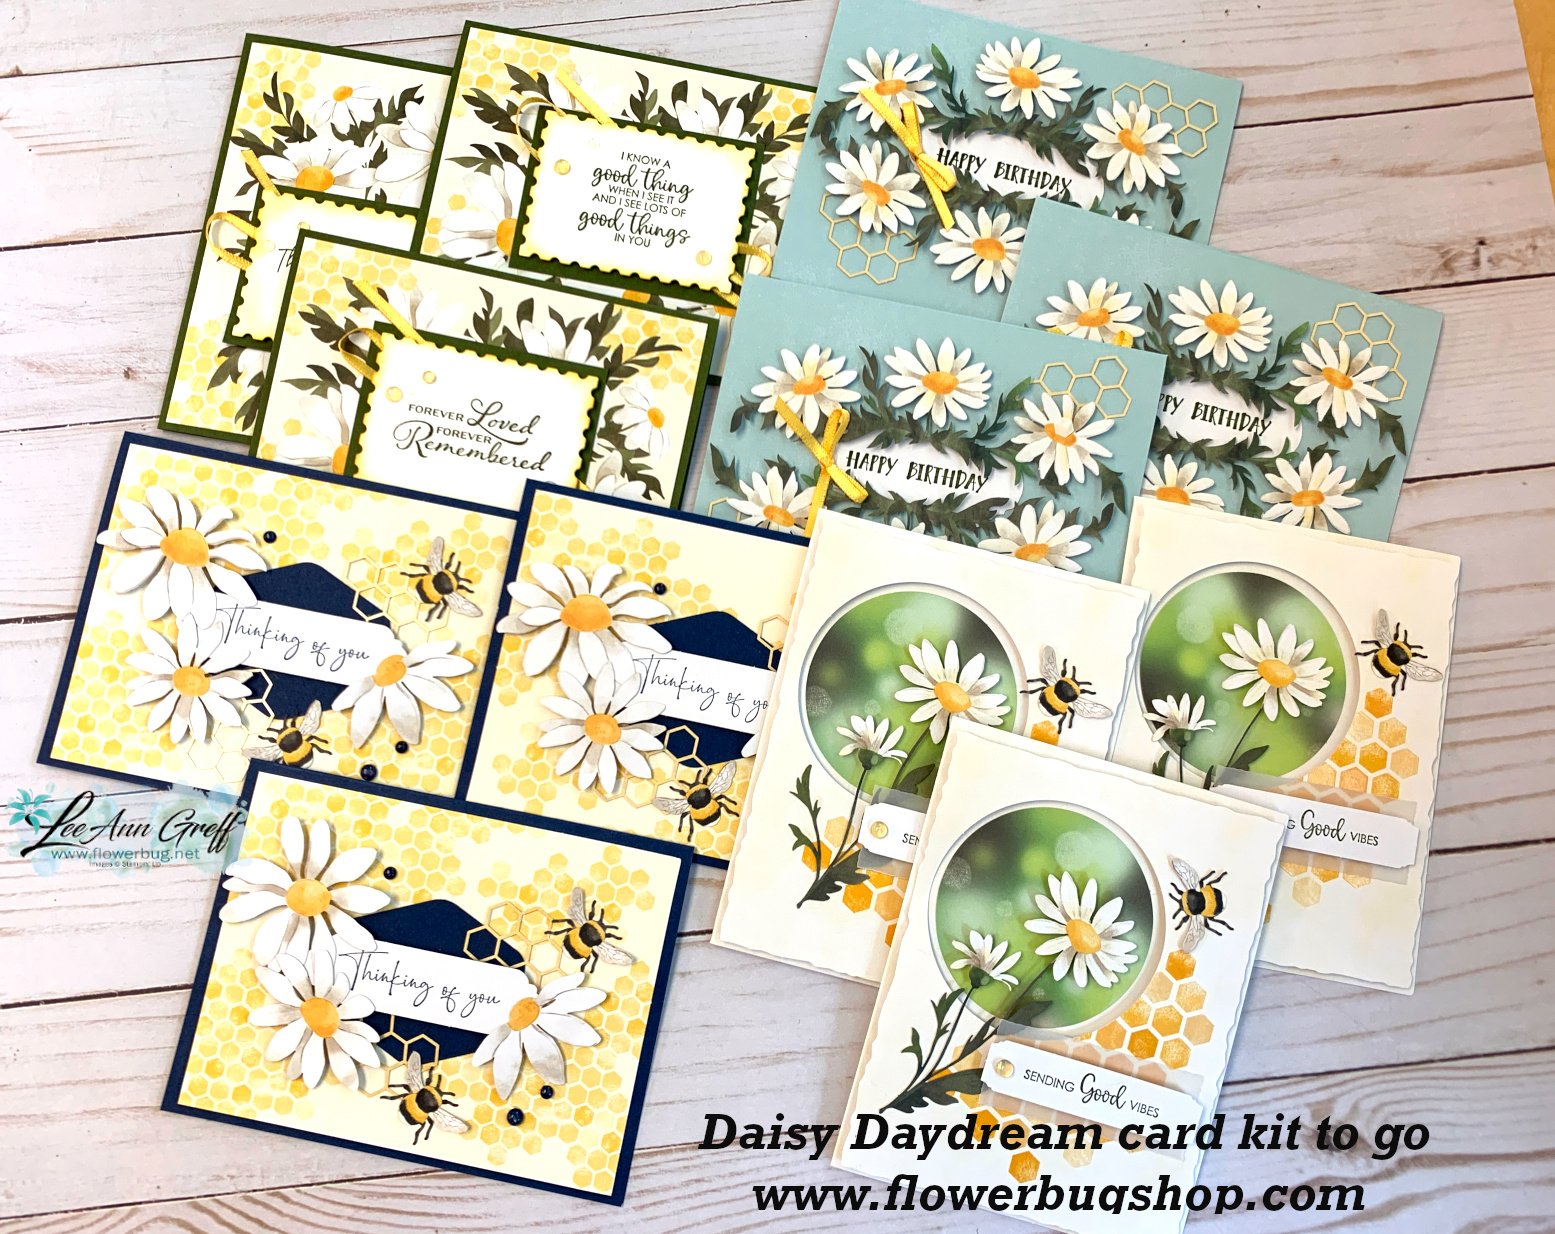
    Next is the Daisy Daydream 12 card kit – also created with a previous Paper Pumpkin kit – I changed up the cards, added 3 extra cards, gems & ribbon added. See it here. 

    ~~~

    June Specials:

    The Suite Sale is on! 

    Buy one get 50% the second item – on all available suite products. 

    Shop here or see products below: 

    ~~~

    Earn free card kits in June with online orders! Get 4 kits with a $50 order and orders over $80 receive all 6 cards. All you need are greetings, gems and adhesives to assemble. 

    Order here 

    ~~~

    Get my Celebratory Sips PDF tutorial free with any online order in June!

    Leave a Reply

    Your email address will not be published. Required fields are marked *


Notice: LeeAnn Greff, Independent Stampin’ Up! Demonstrator, Manager. The content of this website is my sole responsibility as an independent Stampin’ Up! demonstrator and the use of, and content of, the classes, services, or products offered on this website is not endorsed by Stampin’ Up! Copyright 2025