/


Latest Post

Holiday Catalog sneak peak video; the Abundant Beauty Decorative masks for gorgeous sunflowers!


Look at these beautiful sunflowers! 

Can you tell that they're not stamped? I used a brand new set of decorative masks called Abundant Beauty, from the upcoming 2023 Holiday mini catalog.  It's a set of 7 masks including 4 for the sunflowers, snowflakes, houndstooth and falling leaves.

I used sponge daubers and the following colors: Crushed Curry, Pumpkin Pie, Old Olive and Pecan Pie.  
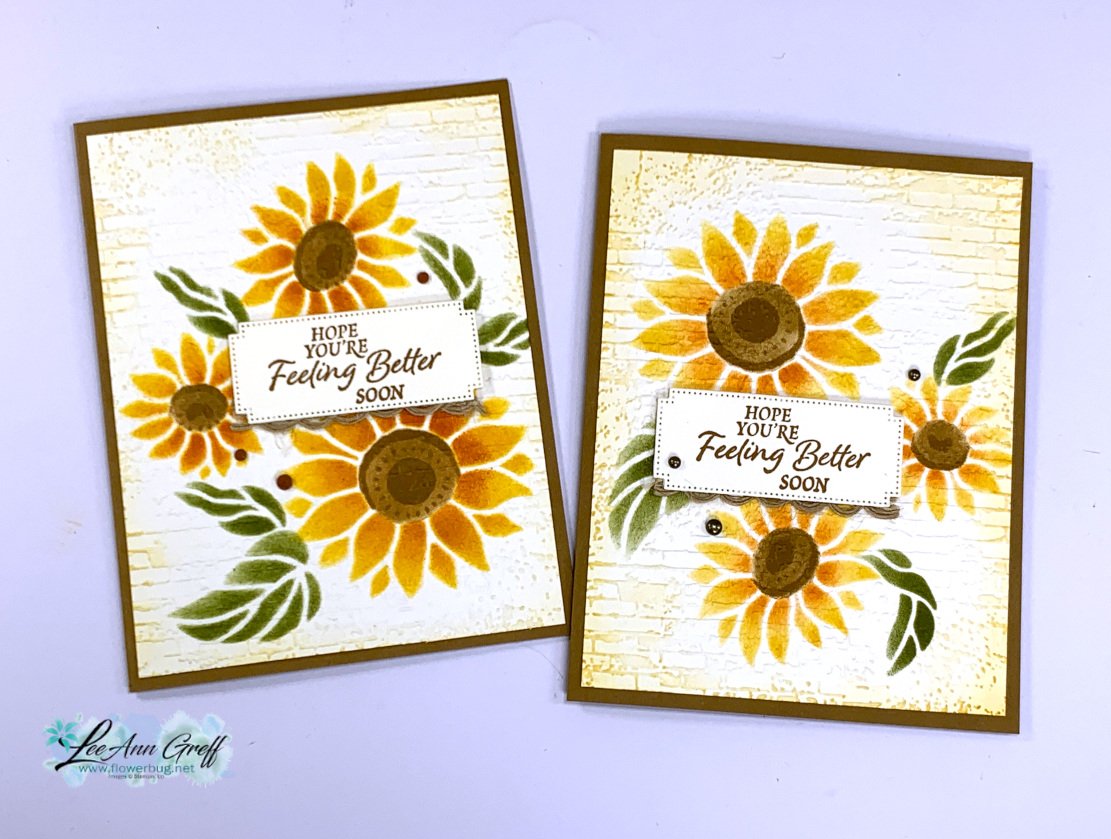


After I added the images I textured it with the Exposed Brick 3D embossing folder. Then added a bit more Crushed Curry ink around the edges. 

I shared how to make this card step-by-step in the video seen here.   

The greeting is from a brand new FABULOUS greeting set called So Sincere (from the upcoming Holiday catalog).  It's incredible; you're all going to want it.  It's on a die-cut from a new Autumn Leaves die set.  I added a bit of the Natural Wavy trim to the bottom of the greeting piece. 

Click on the photo below to watch the video: Be sure to follow me on YouTube here or on my Facebook page here.  Then you won't miss anything!

 ~~~

August Specials: 

 *current host codes: KY99RPXP 

Free Gift with orders in August: 

Get a pack of at least 5 beautiful cards with orders over $50 this month. 

The more you order the more cards you get!

*cards are previous card kits to go; over the top and many fun folds.  
**Redeem your Bonus coupons in August! 
All Posts

  • Book-binding Fold & Tuck card with video & free project sheet


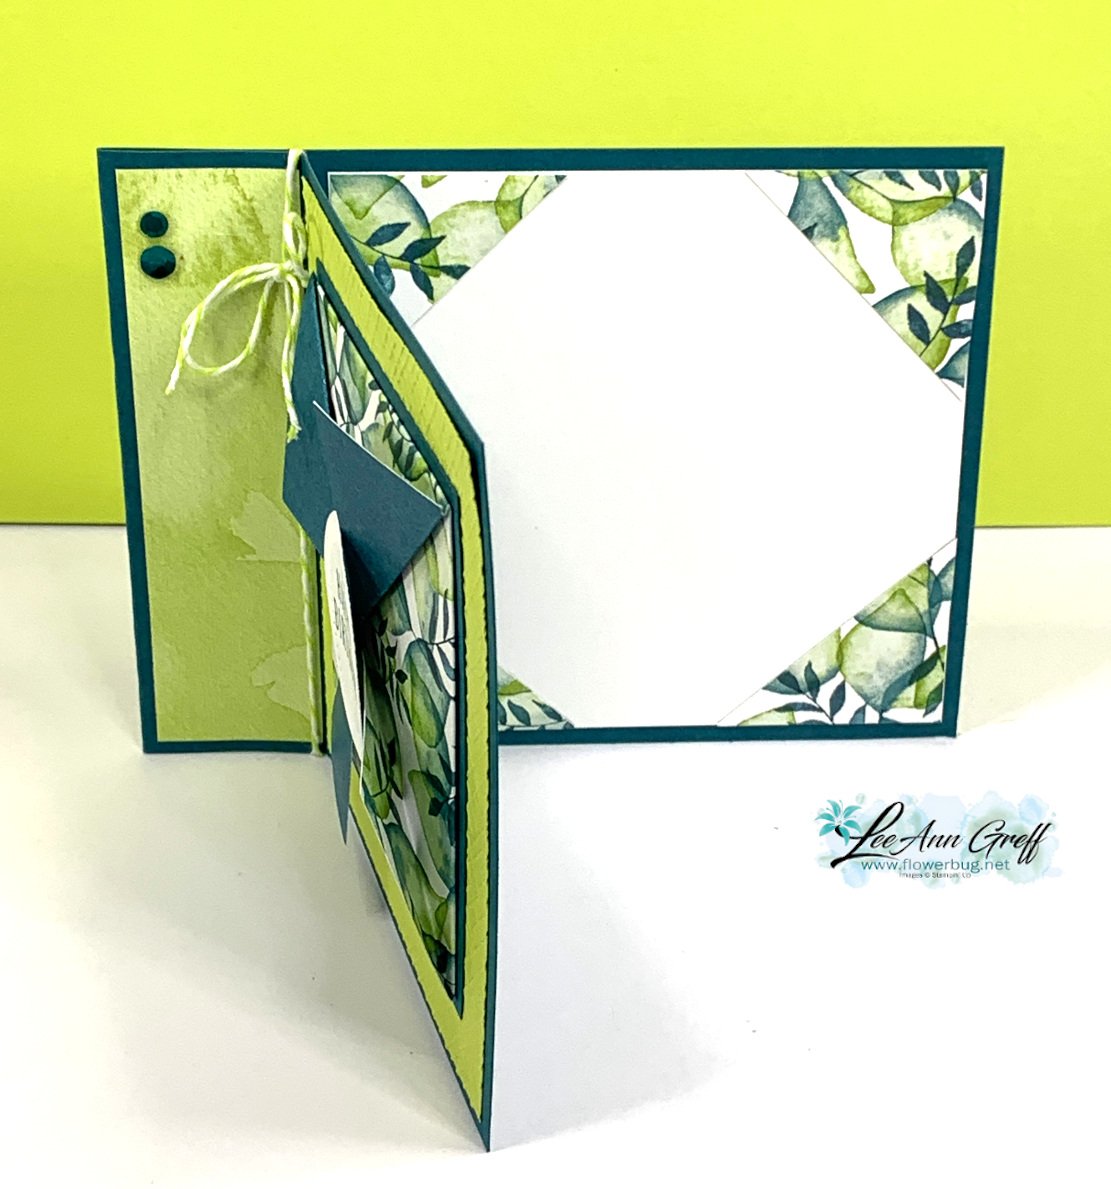
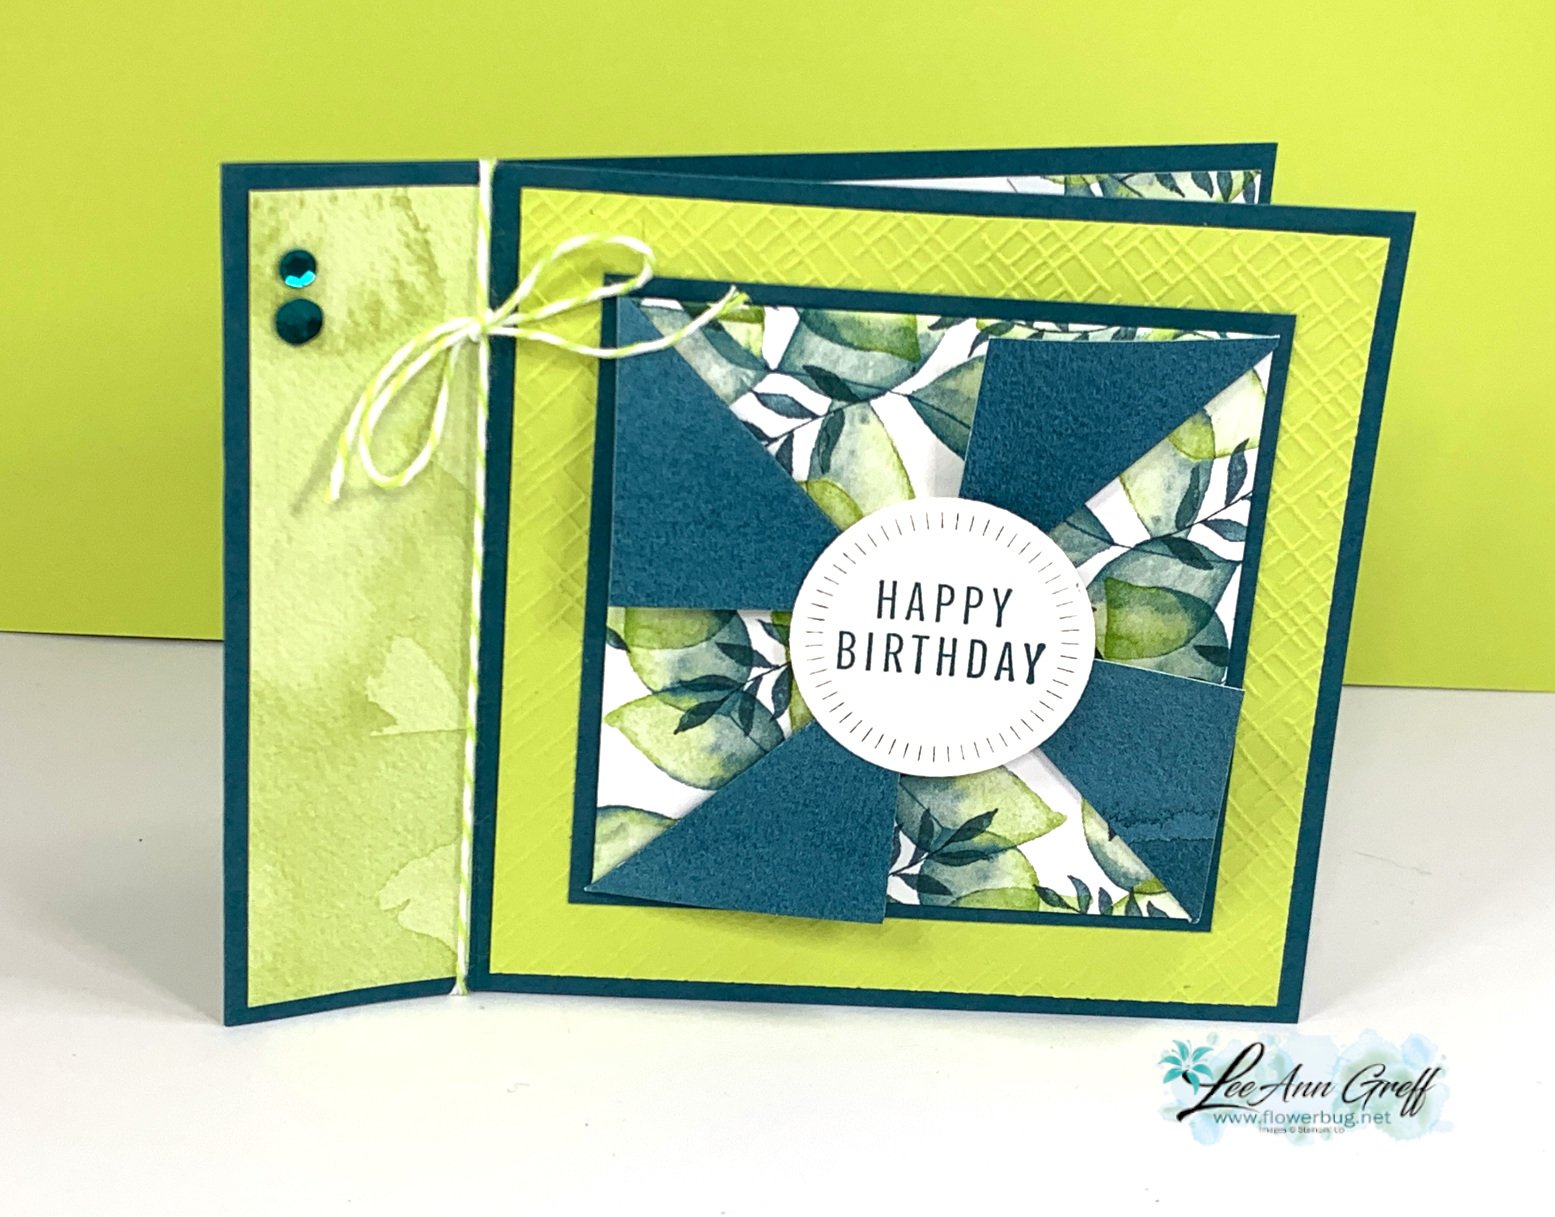
    Here's the second card I shared in last week's video; it's a book-binding card with a twist!  The main panel features the 'Tuck & Fold' technique I shared a few weeks ago. See that card here. 

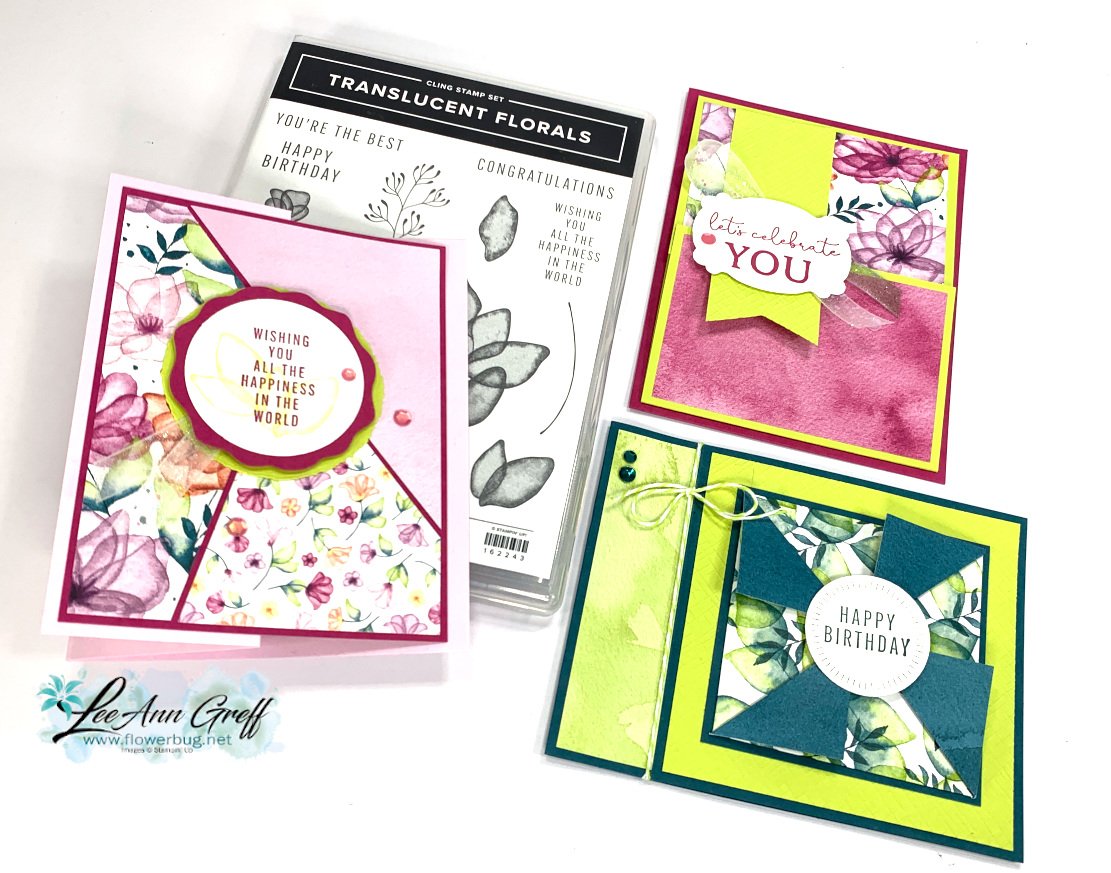
    The designer paper is the Translucent Floral Online Exclusive seen here.


    Supplies:

    • Center greeting circle is from the Radiating Stitches dies seen here.
    • The Happy Birthday greeting is from the Inked & Tiled stamp set
    • Basics 3D embossing folders were used on the Lemon Lime Twist layer
    • 2022-24 In Color Baker's twine and Sequins Trio are the embellishments

    Download the free project sheet here: Download Delightful Florals Book Binding card

    The pinwheel like layer above starts out with a 6 X 6" piece of designer paper. You score it at 1 1/2" on all sides and cut off the corners as seen below.  

    Then you fold in the outer rectangles into the center and fold back one corner on each side.  Watch the video below to see how it's done.  It's quite easy!  

    Save two of the corners you cut off and cut them in half on the diagonal. It really jazzes up the inside of this card!  

    You can see all three cards included in the video below. Click here to watch it, or scroll down a bit. 

    You can watch the video for this project here.  It includes two more fun fold cards as well!

    If you're not following me on YouTube click here.  Or follow me on Facebook for my weekly Tuesday lives here. 

    ~~~

    September Specials: 

    *current host code: WXX6RCHA or VEH4FKBV

    *Get a free 6 card kit with orders over $55 (Includes card bases, coordinating envelopes, Memories & More cards, gems & more) 

    ~~~

    Get a Mystery Box full of Stampin' Up! supplies while they last!

    Each box contains from $180-200 in retired products (new or lightly used)

    1. Place an online Stampin' Up! order over $75 (before tax & shipping) using one of my current host codes to reserve a Mystery Box. *Host code links – WXX6RCHA or MYF6MXAG
    2. Send me the $14 shipping fee (PayPal or Venmo). 
    3. I'll send you your Mystery box via Priority Shipping! 

    Leave a Reply

    Your email address will not be published. Required fields are marked *

  • All About Autumn Triple Stack & Cut cards


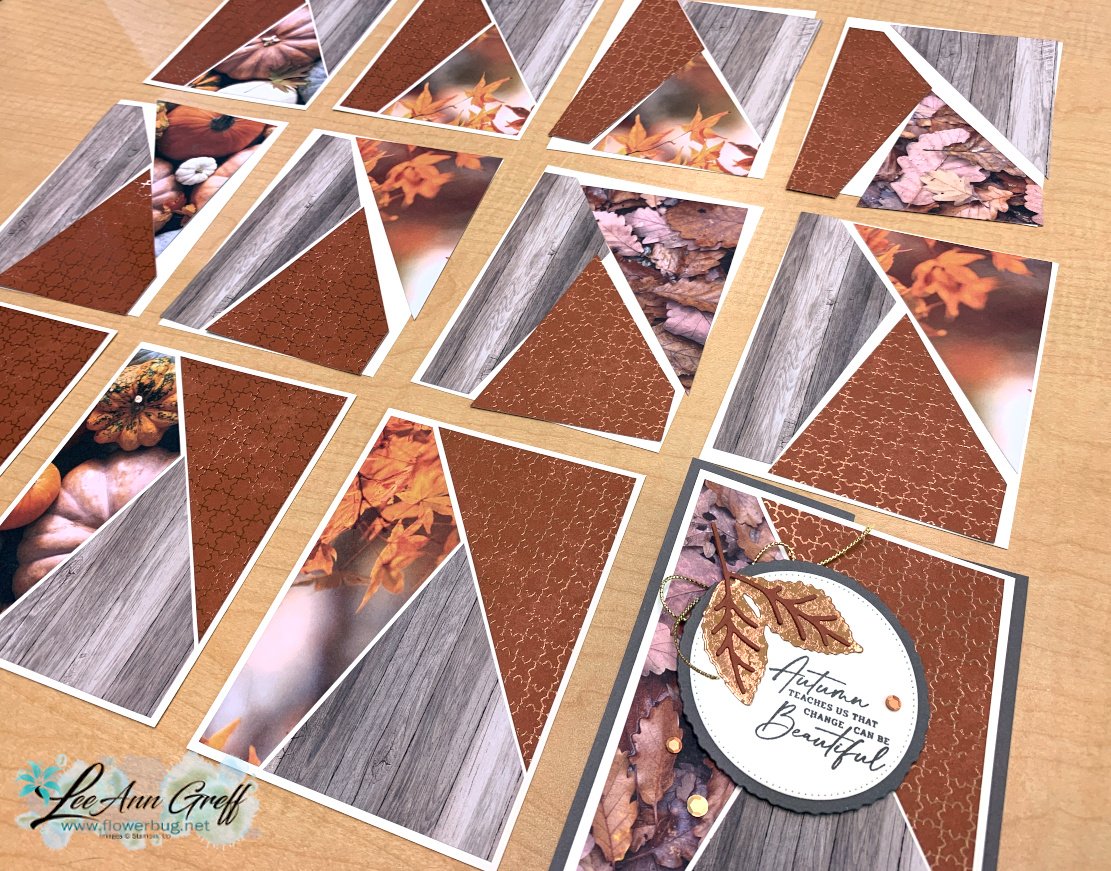
    I wanted to share another version of the Triple Stack & Cut cards that I shared yesterday.  I made these for my September Team card swap: 

    I shared how to make these cards here; I also have a video below you can watch. It's a fun way to use your designer paper and make really quick but eye-catching cards.  

    As you can see in the photo below it's a type of mix & match game.  

    Tip: when choosing your designer papers I recommend you pick a large and small print and then one that is more of a background print. 

    The card base and Deckled circle are Pebbled Path. I used the Autumn Leaves bundle for my stamps & die-cuts. See it here. 

    *This pretty designer paper is currently unavailable but is expected back the week of October 9th.  

    Get the free project sheet here: Download Translucent Florals triple stack & cut card

    Aren't these cards lovely? 

    You can watch the video for this project here.  It includes two more fun fold cards as well!

    If you're not following me on YouTube click here.  Or follow me on Facebook for my weekly Tuesday lives here. 

    ~~~

    September Specials: 

    *current host code: WXX6RCHA or VEH4FKBV

    *Get a free 6 card kit with orders over $55 (Includes card bases, coordinating envelopes, Memories & More cards, gems & more) 

    Shop the updated Clearance Rack here:

    ~~~

    Get a Mystery Box full of Stampin' Up! supplies while they last!

    Each box contains from $180-200 in retired products (new or lightly used)

    1. Place an online Stampin' Up! order over $100 (before tax & shipping) using one of my current host codes to reserve a Mystery Box. *Host code links – WXX6RCHA or MYF6MXAG
    2. Send me the $14 shipping fee (PayPal or Venmo). 
    3. I'll send you your Mystery box via Priority Shipping! 

    Leave a Reply

    Your email address will not be published. Required fields are marked *

  • Triple Stack & Cut cards with free project sheet & video tutorial


    I'm a bit addicted to this card layout!  I'm calling it the Triple Stack & Cut card.  

    You start out with three different patterns of designer paper measuring 3 3/4" X 5".  Stack them together and make the upper right cut – a triangle.  You could measure it but I just made sure my stack was even and sliced it off. It's approximately 3/4" from the upper left and 1" from the lower right.  

    Then for the remaining pieces you continue cutting all three pieces at once, cutting approximately in half on the diagonal and about 1" from the lower left.  

    You can now mix & match so one piece of each pattern can fit on each of 3 card fronts.  I adhered them to a 4" X 5 1/4" piece of Berry Burst card stock.  That then adheres to your card base – I folded back my front to create a fun fold design.  

    Tip: Note that the patterned paper has a large print, a small print and one without pattern.  This can help your card appear soothing and less busy. 

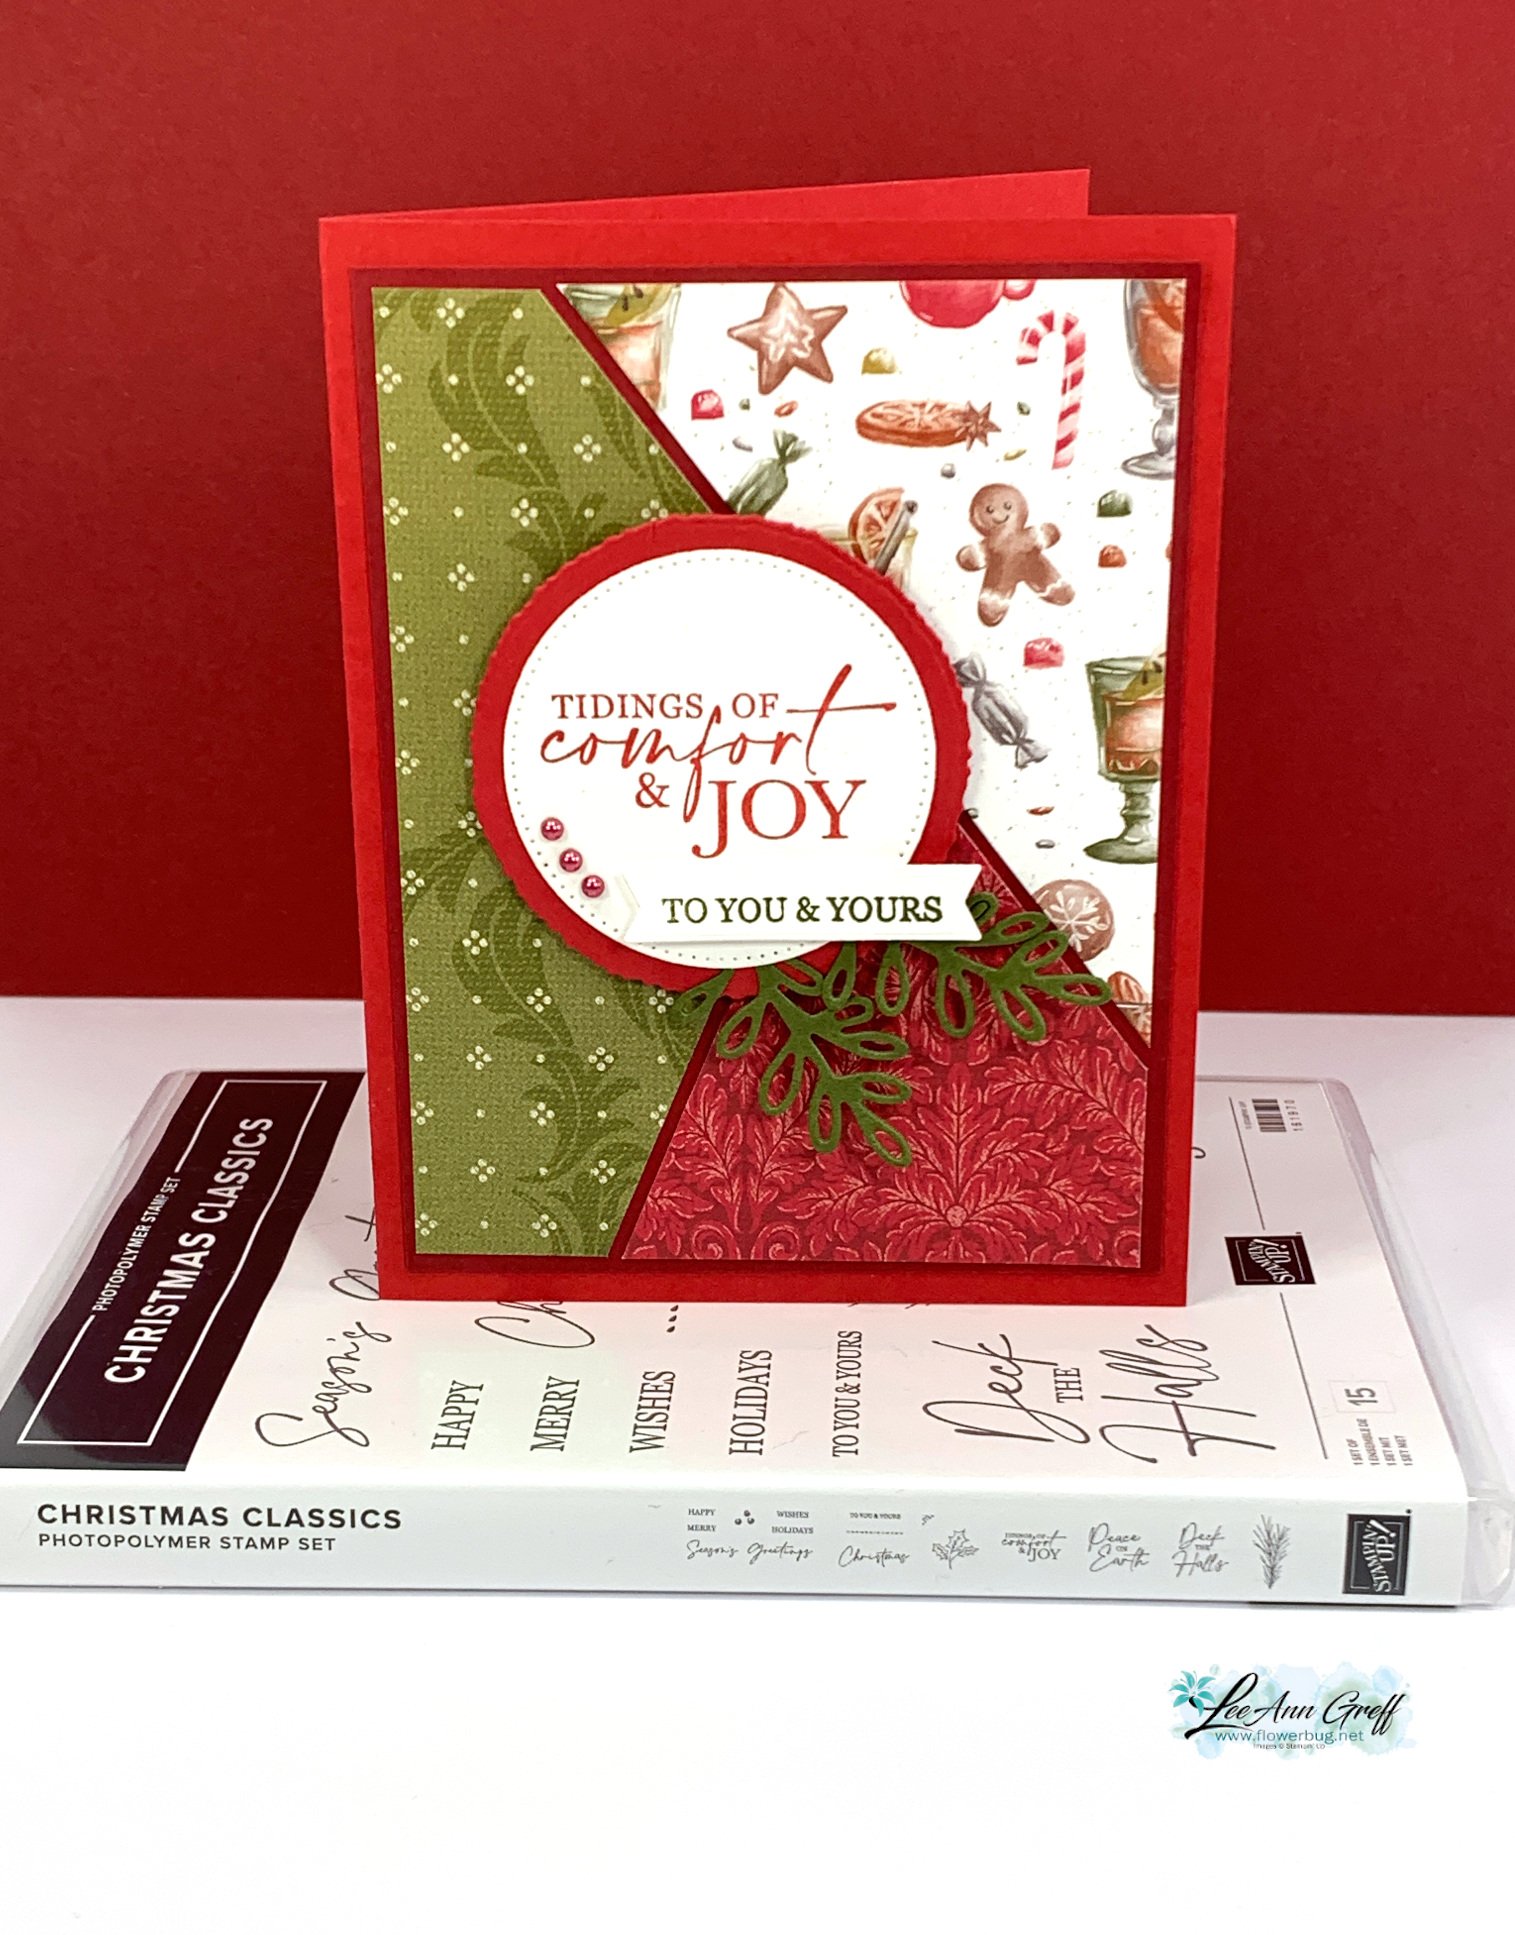
    I shared how to do this on the video below.  In the video I used the Traditions of St. Nick designer paper; another Online Exclusive seen here.  

    I used the Christmas Classic bundle seen here with Real Red, Cherry Cobbler, Mossy Meadow & White card stock. 

    The Mossy Meadow leaves are from the Christmas Classics dies.  Here are the three cards I made:  

    **Get the free project sheet here: Download Translucent Florals triple stack & cut card

    You can watch the video for this project here.  It includes two more fun fold cards as well!

    If you're not following me on YouTube click here.  Or follow me on Facebook for my weekly Tuesday lives here. 

    ~~~

    September Specials: 

    *current host code: WXX6RCHA or VEH4FKBV

    *Get a free 6 card kit with orders over $55 (Includes card bases, coordinating envelopes, Memories & More cards, gems & more) 

    Shop the updated Clearance Rack here:

    ~~~

    Get a Mystery Box full of Stampin' Up! supplies while they last!

    Each box contains from $180-200 in retired products (new or lightly used)

    1. Place an online Stampin' Up! order over $100 (before tax & shipping) using one of my current host codes to reserve a Mystery Box. *Host code links – WXX6RCHA or MYF6MXAG
    2. Send me the $14 shipping fee (PayPal or Venmo). 
    3. I'll send you your Mystery box via Priority Shipping! 

    Leave a Reply

    Your email address will not be published. Required fields are marked *


Notice: LeeAnn Greff, Independent Stampin’ Up! Demonstrator, Manager. The content of this website is my sole responsibility as an independent Stampin’ Up! demonstrator and the use of, and content of, the classes, services, or products offered on this website is not endorsed by Stampin’ Up! Copyright 2025