/


Latest Post

Hey Chuck Fancy Fold cards! Part 3


And today I'm sharing the last 2 projects featuring Hey Chuck.  Annette is one of my talented Flowerbug's and she chose this bundle for her Artist of the Month projects.

This first project features the Masterfully Made designer paper seen here and it's also a fun fold…
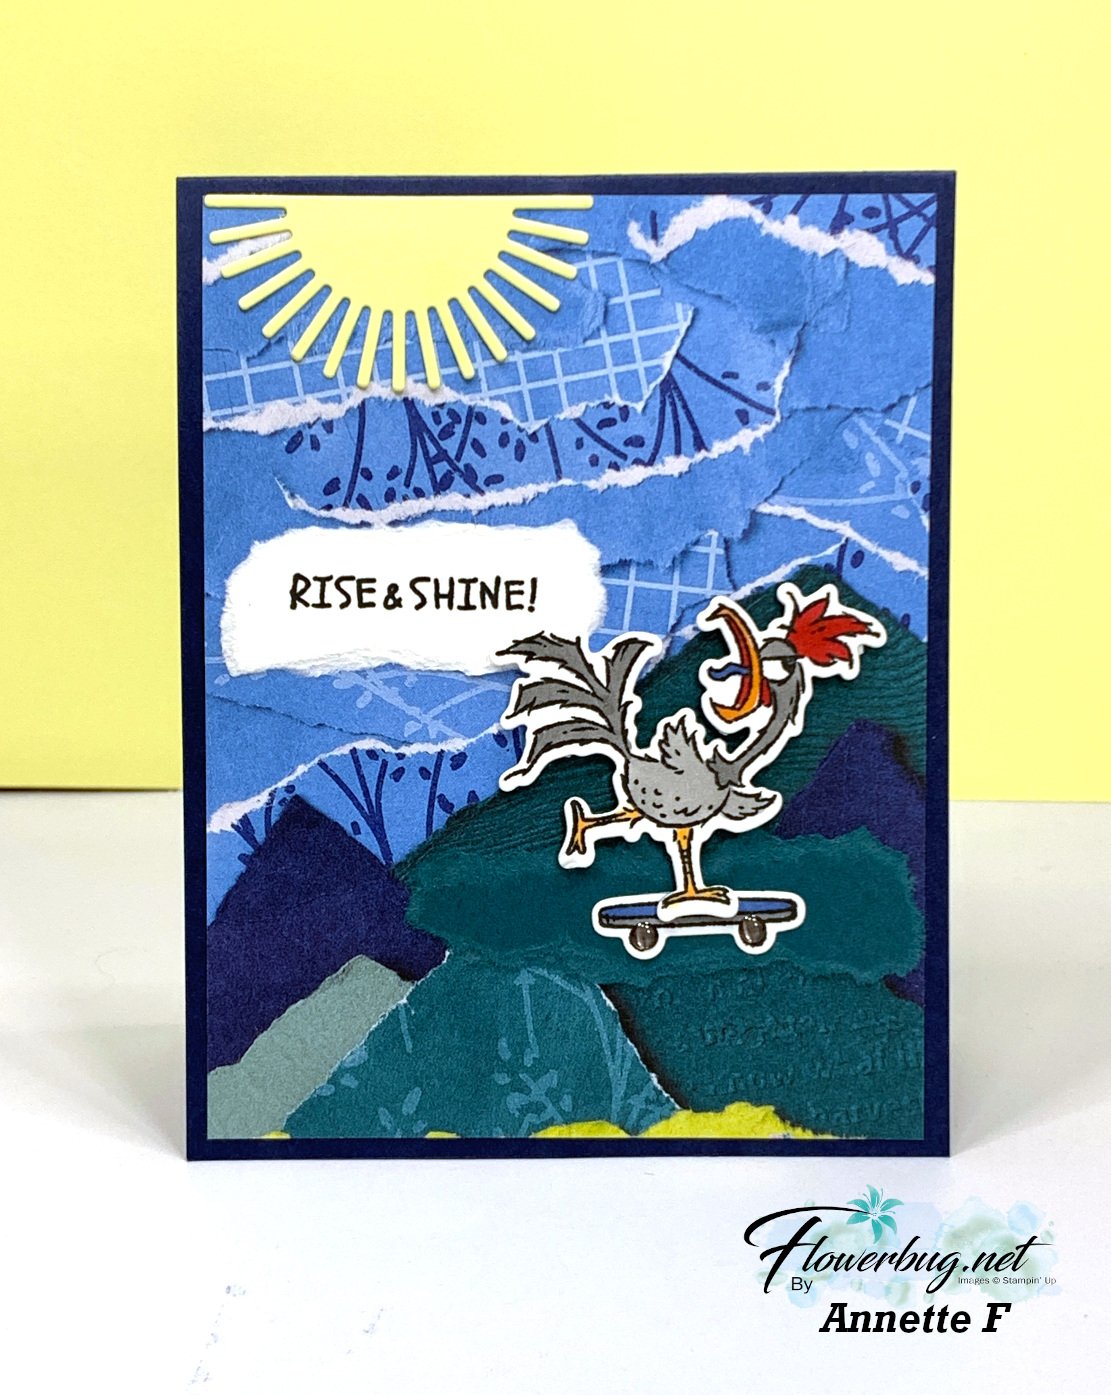
I love how she added a torn edge greeting; it fits perfectly with this designer paper that has a torn look to many sheets. 

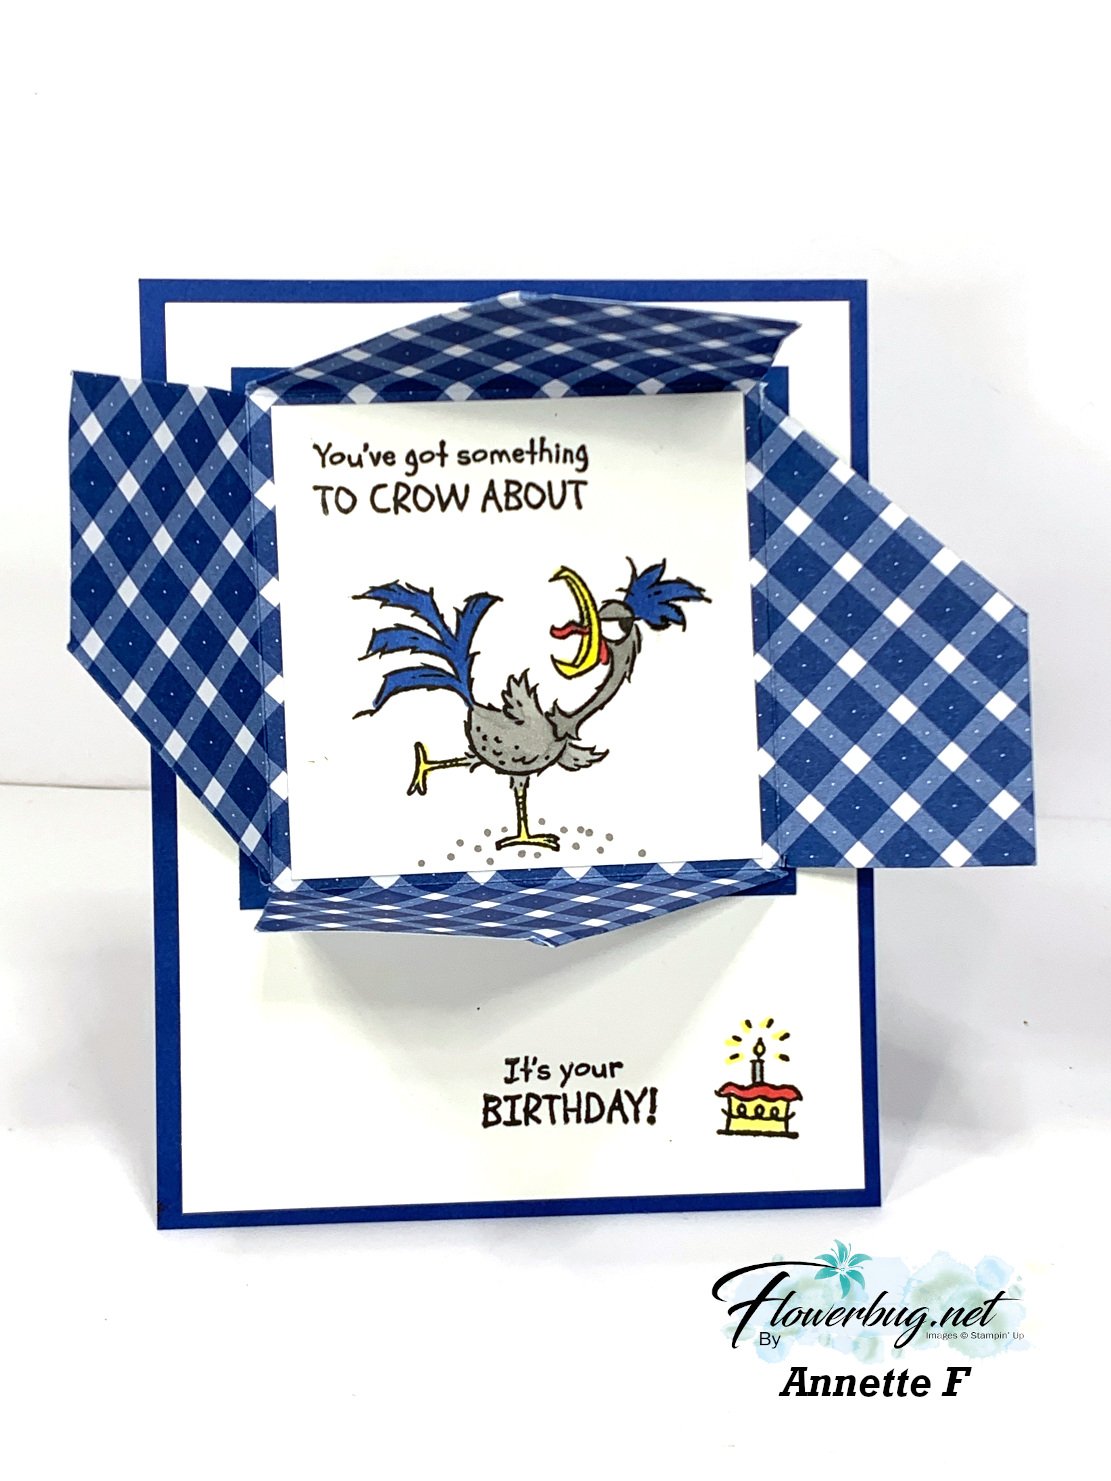
So here's a clue to her fun fold design: 

Do you recognize this fold? It's called a Pop & Twist fun fold card.  It's not easy to learn; but super cool to give out!  I do not have a video on this fold but you can do a search on YouTube and find many video tutorials.  

Here's the open view: 

Isn't it cool? She added some soft blended background colors on each layer which makes a huge difference to the finished look.  Isn't that designer paper perfect with this bundle?  

If you like a challenge you should enjoy making one of these.  I've made a few and honestly I don't plan to make any more!  Ha! 

Here's the Hey Chuck bundle she used.  The dies are back now and available!

~~~

Look at this hilarious rooster!  And the perfect greeting for him….. 


Details:

~~~

Next is a fun fold card featuring the Earthen Elegance designer paper.  


She got this fun fold idea from Lisa Curcio.  It has 4 pieces of Misty Moonlight card stock measuring 4 1/4" X 5 1/2" scored at 2 1/8". They're adhered together back to back like this: 


There are 8 pieces of designer paper on each card stock side; measuring 2" X 5 3/8".  The pop-up designer paper on the front and back has a window cut out of it to reveal the rooster image inside; using the same die-cut.  She used the Tailored Tags dies.  This DSP measures 4 1/2" wide X 5". Score 1/2" from each side on the 4 1/2" edge. 

Here's the back side:  


There's a folded strip of card stock under the White tag that pops it up when opened. I may share one of these cards on an upcoming video soon; it's quite intriguing!  

I hope you enjoyed seeing all of her projects; she did an incredible job! If you want to see details on each one, click here for part 1 and here for part 2.  


 ~~~

August Specials: 

 *current host codes: KY99RPXP 
ShopwithLeeAnn.com

Redeem your Bonus Days coupons in August!  

Free Gift with orders in August: 

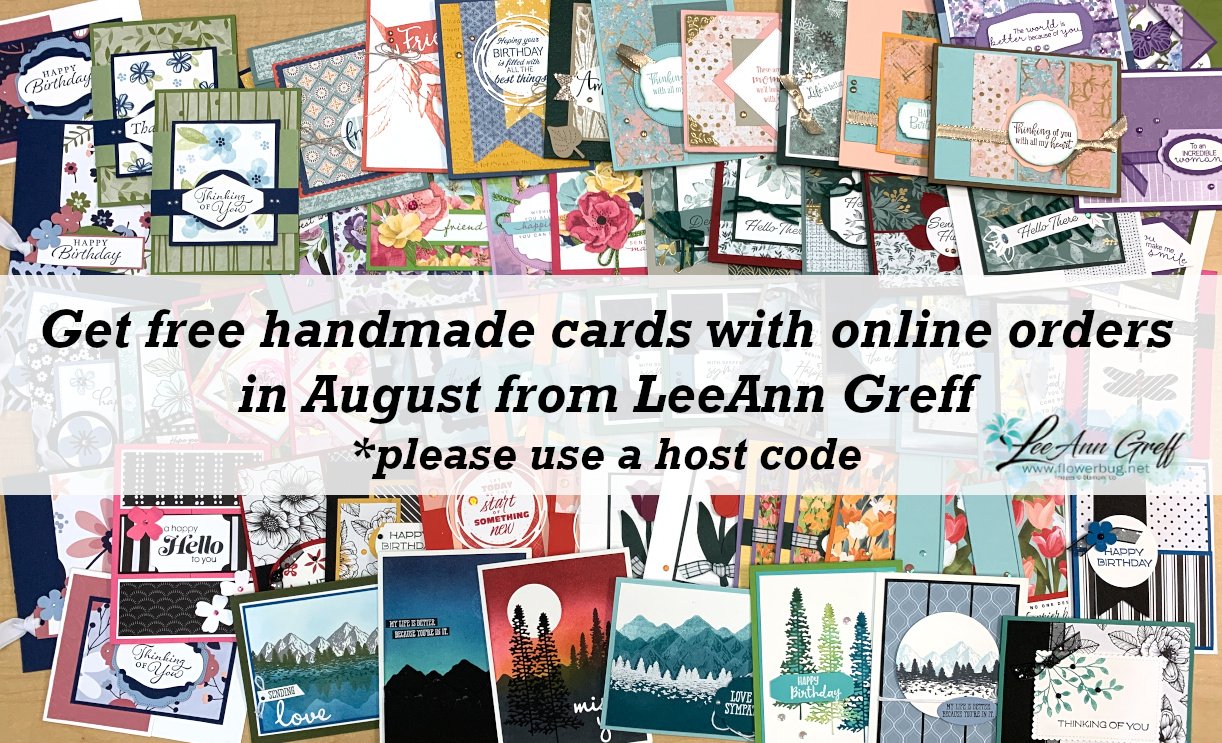
Get a pack of at least 5 beautiful cards with orders over $50 this month. 

The more you order the more cards you get!

*cards are previous card kits to go; over the top and many fun folds.  
All Posts

  • A Mystery Card Floating technique with the pretty Dainty Flowers


    Every few months we have a Mystery Card challenge with my Flowerbug's Team.  I put together packets of papers and elements and send them to those who opt in. They have a month to make a project using the supplies in their 'Mystery' packet and of course there are prizes too.    

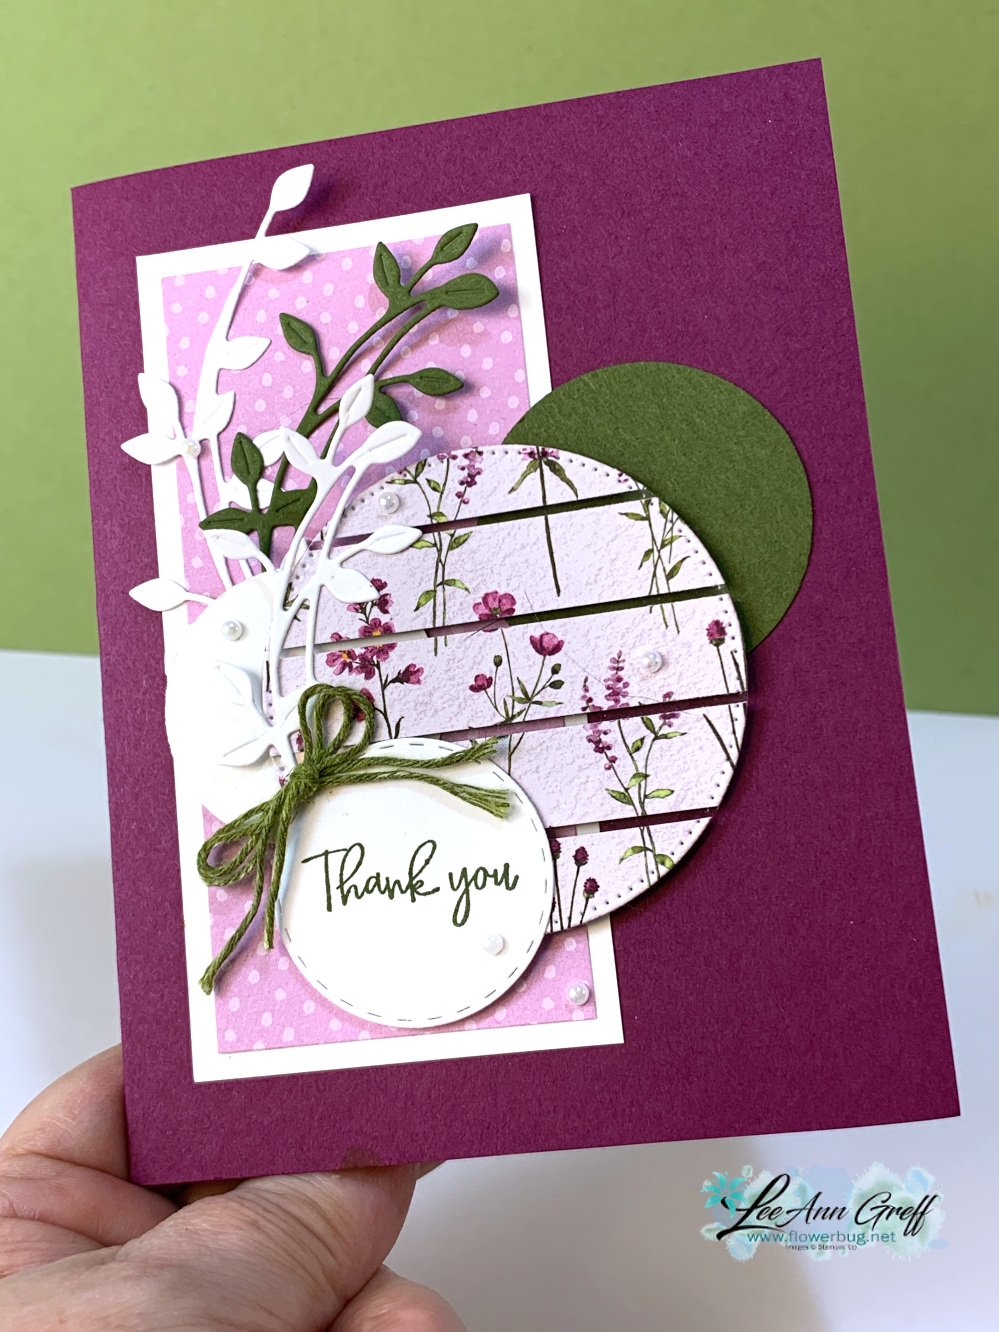
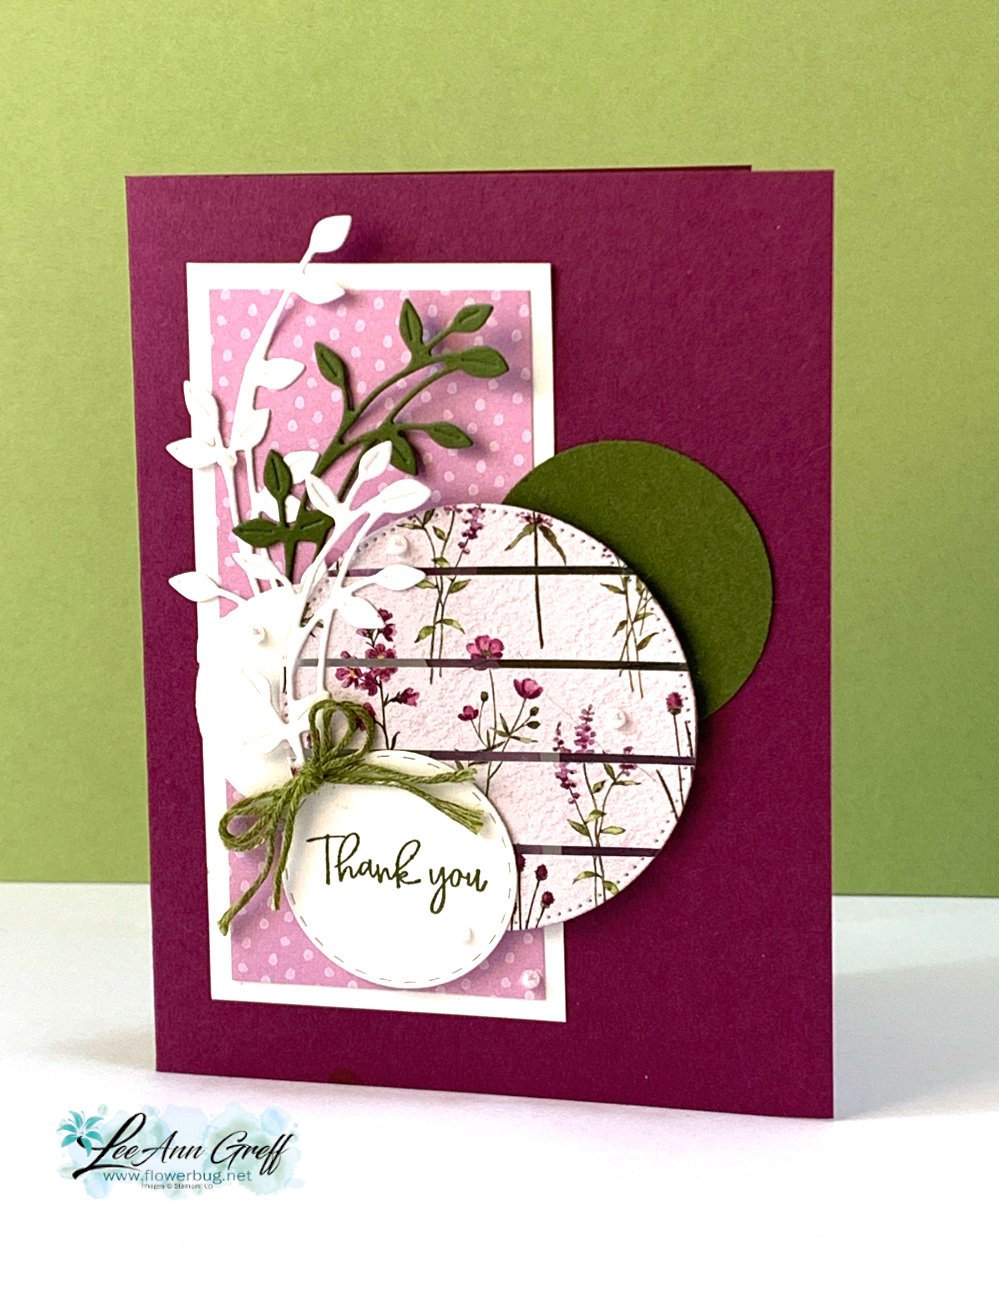
    This month I featured papers from the Dainty Flowers designer paper from the Sale-a-Bration catalog.  Here's my card:

    I had multiple pieces of the designer paper, pieces of Mossy Meadow, a white and Mossy circle and the Rich Razzleberry card base.  They could use as many or as few of the elements that they wanted or add extras too.  

    Floating Technique: I cut one of my DSP layers into 1/2" strips and adhered them to a piece of window sheet.  Then I cut it out with a stitched circle die from the Stylish Shapes dies.  

    It's such a unique & unexpected element to a card.  I added some die-cuts from the Dainty Delight dies too.  

    Measurements:

    • Rich Razzleberry card base 5 1/2" X 8 1/2" 
    • DSP 2" X 4 1/4", circle element is 2 1/2"
    • White layer 2 1/4" X 4 1/2" 

    ~~~

    February specials:

    February Host code links:

      CNV2VCBT or 7EUM6NB9 or N9YXCDAD 

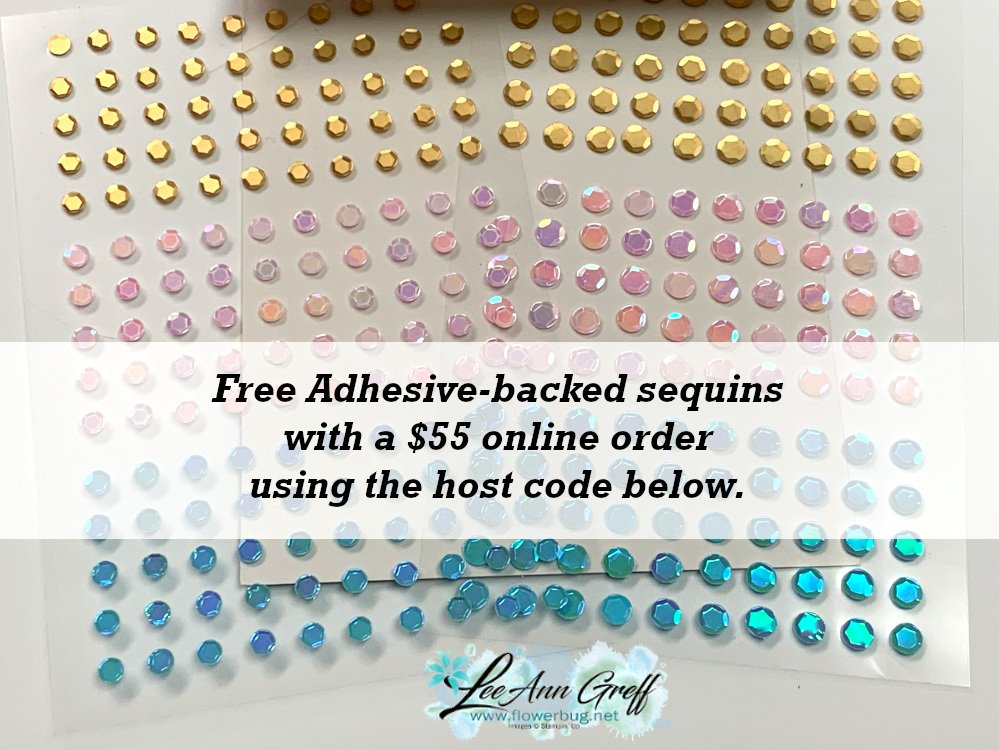
    Get free Pastel Sequins with online orders over $55 when using the host code above!

     Earn free products with my loyalty rewards! 

    Click here to download yours and earn a $50 shopping spree!

    ~~~

    Best Deal Ever on the Starter kit here!

    Choose $175 in products for just $129 plus the new mini machine!

    Or choose $175 for $99 without a new Mini.  AMAZING!

    Leave a Reply

    Your email address will not be published. Required fields are marked *

  • Mystery Boxes – FREE to you with an online order, while supplies last. NEW Sale-a-Bration choices just released!


    Starting today there are 10 NEW choices during Sale-a-Bration!  These are items from the current Annual or Jan-April Spring catalogs.  See them all here.

    ~~~

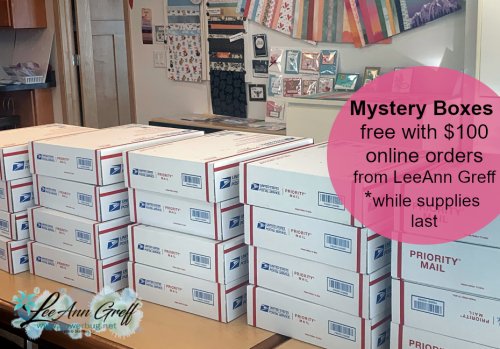
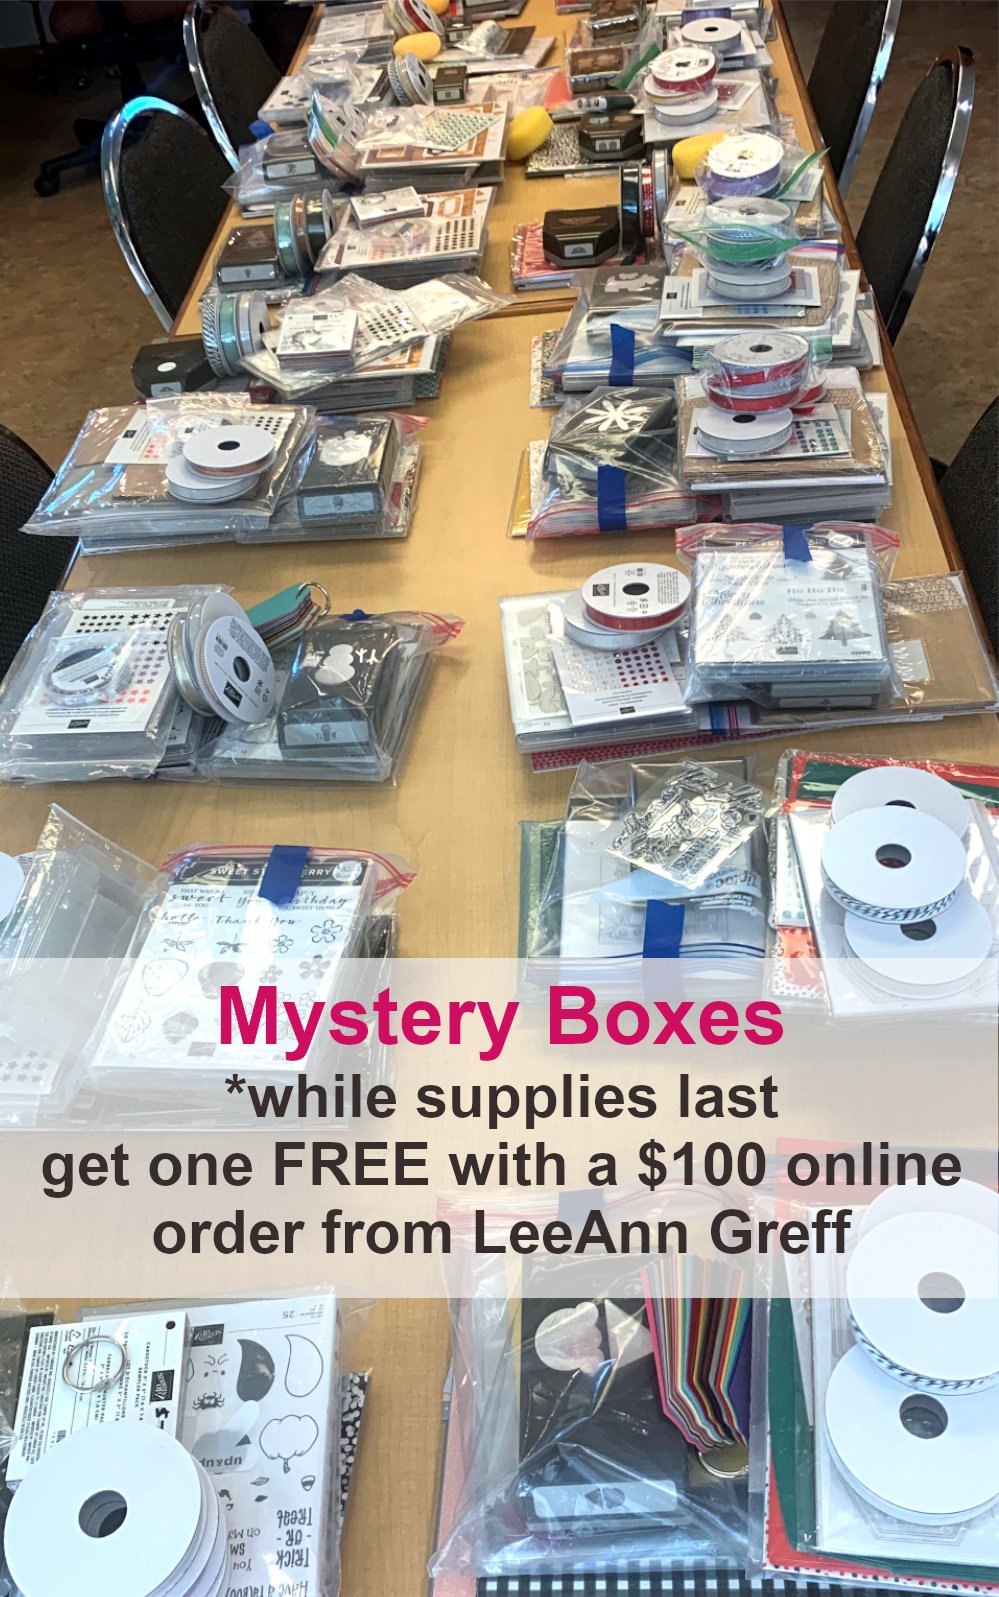
    Exciting news!  Mystery Boxes are BACK!!!  

    Last year I gave away a bunch of Mystery Boxes and I'm doing it again during Sale-a-Bration. 

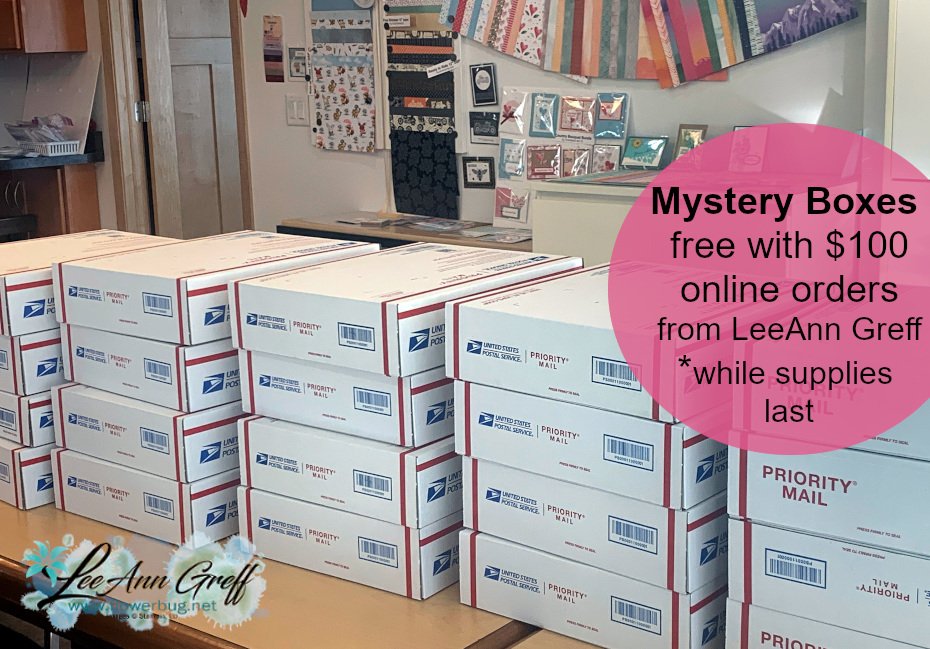
    When you place a $100 order with me using one of these host code links (CNV2VCBT or 7EUM6NB9 or N9YXCDAD ), you will be eligible for a Mystery Box shipped to you WHILE SUPPLIES LAST!  I will even pay your Mystery Box shipping!  

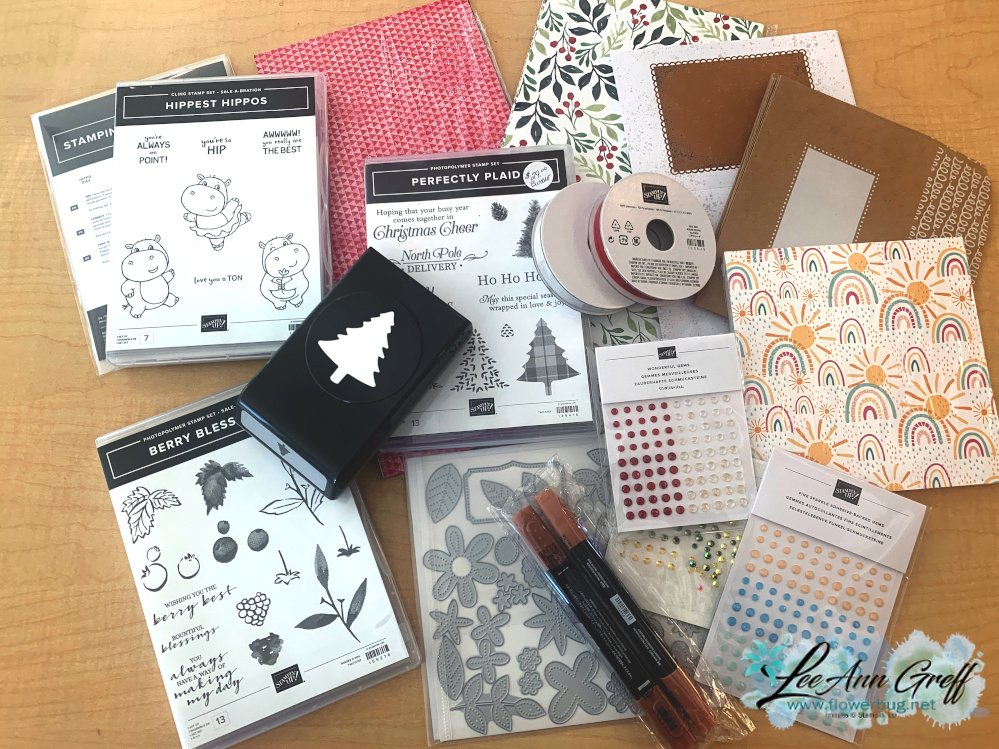
    A Mystery Box is a gift from me to you when you place your $100 order with me.  All boxes are filled with retired Stampin’ Up! products like stamps, dies, paper, punches, accessories, and more. This is my annual craft de-stash and my way to share my retired products with you!

    • $100 order must be before tax and shipping
    • Please use one of these host codes:  CNV2VCBT or 7EUM6NB9 or N9YXCDAD 
    • Earn 1-2 free Sale-a-Bration items with your online order!  
    • All products are “as is”; some new, some used, all in good condition
    • The value of the contents is at least $175 and up to $200 
    • Contents of each box will vary – it’s a MYSTERY, remember?  
    • These are available while supplies last. Contact me here to see if there are any left.  
    • No refunds or exchanges
    • Orders of $150 or more qualify for free rewards from Stampin’ Up!
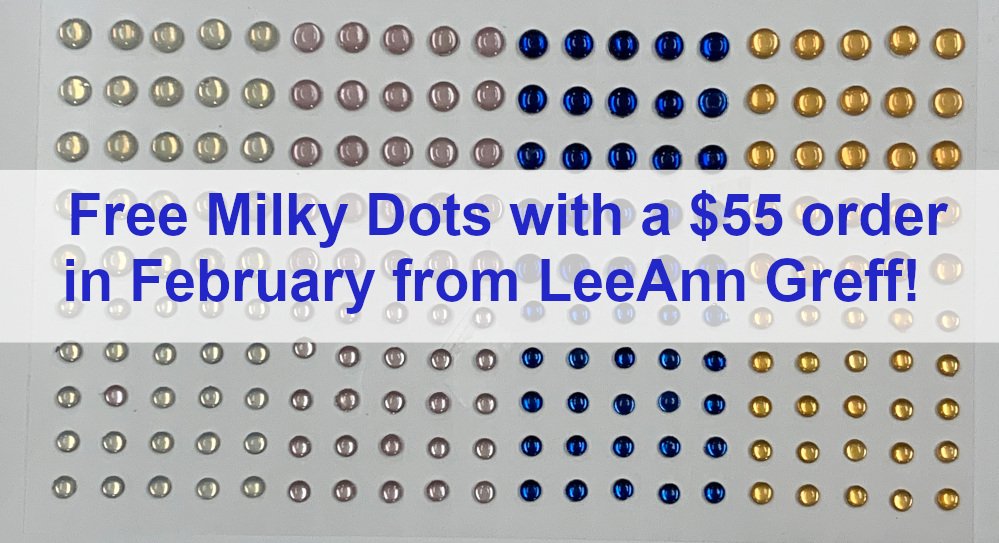
    • Mystery box orders do not qualify to receive free milky dots – my perk for online orders in February.
    • I pay the shipping to send this box of goodies to you! 

    Here's a sample of the contents of one mystery box: 

    ~~~

    Order online using the links below:

    February Host code links: 7EUM6NB9 or N9YXCDAD or CNV2VCBT

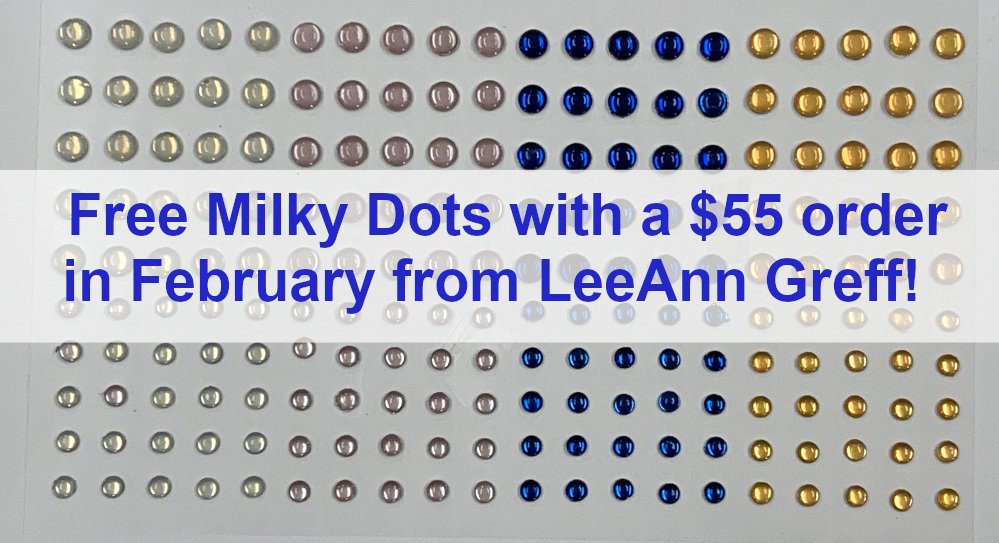
    Get free Milky Dots with online orders over $55 when using the host code above!  Earn free products with my loyalty rewards! 

    Click here to download yours and earn a $50 shopping spree!

    ~~~

    Best Deal Ever on the Starter kit here!

    Choose $175 in products for just $129 plus the new mini machine!

    Or choose $175 for $99 without a new Mini.  AMAZING!

    Leave a Reply

    Your email address will not be published. Required fields are marked *

  • Explosion ‘Wow’ cards with step by step video tutorial and template.


    We made explosion cards on Facebook Live Monday night.  I host a free class called Stamp with Me Live on the last Monday evening of each month on my FB page here.  Be sure to follow me there.

    I always upload the video on my NEW YouTube Channel afterwards so even if you're not on Facebook you can watch it later.  

    I chose to use the Favored Flowers designer paper – it's a free Sale-a-Bration choice right now; while supplies last.  You can earn it free with any $50 order from Stampin' Up!.  See it here.  

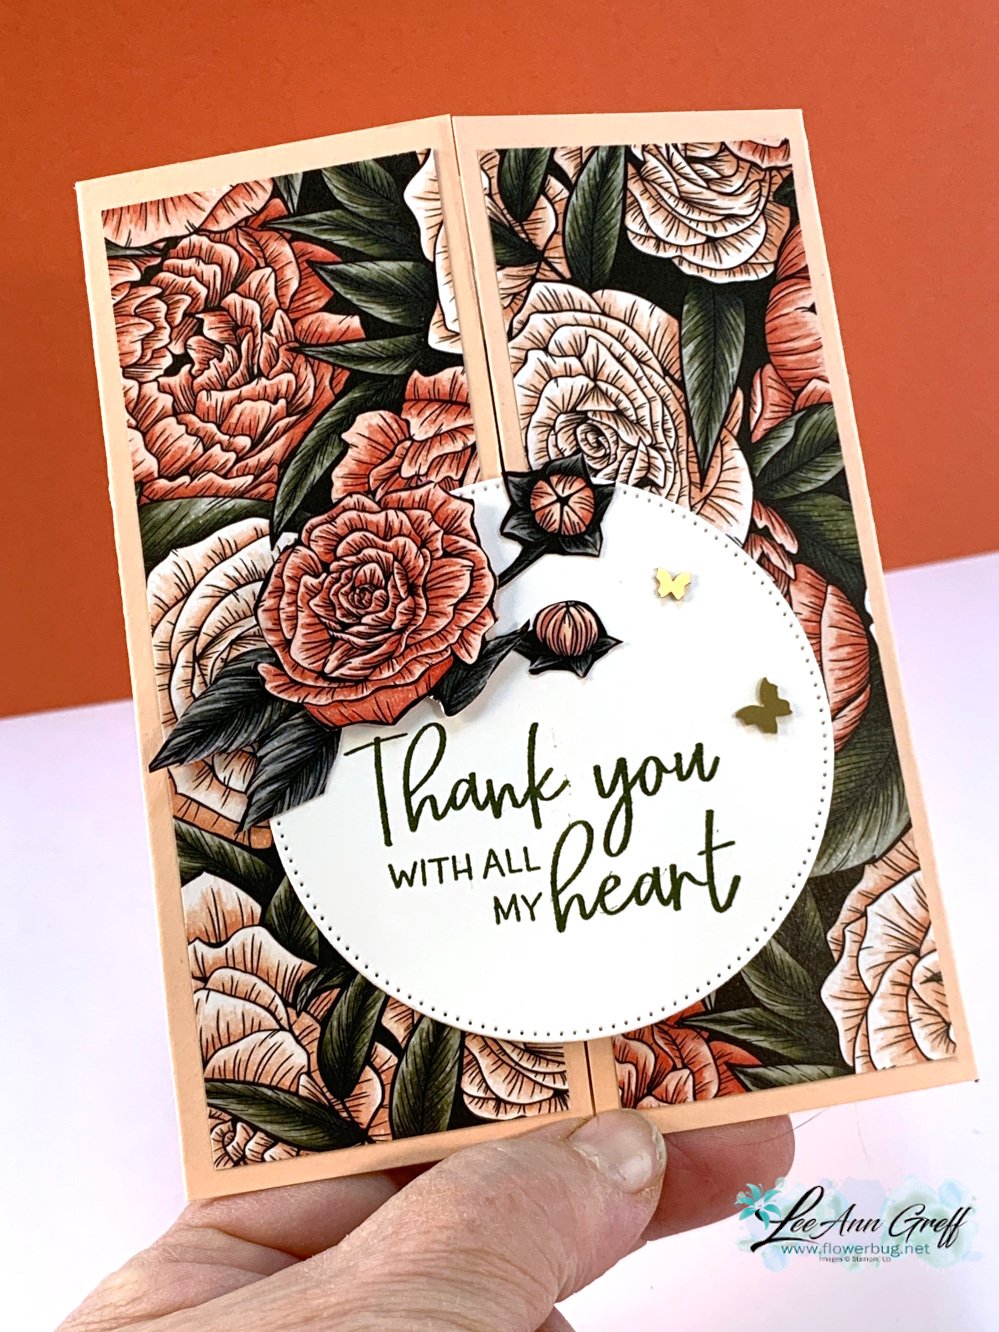
    The card starts out as a gate-fold fun fold card.  Easy enough….  I chose to fussy cut a few flowers & leaves from the pretty DSP to add to my greeting element.  The greeting is from the Fitting Florets stamp set. The white stitched circle is from the Stylish Shapes dies.  I also added a few Brushed Brass butterflies; love these!  They're so dainty and nice & flat.  

    Here's the inside view of the explosion insert: 

    I added the layered squares on the diagonally at the center of the explosion piece.  Note that this is only adhered on the very outside edge of the inside card.  It sort of floats.  Please watch the video here to see exactly how it's done.  It's quite difficult to explain how this is done in writing.  

    **I created a free project sheet for this card; Download it here

    Below is the template I used for the designer paper explosion layer.  You'll start out with a 4" X 8" piece of designer paper and score vertically at 2", 4" and 6".  Then score on the diagonal 4 times as shown.

    I hope you try making one of these; they're so fun! 

    Click on the link below to watch how it's done. 

    YouTube video here

    ~~~

    Order online using the links below:

    January Host code links: FYRQ94HR or 69GXSA3B

    Get free Pastel Sequins with online orders over $55 when using the host code above! 

     Earn free products with my loyalty rewards! 

    Click here to download yours and earn a $50 shopping spree!

    ~~~

    Best Deal Ever on the Starter kit here!

    Choose $175 in products for just $129 plus the new mini machine!

    Or choose $175 for $99 without a new Mini.  AMAZING!

    Leave a Reply

    Your email address will not be published. Required fields are marked *


Notice: LeeAnn Greff, Independent Stampin’ Up! Demonstrator, Manager. The content of this website is my sole responsibility as an independent Stampin’ Up! demonstrator and the use of, and content of, the classes, services, or products offered on this website is not endorsed by Stampin’ Up! Copyright 2025