/


Latest Post

Heartfelt Hexagon cards with free printable project sheets


Today I'm sharing a few more cards made with the Heartfelt Hexagon punch bundle. See the first project here. 

When creating this next card I chose to use the Delightful Floral designer paper seen here. I had a few large scraps in the package and created this card:

It's a classic layout that's perfect for using up those random pieces of designer paper you might have.  I like to layer one of the pieces to bring in another color layer; Pretty Peacock here. Then I simply added a layered Hexagon punch combined with the pretty Elegant Edge Tag Topper punch. You can see it here online.  

My Lemon Lime Twist strip is 1" X 3 1/2" which is perfect for that delicate edge.  

It's quite easy to layer the Hexagon punch.  Punch a second contrasting piece, cut it in half horizontally and add the stamped punched piece to it leaving a small border at the top & bottom.  You can see how this is done in the video below. 

*Here's the free project sheet for this card; it's printable too!  Download Heartfelt Hexagon & Delightful Floral cards

~~~

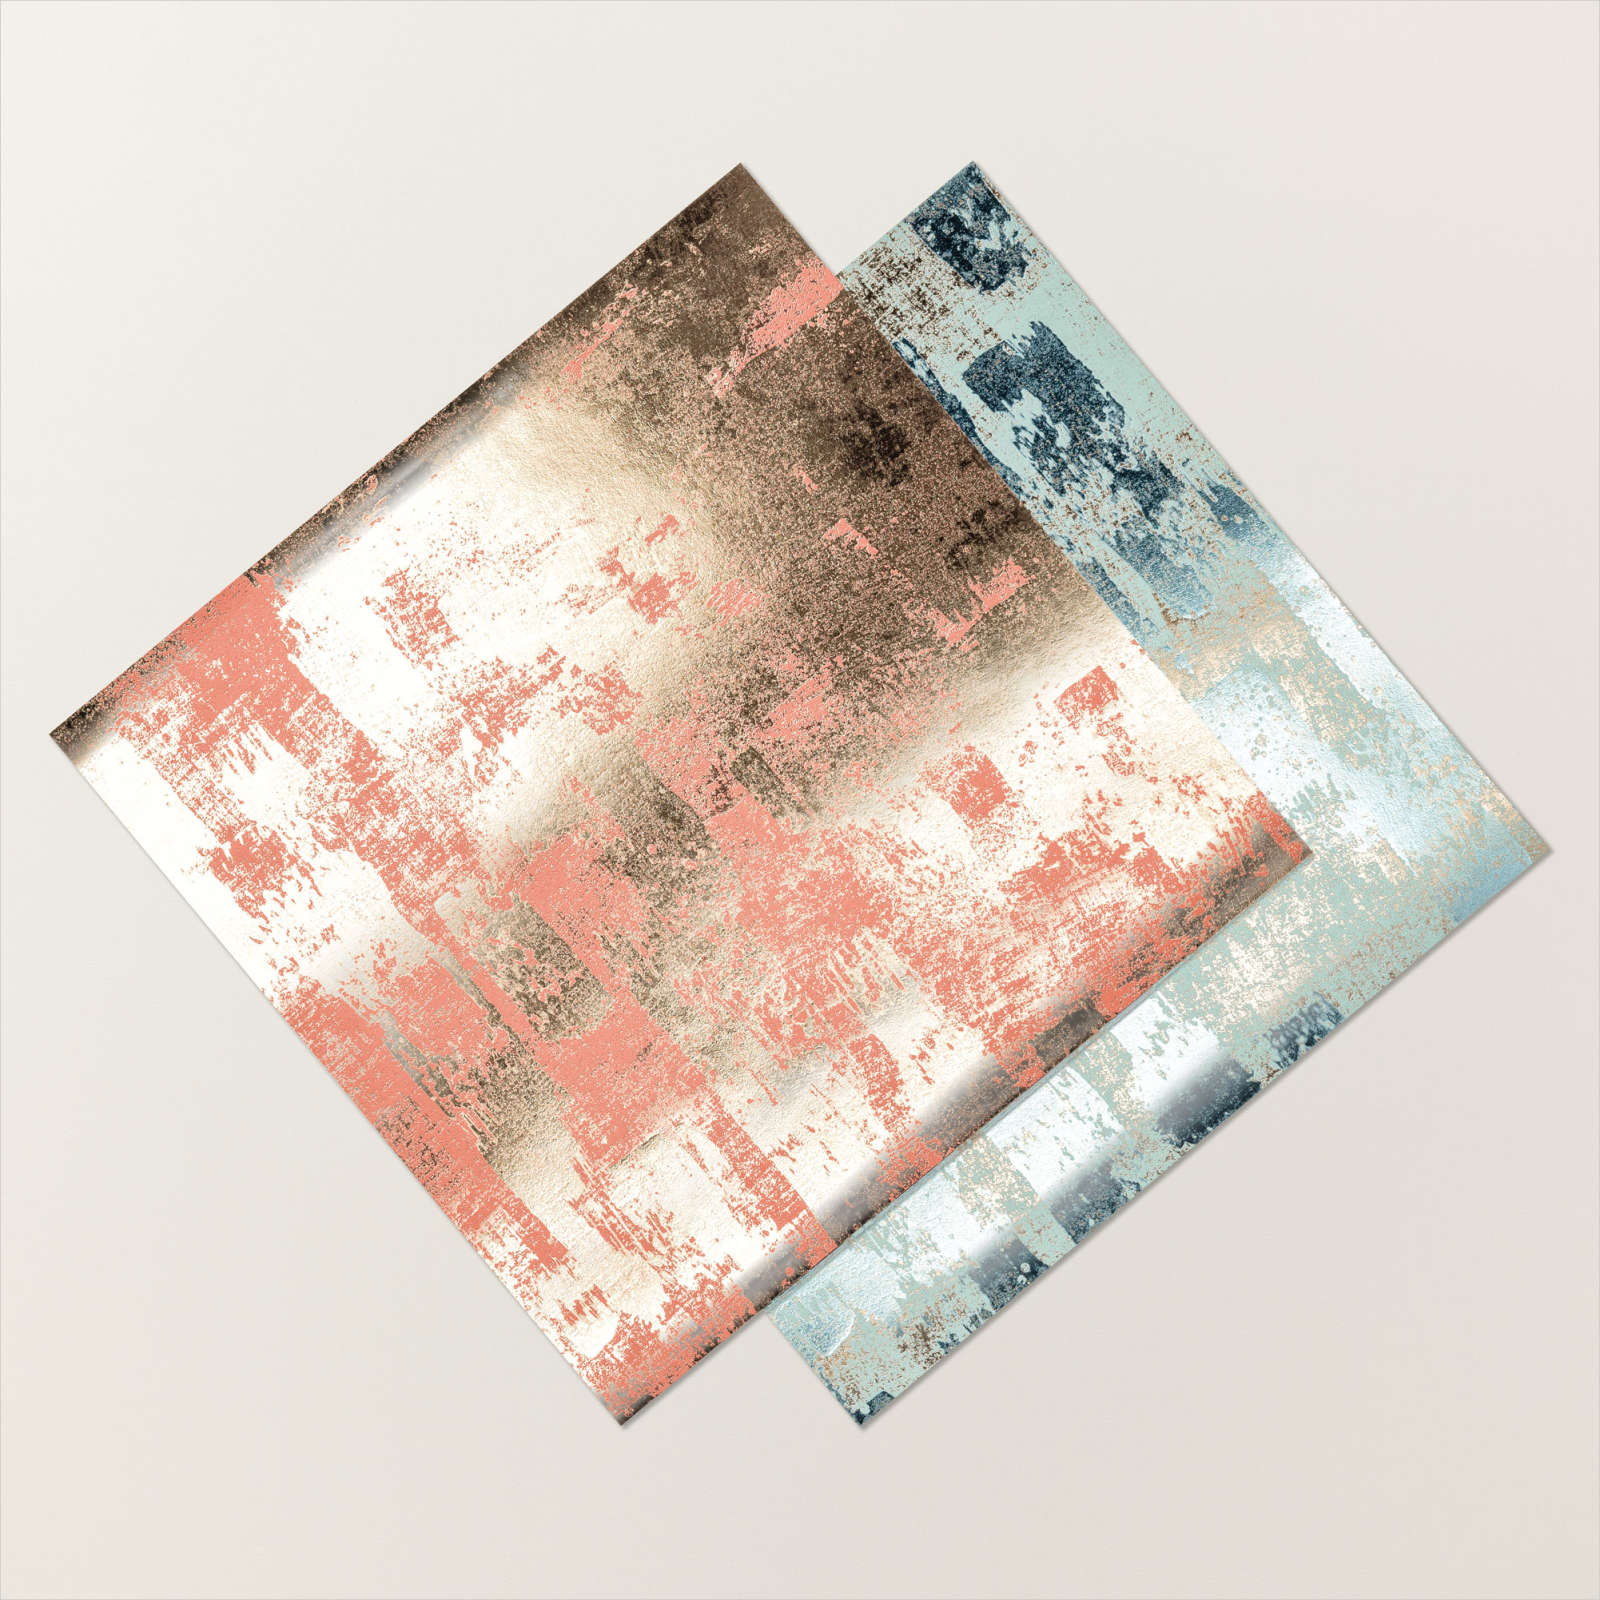
Next is an easy card layout featuring designer paper scraps.  This time I chose the beautiful All About Autumn specialty designer paper.  This has been so popular they cannot keep it in stock!  It's currently unavailable but should return the week of October 30th.  

*Click on this link to get the printable free project sheet: Download Heartfelt Hexagon & All About Autumn DSP

Here's the new Heartfelt Hexagon bundle. Isn't it great?! See it online here. 

Below is the video on these cards and another fun fold card. 

~~~

October Specials: 

Amazing Starter Kit choices! 

Choose one and enjoy the 20% discount on all future orders! Click here

*current host code: HTHK4TQU or Y7VMN2TC

*Get free glitter gems with online orders over $55 (Please use a host code)

All Posts

  • Desert Details WOW card


    I spent time playing with the Delicate Desert suite and this is what I came up with: 

    I LOVE how it turned out!  I really wanted to use the Dry Brushed specialty paper along with the Desert Details bundle seen here.  The dies in it are so cool! 

    The two large rectangles and dies for the stamped flowers are just a few of the dies included.  

    My colors include Petal Pink & Soft Succulent. I cut two of the open leaf dies from the center of the Dry Brushed large shape, leaving the outer frame intact. No one but me knows there are empty spaces under the White layer! 

    You can see the Dry Brushed metallic specialty paper here.  It's simply stunning!  

    There are two of each sheet in this package of 12" metallic paper for $8. 

    I added a few of the Gold Faceted Adhesive-Backed sequins on this card too.  They're also part of the Delicate Desert suite seen here.  

    I hope you enjoyed this project; it came together so easily.  

    ~~~

    Sale-a-Bration & the Spring Catalog!


    Order online using the links below:

    January Host code links: FYRQ94HR or 69GXSA3B

    Get free Pastel Sequins with online orders over $55 when using the host code above! 

     Earn free products with my loyalty rewards! 

    Click here to download yours and earn a $50 shopping spree!

    ~~~

    Best Deal Ever on the Starter kit here!

    Choose $175 in products for just $129 plus the new mini machine!

    Or choose $175 for $99 without a new Mini.  AMAZING!

    Leave a Reply

    Your email address will not be published. Required fields are marked *

  • Sweet Country Bouquet cards & treat box


    Jane shared this 'sweet' card and treat box she made at our Flowerbug's team meeting yesterday.  They were for her monthly Club gathering. 

    I think they're super cute and had to share them with you.  

    She featured the Country Floral Lane suite; especially the Country Bouquet Bundle seen here.  Unfortunately the Country Bouquet punch is unavailable right now; it's out of stock until possibly April. The heart and leaves would be easy to fussy cut though.   

    She used the Scalloped Contour dies were used on the front and back of her box using the Country Gingham DSP seen here; a simple hand made box is between them to add your treats to.  I might have to make one to share with you!

    I love the greetings added with banners on the front!  She gave me the following measurements for the box: 

    Start with 6" X 5 1/2".  Score on the 5 1/2" side at 1 1/2" and 4". Score on the 6" side at 2 1/4" & 3 3/4".  Cut up to the score lines on the 6" side.  Form your box. 

    For her card she used the Country Floral Lane DSP seen here along with Petal Pink, Sweet Sorbet and a bit of Mint Macaron.  Love the layout! 

    Mary made this pretty card for our Team swap also featuring the Country Floral Lane DSP.  She also used the Love for You Bundle seen here. 


    That 'Love' die-cut from the White layer placed on the angle adds a fun playfulness to the card.  Her hearts and leaves are punched directly from the Country Floral Lane DSP with the Country Bouquet punch. She cased the card from Mary Fish. 

    Measurements:  DSP 3 1/2" X 3 3/4", Sweet Sorbet is 3 3/4" X 4", Petal Pink 2" X 2 1/2", White is 2 1/2" X 1 1/2" 

    Thanks for stopping in today; more to come every day of the week; Monday – Friday! 

    ~~~

    Sale-a-Bration & the Spring Catalog!


    Order online using the links below:

    January Host code links: FYRQ94HR or 69GXSA3B

    Get free Pastel Sequins with online orders over $55 when using the host code above! 

     Earn free products with my loyalty rewards! 

    Click here to download yours and earn a $50 shopping spree!

    ~~~

    Best Deal Ever on the Starter kit here!

    Choose $175 in products for just $129 plus the new mini machine!

    Or choose $175 for $99 without a new Mini.  AMAZING!

    Leave a Reply

    Your email address will not be published. Required fields are marked *

  • Double Pillar Window card technique with video; it’s so cool you’ll want to try it!


    I made this card on Tuesday's Live video; it's a Double Pillar Window card!  It has so much dimension and is also fun to play with. 

    I used the Stitched Rectangle dies – 4 different sizes – on this card. Two for the Country Gingham designer paper frame and two for the Navy frame/layer that's popped up.  *These are a must have! 

    *If you do have these dies I used the 5th & 3rd from the largest for the designer paper frame. For the card stock I used 6th and 2nd from the largest.

    As you can see, I used the Adorable Owls stamp set.  It's available with our Sale-a-Bration promotion in January & February 2023; while supplies last.  It's actually free with any $50 purchase.  See it here.  

    See the pillars under the top layer?  They are about 3/8" X 3" and fit right inside the DSP window under the upper layer.  They fold down flat for mailing.  

    Measurements: 

    • Navy CS 5 ½” X 8 ½” and stitched die-cut 4 ¾” X 3 3/8” outside size
    • 4” X 5 ¼” DSP, cut with Stitched Rectangles. Pillars – 2 pieces 3” X 1 7/8” DSP; scored every 3/8”
    • White 3 ½” X 2 ½” inside frame, Inside layer is 4 ¾” X 3 ½”

    Here's the inside view.  I colored the owls with Blends markers.  The stitched stars and clouds are from the Give it a Whirl dies seen here.  

    Click here to watch the video or click on the photo below.  I share this card and another special fun fold card.  

    Be sure to subscribe to my NEW YouTube Channel while you're there.  Unfortunately my former YouTube channel was hijacked and is no longer available.  

    ~~~

    Sale-a-Bration & the Spring Catalog!


    Order online using the links below:

    January Host code links: FYRQ94HR or 69GXSA3B

    Get free Pastel Sequins with online orders over $55 when using the host code above! 

     Earn free products with my loyalty rewards! 

    Click here to download yours and earn a $50 shopping spree!

    ~~~

    Best Deal Ever on the Starter kit here!

    Choose $175 in products for just $129 plus the new mini machine!

    Or choose $175 for $99 without a new Mini.  AMAZING!

    Leave a Reply

    Your email address will not be published. Required fields are marked *


Notice: LeeAnn Greff, Independent Stampin’ Up! Demonstrator, Manager. The content of this website is my sole responsibility as an independent Stampin’ Up! demonstrator and the use of, and content of, the classes, services, or products offered on this website is not endorsed by Stampin’ Up! Copyright 2025