/


Latest Post

Have a Hoot Bundle; for Christmas!


At first I thought this bundle was just for Halloween.  But when looking at the images provided it works wonderfully for Christmas too!  

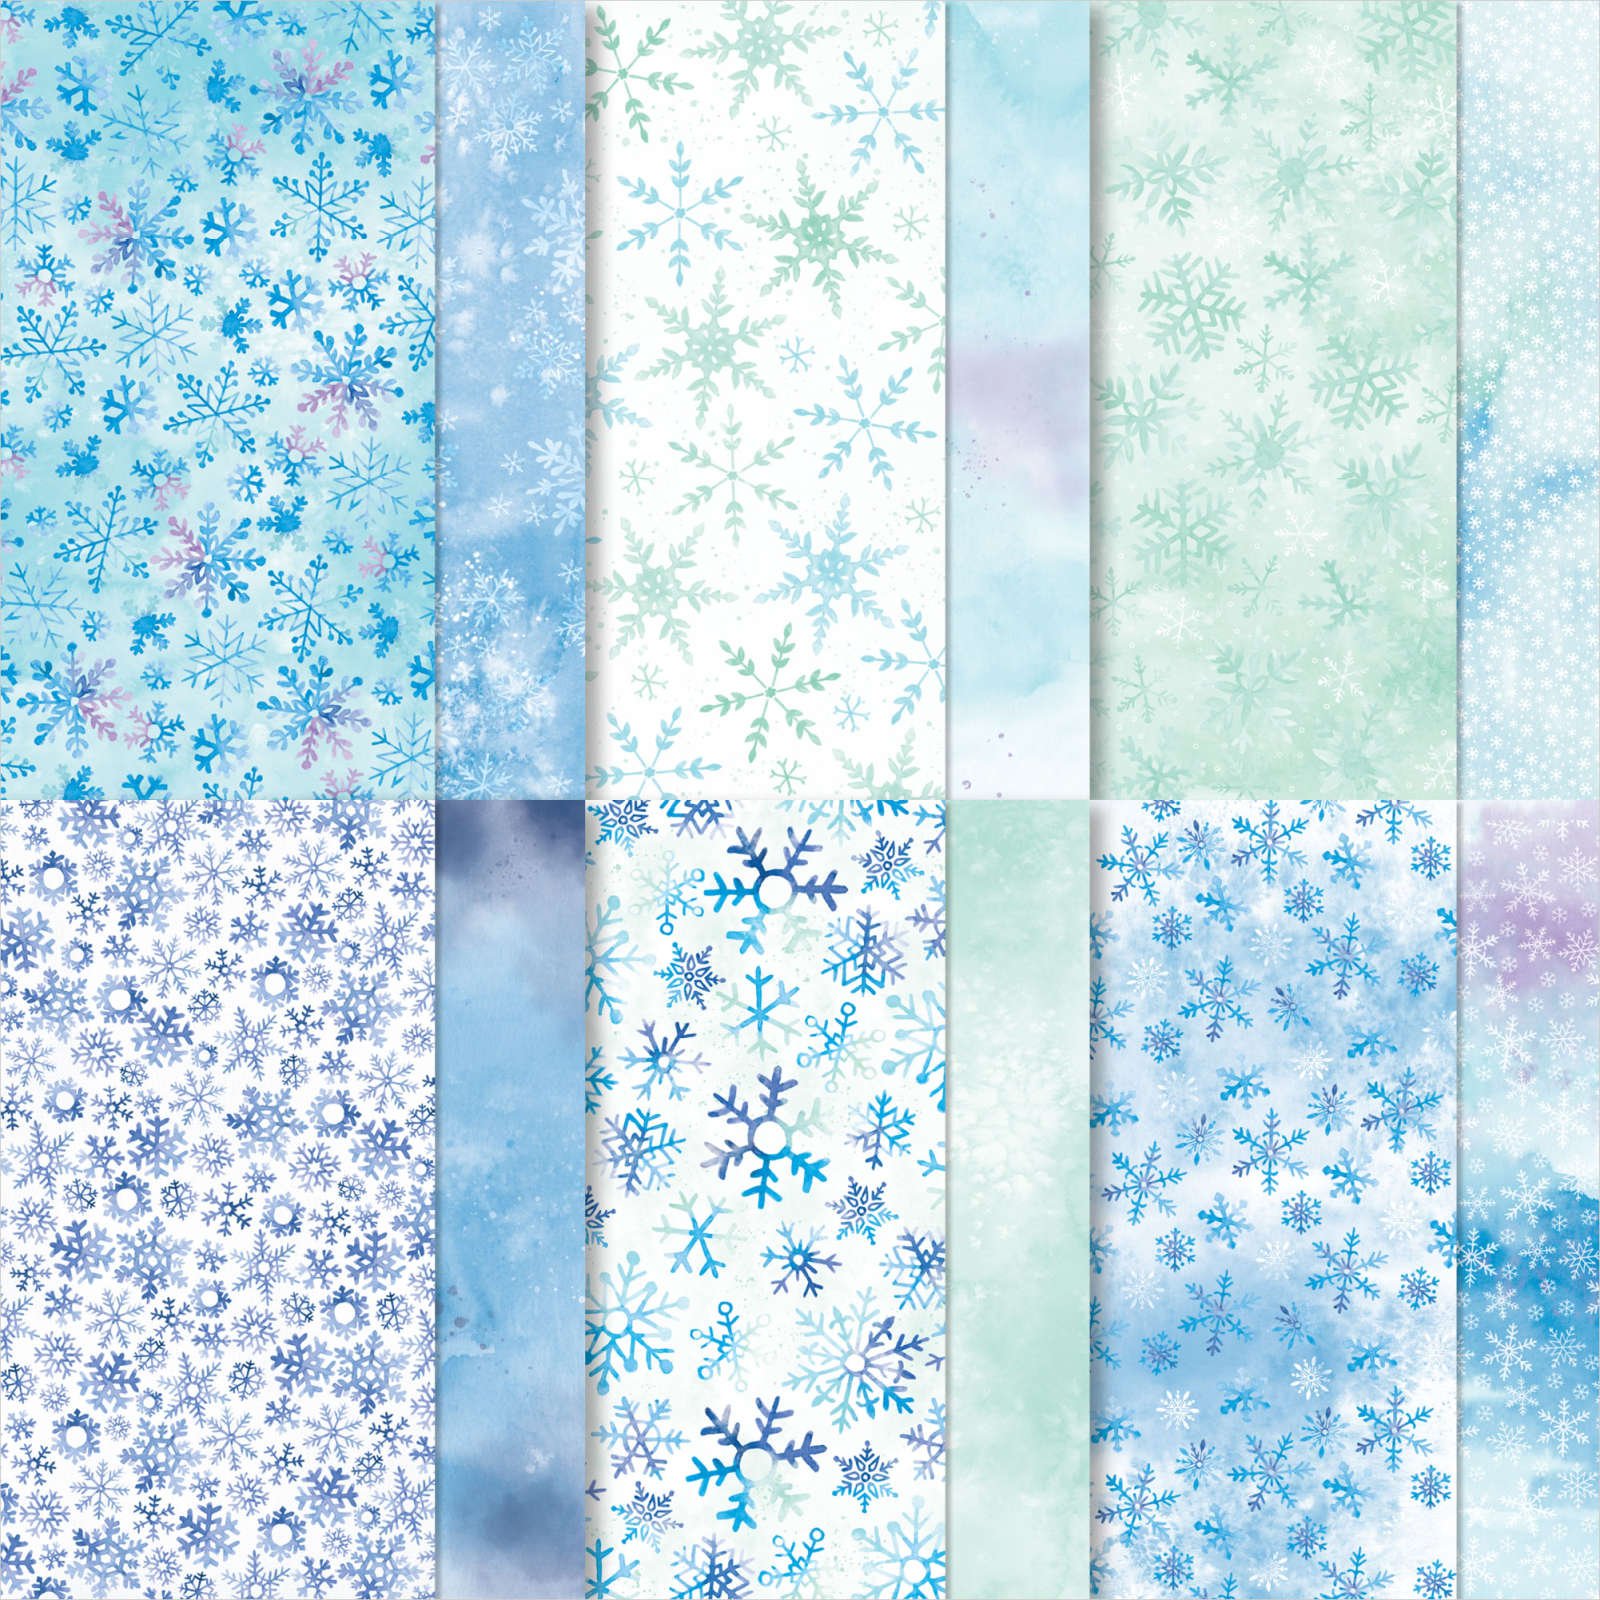
I made these cards on Facebook Live last week. I've been working with the beautiful Snowflake Splendor designer paper all week; it's simply gorgeous and in so many of my favorite colors!
Here's the first one.  Did you know the Peek-a-Hoot dies cut out all 3 window at once?!  There's no measuring or figuring out placement at all.  You can see the video below.  
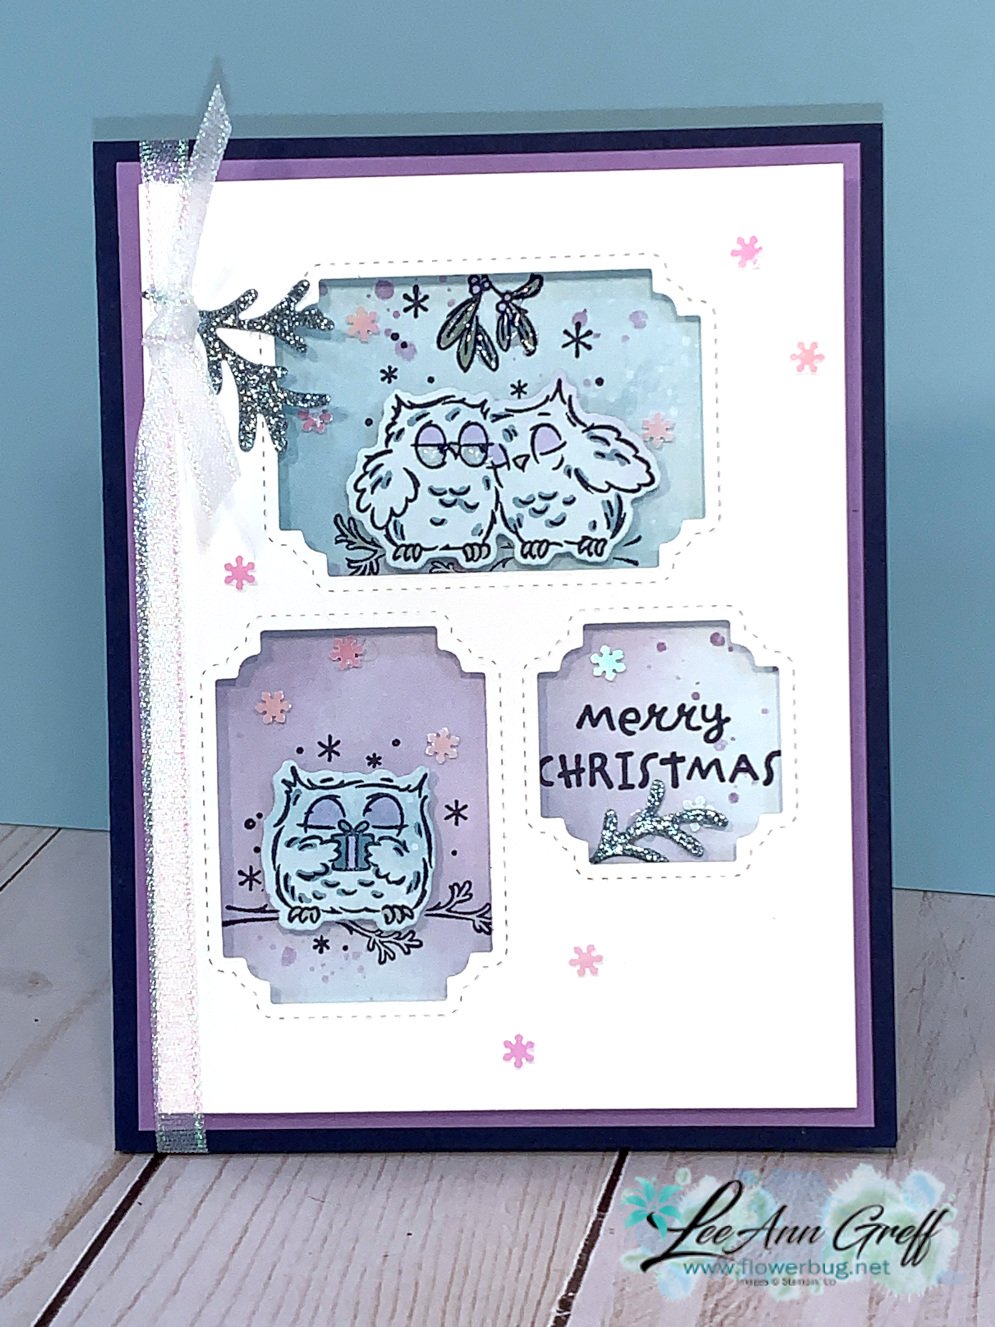
I stamped directly onto the Snowflake Splendor designer paper here.  I love the pretty purple/blue background!  The two owls are die-cut using the same die set.  I added a bit of color to them with Blends markers and finished with a bit of Balmy Blue glimmer accents and Adhesive Backed Snowflake Sequins. 

This next card uses two of the tags left when die-cutting the windows on the card above.  I did cut out one extra.  I stamped and colored directly on them. 
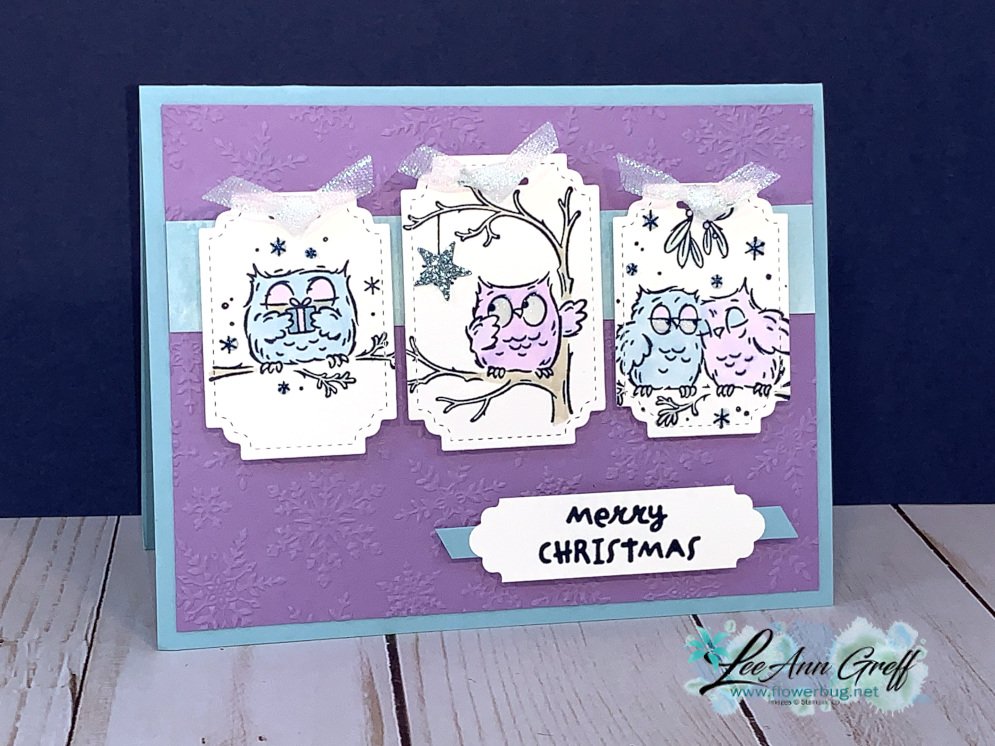
Other details:

  • A glimmer die-cut star covers up the 'spider' on the center panel.  
  • The Highland Heather panel (4" X 5 1/4") is embossed with the Winter Snow embossing folder.
  • the 3/4" X 5 1/4" strip of Snowflake Splendor DSP is under the three stamped tags. 
  • The greeting tag is punched with the Everyday Label punch; start with a 1/2" white strip. Stamp and punch.

~~~

October Specials!

Current Host code is GRC9VVUU

Designer Paper Sale; click here!

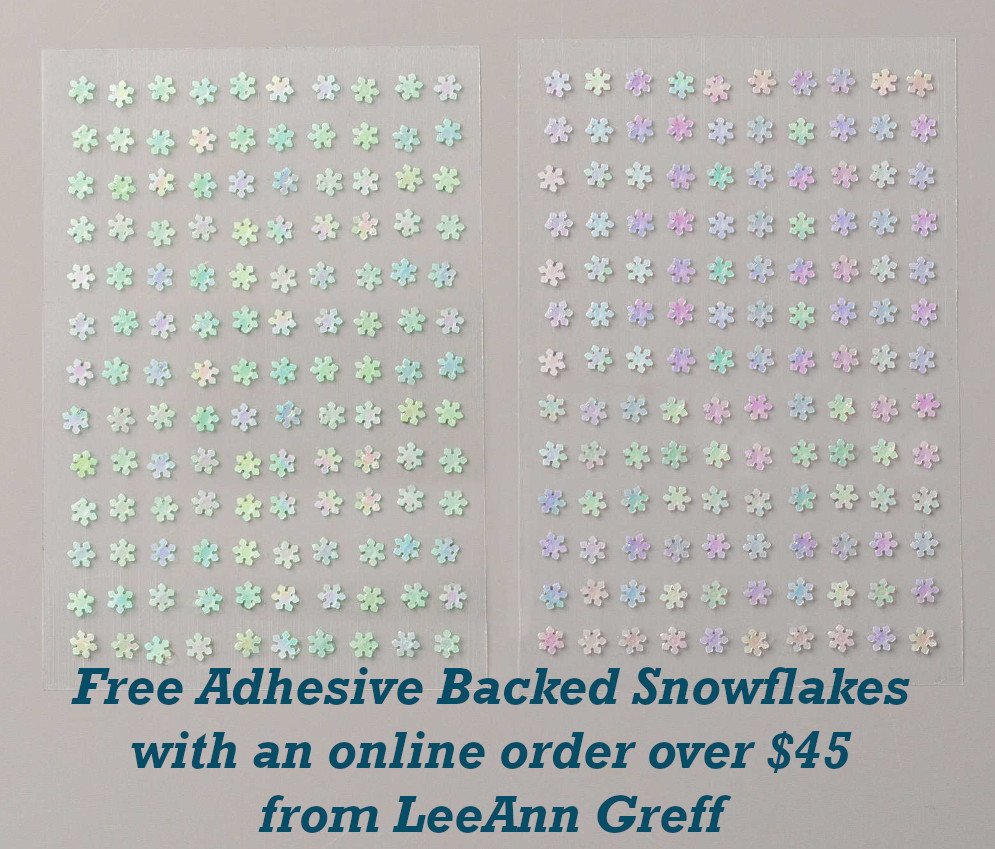
Get a free package of Adhesive Backed Snowflakes in October with an

online order over $45. 


All online orders will receive my Tutorial of the Month featuring the Poinsettia Petals suite!

All Posts

  • New Mystery Boxes available now!


    I recently held a BOGO event for my local customers, and I wanted to extend a similar offer to you.

    Here’s how it works: If you place an order over $100, I will send you a mystery box filled with Stampin’ Up! products for free. I’ll even pay the shipping to you! It’s an amazing deal!!

    Don’t wait to grab yours! I have a limited supply.

    Each box includes at least $200 in product value and includes these items:

    • 2 stamp bundles with either dies or punches
    • 1-2 stamp sets in photopolymer or red rubber
    • 1 thick bunch of 6 X 6″ designer paper
    • an embossing folder or set of dies
    • 2 ribbons or twines
    • 8 handmade cards
    • 2-3 hand-cut acrylic clear blocks
    • many will include the following – a Paper Pumpkin card kit, gems, ink, ephemera, cards & envelope pack or stencils

    This is a sample photo of what your box might include:

    Go here to shop; I still have some left! Before you order; message me to see if I have some left.

    Don’t forget to add on one of the Products of the Month for just $5!

    Remember; you can shop the NEW CATALOG, the new Online Exclusives, the Last Chance List or the new kits!

    Leave a Reply

    Your email address will not be published. Required fields are marked *

  • May Specials! It all starts today!!


    Shop from the new May-August 2026 catalog here!

    Get the 5 new magnetic ink pads FREE with purchase of the Stampin’ Up! Starter kit in May! Go here to get yours.

    Get my Tutorial of the Month FREE with any size online purchase

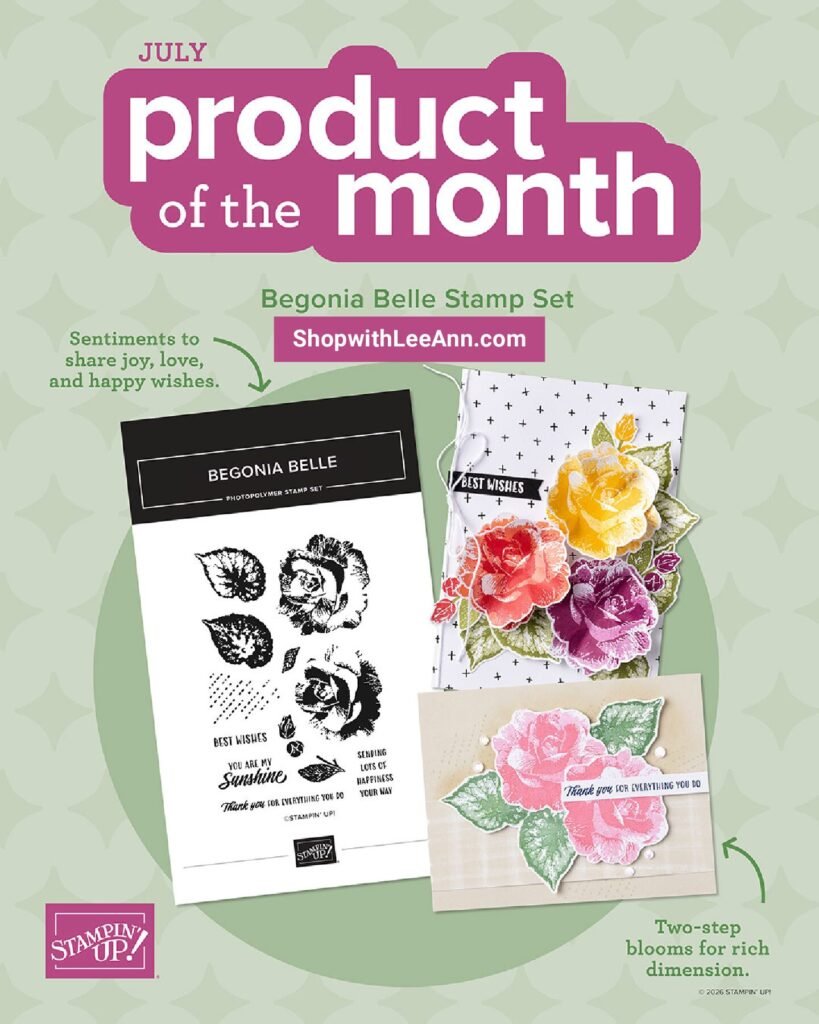
    The May Product of the Month (POM) is the Berry Botanical Vellum DSP. Redeem it for $5 once your order reaches the $75 mark.

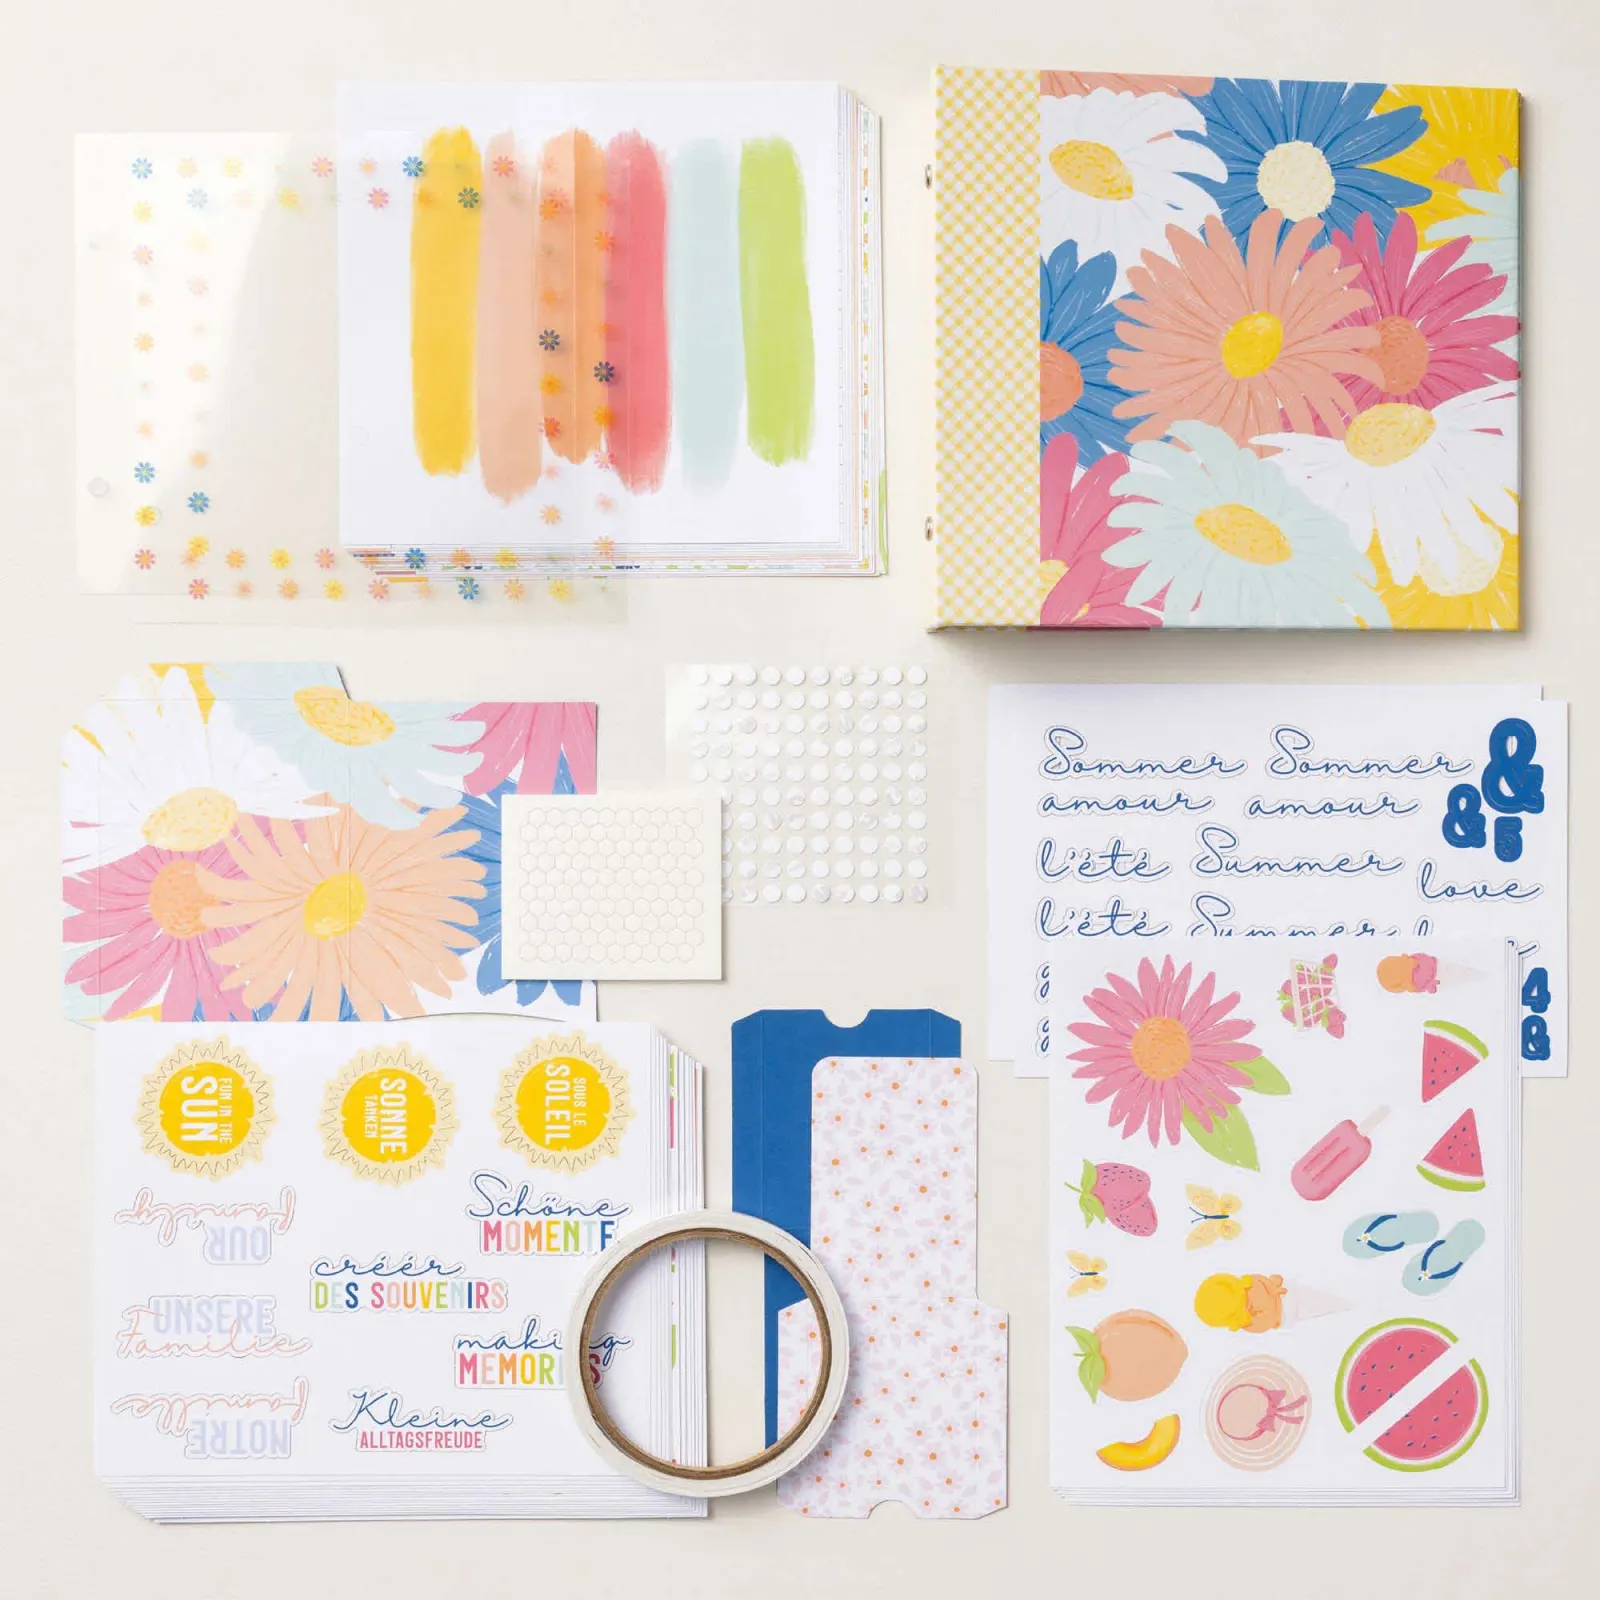
    2 NEW & fabulous kits are available. Check them out here.

    Shop the new Online Exclusives here.

    Leave a Reply

    Your email address will not be published. Required fields are marked *

  • Springtime Scenes diagonal fold – 2 ways!


    I’m excited to share this neat card with you today. We made it at my April Card Clubs.

    Isn’t it beautiful? It features the Springtime Scenes bundle seen here and the Delicate Dreams DSP seen here. This DSP is so pretty they cannot keep it in stock! Be sure to add your email to the product so you get notified when it comes back in stock.

    This card might look like it’s difficult but it’s as simple as trimming off one half of the card front at a diagonal and flipping it over. Yup; that’s it! Watch my video below to see how it’s done.

    My colors include Secret Sea, Hydrangea Hue (new in color), White and Crumb Cake. The largest circle is from the Spotlight on Nature dies seen here. The small White circle is from Stylish Shapes dies.

    We tried this layout in both landscape & vertical position. Which do you prefer?

    I created a free project sheet for this card with measurements, directions, photos and supplies listed. Click here to download or print it.

    Below is the video tutorial with tips on assembly.

    Leave a Reply

    Your email address will not be published. Required fields are marked *


Notice: LeeAnn Greff, Independent Stampin’ Up! Demonstrator, Manager. The content of this website is my sole responsibility as an independent Stampin’ Up! demonstrator and the use of, and content of, the classes, services, or products offered on this website is not endorsed by Stampin’ Up! Copyright 2025