/


Latest Post

Happy Valentine’s Day! A Sweet Treat Pouch; easy gift!


Here's a super neat way to give a treat to a friend.  My friend Marilyn made these for her club gals this month. Many of my gals like to make something special for their fellow club members when they are hostess. I love seeing their creativity!
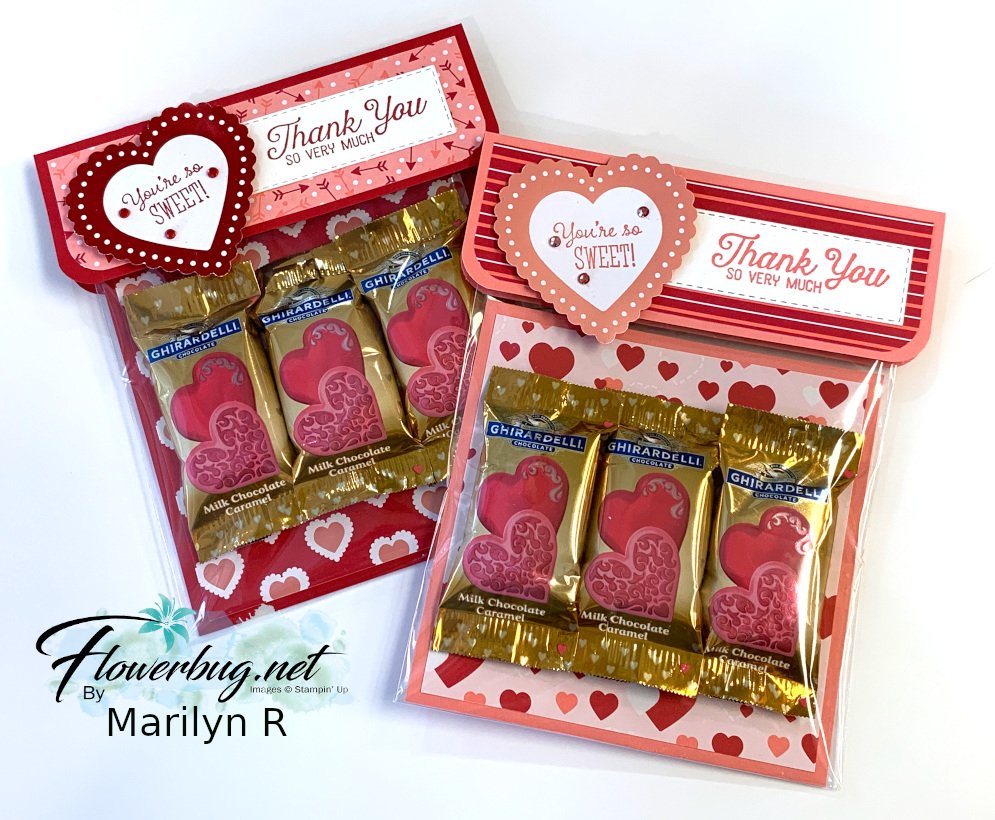
Isn't it cute?  It's made from our clear envelopes!  I think it's super clever.  She found the idea online and changed it up so it opens at the bottom; no need to destroy the pretty topper to get to your treat! 

The card stock and From My Heart designer paper are 'inside' the envelope.  You can adhere your candies with mini glue dots to stay in place.  

Watch the Facebook Live video replay below.  I made one adding a nice big cookie.  I placed the cookie in another clear envelope and inserted it into the outer one.  I just checked it and it's still soft a few weeks later! 

Details:

  • Clear envelopes – get 50 in a package for $6.  See them here
  • Card stock topper is 3 1/2" X 5" scored at 2 1/2". Rounded with the Detailed Trio punch
  • From My Heart DSP topper is 1 1/2" X 4 3/4", bottom two corners are rounded
  • Card stock inside the envelope is 4 1/4" square
  • Designer Series Paper inside the envelope is 4" square
  • Be sure to have the opening at the bottom for easy access to your treat! 
  • Stamps are from Little Ladybug, Heartfelt, Butterfly Gala, Stitched So Sweetly
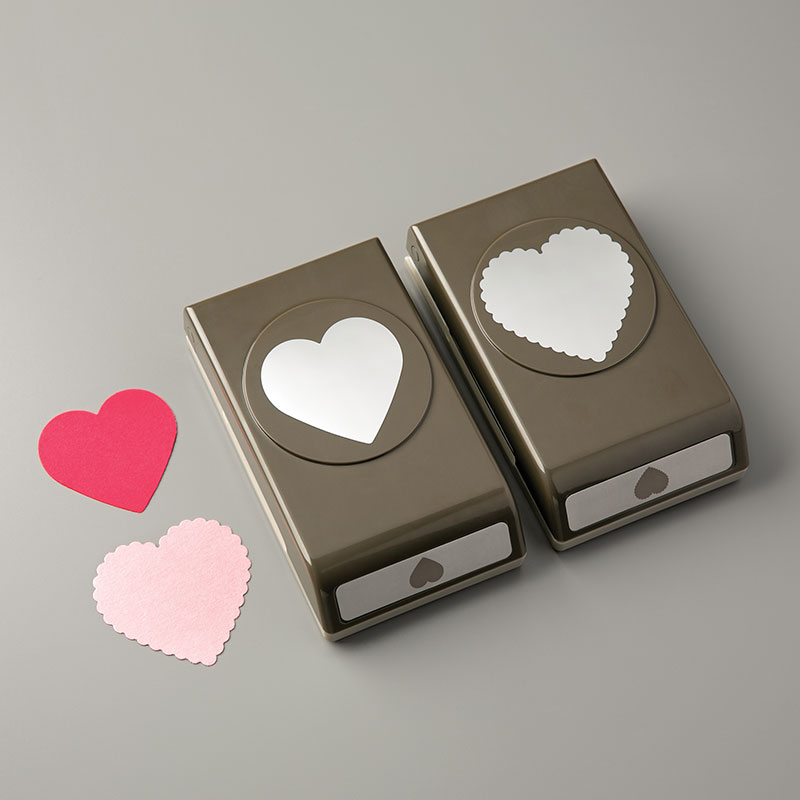
  • I stamped directly on the punched heart above; it's punched from the From My Heart Specialty Designer paper!
  • Heart Punch Pack 

Here's the video for this pouch and two adorable Little Ladybug cards.  

~~~

Four February Specials just for you besides Sale-a-Braton

and the Product Coordination Release! 

    1. Earn a ticket in the drawing for each $25 you order online in February for a free Little Ladybug stamp set!

Order online here

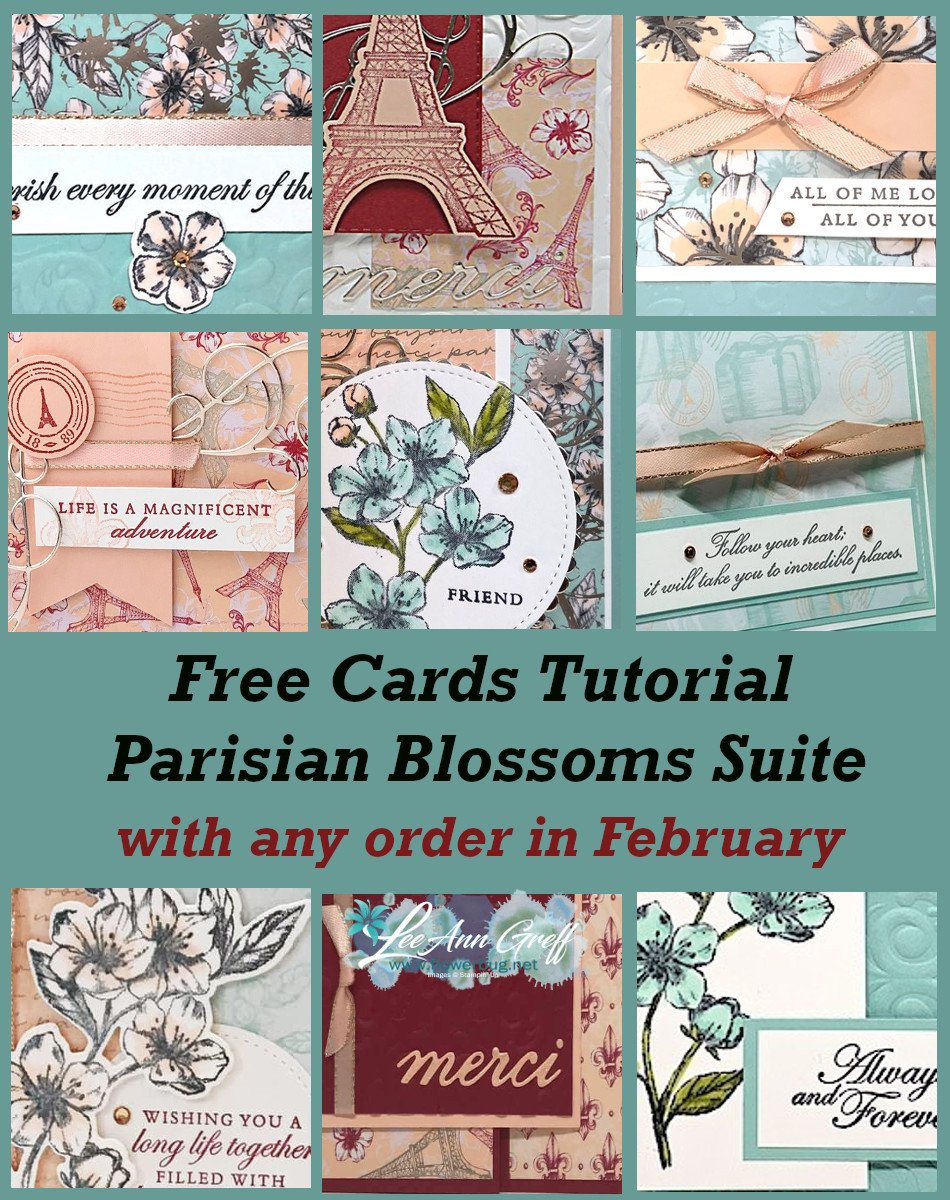
2. All online orders will receive a free pdf cards tutorial in an email.
3. And if your order is over $55 you'll get a free package of Champagne Rhinestones too!

February Host Code is 4CQKPWRV

Order online here

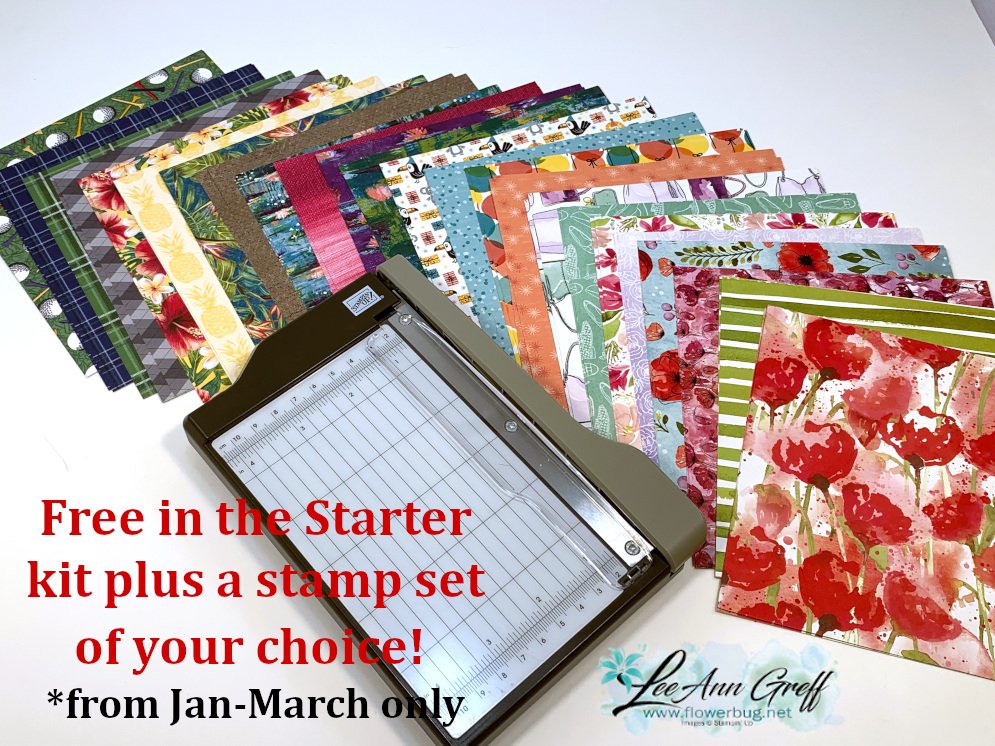
4. Choose any FREE stamp set when you purchase the Starter kit during Sale-a-Bration; of any value! Plus you'll get a free paper trimmer and a 6 X 6 sampler of new Designer Paper!  It's just $99 plus tax; shipping is free!  Click here to join my awesome Flowerbug's Team! 
All Posts

  • Card ideas for the Box & Cards; free project sheet with video tutorial


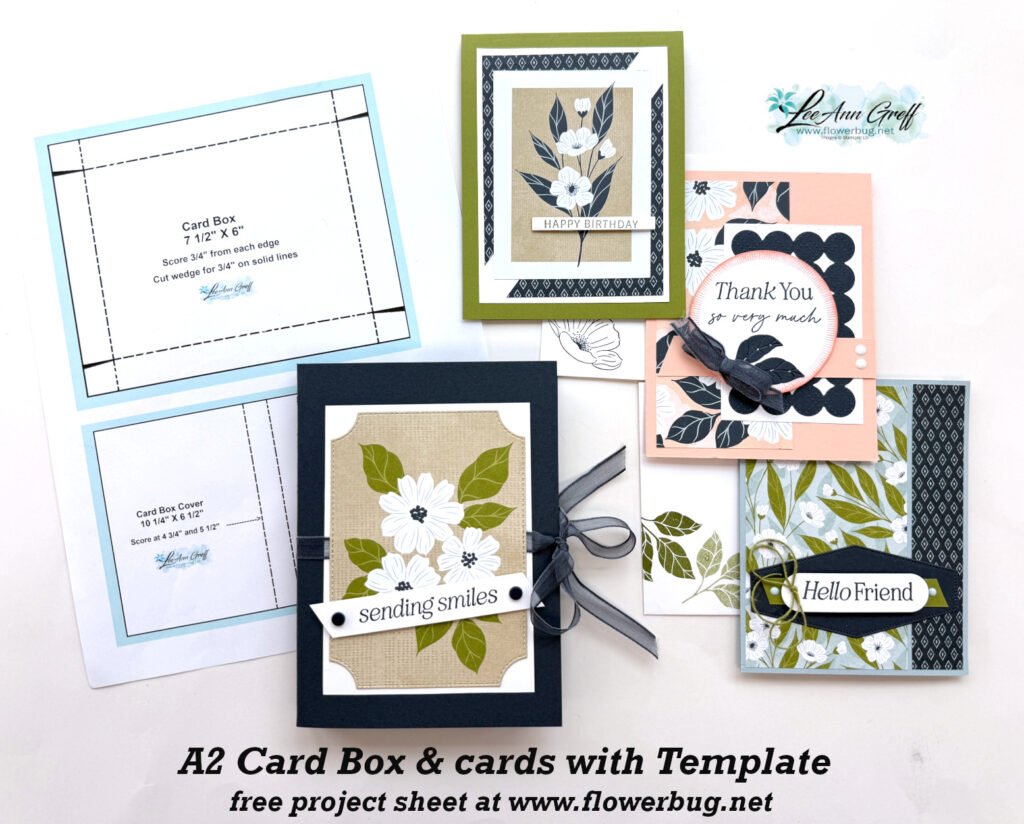
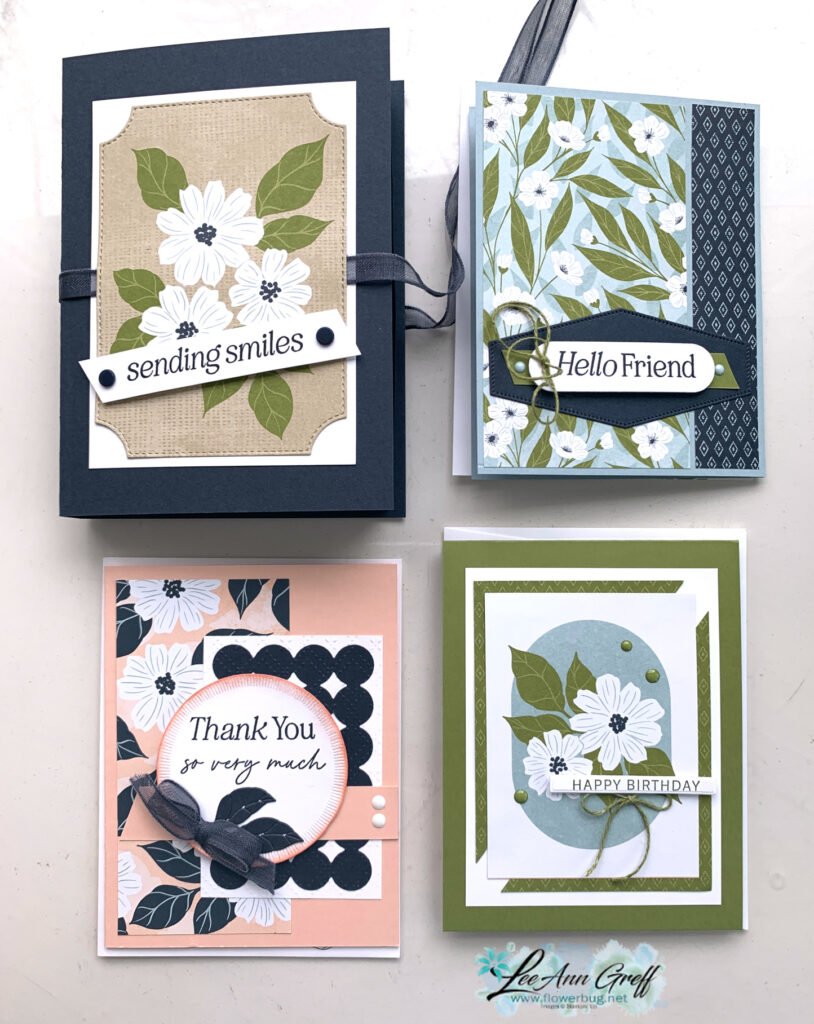
    I shared this beautiful box with cards on yesterday’s blog post. You’ll see it in the video and project sheet below too. Today I’ll focus on the cards included in the pretty box.

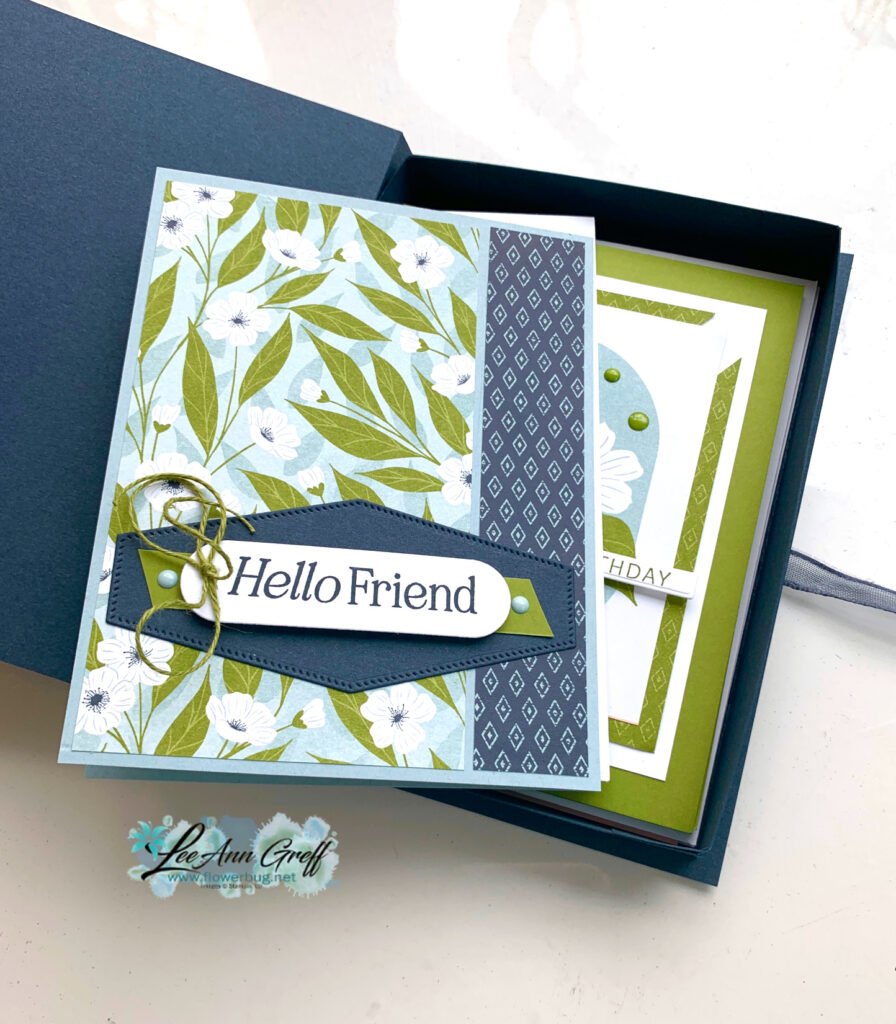
    The featured products include the Lovely Blossoms suite. This card box can fit up to 6 cards with envelopes inside. It’s super easy to make too! It’s included in the free project sheet seen below.

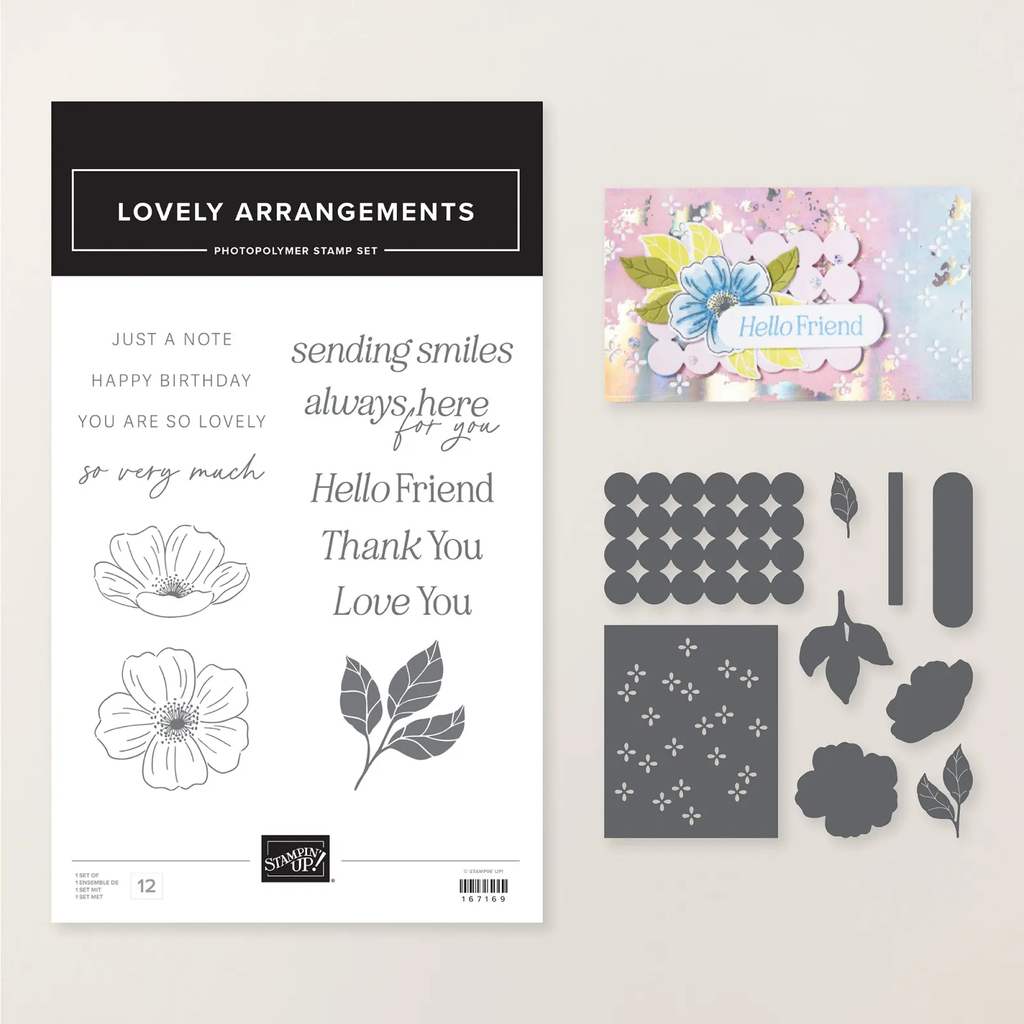
    For these cards I used the Lovely Arrangements bundle seen here. And the Lovely Blossoms designer series paper seen here.

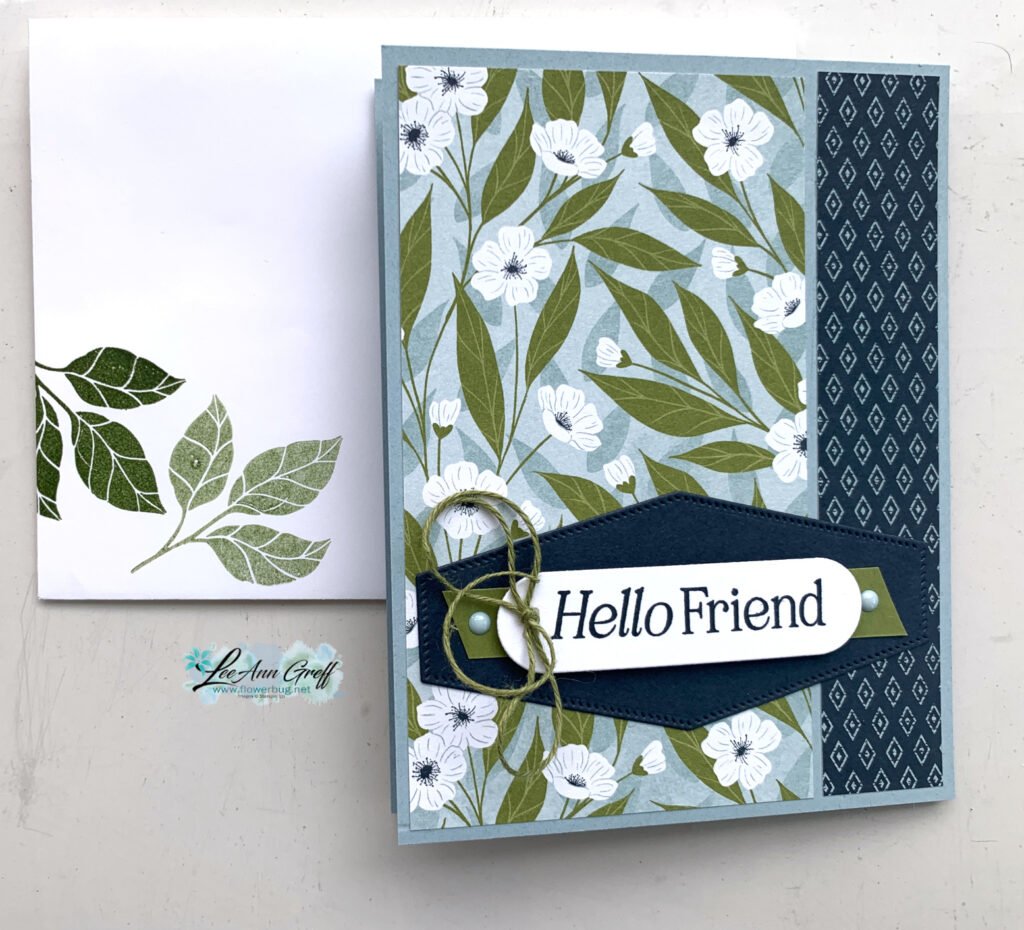
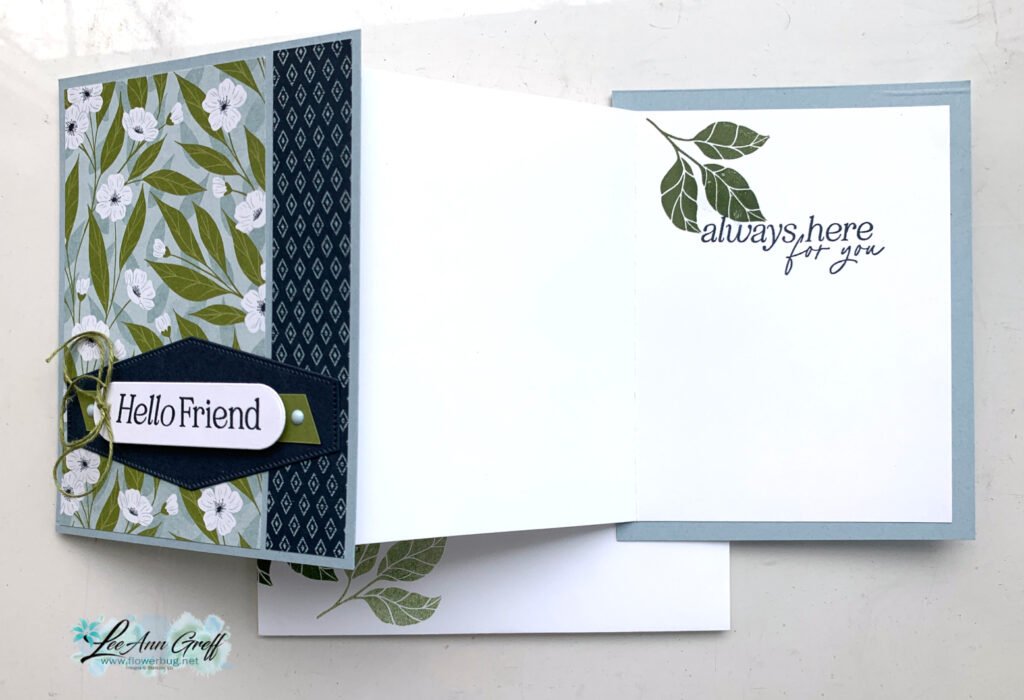
    This first card is a fun fold card; quite unique!

    It doesn’t look much different from the front. The colors include Cloud Cover, Secret Sea, Old Olive & White. Here’s a photo of it open:

    The White inside layer has two extra folds in it. There’s a narrow flap adhered to the card front that let’s it open in an unusual way. The measurements are in the free project sheet below.

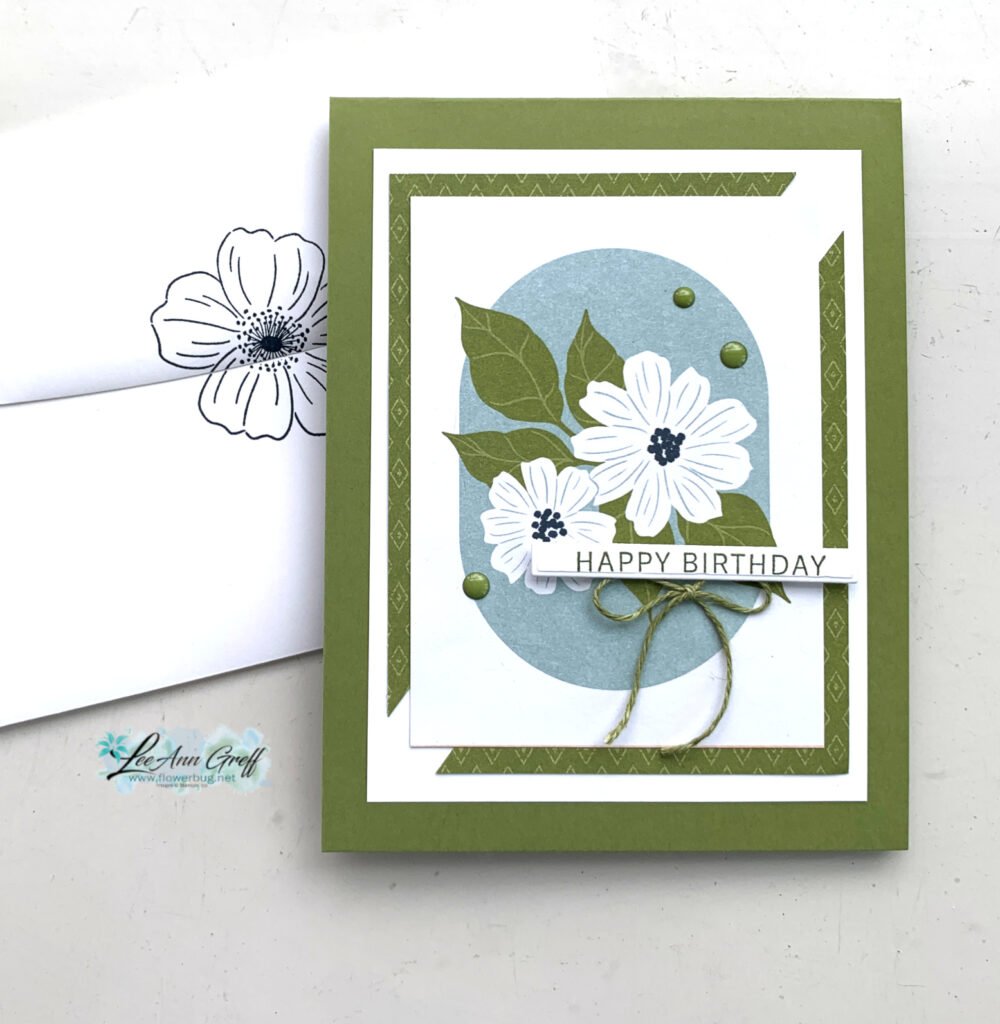
    This next card is deceptively simple; but I added a simple trick to layering the DSP on the front:

    The main image is from the Lovely Blossoms DSP. This DSP includes multiple printed elements perfect to make the focus of the card. It’s the printed Olive DSP under it I want to call your attention to. Both pieces measure 3″ X 4″. I cut the Olive DSP in half on the diagonal and added that as a layer to the flower layer. Quick and easy but unique. Instead of the traditional even layers this adds interest to your card.

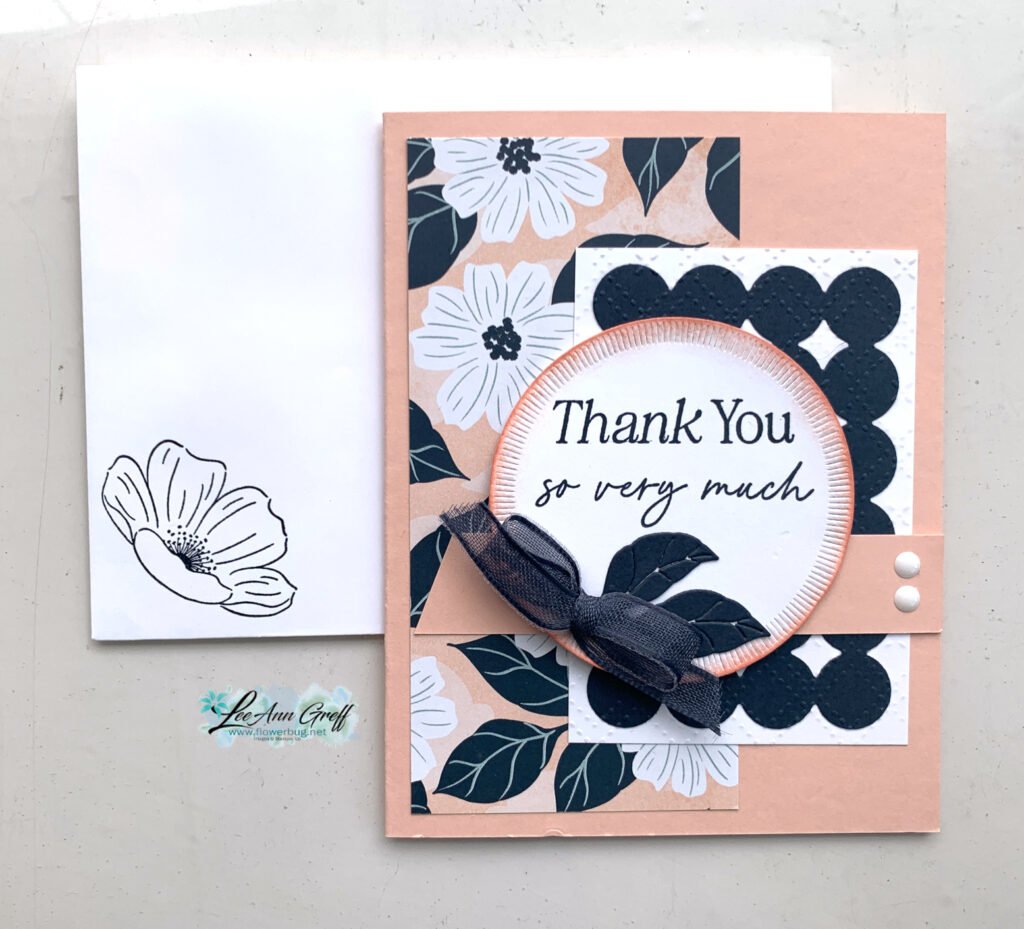
    Lastly is a card that shows off a special die-cut in the Lovely Arrangements bundle:

    It’s Petal Pink with Secret Sea and White. That multiple circles die is so cool! It truly adds some playfulness to the card. The greeting is stamped on a circle die-cut from the Spotlight on Nature dies seen here.

    My free project sheet includes these 3 cards plus the template and instructions for the card box as well. Click here to download or print it.

    Below is the video tutorial for the box and tips on assembling the fun fold card at the top. Don’t forget to follow me on my YouTube Channel here or my Facebook Page here.

    April Specials:

    Check out the Last Chance list here; these items go fast!

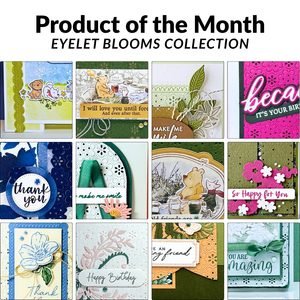
    Product of the Month is the Eyelet Blooms dies

    *Get a free 12 project tutorial when you redeem this POM from me!

    ~~~

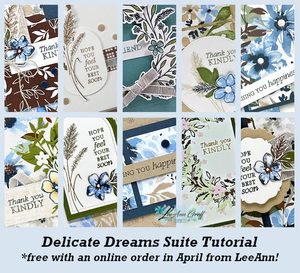
    Free PDF tutorial featuring the Delicate Whispers suite!

    Leave a Reply

    Your email address will not be published. Required fields are marked *

  • You’ll want to make this easy box for cards. Grab the free tutorial!


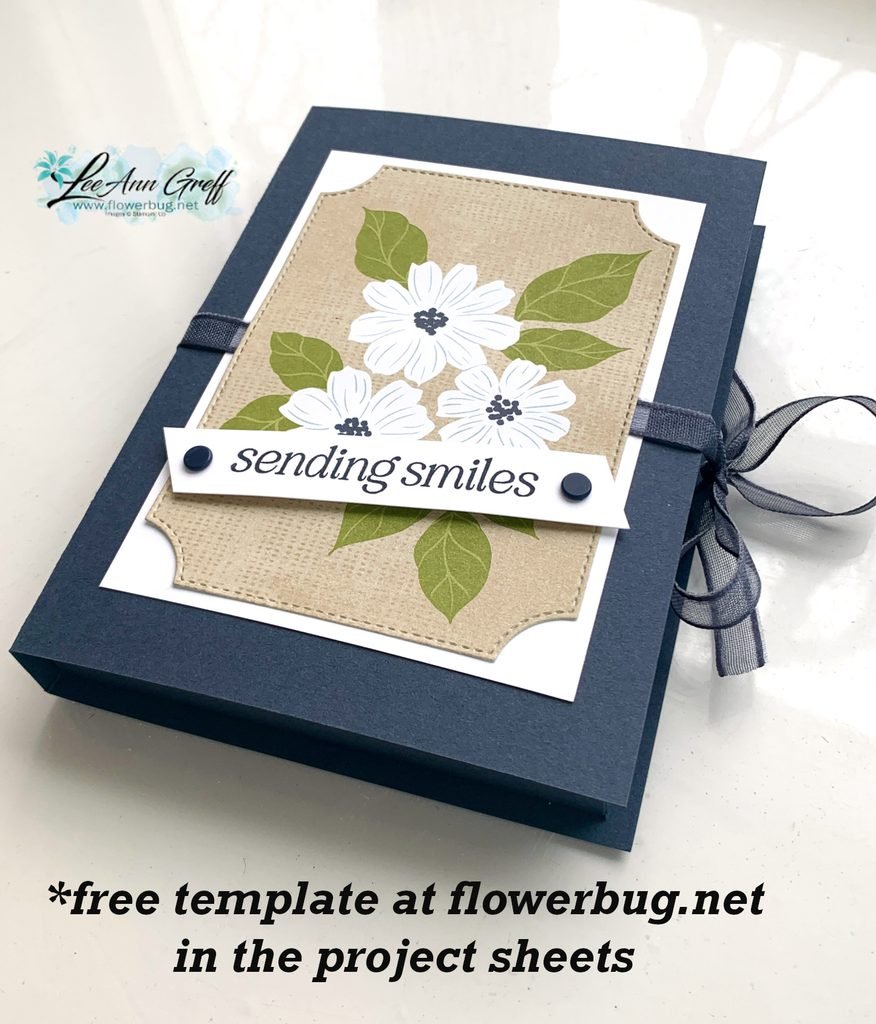
    I shared this fabulous box for gifting or storing cards in on last week’s Live video. It’s one of those projects you NEED to make!

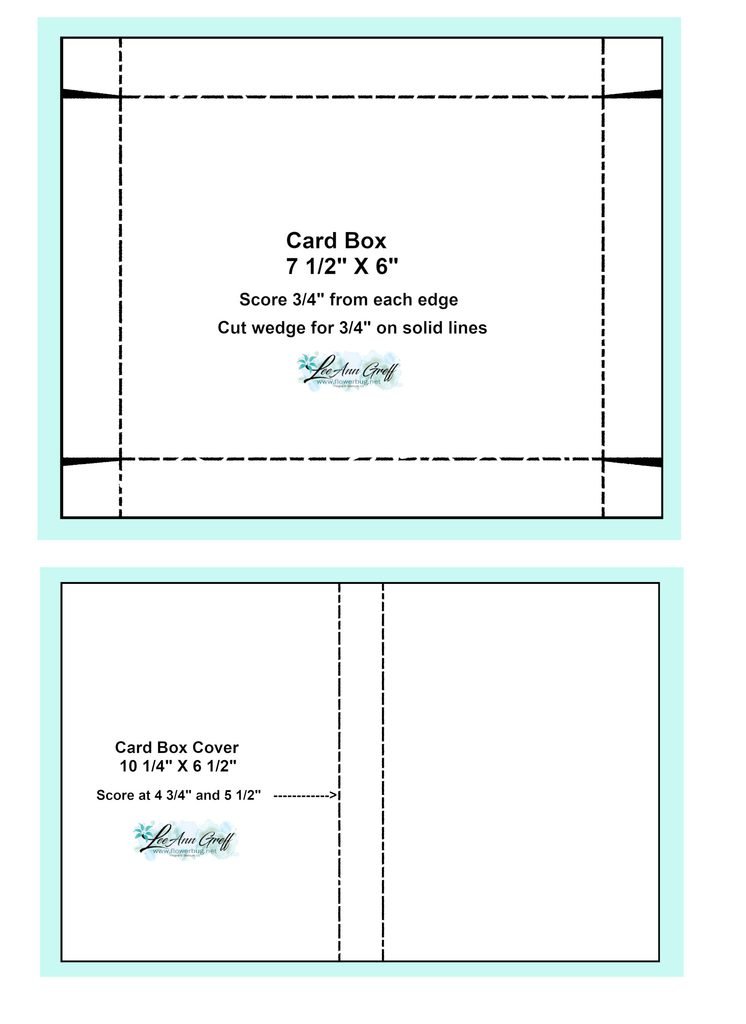
    I found a similar project on Pinterest but the measurements weren’t for A2 cards so I reconfigured it and came up with this one. I love it and the fact that it’s super easy makes it a must have to save among your project ideas.

    I used Secret Sea card stock, the DSP and with the retiring Branching Out dies (so sad!) for the front. The Secret Sea bordered ribbon is perfect to wrap and tie into a bow for giving.

    If you don’t have these Branching Out dies; I think they’re a must have! Get them ASAP before they’re gone for good.

    It features the Lovely Blossoms suite; especially the Lovely Blossoms designer paper here and the Lovely Arrangements bundle seen here.

    I added three cards & envelopes inside the box but it would fit 5-6 cards if they’re not too thick.

    I’ll share the cards in my blog post tomorrow. But in the meantime the template for this box is below.

    I created a free project sheet for both the box and the cards. Please click here to print or save it!

    The video tutorial is below; please watch it to see how to assemble the box.

    April Specials:

    Check out the Last Chance list here; these items go fast!

    Product of the Month is the Eyelet Blooms dies

    *Get a free 12 project tutorial when you redeem this POM from me!

    ~~~

    Free PDF tutorial featuring the Delicate Whispers suite!

    And below is the video tutorial on how to assemble the box and some of the cards.

    Leave a Reply

    Your email address will not be published. Required fields are marked *

  • Lovely Florals card kit to go with PDF & video tutorial


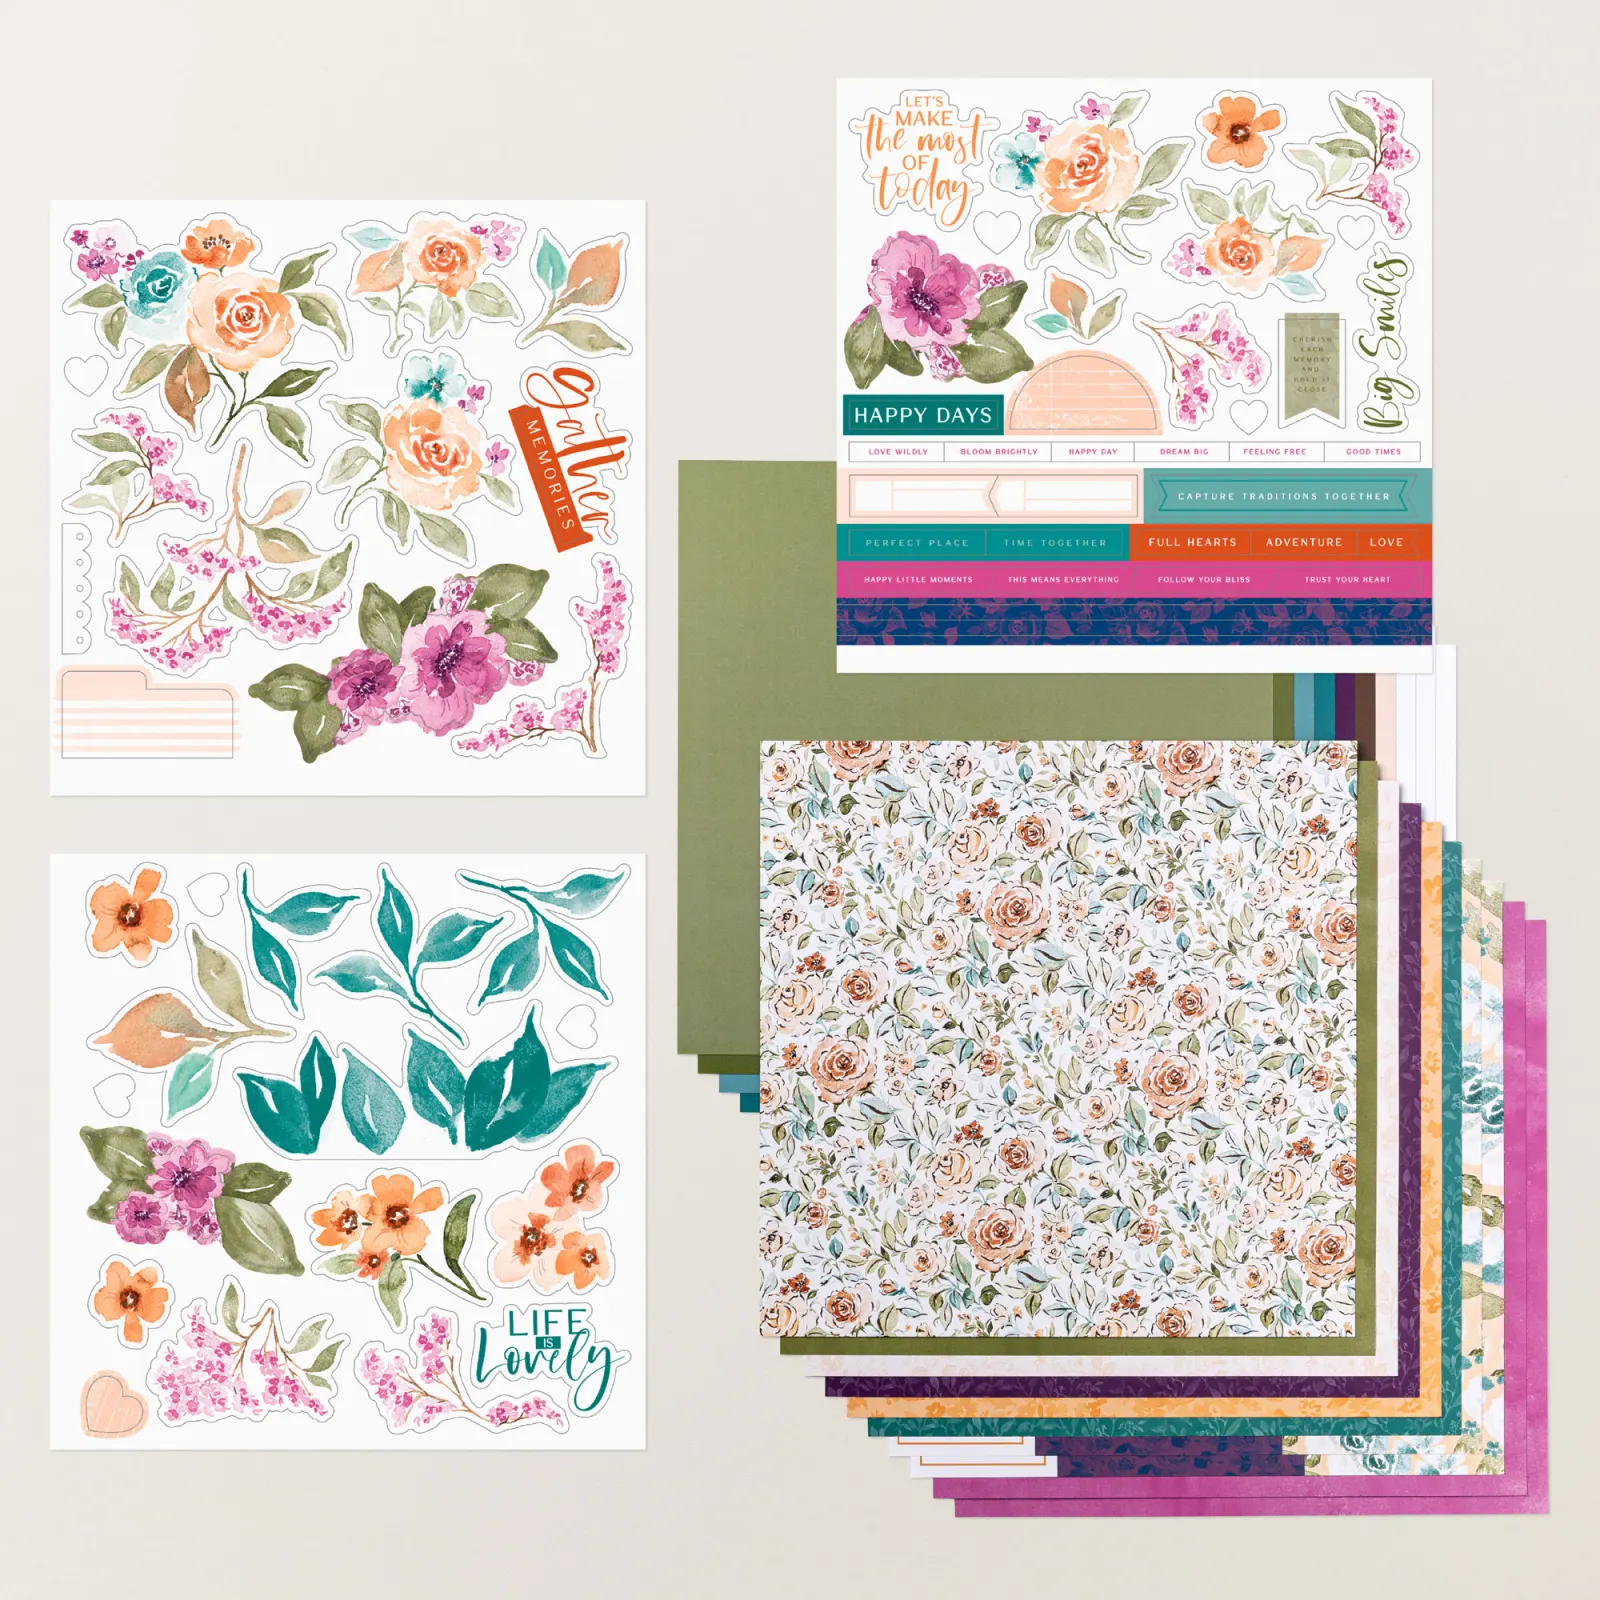
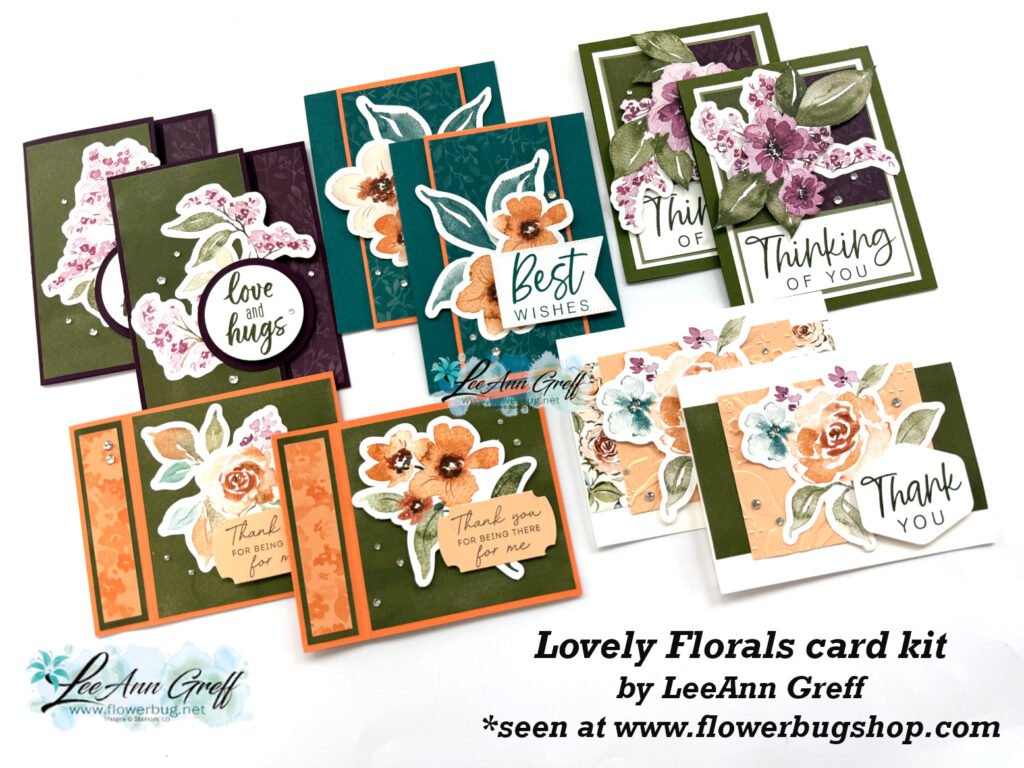
    Here’s something new & different in my card kits to go. I decided to play with the Lovely Florals scrapbook kit to create cards with. This kit from Stampin’ Up! includes sooo much product and it’s only $15 on the Last Chance list! *see it here

    It was super easy to convert the scrapbooking plan to cards. Here’s what I came up with.

    Aren’t they beautiful?! This is one of those kits you’ll truly enjoy creating; they’re so quick, easy and gorgeous.

    Reserve your card kit here and it will be mailed to you at the end of April. This kit includes 10 pretty cards and many of the products you need to make them.  

    Here’s what you’ll receive in your kit:

    • 10 pre-cut cards including die-cuts, punches and layers 
    • Multiple sheets of Lovely Florals designer series paper (12 X 12″)
    • three sheets of floral & greeting die-cuts and stickers in 12 X 12″ size!
    • a share of Rhinestone jewels
    • the PDF tutorial and the exclusive video tutorial

    The PDF tutorial is sent to you via email immediately after payment; check your spam folder. The actual kit with products is sent at the end of April via Priority Mail.  

    *You will need greeting images, inks, adhesives and a paper trimmer to finish the cards. 

    See all of my kits and tutorials here.

    Leave a Reply

    Your email address will not be published. Required fields are marked *


Notice: LeeAnn Greff, Independent Stampin’ Up! Demonstrator, Manager. The content of this website is my sole responsibility as an independent Stampin’ Up! demonstrator and the use of, and content of, the classes, services, or products offered on this website is not endorsed by Stampin’ Up! Copyright 2025