Our family gathers together for Easter most of the time; when we can that is.
We do jelly bean hunts with our granddaughter inside and an Easter Egg hunt outside weather permitting. What are your traditions for Easter?
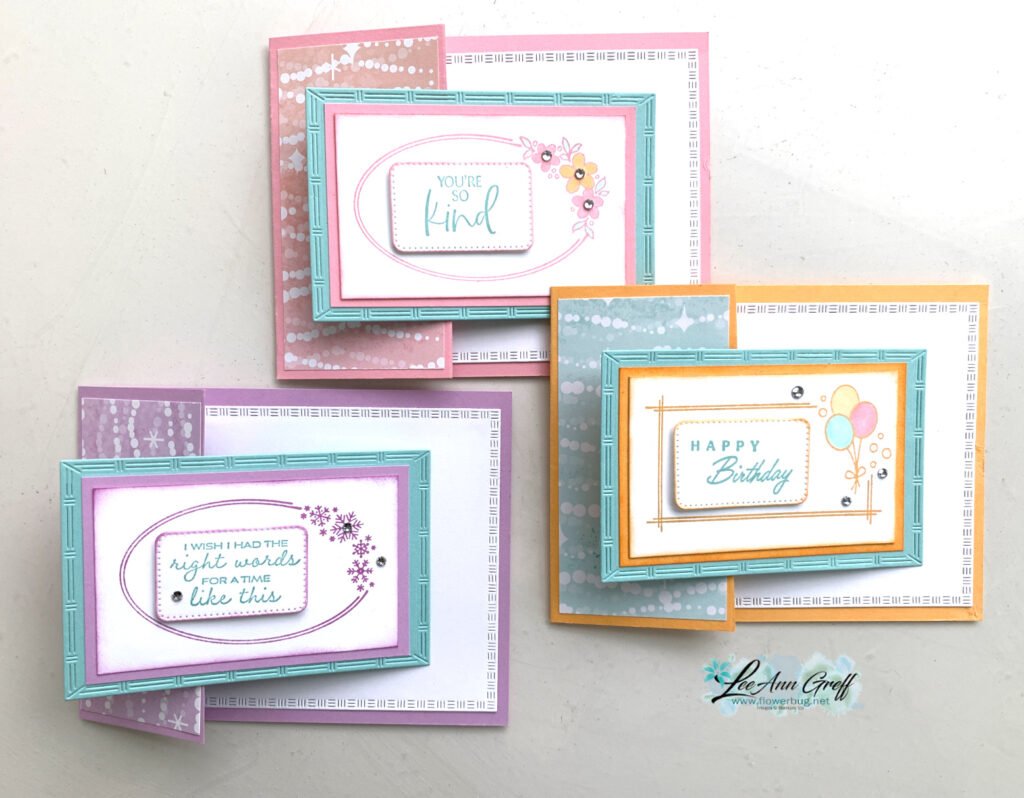
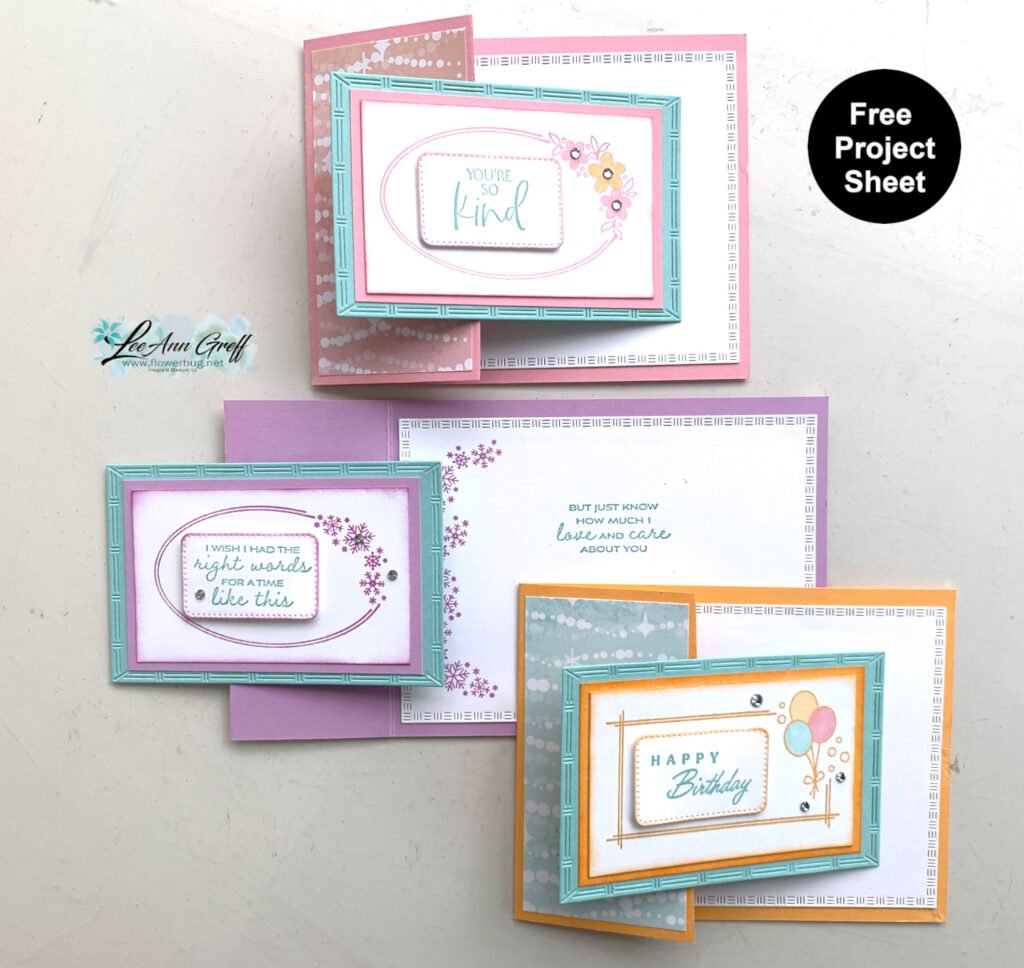
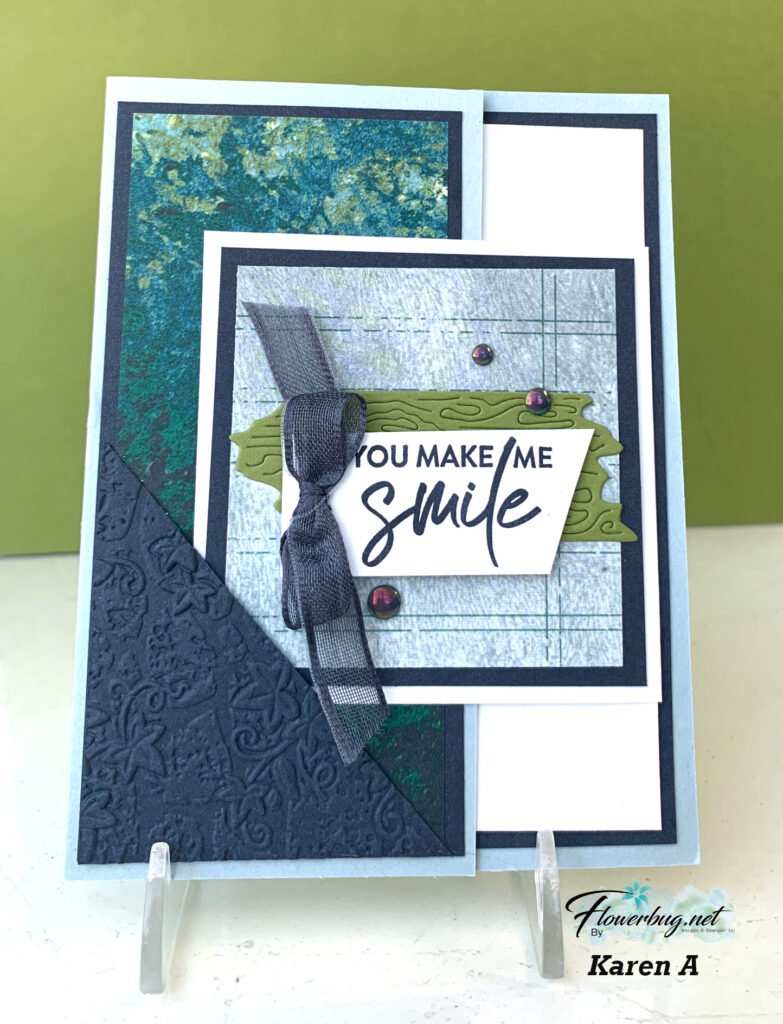
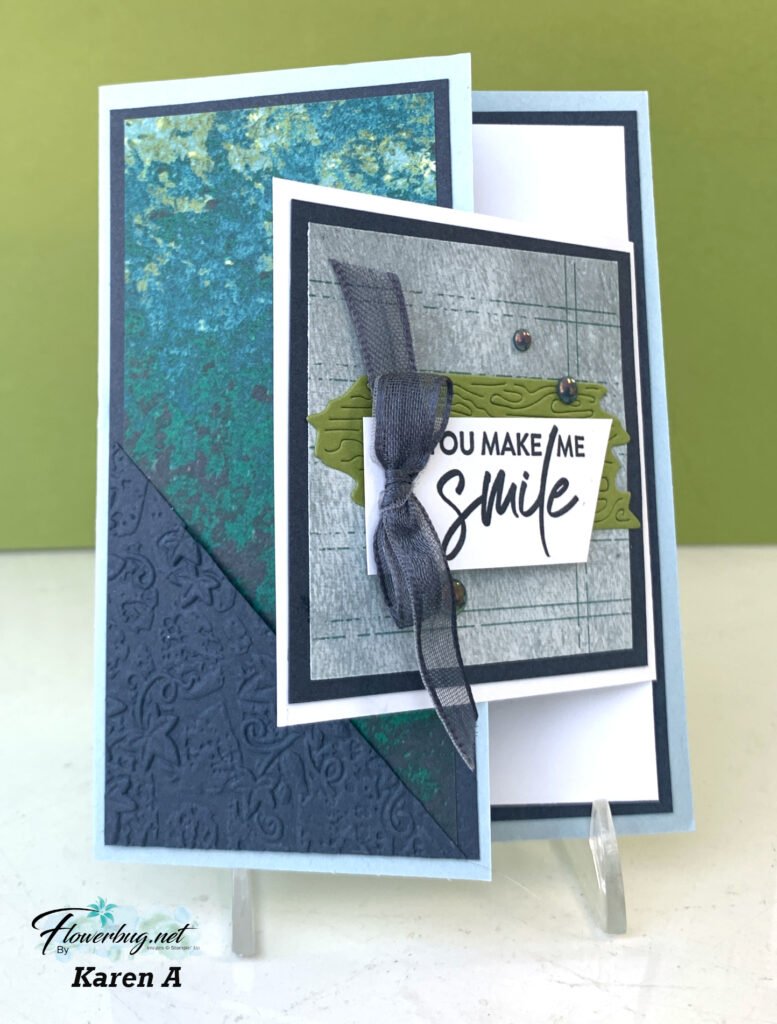
I shared this card on last week's Facebook Live when I did Paper Strips Techniques. You can see it here.

On this card I adhered strips or punched circles to our Acetate and then used the Oval Dies to cut them out. I had to run it through multiple times as our acetate is very thick. But it die work!
Other products used here:
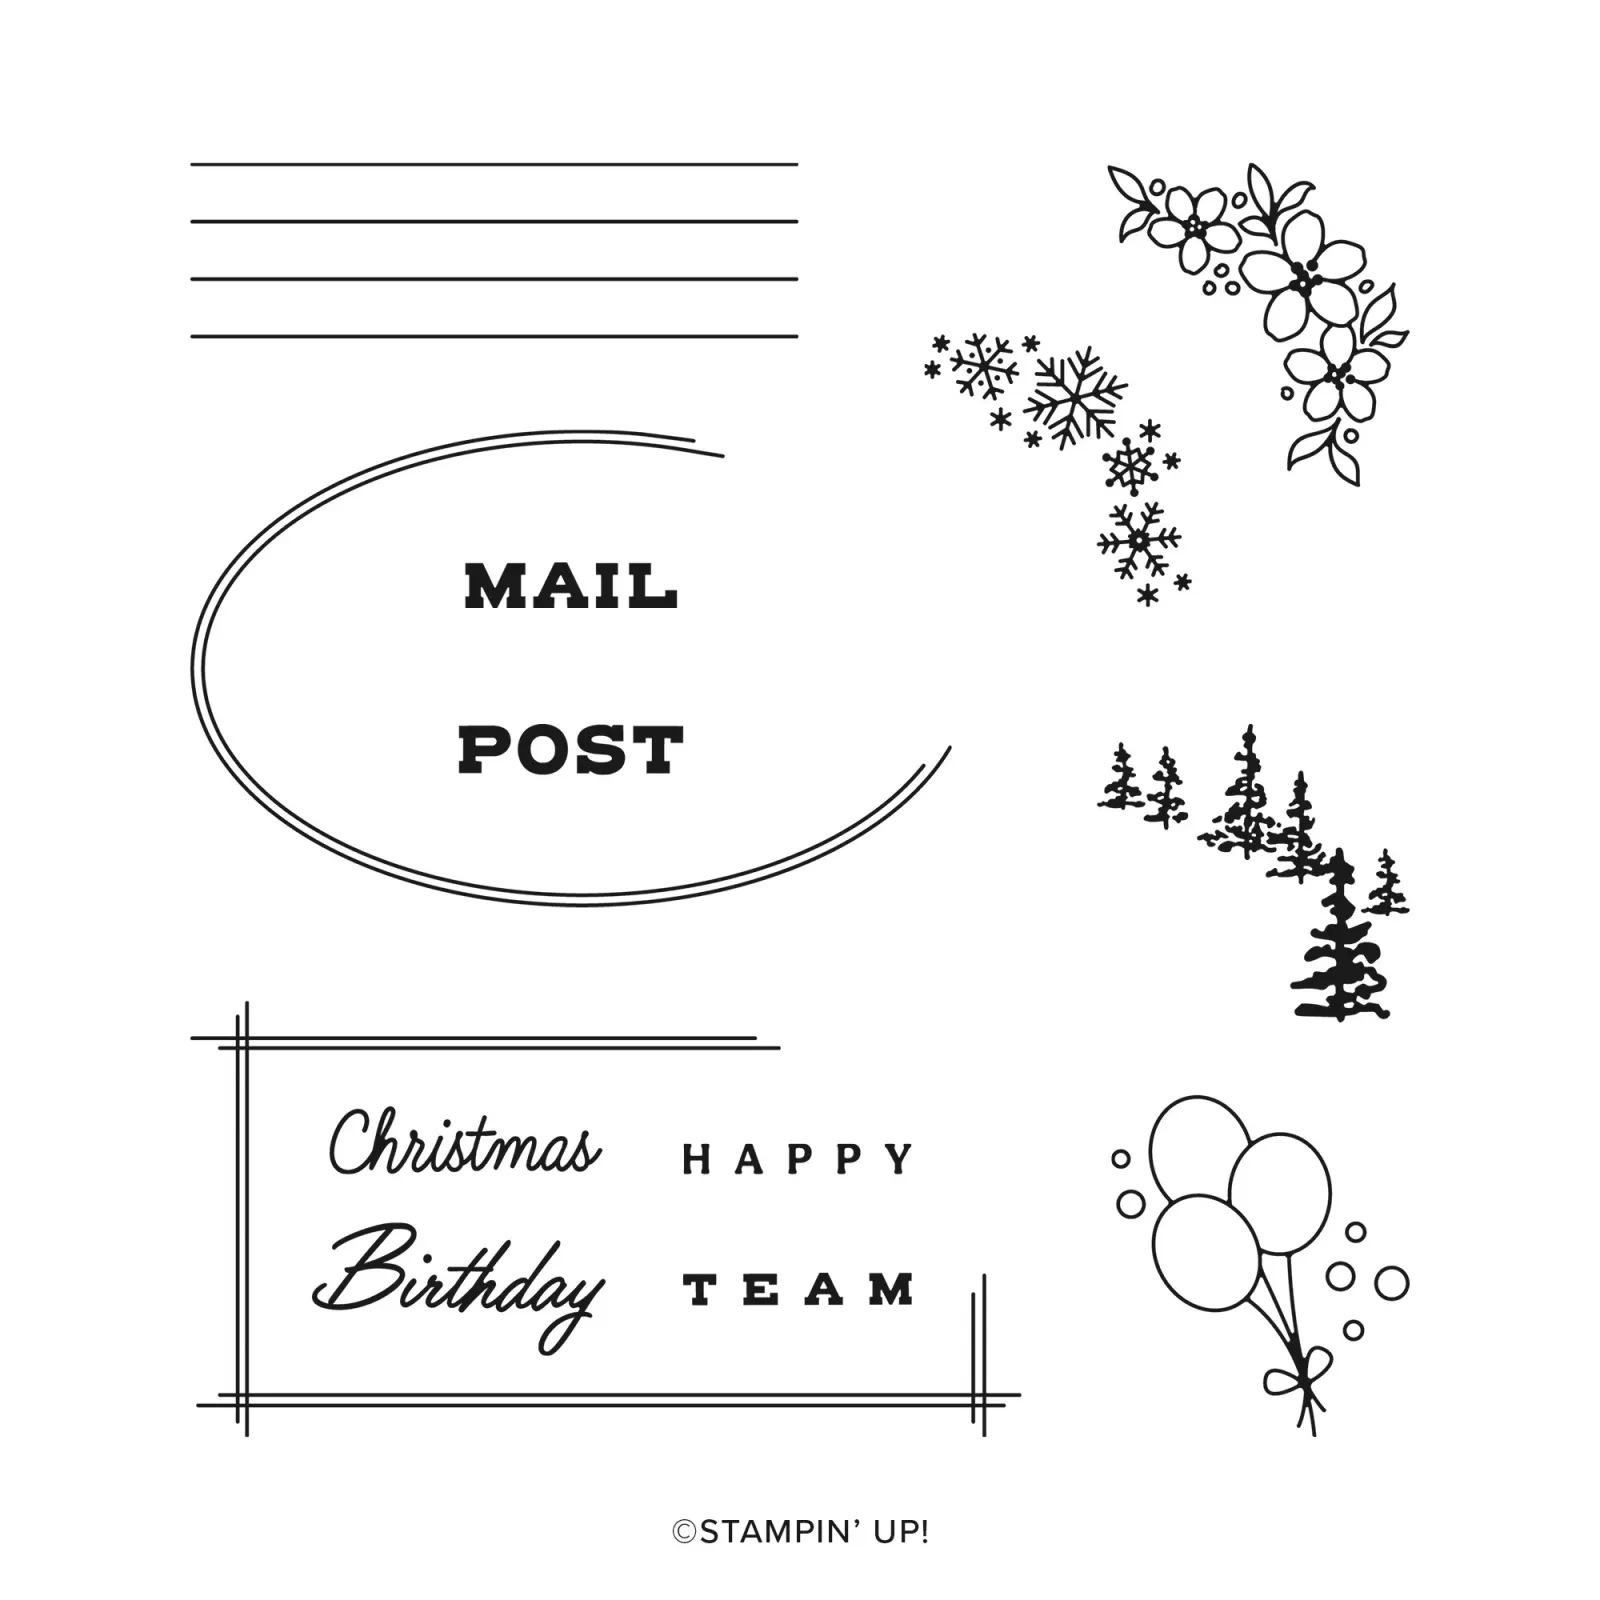
- Word Wishes dies
- Layering Oval dies (So very sad these are retiring!)
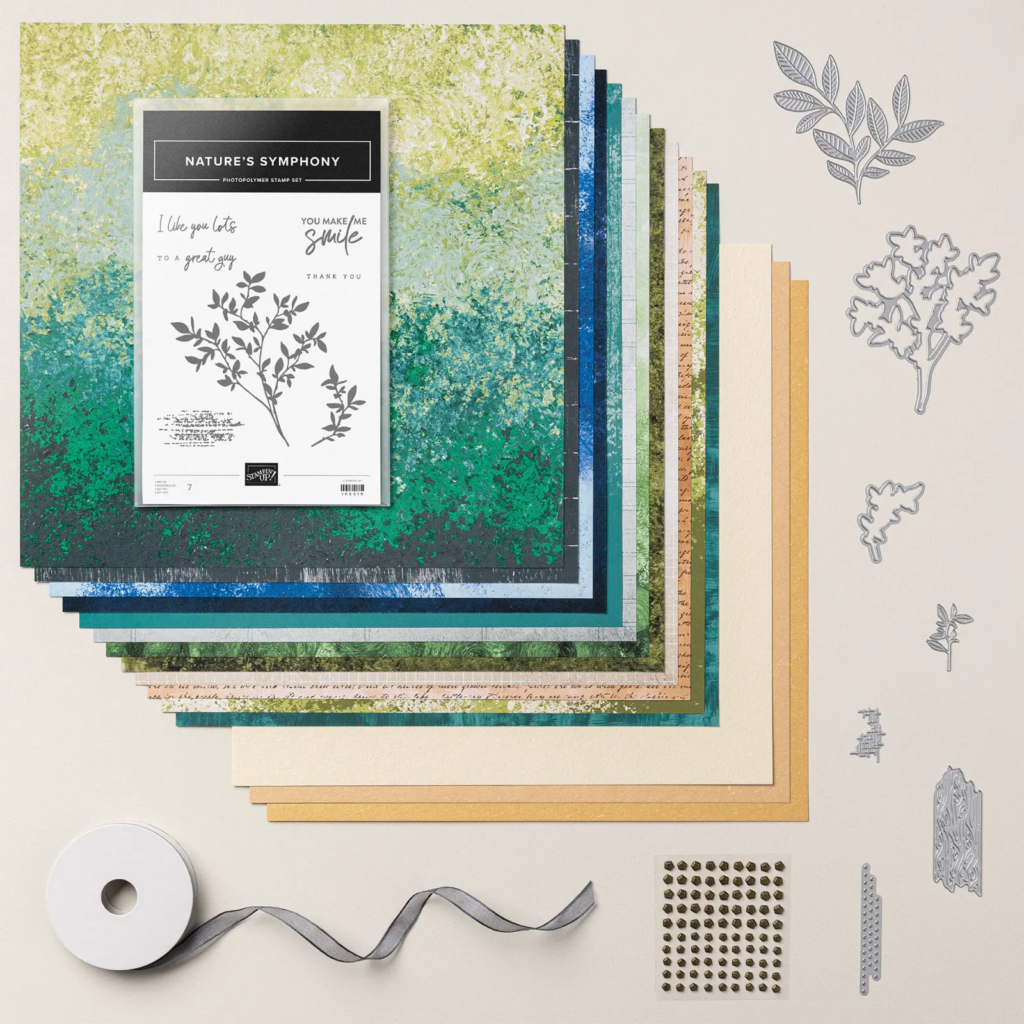
- Friendly Silhouettes dies (Greenery; retiring & on sale $19.20)
- Tasteful Textile 3D folder
- Little Details embossing folders (retiring & on sale $3.20)
~~~
April Specials!
Annual Catalog Retiring List; many discounted items while supplies last!

Current Host code is PX6ZWGM7
~~~
Get a free multipurpose glue stand with an online order over $60 using the host code above. You'll receive a color of my choice unless you let me know your preference. *if you'd rather have gems; let me know.
*If your order is over $150 do not use the code; you'll still receive a gift!
You can also order them in my Shop here.

All online orders will receive a free 14 project PDF tutorial


Leave a Reply