/


Latest Post

Great cards made with the Celebration Expression Memories & More pack


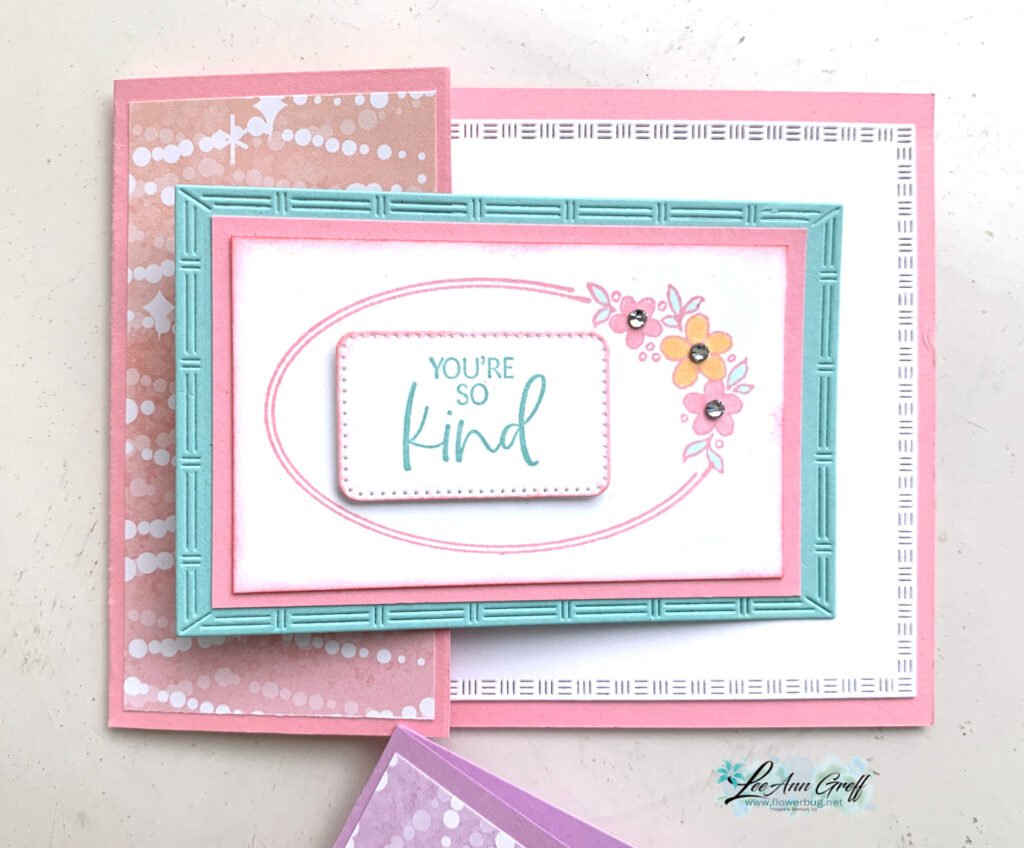
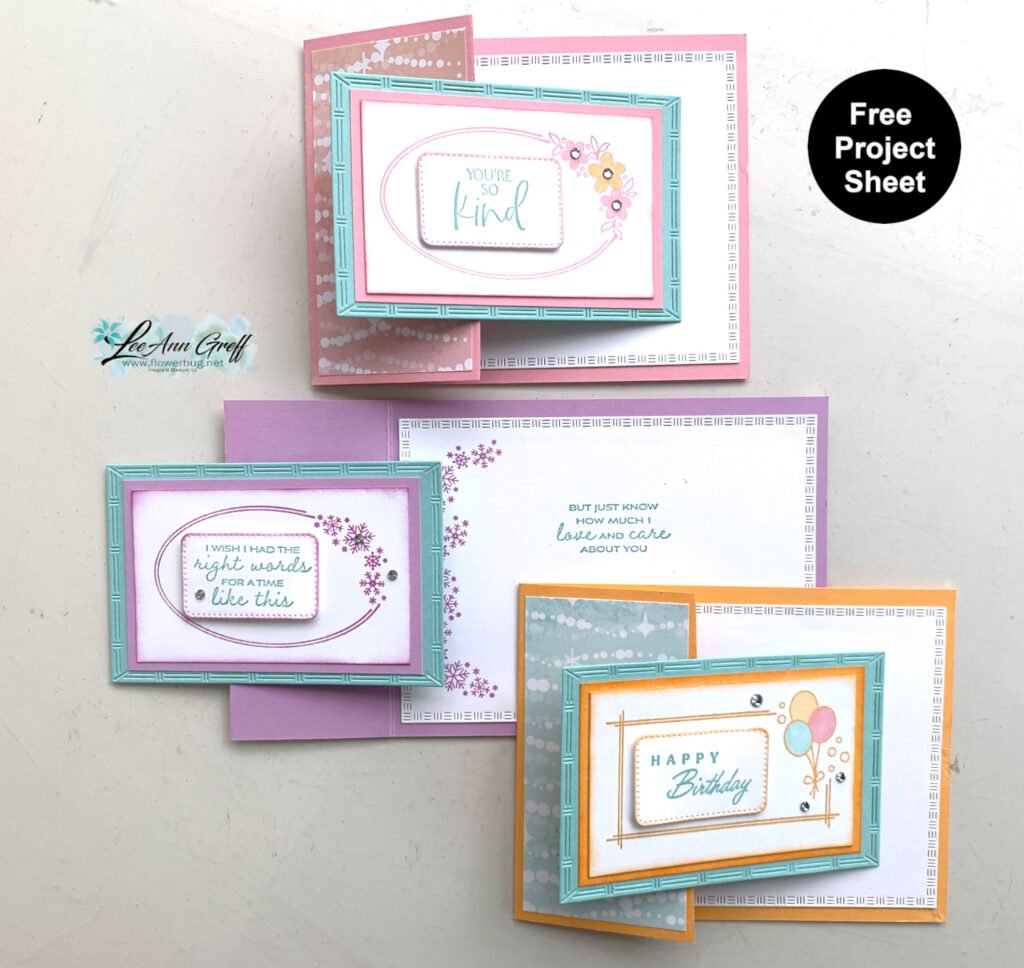
I hadn’t touched the Celebration Expression Memories & More cards yet; so I found an hour or so to create these:

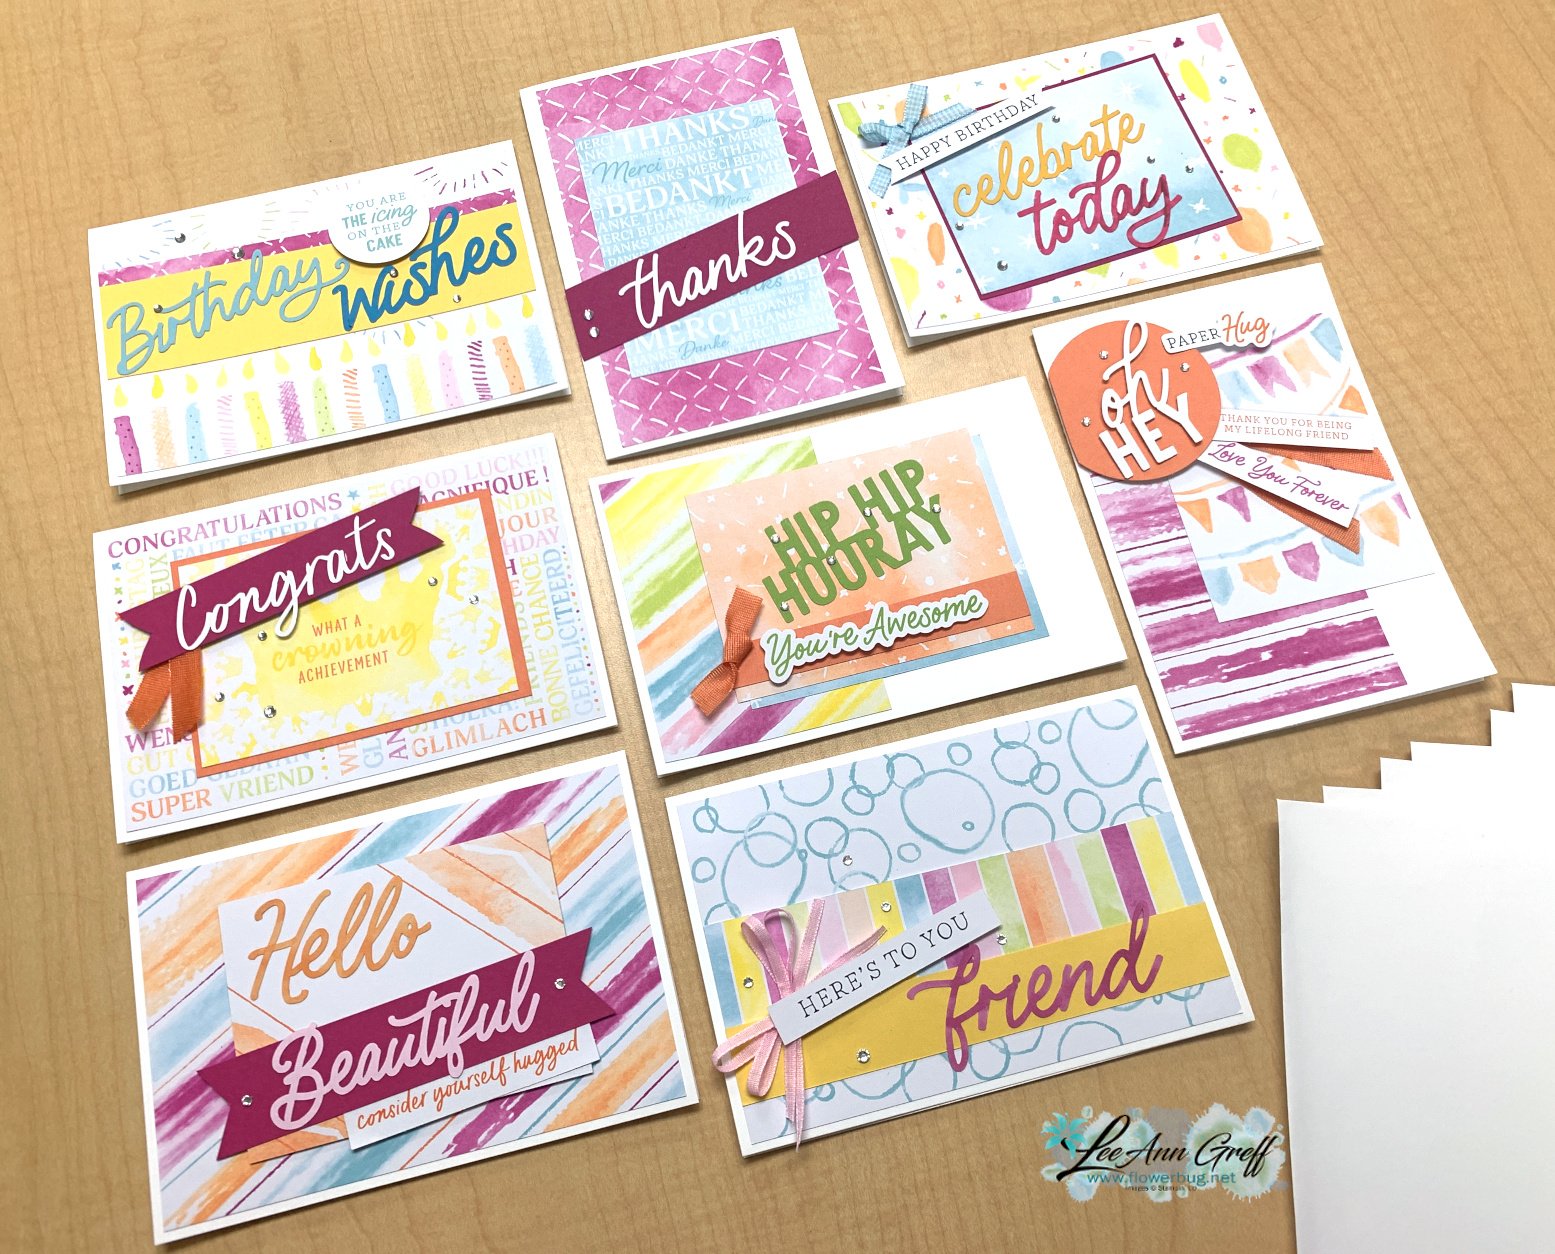
Aren’t they fun? These printed Memories & More cards come in both 4″ X 6″ and 3″ X 4″ cards. They are discounted and retiring! See them here. I did use the ‘Memories & More cards and envelopes’ as the card bases which made it super simple. These cards are a nice size – 4 1/4″ X 6 1/4″ which is larger than our traditional size. They are now in the last chance list and retiring soon!

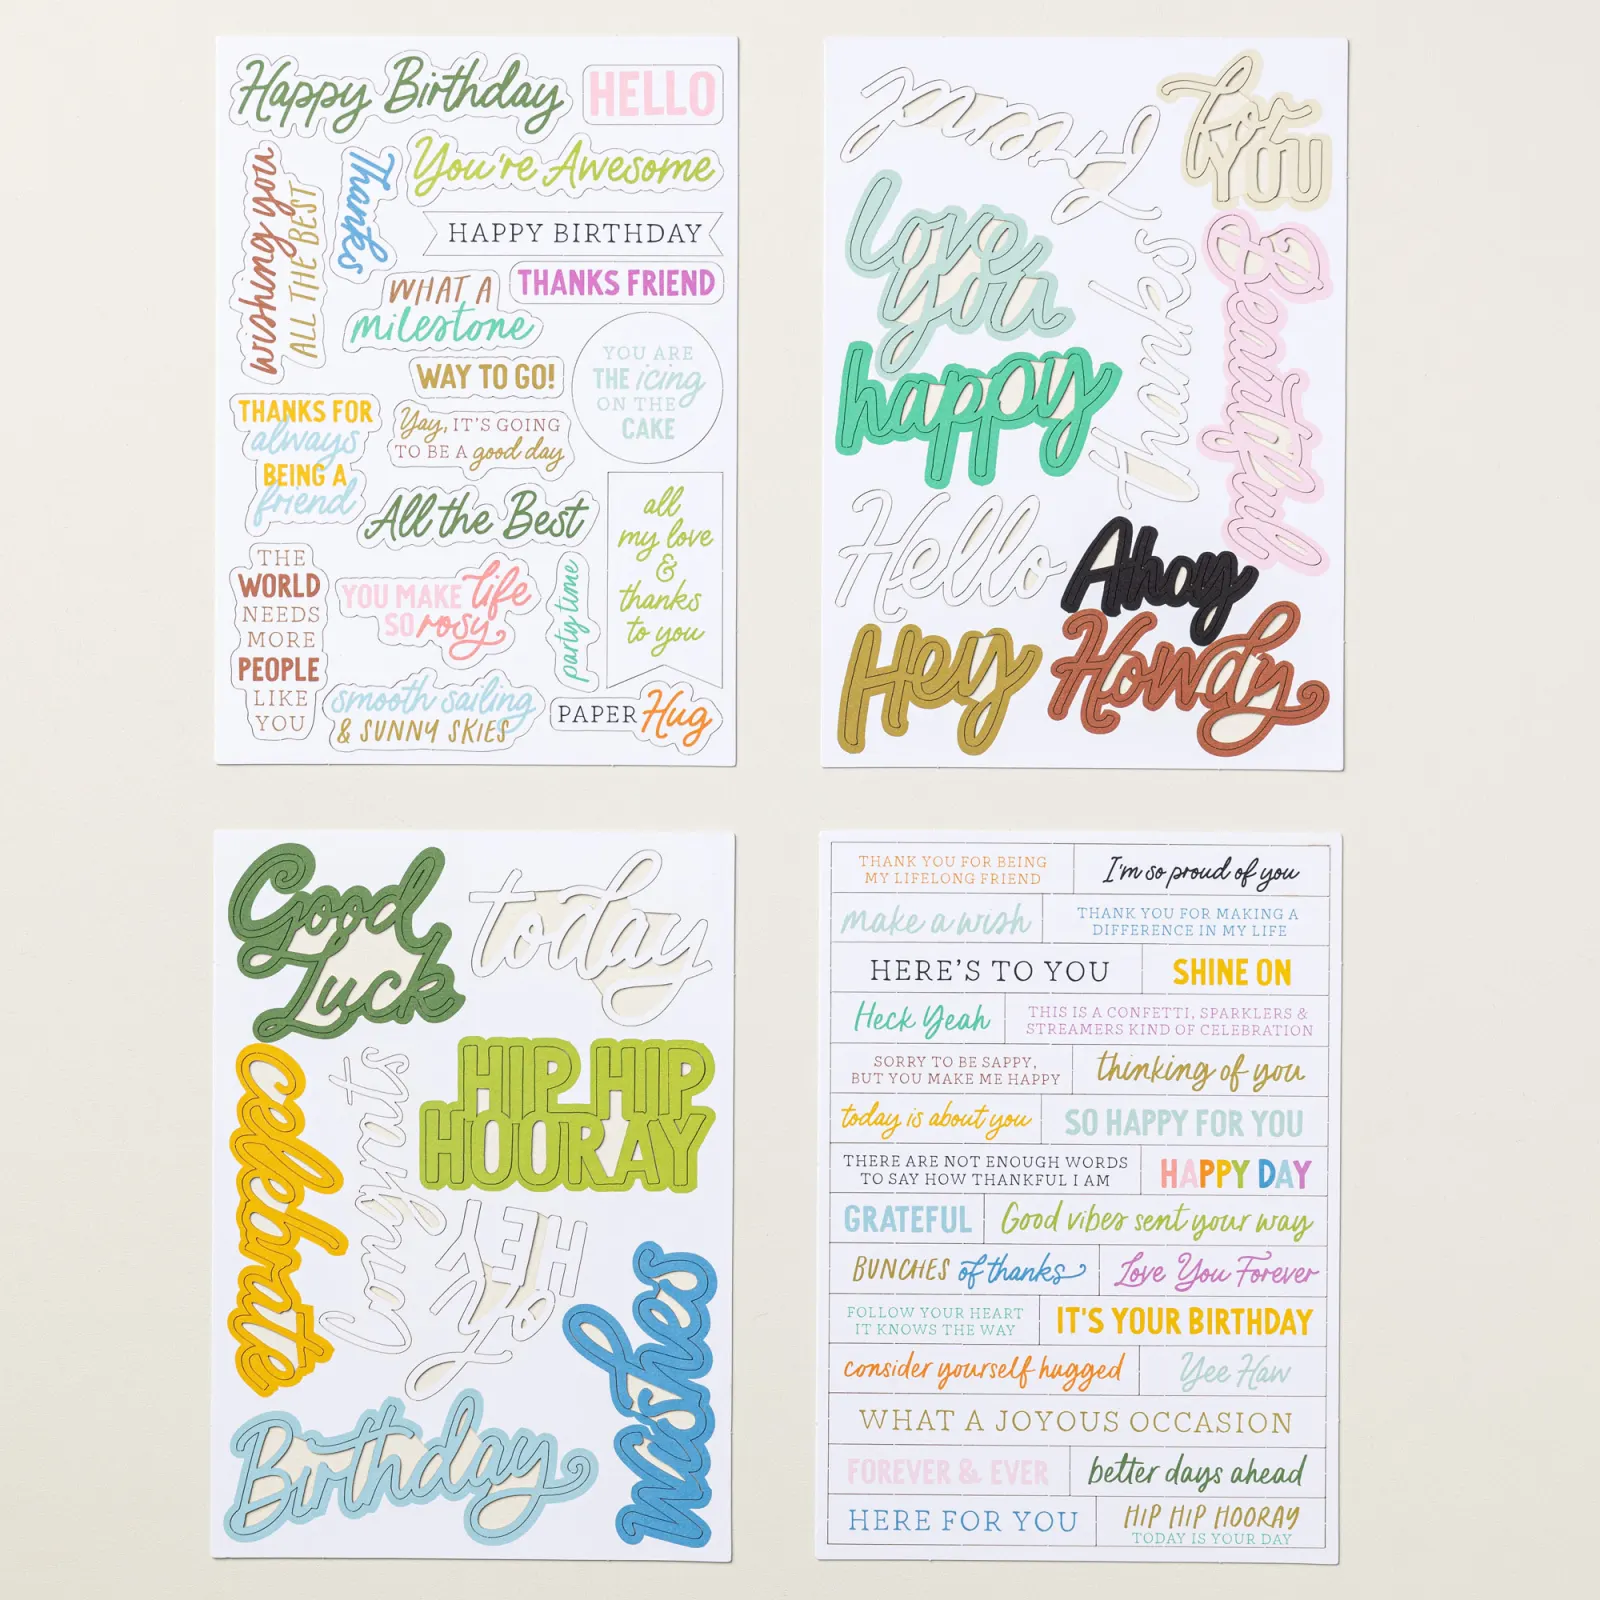
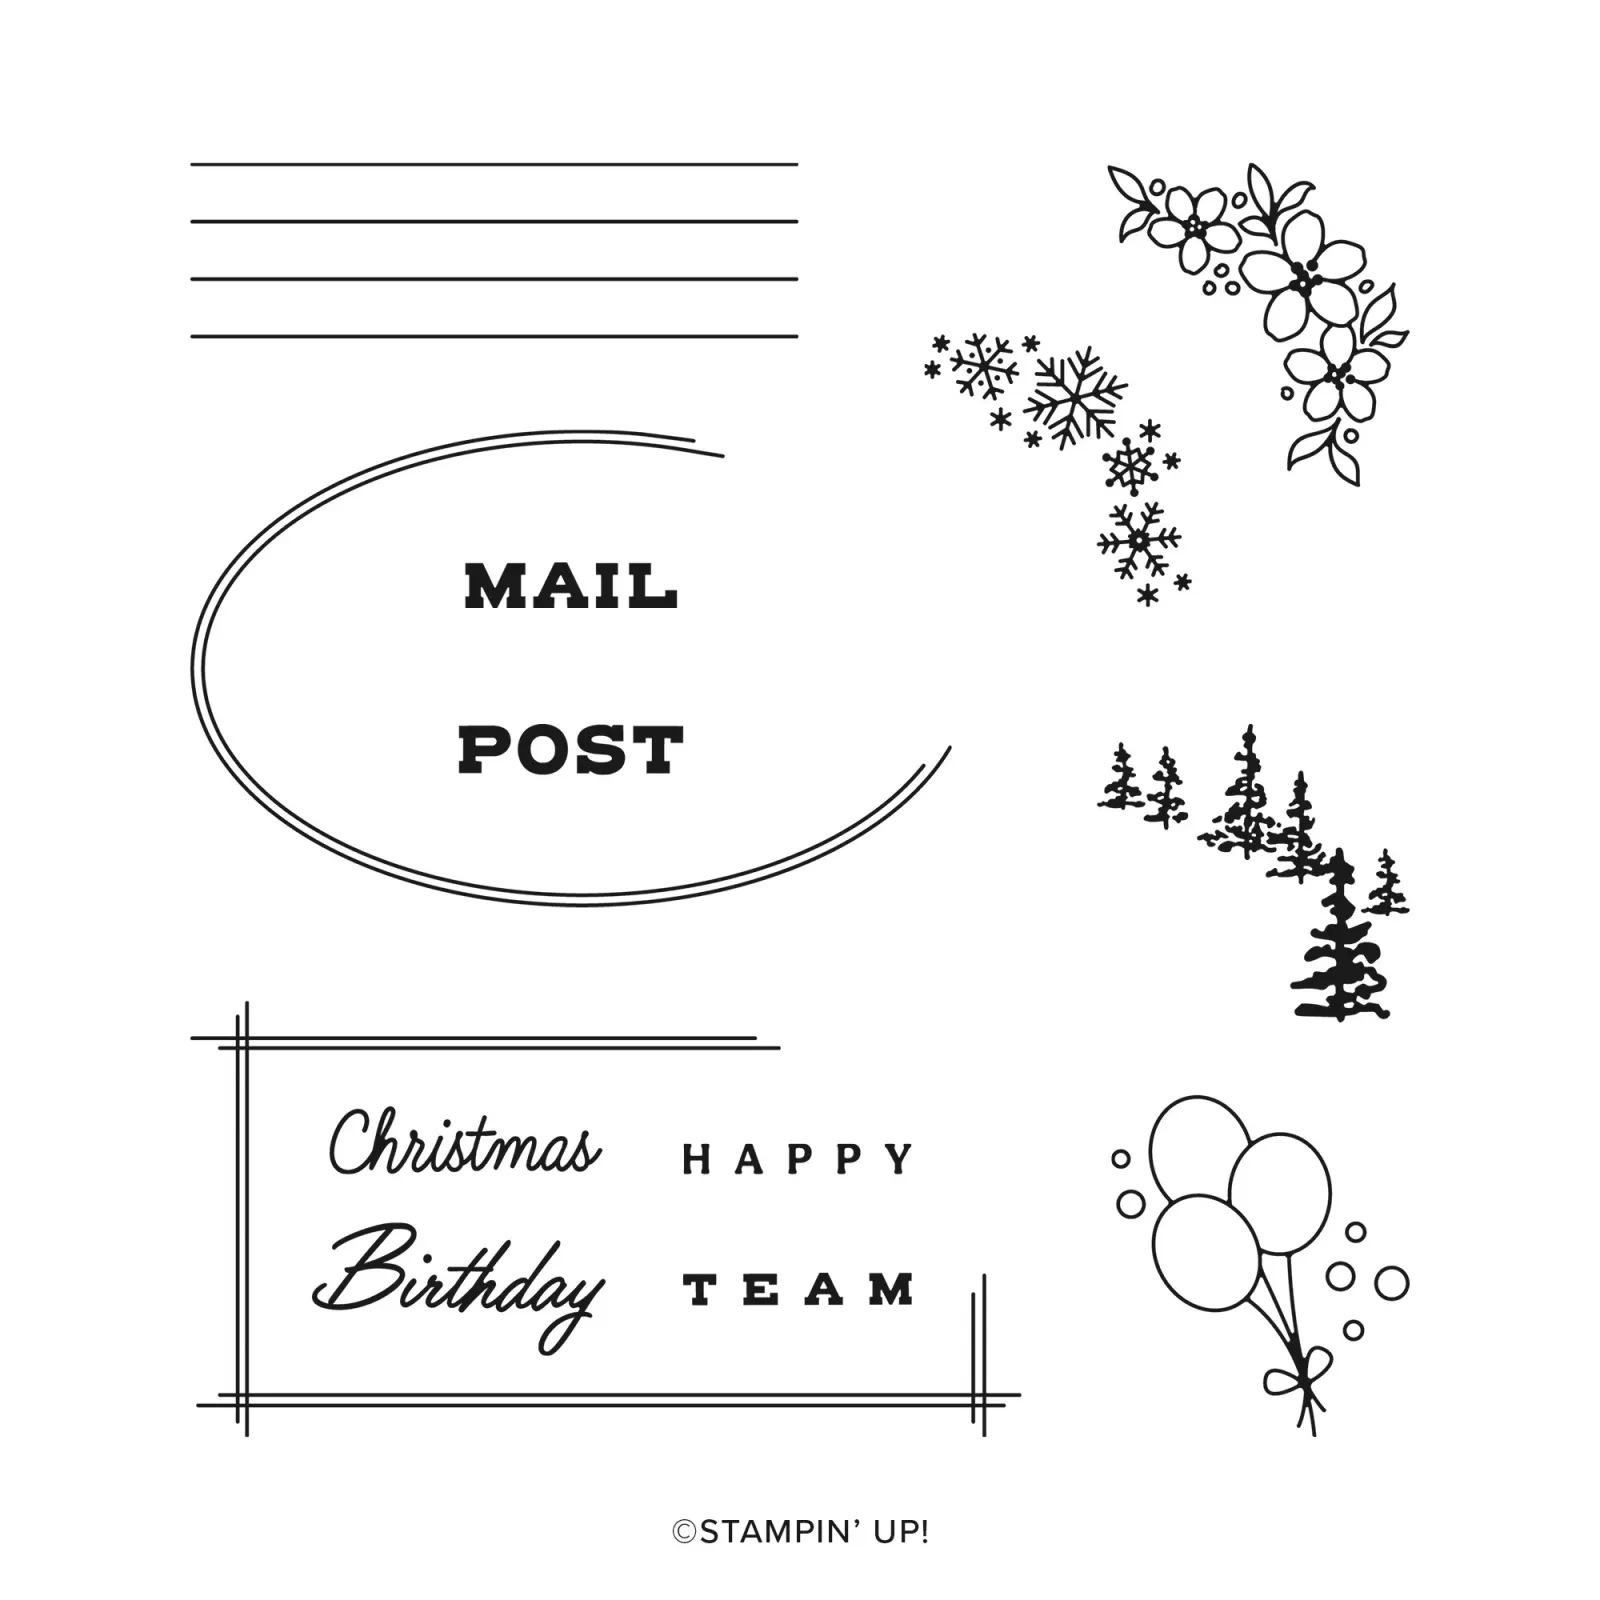
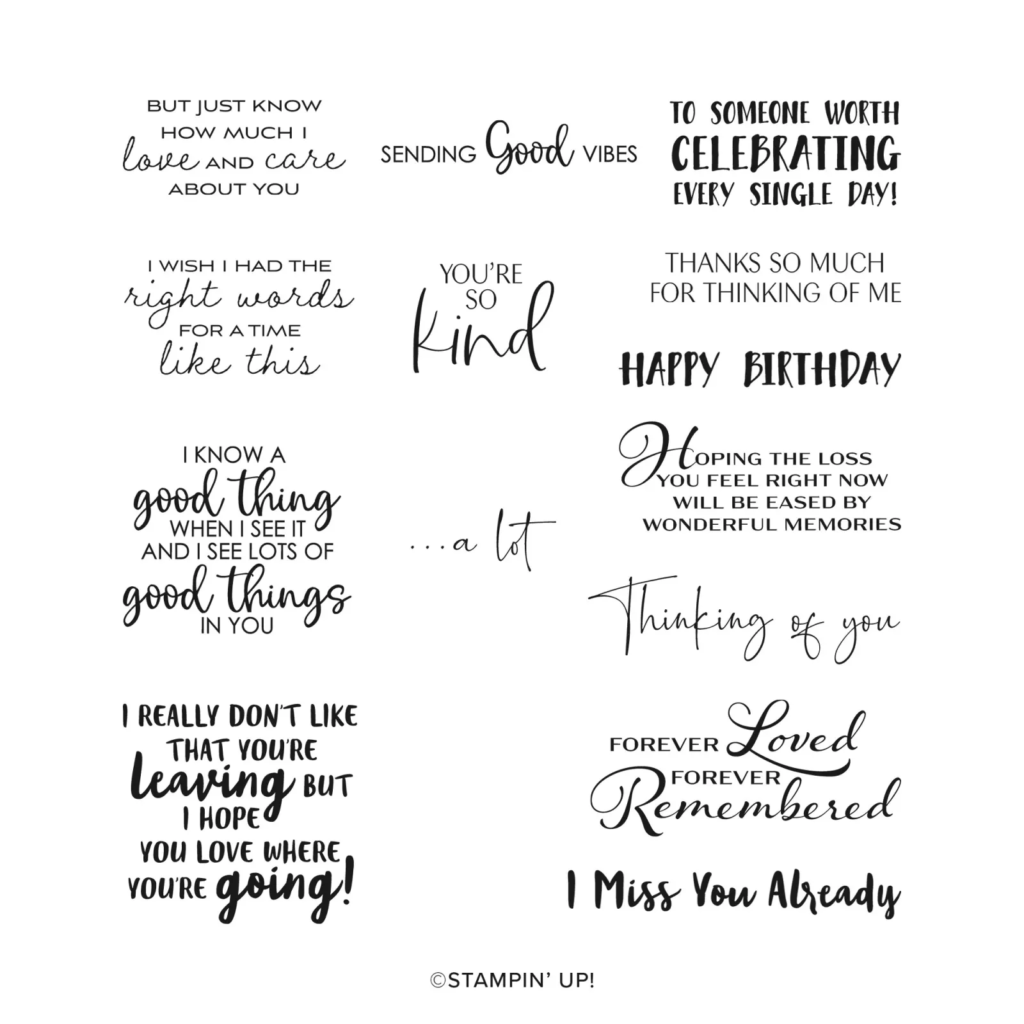
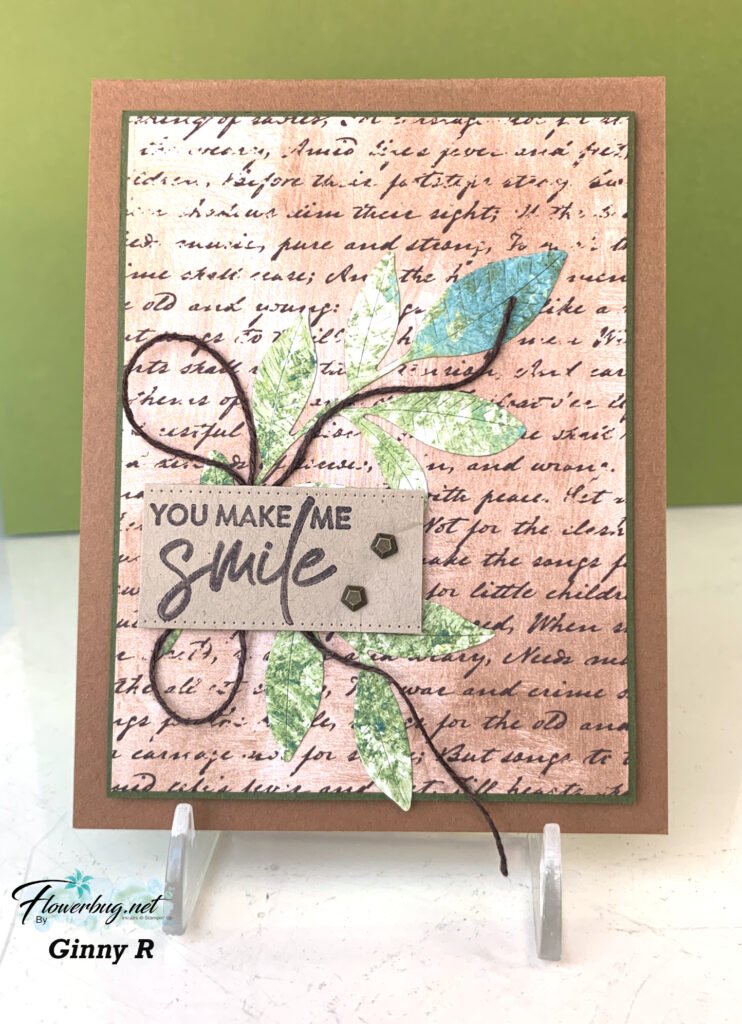
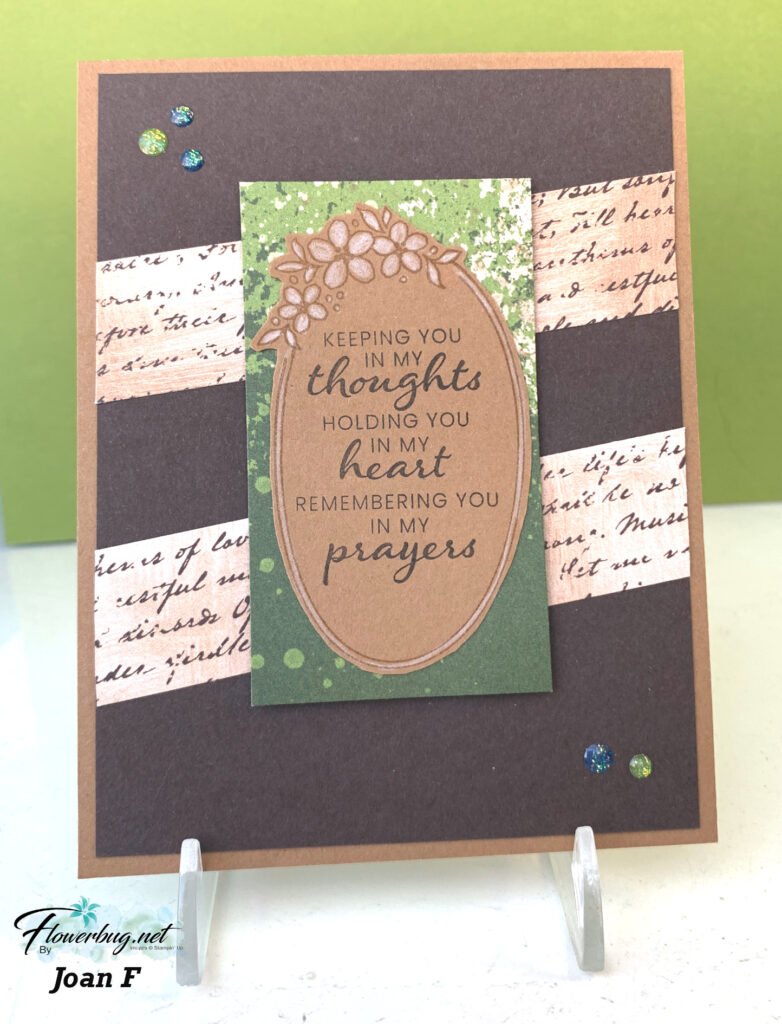
You’re likely wondering where the greetings came from. And I didn’t stamp a thing! Each of the greetings came from the Saying Something Ephemera pack. These are fabulous! They’re also discounted, in low inventory right now and will likely retire soon. See them here.

I’ll share these cards in sets of 4 next:

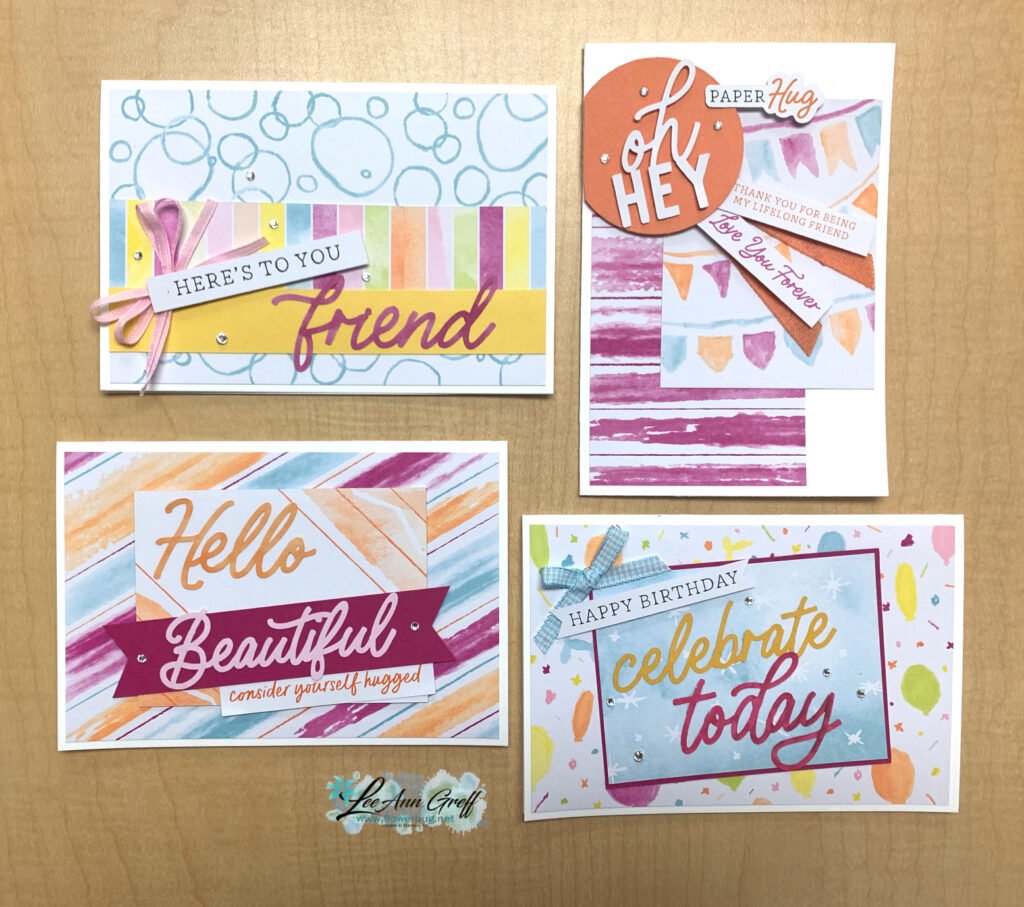
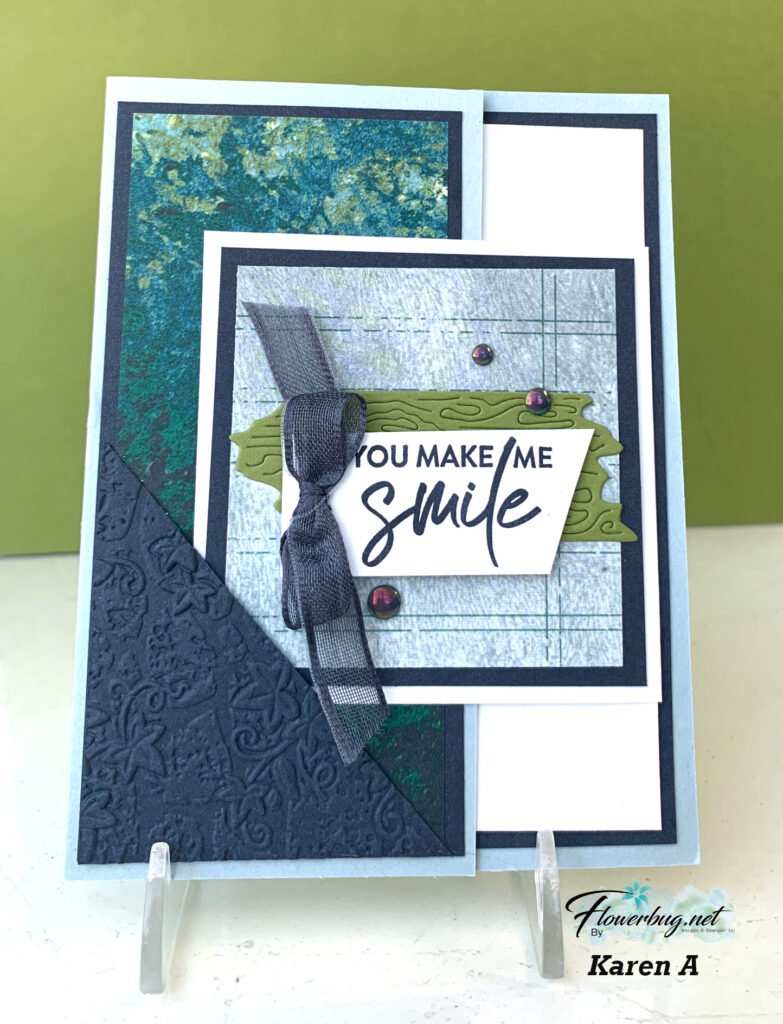
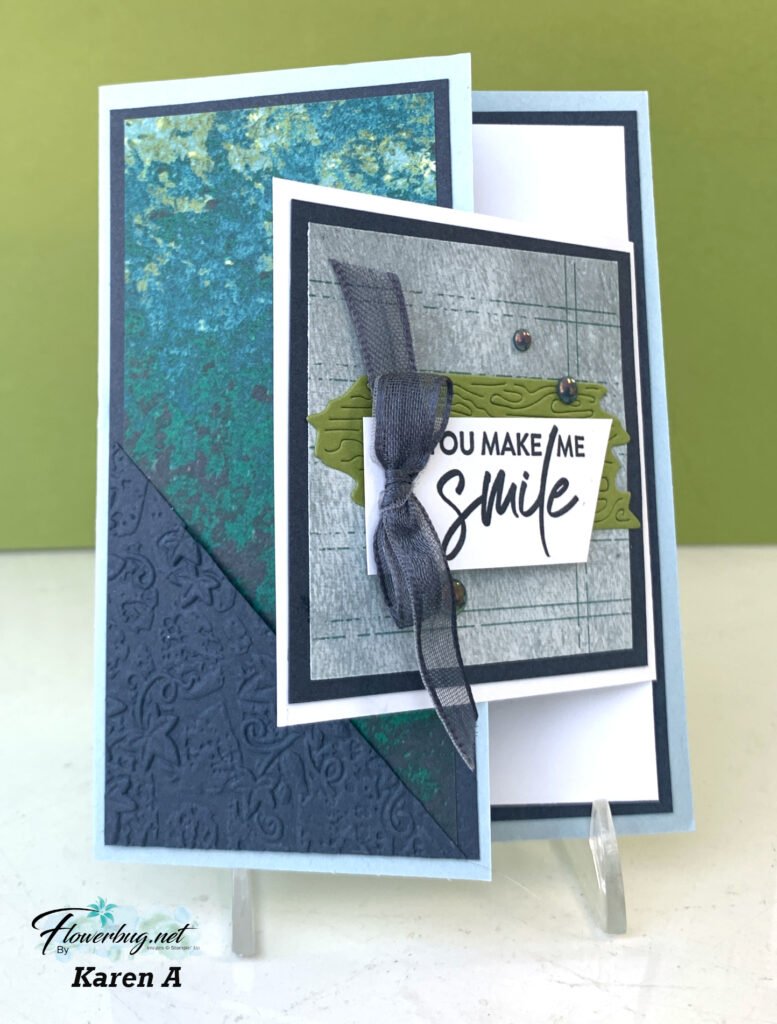
I did add a few layers of card stock on these cards to bring some solid backgrounds to the greetings. I also added some rhinestone gems & ribbons – Balmy Blue gingham, Timid Tiger 1/4″ and Bubble Bath 1/8″ ribbons.

It was so much fun to simply play with the cards, layering them or adding CS strips here & there. What a perfect way to create without a lot of product. This would be perfect to take to a crop or crafty play day with friends.

April Specials:

Check out the Last Chance list here; these items go fast!

Product of the Month is the Eyelet Blooms dies

*Get a free 12 project tutorial when you redeem this POM from me!

~~~

Free PDF tutorial featuring the Delicate Whispers suite!

All Posts

  • A stunning Holiday card with free project sheet & video tutorial


    Here’s the other card I made on last week’s video. I loved playing with the Joyful Tidings stamp set seen here; it’s just my style!

    My colors include White, Basic Beige & Gold. Soft, pretty & classy.

    Here are the products I used:

    – Gathering Together designer series paper
    – Gold Striped ribbon
    – Low-profile dots (now retired)
    – Gold heat embossing powder
    Creative Haven dies seen here for the leaf die-cuts

    I created a free project sheet for this pretty card. Click here to download or print it.

    You can also watch the video tutorial below. I shared a neat trick to place the leaf die-cuts on the greeting circle element. Press & Seal wrap saves a ton of time!

    ~~~

    November Specials

    New Online products are available on November 4th.
    See them here.

    Get the Peaceful Garden suite tutorial FREE with any online order in November!

    Leave a Reply

    Your email address will not be published. Required fields are marked *

  • The Black Friday sale starts today!! Nov 25th – Dec 1st!


    Grab deals on lots of Stampin’ Up! products during the big sale this week.
    From November 25th through December 1st you can save up to 40% off select products!

    It includes Stampin’ Blends, Paper Trimmer, Blades & Ink bundles at 40% off!

    Plus 25% off select adhesives and 15% off select card stock! I’m happy to save on products I purchase regularly.

    ~~~

    Leave a Reply

    Your email address will not be published. Required fields are marked *

  • A gorgeous card with the Joyful Tidings set


    This beautiful card has tons of Gold accents plus there are lots of neat tips you’ll appreciate. I made it during last week’s video.

    It was originally created for our November Team swap. The theme was to use foil or metallic heat embossing. I did both!

    Notice the background stamping on the right side; I used the Amber Autumn set with Versamark ink. The greeting is from the Ornamental Christmas set. The gold foil ‘wheat’ die-cuts are from the Amber Autumn dies
    The wreath stamp set is Joyful Tidings and can be seen here. I’ve always loved wreaths and used to collect them.

    Here I simply heat embossed the partial wreath in Gold embossing powder. It’s stamped on a die-cut from the Spotlight on Nature dies. See the pretty gold hoop? Those are available here and are applied with either mini glue dots or thin lines of Multipurpose Liquid Glue (which I did).

    My colors include Basic Beige, Mossy Meadow and Gold foil. I textured the Mossy Meadow layer with the Wreath 3D embossing folder. I also used the Labeled with Love punch to achieve the ‘ticket’ shaped corners.
    *look at your punches to see if you can use them in new ways!

    This card is a slightly different fold because the second layer is what opens. I created a free project sheet for this card for you. Click here to download or print it.

    I also have a video tutorial seen below for this beautiful card and one more beautiful card featuring the Joyful Tidings stamp set that I’ll share Wednesday.

    ~~~

    November Specials

    New Online products are available on November 4th.
    See them here.

    Get the Peaceful Garden suite tutorial FREE with any online order in November!

    Leave a Reply

    Your email address will not be published. Required fields are marked *


Notice: LeeAnn Greff, Independent Stampin’ Up! Demonstrator, Manager. The content of this website is my sole responsibility as an independent Stampin’ Up! demonstrator and the use of, and content of, the classes, services, or products offered on this website is not endorsed by Stampin’ Up! Copyright 2025