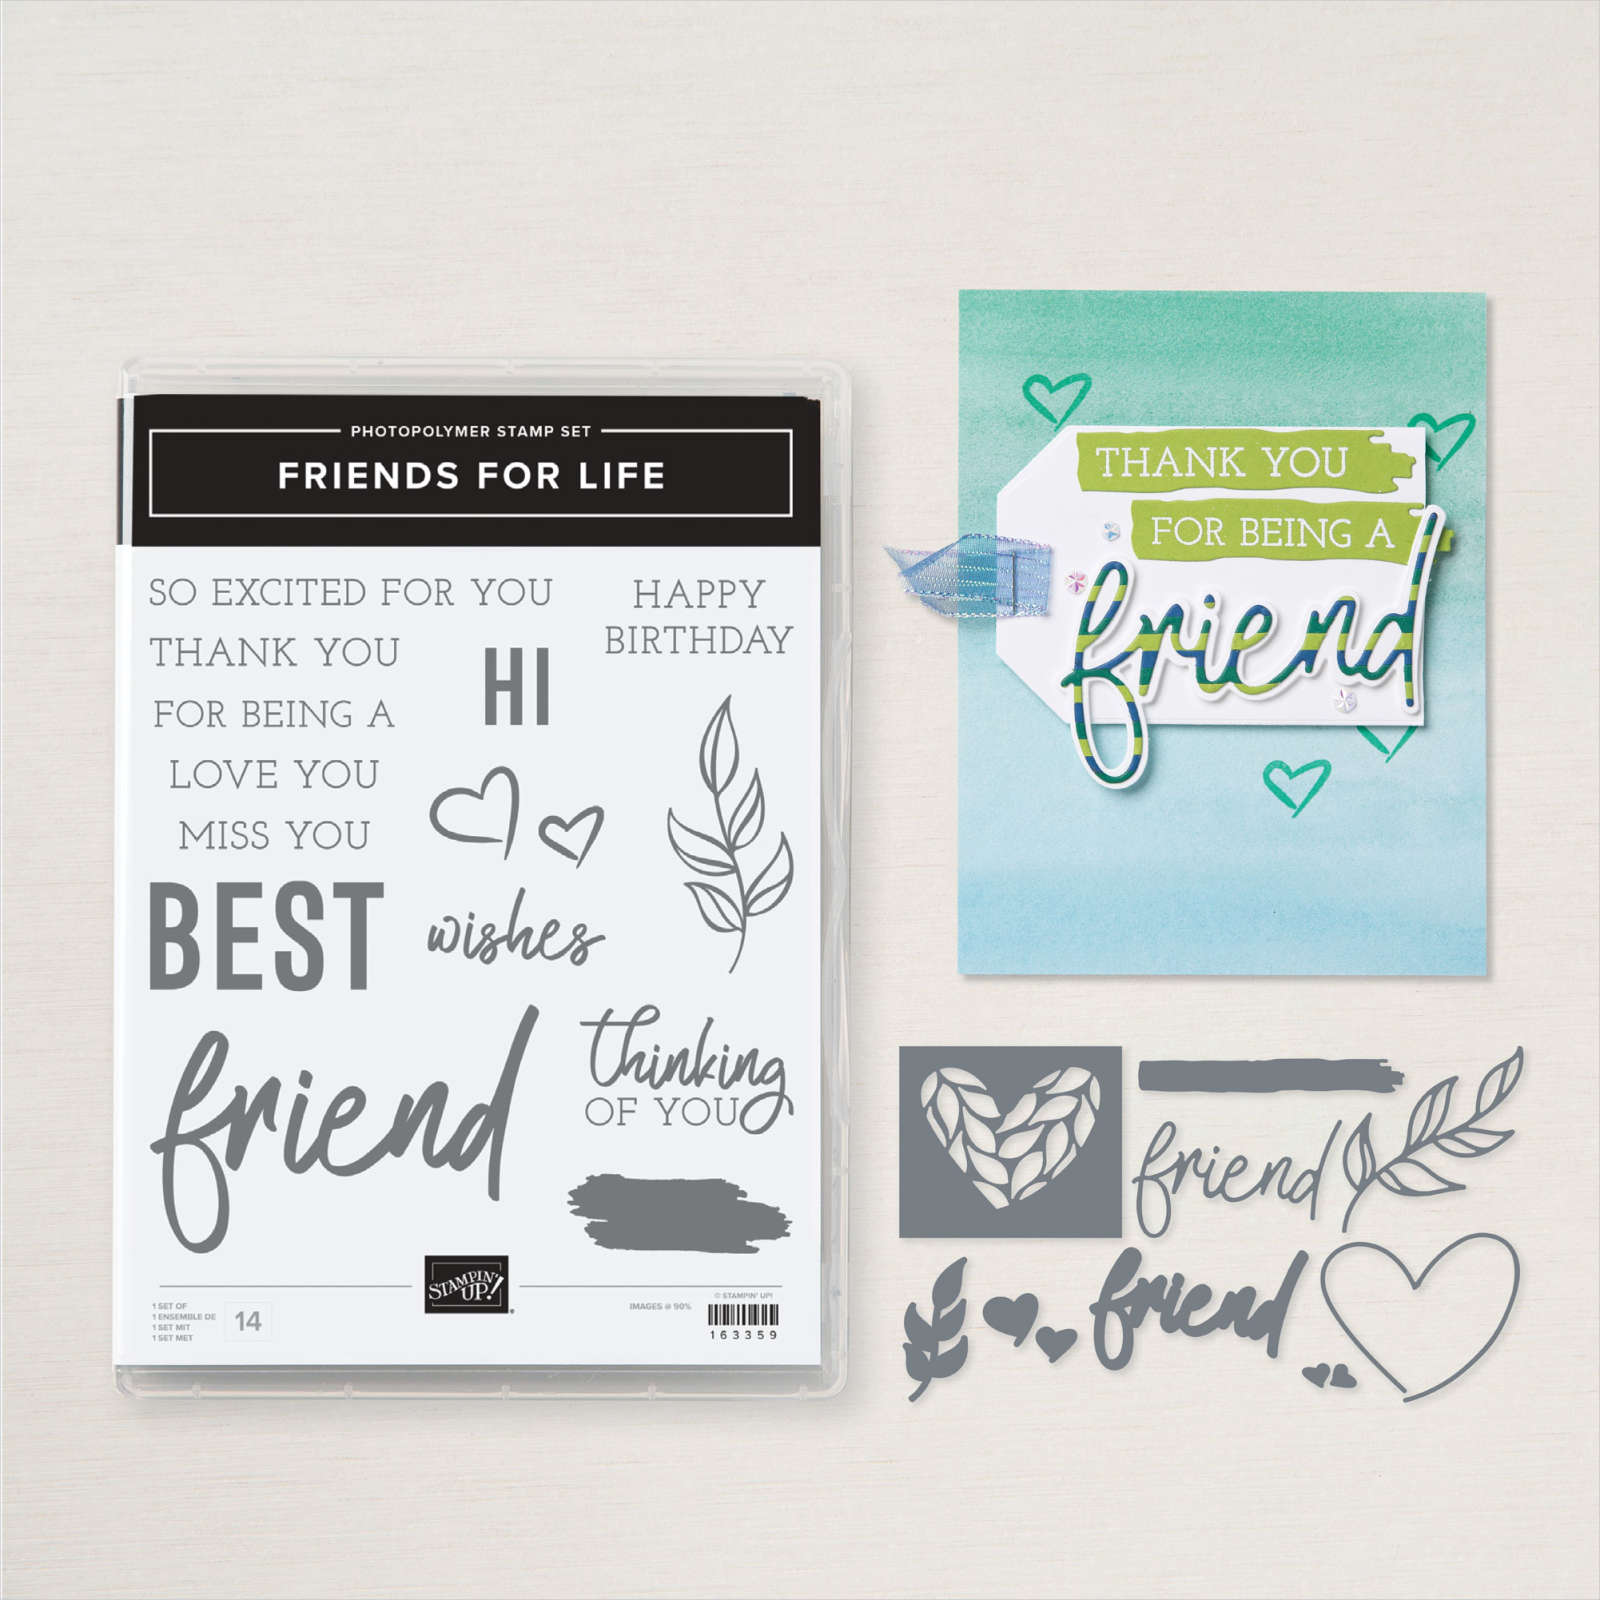
/


Latest Post

Gorgeously Made with a neat background technique & video tutorial


I shared this card as part of my Tuesday Live video last week.  I was featuring the Gorgeously Made bundle.  Check out the background! 

I focused on creating a pretty, textured background under the main image. Here are the steps:
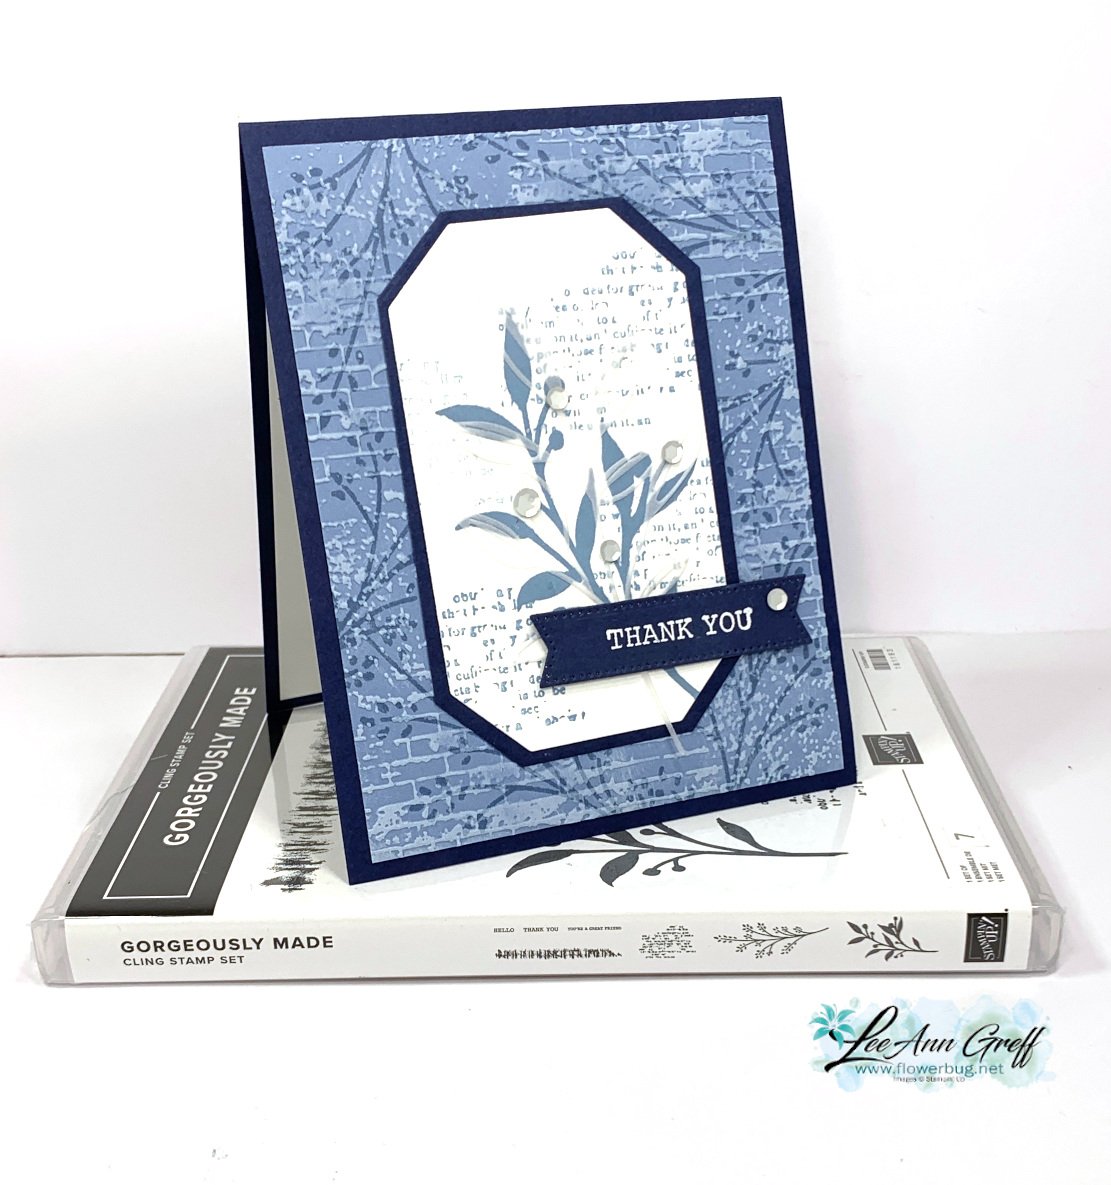
  1. I first stamped the foliage image with Boho Blue ink onto Boho Blue card stock.
  2. Next I textured it with the Exposed Brick embossing folder seen here. (It's one of my favorite folders.)
  3. Lastly I dragged my White Craft ink pad over the texture. Tip: use a very light touch or ensure your ink pad is a little bit dry. I LOVE the look of this so much!  

I used the same foliage image for the inside of the card as I did the pretty background, stamping once in full strength Boho Blue ink and stamping again without reinking.  

I stamped the other large leafy image from the Gorgeously Made set on the Countryside Corners white die-cut. I added the print image a few times in second generation Boho Blue ink (this means stamped off once). It's layered on a Navy die-cut before adding to the card base.  
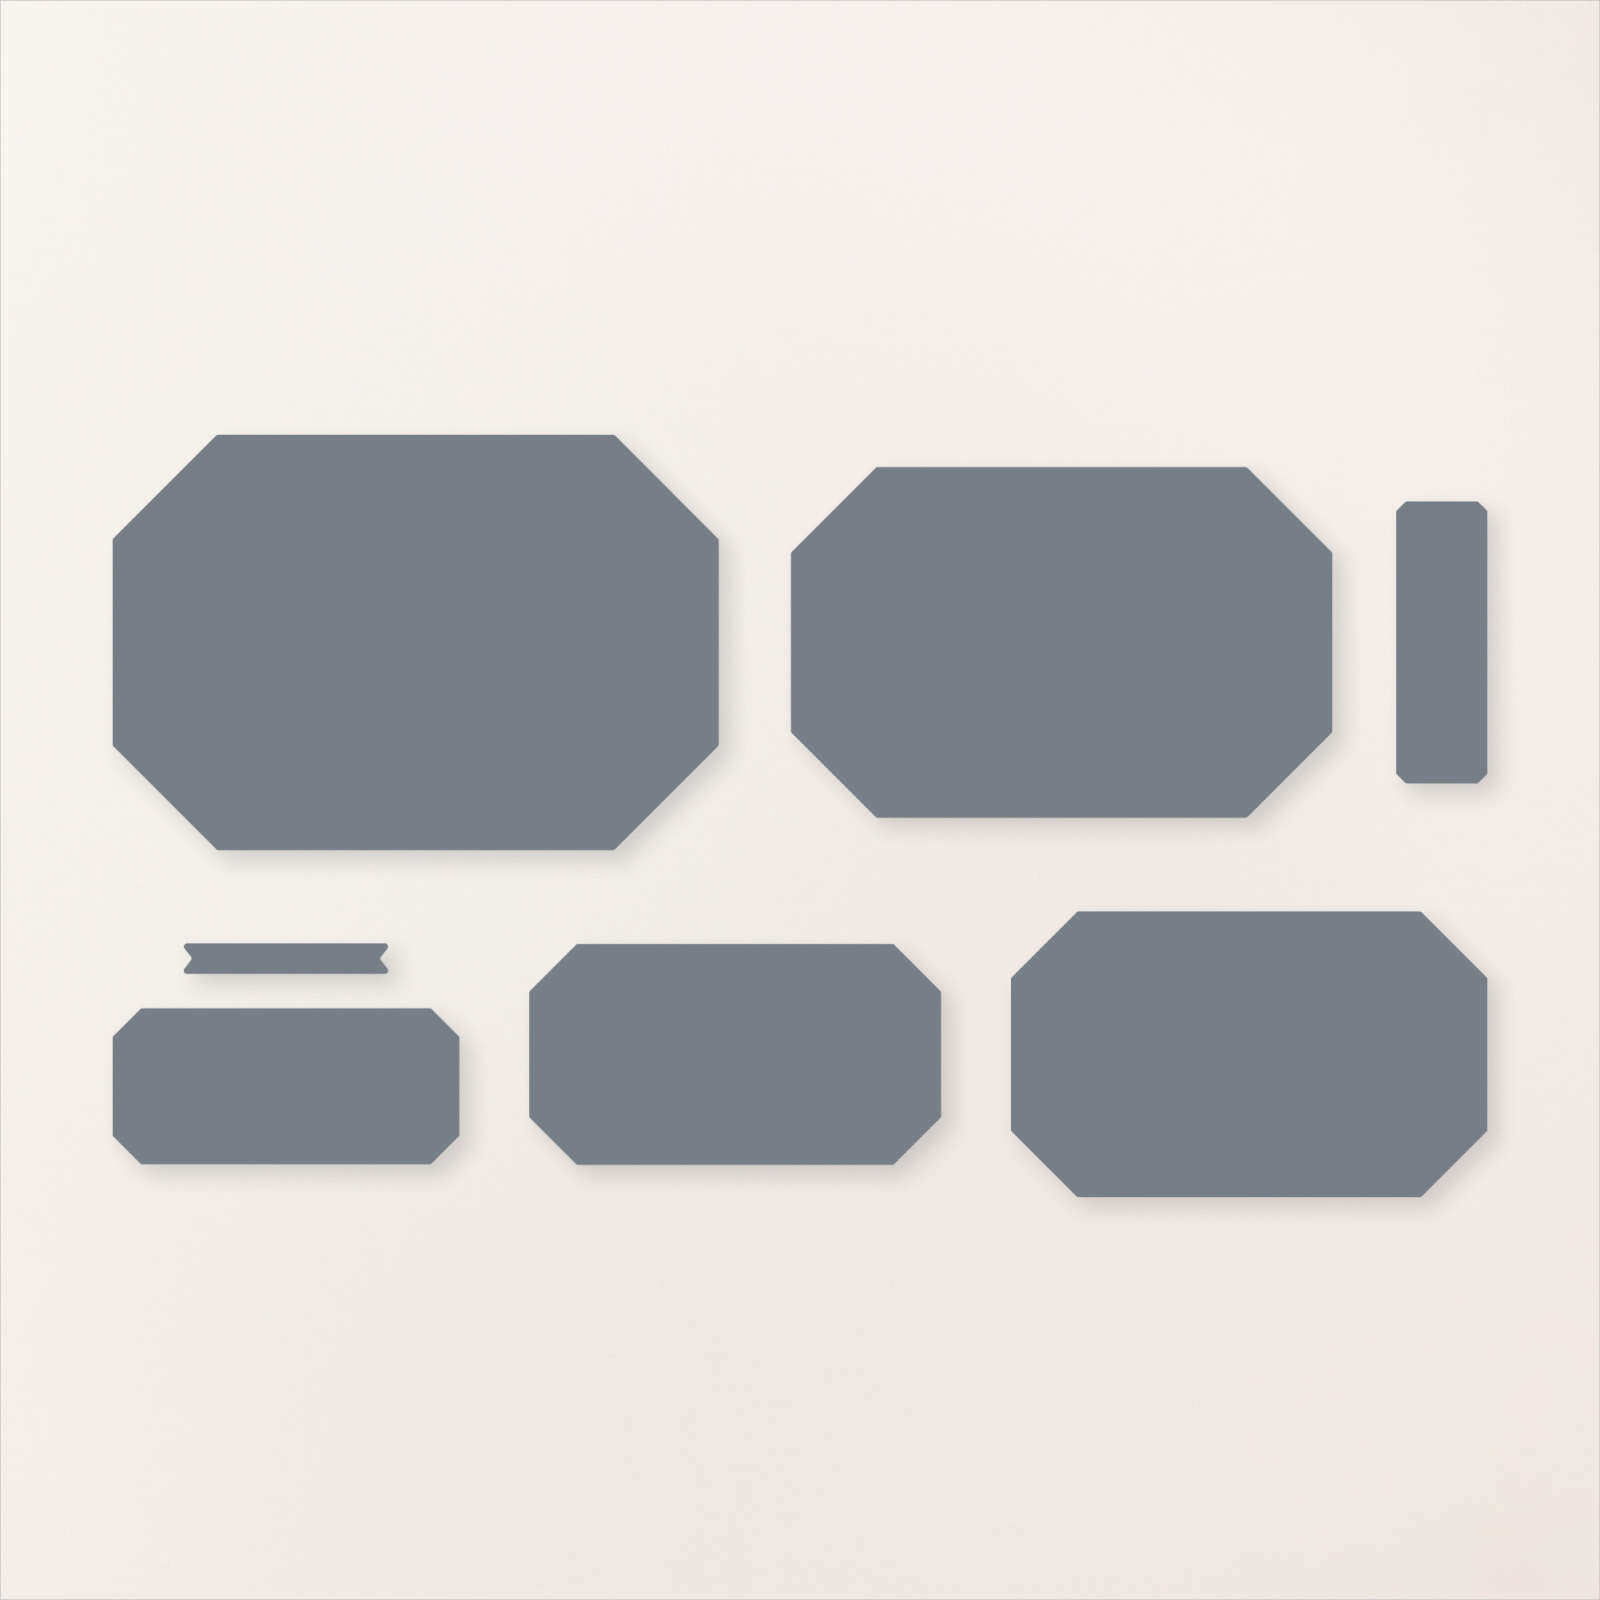
The greeting is heat embossed on Navy using White embossing powder. The die-cut is from the Stylish Shapes dies – my go-to dies for greetings. 

There's just something special about a monochromatic card; this time in blues.  If you're going for an elegant or cohesive look try using just one color in varying hues.  Greens, blues and browns are some of my favorite choices.  

Click here or on the photo below to watch the video.  It's the first project featured; the other is a super fun 'fancy fold' card.  

 ~~~

July Specials: 

Bonus Days!

Get a $5 coupon for each $50 order you place in July.  Redeem in August!
 

Clearance Rack update!

See all items available here

 NEW Online Exclusives will be available

See them all here

~~~

I have 3 free card kits left!  It includes a new Beautifully Happy stamp set 

with online orders over $65; must use a host code.

 *current host code: XNYX2DWG
All Posts

  • Gorgeous card kit and a new Travel Journal kit – both all inclusive!


    Stampin' Up! released two new kits to our Kit Collection every month.  This month they're above & beyond special! 

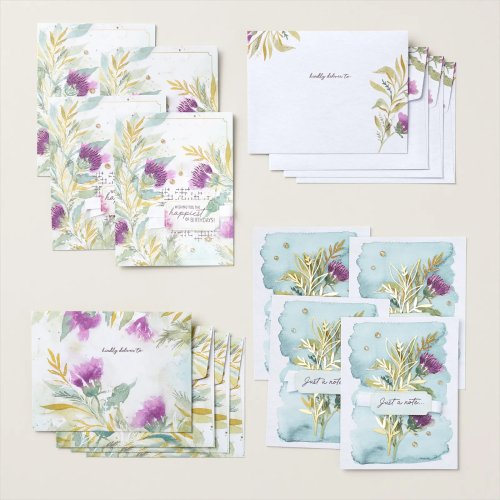
    First is the stunning Expressions of Kindness Kit. 

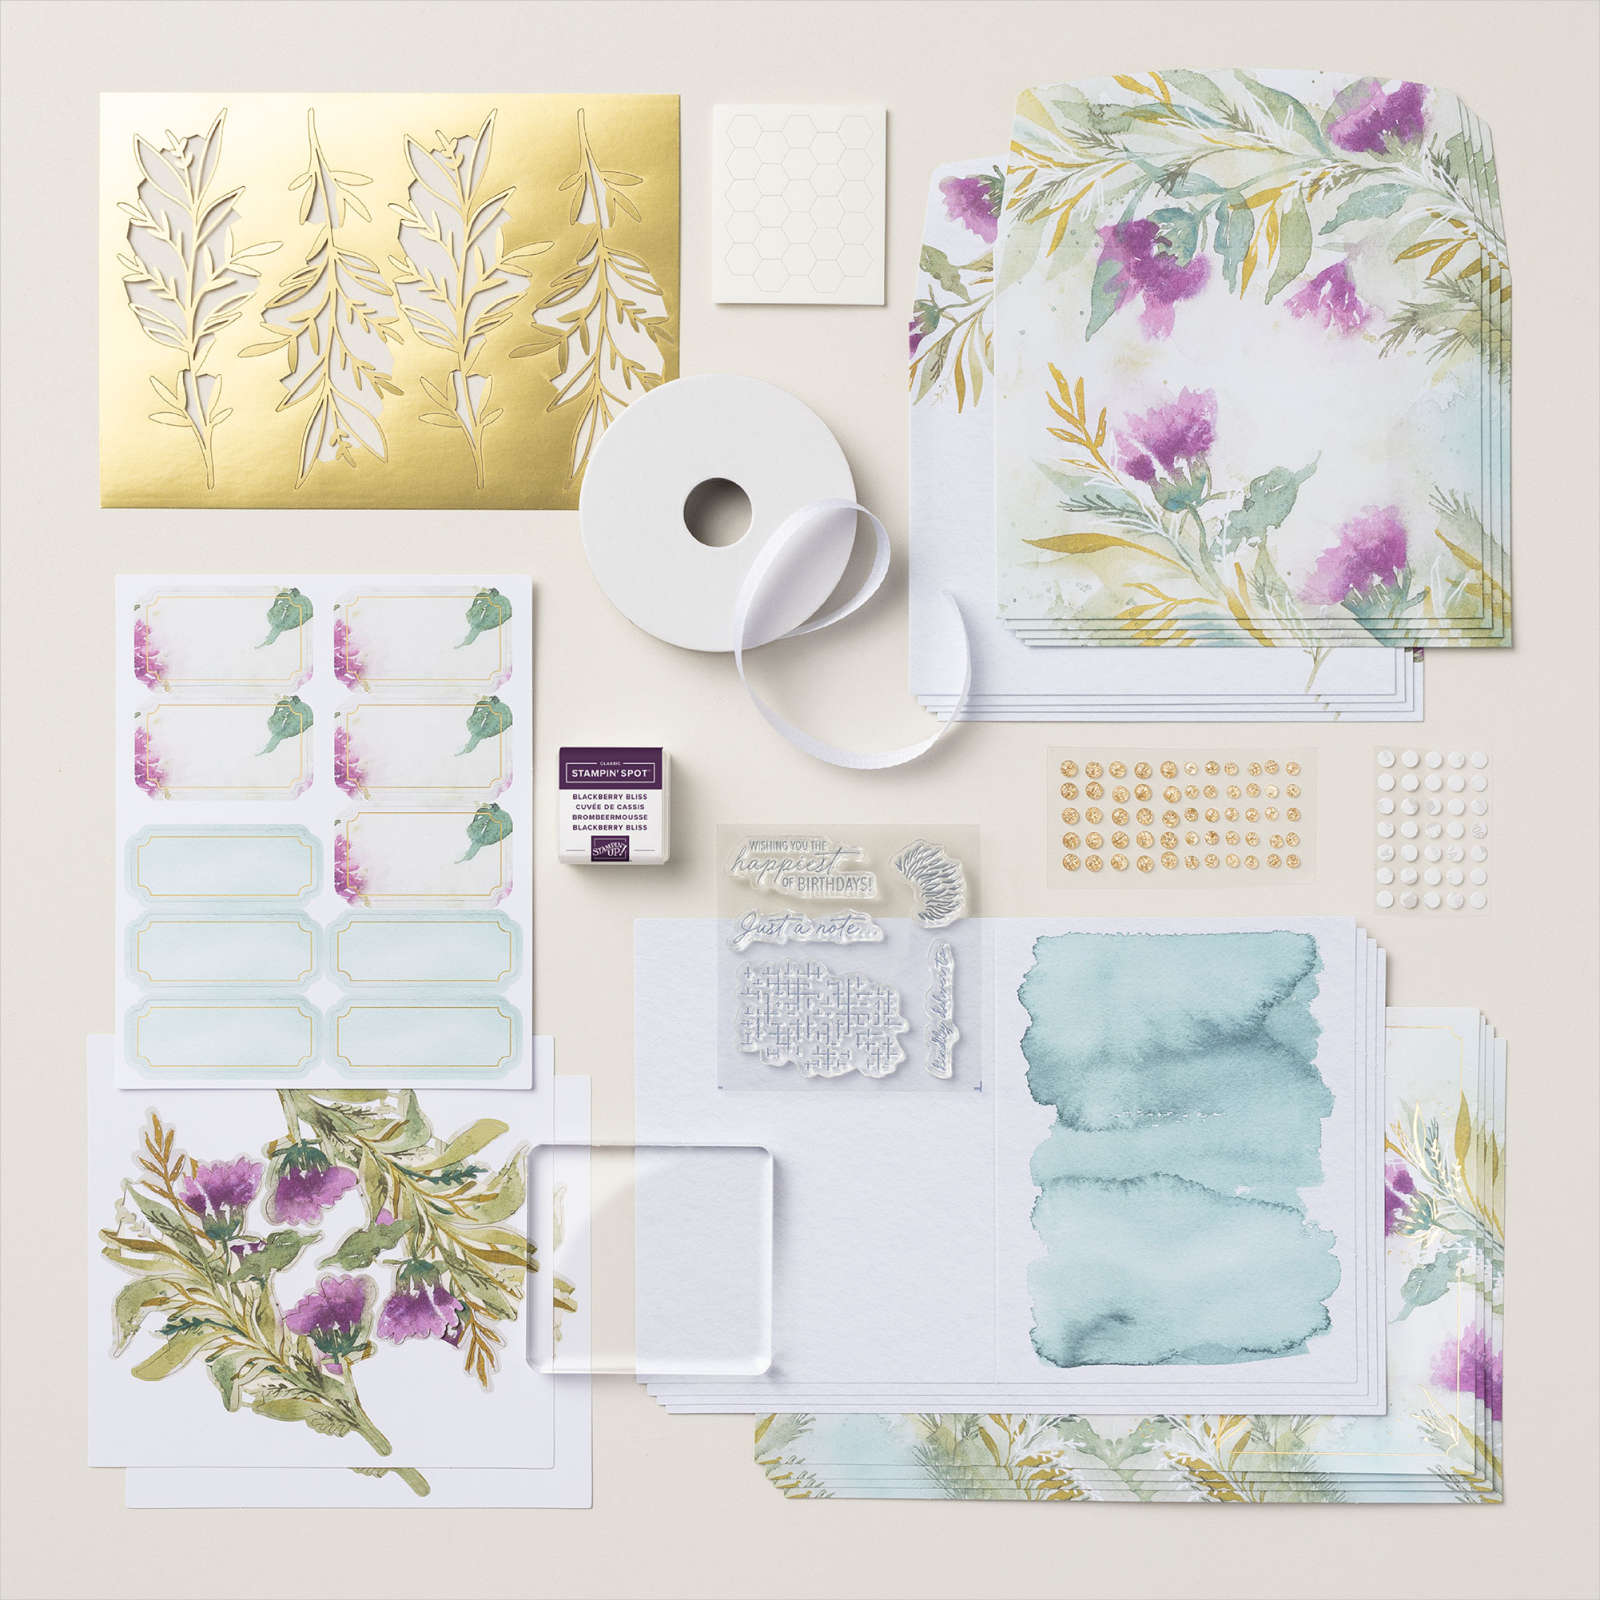
    It includes 8 beautiful cards along with gorgeous coordinating envelopes. I might be tempted to use the card bases as card fronts and create even more cards. Here's a snapshot of the product included:

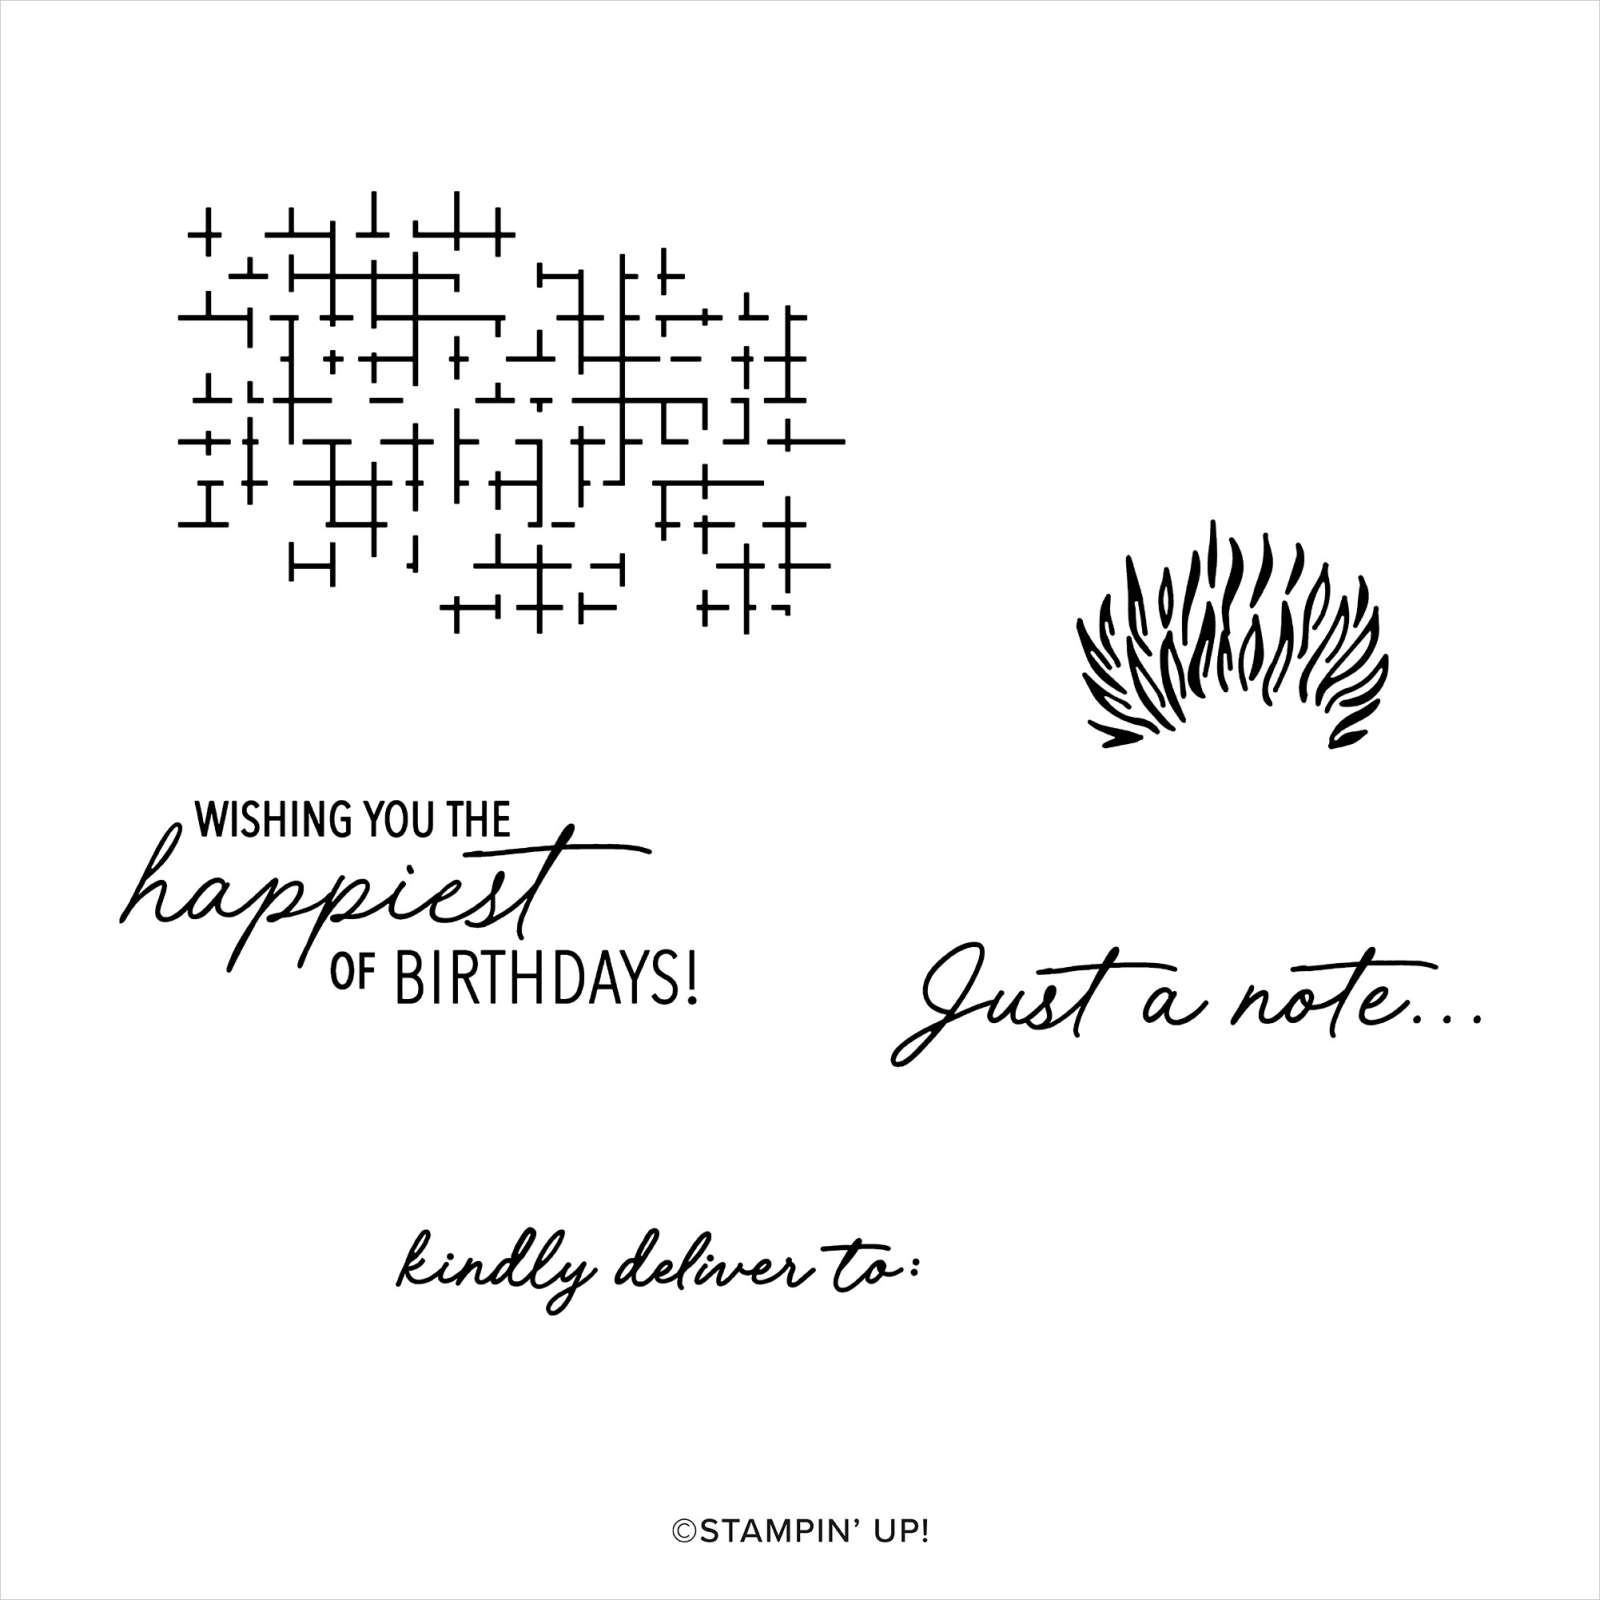
    This kit includes everything you need including a clear block, an ink spot, adhesives and a stamp set too. 

    This kit can be seen here.  It's $23 and the item # is 163905. 

    Next is the new Travel Journal – what a fabulous new product to showcase your travels via memory keeping.  

    It's $22 and can be seen here.  You can arrange the included fold-out pages the way you desire, as well as the sentiments and images, and create the words of your choice using the adhesive-backed alphabet sheets. 

    This kit includes:
    * Step-by-step instructions and guided layouts
    * Precut pieces (No prep work! Get right to crafting)
    * Make 1 travel journal
    * 2 fold-out pages with pockets
    * 2 tri-fold pages
    * Size of the travel journal: 5-3/4" x 9-1/4" x 7/8" (14.6 x 23.5 x 2.2 cm)
    * Printed adhesive-backed die-cut alphabets, sentiments, and images
    * Paper die-cut journaling pieces
    * Enough adhesive to complete projects

    ~~~

    June Specials: 

    *current host code links: FERX3EKC or GF24T6XG

    ~~~

    All online orders receive my free tutorial of the month & if your order is over $55 you'll also receive a free gift from me

    Leave a Reply

    Your email address will not be published. Required fields are marked *

  • Pretty Friends for Life card with video tutorial & free project sheet


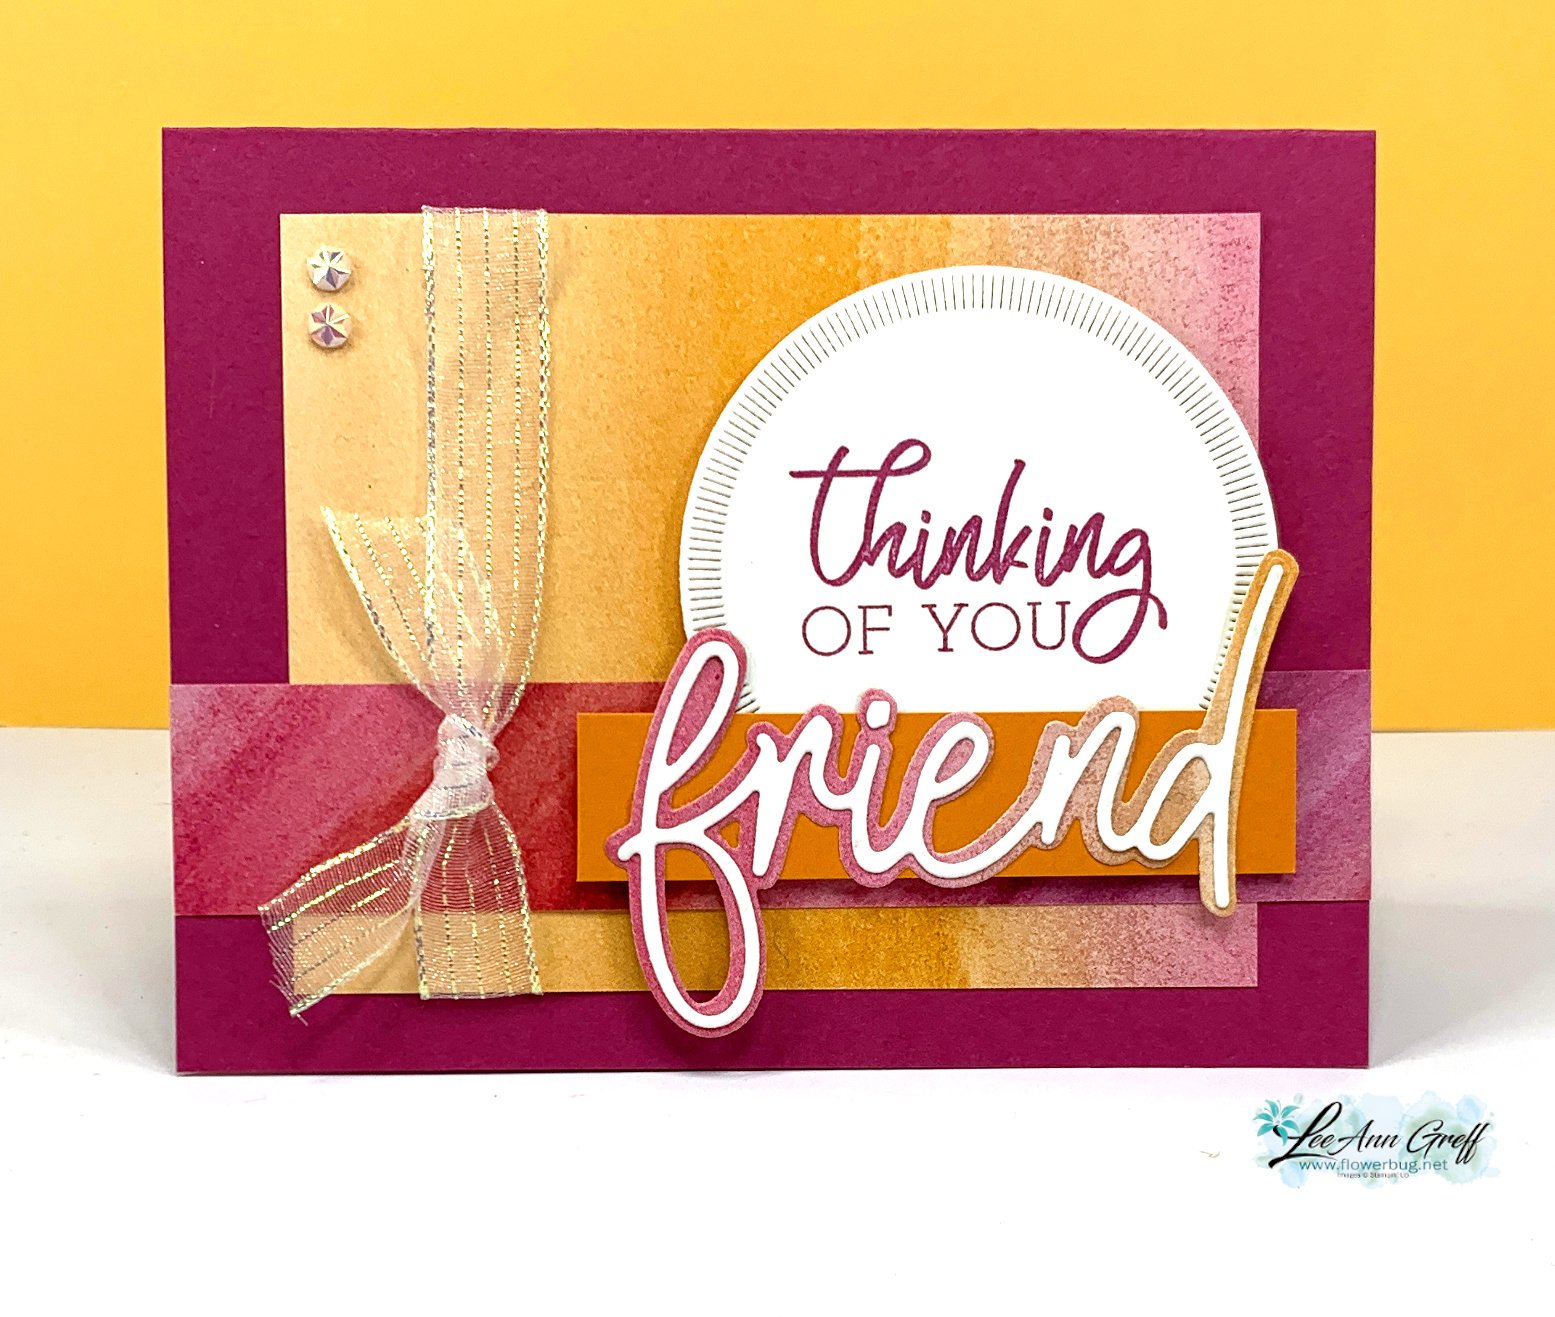
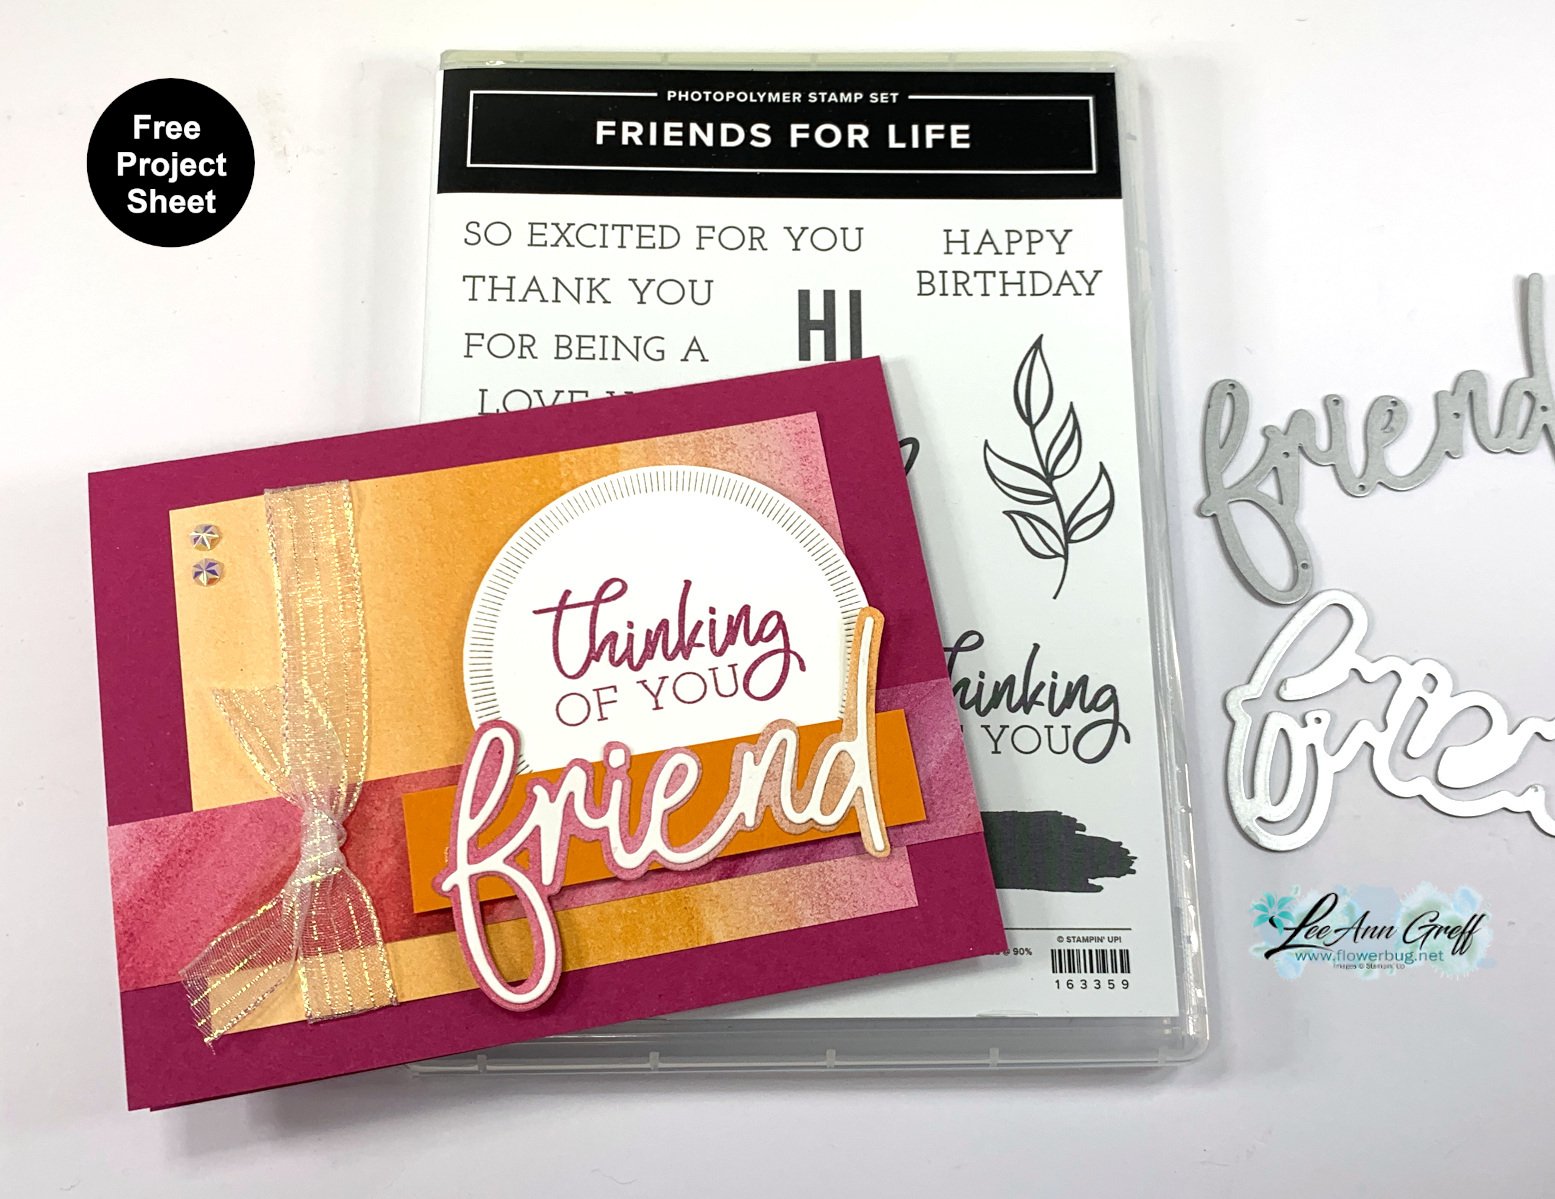
    Here's the 2nd card I made during last week's video with the Friends for Life bundle. 

    My colors include Berry Burst, Pumpkin Pie and White. I've always loved pink & orange together for some reason. The white circle die-cut is from the Spotlight on Nature dies seen here. They are in low inventory right now.

    Isn't this Full of Life designer paper stunning?! 

    The pretty designer paper can be seen here. 

    There are two 'friend' die-cuts. One layers over the other.  I cut the larger layer from the designer paper – it's an ombre effect.

    *Here's the free project sheet for you. Click to download or print it: Download Friends for Life 'Friend'

    During the video I shared a second card as well.  I had a great time creating with this bundle. There are so many options between the stamps & dies.  See the Friends for Life bundle here. It was $53 and is now $47. 

    Below is the video for this card and another; both featuring this Full of Life suite. I hope you watch it to get the many tips I like to share in my videos.  Don't forget to subscribe to my YouTube Channel while you're there!

    ~~~

    June Specials: 

    *current host code links: FERX3EKC or GF24T6XG

    ~~~

    All online orders receive my free tutorial of the month & if your order is over $55 you'll also receive a free gift from me

    Leave a Reply

    Your email address will not be published. Required fields are marked *

  • Friends for Life card with free project sheet & video tutorial


    On last week's video I shared two cards featuring the neat Friends for Life bundle and the Full of Life designer paper.  Here's the first card: 

    I love the bright colors here! The colors are inspired by the Full of Life DSP – Berry Burst, Lemon Lime Twist, Shaded Spruce, Balmy Blue & Daffodil Delight. There is a layer of Shaded Spruce under the White layer to show off the heart die-cut. 

    This neat bundle is on sale in June; discounted by almost 20%. See the Friends for Life bundle here. 

    Notice the heart die-cut from the front layer? I saved it and added it inside the card. 

    I stamped the hearts on another part of the DSP and used the coordinating die to cut them out. The 'wishes' greeting is from the Perennial Postage dies seen here. 

    I kept the layout quite simple because the DSP, die-cuts and stamping are the star here. I die-cut the heart from the White layer before I stamped for ease of time during the video. I stamped the 'BEST' greeting first and then added the vertical highlight image in different colors, stamping off first for a lighter hue. I love the effect!

    Here's the free project sheet you can print or download: Download Friends for Life Best Wishes here

    Below is the video for this card and another; both featuring this Full of Life suite. I hope you watch it to get the many tips I like to share in my videos.  Don't forget to subscribe to my YouTube Channel while you're there!


    ~~~

    June Specials: 

    *current host code links: FERX3EKC or GF24T6XG

    ~~~

    All online orders receive my free tutorial of the month & if your order is over $55 you'll also receive a free gift from me

    Leave a Reply

    Your email address will not be published. Required fields are marked *


Notice: LeeAnn Greff, Independent Stampin’ Up! Demonstrator, Manager. The content of this website is my sole responsibility as an independent Stampin’ Up! demonstrator and the use of, and content of, the classes, services, or products offered on this website is not endorsed by Stampin’ Up! Copyright 2025