/


Latest Post

Gorgeously Made with a neat background technique & video tutorial


I shared this card as part of my Tuesday Live video last week.  I was featuring the Gorgeously Made bundle.  Check out the background! 

I focused on creating a pretty, textured background under the main image. Here are the steps:
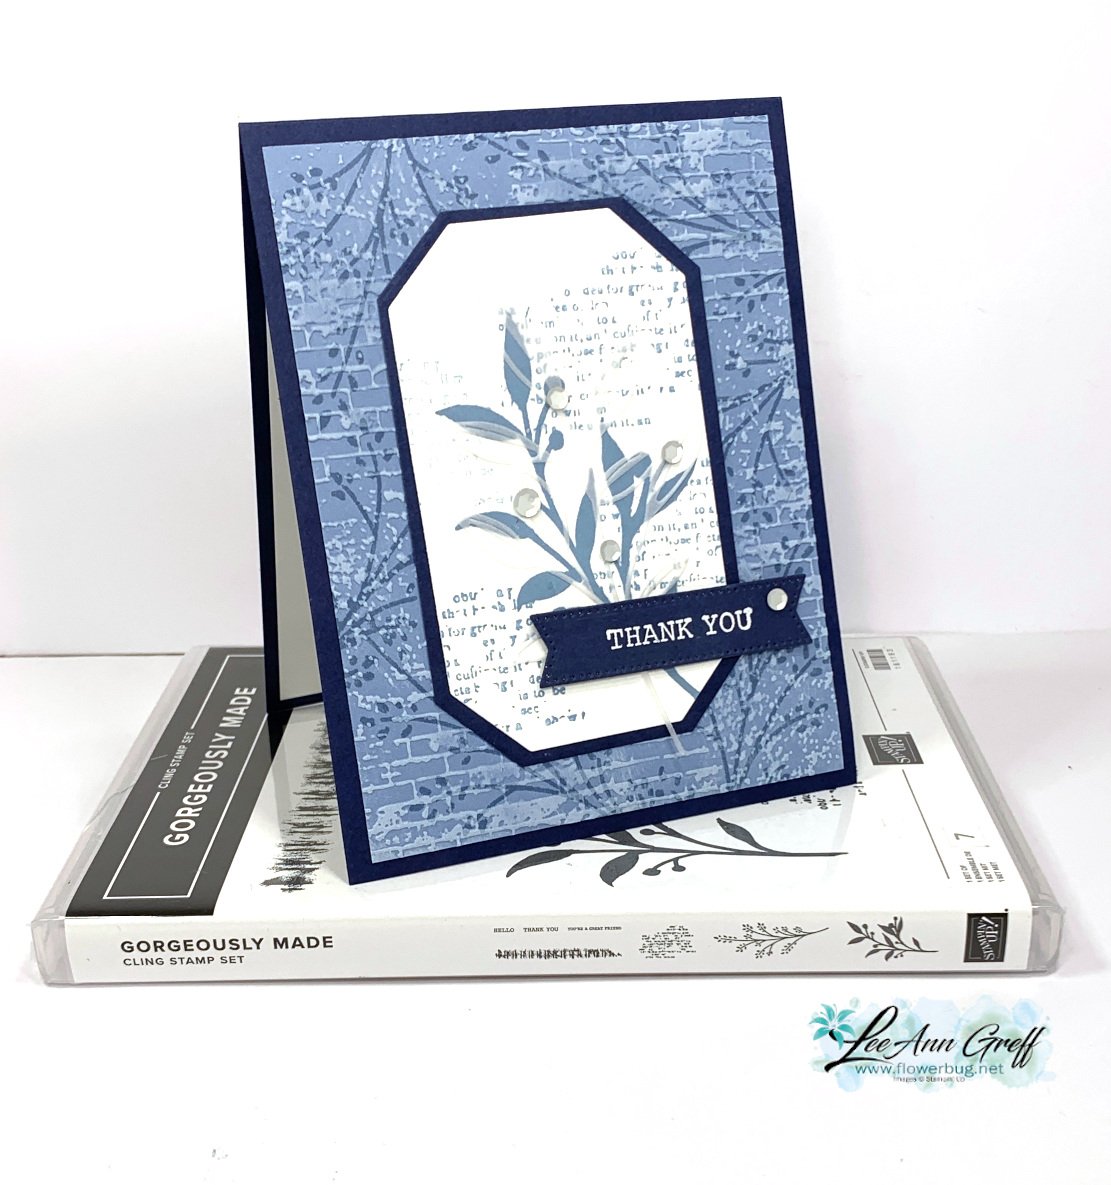
  1. I first stamped the foliage image with Boho Blue ink onto Boho Blue card stock.
  2. Next I textured it with the Exposed Brick embossing folder seen here. (It's one of my favorite folders.)
  3. Lastly I dragged my White Craft ink pad over the texture. Tip: use a very light touch or ensure your ink pad is a little bit dry. I LOVE the look of this so much!  

I used the same foliage image for the inside of the card as I did the pretty background, stamping once in full strength Boho Blue ink and stamping again without reinking.  

I stamped the other large leafy image from the Gorgeously Made set on the Countryside Corners white die-cut. I added the print image a few times in second generation Boho Blue ink (this means stamped off once). It's layered on a Navy die-cut before adding to the card base.  
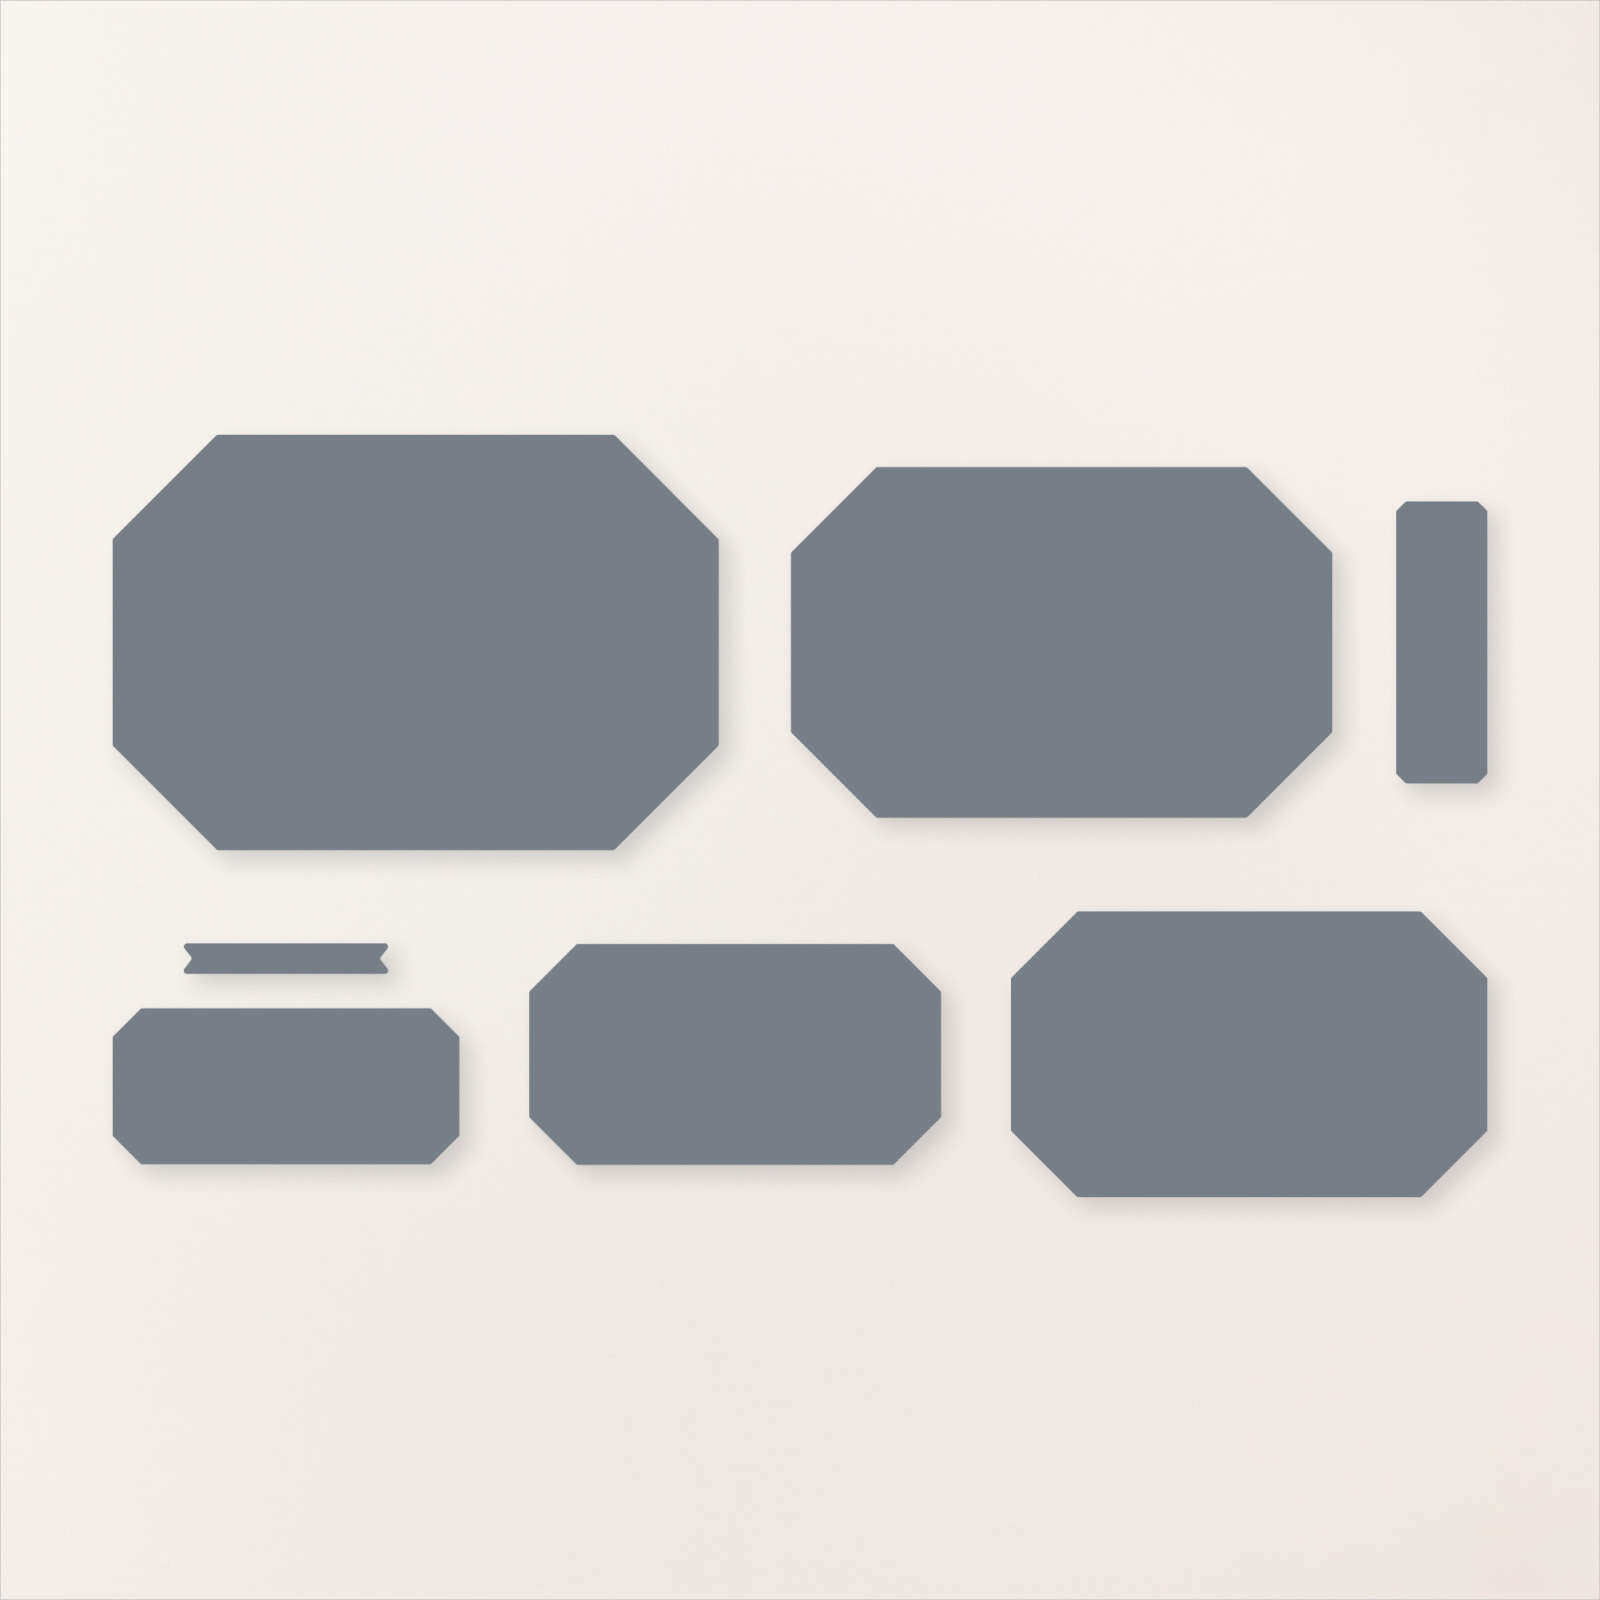
The greeting is heat embossed on Navy using White embossing powder. The die-cut is from the Stylish Shapes dies – my go-to dies for greetings. 

There's just something special about a monochromatic card; this time in blues.  If you're going for an elegant or cohesive look try using just one color in varying hues.  Greens, blues and browns are some of my favorite choices.  

Click here or on the photo below to watch the video.  It's the first project featured; the other is a super fun 'fancy fold' card.  

 ~~~

July Specials: 

Bonus Days!

Get a $5 coupon for each $50 order you place in July.  Redeem in August!

 

Clearance Rack update!

See all items available here

 NEW Online Exclusives will be available

See them all here

~~~

I have 3 free card kits left!  It includes a new Beautifully Happy stamp set 

with online orders over $65; must use a host code.

 *current host code: XNYX2DWG
All Posts

  • Colorful, easy Candle Party card with video & free project sheet


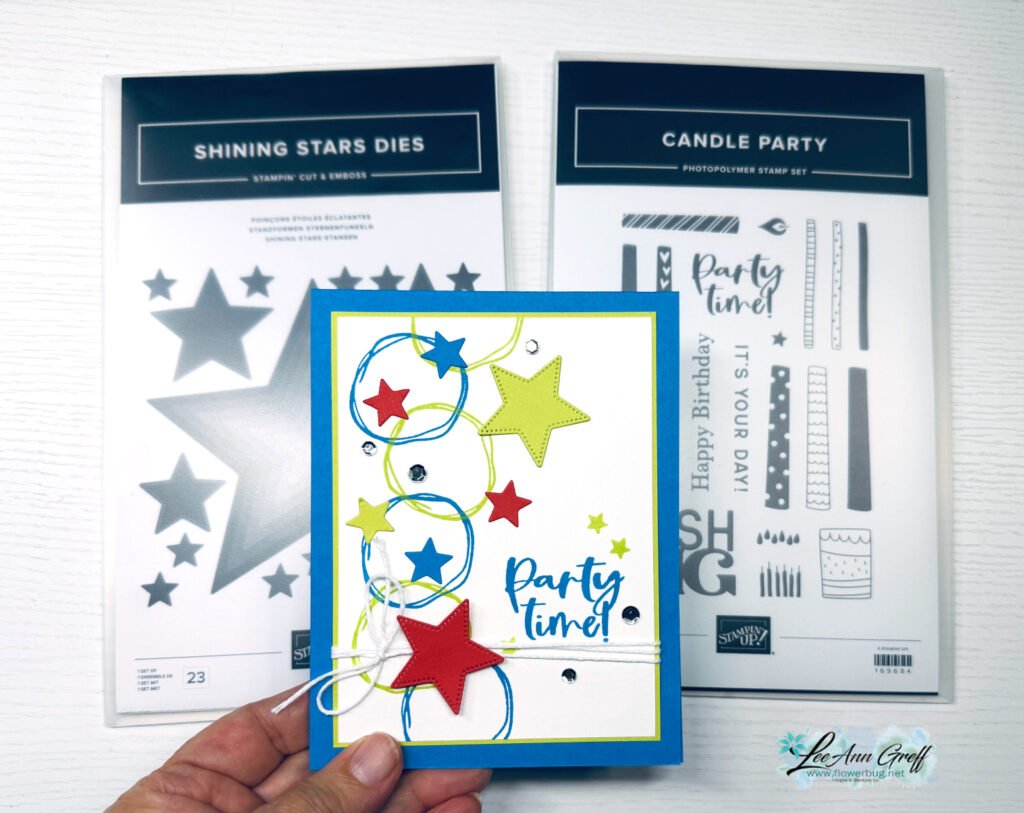
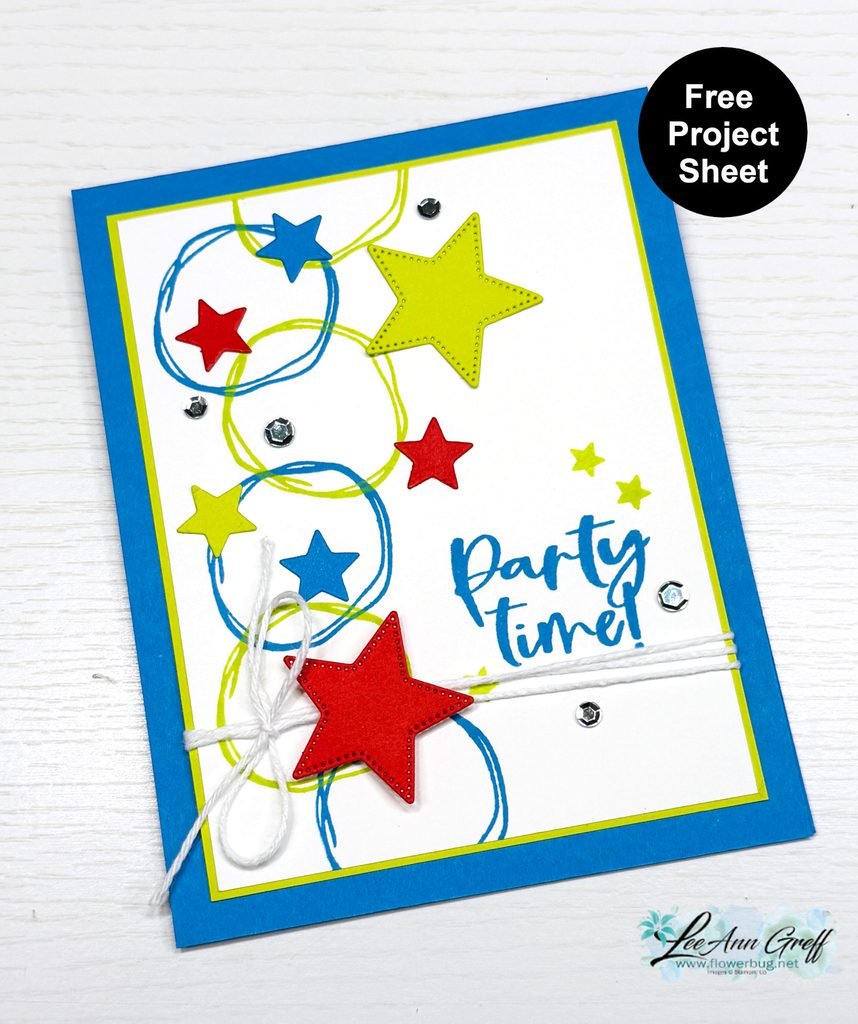
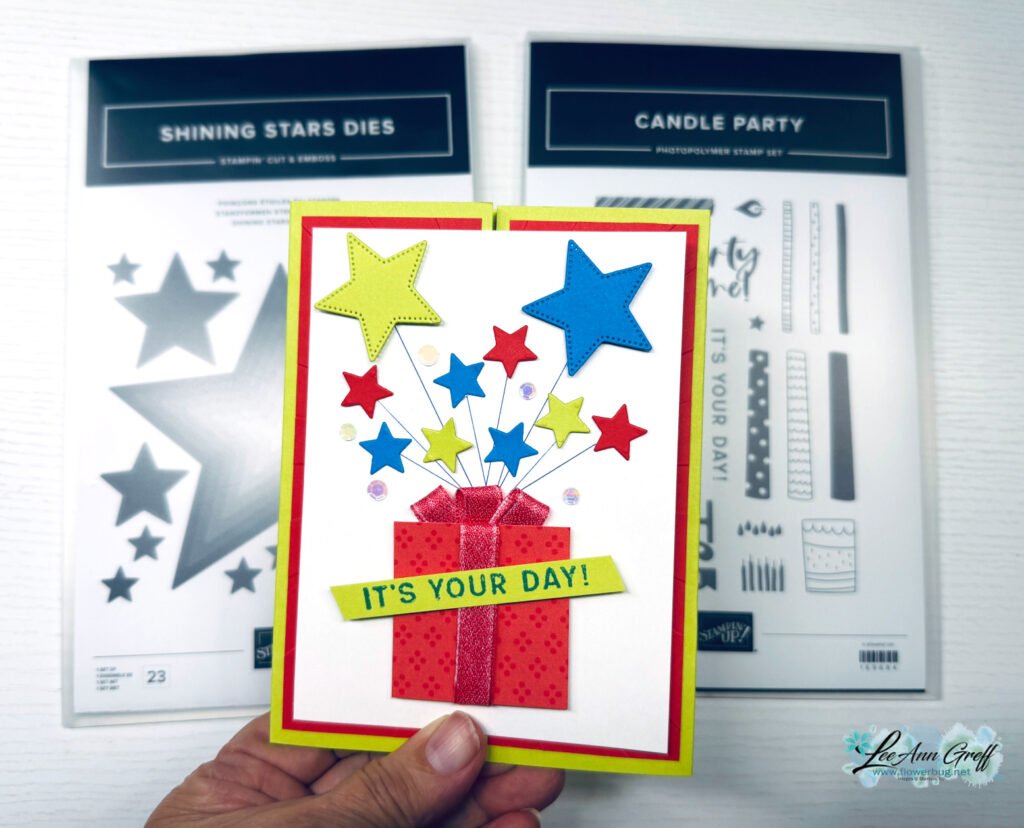
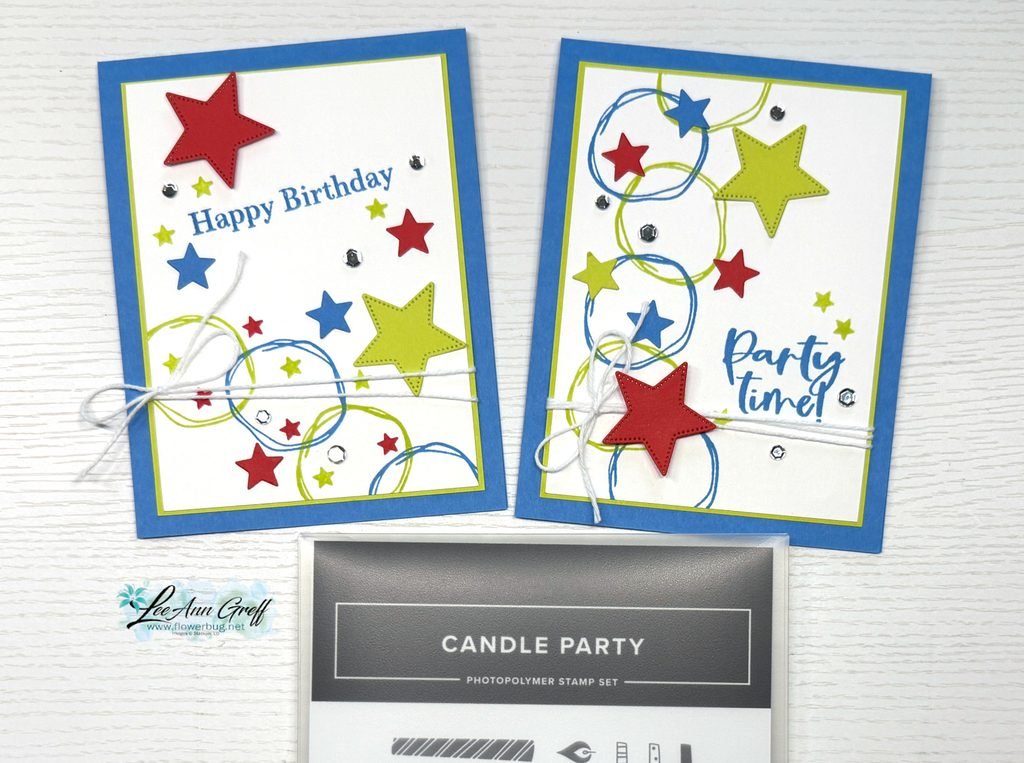
    Here is the second Birthday card I shared on last week’s video. I love these bright, colorful colors.

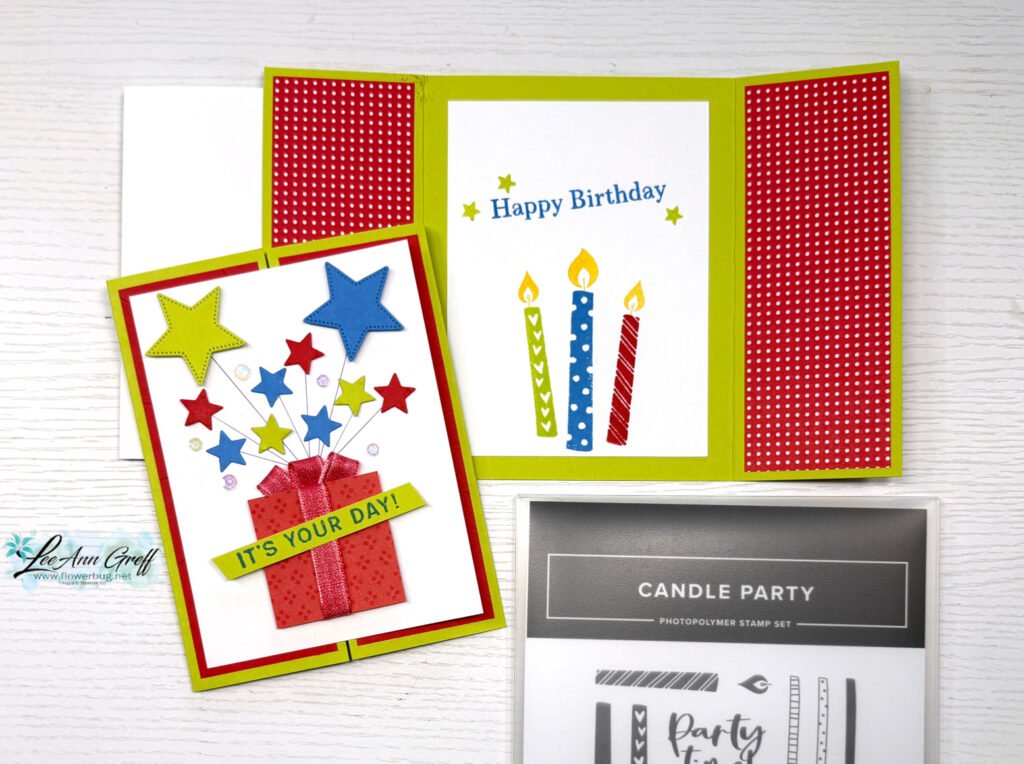
    I used Azure Afternoon, Lemon Lime Twist with Poppy Parade here. I am so glad I purchased the Candle Party stamp set; I’m loving the neat images and greetings. The Shining Stars dies were used but unfortunately they are now out of stock and not returning. The Product of the Month is while supplies last.

    That cute circle stamp is from the Notes of Collage stamp set seen here. Both of these sets are from our November release of Online products.

    I created a free project sheet for this card; click here to download or print it.

    Below is the video tutorial for this card and one more.

    November Specials:

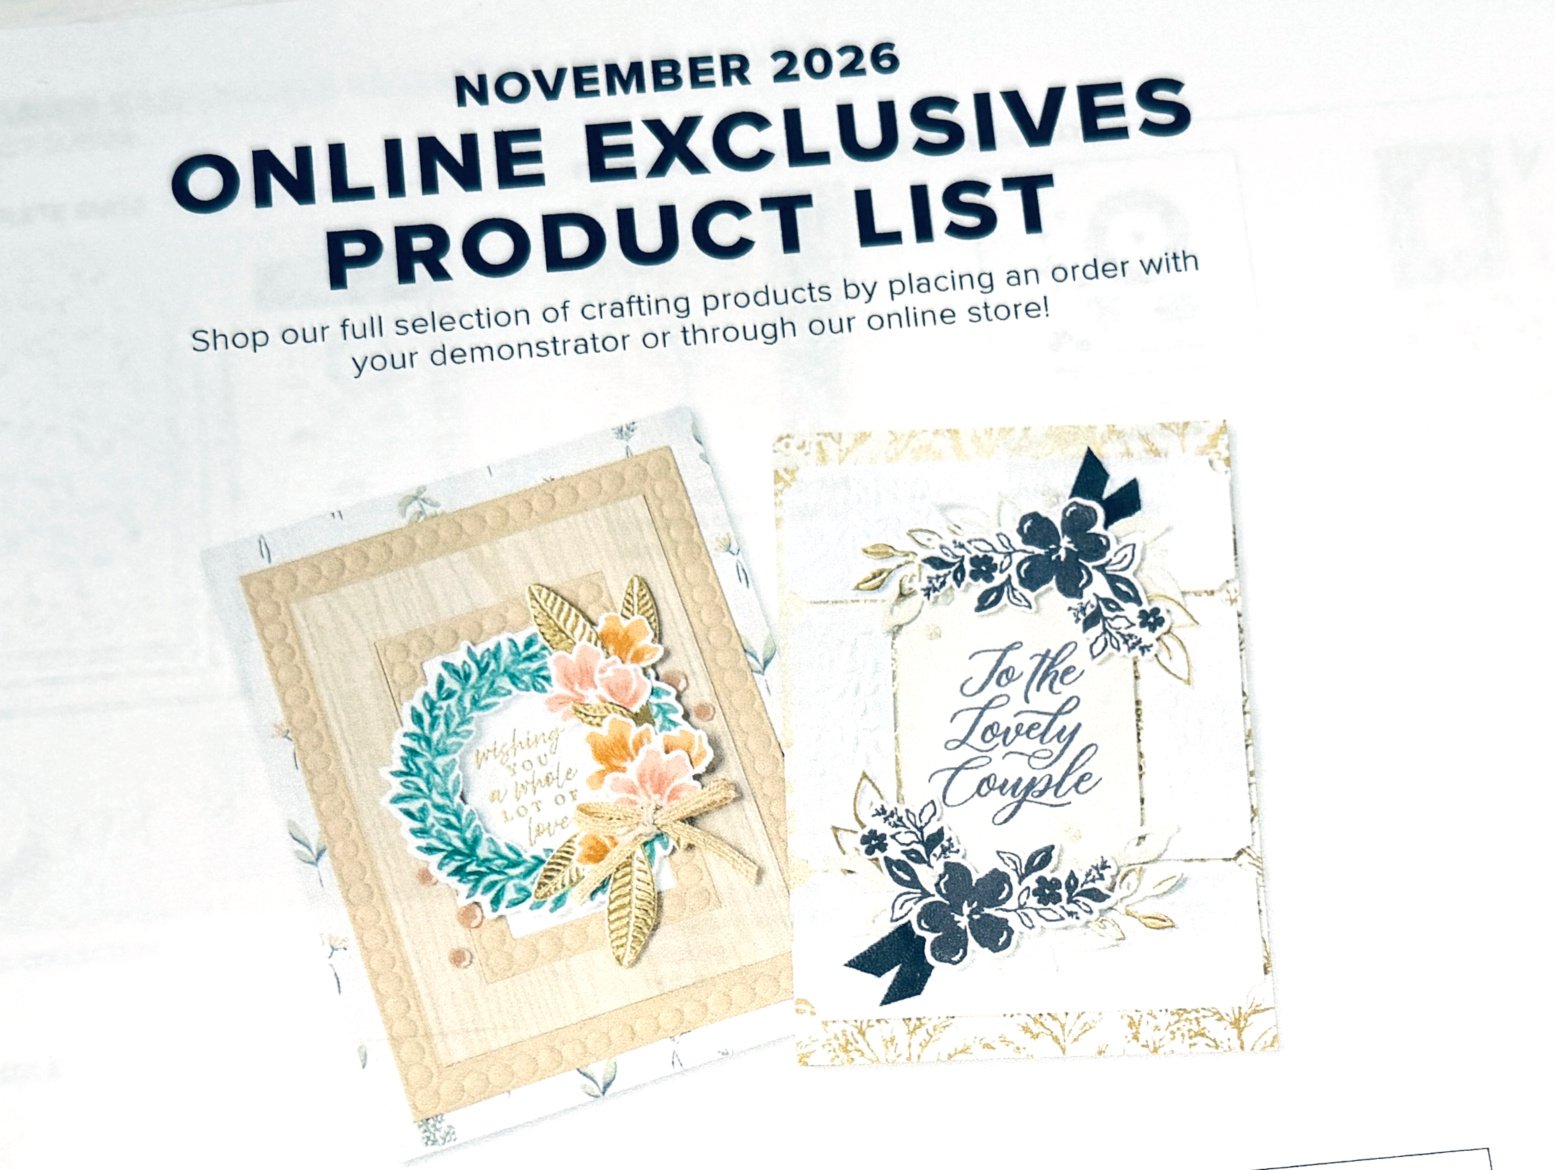
    The November Online Exclusive products are now available! See them all here.

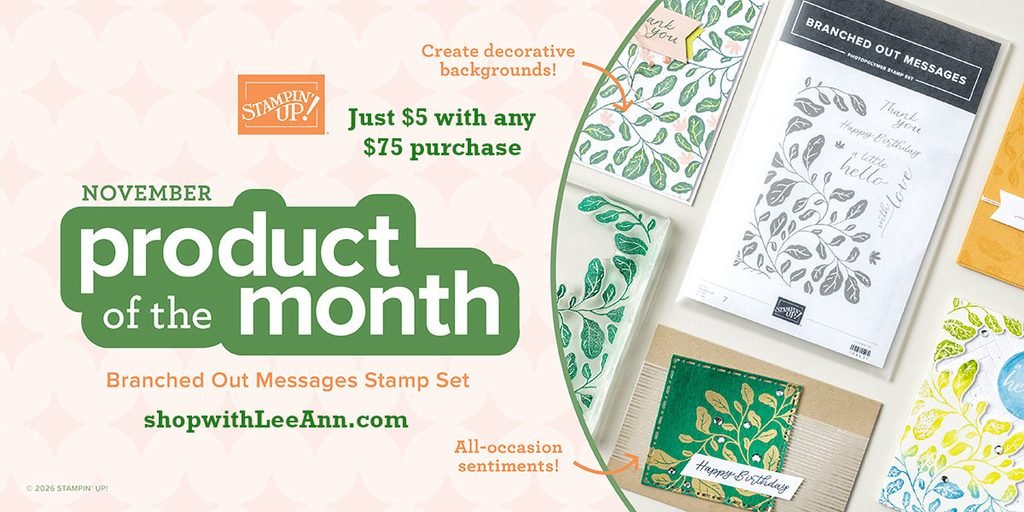
    The newest product of the month is the Branched Out Messages stamp set; it’s just $75 with a $75 minimum order.

    Get a free card kit from me with any order of $50 or more!

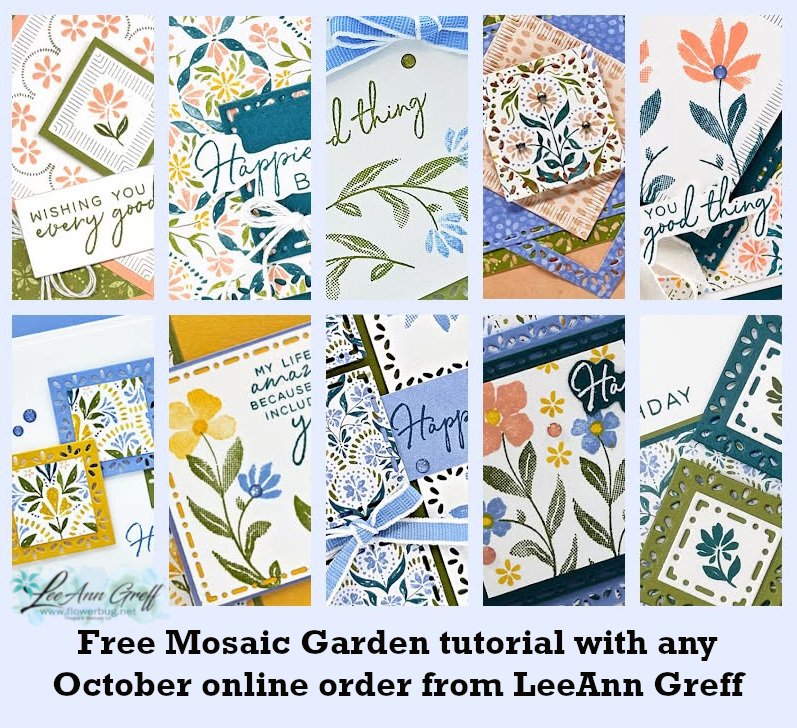
    The Mosaic Garden suite is gorgeous! Get this PDF tutorial free with ANY online order!

    Leave a Reply

    Your email address will not be published. Required fields are marked *

  • Birthday card ideas you’ll want to case! Free project sheet too


    On last week’s video I shared two birthday card ideas I know you’ll want to copy/case.

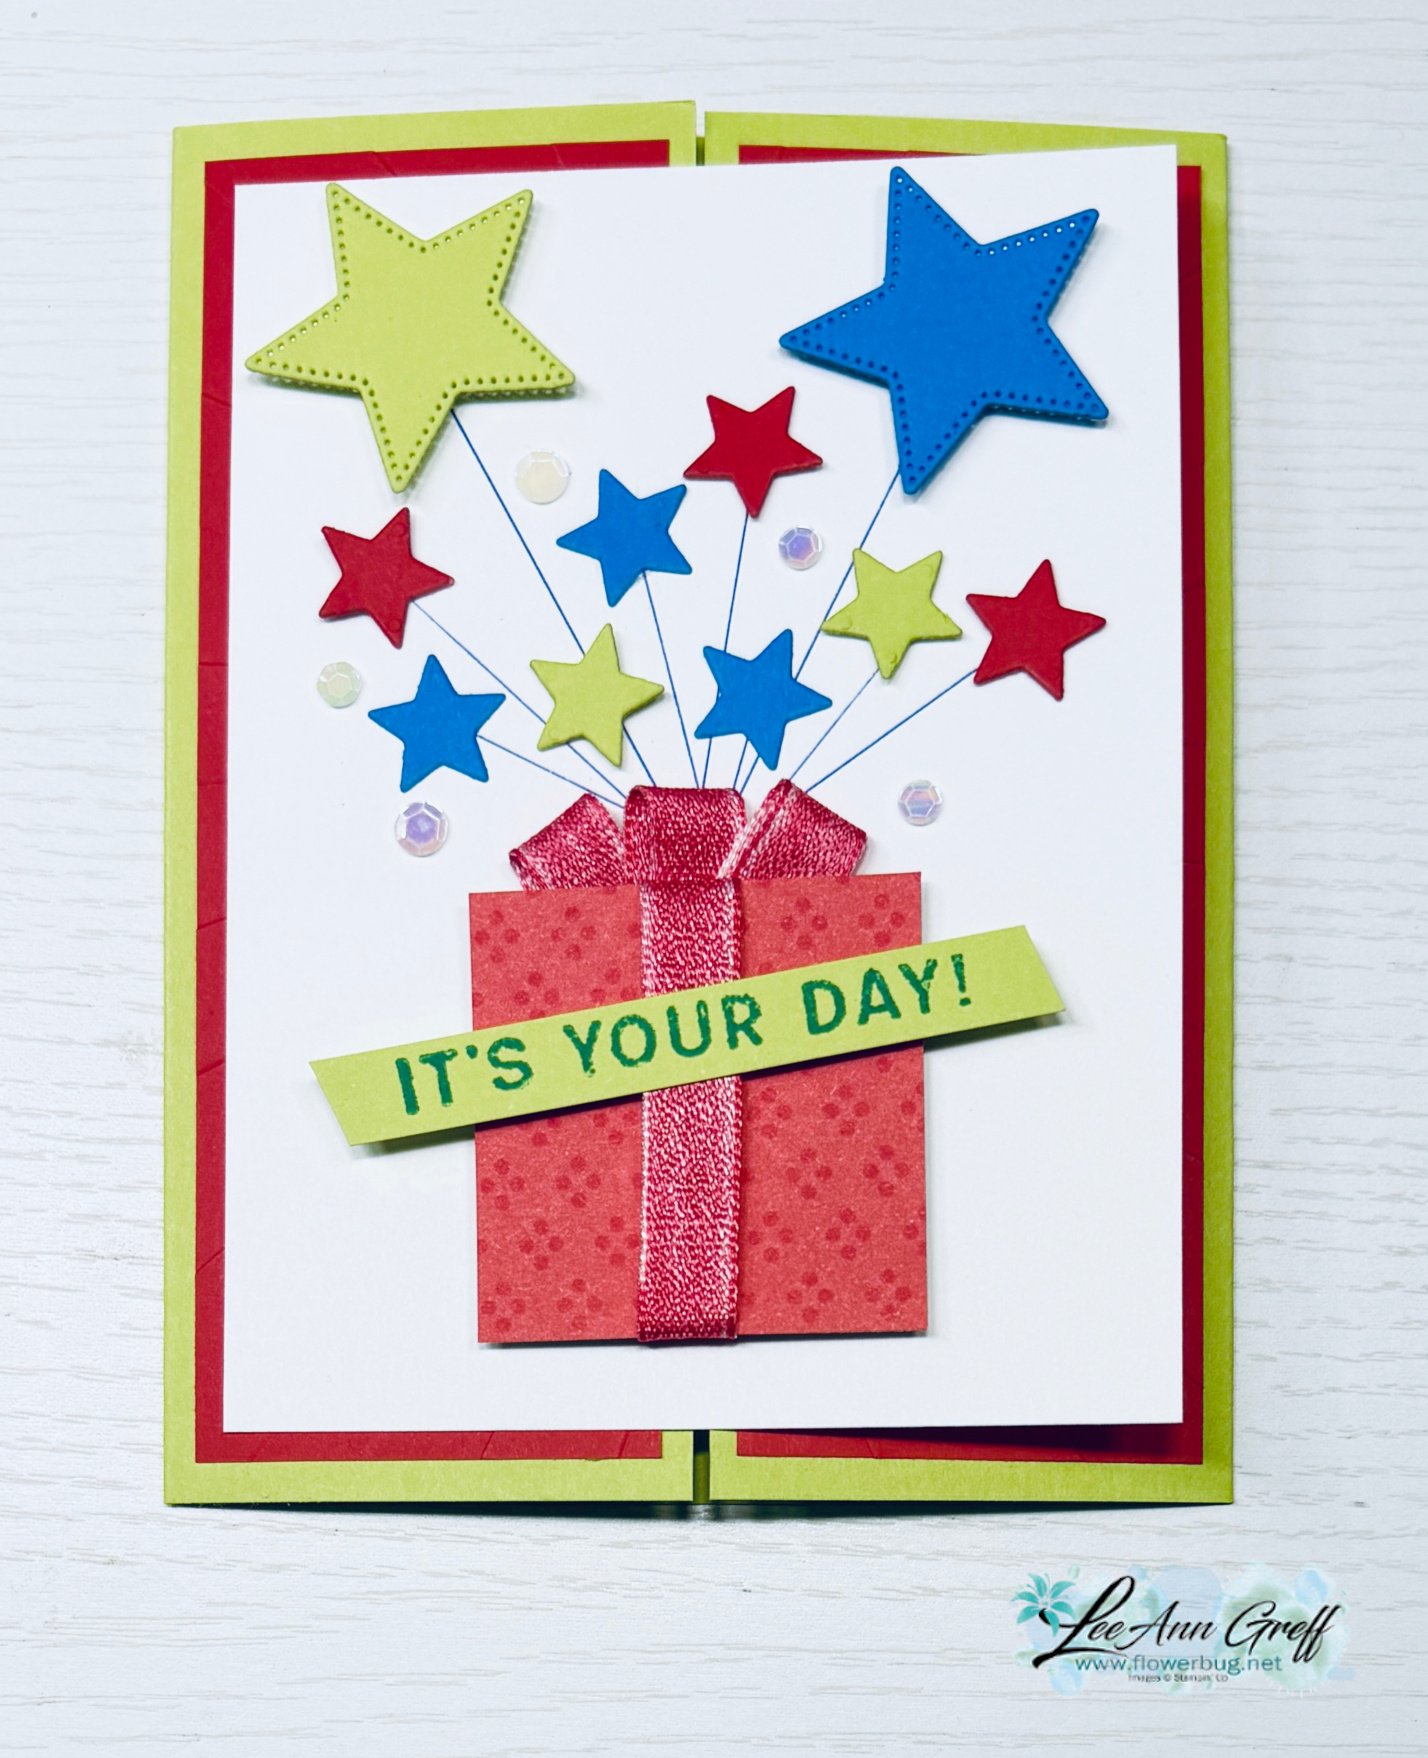
    Isn’t this a great idea?! To create the present, I cut a small square of DSP and wrapped ribbon around it with a few loops at the top.

    I drew lines from the top of the present for the star die-cuts. The Shining Stars dies worked perfectly. These dies just sold out! They were the product of the month for October; I’m surprised they lasted as long as they did.

    This card is a gatefold and the images are from the Candle Party stamp set seen here. It’s so cute! It does come with coordinating dies in the bundle seen here. My colors include Lemon Lime Twist with Azure Afternoon and Poppy Parade. The Designer paper inside is the Timeless Christmas.

    I used a white ribbon on the gift but colored it with my Poppy Parade Blends marker. Perfect match!
    This is a special and unique birthday card anyone would love to receive!

    I did create a free project sheet for this card; click here to download or print it.

    And below is the video tutorial for this card and one more fabulous idea using this stamp set and the Shining Stars dies.

    November Specials:

    The November Online Exclusive products are now available! See them all here.

    The newest product of the month is the Branched Out Messages stamp set; it’s just $75 with a $75 minimum order.

    Get a free card kit from me with any order of $50 or more!

    The Mosaic Garden suite is gorgeous! Get this PDF tutorial free with ANY online order!

    Leave a Reply

    Your email address will not be published. Required fields are marked *

  • Beautiful Z-fold card swap; with measurements!


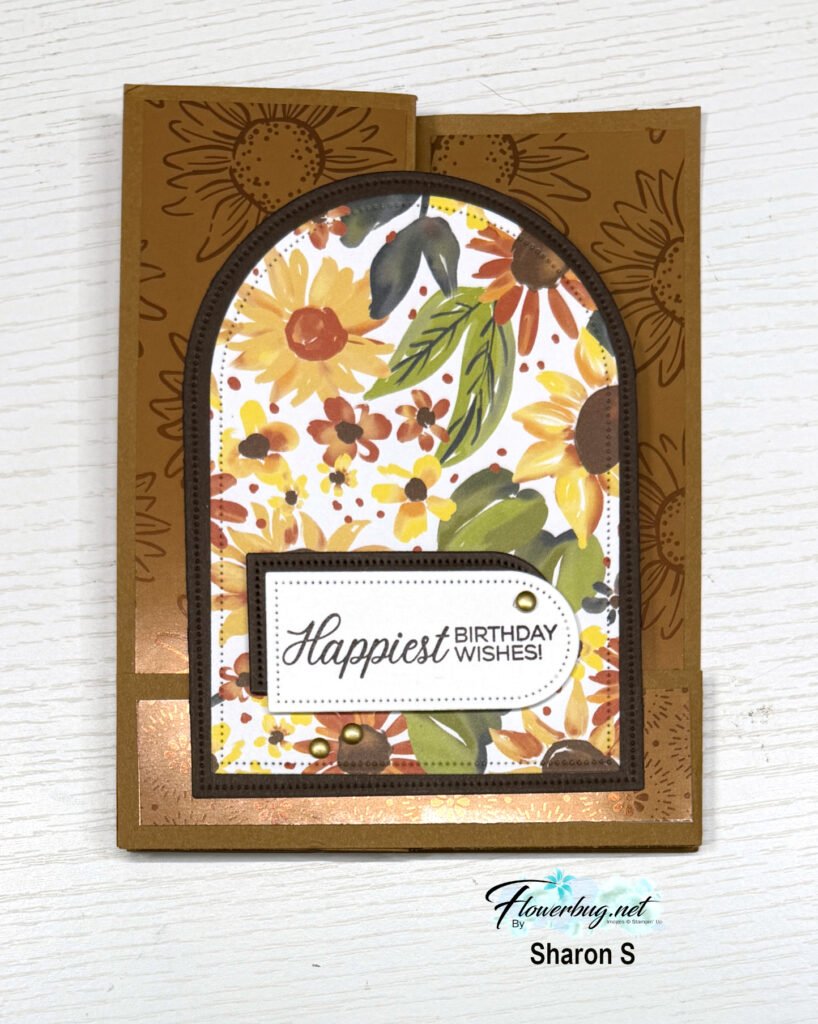
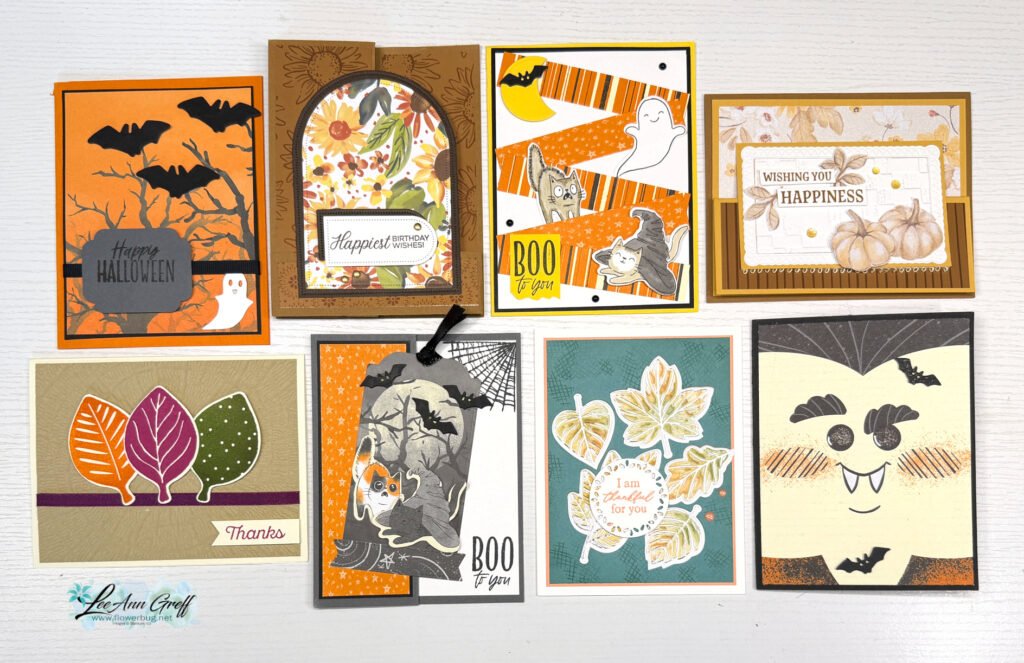
    Today I’m sharing Sharon’s beautiful card swap. Our October Team swap theme was Fall or Halloween.

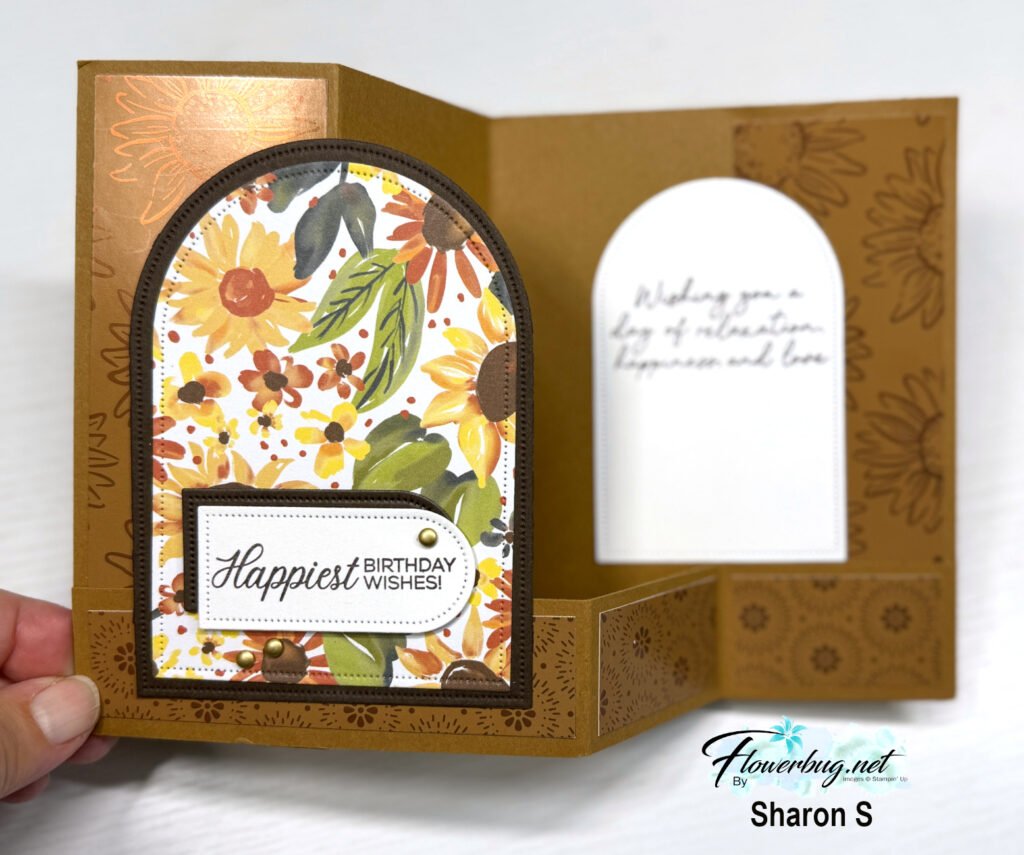
    She chose to feature the Sunflower Fields suite and the Everyday Arches dies. I’ll share the products used here below.

    That gorgeous foil paper behind the arches is the Radiant Foils specialty paper. See how she used the Arches dies for her greeting? She turned it sideways and layered it with a second one in Early Espresso.

    I jotted down the measurements for this fun fold card for you.

    • Pecan Pie card base 8 1/2″ X 5 1/2″ scored at 2 1/8″ & 4 1/4″, lower z-fold 8 1/2″ X 1 1/4″ scored at 4 1/4″ & 6 3/8″
    • DSP vertical front and inside 1 7/8″ X 5 1/4″
    • DSP horizontal front 4″ X 1″ , inside 2 pieces at 1 7/8″ X 1″
    • Arches; DSP 3″ X 4 1/4″, Early Espresso 3 1/4″ X 4 1/2″, White inside 2 1/4″ X 3 1/2″, greetings 2 1/4″ X 1″

    Here’s the photo of all of the Flowerbug’s Team swaps this month. Aren’t they wonderful?

    Leave a Reply

    Your email address will not be published. Required fields are marked *


Notice: LeeAnn Greff, Independent Stampin’ Up! Demonstrator, Manager. The content of this website is my sole responsibility as an independent Stampin’ Up! demonstrator and the use of, and content of, the classes, services, or products offered on this website is not endorsed by Stampin’ Up! Copyright 2025