/


Latest Post

Gorgeously Made & Delightfully Eclectic swaps


I thought I'd share a few swaps I received on the Norway incentive trip. 

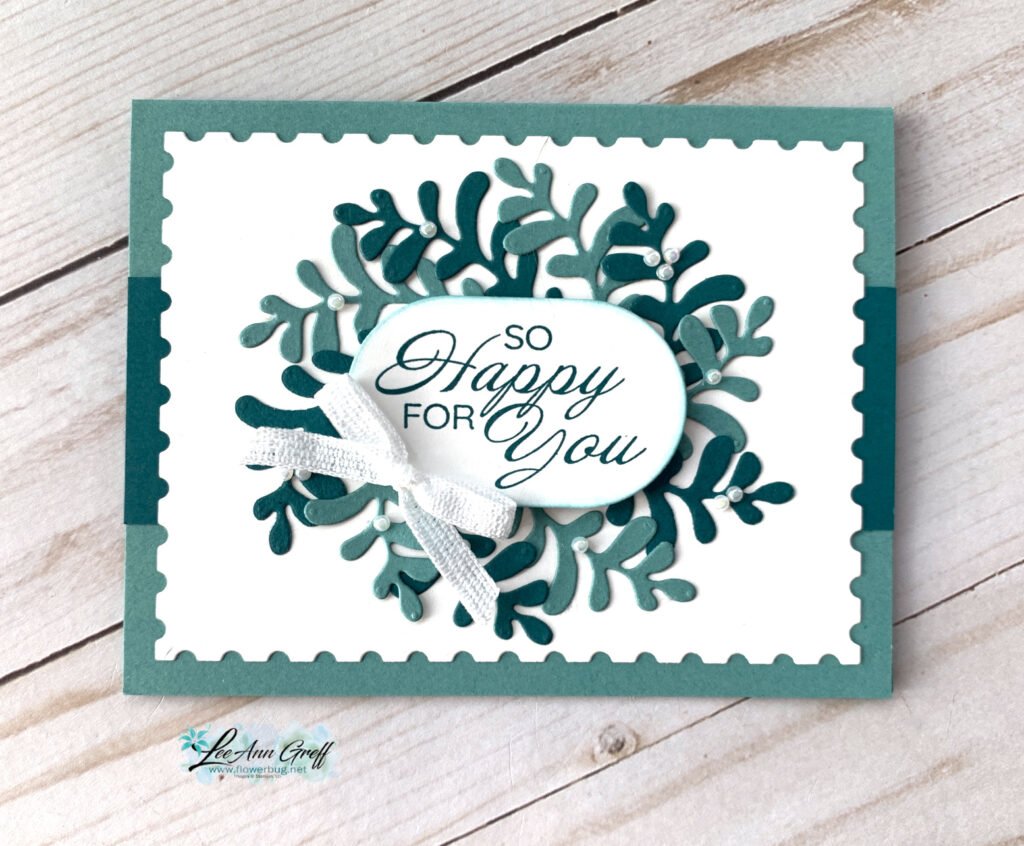
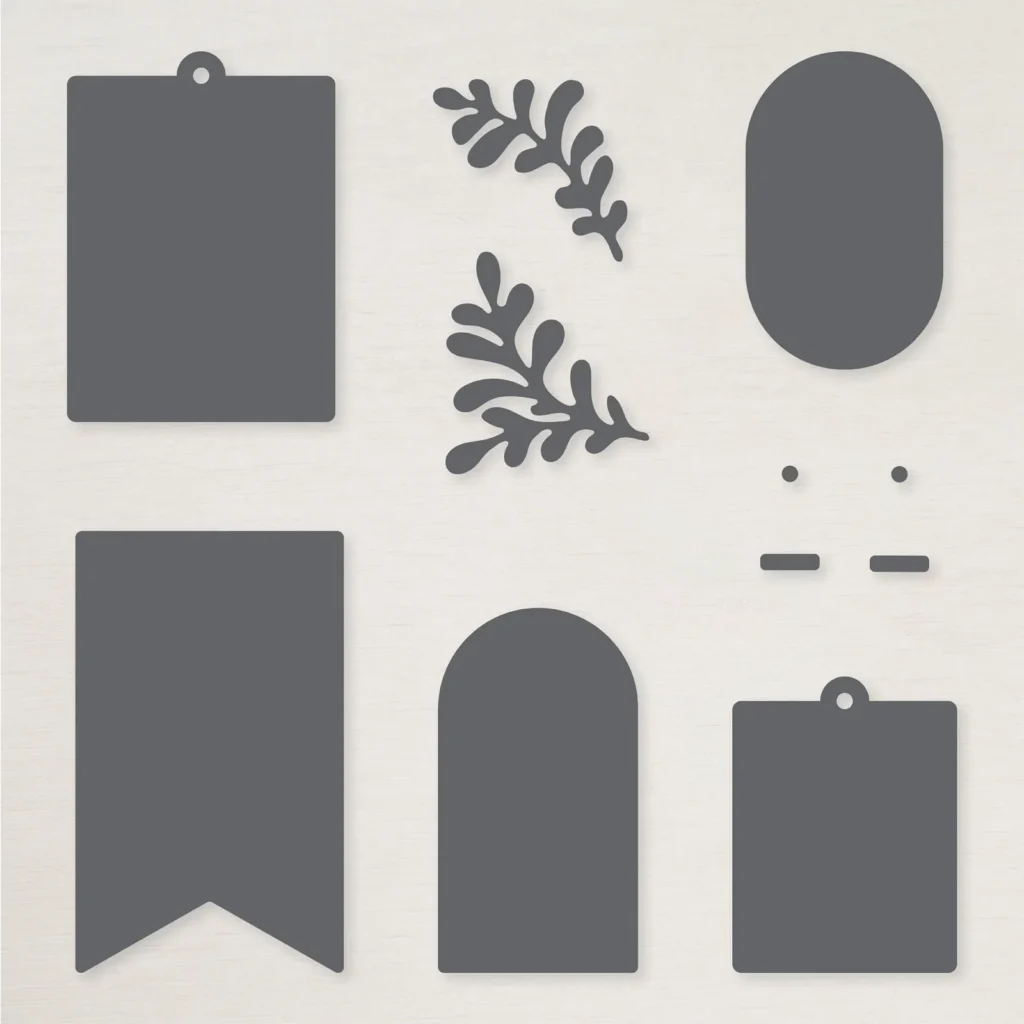
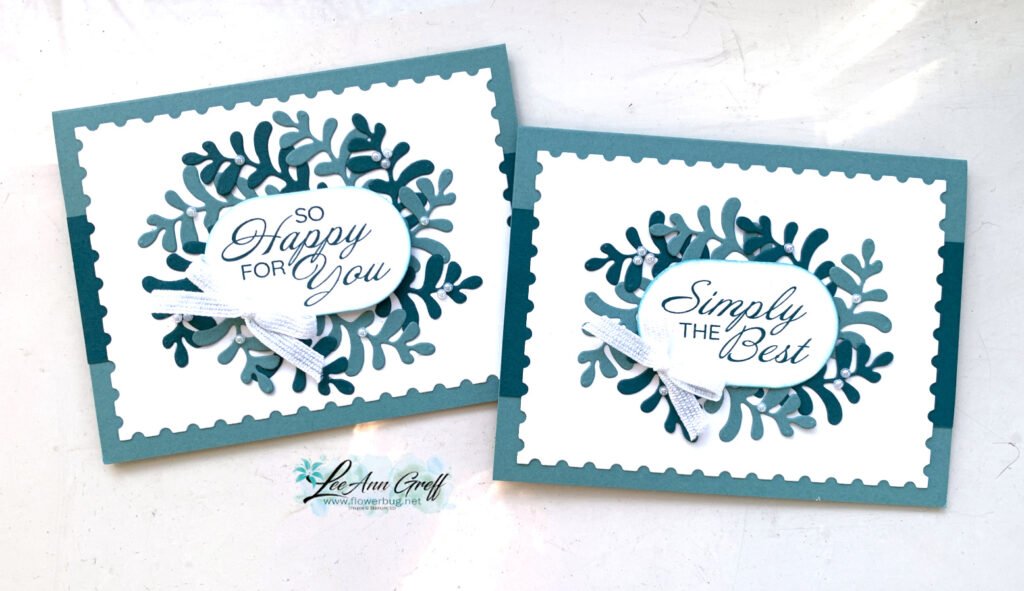
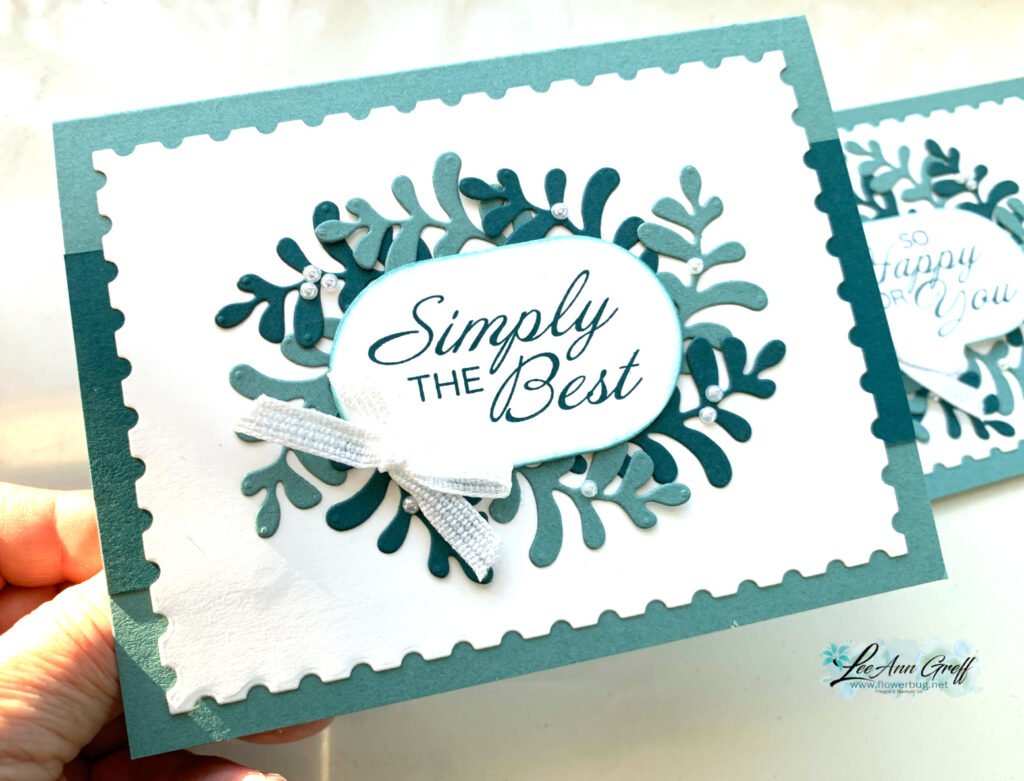
This first card was made by Alanna Wharf. It features the Gorgeously Made bundle seen here.  

This card put me over the edge; now I have to get this bundle!  

She used the Masterfully Made 12" designer paper seen here (sale price now at $10.62) and the Soft Shimmer 12" combo pack on the leaf die-cut.

Here's a close-up of this specialty paper and the Exposed Brick 3D embossing folder.  I love the simplicity of this card; it really shows off the die-cut, pretty DSP & texture.  

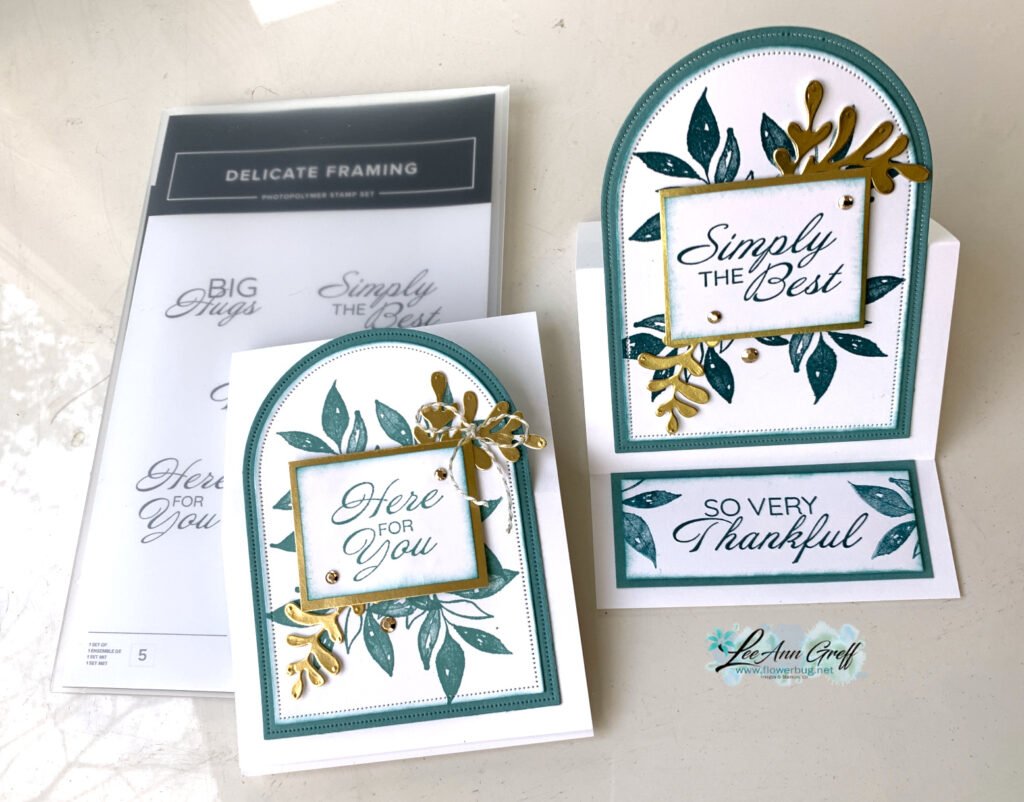
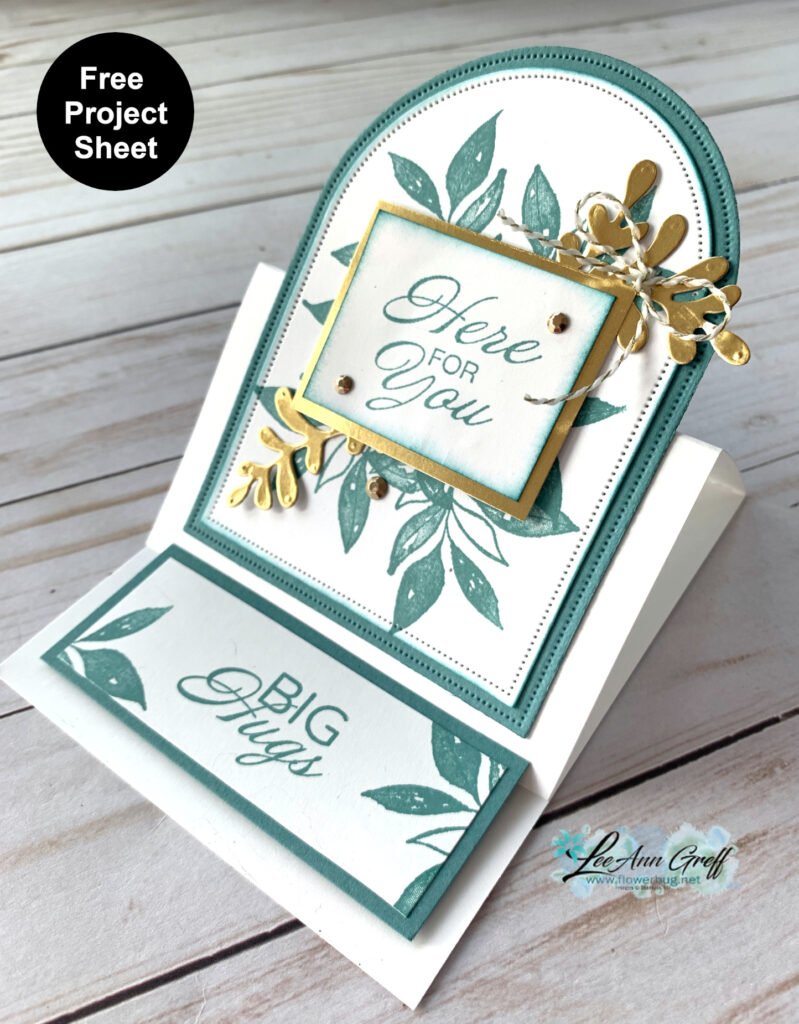
Next is a card my friend Susie Wood made with the new Delightfully Eclectic  12 X 12" designer paper seen here.  It's on sale this month; marked down from $30 to $25.50. There are 48 sheets in this pack; 4 each of 12 designs.  

I love her layout; it really shows off the pattern of the daisy DSP.  That greeting die-cut is from the Nested Essential dies seen here.  

Her measurements are:

  • Petal Pink card base 5 1/2" X 8 1/2" score at 4 1/4"
  • yellow DSP 2" X 4"
  • Crushed Curry CS 4 1/2" X 3 1/4"
  • daisy DSP 4 pieces at 1" X 3"

~~~

June Specials:

Designer Paper is 15% off in June!

WOW – get $155 in product for $99 with free shipping! click here!

Get a package of In Color pearls with online orders over $55 using a host code.

*current host codes: ZHZ6CPYU or AJVB3B3V 

 Earn free products with my loyalty rewards! 

Click here to download yours and earn a $50 shopping spree!

All Posts

  • A cute Spooky Halloween cards


    I created this special card using the Spooky Halloween suite. I absolutely love this scene!

    I used the largest circle die in the Spotlight on Nature dies to create the mask around the large moon. I blended Petunia Pop ink onto a piece of White card stock. Then added the yellow die-cut moon. Next I sponged Secret Sea ink on the upper portion of the card.
    Lastly I added a curvy hills (cut with a scissors) and the die-cut house and fence pieces from the bundle.

    Check out those sparkly stars and die-cut bat! I heat embossed the word ‘spooky’ with White embossing powder and then colored the embossing purple with a Blends marker.

    You can see this neat bundle here.

    ~~~

    October Specials

    3 new kits and a Starter Kit special! See the kits here.

    And get the Starter kit here. *Choose your deal – $35 or $99 plus $90 in free products including free shipping, free Paper Pumpkin kit & free catalogs/business supplies!

    ~~~

    All online orders from me will receive a beautiful PDF of projects featuring the Modern Christmas suite.

    Reasons to ShopwithLeeAnn.com

    • Get a free PDF project tutorial with any online order! (changes monthly)
    • An order of $55 or more earns you a free 3 card stamping kit with pre-cut layers; ready to stamp & assemble
    • Earn 10% host rewards on each order you place (over $20). Redeem on a future order.
    • Join my Flowerbug’s Team and get $90 in free product of your choice in October! Details here.
    • Be a Paper Pumpkin subscriber and enjoy the free bonus project PDF tutorial every month. Subscribe here. Refills here.

    Leave a Reply

    Your email address will not be published. Required fields are marked *

  • Get a beautiful PDF of Modern Christmas projects!


    Any online order in October placed through me will receive a gorgeous PDF of projects featuring the new Modern Christmas suite. This is a beautiful suite filled with Black, White & Gold foil accents.

    It includes 10 projects with photos, directions. a supply list and measurements for each project. You can see this suite here.

    I created a card I want to share with you. I think it’s beautiful!

    My colors are Black, White & Gold. I used multiple sheets of the Modern Christmas Designer paper. Notice that some of the trees are raised. I fussy cut a section from the designer paper and added it over a die-cut circle of another set of trees. I layered that onto a Black die-cut circle from the Spotlight on Nature dies. Finally I added one of the new gold hoops around it all. Tip: adhere the gold hoops with tiny dashes of Multipurpose Liquid Glue. Works great!

    I hope you like this card; it’s one of the free projects included in the free PDF tutorial for anyone who orders from me in October. Click here to order!

    ~~~

    October Specials

    3 new kits and a Starter Kit special! See the kits here.

    And get the Starter kit here. *Choose your deal – $35 or $99 plus $90 in free products including free shipping, free Paper Pumpkin kit & free catalogs/business supplies!

    ~~~

    All online orders from me will receive a beautiful PDF of projects featuring the Modern Christmas suite.

    Reasons to ShopwithLeeAnn.com

    • Get a free PDF project tutorial with any online order! (changes monthly)
    • An order of $55 or more earns you a free 3 card stamping kit with pre-cut layers; ready to stamp & assemble
    • Earn 10% host rewards on each order you place (over $20). Redeem on a future order.
    • Join my Flowerbug’s Team and get $90 in free product of your choice in October! Details here.
    • Be a Paper Pumpkin subscriber and enjoy the free bonus project PDF tutorial every month. Subscribe here. Refills here.

    Leave a Reply

    Your email address will not be published. Required fields are marked *

  • Easy box to gift or store cards in with free project sheet


    I’m thrilled to share this fabulous box to gift or store hand made cards in. It starts with a box from our Kit Collection. They’re sturdy and look what you can do with one!

    I shared how to make this on last week’s Live video. I know many of you have purchased kits from Stampin’ Up! and hopefully have a few of these saved. The inside organizing sections are made with the thin card board from our designer paper packs. Recycle!

    I created a free project sheet so you can replicate this at home. I truly hope you do! Click here to download or print this project sheet and also watch the video below to see how it’s made and see my tips for success too.

    The photo above shows the two sets of cards I made with the Gathering Moments stamp set – 2 sets of colors too! Which do you prefer?

    Here’s the other version of the box I shared:

    Below is the video where I shared how to make the 5 at a time cards shown in the box and the box itself.

    ~~~

      To see all of the new Online items click here.  Or download & save the Download Online Exclusives flyer 

    Get a free project tutorial with any online order in September! 

    Leave a Reply

    Your email address will not be published. Required fields are marked *


Notice: LeeAnn Greff, Independent Stampin’ Up! Demonstrator, Manager. The content of this website is my sole responsibility as an independent Stampin’ Up! demonstrator and the use of, and content of, the classes, services, or products offered on this website is not endorsed by Stampin’ Up! Copyright 2025