
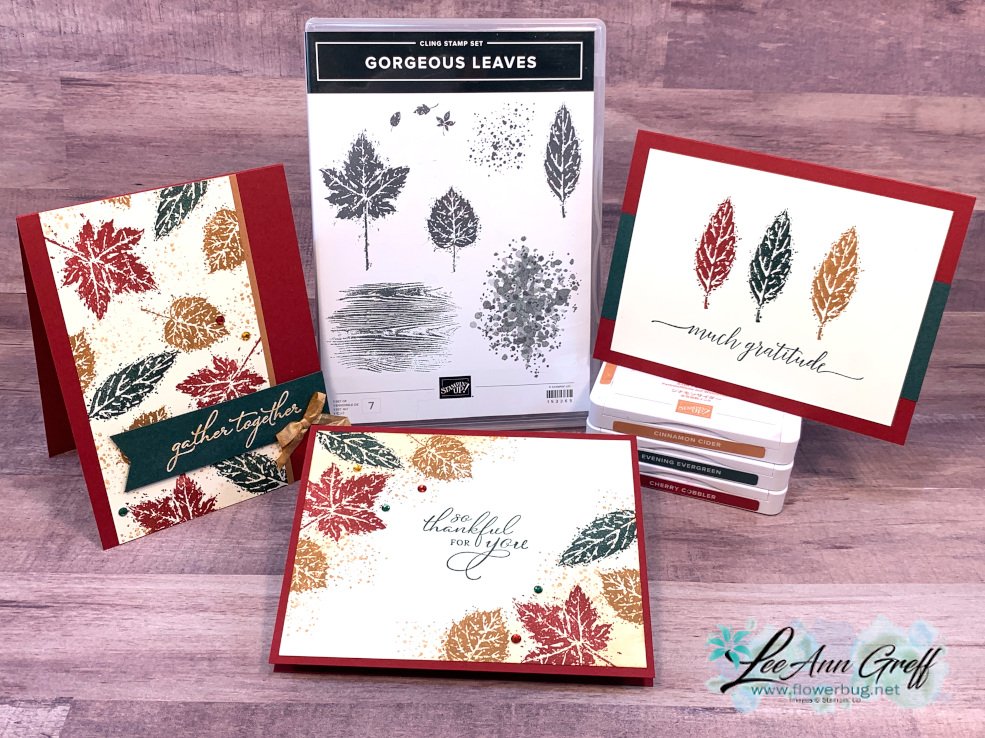
I chose to play with the Gorgeous Leaves bundle for Tuesday's FB Live yesterday. You can fine me on FB here.
It was an easy choice for me; I love both leaves and these neat background images as well. Actually anything botanical is my style.
This first set of cards is what is referred to as 'simple stamping'. This means using just paper, ink and stamps.
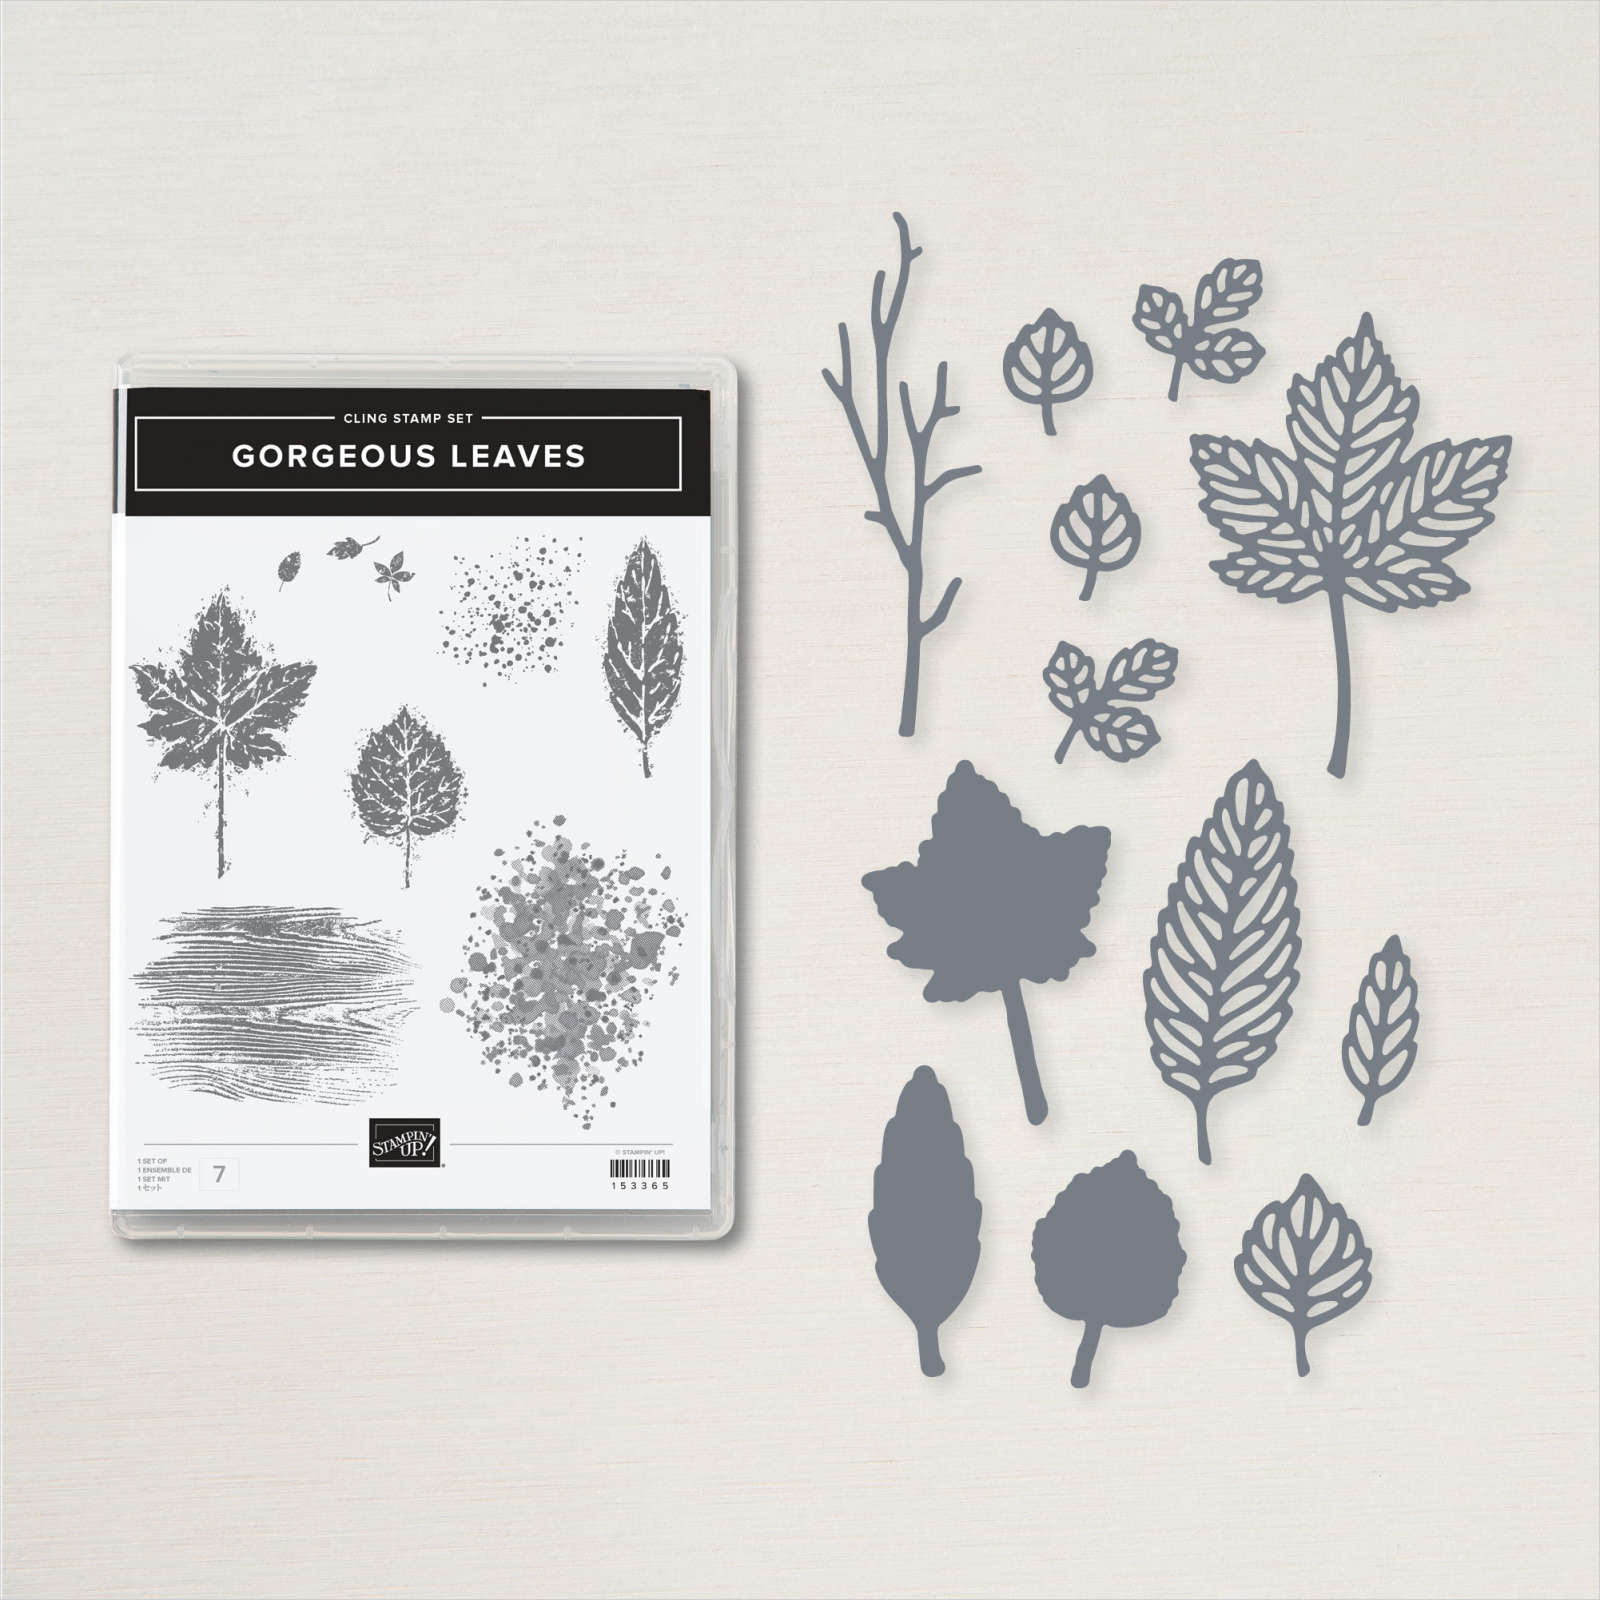
This Gorgeous Leaves stamp set & bundle is one of the choices you can pick with the Starter Kit special going on right now. It's actually free; one of 12 different options just through tomorrow, September 30th. Click here to see them all.
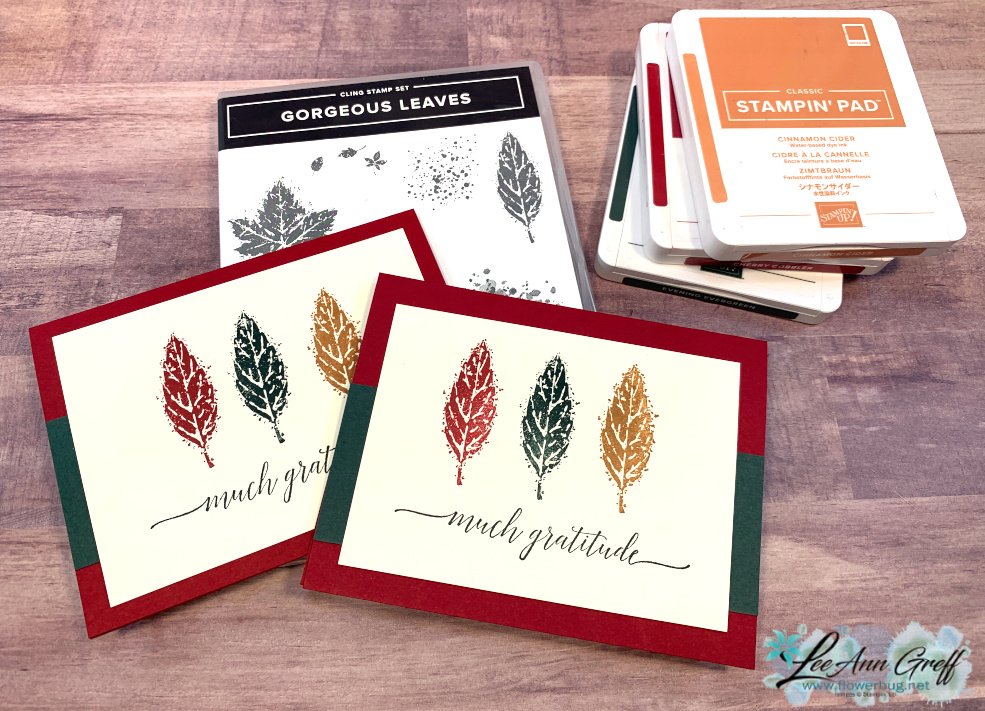
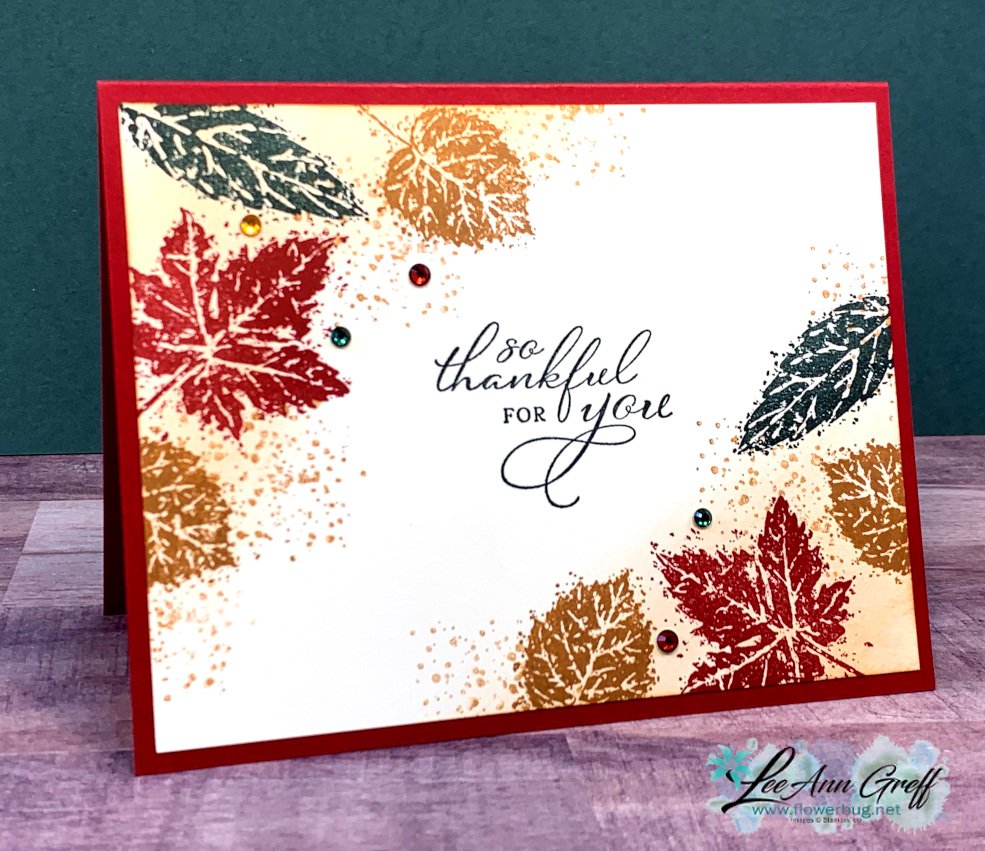
Here's the most simple card I made. But with these beautiful colors it is still striking. Cherry Cobbler, Evening Evergreen & Cinnamon Cider. Most of the cards used this color combination.

You might wonder how I come up with these color combinations. I usually pull out sheets of card stock and see if they work together. Many times I have to switch one or more out before I'm happy. I don't use a color wheel or any guide; I just play and use what feels right.
This next card is a 3" X 5 1/2" panel of Vanilla CS with a thin edge of Cinnamon Cider. The greeting is stamped and heat embossed on a 1" strip of Evening Evergreen. I did go over the White embossing with my Cinnamon Cider Blends marker. I also colored the White ribbon with the same Blends marker before tying my bow.
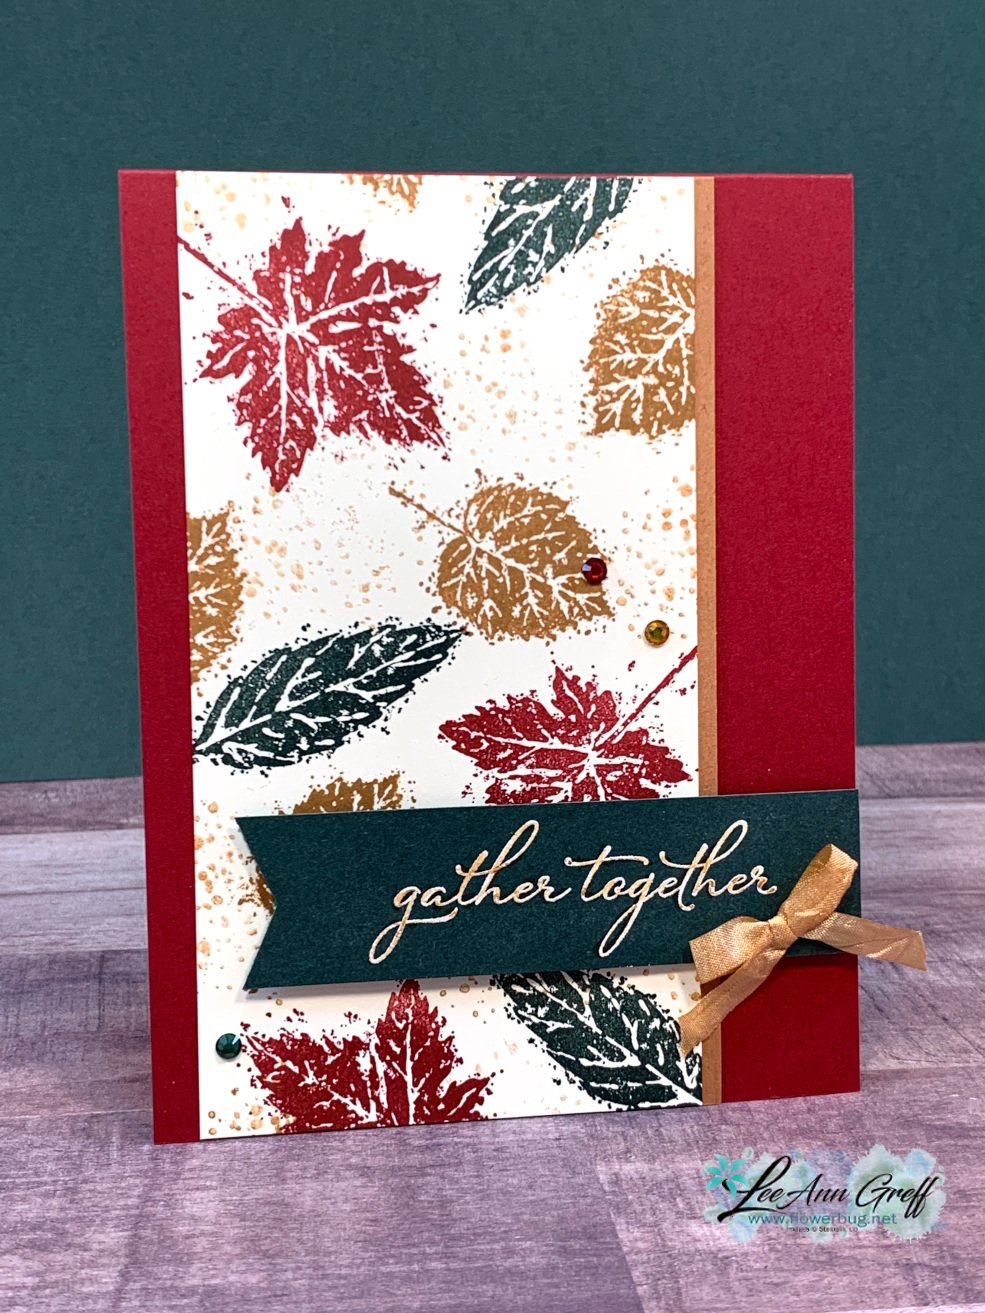
Do you ever create your own paper with stamps & ink? These types of images make it fun & easy to do. Try it; you will love filling in your card stock with pretty images. Remember to always start with your largest images first.
In this next card I added a few of the die-cuts from the Intricate Leaves dies from this bundle. The greeting is from the Pretty Pumpkins stamp set seen here. I colored the small leaves image with Stampin' Write markers.

This next card is so quick, easy and still eye catching. Start with a pretty greeting in the center (Pretty Pumpkins set) and add leaves in opposing corners. A little splatter, sponging and gems and you're done!
Now for the next few cards we're getting into some stamping techniques! This set of cards is made with the Emboss Resist technique. Same colors as above with the addition of Bumblebee and Gold.
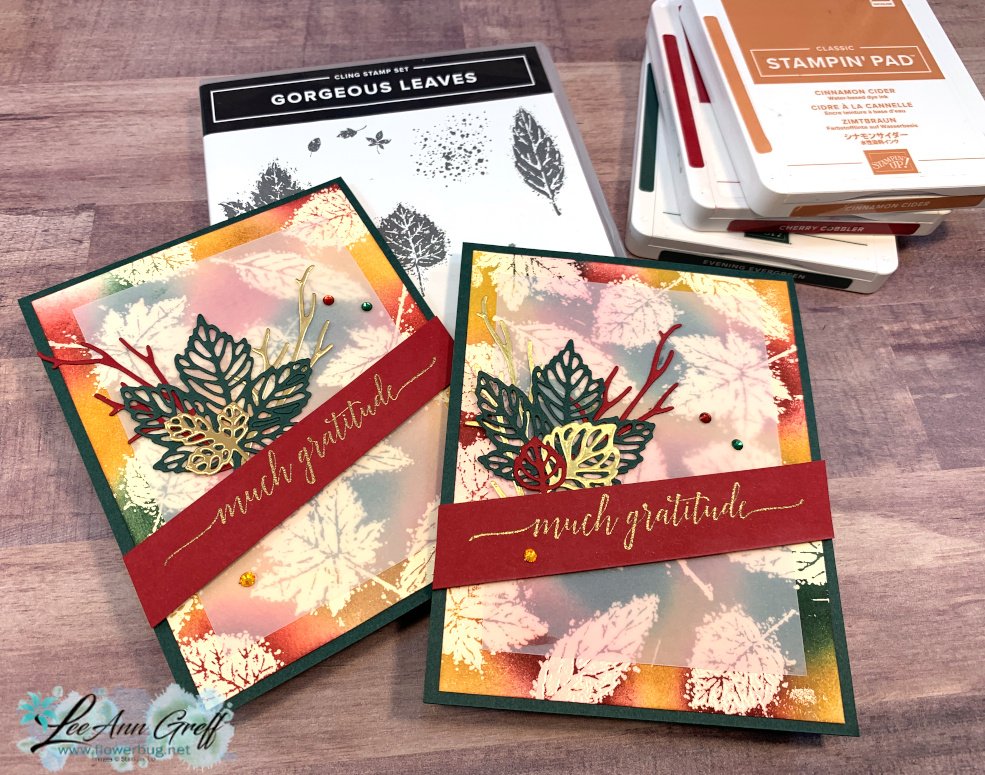
I embossed the leaves images using Versamark ink and clear embossing onto Vanilla CS. Next, sponge Classic ink randomly, directly over the embossing filling in the entire piece of card stock with color.
Then use a damp tissue or cloth to wipe off the excess ink. It will come off of the embossed images but stay on the card stock. So fun and gorgeous!
I toned down & softened the look with a piece of Vellum card stock (3 1/2" X 4 3/4"). The die-cuts are all from the Intricate Leaves dies. The pretty greeting that is heat embossed with Gold embossing powder is from the Heartfelt Wishes stamp set seen here. It's in the Holiday catalog as well.

Now we're on to the Joseph's Coat technique. It's very similar to the Emboss Resist except you add color before you heat emboss!

As you can see the Joseph's Coat can create a beautiful 'coat of colors'. The card above uses the same colors as the previous cards including Bumblebee. Holiday rhinestones are perfect with these colors.
This next card has Old Olive instead of Evening Evergreen. The Evergreen was just too dark. It is Cherry Cobbler card stock & ink. My photo came out a bit off color.

Here's what the vanilla card stock looked like before I added the leaves embossed in Clear embossing powder.

Once you have clear embossed leaves over this sponged piece you rub on a darker color of Classic or water-based ink. Anything but permanent ink should work. I used Soft Suede here. Most people use Black.
After I rubbed the Soft Suede ink pad directly onto the embossed card stock I used a tissue to wipe off the excess from the embossed leaves revealing the beautifully colored leaves.
*Watch the video below to see this technique done Live.

And here is the video. Click on this photo below to see these cards made! I hope you are inspired to use some of these techniques!
Don't forget that tomorrow is the last day of Sale-a-Bration! Don't miss out on getting your favorite items FREE! The link to order is below.
Or choose the Starter Kit deal and become a member of the Stampin' Up! family & my Flowerbug's Team!
~~~
September Specials
Host code: WGVUYXTF
Get 10 beautiful hand-made cards from me with a $50 online order
from September 20-30th!

All online orders will receive a free PDF tutorial filled with projects featuring
the Painted Christmas Suite!

BEST DEAL!

Get a Free Bundle from the Holiday Catalog when you choose the Starter kit!
Plus pick out $125 in product of your choice for just $99 and shipping is free!
You're getting up to $205 in products for just $99!















Leave a Reply