/


Latest Post

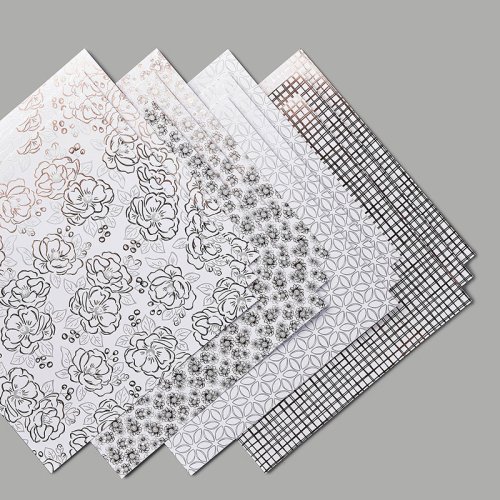
Gorgeous Flowering Foils projects video


Yesterday I shared 5 projects featuring the stunning Flowering Foils specialty designer paper on my weekly Facebook Live video. Every Tuesday at 11 am CT; tune in here:

This specialty paper is my top pick from the new 2nd Release Sale-a-Bration items.  It's FREE with any $50 order!  See it here.
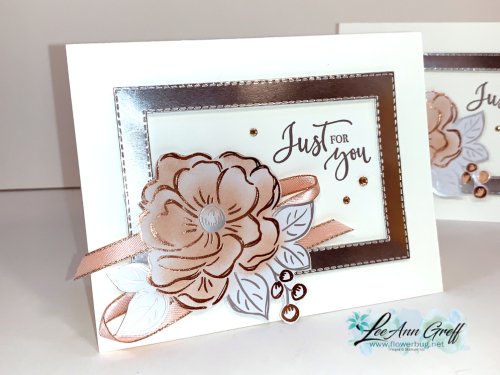
Here are three of the cards I shared in the FB video. These photos do not do them justice!  The colors are Silver, White, Petal Pink and Rose Gold. The greetings are all from the Rare Blessings stamp set seen here. 

I made a pretty stitched frame with the Stitched Rectangles dies and Silver Foil paper.  Added a greeting and a fussy cut flower from the Flowering Foils paper.  I sponged it with Petal Pink ink for a bit of soft color. 
Check out this 'One Sheet Box' made from one 12 X 12" sheet of Designer paper!  It's a really nice size; big enough to hold quite a few cookies inside it.  

  • Score the 12 x 12 paper at 3″ and 9 inches
  • Rotate paper and score at 1″, 3 1/2″, 6 1/2″ and 9 inches. You can watch the video below to see it made. 

I made one with the Golden Honey specialty paper and the other with the Flowering Foils.  Both are free right now with any $50 order! Click below to watch the video. 

~~~

Four March Specials besides Sale-a-Braton

and the Product Coordination Release seen here!

March host code is TRYUEHDZ 

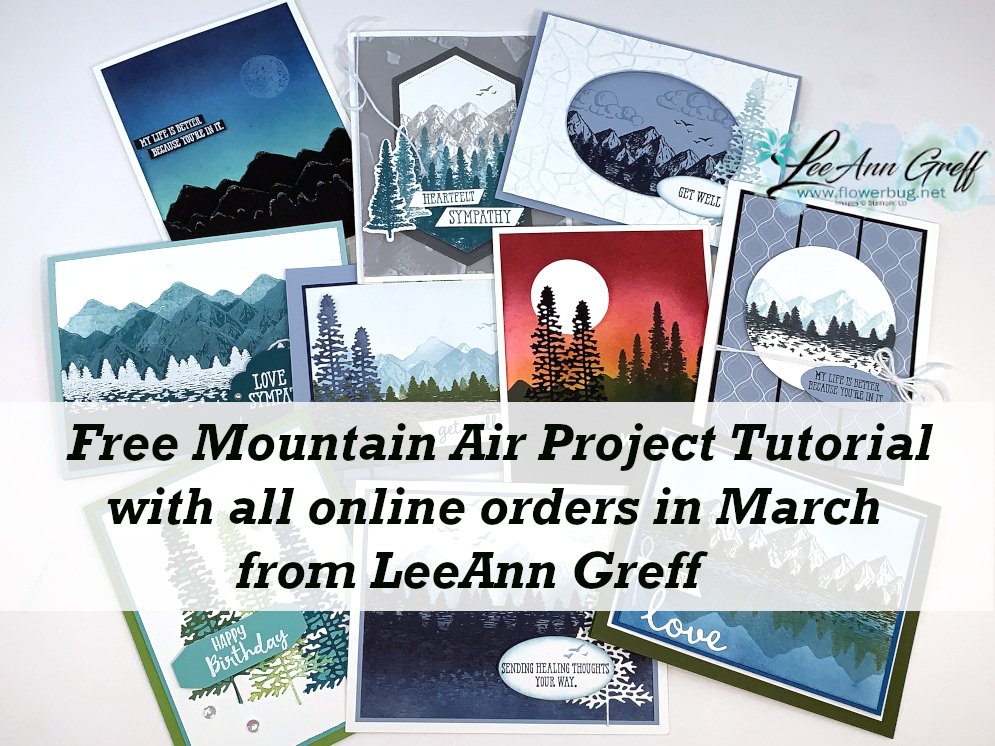
1. All online orders will receive a free Mountain View pdf cards tutorial in an email.
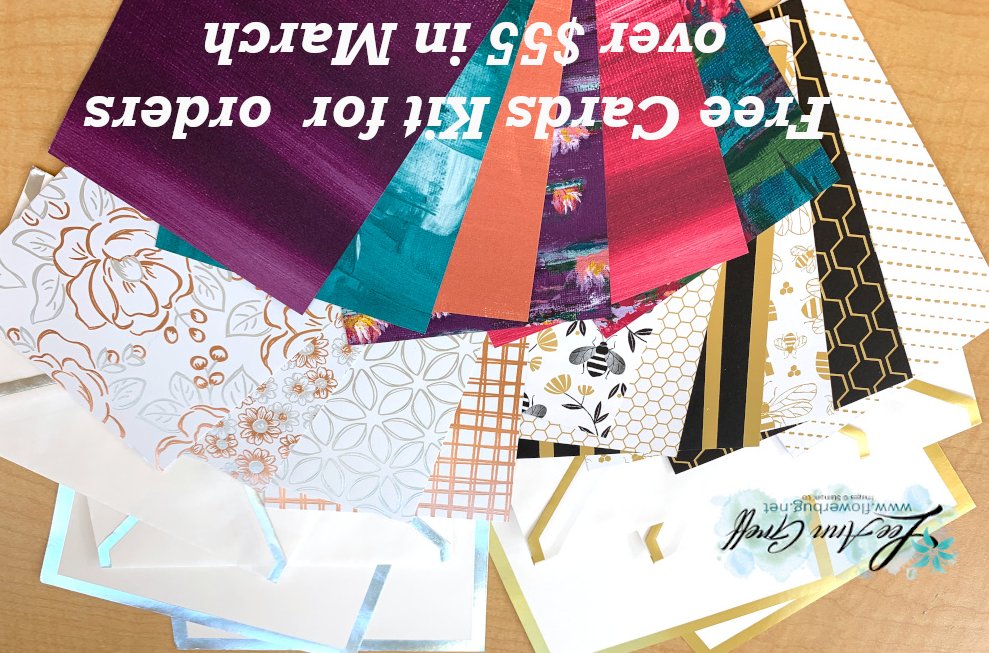
2. If your order is over $55 (before tax & shipping) you'll get a Sale-a-Bration paper sampler and metallic cards & envelopes kit! 

A great start to beautiful card making. 
March host code is TRYUEHDZ

Order online here

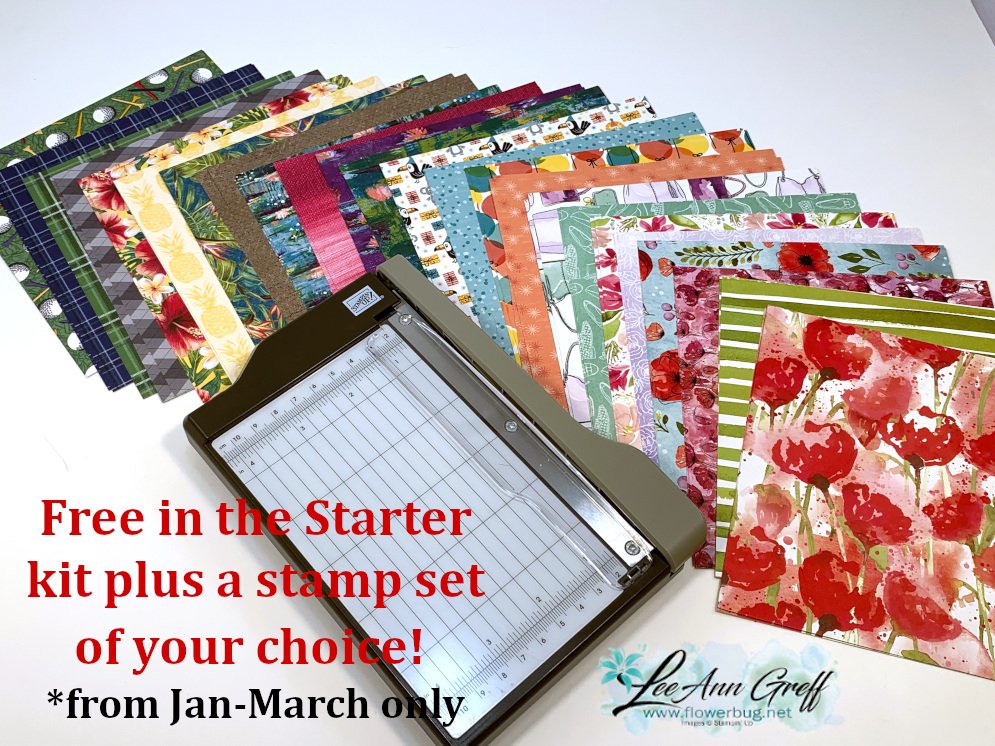
3. THE Best deal! Choose any FREE stamp set when you purchase the Starter kit during Sale-a-Bration; of any value! Plus you'll get a free paper trimmer and a 6 X 6 sampler of new Designer Paper!  It's just $99 plus tax and you can choose $125 in products with free shipping! Be either a 'Happy Shopper' and enjoy the discount or make extra spending money.

Click here to purchase the starter kit and join my awesome Flowerbug's Team! 
4. Earn a ticket in the drawing for each $25 you order online in March for a free Little Ladybug stamp set! Congrats to Mary and Sharon who won a set for January and February!

Order online here

All Posts

  • Cheers & Sips card with the Everyday Arches dies; video & free project sheet too!


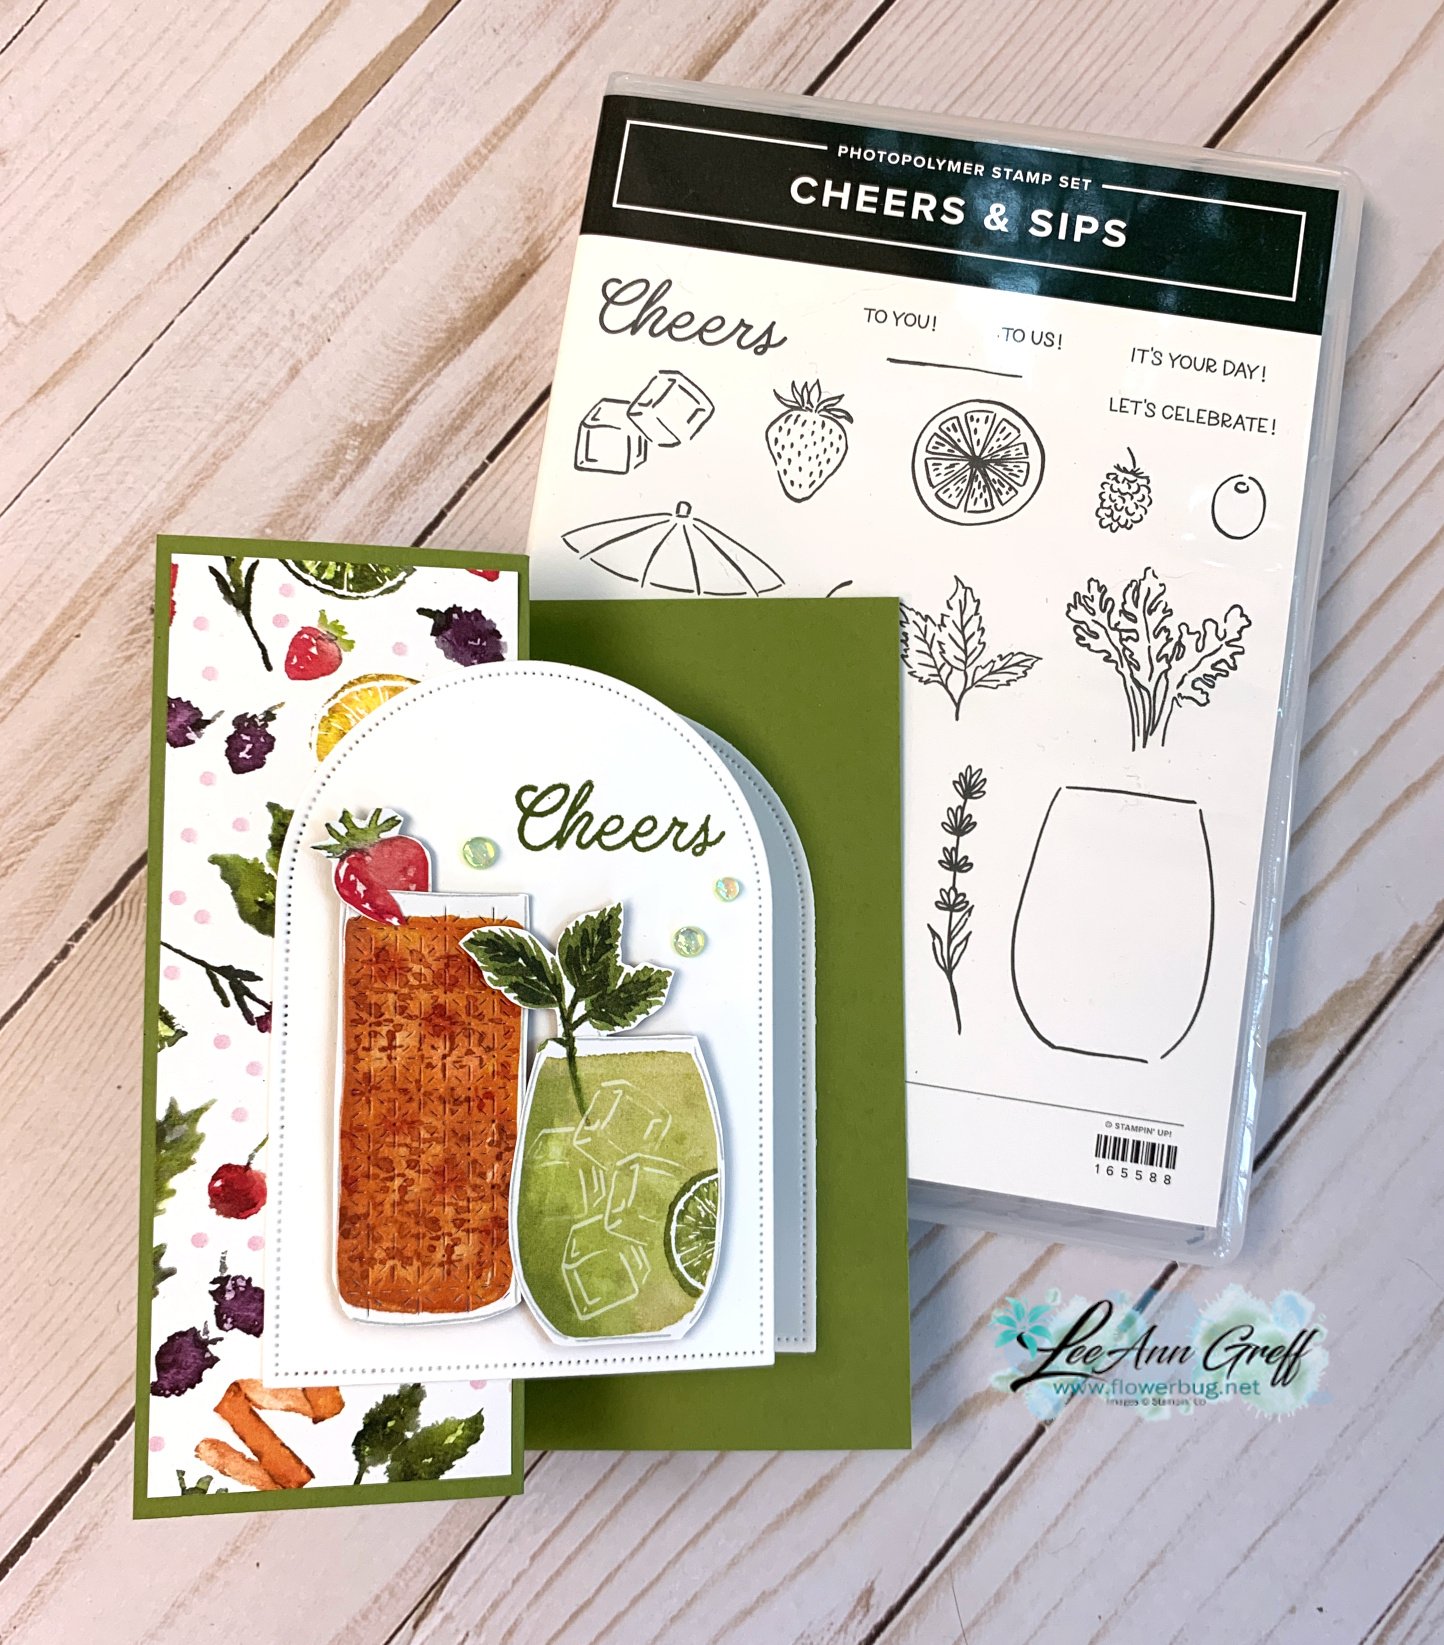
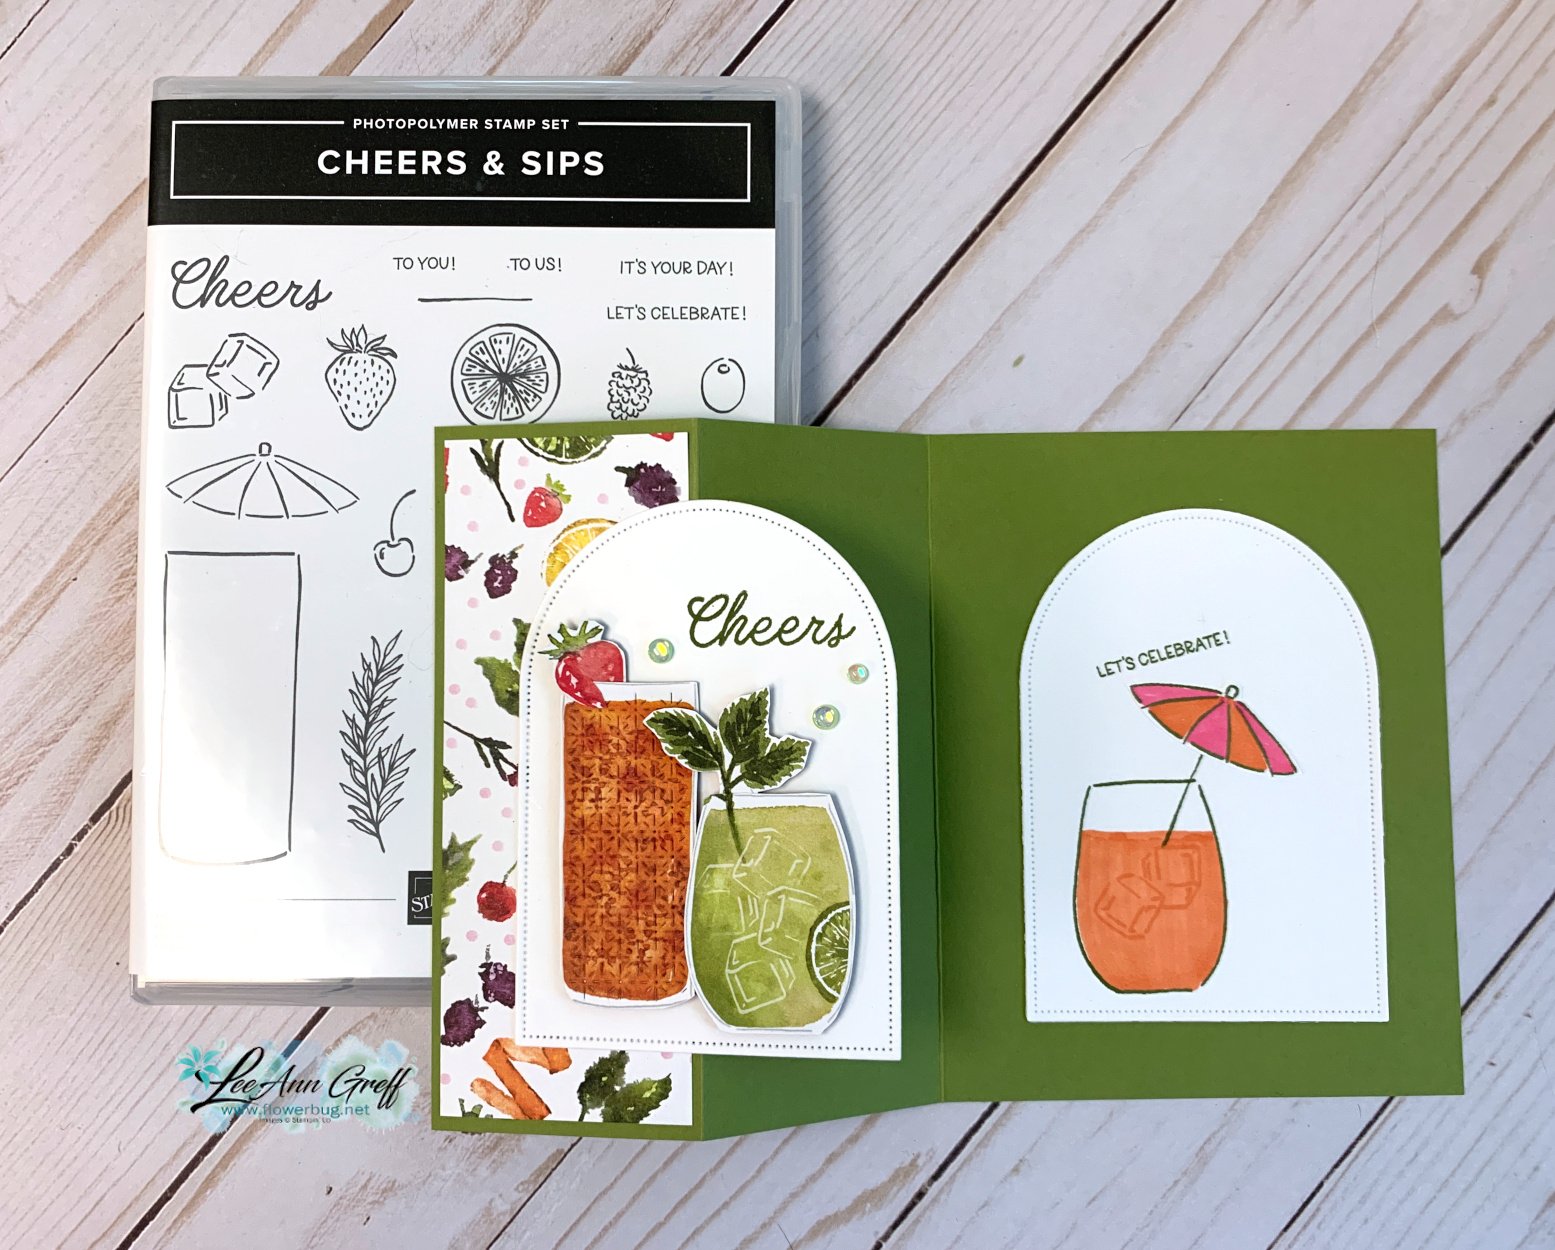
    A simple fun fold with the Everyday Arches dies and the Cheers & Sips suite.  

    I fussy cut the two drinks from the designer paper for the front arch.  The inside arch has the drink, umbrella and greeting stamped from the images in the set.  The card base is Old Olive and scored at 2 1/8" & 4 1/4". To get the arches lined up I encourage you to adhere the inside arch first and then close the card.  Now adhere the front arch to match. Easy! 

    There's a free project sheet I created for you here. Click on the following link to print or download it.  Download Cheers & Sips Celebratory card

    The Cheers & Sips bundle is unavailable right now; but should be back in stock any day now. Click here to see it.  

    Below is the video for this card and TWO more with this neat bundle and the coordinating Celebratory Sips DSP seen here.   I love this colorful & unique paper; it's something completely different! 

    Click below to watch the video for this and two other cards! 

    ~~~

    July Specials:

    New Online Exclusives are here!  

    ~~~

    Last Chance List has been updated!  see it all here. Don't miss out on the deals!

    ~~~

    Get my Turtle-y Cute PDF tutorial free with any online order in July!

    Leave a Reply

    Your email address will not be published. Required fields are marked *

  • Super neat fun fold card that’s easy with my tips! Free project sheet & video tutorial


    You're going to love this neat fun fold card I'm sharing today.  

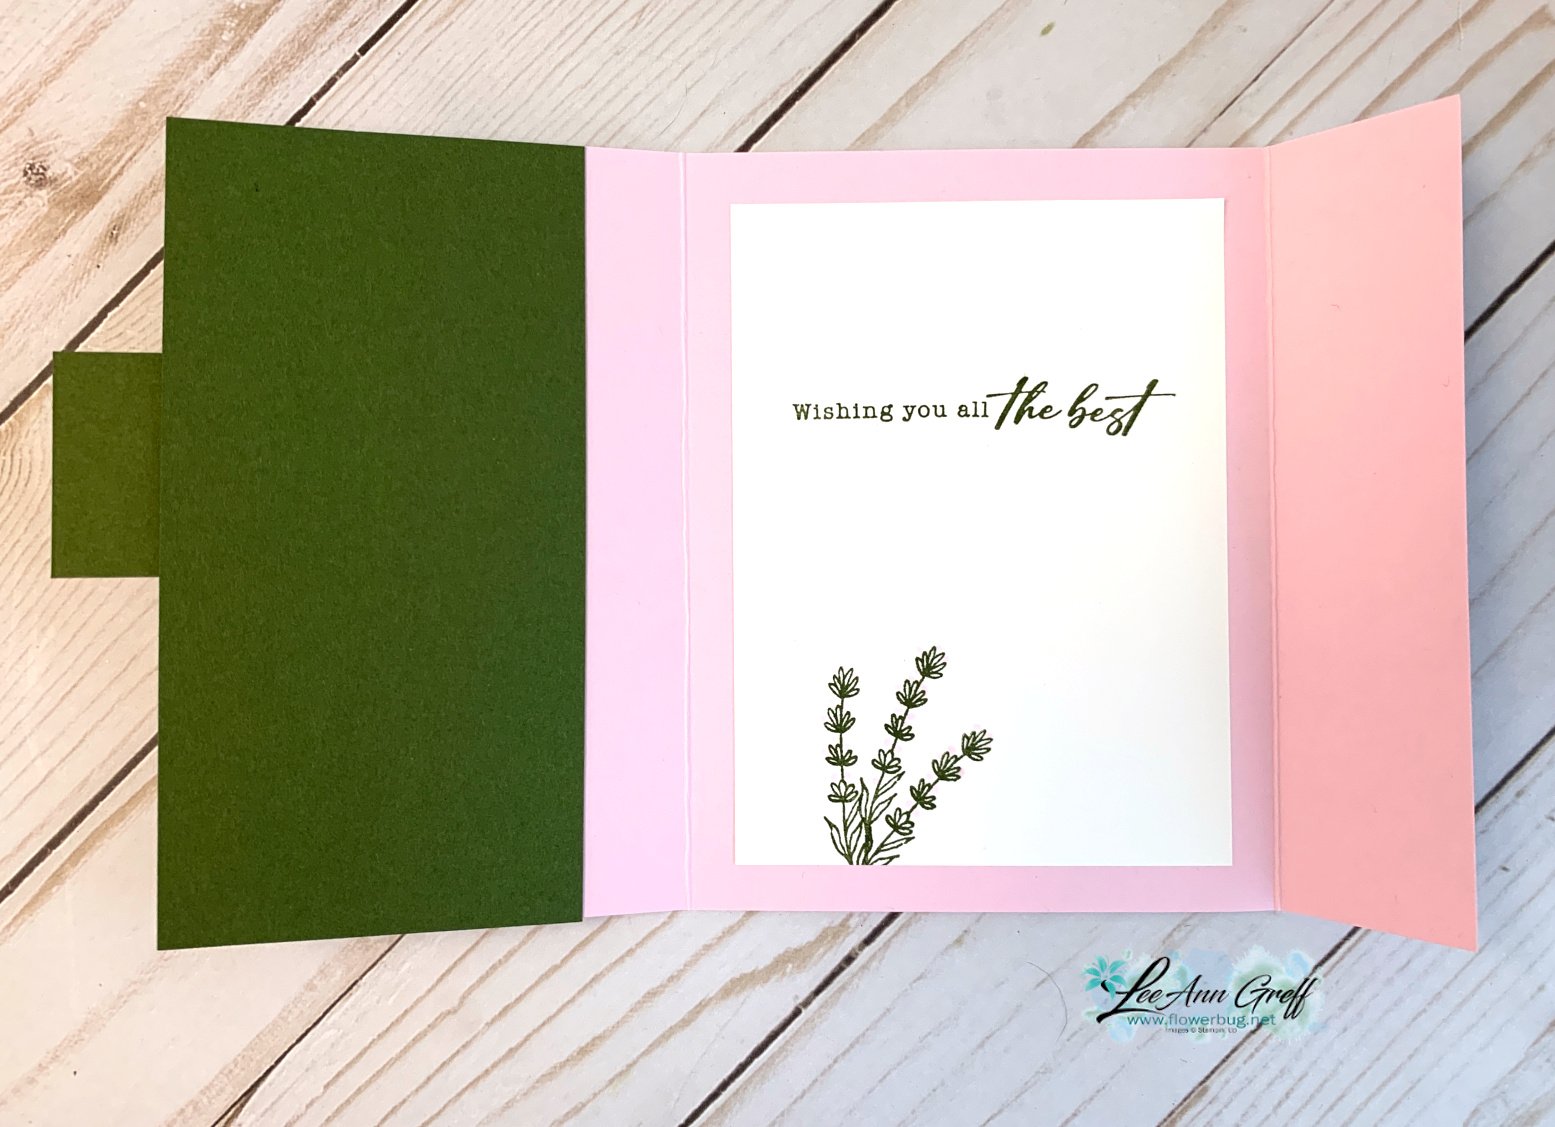
    It doesn't look like much of a fun fold card does it? Look a bit closer to the right pink flap on this card; see how it's sticking up a bit at the bottom? That's where it opens.  

    I featured the Sentimental Framing stamp set seen here on the pretty greeting here. 

    The layered circles are from the Spotlight on Nature dies and the 2 3/8" circle punch. The leaf die-cut is from the Gallery Blooms dies. My colors include Bubble Bath with Mossy Meadow & Blackberry Bliss.  

    Here's how it opens. The horizontal strip holds the right side of the card base closed with a type of 'latch'.  

    I hope you watch the video below to see how easy this fold is.  

    Here's the free project sheet with measurements & a supplies list: Download Sentimental Framing latch fold card

    Below is the video for this card and TWO more with this neat bundle and the coordinating Celebratory Sips DSP seen here.   I love this colorful & unique paper; it's something completely different! 

    Click below to watch the video for this and two other cards! 

    ~~~

    July Specials:

    New Online Exclusives are here!  

    ~~~

    Last Chance List has been updated!  see it all here. Don't miss out on the deals!

    ~~~

    Get my Turtle-y Cute PDF tutorial free with any online order in July!

    Leave a Reply

    Your email address will not be published. Required fields are marked *

  • 3 Stamping Tips you need to know!


    I thought I'd share some of my favorite tips with you today.  

    • how to use a ruler – some people find this extremely challenging
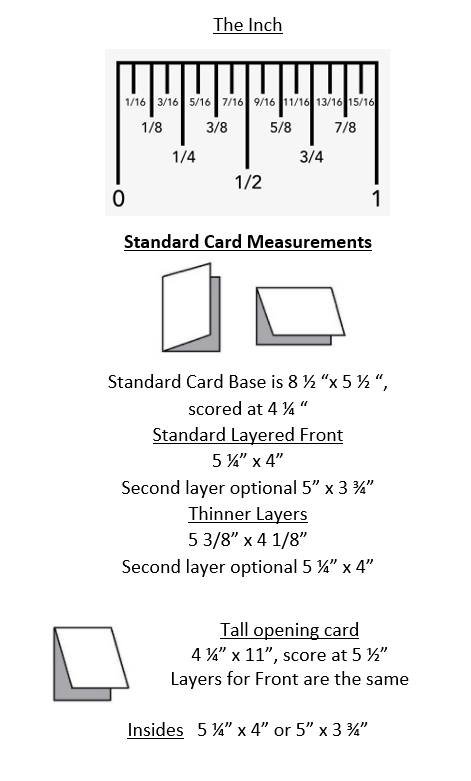
    • standard card sizes and layers
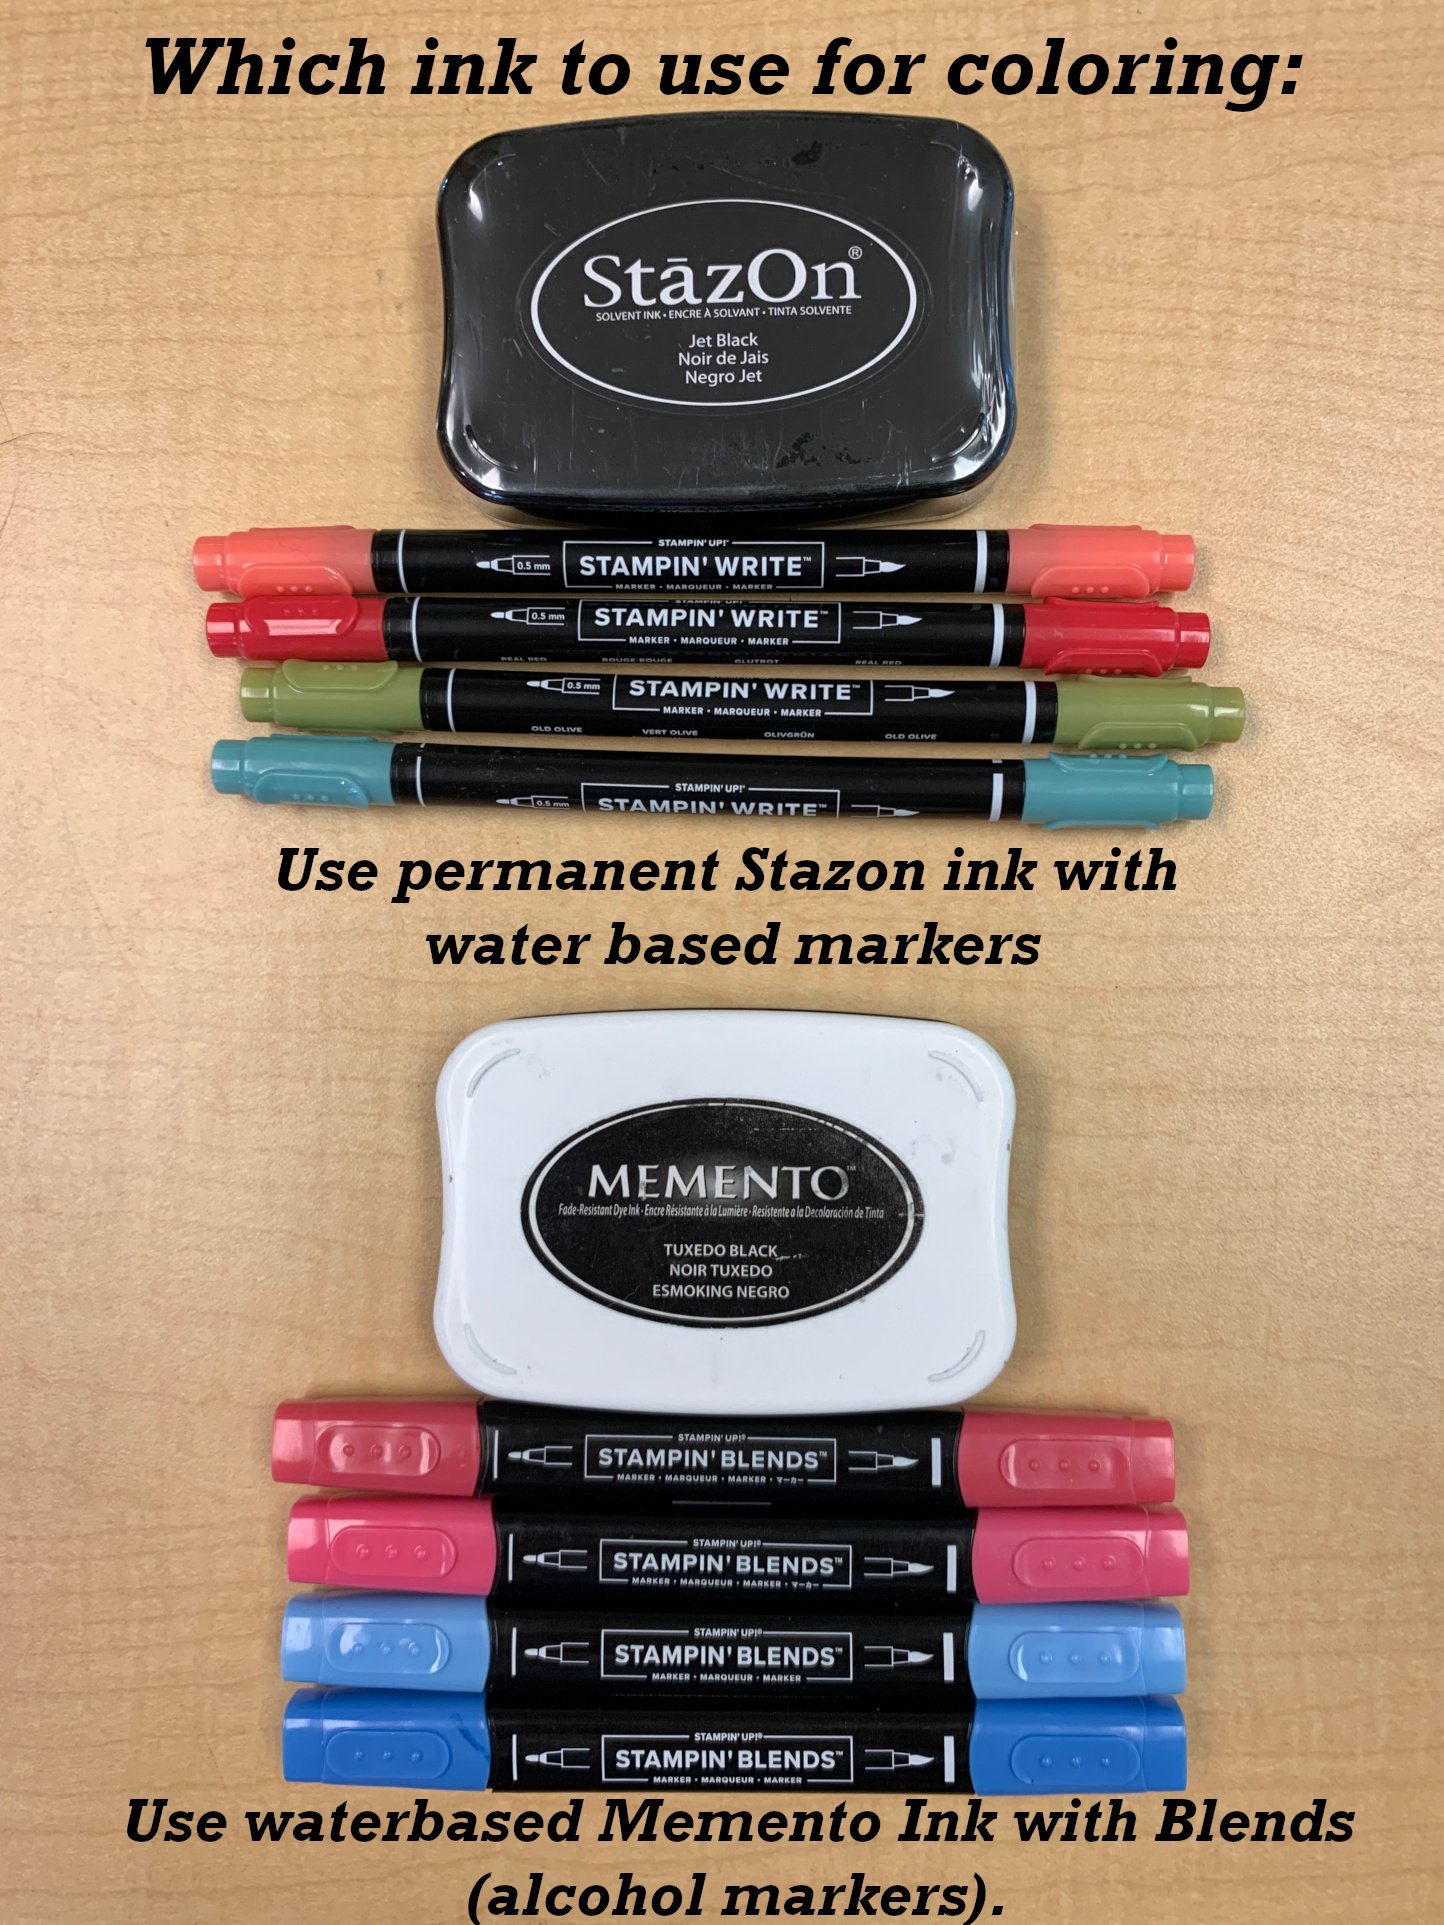
    • which ink to use when coloring with markers

    First up is the ruler and card measurements.  Understanding measurements can make card making so much easier!

    I hope the above graphic helps you when you're creating a card. Save it or print it out. 

    ~~~

    Next I have a helpful photo for coloring your stamped images.  It's very important to use the correct ink to prevent smearing as you color. 

    I do also want to share a few more tips for coloring:

    • Use Stazon ink when coloring with colored pencils, blender pens, water painters or when picking up our Classic ink from your ink pad.

    ~~~

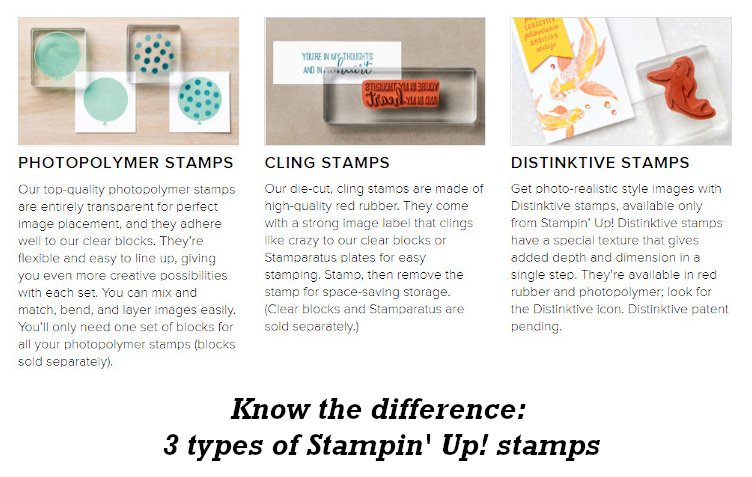
    Lastly is a list of the three types of stamps Stampin' Up! offers.  It might be hard to read so I'll share the details in this list:

    1. Photopolymer stamps are entirely transparent and adhere to your clear block. They're flexible and easy to use; especially with 2-step use.  
    2. Clink stamps are made of high-quality rubber. They cling like crazy to our clear blocks. 
    3. Distinktive stamps are a photo-realistic image with a special texture that give added depth and dimension with a single stamp. 

    *I hope one or more of these tips help you.  Let me know which one or two you learned from today.  

    ~~~

    July Specials:

    New Online Exclusives are here!  

    ~~~

    Last Chance List has been updated!  see it all here. Don't miss out on the deals!

    ~~~

    Get my Turtle-y Cute PDF tutorial free with any online order in July!

    Leave a Reply

    Your email address will not be published. Required fields are marked *


Notice: LeeAnn Greff, Independent Stampin’ Up! Demonstrator, Manager. The content of this website is my sole responsibility as an independent Stampin’ Up! demonstrator and the use of, and content of, the classes, services, or products offered on this website is not endorsed by Stampin’ Up! Copyright 2025