/


Latest Post

Gorgeous cards with my ‘5 at a time’ templates! Free project sheet, templates & video tutorial


I shared these beautiful cards on last week’s Live video. They were a big hit!

I love making cards with my 5 at a time templates. Making the most of my card stock gives me a great deal of satisfaction. I hope you’ll save these templates and use them in your own crafting.

Below is the template I stamped on; it’s slightly smaller than the one I used for layering. I often use this or the larger one for the neutral layers inside my cards.

Tip: I recommend making your first cut vertically at 4 3/4″. Then cut the left 3 pieces into 3 1/2″ layers. Once you cut all 5 pieces you’ll have one small piece left for a greeting or for punching.

Next is the template for layering the above ‘stamped’ pieces on. It’s just slightly larger – 1/8″ so it’s quite a narrow margin.

The above template has even less waste! It’s so nice to get 5 layered card pieces from 2 sheets of 8 1/2″ X 11″ card stock. Please save these templates!!

In the past when I made cards with these templates I stamped before cutting the 5 pieces apart. This was a bit tricky to stamp in the right place. This time I cut my pieces before I stamped on them. *Always start with your greetings!

As you can see I made sure I stamped three pieces landscape and two vertical. This isn’t necessary but it does change your cards up a bit.

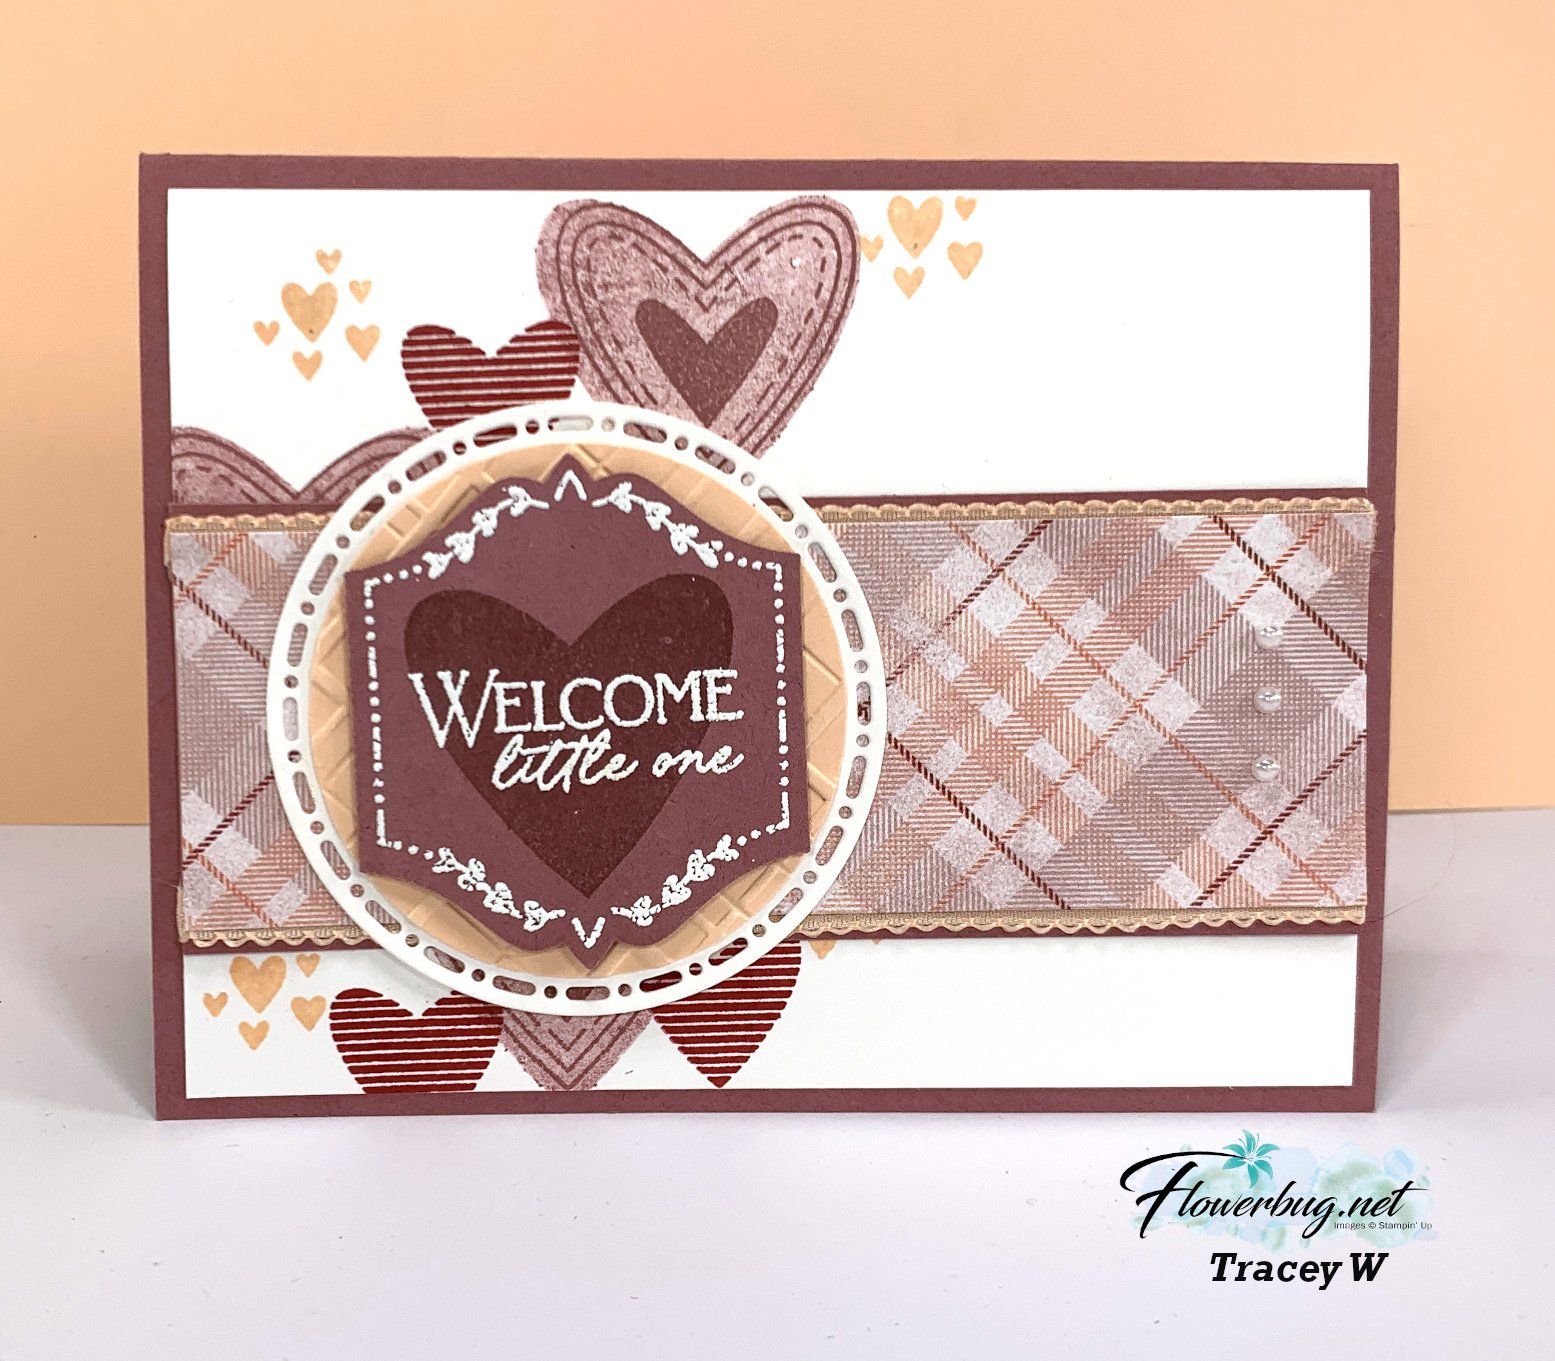
I used Cherry Cobbler, Timid Tiger; and Pretty Peacock here. I like adding Pretty Peacock and Cherry Cobbler to my fall cards. The stamp set is called Gathering Moments seen here.

Tip on stamping – always stamp the greeting image first. Then start with the largest image and work your way down to the smallest to fill in any gaps. It’s okay to overlap your images.

As you can see I blended a light wash of Timid Tiger over the stamped leaves. This softens the appearance and truly enhances your stamping.

Here you can see the stamped pieces added to the larger layers from the 2nd template above.

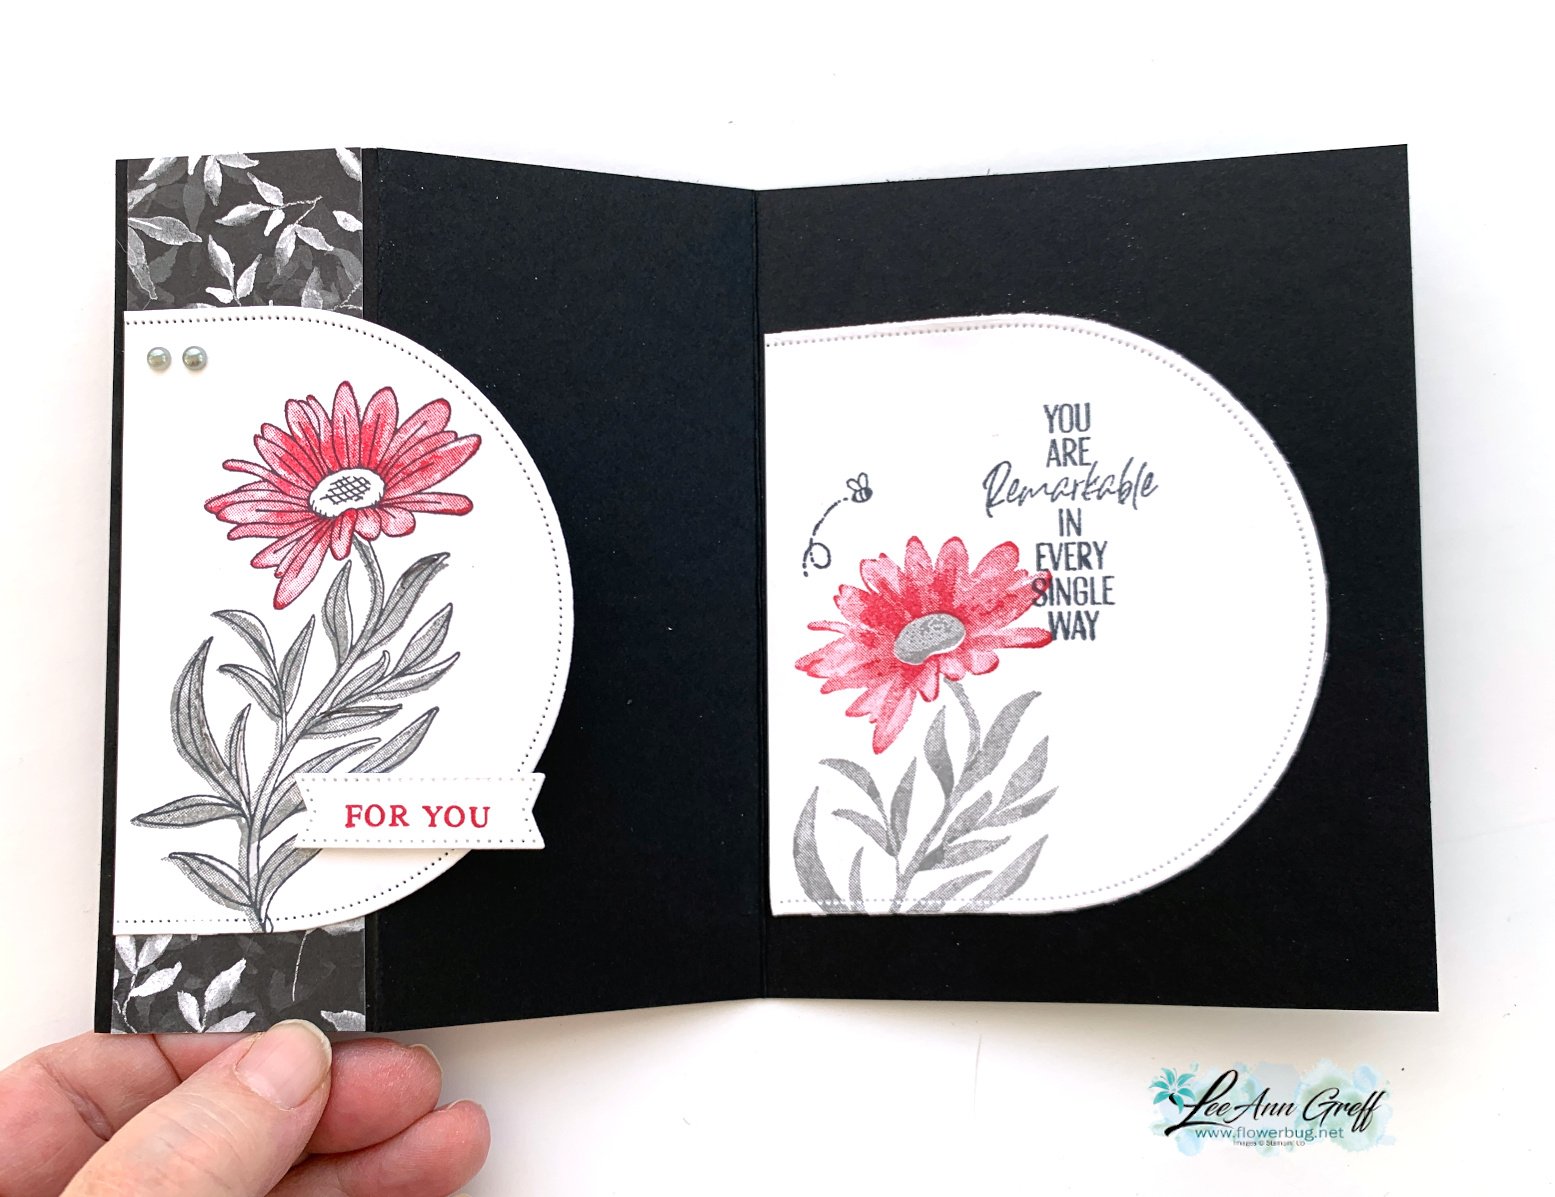
These were made simply with no punches or die-cuts. Sometimes it’s fun to just stamp and create. You can easily add the greetings on another layer (punches or die-cuts) to add more dimension.

I’ll share my second set of cards using this template later this week. And I’ll also show the fabulous card box I made to gift them in!

See how pretty they are once they’re added to the card bases and gems and twine have been added.

I created a free project sheet that includes directions, photos, templates and supplies. Click here to download or print it. Please save this one!!

Below is the video tutorial. Please subscribe to my YouTube Channel while you’re there.

~~~

  To see all of the new Online items click here.  Or download & save the Download Online Exclusives flyer 

Get a free project tutorial with any online order in September! 

All Posts

  • 2 Pretty Team card swaps with neat technique ideas!


    Today I'm sharing two Team Swaps from last month.  Both have neat product ideas.

    First is Tracey's cute card. Can you guess what the tiny scallops on the DSP is?  

    She used the Petal Pink scalloped ribbon under the DSP! Tracey has a special gift on fun ways to use ribbon & twine. This effect is so pretty & delicate looking.  It's currently in low inventory. 

    Measurements:

    The DSP is 5 1/4" X 1 3/4", the White 5 1/4" X 4", the card base is 5 1/2" X 8 1/2" scored at 4 1/4". The layer under the ribbon & DSP is 5 1/4 X 2"

    Here is a list of the many products she used:

    • Hugs for Love bundle seen here (punch will be available in April)
    • Moody Mauve, Basic White & Pretty in Pink CS
    • Timeless Plaid 6 X 6" DSP seen here
    • Spotlight on Nature dies seen here
    • 2 3/8" circle punch
    • Forever Plaid 3D embossing folder (circle) 
    • Heat embossing technique

    ~~~

    Next is a pretty card made by Lori. Her special technique surprised me!  Do you spot it?

    She stitched her die-cut circle (Spotlight on Nature) with the 3 color pack of Baker's Twine!  

    Her card base is Flirty Flamingo and the 4" X 5 1/4" CS layer is textured with the Exposed Brick embossing folder seen here.  The pretty DSP is the Sale-a-Bration Bloom Impressions (now retired). The greeting & die-cuts are from the Memorable Blooms bundle seen here. 

    I'll share more Team swaps tomorrow! 

    ~~~

    March Specials:

    *current host code link:  

    UBYVA7HN

    Get a free Floral Delight tutorial with any online order in March!

     Free Iridescent Foil gems!

    Leave a Reply

    Your email address will not be published. Required fields are marked *

  • You are Remarkable fun fold card with the new Botanical Textures DSP & Arches dies


    I shared this card on last week's FB Live.  I made it for an online card swap.  I just love it! 

    It's a simple fold back card with the Arches dies and the new You Are  remarkable stamp set.  Here's what it looks like opened: I love the double Arches dies here! These dies are in low inventory AGAIN.  See them here.    

    The You Are Remarkable stamp set (seen here) is both a 2-step stamp and a Distinktive set which means you get multiple hues of ink with one stamping.  I like that you can stamp the flower and leaves separately in different color inks from the single outline stamp.  Note the inside flower image above that I stamped without the outline.  I like it just as well this way too!  

    I created a free project sheet for this card. Click on the following link to download or print it.  Download You Are Remarkable Arches card

    Below is the video with this fun fold card and another pretty card using this pretty stamp set.  

    ~~~

    March Specials:

    *current host code link:  

    UBYVA7HN

    Get a free Floral Delight tutorial with any online order in March!

     Free Iridescent Foil gems!

    Leave a Reply

    Your email address will not be published. Required fields are marked *

  • You are Remarkable card in a clean & simple style with video & free project sheet


    I created this pretty card with the new 'You Are Remarkable' stamp set from our Online Exclusive offering. 

    I was going for a clean & simple look since that's our March Team swap theme.  I just received this pretty stamp set and love the 2-step & distinktive set a lot!  See this stamp set here. 

    My colors include Black, White, Fresh Freesia and Lemon Lime Twist for the leaves. The embossing folder is called Dashing Designs and is from the Annual Catalog. 

    I also used the new Textured Notes dies for the stitched rectangles.  These are incredible!  See them here:

    On the video I changed the card a bit from the original on the left. Which do you prefer?  How many differences can you spot?

    Here's the free project sheet for this card. Click on the following link to print or download it. Download You Are Remarkable Hello

    Below is the video with this card and another pretty fun fold card using the new Arches dies.  

    ~~~

    March Specials:

    *current host code link:  

    UBYVA7HN

    Get a free Floral Delight tutorial with any online order in March!

     Free Iridescent Foil gems!

    Leave a Reply

    Your email address will not be published. Required fields are marked *


Notice: LeeAnn Greff, Independent Stampin’ Up! Demonstrator, Manager. The content of this website is my sole responsibility as an independent Stampin’ Up! demonstrator and the use of, and content of, the classes, services, or products offered on this website is not endorsed by Stampin’ Up! Copyright 2025