/


Latest Post

Gorgeous cards with my ‘5 at a time’ templates! Free project sheet, templates & video tutorial


I shared these beautiful cards on last week’s Live video. They were a big hit!

I love making cards with my 5 at a time templates. Making the most of my card stock gives me a great deal of satisfaction. I hope you’ll save these templates and use them in your own crafting.

Below is the template I stamped on; it’s slightly smaller than the one I used for layering. I often use this or the larger one for the neutral layers inside my cards.

Tip: I recommend making your first cut vertically at 4 3/4″. Then cut the left 3 pieces into 3 1/2″ layers. Once you cut all 5 pieces you’ll have one small piece left for a greeting or for punching.

Next is the template for layering the above ‘stamped’ pieces on. It’s just slightly larger – 1/8″ so it’s quite a narrow margin.

The above template has even less waste! It’s so nice to get 5 layered card pieces from 2 sheets of 8 1/2″ X 11″ card stock. Please save these templates!!

In the past when I made cards with these templates I stamped before cutting the 5 pieces apart. This was a bit tricky to stamp in the right place. This time I cut my pieces before I stamped on them. *Always start with your greetings!

As you can see I made sure I stamped three pieces landscape and two vertical. This isn’t necessary but it does change your cards up a bit.

I used Cherry Cobbler, Timid Tiger; and Pretty Peacock here. I like adding Pretty Peacock and Cherry Cobbler to my fall cards. The stamp set is called Gathering Moments seen here.

Tip on stamping – always stamp the greeting image first. Then start with the largest image and work your way down to the smallest to fill in any gaps. It’s okay to overlap your images.

As you can see I blended a light wash of Timid Tiger over the stamped leaves. This softens the appearance and truly enhances your stamping.

Here you can see the stamped pieces added to the larger layers from the 2nd template above.

These were made simply with no punches or die-cuts. Sometimes it’s fun to just stamp and create. You can easily add the greetings on another layer (punches or die-cuts) to add more dimension.

I’ll share my second set of cards using this template later this week. And I’ll also show the fabulous card box I made to gift them in!

See how pretty they are once they’re added to the card bases and gems and twine have been added.

I created a free project sheet that includes directions, photos, templates and supplies. Click here to download or print it. Please save this one!!

Below is the video tutorial. Please subscribe to my YouTube Channel while you’re there.

~~~

  To see all of the new Online items click here.  Or download & save the Download Online Exclusives flyer 

Get a free project tutorial with any online order in September! 
All Posts

  • Boho Indigo meets the Rectangular Postage punch!


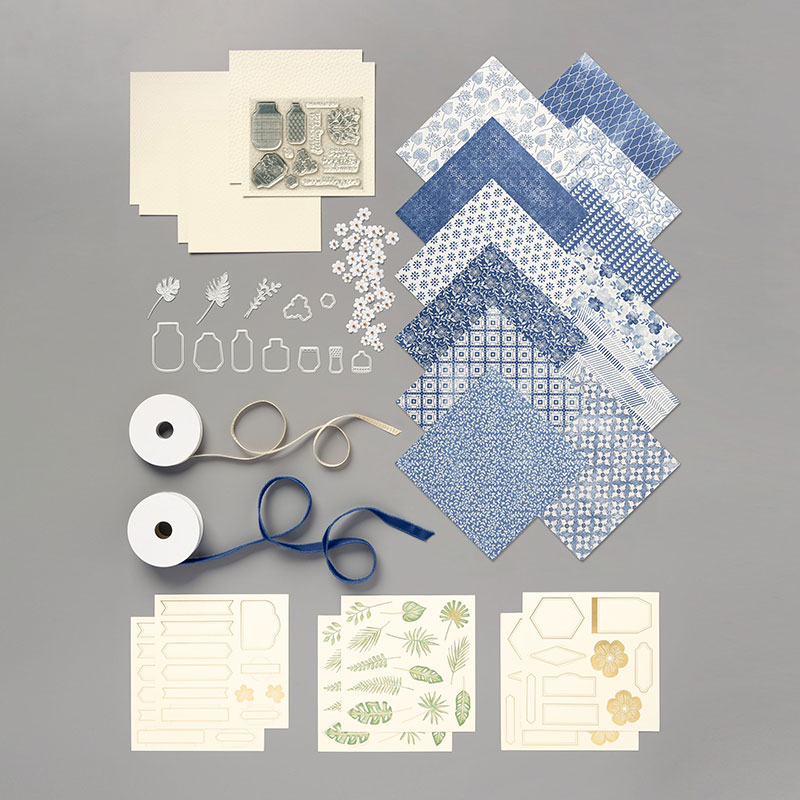
    The Boho Indigo product medley is beautiful!  Check it out on page 9 of the annual catalog or click here.  

    The medley comes with a whole bunch of products all in one box including stamps, dies, beautiful designer paper in 6 X 6" size, textured card stock, die-cuts, ribbon and paper/bead flowers.  The colors are Misty Moonlight, Night of Navy, Vanilla, White, Garden Green & gold. 

    There's even a refill option (without the stamps, dies & ribbon) but it is on back order until mid July.  It includes the papers and the flowers.  See that here. 

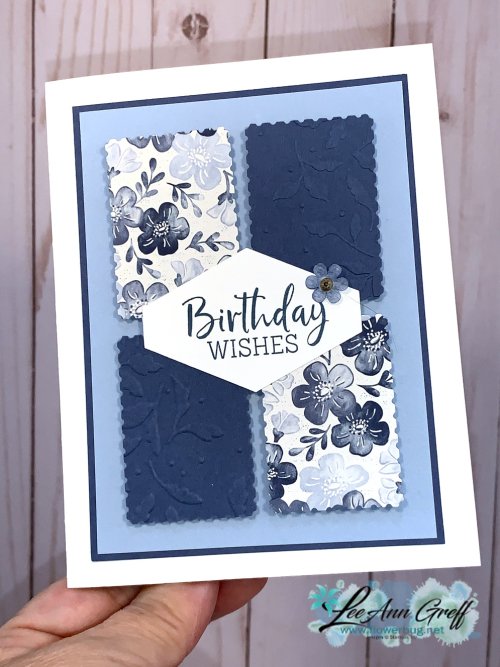
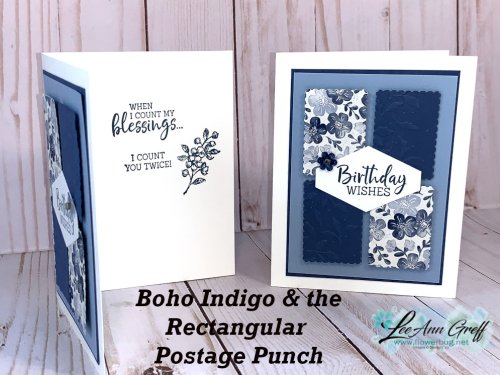
    I decided to use the Rectangular Postage punch for a quick, pretty card.  See it here. 

    The colors are Misty Moonlight, Seaside Spray & White.  The Misty Moonlight pieces are textured with the Meadow Moments embossing folder. The greetings are from the Fancy Phrases stamp set seen here. I used the Tailored Tag punch for the front greeting.  That delicate flower on the greeting is included in the Product Medley AND the refill for it.    

    Measurements:

    • White card base 5 1/2" X 8 1/2"
    •  Seaside Spray 3 1/2" X 4 3/4"
    • Misty Moonlight 3 5/8" X 4 7/8"

    I'll share another project from this product medley tomorrow! 

    ~~~

    Bonus Days are here!

     
    For every $50 you spend in July you'll receive a $5 coupon to redeem in August!  

    ~~~

    Current Host code is 3MFE2KKP

    Get a free 2020 card stock sampler with online orders over $60. 

    Order online here

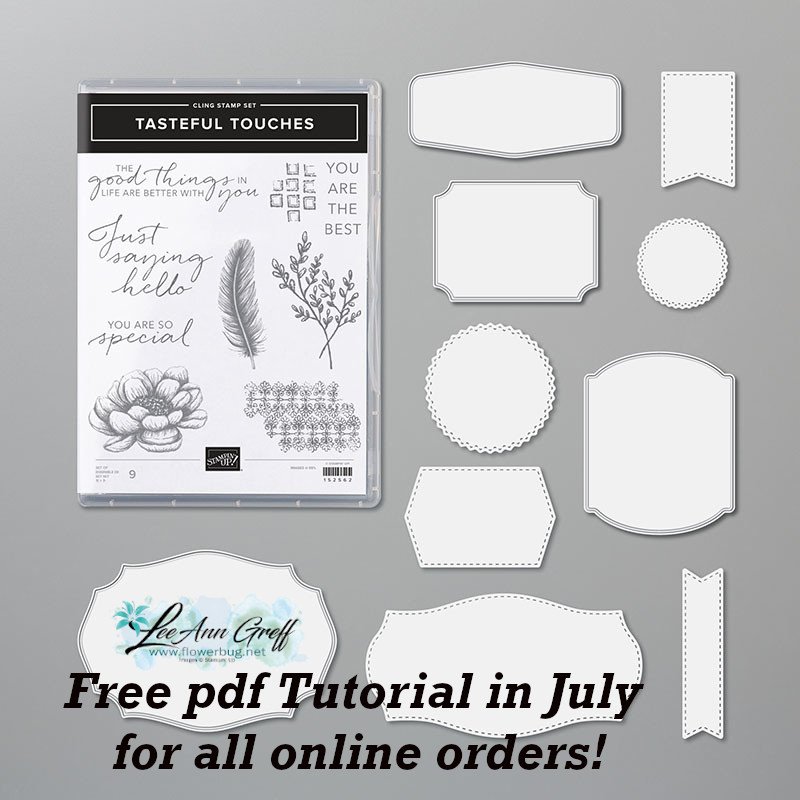
     Get my Tasteful Touches pdf tutorial free with any online order in July


    It includes directions, photos and measurements for 10 cards!

    Leave a Reply

    Your email address will not be published. Required fields are marked *

  • Bonus Days Start Today!!! Rainbow Glimmer Paper; a true WOW!


    July starts a new promotion! 
    For every $50 you spend in July you'll receive a $5 coupon to redeem in August!  Love it!
     
    But see my July specials below first!
     
    ~~~~

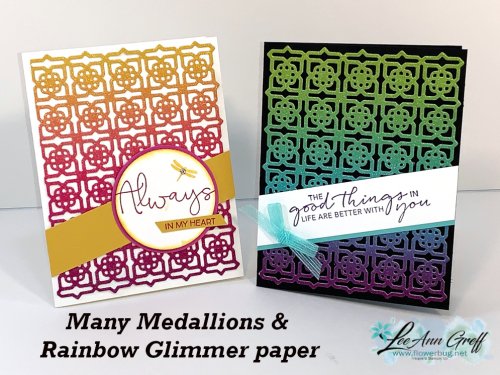
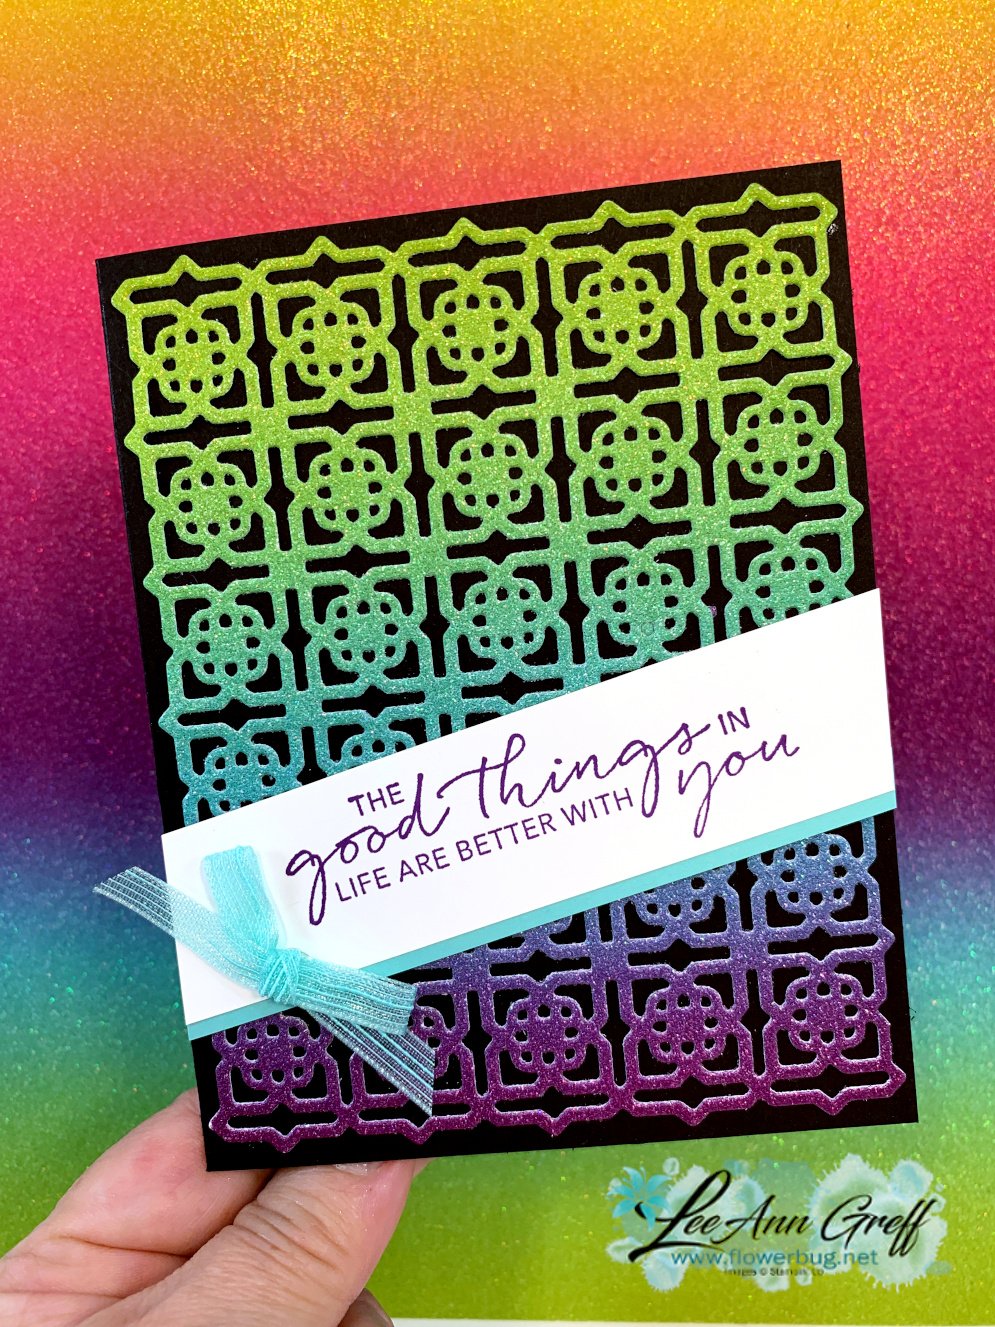
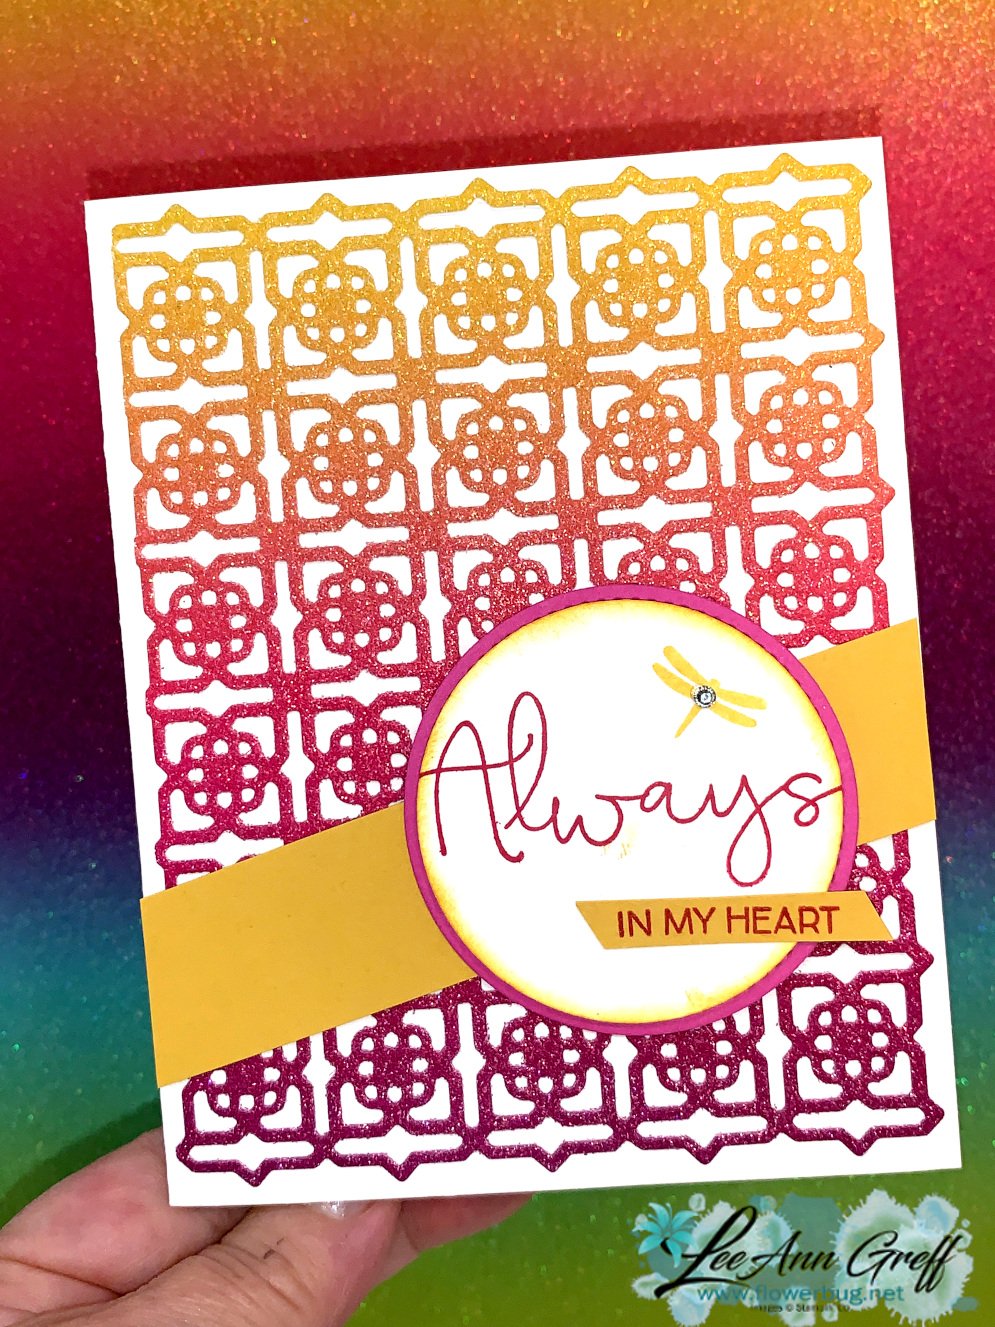
    The new Rainbow Glimmer paper is absolutely amazing! Have you seen it yet?  Click here.

    If you like colors, and I mean sparkly, bright colors you need to get some of this Rainbow glimmer paper!  It's on page 153 of the Annual Catalog.  
    Here I used the Many Medallion dies to cut a full sheet of this pretty paper and adhered it to a Black card.  All it needed was a simple greeting (Tasteful Touches set) and bow made with the new Pool Party sheer ribbon!  

    How about another option? 

    I used the same strip of this paper for this die-cut; it's just further down on the sheet.  So many beautiful colors in gradient hues.  The greeting is from the Field of Flowers stamp set. 

    Here are both cards side by side.


    Which do you think highlights this beautiful glimmer paper better; white or black?  I was torn so I did one of each.

    ~~~

     Get my TastefulTouches pdf tutorial free with any online order in July


    It includes directions, photos and measurements for 10 cards!

    ~~~

    Current Host code is 3MFE2KKP

    Get a free 2020 card stock sampler with online orders over $60. 

    Order online here

    Leave a Reply

    Your email address will not be published. Required fields are marked *

  • Today is the last day; Pick a FREE BUNDLE of your choice!


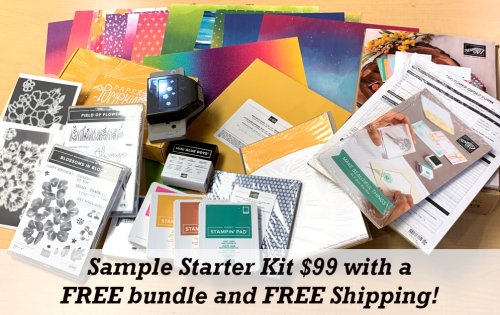
    Today is the last day to purchase the Starter Kit and get a free bundle of your choice. Look at all you can get for just $99! Over $200 in product even without business supplies! 

    Choose your own $125 in product plus a FREE punch or dies bundle!  Details here


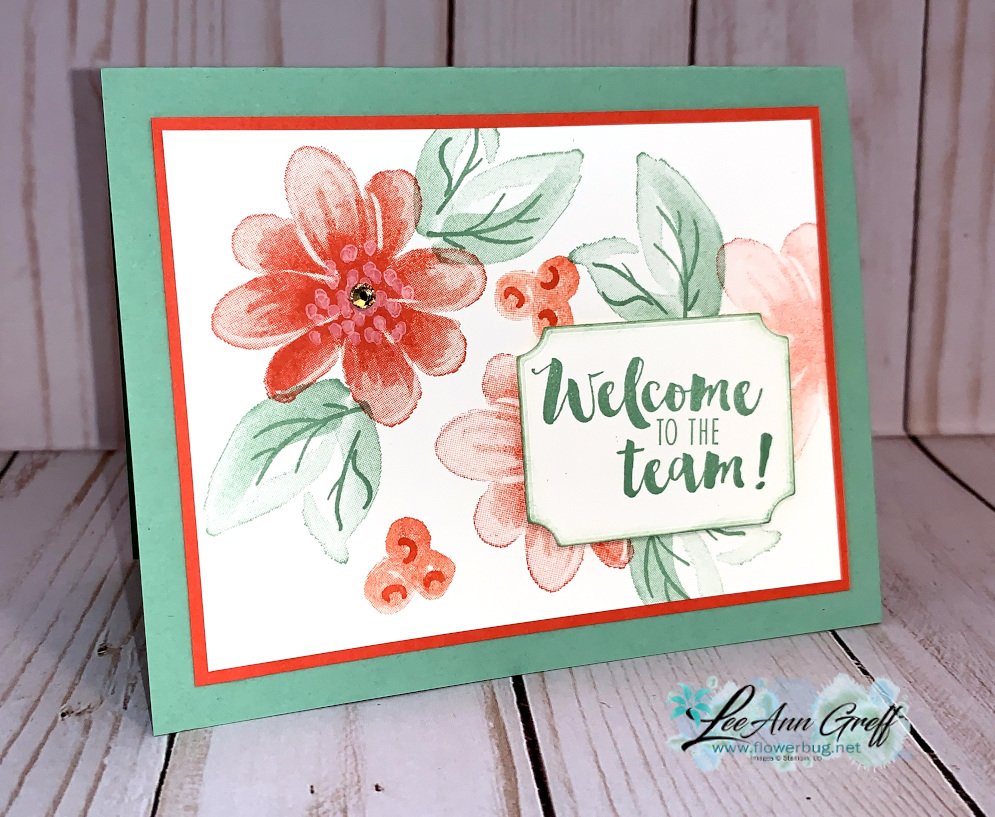
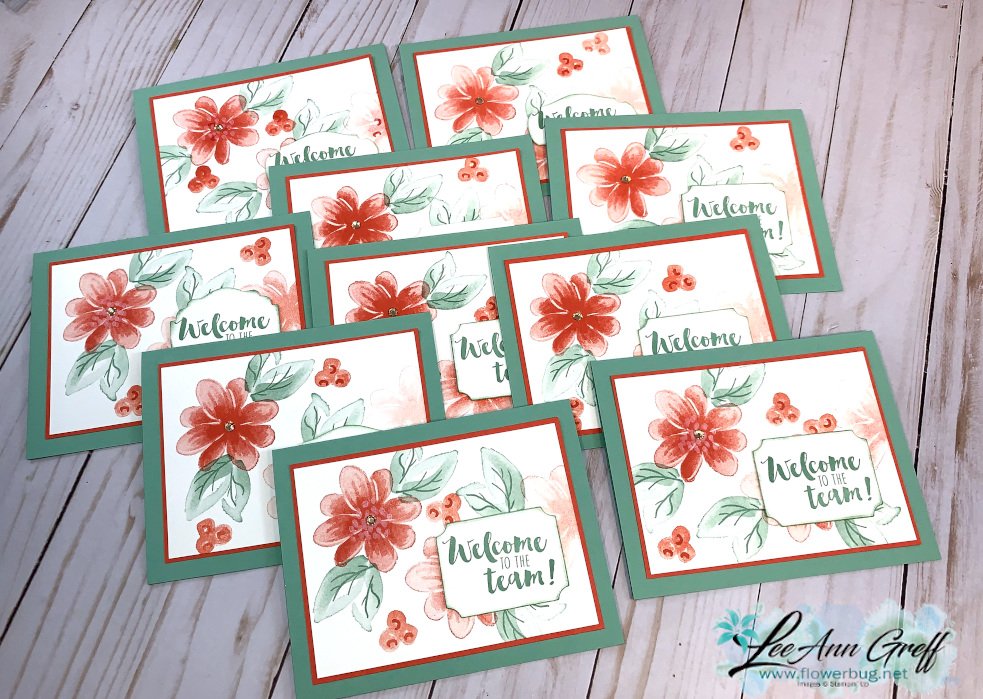
    I made these cards to send out to everyone who purchased the Starter Kit from me in June.  


    I used the Gorgeous Posies stamp set (seen here) in Mint Macaron and Calypso Coral.  I just love our Distinktive style stamps!!


    I stamped the large flower once in full strength Calypso Coral ink, stamped below without reinkining, and then lastly off to the right side.  Look at the gorgeous leaves; they are two different images. Both full strength ink but the solid style leaf is the Distinktive style so you get multiple hues of ink with just one stamping.  I did stamp the flower center dots image using White Craft ink. 

    The greeting is from a stamp set only Demonstrators can purchase. The die is from the Tasteful Labels dies. 


    Click here to learn about all the awesome perks of being a part of the Stampin' Up! family.  I'd love to add you to my Flowerbug's Team!  

    June Host code is R6XWPMRP

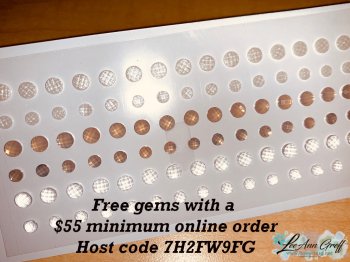
    Get a free pkg. of Elegant Faceted Gems from me if your order is over $55. 

    Order online here

    Leave a Reply

    Your email address will not be published. Required fields are marked *


Notice: LeeAnn Greff, Independent Stampin’ Up! Demonstrator, Manager. The content of this website is my sole responsibility as an independent Stampin’ Up! demonstrator and the use of, and content of, the classes, services, or products offered on this website is not endorsed by Stampin’ Up! Copyright 2025