/


Latest Post

Gorgeous cards with my ‘5 at a time’ templates! Free project sheet, templates & video tutorial


I shared these beautiful cards on last week’s Live video. They were a big hit!

I love making cards with my 5 at a time templates. Making the most of my card stock gives me a great deal of satisfaction. I hope you’ll save these templates and use them in your own crafting.

Below is the template I stamped on; it’s slightly smaller than the one I used for layering. I often use this or the larger one for the neutral layers inside my cards.

Tip: I recommend making your first cut vertically at 4 3/4″. Then cut the left 3 pieces into 3 1/2″ layers. Once you cut all 5 pieces you’ll have one small piece left for a greeting or for punching.

Next is the template for layering the above ‘stamped’ pieces on. It’s just slightly larger – 1/8″ so it’s quite a narrow margin.

The above template has even less waste! It’s so nice to get 5 layered card pieces from 2 sheets of 8 1/2″ X 11″ card stock. Please save these templates!!

In the past when I made cards with these templates I stamped before cutting the 5 pieces apart. This was a bit tricky to stamp in the right place. This time I cut my pieces before I stamped on them. *Always start with your greetings!

As you can see I made sure I stamped three pieces landscape and two vertical. This isn’t necessary but it does change your cards up a bit.

I used Cherry Cobbler, Timid Tiger; and Pretty Peacock here. I like adding Pretty Peacock and Cherry Cobbler to my fall cards. The stamp set is called Gathering Moments seen here.

Tip on stamping – always stamp the greeting image first. Then start with the largest image and work your way down to the smallest to fill in any gaps. It’s okay to overlap your images.

As you can see I blended a light wash of Timid Tiger over the stamped leaves. This softens the appearance and truly enhances your stamping.

Here you can see the stamped pieces added to the larger layers from the 2nd template above.

These were made simply with no punches or die-cuts. Sometimes it’s fun to just stamp and create. You can easily add the greetings on another layer (punches or die-cuts) to add more dimension.

I’ll share my second set of cards using this template later this week. And I’ll also show the fabulous card box I made to gift them in!

See how pretty they are once they’re added to the card bases and gems and twine have been added.

I created a free project sheet that includes directions, photos, templates and supplies. Click here to download or print it. Please save this one!!

Below is the video tutorial. Please subscribe to my YouTube Channel while you’re there.

~~~

  To see all of the new Online items click here.  Or download & save the Download Online Exclusives flyer 

Get a free project tutorial with any online order in September! 
All Posts

  • Fun Origami Folded Window cards for FB Live Monday!


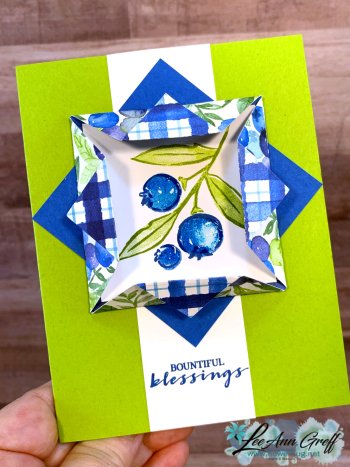
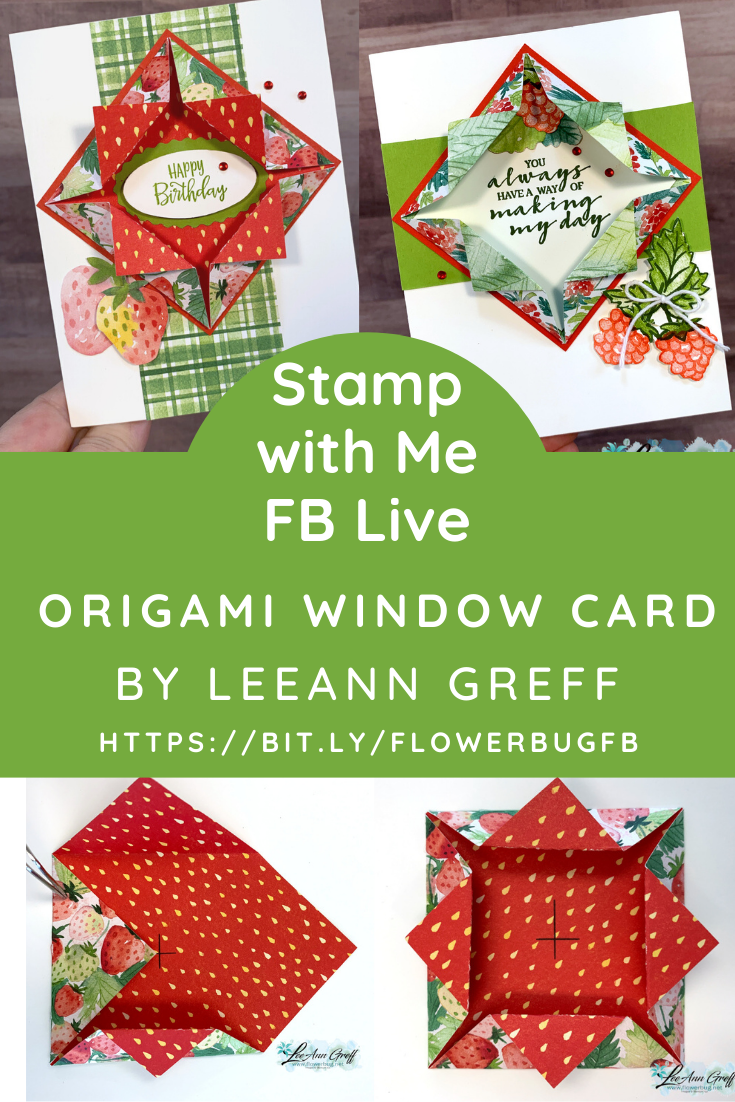
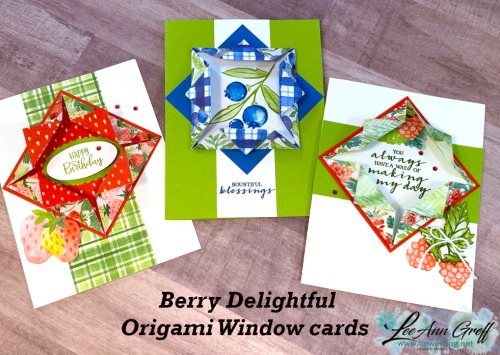
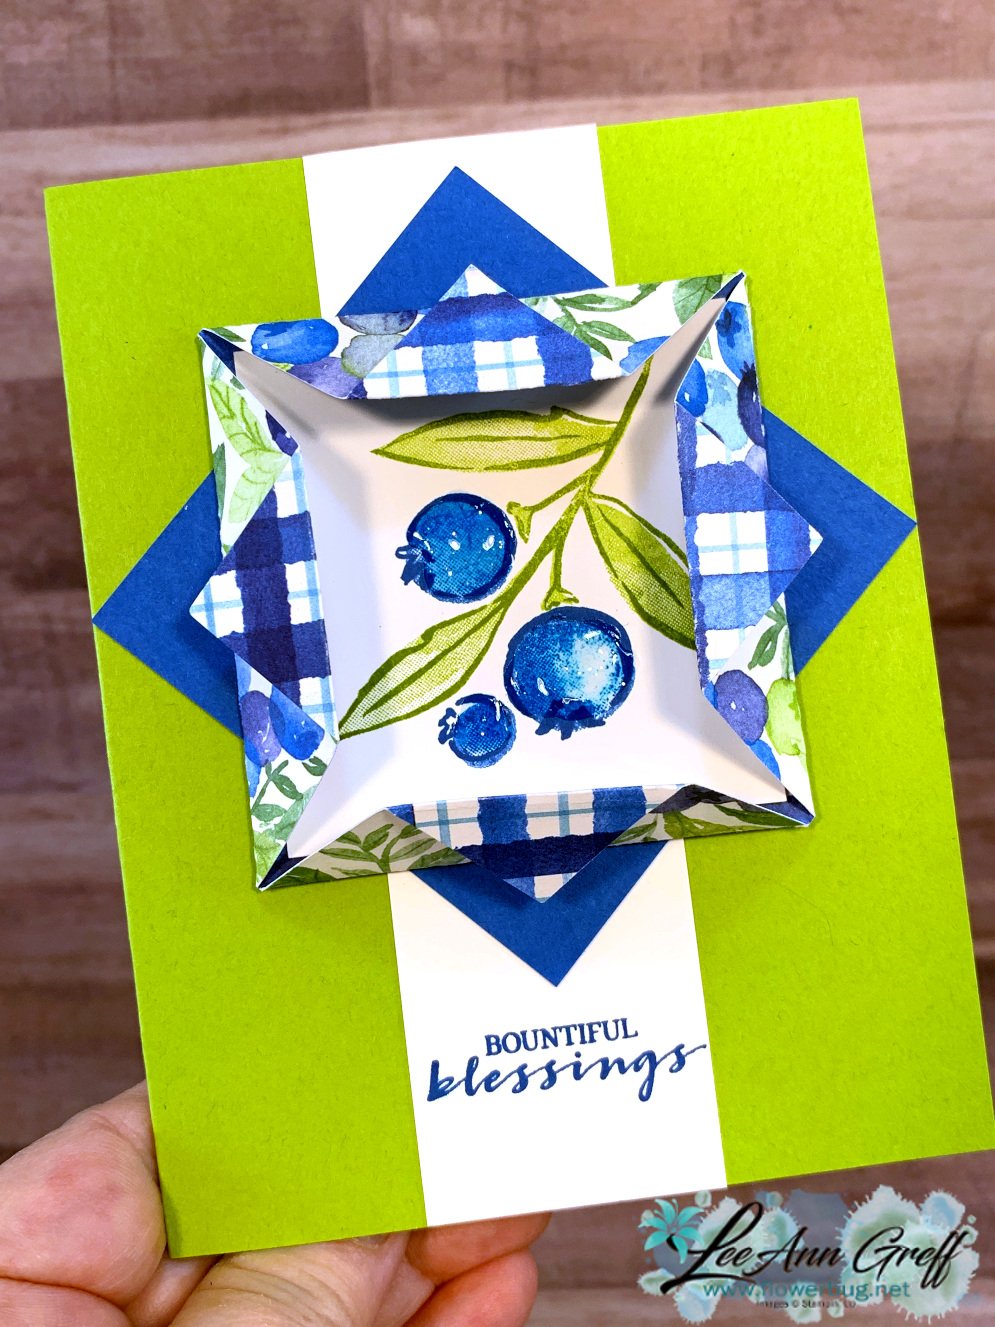
    Have you made an origami folded window?  They're so easy to do!  I'll be making cards like these on Monday night's FB Live 'Stamp with Me' here. 

    How does 'Stamp with Me' work?  I share the projects a few days before the Live to give you time to prep your pieces.  You use the paper, stamps & ink you have to stamp right along with me!  

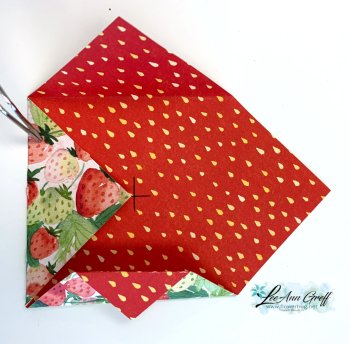
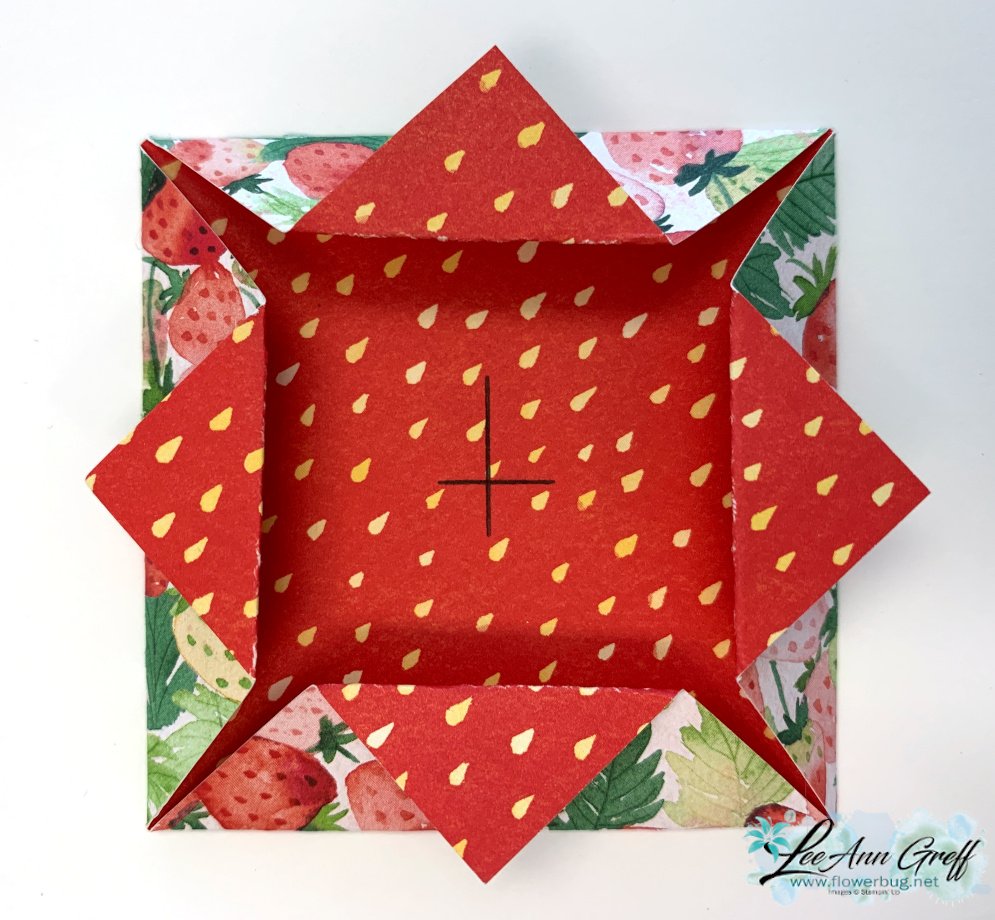
    You'll start with a 4" square of Designer Paper.  I chose to use the Berry Delightful paper from the Sale-a-Bration catalog. 

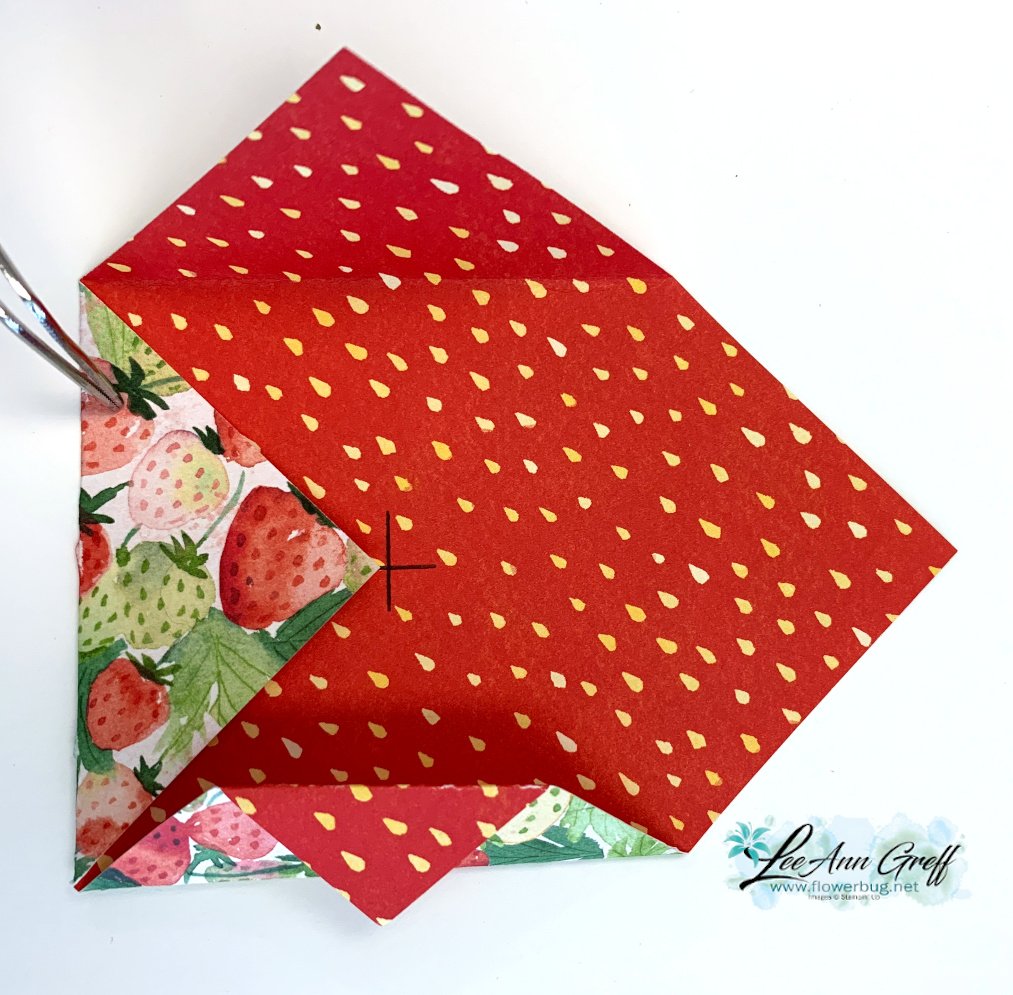
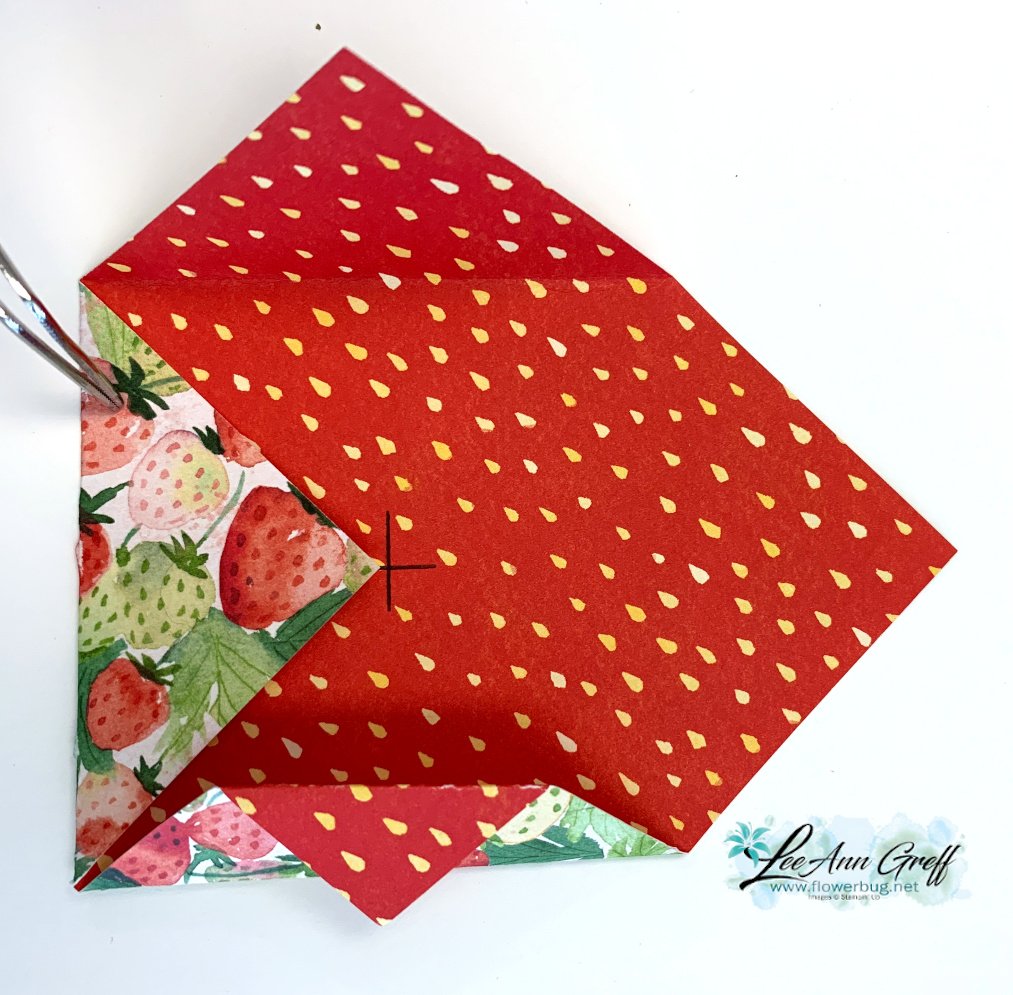
    Then you draw an X in the center. Do this by placing a ruler from corner to corner.  Draw a line.  Do the same once more on the other corners.  This X is where you will bring the DSP point up to.  Press well and then fold back the tip to the fold. Do this on all corners!  


    It looks like the tip hangs off the corner but it doesn't. I added a layer to some of these measuring 3" square.  If you add a stamped layer inside that is 2 3/4" square. 

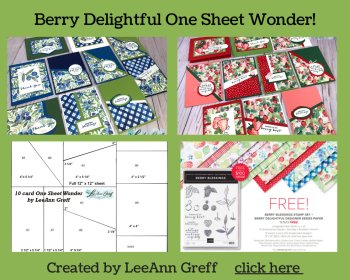
    The stamps are from the Berry Blessings stamp set; it comes with this super fun designer paper in a bundle.  It's FREE with a $100 order through February 28th.  If you place an order to earn this bundle you'll also receive a free 10 cards kit from me for my 12 X 12" one sheet wonder. See it here. 


    Here's the link to this video.

    ~~~

    February Specials:

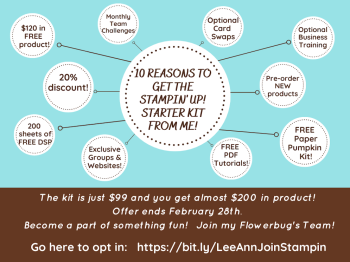
    Get the best deal during Sale-a-Bration with purchase of the Starter Kit!   Get $125 in products of your choice for just $99 and FREE shipping too!  

    Plus you get 5 packs of NEW 6" Designer Paper FREE. 


    Go here to read about it


    ~~~

    Current Host code is CGSK9YDR

    Order online here

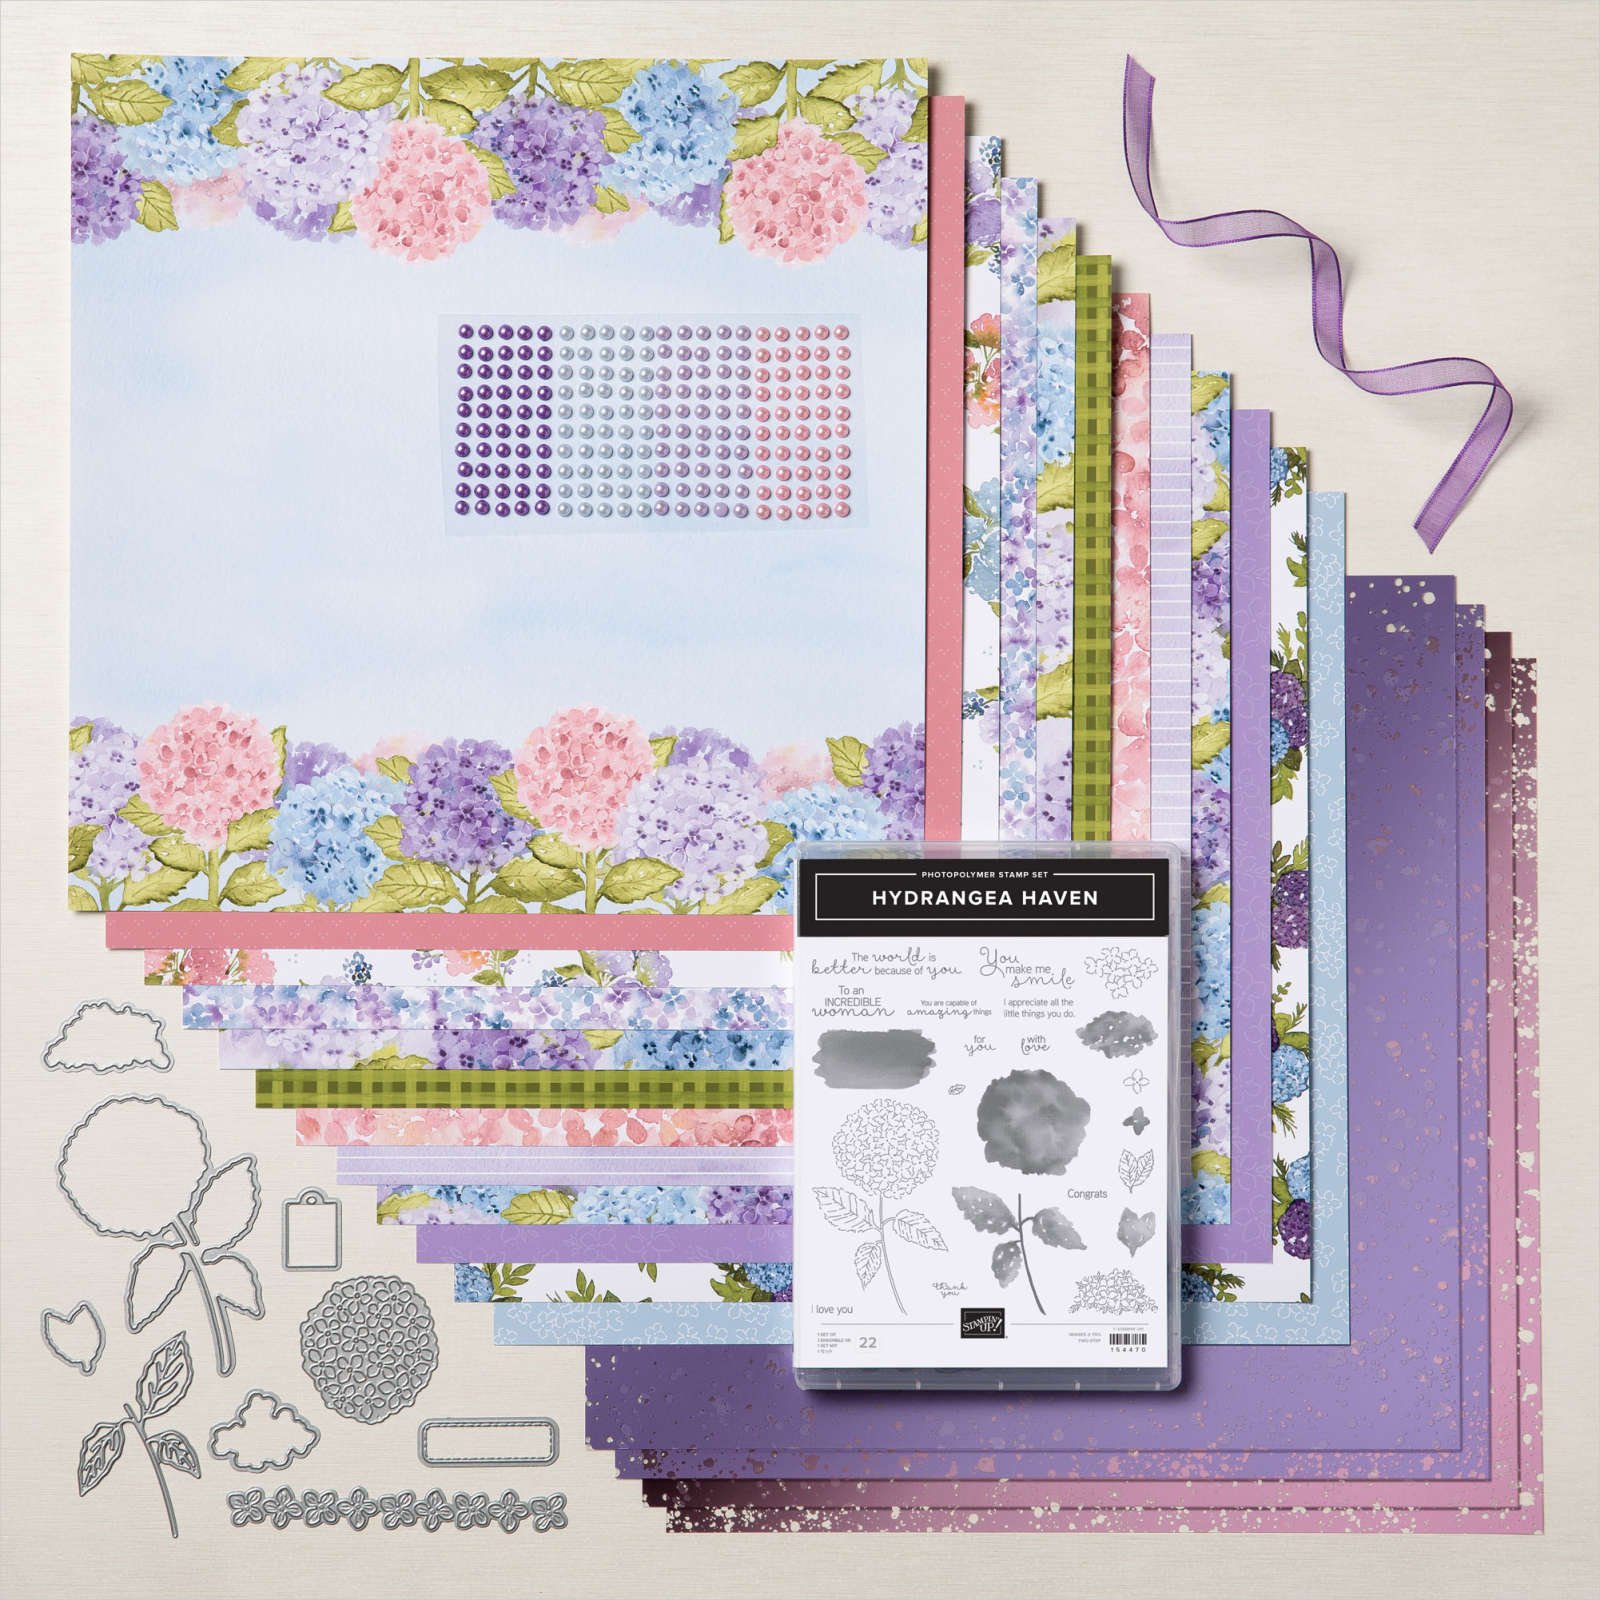
    All online orders receive both a Hydrangea Hill and Sand & Sea projects PDF!


    ~~~

    Get a package of 150 Resin Hearts from me with an online order over $50 using the host code above. They're adorable and so tiny!

    *If your order is over $150 do not use the code; you'll still receive a gift! 

    Below are the Multipurpose Glue stands we're making. They're $6 each and available in my Shop here.  

    Click here to follow me on Facebook! 

    Leave a Reply

    Your email address will not be published. Required fields are marked *

  • Seashells fun fold card; wow!


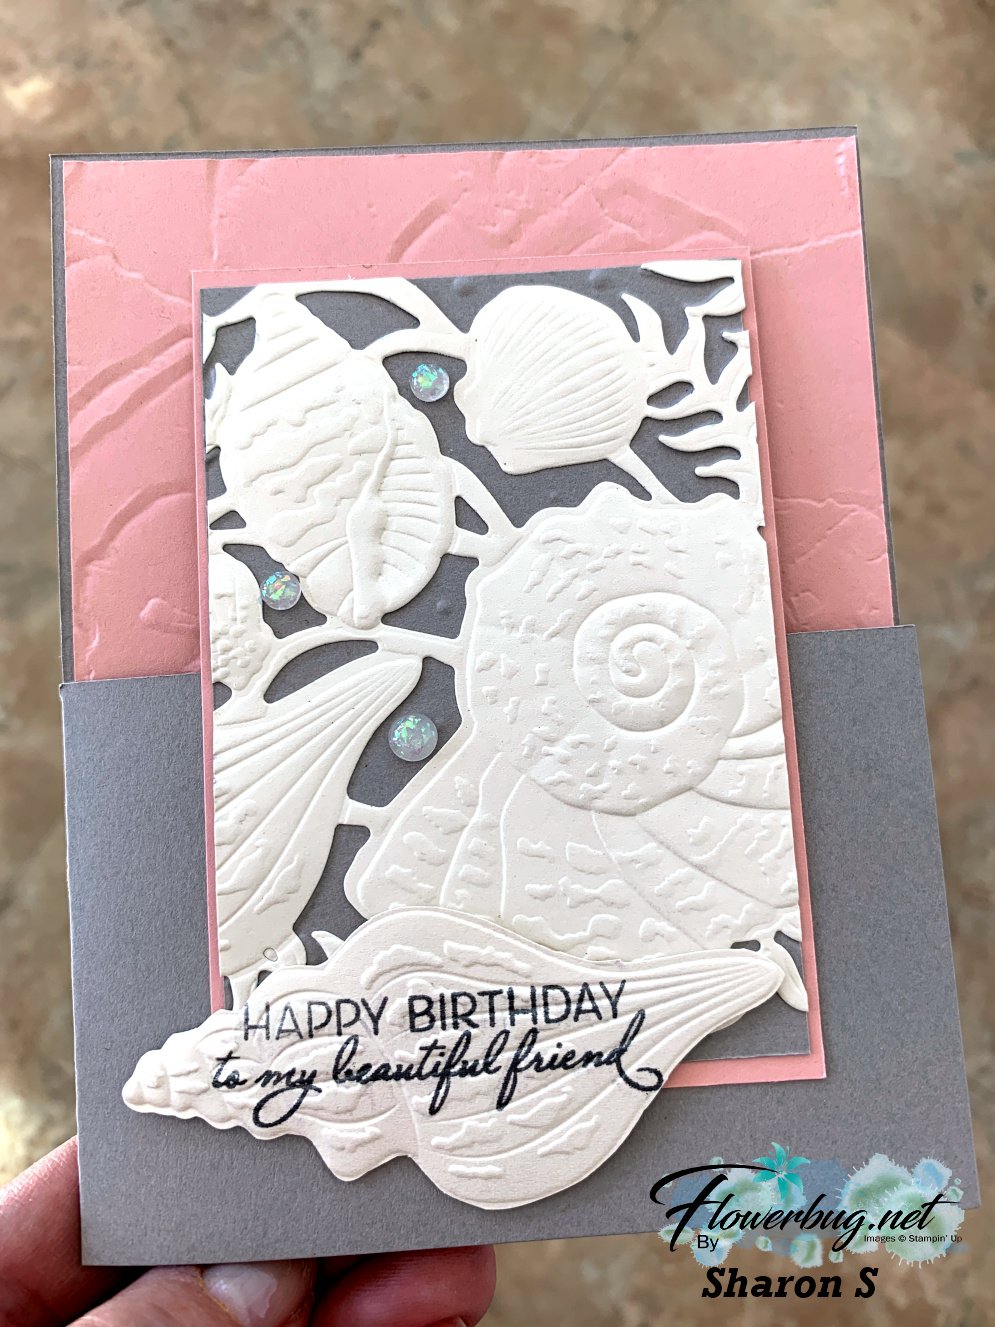
    Sharon created this gorgeous 'dutch door' fun-fold card for our February Team swap. 

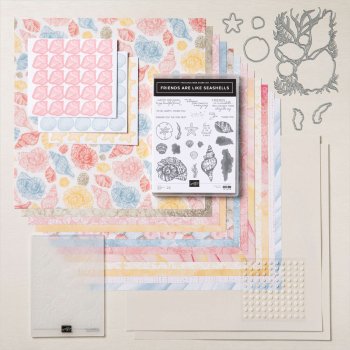
    I think stamping on the die-cut shell before embossing is the neatest idea!  She used the Friends are Like Seashells bundle with the Seashells 3D embossing folder. 

    Her colors are Blushing Bride with Gray Granite and our new Pearlescent Paper.  This specialty paper is absolutely stunning! See it here. 

    That great texture on the back layer is made with the Painted Texture embossing folder seen here. 

    Measurements: 

    • Gray Granite 8 1/2" X 5 1/4" and trim off 2 3/4" X 4 1/4" on the upper left front. Front is 4" X 2 3/4"
    • Pearlescent paper is also 4" X 2 3/4" 
    • Blushing Bride 4 1/8" X 5 3/8" inside, 2 7/8" X 4 1/8" front
    • Vanilla inside is 2 3/4" X 4" 

    *Remember that if you have a nice wish list February is a great time to whittle it down!  You can choose to order as a customer and earn free Sale-a-Bration items or get the Starter Kit option and get 25% off a $125 order.  And then get 20% off all further purchases! Details in this post or click here.

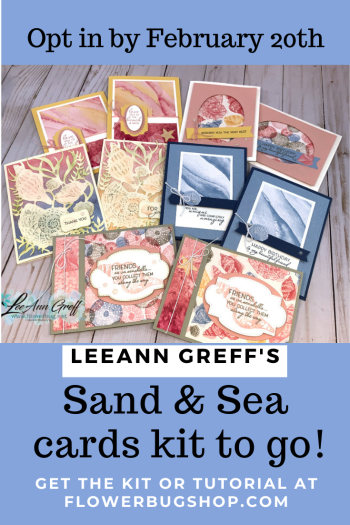
    Today's the last day to get in on my Sand & Sea cards kit to go.  Click here to get the kit or the tutorial. 


    ~~~

    February Specials:

    Get the best deal during Sale-a-Bration with purchase of the Starter Kit!   Get $125 in products of your choice for just $99 and FREE shipping too!  

    Plus you get 5 packs of NEW 6" Designer Paper FREE. 


    Go here to read about it

    ~~~

    Current Host code is CGSK9YDR

    Order online here

    All online orders receive both a Hydrangea Hill and Sand & Sea projects PDF!


    ~~~

    Get a package of 150 Resin Hearts from me with an online order over $50 using the host code above. They're adorable and so tiny!

    *If your order is over $150 do not use the code; you'll still receive a gift! 

    Below are the Multipurpose Glue stands we're making. They're $6 each and available in my Shop here.  

    Click here to follow me on Facebook! 

    Leave a Reply

    Your email address will not be published. Required fields are marked *

  • Playful & unique cards with Oh So Ombre’ Designer paper!

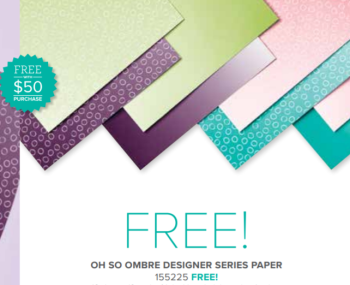
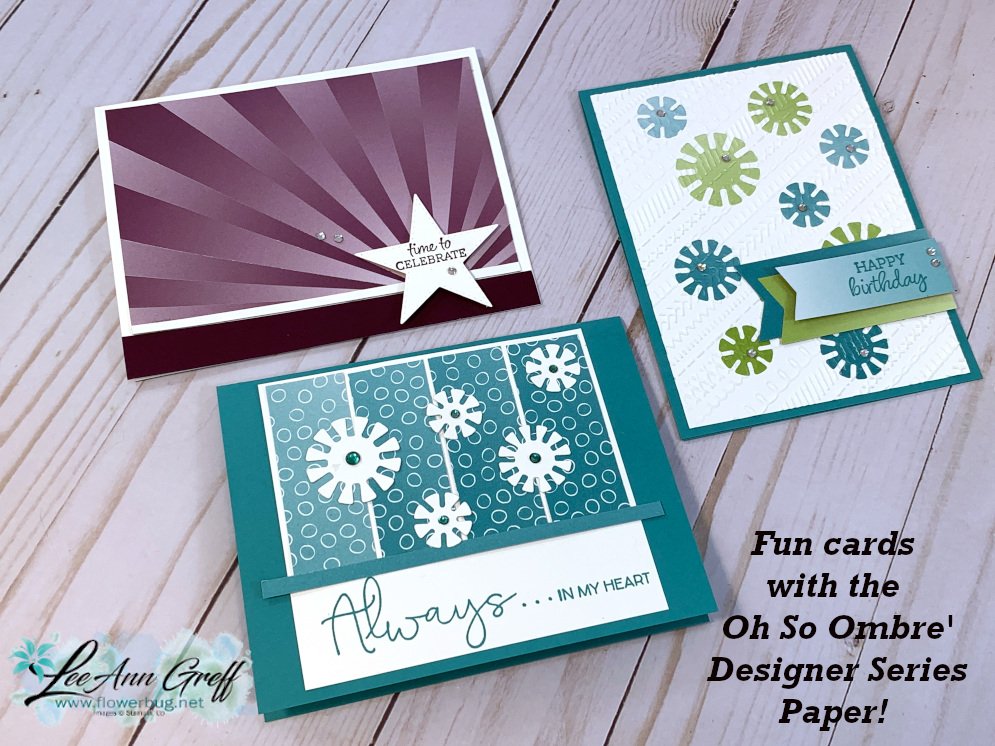
    Do you have the fabulous Oh So Ombre' Designer Series Paper yet?  If not here are three creative reasons you need it!
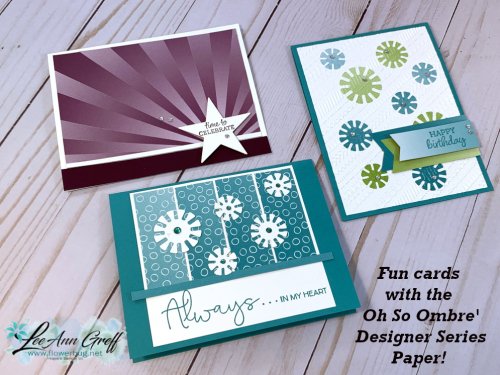
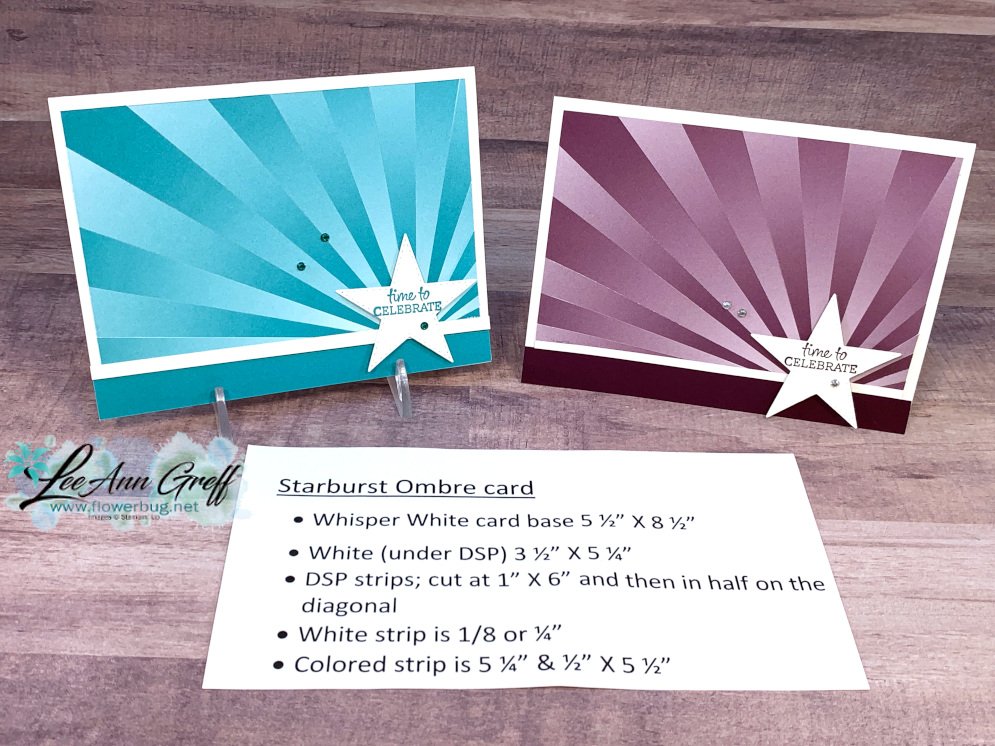
    Aren't they fun!  I really wanted to show you how amazing this designer paper is so I played and came up with these neat card ideas.  First is a starburst card in two colors; Bermuda Bay and Blackberry Bliss.  

    I used the fabulous Stitched Star dies and the Oval Occasions stamp set.  Watch the video below to see just how easy it is to make one of these gorgeous cards. 

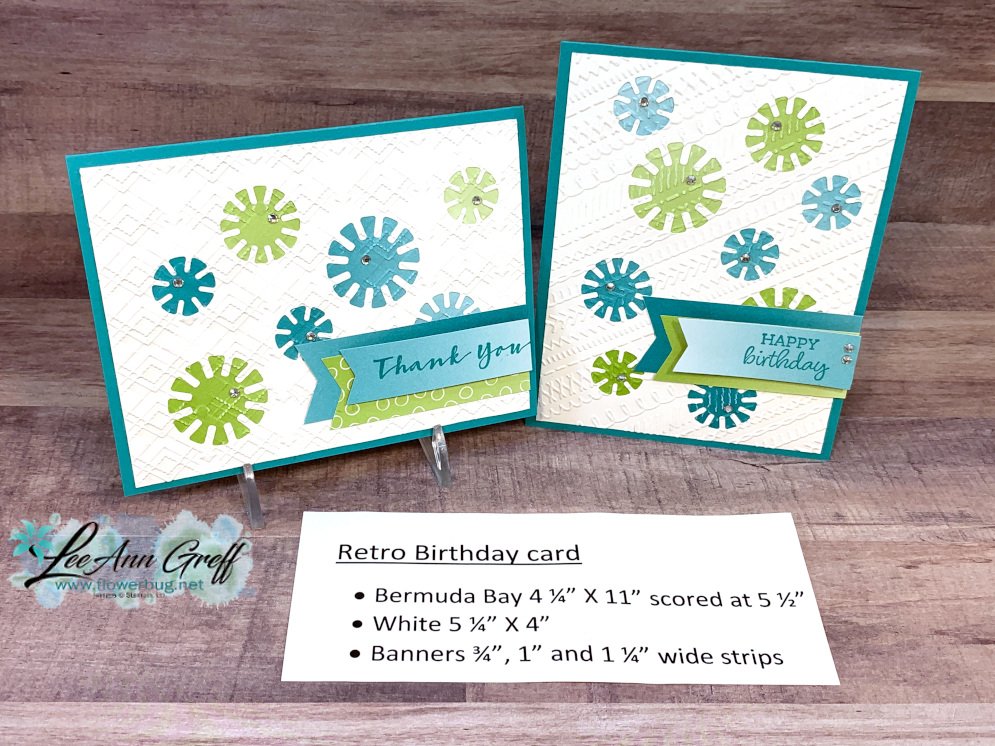
    Next I played with the Dandy Wishes dies (2021 Spring Catalog) to create these 'Retro' style cards.  I first die-cut a bunch of 'windows' in the White panel.  Then added punched circles of the Oh So Ombre DSP behind them.  Next I textured the entire thing with an embossing folder.  

    For the last card I wanted to use those retro style die-cuts so I created this Ombre panel card.  The stamp set is from Field of Flowers. 

    Thanks for stopping in today; I hope you like these unique cards.  If you do and want to get your own package of Oh So Ombre' Designer Paper you can get it free with a $50 purchase.  click here to order.


    Please follow me on my Facebook page here or my YouTube channel here.  

    ~~~

    February Specials:

    Get the best deal during Sale-a-Bration with purchase of the Starter Kit!   Get $125 in products of your choice for just $99 and FREE shipping too!  

    Plus you get 5 packs of NEW 6" Designer Paper FREE. 


    Go here to read about it

    ~~~

    Current Host code is CGSK9YDR

    Order online here

    All online orders receive both a Hydrangea Hill and Sand & Sea projects PDF!


    ~~~

    Get a package of 150 Resin Hearts from me with an online order over $50 using the host code above. They're adorable and so tiny!

    *If your order is over $150 do not use the code; you'll still receive a gift! 

    Below are the Multipurpose Glue stands we're making. They're $6 each and available in my Shop here.  

    Click here to follow me on Facebook! 

    Leave a Reply

    Your email address will not be published. Required fields are marked *


Notice: LeeAnn Greff, Independent Stampin’ Up! Demonstrator, Manager. The content of this website is my sole responsibility as an independent Stampin’ Up! demonstrator and the use of, and content of, the classes, services, or products offered on this website is not endorsed by Stampin’ Up! Copyright 2025