/


Latest Post

Gorgeous cards with my ‘5 at a time’ templates! Free project sheet, templates & video tutorial


I shared these beautiful cards on last week’s Live video. They were a big hit!

I love making cards with my 5 at a time templates. Making the most of my card stock gives me a great deal of satisfaction. I hope you’ll save these templates and use them in your own crafting.

Below is the template I stamped on; it’s slightly smaller than the one I used for layering. I often use this or the larger one for the neutral layers inside my cards.

Tip: I recommend making your first cut vertically at 4 3/4″. Then cut the left 3 pieces into 3 1/2″ layers. Once you cut all 5 pieces you’ll have one small piece left for a greeting or for punching.

Next is the template for layering the above ‘stamped’ pieces on. It’s just slightly larger – 1/8″ so it’s quite a narrow margin.

The above template has even less waste! It’s so nice to get 5 layered card pieces from 2 sheets of 8 1/2″ X 11″ card stock. Please save these templates!!

In the past when I made cards with these templates I stamped before cutting the 5 pieces apart. This was a bit tricky to stamp in the right place. This time I cut my pieces before I stamped on them. *Always start with your greetings!

As you can see I made sure I stamped three pieces landscape and two vertical. This isn’t necessary but it does change your cards up a bit.

I used Cherry Cobbler, Timid Tiger; and Pretty Peacock here. I like adding Pretty Peacock and Cherry Cobbler to my fall cards. The stamp set is called Gathering Moments seen here.

Tip on stamping – always stamp the greeting image first. Then start with the largest image and work your way down to the smallest to fill in any gaps. It’s okay to overlap your images.

As you can see I blended a light wash of Timid Tiger over the stamped leaves. This softens the appearance and truly enhances your stamping.

Here you can see the stamped pieces added to the larger layers from the 2nd template above.

These were made simply with no punches or die-cuts. Sometimes it’s fun to just stamp and create. You can easily add the greetings on another layer (punches or die-cuts) to add more dimension.

I’ll share my second set of cards using this template later this week. And I’ll also show the fabulous card box I made to gift them in!

See how pretty they are once they’re added to the card bases and gems and twine have been added.

I created a free project sheet that includes directions, photos, templates and supplies. Click here to download or print it. Please save this one!!

Below is the video tutorial. Please subscribe to my YouTube Channel while you’re there.

~~~

  To see all of the new Online items click here.  Or download & save the Download Online Exclusives flyer 

Get a free project tutorial with any online order in September! 
All Posts

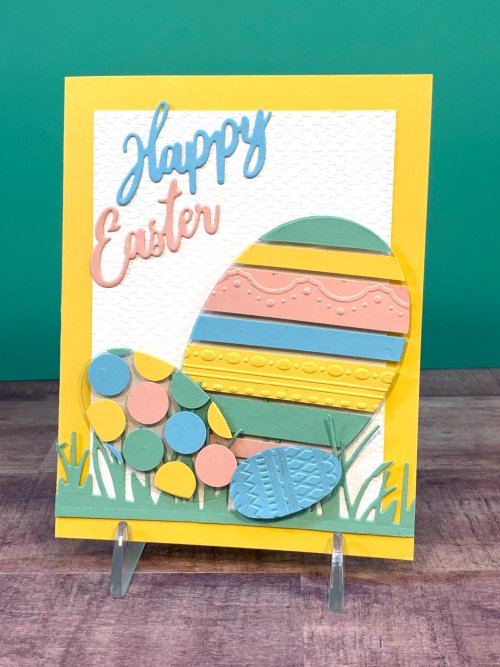
  • Happy Easter with a Floating Die-cuts Technique card


    Our family gathers together for Easter most of the time; when we can that is. 

    We do jelly bean hunts with our granddaughter inside and an Easter Egg hunt outside weather permitting.  What are your traditions for Easter?   

    I shared this card on last week's Facebook Live when I did Paper Strips Techniques. You can see it here.  

    On this card I adhered strips or punched circles to our Acetate and then used the Oval Dies to cut them out.  I had to run it through multiple times as our acetate is very thick. But it die work!  

    Other products used here:

    ~~~

    April Specials!

    Annual Catalog Retiring List; many discounted items while supplies last! 

    Current Host code is PX6ZWGM7

    Order online here

    ~~~

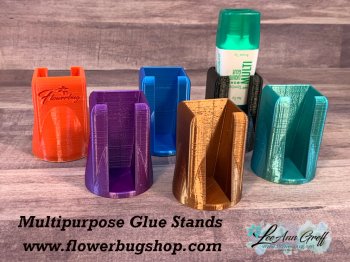
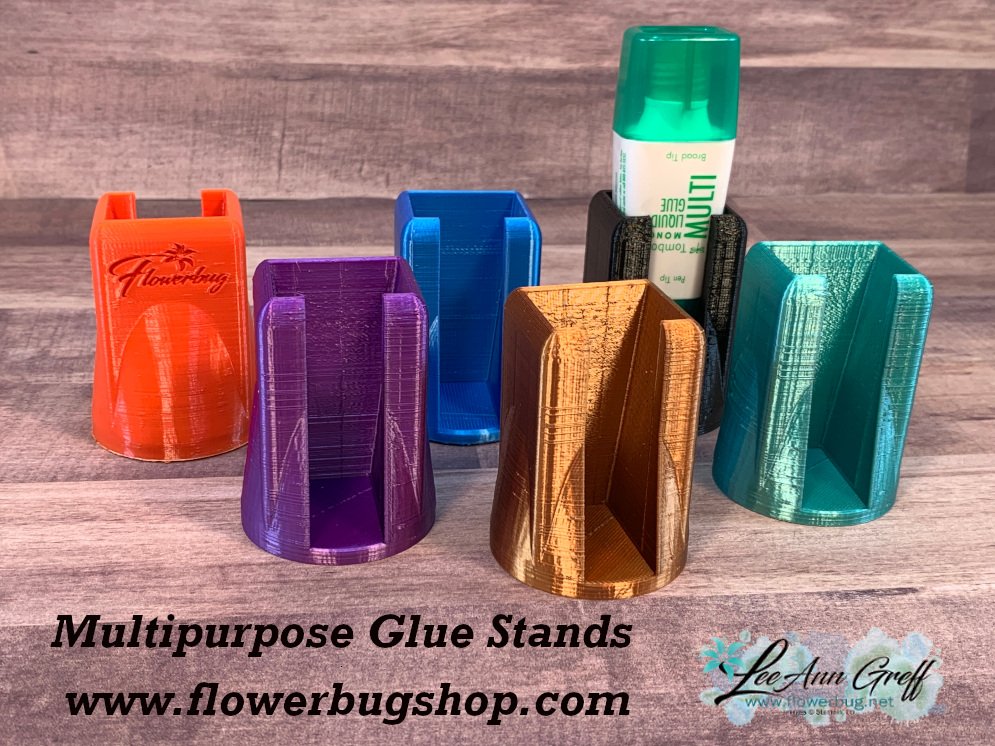
    Get a free multipurpose glue stand with an online order over $60 using the host code above. You'll receive a color of my choice unless you let me know your preference. *if you'd rather have gems; let me know.

    *If your order is over $150 do not use the code; you'll still receive a gift! 

    You can also order them in my Shop here. 

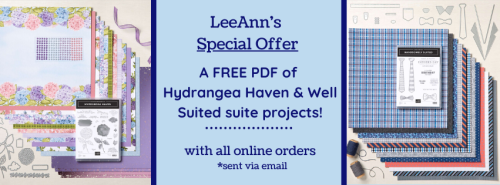
    All online orders will receive a free 14 project PDF tutorial

    Leave a Reply

    Your email address will not be published. Required fields are marked *

  • A beautiful scene with the ‘Here’s to You’ kit; a Paper Pumpkin alternate idea


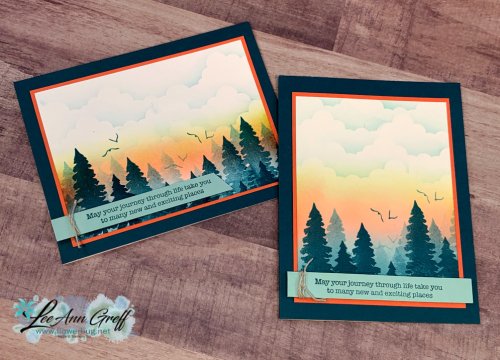
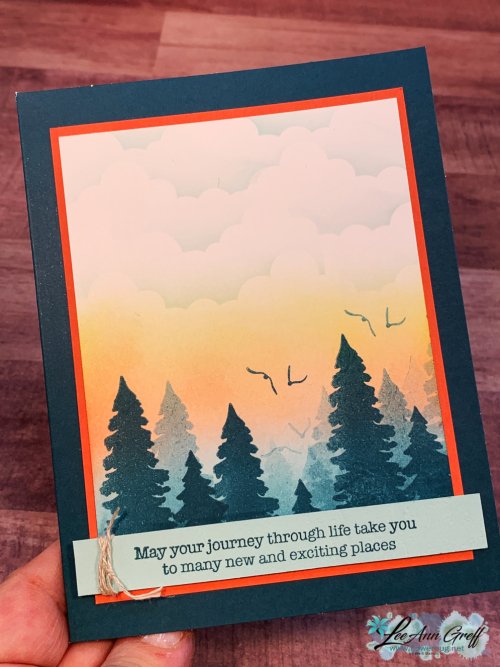
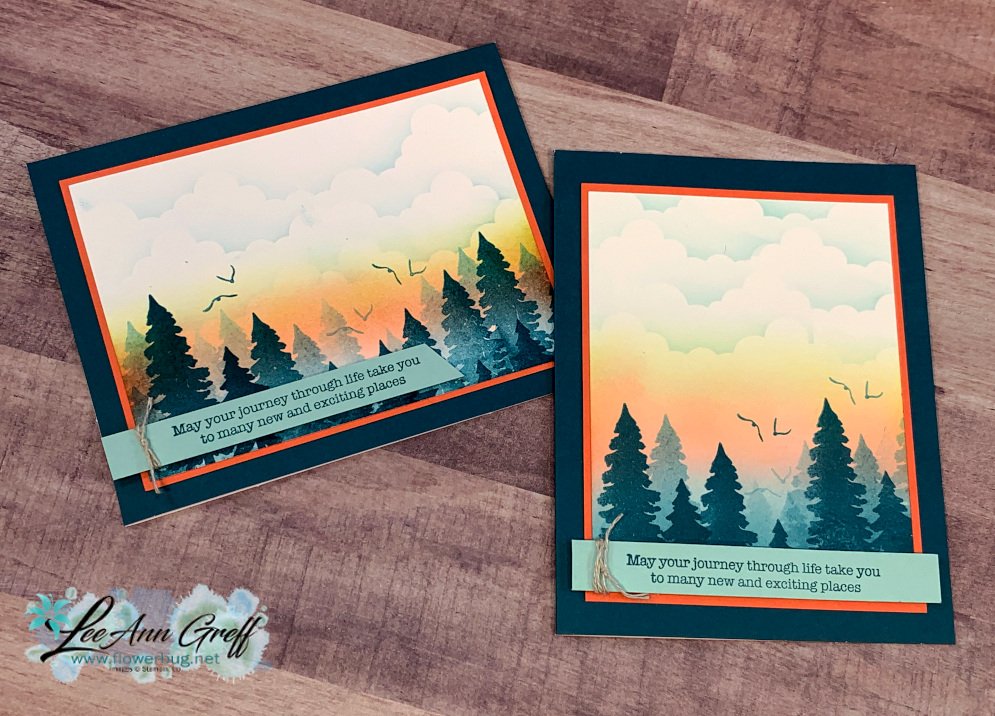
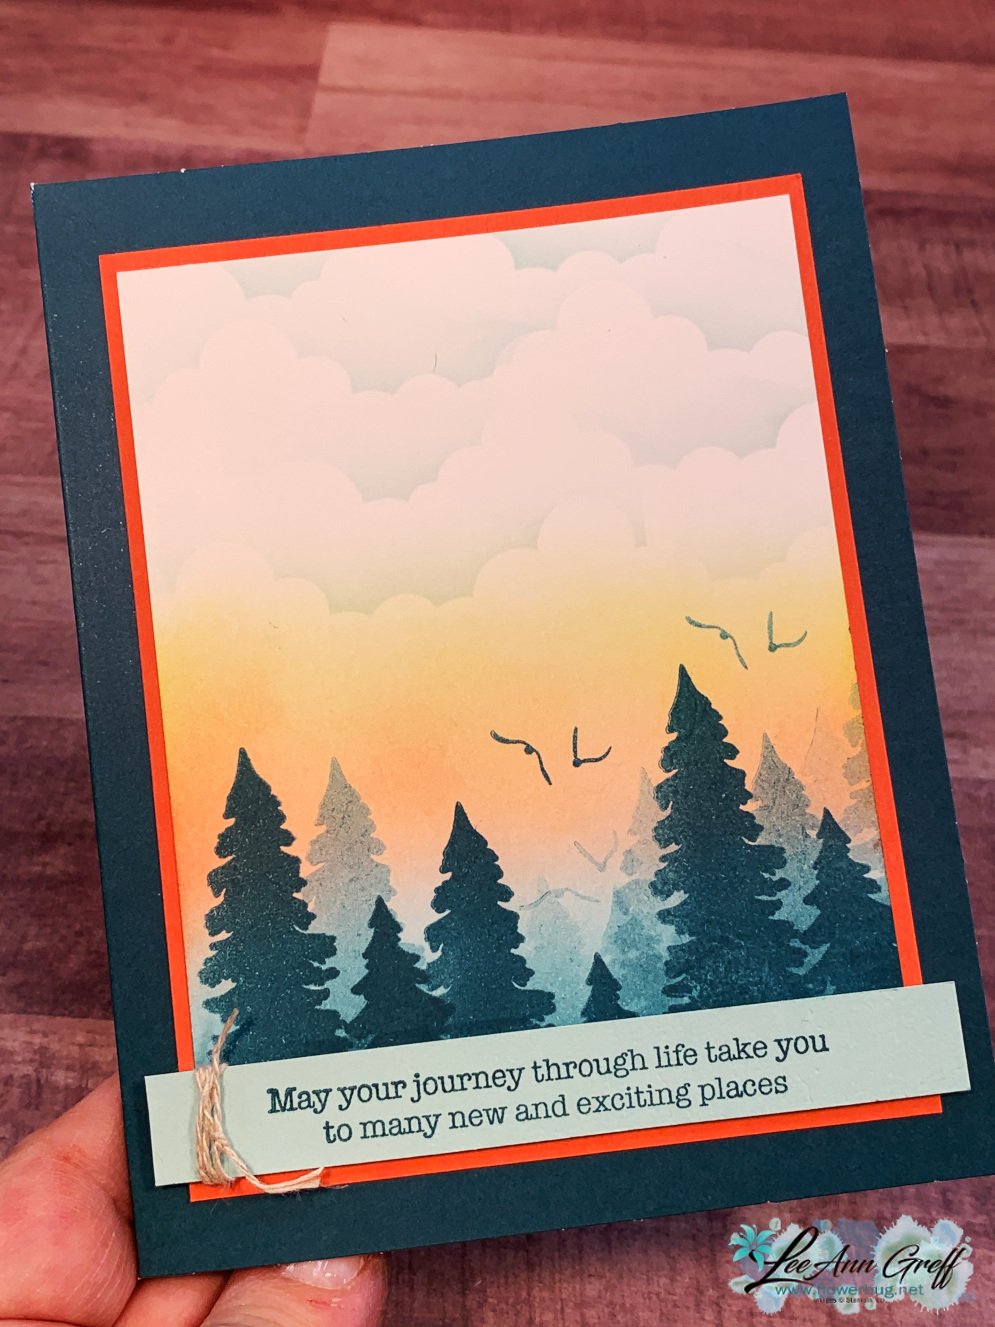
    The March Paper Pumpkin kit included stencils and a sponge in the kit so I had to play with creating a scene.  It's one of my favorite techniques! 

    One of the stencils has clouds in it.  I used Pool Party ink and lightly sponged on the upper part of my White CS. 

    Then I sponged Daffodil Delight and Calypso Coral ink about an inch and a half from the bottom edge.  Now I stamped the trees image in the kit with Pretty Peacock ink.  I did not reink the stamp each time so as I stamped repeatedly I achieved the appearance of a distant forest. Love this!!  

    The birds and greeting images also came in this kit.  

    Are you a Paper Pumpkin subscriber?  If not you can be!  Sign up to achieve them every month here.  

    Or choose a pre-paid option here.  

    Did you know that you can pick & choose your kits?  Subscribers receive an email BEFORE the kits is mailed giving you a chance to opt out if the kit doesn't appeal to you.  Or you can add on to receive a second kit.  You're in charge! 

    The April kit is called 'So Cool' with a 'treats' theme. Opt in to get it by April 10th! 

    • The So Cool Paper Pumpkin Kit is a little taste of summer fun, with enough supplies to make 12 colorful, shaped cards with coordinating envelopes. Six card bases are popsicle shaped, the other six are semicircles: three watermelons and three rainbows. All of the cards are splashed with cheerful, vivid watercolor images. The kit also includes two full-size, matching sticker sheets, die-cut accents, fun embellishments, and more.
    • Even though the So Cool Kit was designed with kids in mind, these fun-shaped cards, featuring vivid watercolors, are versatile enough to gift to kids of all ages—the young in years and the young at heart. They’re a great way to send some “sunshine in a card!” Who wouldn’t love that?
    • The kit’s exclusive So Cool Stamp Set is versatile, offering sentiments that can be used for multiple occasions such as birthdays, congrats, cheer, and more! It’s a great addition to any crafter’s collection.

    ~~~

    April Specials!

    Annual Catalog Retiring List; many discounted items while supplies last! 

    Get a free multipurpose glue stand with an online order over $60 using the host code above. You'll receive a color of my choice unless you let me know your preference. *or choose the Artistry Blooms sequins

    *If your order is over $150 do not use the code; you'll still receive a gift! 

    You can also order them in my Shop here. 

    All online orders will receive a free 14 project PDF tutorial


    Leave a Reply

    Your email address will not be published. Required fields are marked *

  • Snailed It; fun, colorful & adorable


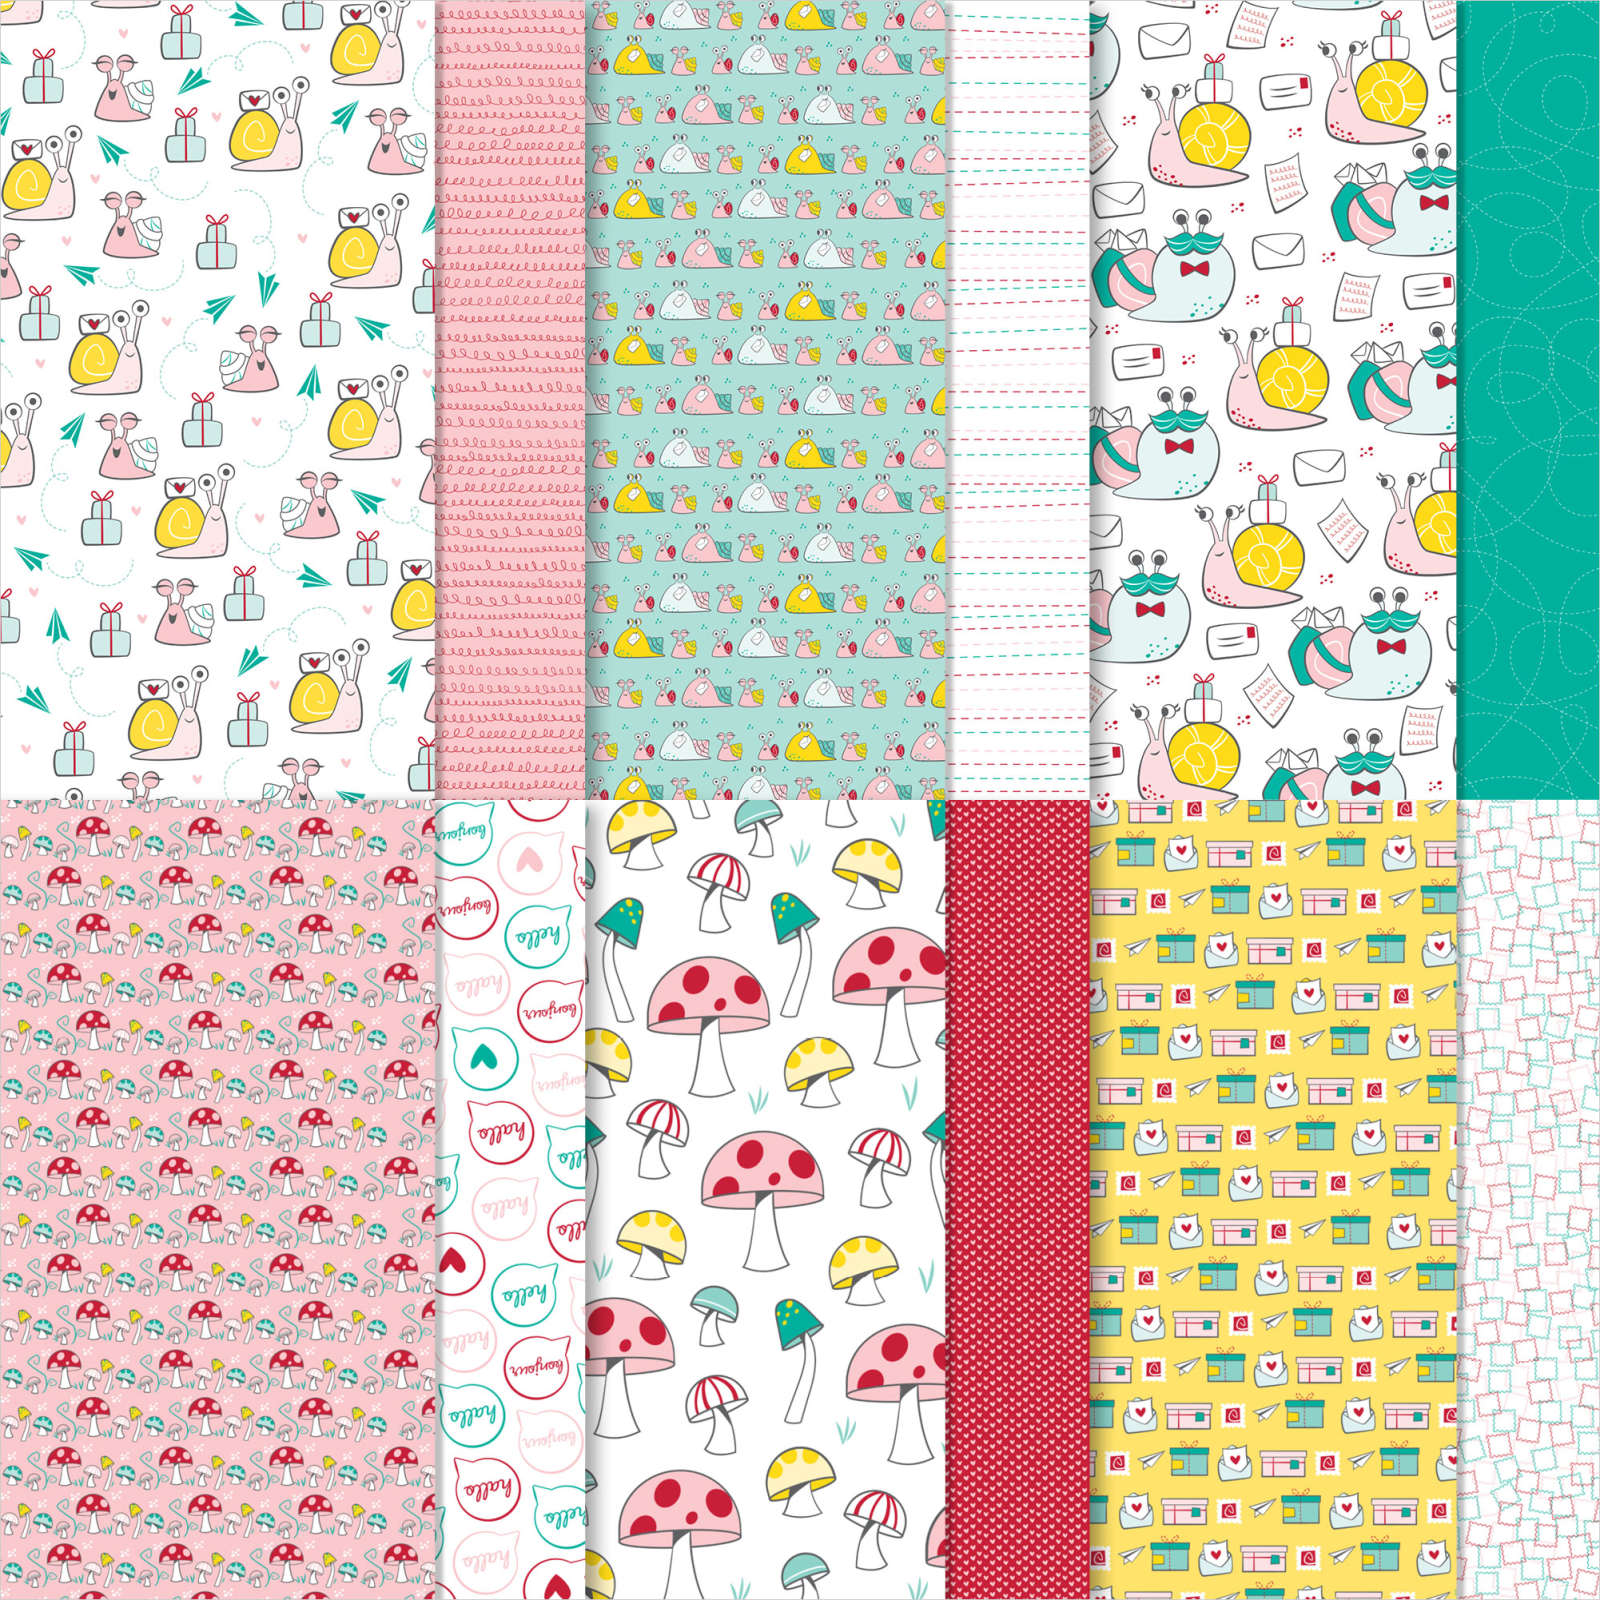
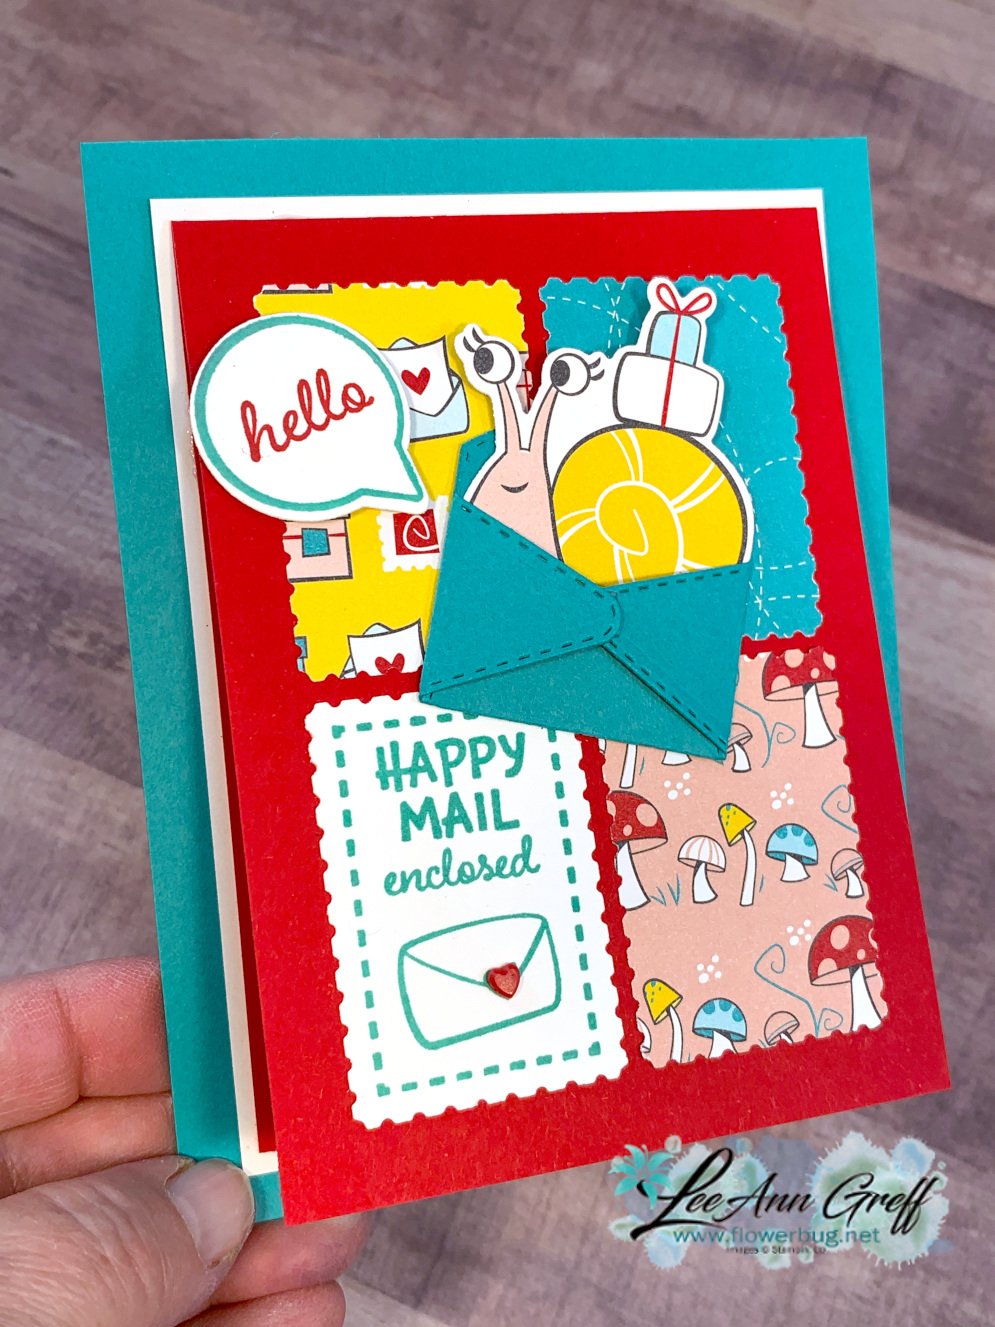
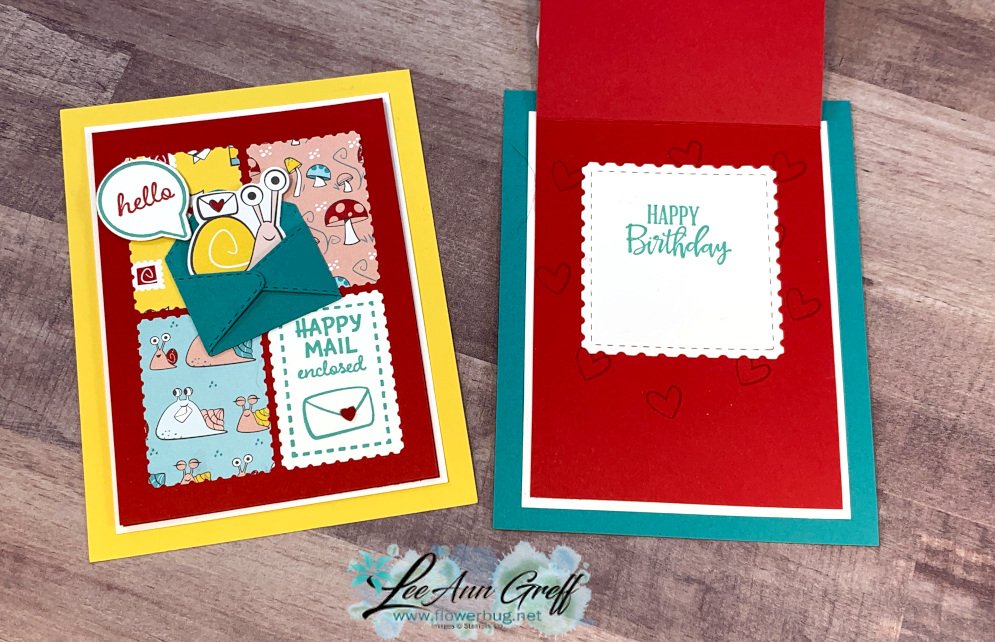
    This is another card we made at my March Card Clubs.  I featured the Snailed It Bundle seen here.  

    This cute designer paper is retiring and not returning in the new Annual Catalog in May. It is full of bright colors and adorable patterns.   I used the Rectangular Postage Stamp Punch seen here. 

    That cute envelope comes in the set of Snail dies. And quite a few of these dies coordinate with the Snail Mail designer paper too! 

    Measurements:

    • Card base (Daffodil or Bermuda Bay) 5 1/2" X 4 1/4"
      Real Red 3 1/2" X 10 1/2" scored at 4 3/4"
      Whisper White 3 3/4" X 5"
      Scraps of Snail Mail DSP and White for punches & die-cuts 
      Bermuda Bay scrap for die-cut envelope

    Here's the video; watch to catch the many tips and tricks on this card. 

    ~~~

    March Specials!

    Annual Catalog Retiring List; many discounted items while supplies last! 

    Current Host code is PX6ZWGM7

    Order online here

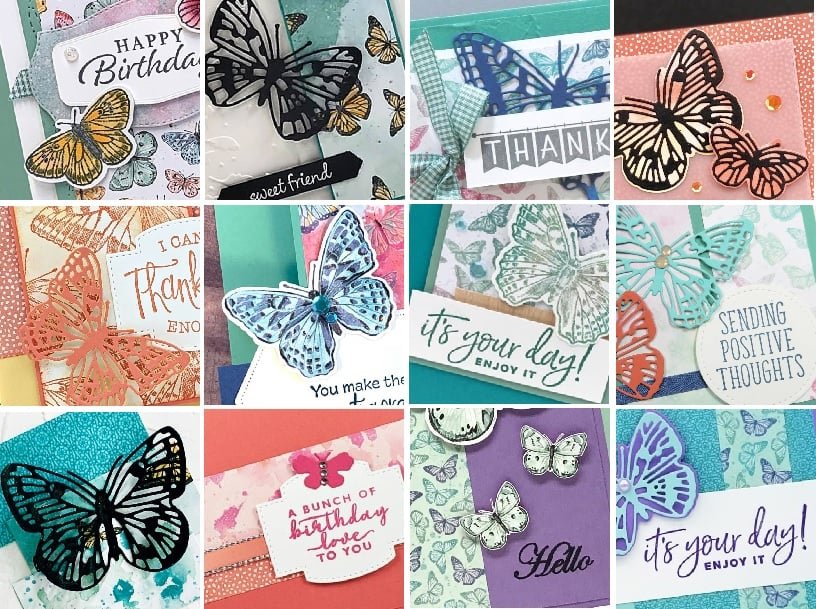
    All online orders receive a free PDF of the new Butterfly Bouquet bundle

    with 15 projects!


    ~~~

    Get a free adhesive package from me with an online order over $50 using the host code above. 3 sheets of Dimensionals and 1 for die-cuts!

    *If your order is over $150 do not use the code; you'll still receive a gift! 

    Below are the Multipurpose Glue stands we're making. They're $6 each and available in my Shop here.  

    Leave a Reply

    Your email address will not be published. Required fields are marked *


Notice: LeeAnn Greff, Independent Stampin’ Up! Demonstrator, Manager. The content of this website is my sole responsibility as an independent Stampin’ Up! demonstrator and the use of, and content of, the classes, services, or products offered on this website is not endorsed by Stampin’ Up! Copyright 2025