/


Latest Post

Free Shipping; today only!! Plus a Gorgeous card with a unique medallion


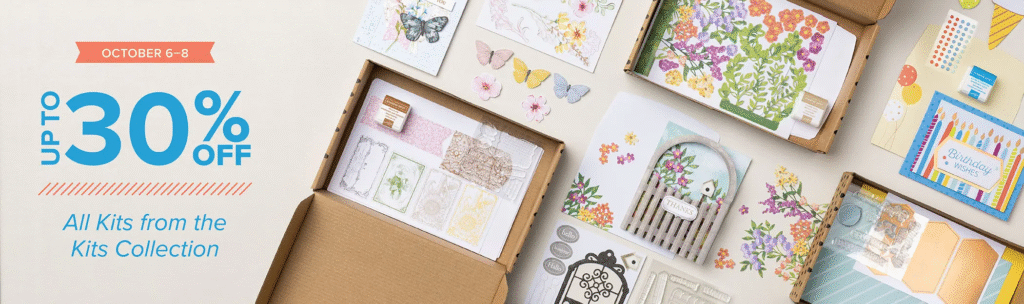
Before I share these projects I have to tell you that today, December 8th, is a FREE SHIPPING day!

All orders over $50 ship free! 

It's a great time to get those last items on your wish list and save $$!  

Use either host code below to get a free gift from me (details below). 

Z2RQ7BB6 or 6YCWV7QN

 *click here to order 

~~~

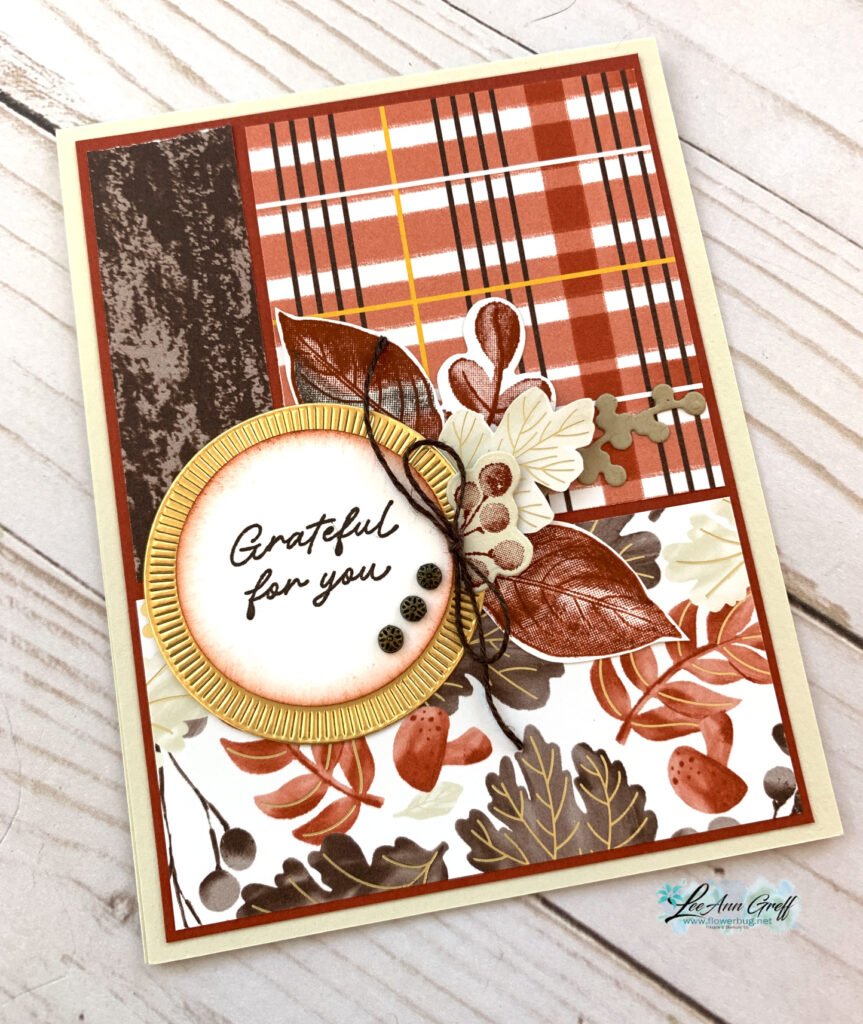
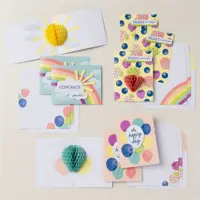
My team member Bobby sent me this amazing card last week.  I was seriously blown away!  She is super talented!!

She used the Sunflower dies to create a medallion for the main greeting.  I never knew it would double as a medallion; I love it so much!

Her background is created by adhering strips of the Ever Eden specialty designer paper (seen here) to a 4" X 5 1/4" piece of Evening Evergreen card stock.  This paper will be discontinued in early January; it's available only while supplies last. Notice the pretty gems; these are called Garden gems and can be seen here.  I'm surprised they're not sold out; they are gorgeous and a terrific value. They are also while supplies last. 

She die-cut two 'sunflowers' from Gold foil & Evening Evergreen card stock and adhered them together, offsetting them a bit. She used the Celebrate Sunflowers stamp set for the main greeting, embossed in Gold embossing powder. 

~~~

Why did she send me a Congratulations card?  Well I had a wonderful year as a Stampin' Up! Demonstrator!  I achieved top levels for Leadership, Team Building and Sales!  I'm most excited to achieve #29 overall in the United States.  Woo hoo!!!

Thank you all for your support & encouragement.  Whether you've watched videos, ordered from me, are a Flowerbug Team Member, or follow my FB page or blog I appreciate YOU so much!  This hobby turned business has enriched mine and my families lives. I truly love what I do and YOU are the reason!  

~~~

December Specials:

Host code: Z2RQ7BB6 or 6YCWV7QN

 *click here to order 

Use the host code above & get a free card stock sampler ring with a $50 order in December! 

See the last chance list here

See the July-December catalog carry over list here

All Posts

  • WOW! Check out this Beautiful Butterflies stained glass technique


    I was amazed by Candy's card swap this month!  Look at this beauty!!


    It's called the Stained Glass technique and she made it for our July Team swap featuring Window Sheets.  

    Her colors include Pretty Peacock with Highland Heather. The bundle is called Beautiful Butterflies and can be seen here. 

    Steps:

    • She stamped the butterfly image on a window sheet using Black Stazon ink. 
    • Turn it over and color with Blends markers. 
    • Add adhesive sheet to the Blends side. Press onto slightly crinkled aluminum foil. 
    • Adhere to a second butterfly stamped on White CS for support and to cover the foil. 
    • Fussy cut; add to card. 

    Other products used here:

    Measurements:

    • Card base 11" X 4 1/4" score at 4 1/4" & 5 1/2"
    • Highland Heather 4" square
    • DSP strip 1 1/8" X 4"
    • inside 4" square

    Thank you for creating your incredible swap card Candy!  Great job!!

    ~~~

    July Specials:


    New Online Exclusives are here!  Click here

    ~~~

    Get my Turtle-y Cute PDF tutorial free with any online order in July!

    Leave a Reply

    Your email address will not be published. Required fields are marked *

  • Wow; Mixed Florals Reverse Image Technique with window sheets!


    I'm continuing to share our July team swaps featuring window sheets. 

    Look at the stunning card made by Paula. For her card swap she made a Reverse Image technique cased from Kylie Bertucci.  

    The stamp & die bundle is called Mixed Florals and can be seen here.

    She used Crushed Curry for her card base and Floral Impressions designer paper.  I'm so impressed by her gorgeous coloring with the Blends markers!  What pretty shading she achieved! 

    Below you can see how she also colored the reverse side so when you flipped up the card front it's just as pretty on the inside!  So neat.  I also love the diagonal slant on the front. 

    The card opens to reveal 3 layers!  

    Measurements:

    • Crushed Curry card base- 1 at 4 1/4" X 11" scored at 5 1/2", another at 7 1/4" X 4 1/4" scored at 5 1/2" (cut on the diagonal) and two extra slat pieces to cover both front & inside of the card. 
    • DSP – 4" X 5 1/4" X 3 pieces
    • White inside 3 1/2" X 4 3/4"; plus die-cuts 


    Thanks so much for your creative & beautiful card Paula! 

    ~~~

    July Specials:


    New Online Exclusives are here!  Click here

    ~~~

    Get my Turtle-y Cute PDF tutorial free with any online order in July!

    Leave a Reply

    Your email address will not be published. Required fields are marked *

  • Free Shipping starts today! Get an extra $10 in rewards with me. Adorable Tractor & Co card


    Today starts the Free Shipping promotion that lasts for 3 days! And I'm adding on to your rewards too!

    When you order $75 in product from me you'll receive an extra bonus of $10 in product rewards. Here's how it works:

    • Once your order reaches the $75 mark (before tax) the free shipping will kick in. 
    • You'll automatically receive 10% product rewards from Stampin' Up! 
    • I'll gift you an extra $10 in rewards to your online account.  *you must opt in for both contact and gift rewards though.  
    • You'll have up to a year to redeem these rewards. 
    • You'll also receive a gift of a DSP sampler from me as well (see details below). 

    Shop online here. 

    ~~~

    Look at this super cute tractor card Candace made!  This bundle has some amazing pieces in it.  

    This new Tractor & Co bundle is from our Online store and can be found here.  

    Here's the inside view where you can see how she trimmed a portion of her card front away to create the window effect. *She'd normally stamp or add to the inside but she had to rush to get them mailed out in time.  

    Measurements:

    • White card base 11" X 4 1/4" score at 5 1/2". Trim away 1 3/8" from the center 
    • Navy layers – top is 5 1/4" X 1 3/8", lower is 5 1/4" X 1 1/4"
    • White torn edge 5" X 1"
    • scraps for tractor & tree die-cuts

    Her colors & sponging are amazing as usual.  She used Silver foil for her tire rims and clear rhinestones for the starry sky.  

    ~~~

    July Specials:


    New Online Exclusives are here!  Click here

    ~~~

    Get my Turtle-y Cute PDF tutorial free with any online order in July!

    Leave a Reply

    Your email address will not be published. Required fields are marked *


Notice: LeeAnn Greff, Independent Stampin’ Up! Demonstrator, Manager. The content of this website is my sole responsibility as an independent Stampin’ Up! demonstrator and the use of, and content of, the classes, services, or products offered on this website is not endorsed by Stampin’ Up! Copyright 2025