/


Latest Post

BEST DEAL!! Get the Stampin’ Cut & Emboss machine at almost half price!


Have you been wanting the new Cut & Emboss machine but didn't want to pay $120 for it? 

Well I have the answer!  

During November you can add it to your Starter kit and pay just $75 instead of $120!  Or choose anything you want up to $125 and pay just $75 plus FREE SHIPPING! 

*There are just a few days left on this deal.  Go here to get it. 

People love how smooth this machine is; it's so well made and I really like that the ends fold up for storage or travel.  *See it here online. 

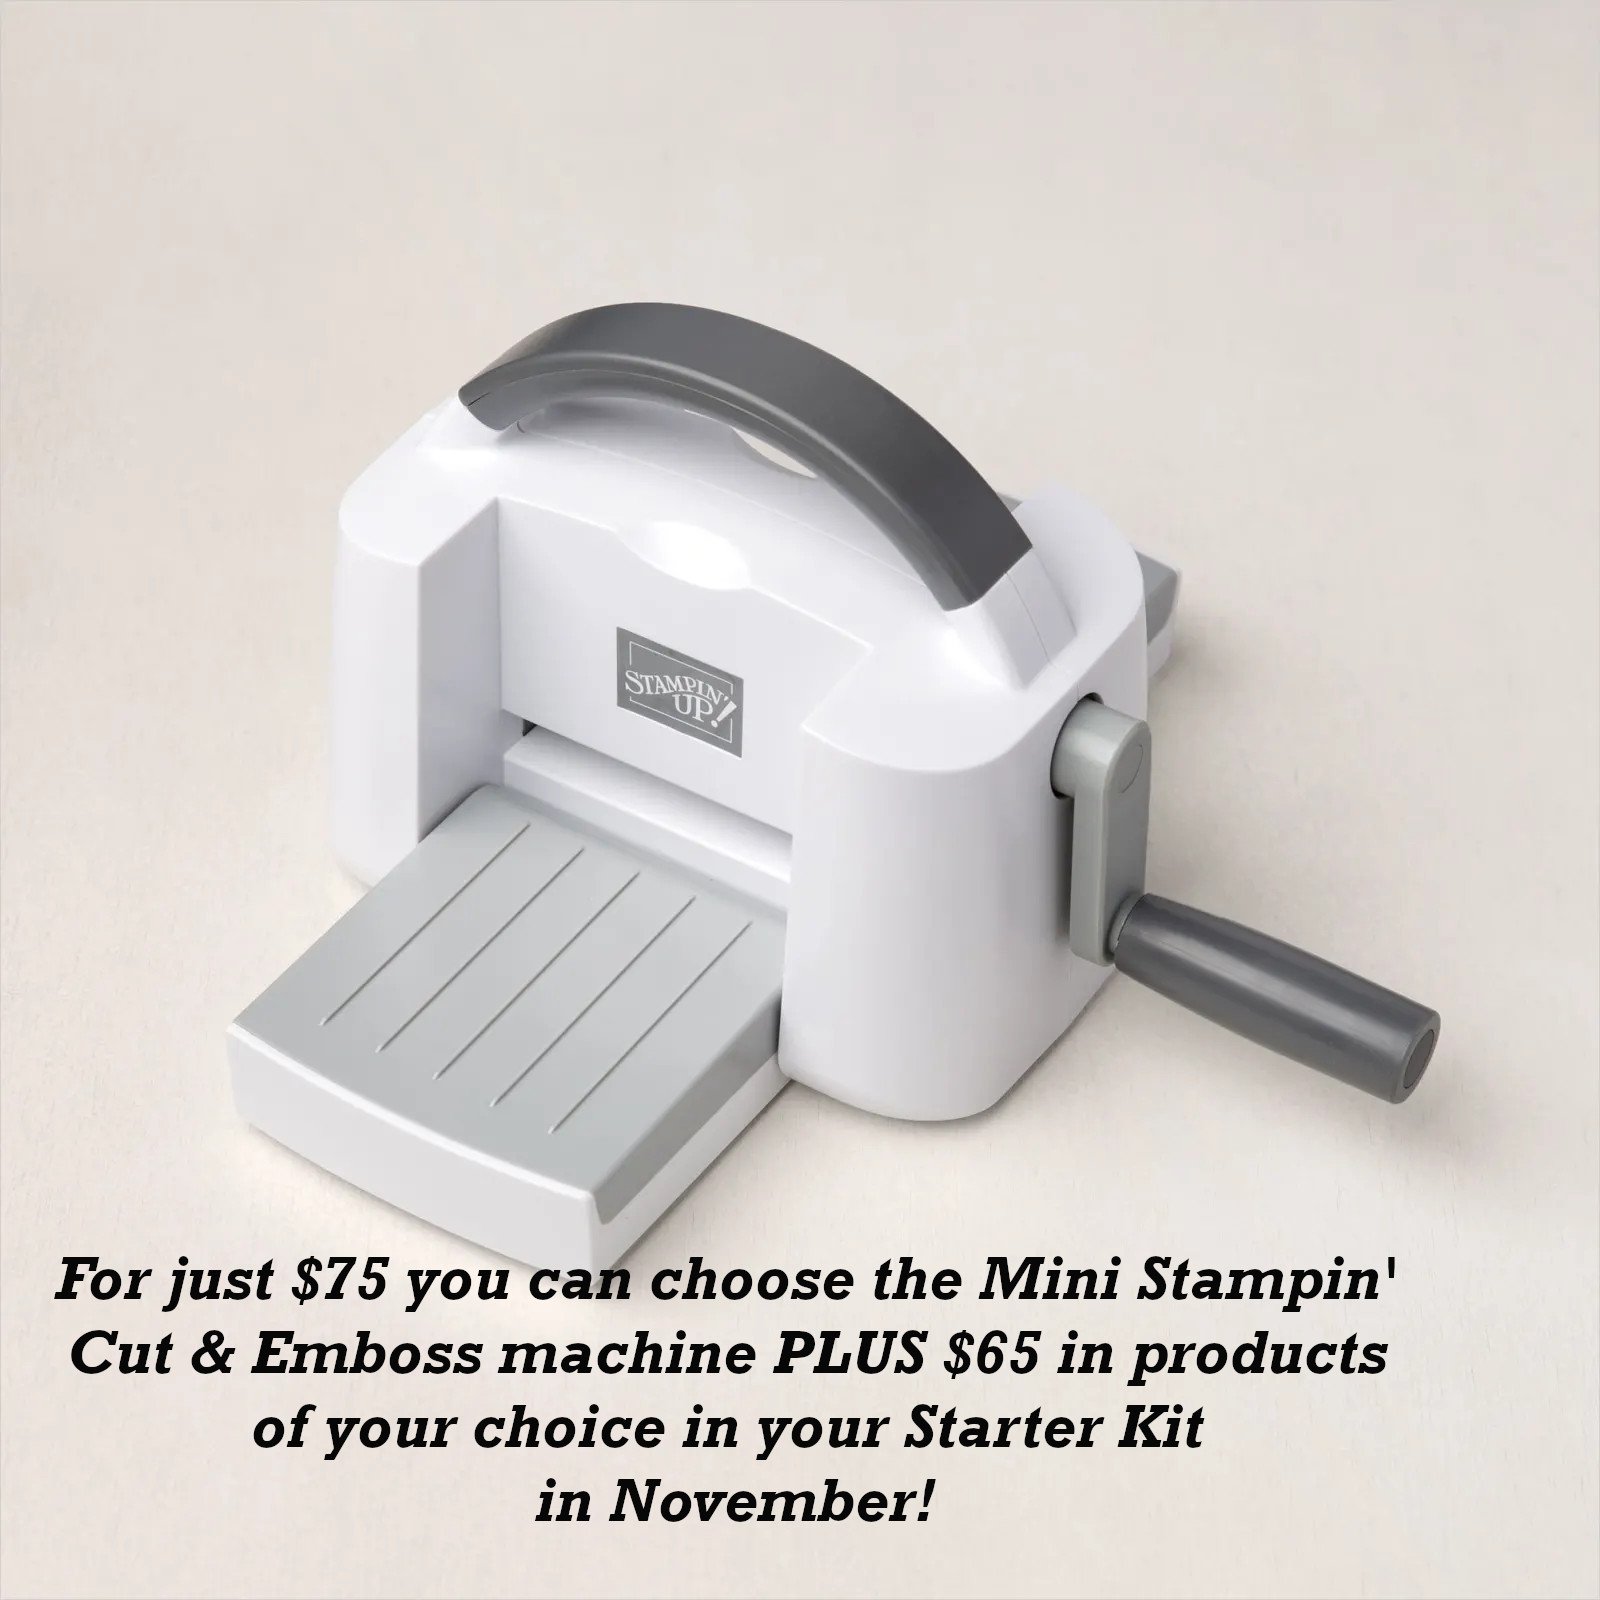
Or maybe you've been eyeing the Mini Cut & Emboss machine….?  It's a smaller version; nice & compact to fit on your work surface.  It has a $60 value and if you add this to your Starter kit you can add another $65 in product and pay just $75!  Crazy!

And did you know you get free shipping as well?  That's another $12.50 saved. *See the Mini here.
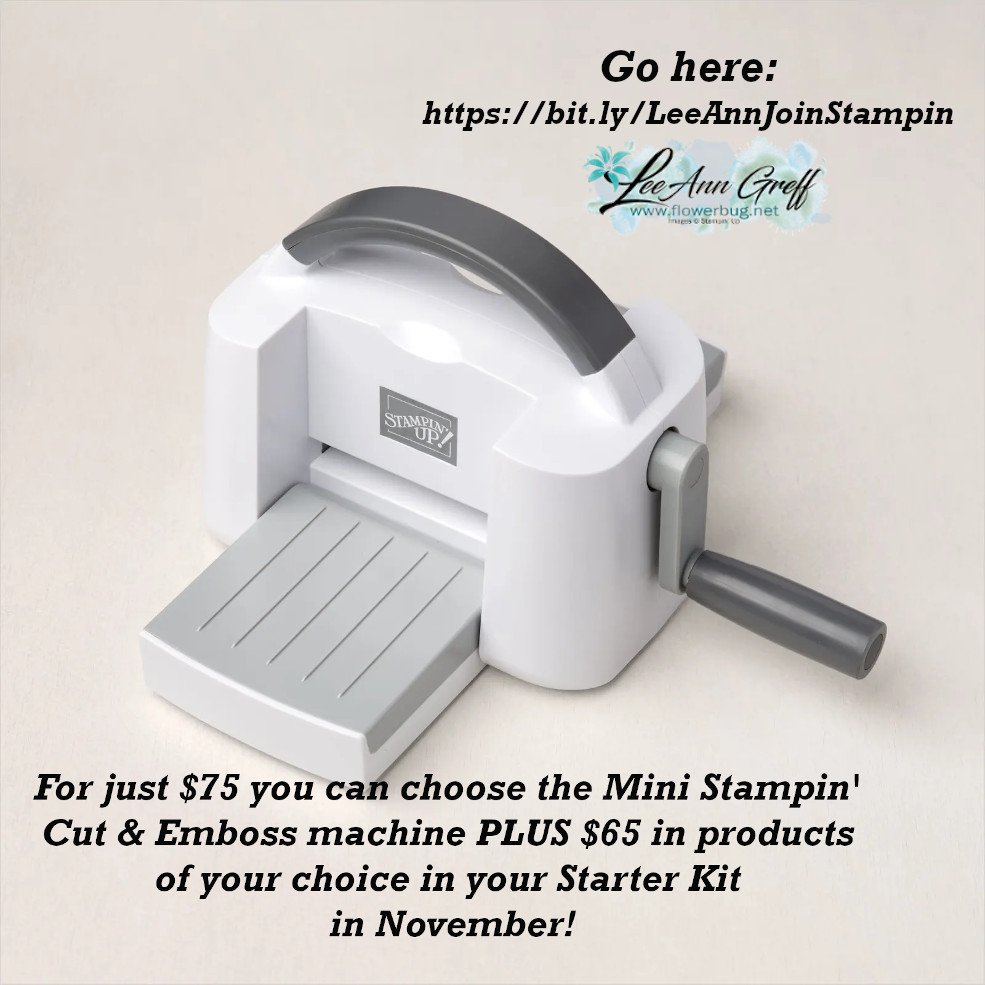

Go here to get your Starter Kit; this fabulous deal ends November 30th!

I'd love to have you on my Team!  

Our Flowerbugs group is super active.  We have all kinds of options for every type of stamper.  You can join in as much as you want to or just enjoy the sharing & camaraderie. We have prizes, swaps, sharing, featured stampers, videos, free tutorials galore & more.  They all say they love being a Flowerbug! 

~~~

Here are two more cards made by my talented Flowerbugs! Both used the Expressions in Ink suite. 

Candace made this first one using a nice piece of the beautiful Expressions in Ink specialty DSP.  She stamped her greeting and leaves directly onto the DSP using Evening Evergreen ink.  
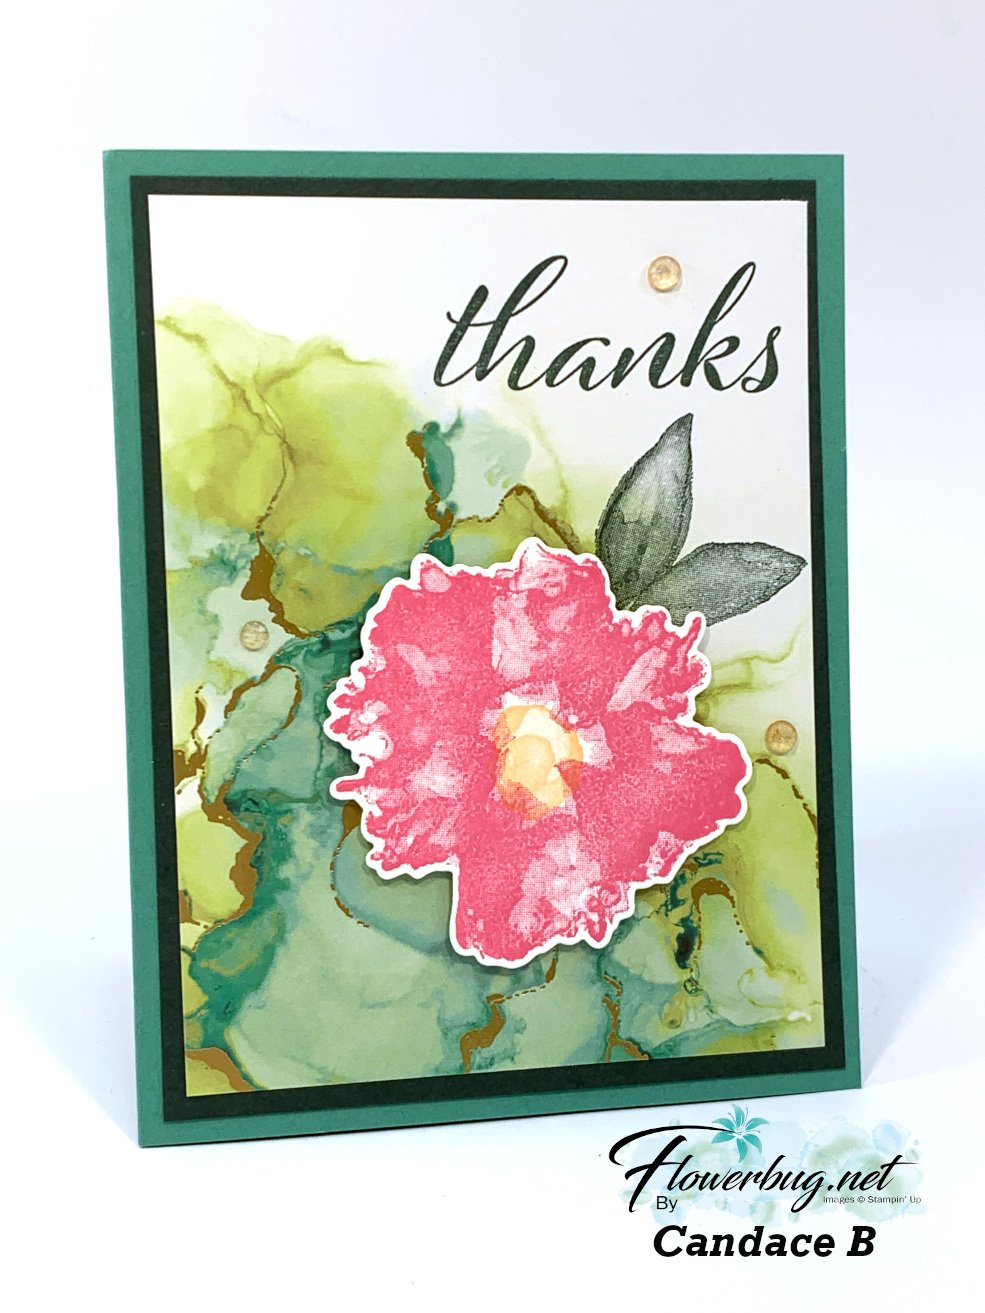

Then she stamped the large flower on a separate piece of White CS and die-cut it out using the Artistic Dies.  Lovely!

Tracey made this one using just the Artistically Inked stamp set.  She stamped all of her images on the White CS and added that to a layer of textured White CS.  She used the Timber 3D embossing folder.  

You can see she added a bit of sponging to the embossed layer to really bring out the texture.  

~~~

November Specials: 

Host codes: Z2RQ7BB6

*click here to order

Online orders over $50 get a pre-cut card class of 4 cards & PDF tutorial.
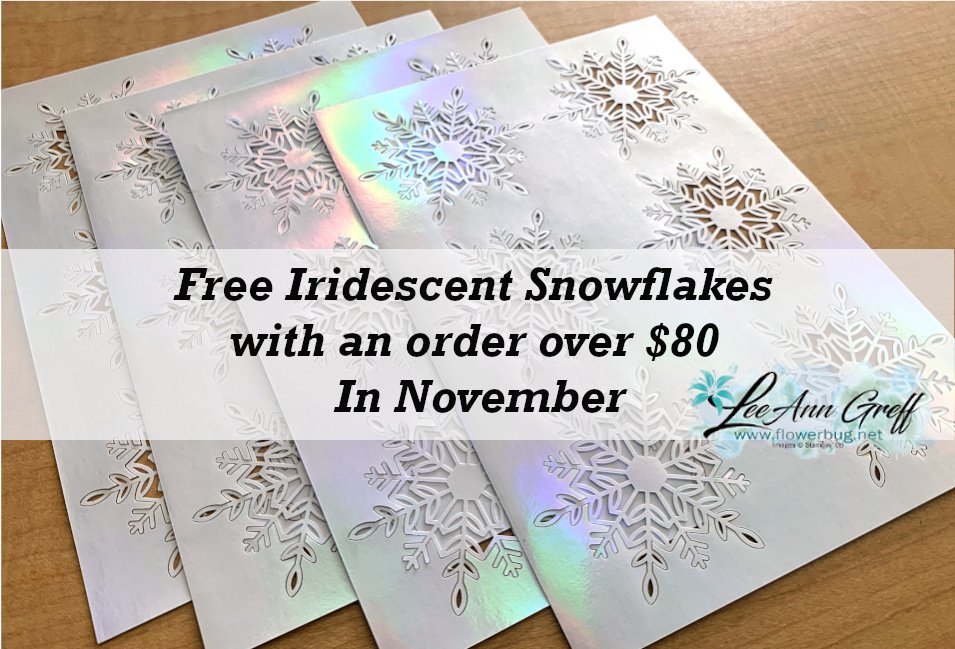
*Orders over $80 will receive the card kit PLUS 24 Iridescent snowflakes!

All online orders will receive my Eden's Garden PDF 22 project tutorial free! 
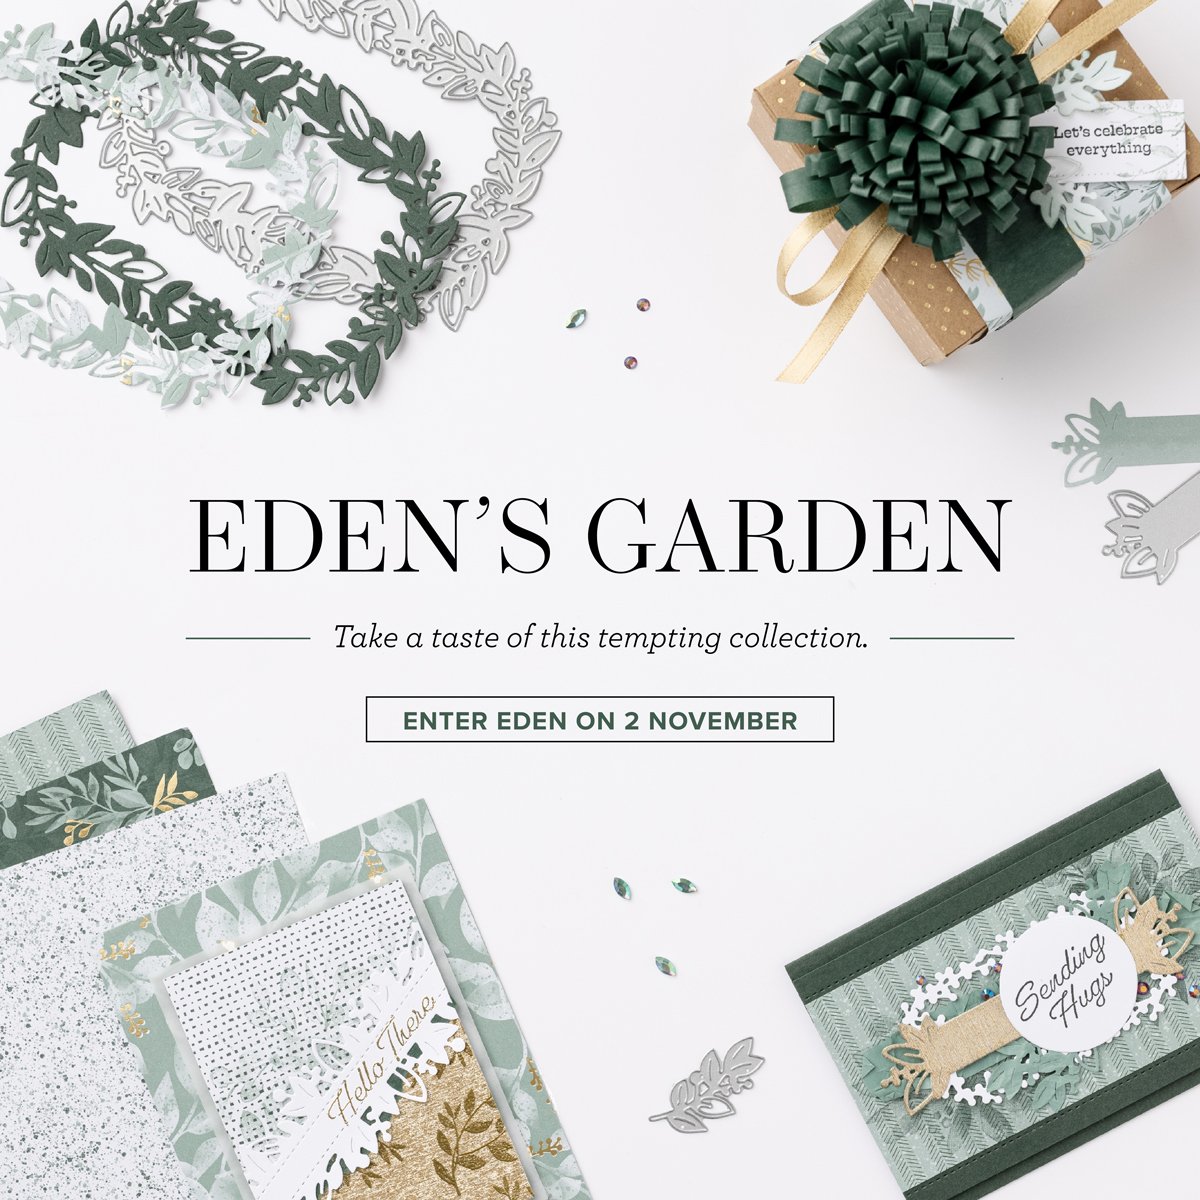
Get any of the tutorials or kits to go below in my Kit & Tutorial shop here:

Peaceful Wishes Christmas – limited supply available; 20 cards!


Christmas cards stamp a stack; limited supply! 

All Posts

  • Quick & Easy Shaker card with free project sheet & video


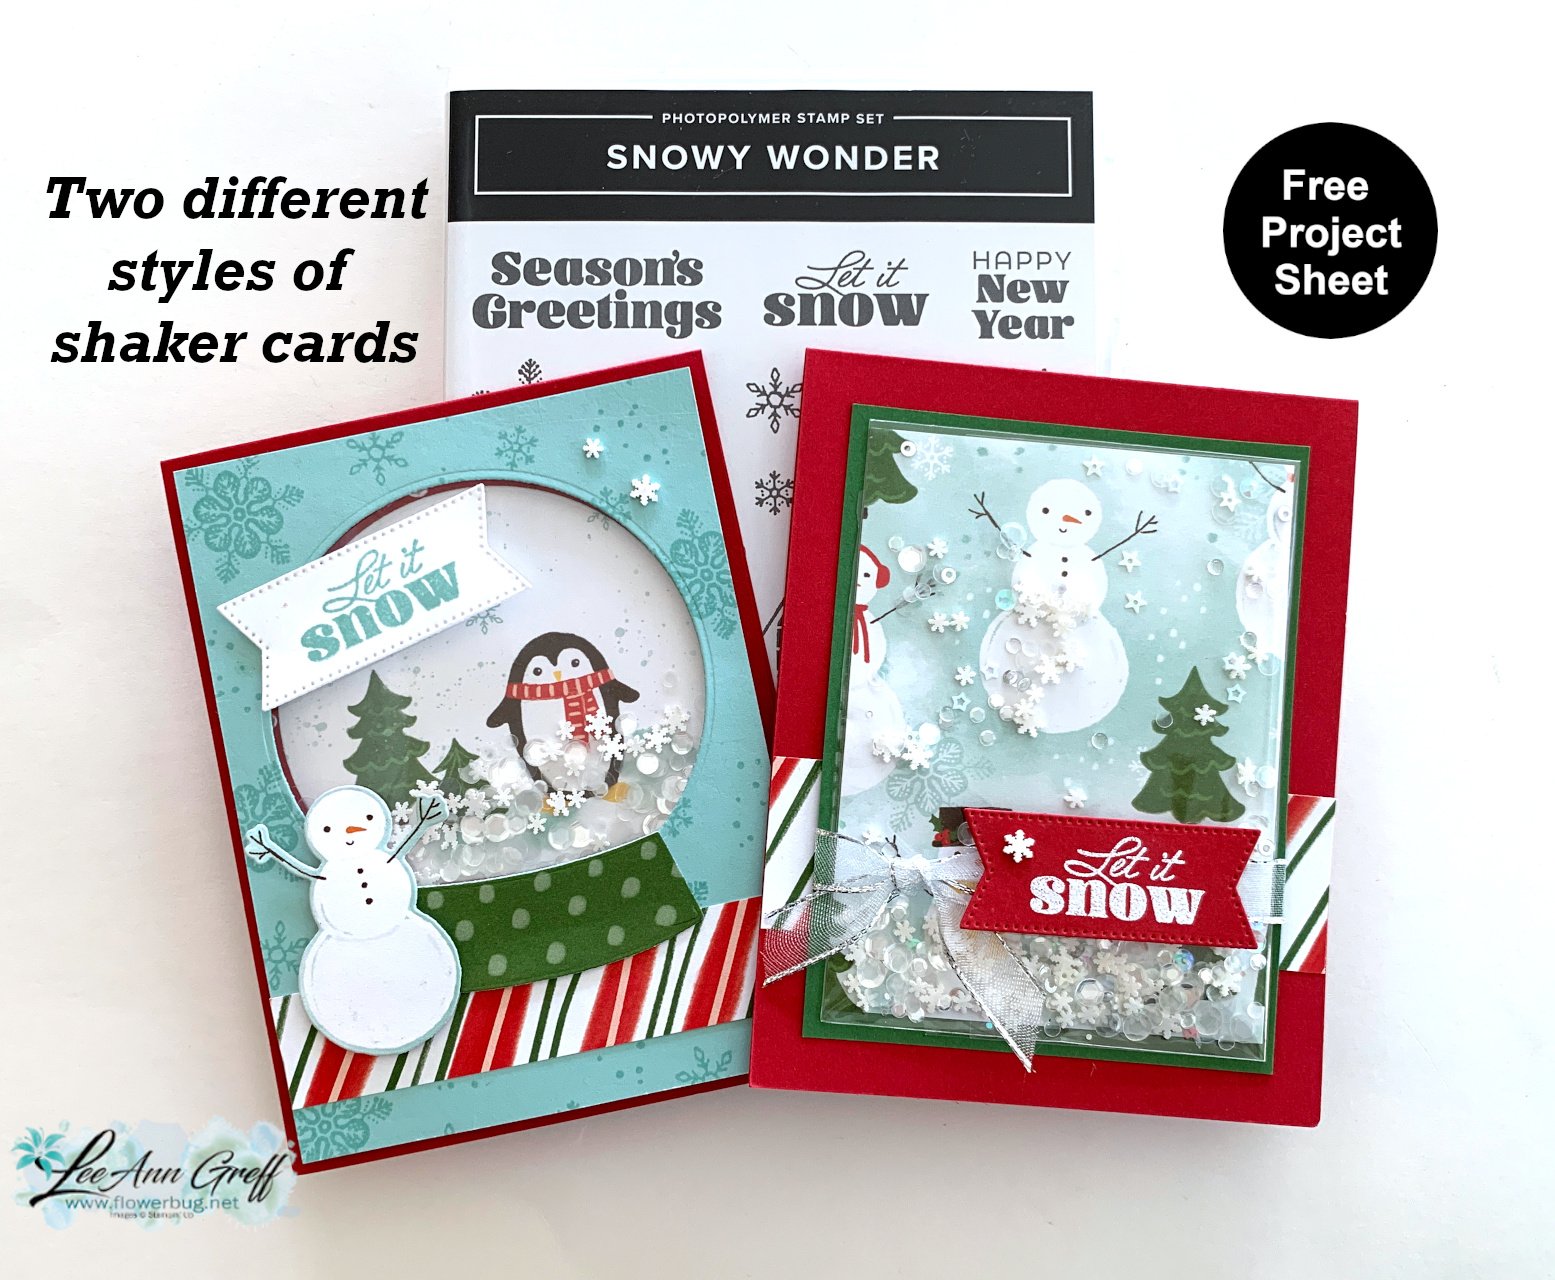
    On last week's video I created two types of shaker cards. Today's project is the easy version. It uses one of our A2 size clear envelopes to hold the shaker pieces.

    I used the Snowy Scenes designer series paper seen here.  It fits perfectly into one of our clear envelopes seen here. After I add the loose shaker pieces on top of the DSP I fold the envelope over and seal it in the back before adding it to a cardstock layer. It's so easy!

    My colors are Real Red with Garden Green.  I heat embossed the greeting from the Snowy Wonder stamp set. The ribbon is our sheer silver ribbon from the Annual catalog. The shaker pieces include the loose White snowflakes in the Holiday catalog along with two other types of retired loose sequins.  

    Below is a photo of both shaker cards I shared in the video below.  

    Here's the free project sheet; click on the following link to download or print it. Download Easy Snowy Scenes Shaker card

    Click on the video below to see how it's made.  I also share a second type of shaker card that's even easier!  I hope you watch and follow me on both YouTube and my Facebook page. 

    ~~~

    December Specials:

    *current host code link:  

     M7S96HPT

    3 new designer papers!

    ~~~

    Available December 3rd; while supplies last!

    ~~~

    ~~~

    Leave a Reply

    Your email address will not be published. Required fields are marked *

  • Multiple New December Promotions start today!!


    Today I'm sharing the new December promotions.

    First is three new designer papers.  They're all available starting today! Click here to see them. 

    They were inspired by previous designer papers shown in the photo above.

    On the above left is the Shakes & Hues 6 X 6" DSP. The colors include Fresh Freesia, Misty Moonlight Petal Pink and Pool Party.

    In the center is Serene Love 12 X 12" DSP.  the colors include hues of green & blue in Lost Lagoon, Night of Navy and Old Olive

    On the right is Refreshed Beauty 12 X 12" DSP. The colors include Daffodil Delight, Flirty Flamingo, Granny Apple Green, Lemon Lime Twist and Peach Pie. 

    ~~~

    Next is our Last Chance Products list. These items consist of retired products and clearance rack items. There are over 250 items and many are discounted!  They're available while supplies last! This list will be updated every other month on the even months of February, April, June etc.  Click here to see them. 

    ~~~

    We have two new kits this month too.  A pretty Perpetual Calendar and a sweet set of treat boxes; both include stamps & ink.

    See the Perpetual Beauty Calendar here. 

    See the Cherry Blossom Treat boxes kit here

    ~~~

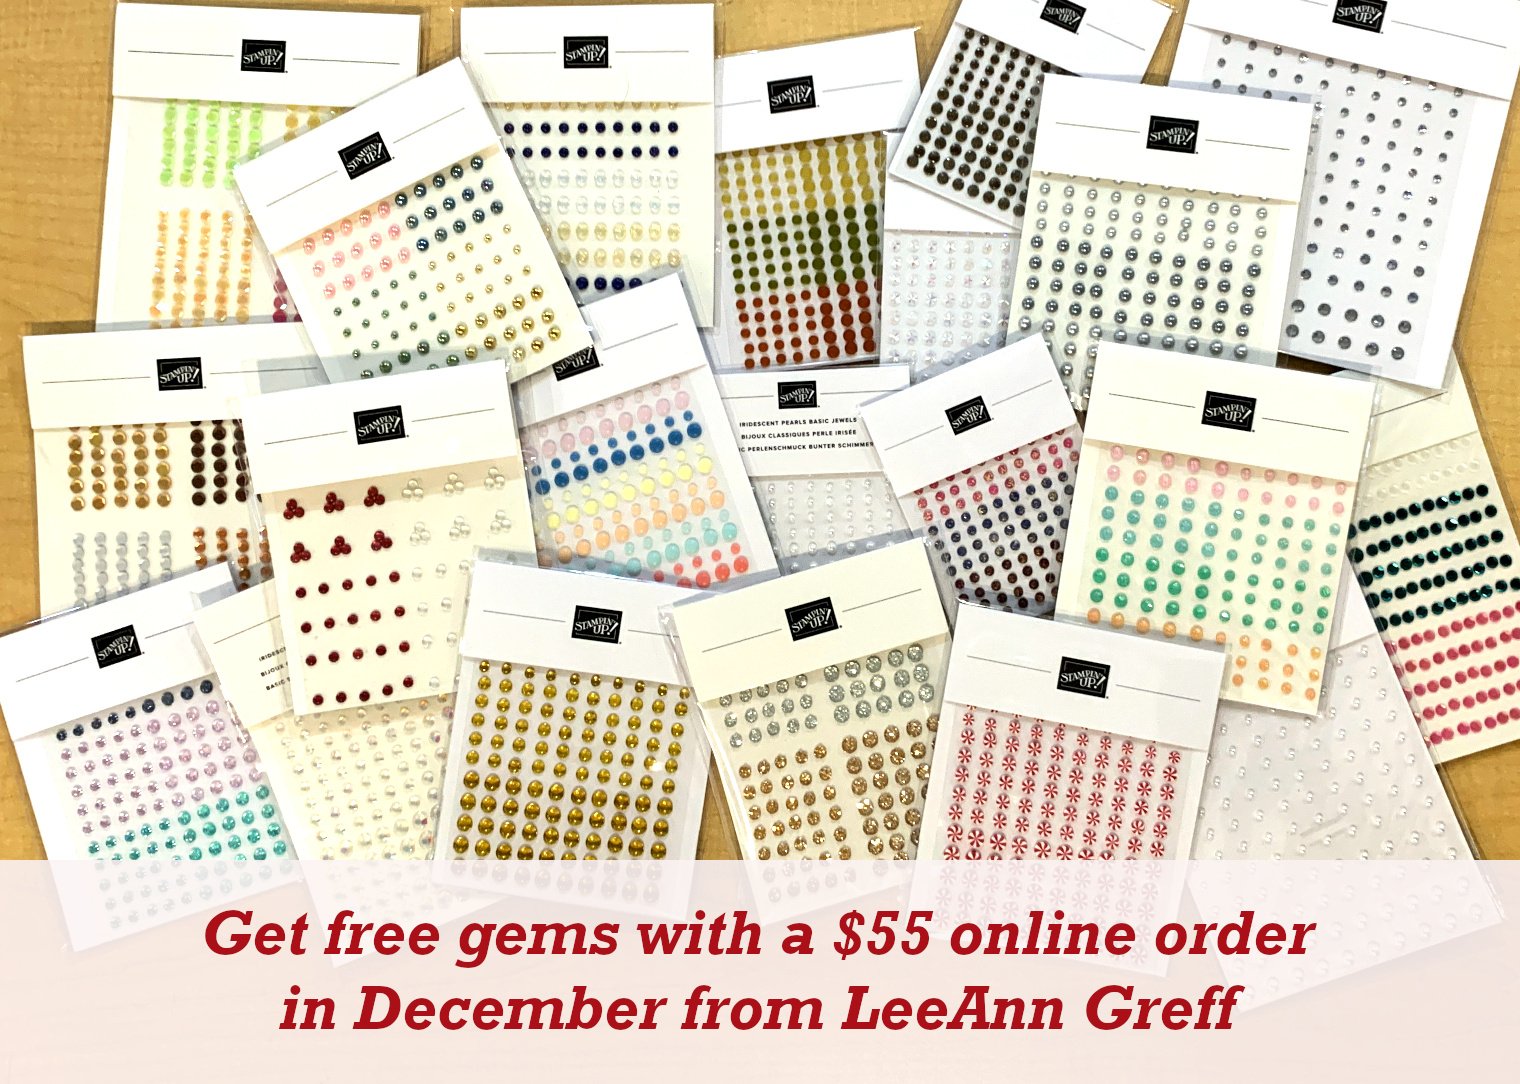
    LeeAnn's December specials:

    *current host code link:  

     M7S96HPT

    Leave a Reply

    Your email address will not be published. Required fields are marked *

  • Holiday Shaker card with video tutorial & free project sheet!


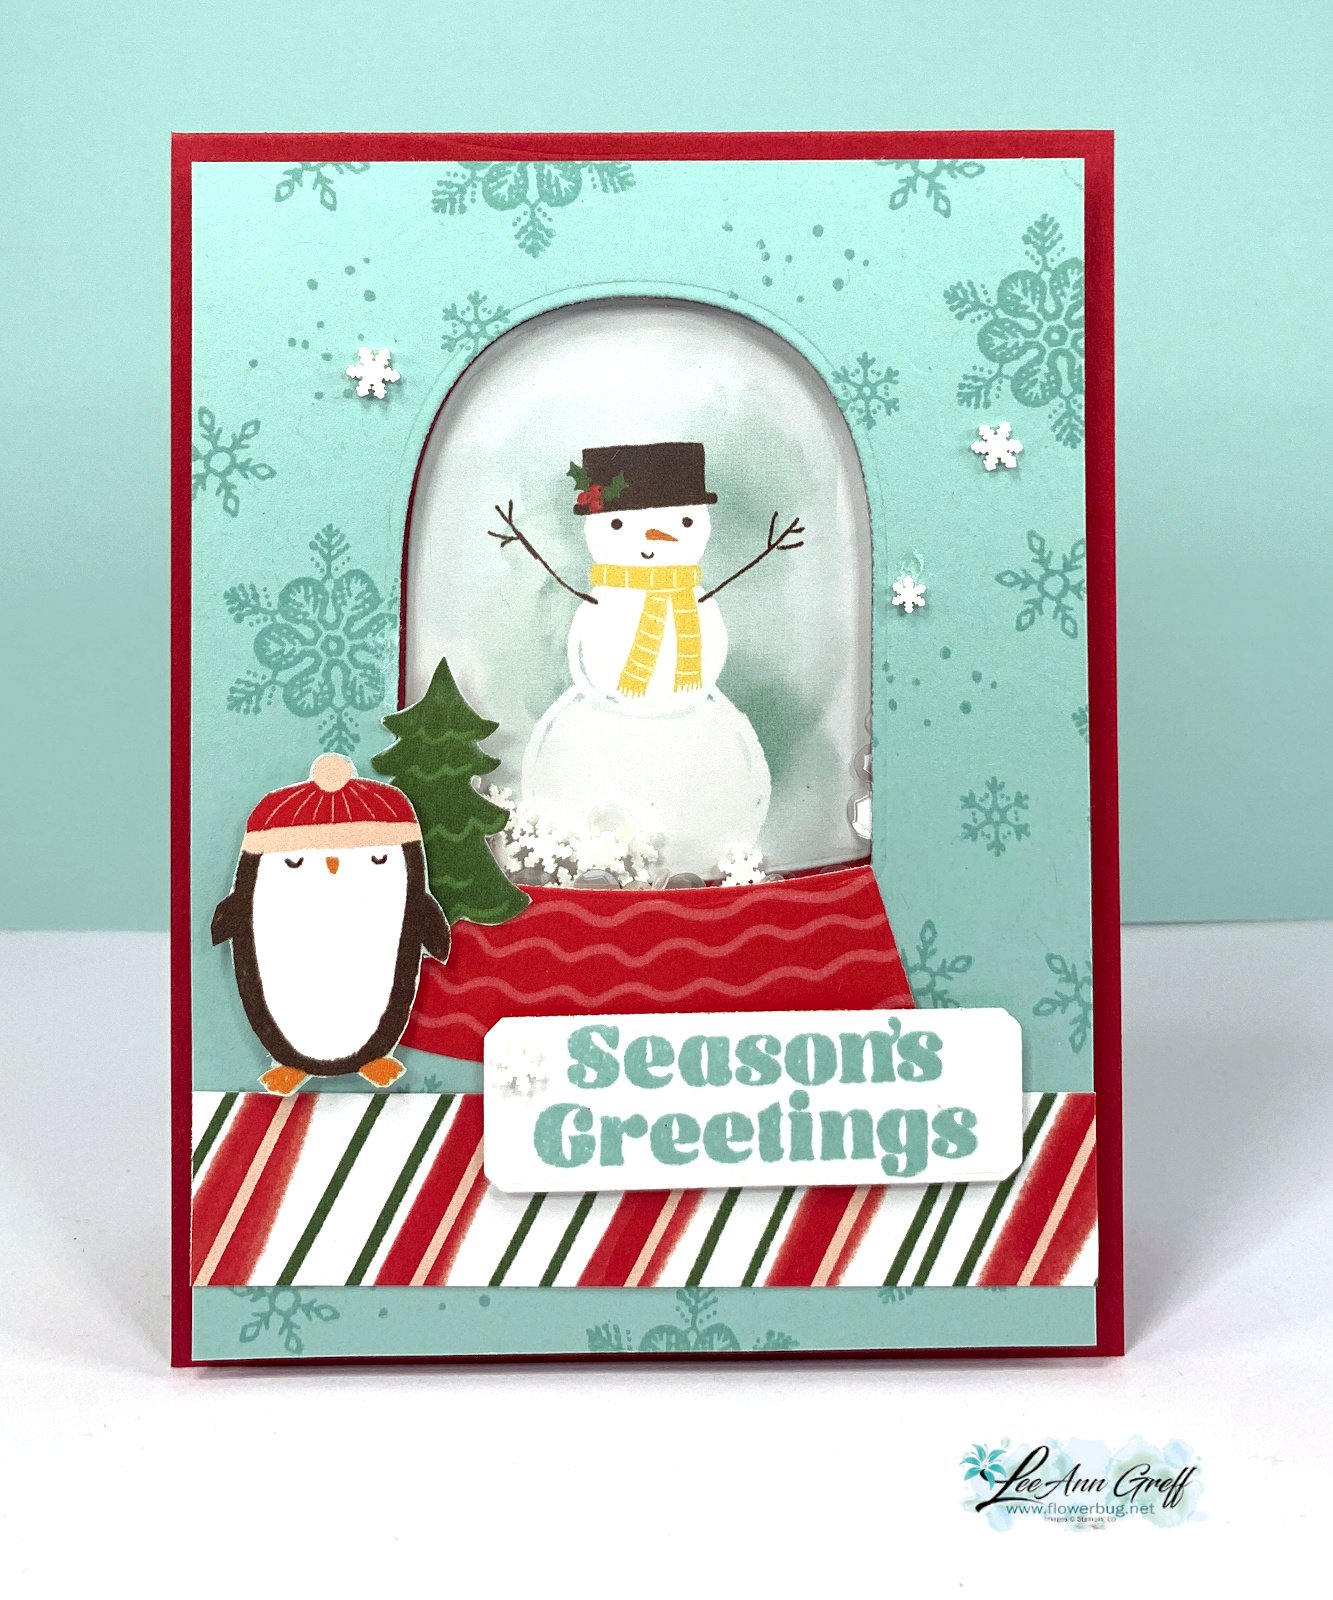
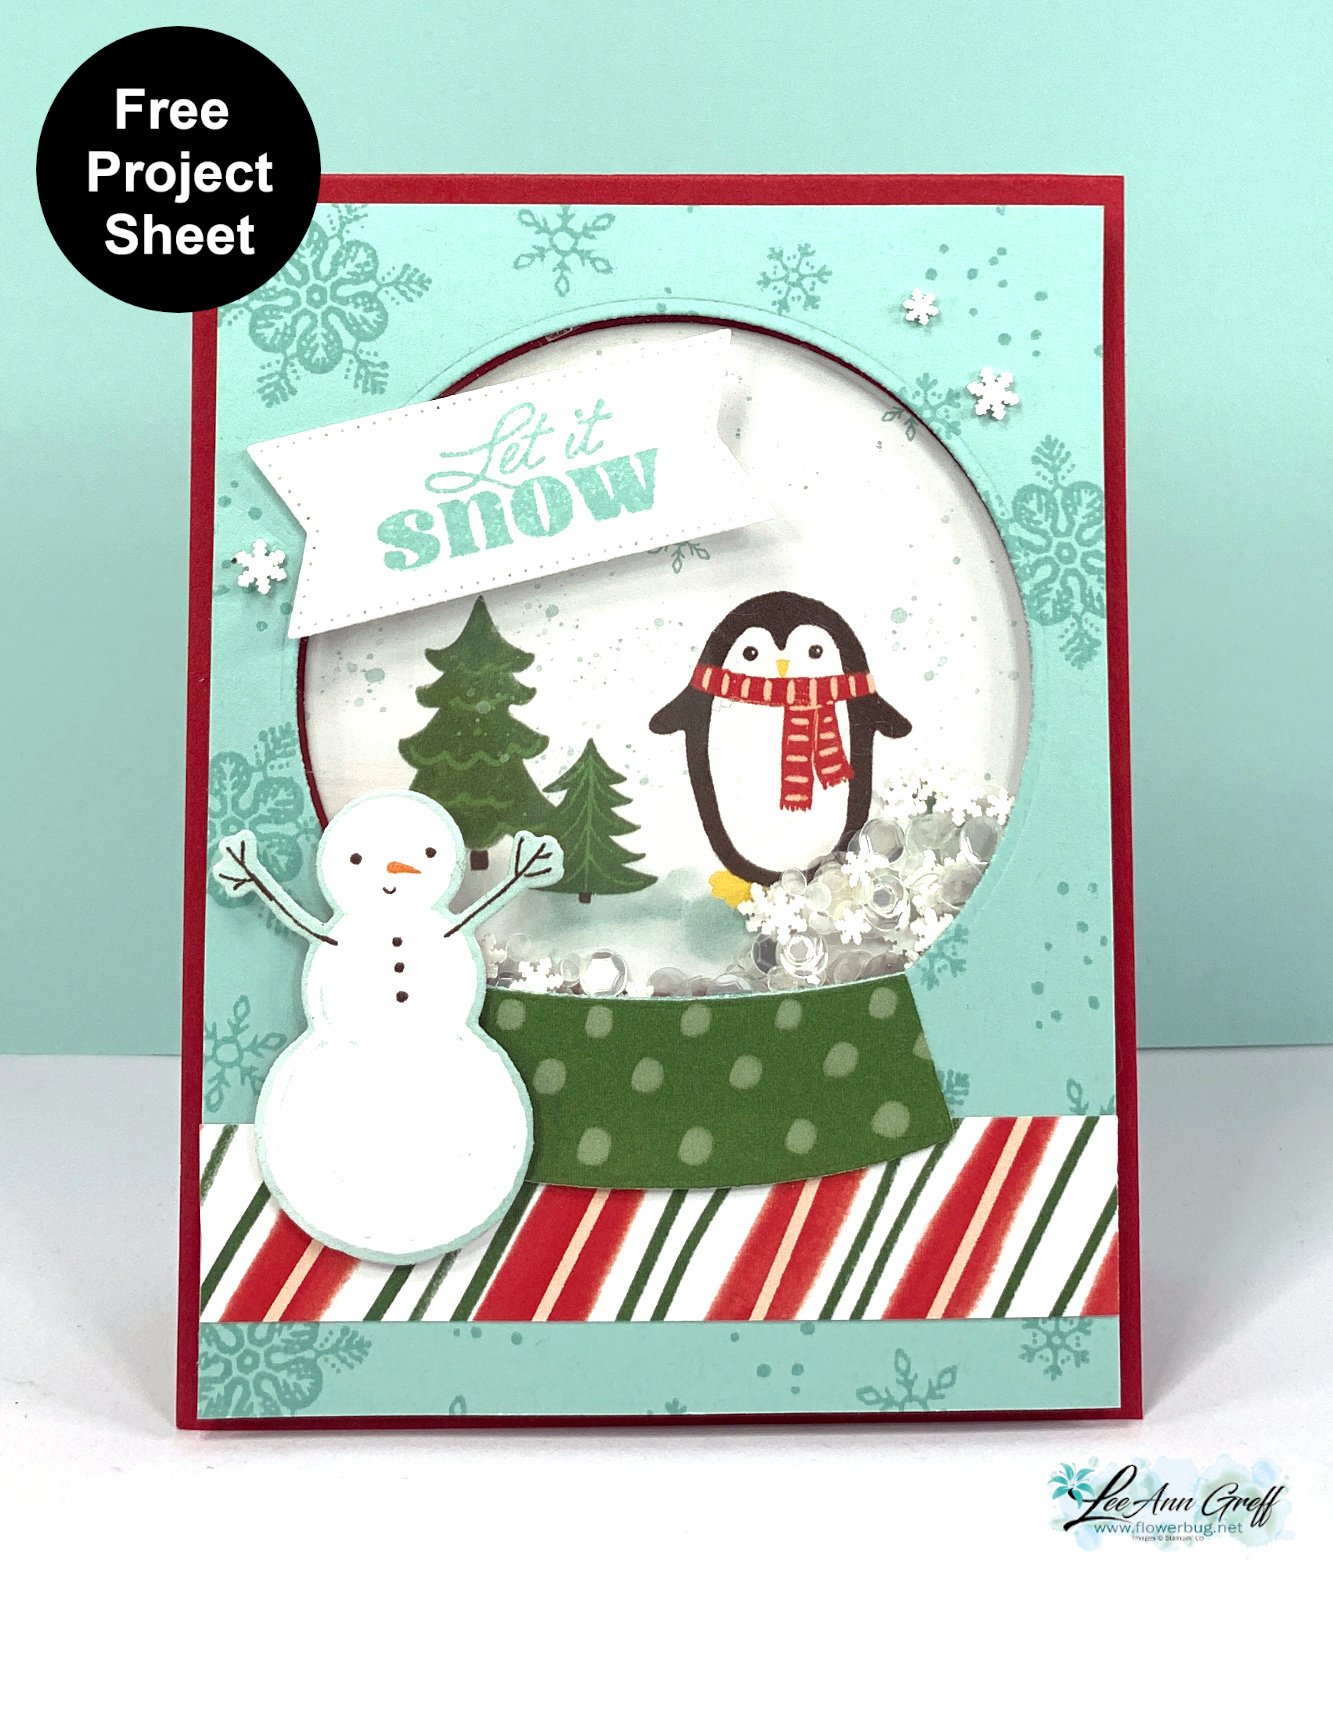
    I shared these super fun shaker cards on last week's video. They were one of our November card club projects. 

    The colors include Pool Party, White & Real Red.  The penguin and tree were fussy cut but some of the dies in the Snowy Wonder bundle cut out the printed elements from the Snowy Scenes designer paper. The greeting die are from the Countryside Corners dies. 

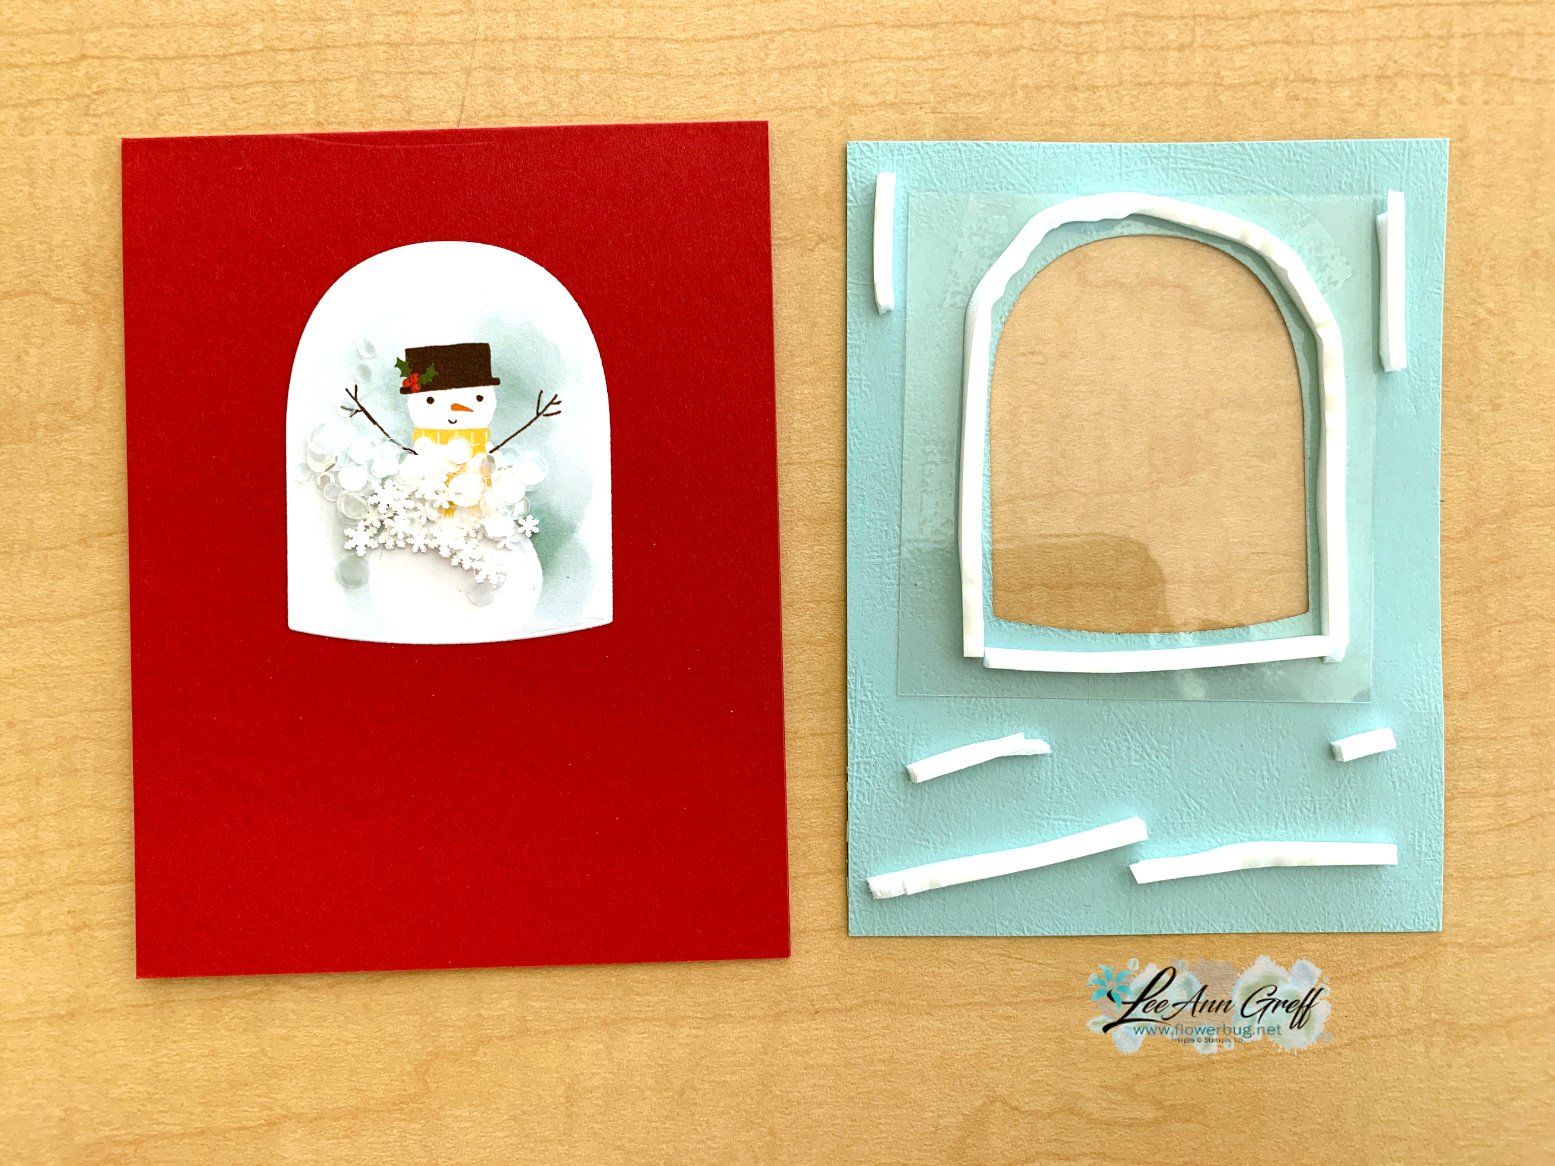
    Below you can see how you assemble the shaker card. We used the Pool Party window layer to position the snowman die-cut on the Red card base. Then we stamped the Pool Party layer with snowflakes. Next lay your shaker elements on that as shown below.

    Add the window sheet to the back of your window, then add our Adhesive Strips close to the opening; do not leave any gaps! Add a few supporting adhesive strips as well.  Then remove the paper backing from the strips and turn it over and add over the snowman layer matching the window with the snowman die-cut. Press down well to get a good seal.  Shake!

    My shaker bits include retired loose sequins and the White Loose Snowflakes available here.  We added a few to the front of the card as well. 

    Get the free project sheet here. Click on the following link to print or download. Download Snowy Scenes November 2024

    The stamped elements are all from the Snowy Wonder stamp set. The snow globe dies are wonderful and match the two different designer paper snow globes wonderfully!  

    Click on the video below to see how it's made.  I also share a second type of shaker card that's even easier!  I hope you watch and follow me on both YouTube and my Facebook page. 

    ~~~

    December Specials:

    3 new designer papers!

    ~~~

    Available December 3rd; while supplies last!

    ~~~

    *current host code link:  

     M7S96HPT


    Leave a Reply

    Your email address will not be published. Required fields are marked *


Notice: LeeAnn Greff, Independent Stampin’ Up! Demonstrator, Manager. The content of this website is my sole responsibility as an independent Stampin’ Up! demonstrator and the use of, and content of, the classes, services, or products offered on this website is not endorsed by Stampin’ Up! Copyright 2025