/


Latest Post

BEST DEAL!! Get the Stampin’ Cut & Emboss machine at almost half price!


Have you been wanting the new Cut & Emboss machine but didn't want to pay $120 for it? 

Well I have the answer!  

During November you can add it to your Starter kit and pay just $75 instead of $120!  Or choose anything you want up to $125 and pay just $75 plus FREE SHIPPING! 

*There are just a few days left on this deal.  Go here to get it. 

People love how smooth this machine is; it's so well made and I really like that the ends fold up for storage or travel.  *See it here online. 

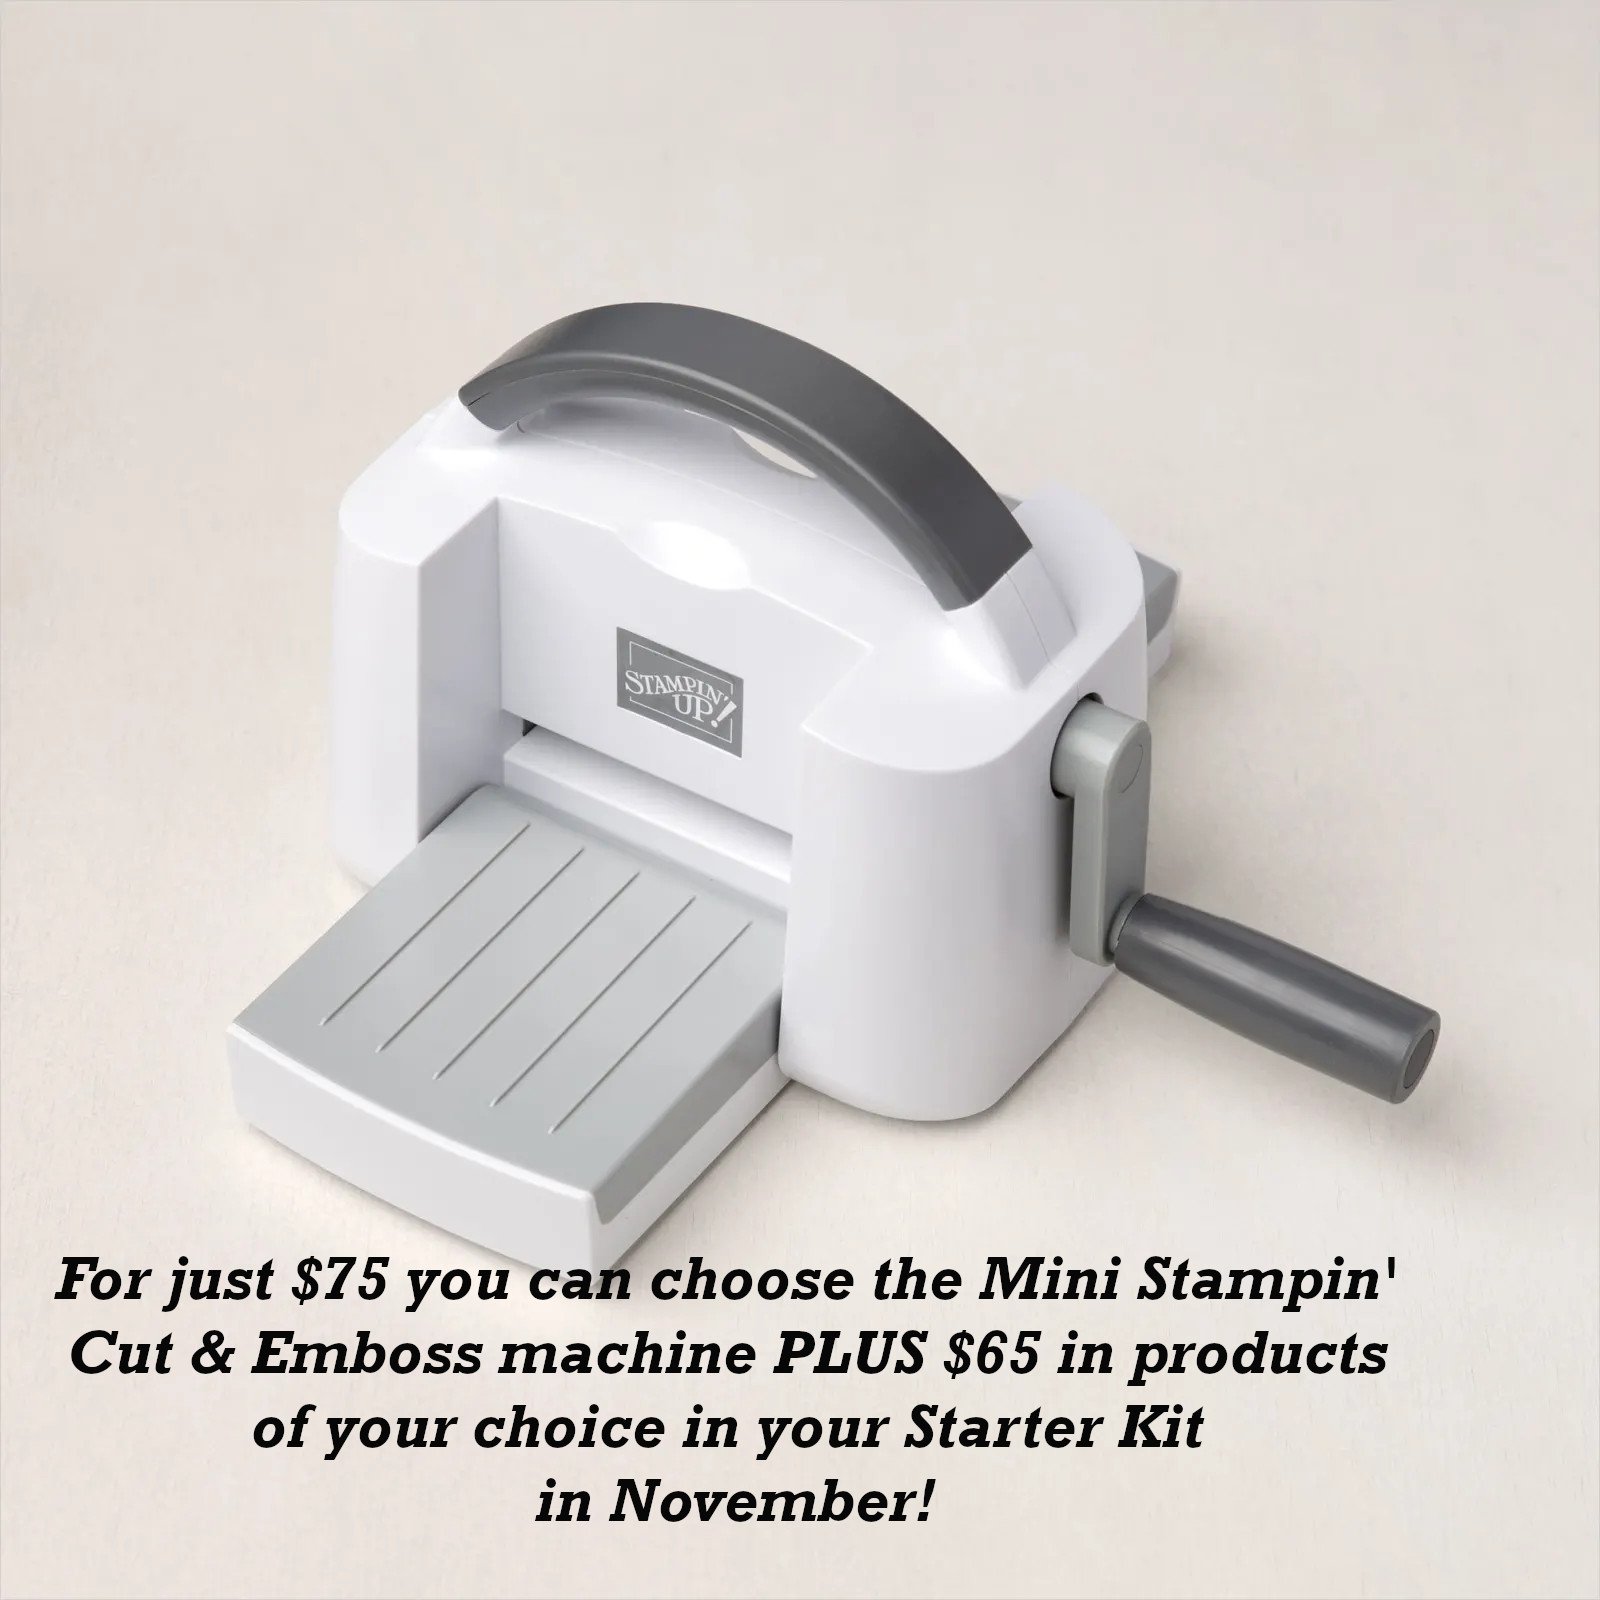
Or maybe you've been eyeing the Mini Cut & Emboss machine….?  It's a smaller version; nice & compact to fit on your work surface.  It has a $60 value and if you add this to your Starter kit you can add another $65 in product and pay just $75!  Crazy!

And did you know you get free shipping as well?  That's another $12.50 saved. *See the Mini here.
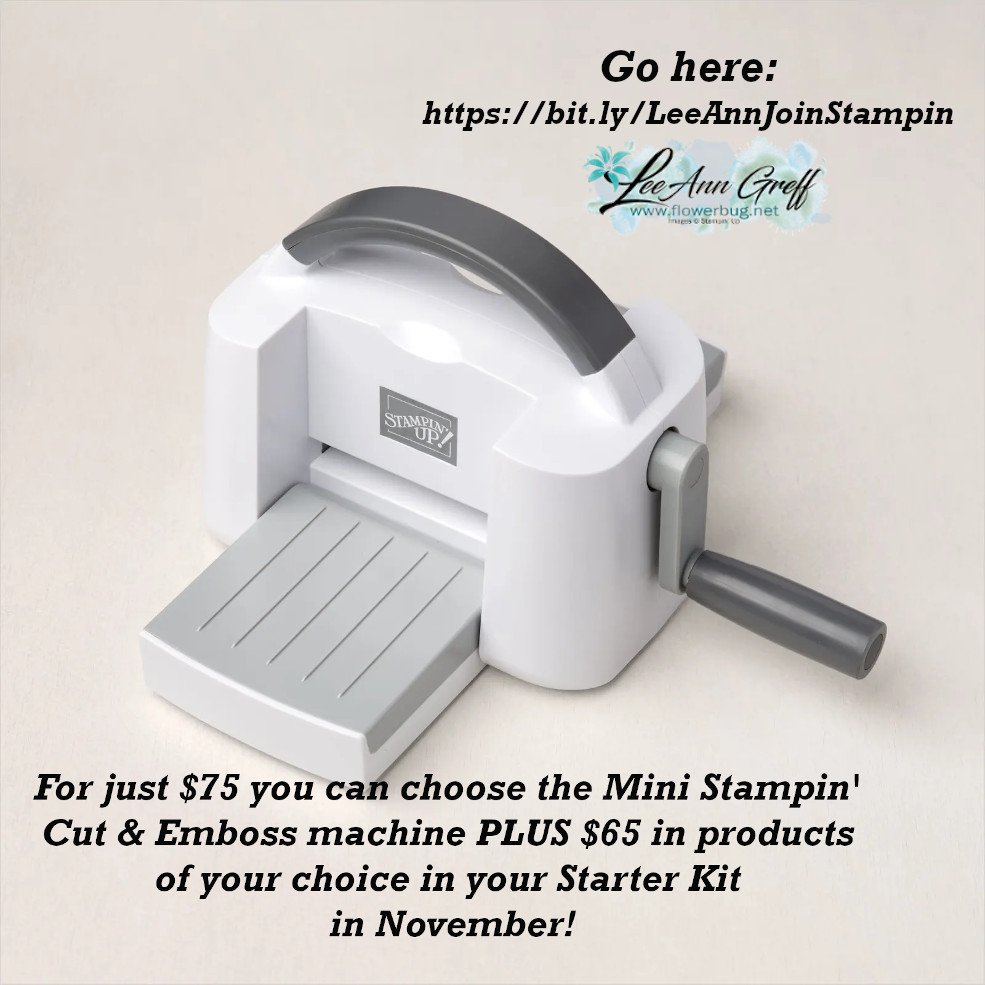

Go here to get your Starter Kit; this fabulous deal ends November 30th!

I'd love to have you on my Team!  

Our Flowerbugs group is super active.  We have all kinds of options for every type of stamper.  You can join in as much as you want to or just enjoy the sharing & camaraderie. We have prizes, swaps, sharing, featured stampers, videos, free tutorials galore & more.  They all say they love being a Flowerbug! 

~~~

Here are two more cards made by my talented Flowerbugs! Both used the Expressions in Ink suite. 

Candace made this first one using a nice piece of the beautiful Expressions in Ink specialty DSP.  She stamped her greeting and leaves directly onto the DSP using Evening Evergreen ink.  
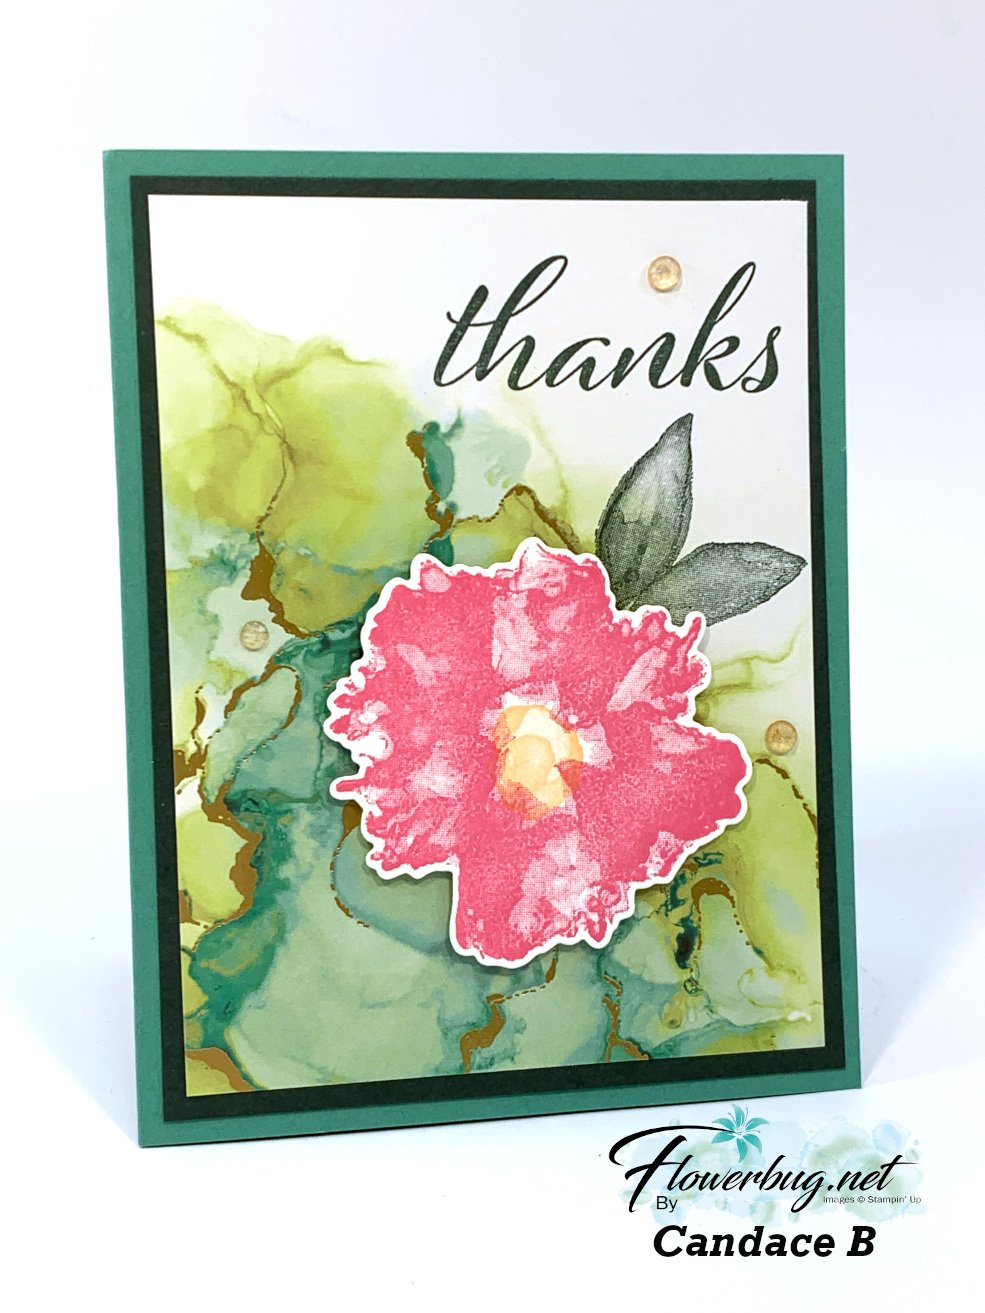

Then she stamped the large flower on a separate piece of White CS and die-cut it out using the Artistic Dies.  Lovely!

Tracey made this one using just the Artistically Inked stamp set.  She stamped all of her images on the White CS and added that to a layer of textured White CS.  She used the Timber 3D embossing folder.  

You can see she added a bit of sponging to the embossed layer to really bring out the texture.  

~~~

November Specials: 

Host codes: Z2RQ7BB6

*click here to order

Online orders over $50 get a pre-cut card class of 4 cards & PDF tutorial.
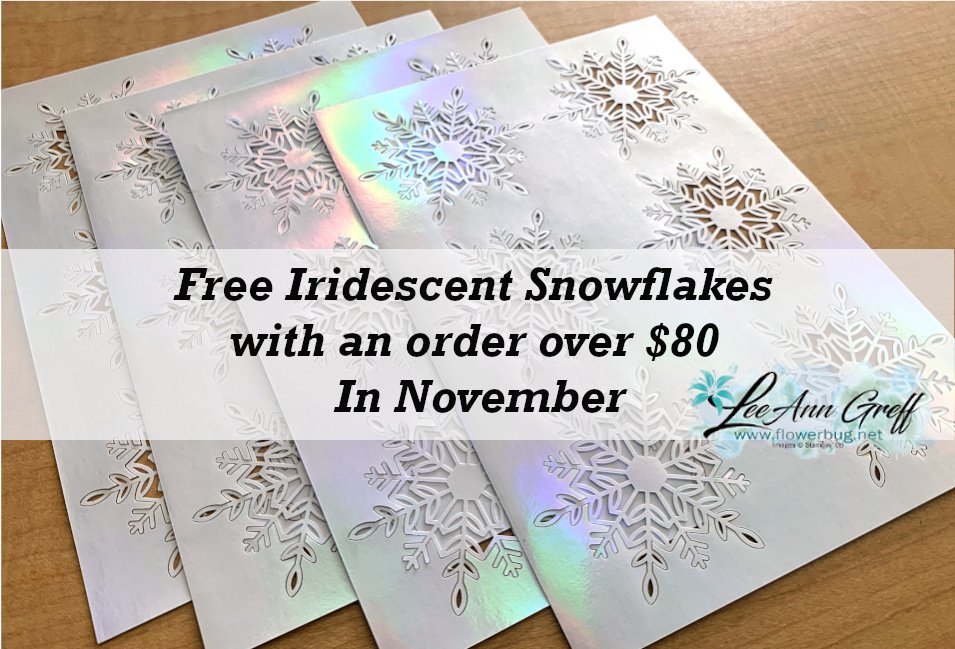
*Orders over $80 will receive the card kit PLUS 24 Iridescent snowflakes!

All online orders will receive my Eden's Garden PDF 22 project tutorial free! 
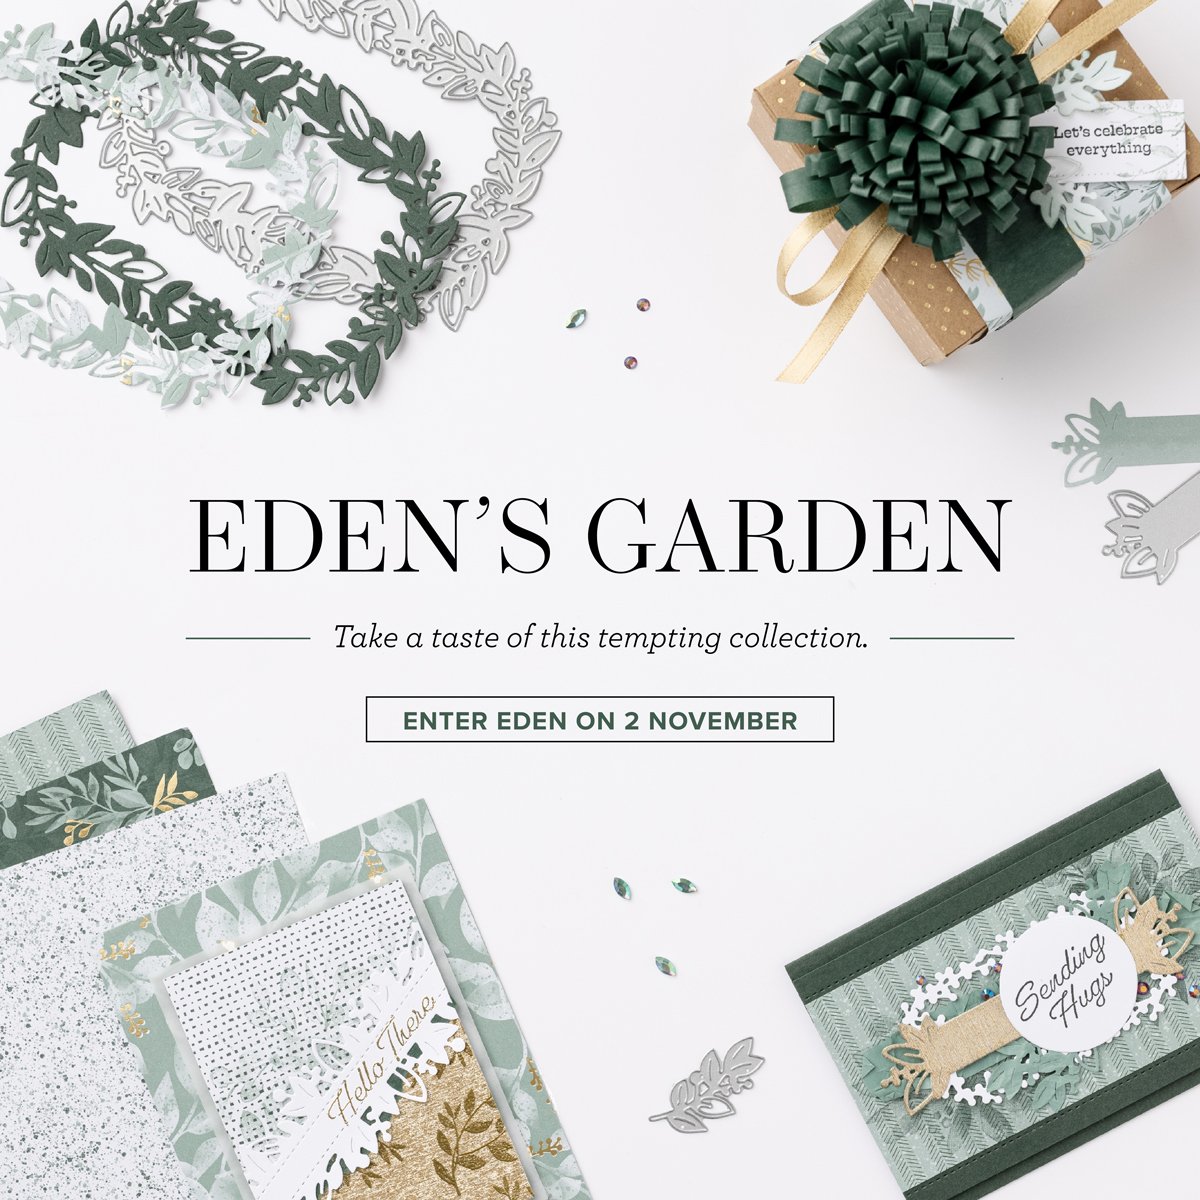
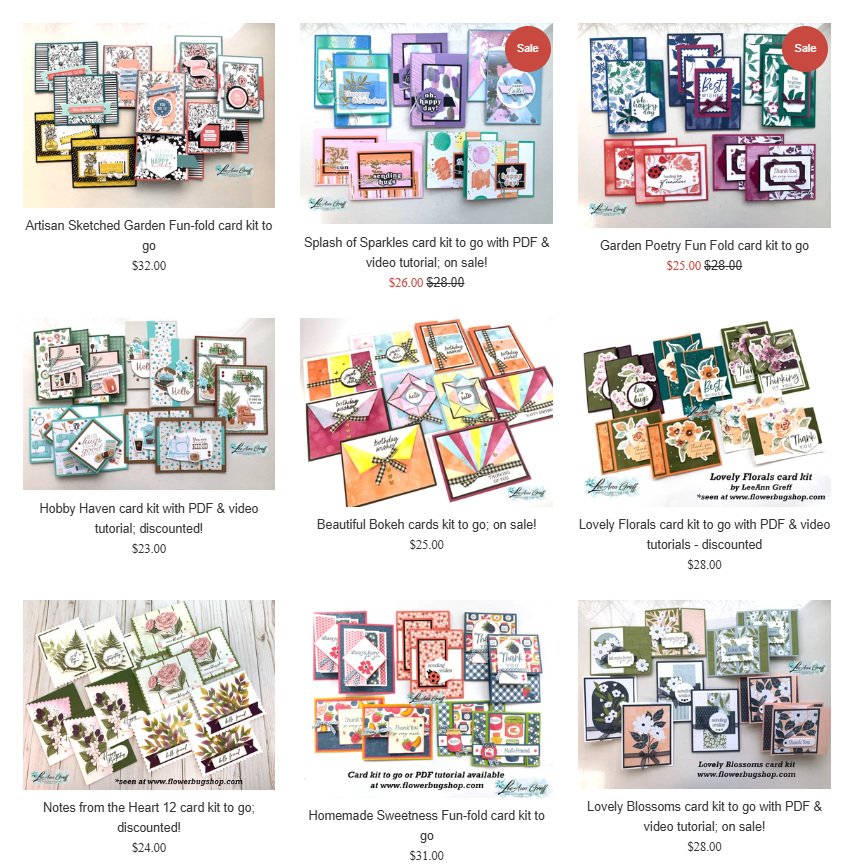
Get any of the tutorials or kits to go below in my Kit & Tutorial shop here:

Peaceful Wishes Christmas – limited supply available; 20 cards!


Christmas cards stamp a stack; limited supply! 

All Posts

  • Another way to feature your embossing folder…..


    Yesterday I shared one way to use ink on an embossed layer. Today I’m sharing another.

    Look closely at the card below. See how there are two different colors on this textured surface? I shared how to do this on last week’s video (see below).

    This is the Floral Spray 3D embossing folder seen here. It just ran out of stock and may be a month or more before it returns. Please add your email so you’re notified when it’s back.

    Here’s how to do this: I inked the smoother side of my folder (the textured areas are recessed) with Hydrangea Hue ink. I then placed my CS on the opposite side of the folder, closed it and ran it through my Cut & Emboss Machine.
    It leaves the raised areas with the original CS color and the rest darker. It’s truly beautiful.

    Here are both cards; with the addition of Peaceful Pine:

    Simple & gorgeous! These cards will seem like you went above and beyond but they’re so simple!

    I used the Classic Labels Mix & Match Ephemera for my greetings as well as the new stamp set called Scalloped Blooms seen here.

    I also tried it with the Sunflower 3D embossing folder too.

    Below is the video tutorial where I share how to achieve this technique. I hope you watch it and try it!

    Want our BEST DEAL on Stampin’ Up! products? Well that is always the Starter Kit.

    Right now you get to choose from 2 options with the $99 kit. Get either all 5 new Magnetic Ink pads or an extra $35 in product of your choice. That makes it $160 in products for just $99 plus free shipping. It’s a no brainer! Click here.

    Leave a Reply

    Your email address will not be published. Required fields are marked *

  • Get all 5 New Magnetic Ink Pads FREE in May!


    During May you can grab the Starter Kit deal where you get to choose from either the 5 new In Color ink pads or an extra $35 in free product.

    There are so many benefits to joining as a Stampin’ Up! Demonstrator.

    First of all you get 20-25% off all future SU purchases.
    Second is a favorite of many – you can see and pre-order new products before anyone else.
    Third – be on my Flowerbug’s Team! We have a wonderful group of talented, kind and sharing people!

    Thinking about joining my team? New demonstrators now get 50% off their first Paper Pumpkin kit—which is a great way to try this monthly crafting subscription! It’s just one of the perks of getting started.

    Click here to get this deal!

    Enjoy the discount while you can. Or make a little money on the side while enjoying your hobby!

    Leave a Reply

    Your email address will not be published. Required fields are marked *

  • How to make the embossing folder the star of your card; with video!


    I shared a few ways to highlight the texture on your 3D embossing folders on last week’s video. I shared the cards I created with the 5 new In Colors and how it’s done.

    This is the Floral Spray 3D embossing folder seen here. It’s currently out of stock unfortunately. Please put your name on the list to be notified when it’s back.

    Steps: I textured the CS first. Then rubbed my Craft White ink pad over it lightly. It catches on all the pretty raised areas, highlighting them beautifully. This can take some practice and I recommend you ink pad not be fully inked.

    I wrapped matching In Color ribbons across the cards and added a greeting. So simple but stunning in person.

    The greeting die-cuts are from the Scalloped Blooms dies seen here. The greetings are from the Opulent Oasis & Balloon Festoon stamp sets.

    Of course this technique; I’m calling it ‘white-washing’ shows up best on darker card stock. Here’s one I did with the Fern & Flora embossing folder seen here:

    This is our new Peaceful Pine in color. The greeting tag is from the new Classic Labels Mix & Match ephemera seen here. Love these pretty White labels!

    Below is the video tutorial with tips for success on this technique.

    I still have a few Mystery Boxes left! It’s a buy one get two free deal! Each box is valued at over $200 and is shipped to you FREE when you place a $100 order from me (before tax & shipping).

    Be sure to grab a Product of the Month once your order is over $75.

    Leave a Reply

    Your email address will not be published. Required fields are marked *


Notice: LeeAnn Greff, Independent Stampin’ Up! Demonstrator, Manager. The content of this website is my sole responsibility as an independent Stampin’ Up! demonstrator and the use of, and content of, the classes, services, or products offered on this website is not endorsed by Stampin’ Up! Copyright 2025