Cute ideas for Santa Express bonus cards; included in the Kit to Go
Before we get to today's cards; I have to make sure you know about the Clearance Rack refresh. So many great deals; but they're while supplies last. Click hereto see them.
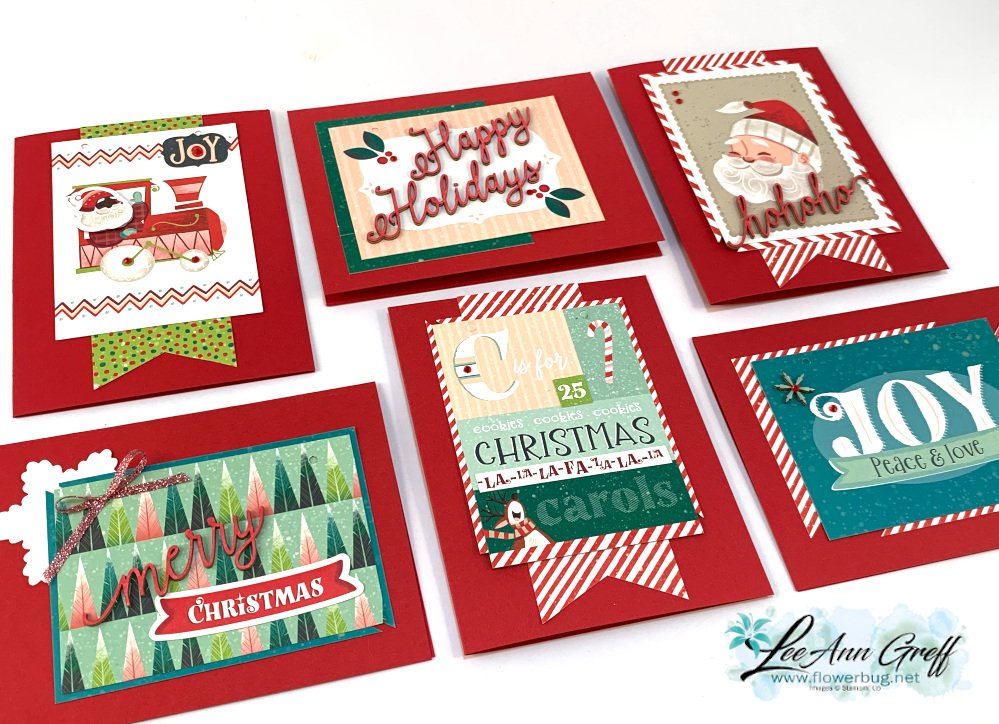
This month one of my kits to go features the Santa Express Memories & More cards seen here. I sincerely enjoy playing with these cards & the many extra elements included in them.
Besides the 10 cards & envelopes they'll make with the kit and PDF tutorial I've created some bonus cards they can make as well. Here's a peek at them:
There's no stamping on any of these; all greetings and layered pieces are from the kit itself.
Notice the cursive words and the stars? These are wooden elements included in the kit! I colored them with Blends markers. They're actually nice and thin; maybe around 1/16" in height.
Here's a link to this kit to go. It's while supplies last; so opt in soon!
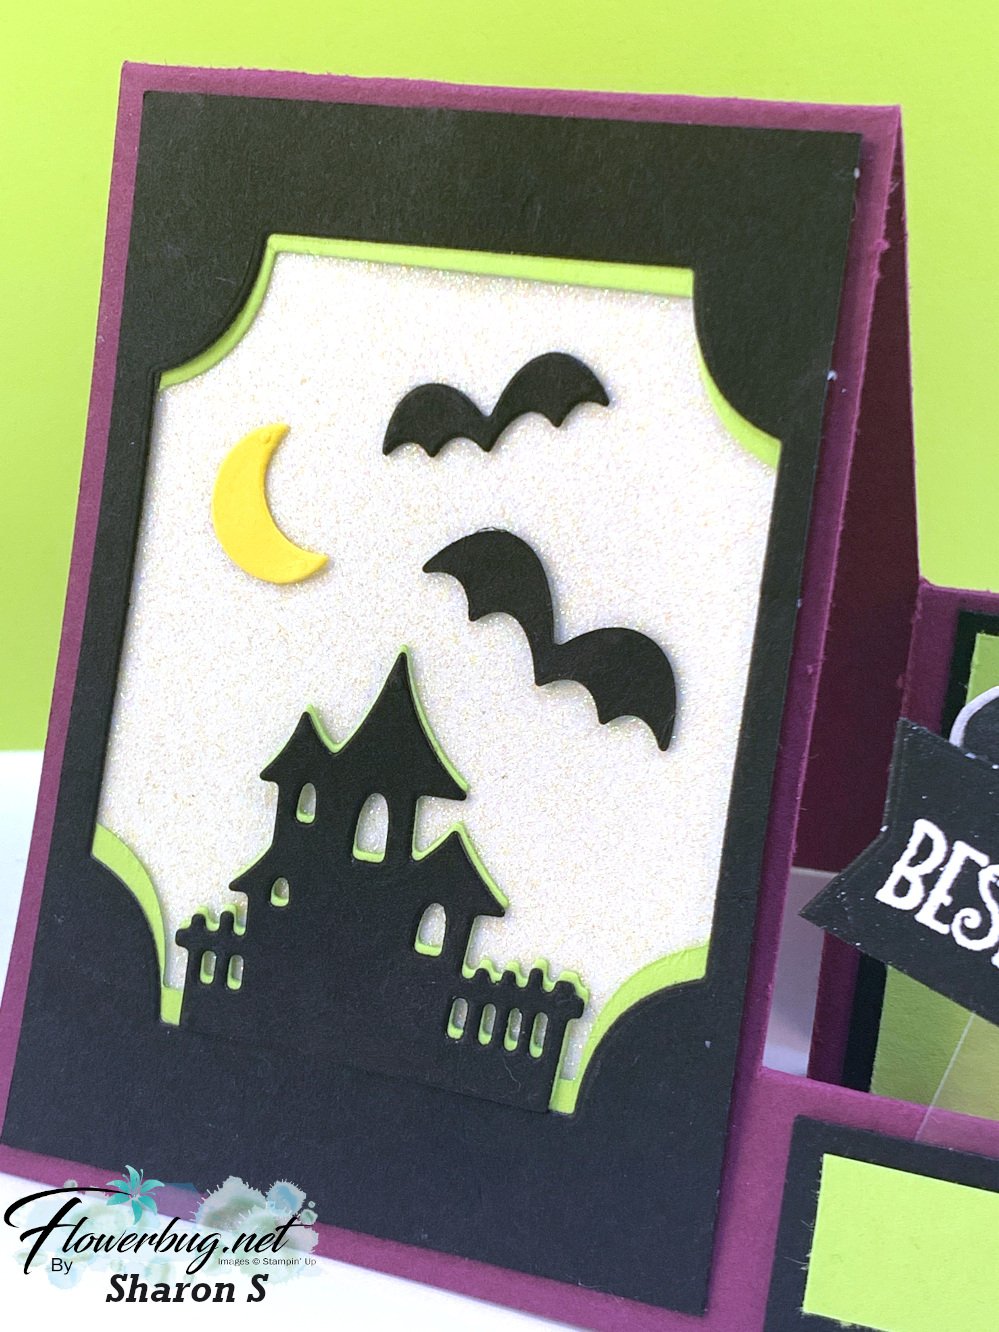
Her colors are Rich Razzleberry, Black & Granny Apple Green.
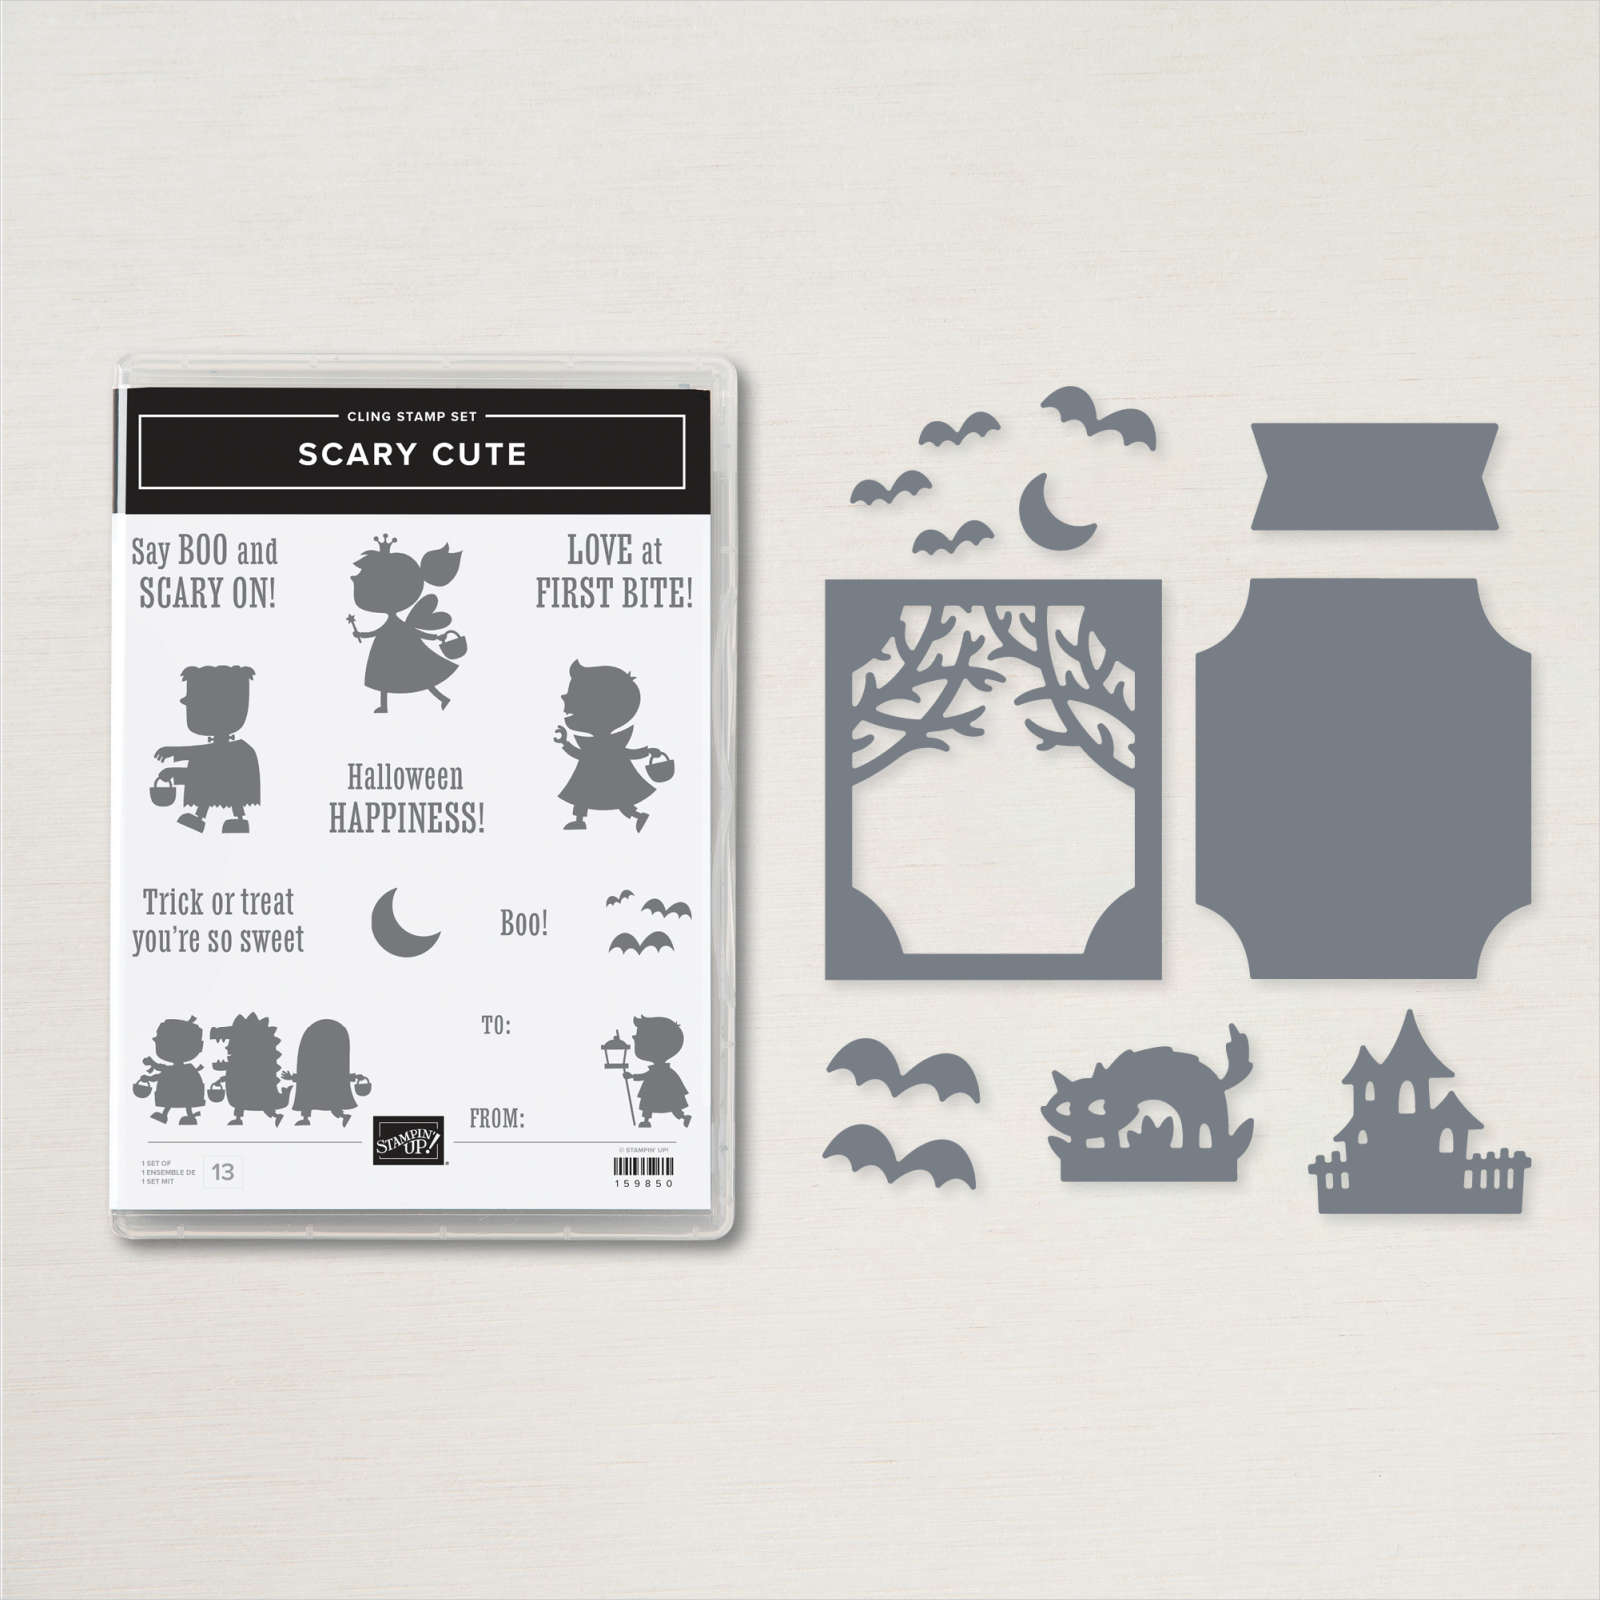
She said she cased it from Tammy White. The card base is all one piece. It's called a side-step card and here is a linkto a tutorial I wrote years ago. She used the Scary Silhouette dies for the left side and the Bewitching stamp set for the hat & boots on the right.
The hat & boots are popped up on the steps with thin strips of window sheets. There is white glimmer paper behind the die-cuts on the front. I love the say she achieved the silhouette under the Black layer. She did this by snipping the green die-cut in half on the sides and moving it down from the top and up from the bottom.
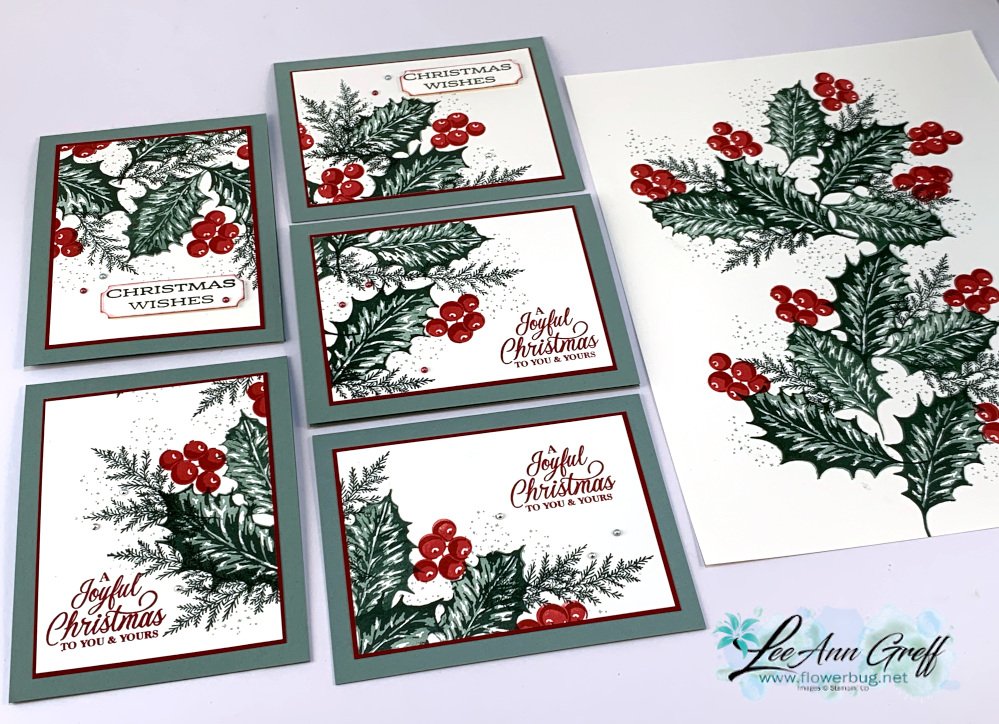
I used the Leaves of Holly bundle seen here and these colors – Soft Succulent, Evening Evergreen, Real Red & Cherry Cobbler. My Soft Succulent card bases are either 5 1/2" X 8 1/2" or 4 1/4" X 11".
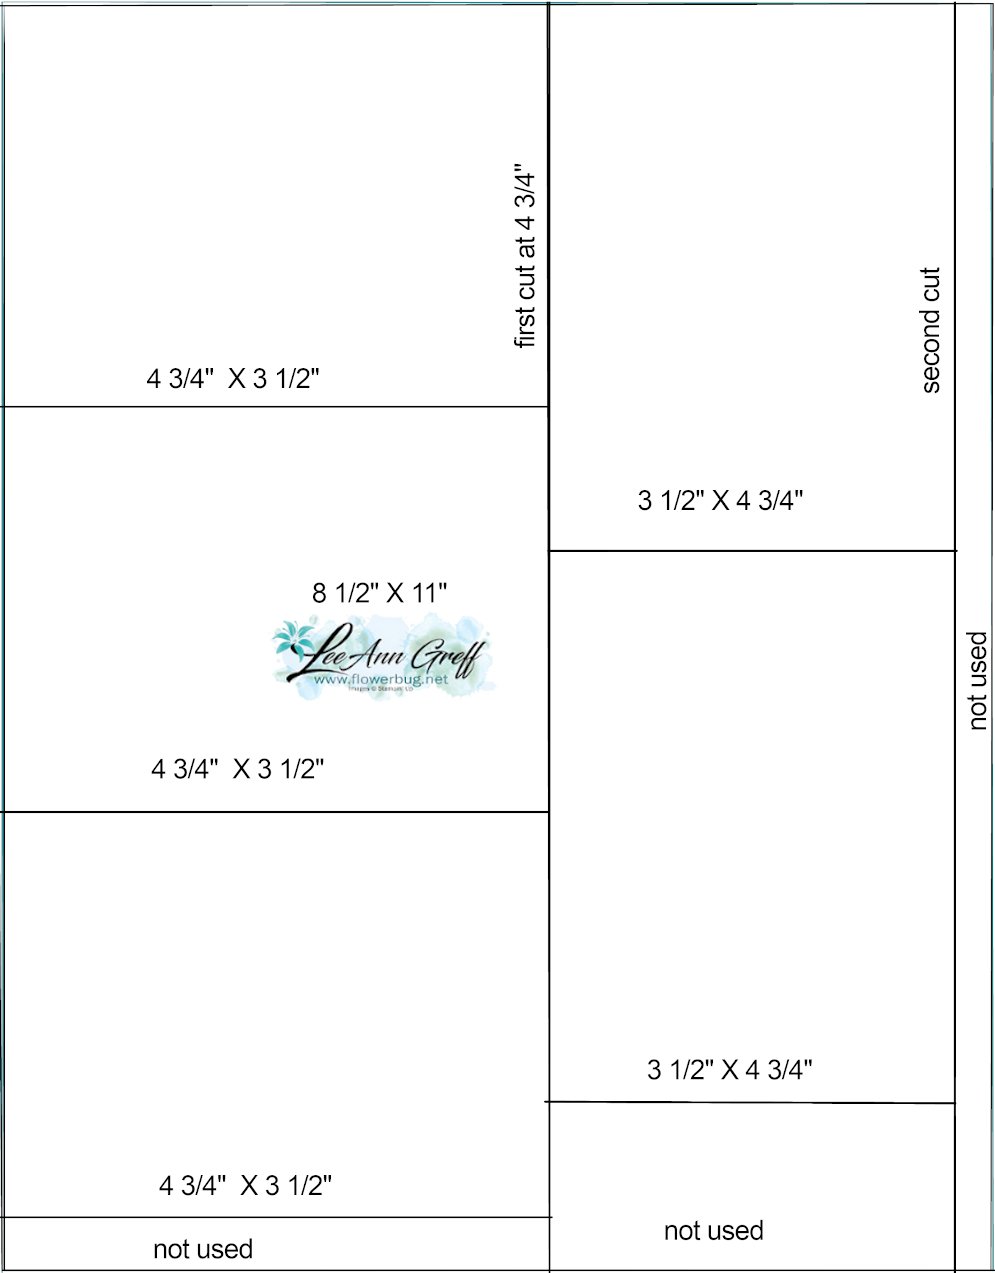
Here is the main template that you stamp on. It shows the cutting measurements that give you 5 pieces for your card fronts. I frequently use these measurements for the inside of cards; especially when I make a bunch at a time. Instead of just 4 layers you get 5 from one piece of 8 1/2" X 11" card stock.
In the photo below I stamped on the Basic White card stock (shown on the right) and then cut that into 5 pieces using the template above. I stamped down the center mostly, leaving open areas in each section so I could stamp a greeting. If it didn't work out (or I just want to), I add a die-cut or punched greeting.
Here's the other template for the colored layer under the stamped White piece. In my case it's Cherry Cobbler. Each piece measures 4 7/8" X 3 5/8" giving you a narrow edge, but all 5 from one sheet with very little waste! Love that!
Notice: LeeAnn Greff, Independent Stampin’ Up! Demonstrator, Manager. The content of this website is my sole responsibility as an independent Stampin’ Up! demonstrator and the use of, and content of, the classes, services, or products offered on this website is not endorsed by Stampin’ Up! Copyright 2025


Leave a Reply