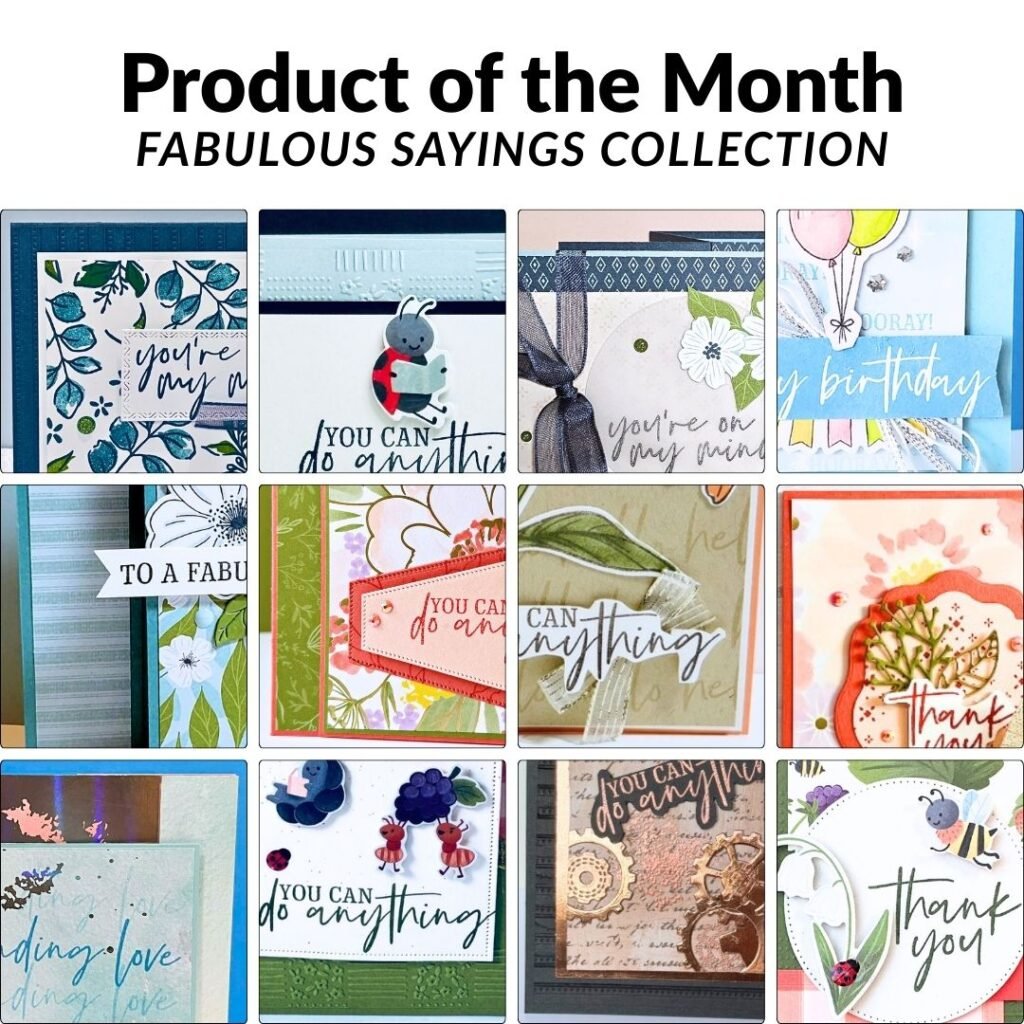
I'm so excite to share this fun & unique idea! I created two templates that help you make 5 cards at a time. It's addicting & you'll be looking at your stamps in a whole new way!
I shared this on last week's Facebook Live and it was a hit! It's so fun to do.
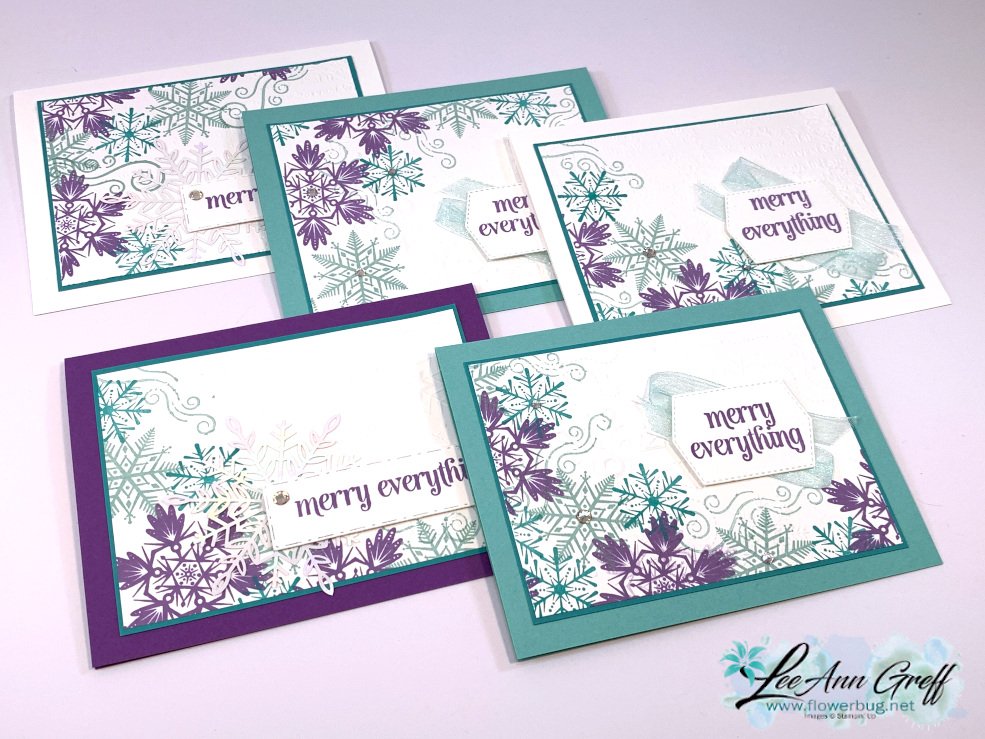
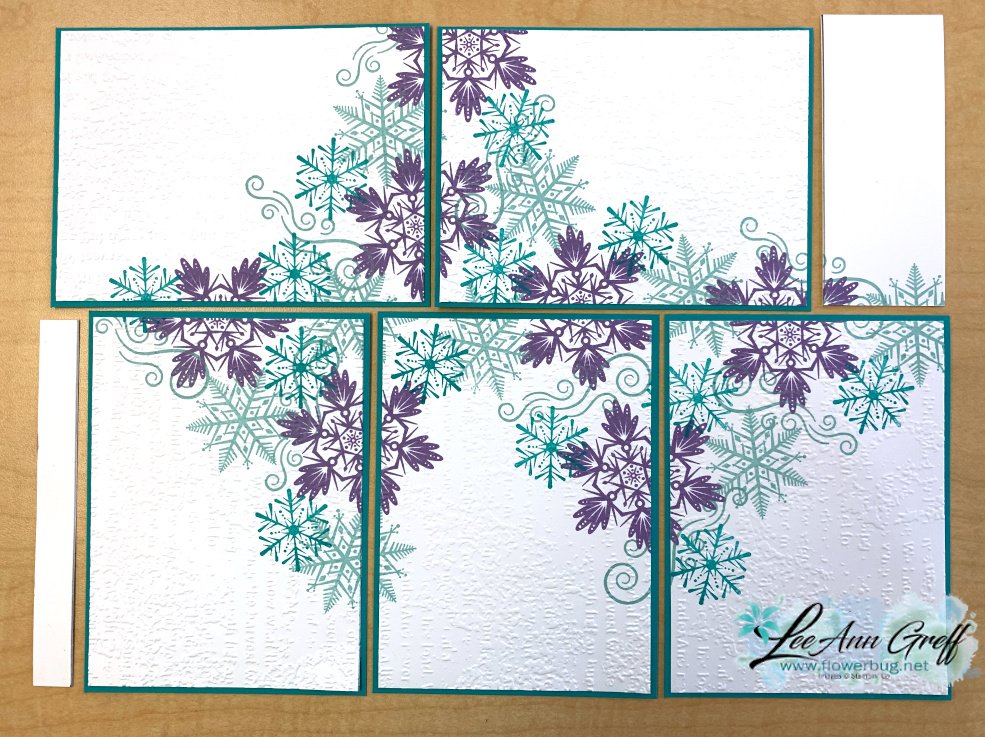
For these cards I used the Merry Snowflakes stamp set (seen here) & Pool Party, Bermuda Bay & Highland Heather inks. The card stock is White, Gorgeous Grape, Bermuda Bay & Coastal Cabana. If you follow me you know these are some of my favorite colors! They're perfect for snowflakes.
Below are the templates. Remember these are 8 1/2" X 11" to start with. For these cards I stamped before I cut but you can certainly cut your pieces first if you'd like to.
As you can see these templates have very little waste.
Before I stamped I scored on the 4 3/4" and 3 1/2" lines leaving the piece intact. You could also draw a light pencil mark so you know where to stamp.
And here is how the White card stock is stamped. (I forgot to take a photo before I cut and layered them.)
Can you see that the images concentrate on two sides of each piece leaving one corner free & clear? Basically you're stamping down the middle and on each of the lines. This keeps the cards from being too busy.
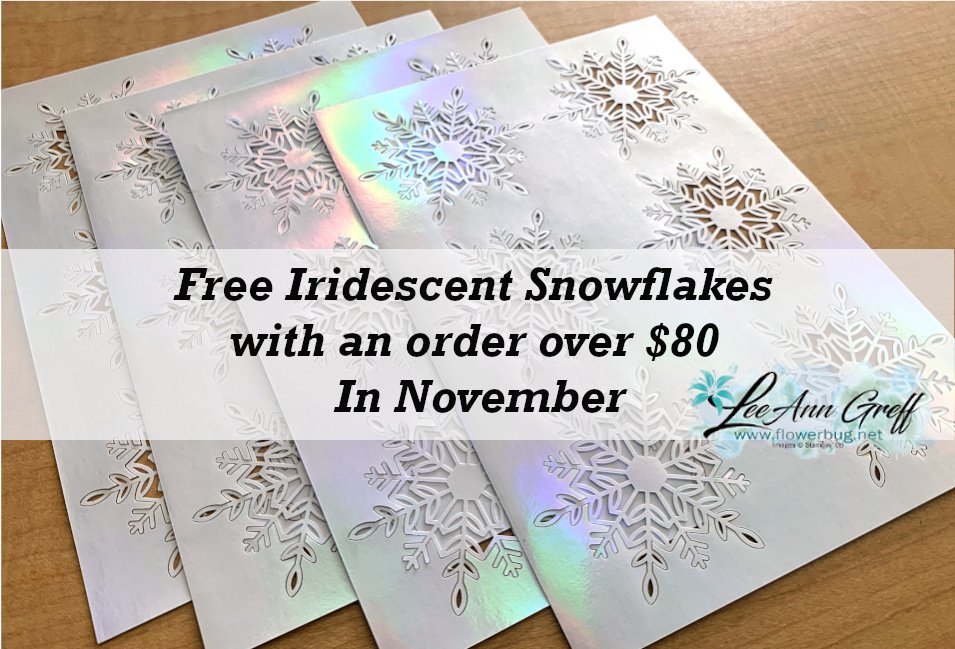
I added a few iridescent Wonderful snowflakes (seen here) to some of them; I cannot get enough of these! They're such a great size & value – you get 24 for $6.
I hope you watch the video below to see the tips & tricks on using these templates.
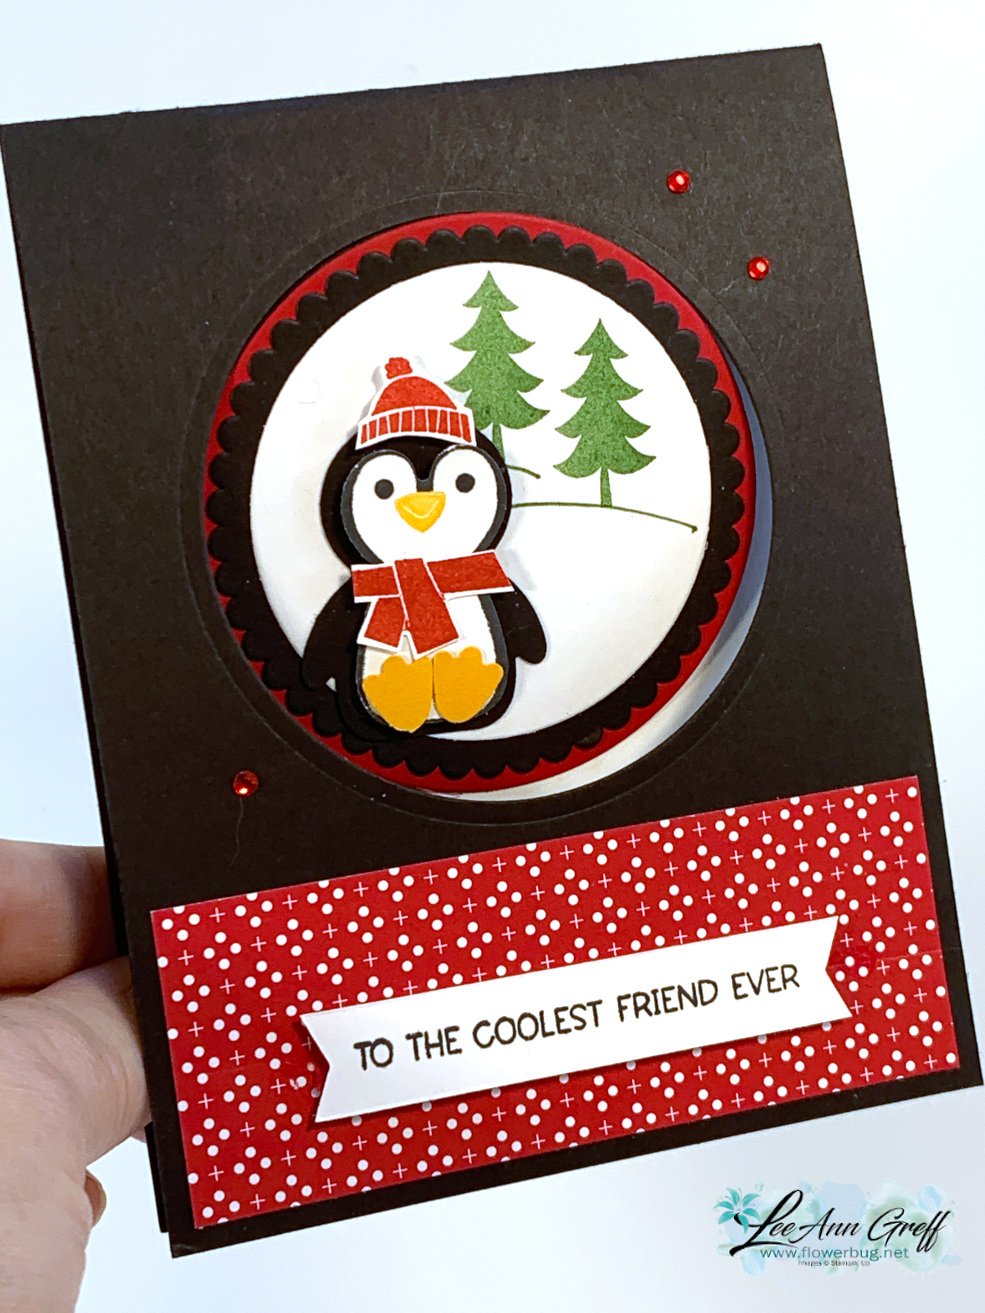
I'm also sharing this amazing card we made at my November card clubs. I cased it from my friend Susie Wood; she generously shared her idea and card with me. You can see more of her work here on her blog.
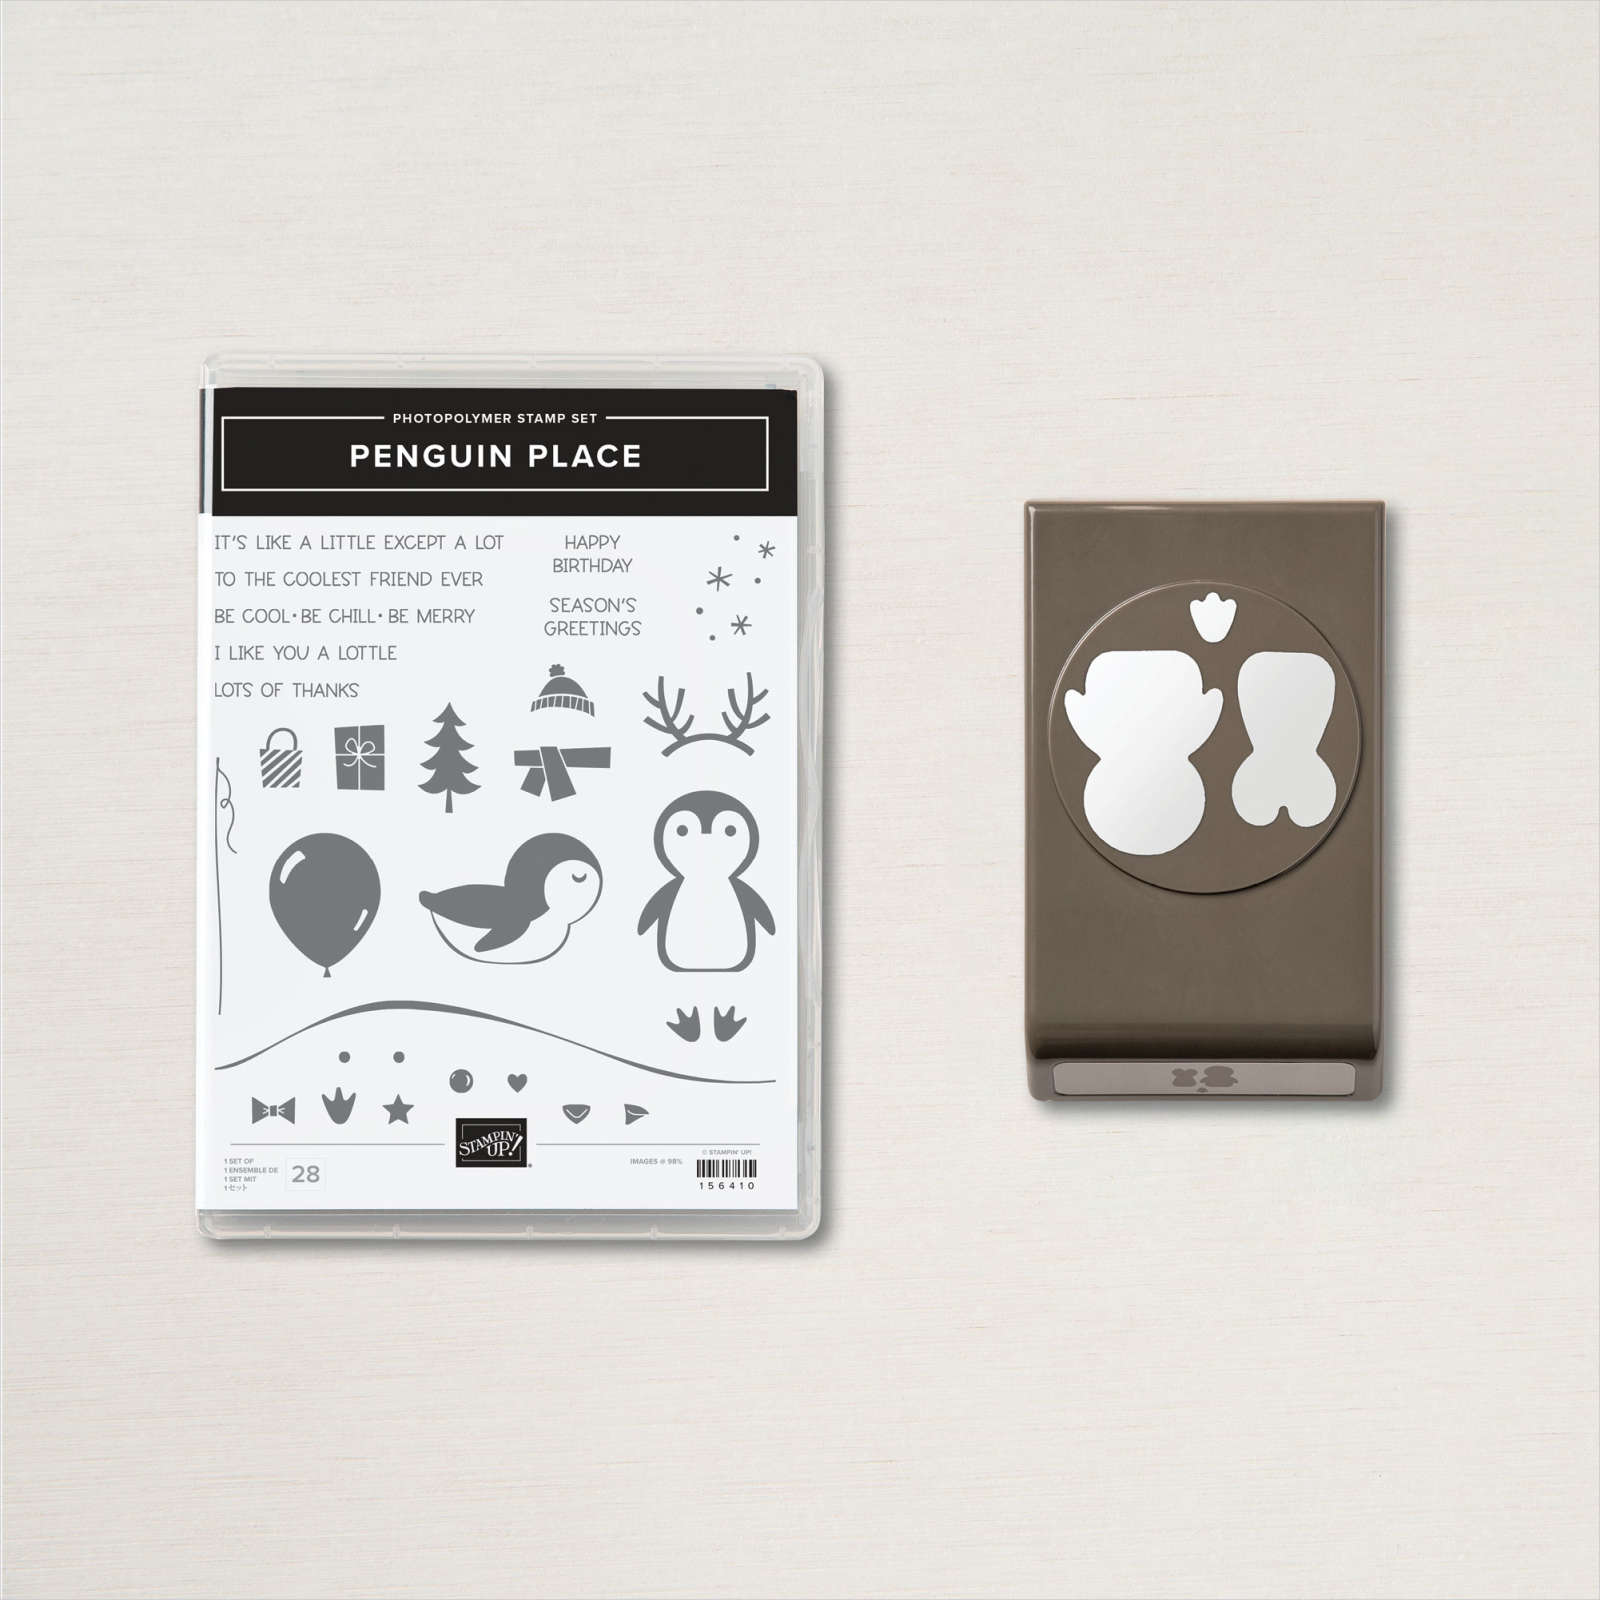
Isn't it adorable?! I just loved her colors & design and had to case it almost exactly! And guess what?! The Penguin Place bundle is back in stock!! See it here online; it will not return as a bundle at 10% off after this catalog period.
In addition to the Penguin Place bundle I used the Heartwarming Hugs designer paper (retiring), Circles Collection dies & Black glitter paper (retiring).
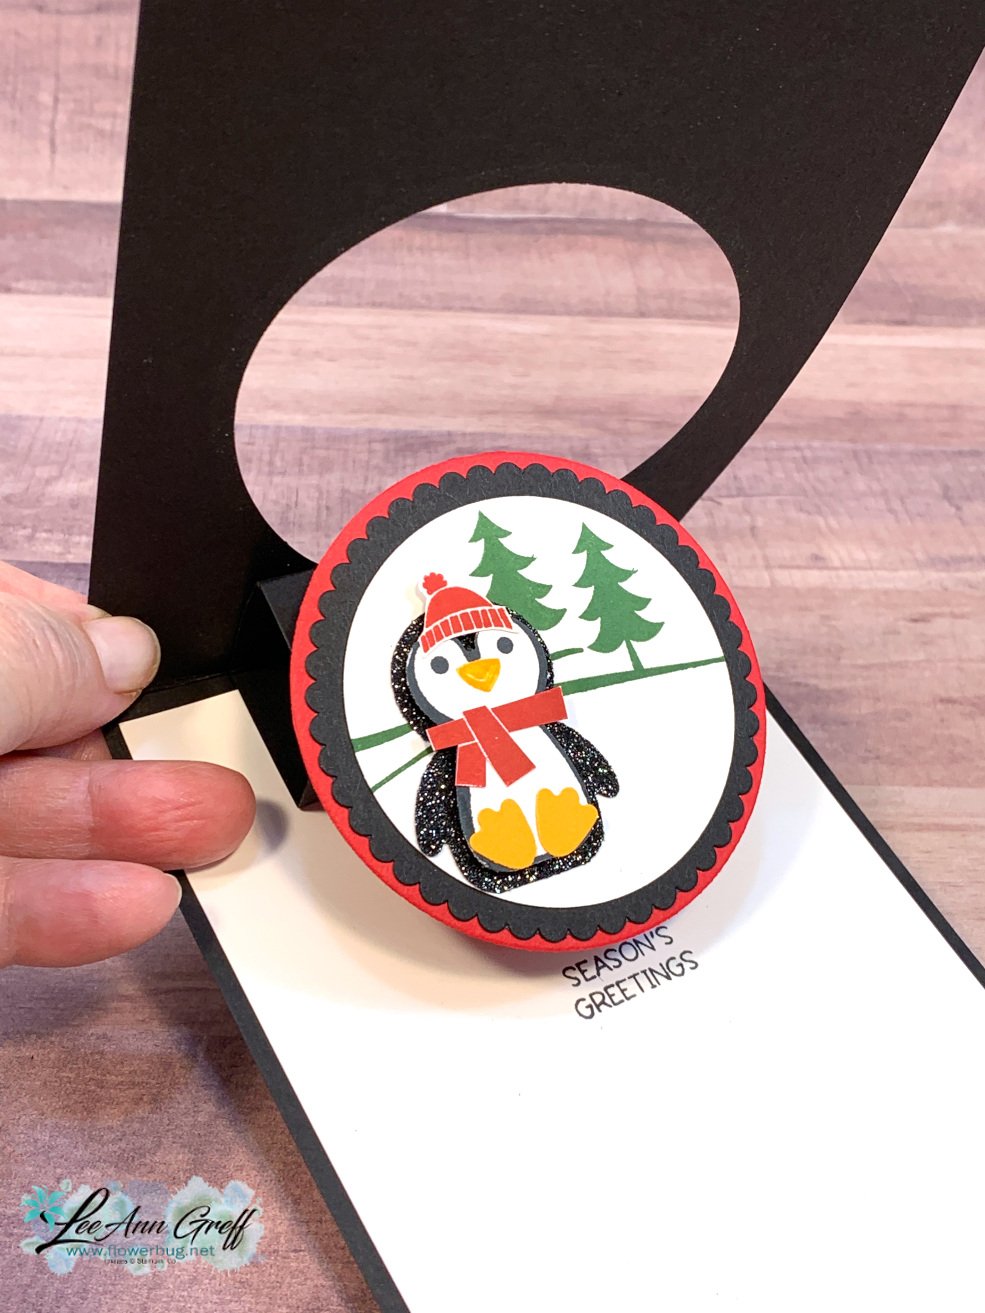
The next two photos show the box inside the fold. There's also a flap you attach your circles to. See the measurements below. The video will help you the most though!
Black – card base 4 1/4" X 11" scored at 5 1/2", Black scalloped circle 2 3/4", plus a 2" X 4 1/2" strip, scored every inch for the flip box & a 3/4" X 2" strip for the flip part
White inside 4" X 5 1/4", White circle 2 1/3" Heartwarming Hugs DSP 1 1/2" X 4" Red circle 2 7/8"
Here's the video for this card; I hope you watch it and feel comfortable enough to try making one.
I stamped the images in Old Olive & Gorgeous Grape along one side of the card. Then I textured it with the Timeless Type 3D embossing folder. Lastly I added a greeting on a Picture This die-cut.
Measurements:
card base 5 1/2" X 8 1/2"
White 3 3/4" X 5"
Old Olive 4" X 5 1/4"
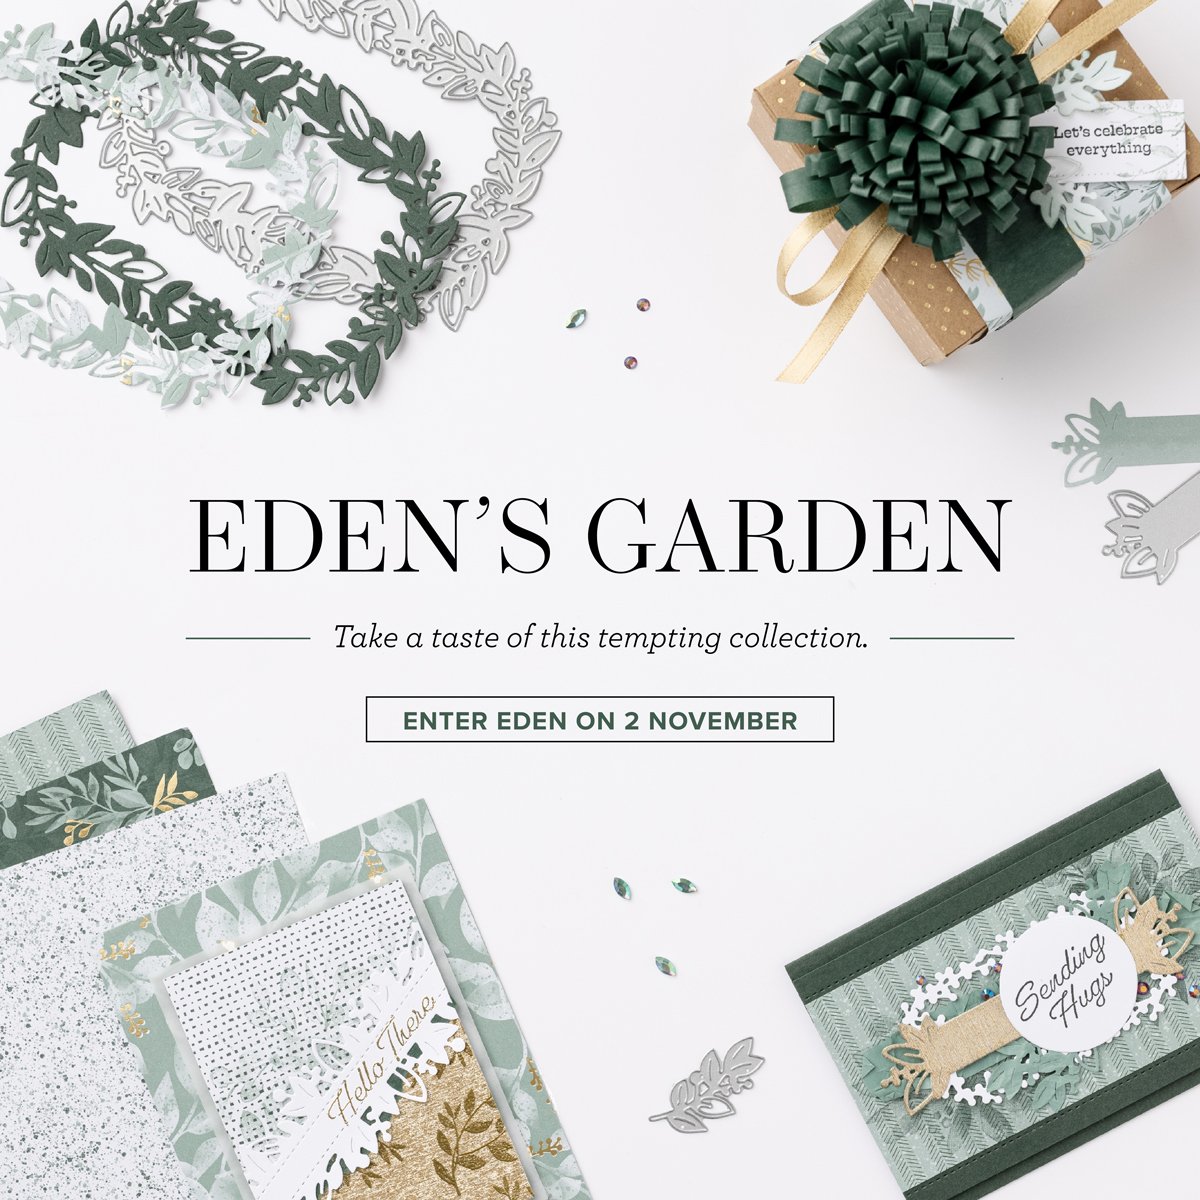
*Did you know I'm offering a free 4 card class with all online orders over $50 in November? Plus every online order gets a 22 card tutorial featuring the Eden's Garden collection!
Get your bundle here and the Ever Eden DSP hereand you'll be set to create with my project tutorial!
~~~
There's still time!
Today is the last day of the AMAZING 'Join to Save' promotion!
It's just $75 & you get $125 in product & FREE shipping!
Click here to get the best deal on the Stampin' Up! Starter kit!
Notice: LeeAnn Greff, Independent Stampin’ Up! Demonstrator, Manager. The content of this website is my sole responsibility as an independent Stampin’ Up! demonstrator and the use of, and content of, the classes, services, or products offered on this website is not endorsed by Stampin’ Up! Copyright 2025


Leave a Reply