/


Latest Post

Get multiple cards from one sheet of Designer Paper! Video & free project sheet too.


I shared these beautiful cards on a Live video a few weeks ago. I wanted to make the most of one of my favorite sheets of the Valley in Bloom designer series paper. It’s discounted through August!
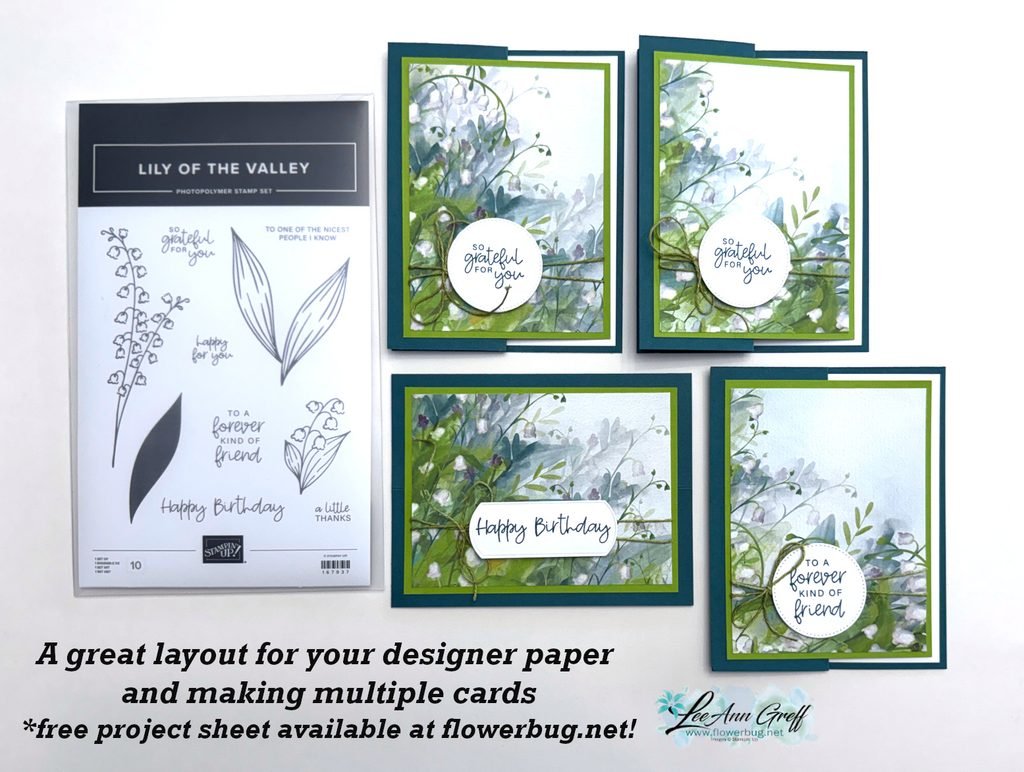
You can get more cards than I show above but I mistakenly cut in the wrong place and missed out on more. This pack of Valley in Bloom DSP has many beautiful sheets in it. Get some while it’s on sale.
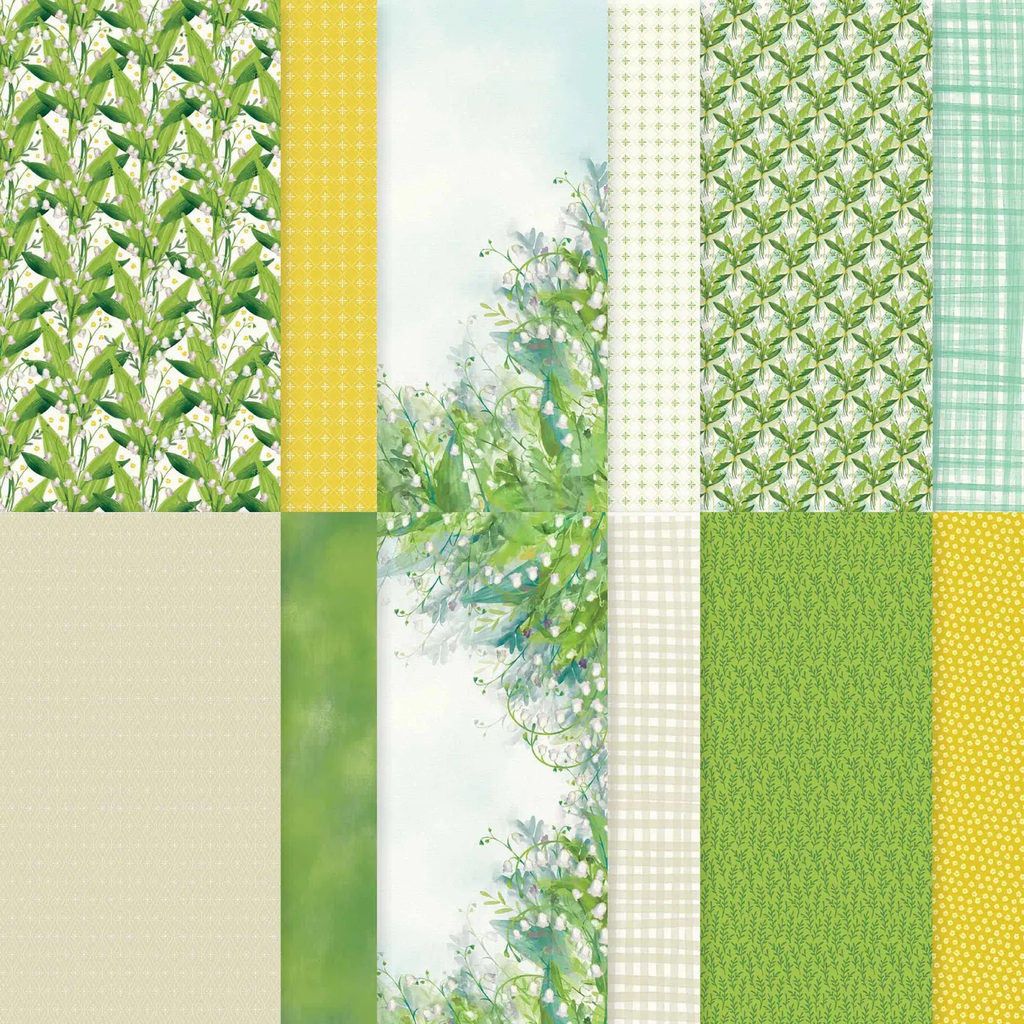
I recommend cutting the 12 X 12″ sheet into 6 pieces at 3 1/2″ X 4 3/4″. The two center pieces won’t have as much greenery on them but you could change the layout up a bit to reflect that.

My colors include Pretty Peacock with Old Olive & White. I used a variety of punches for my greetings; mostly from my stash of White elements.
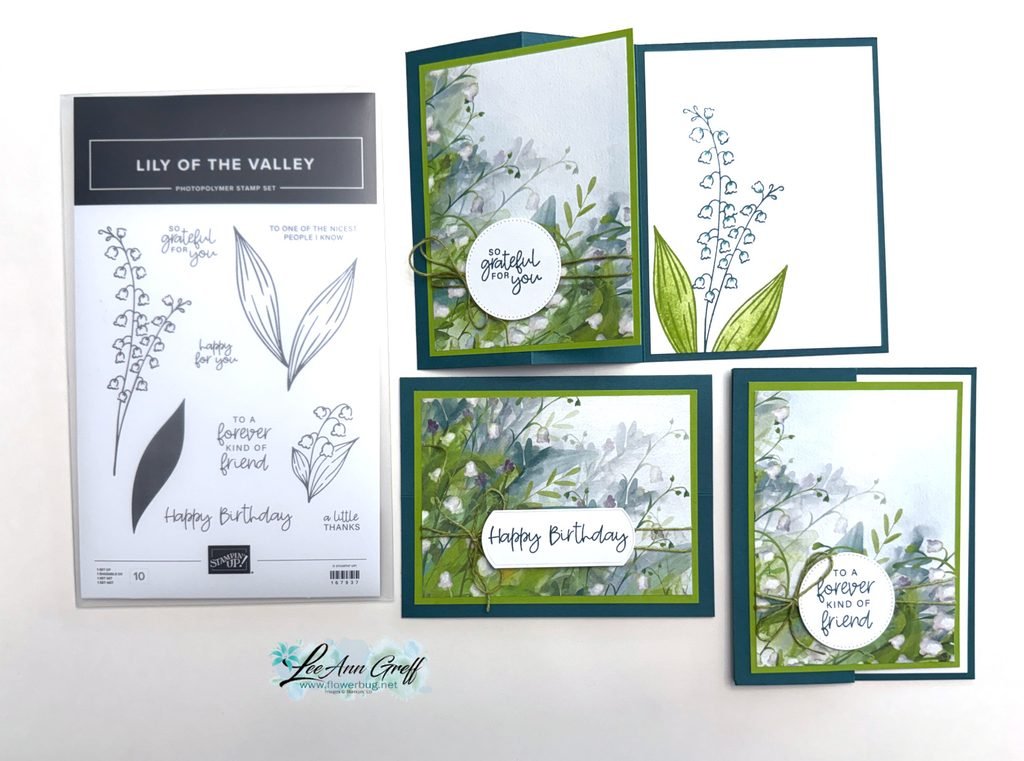
The card bases are 8 1/2″ X 5 1/2″ scored at 2 1/8″ & 4 1/4″. I made sure the Olive layer was small enough that the White inside piece shows as an inside layer. You can see the free project sheet with measurements, photos and supplies when you click here.

I stamped the inside of the cards with the Lily of the Valley stamp set and colored the flowers in with a Blender pen. I love this bundle so much. You can see it here.

You can see the video for this card and one more below. Don’t forget to subscribe to my YouTube channel!

August Specials

Don’t miss out on the Designer Paper & Cardstock sale! Click here to shop and save.

All Posts

  • Gears & Textures bundle; another wow with Candace’s fun fold card


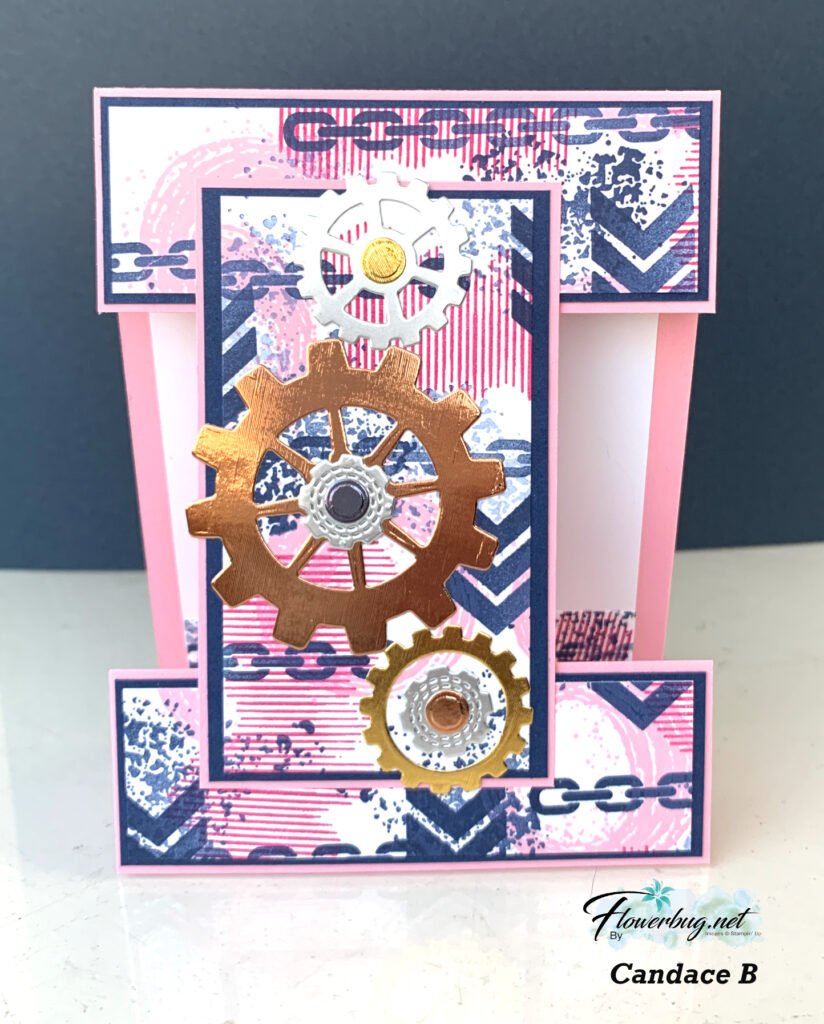
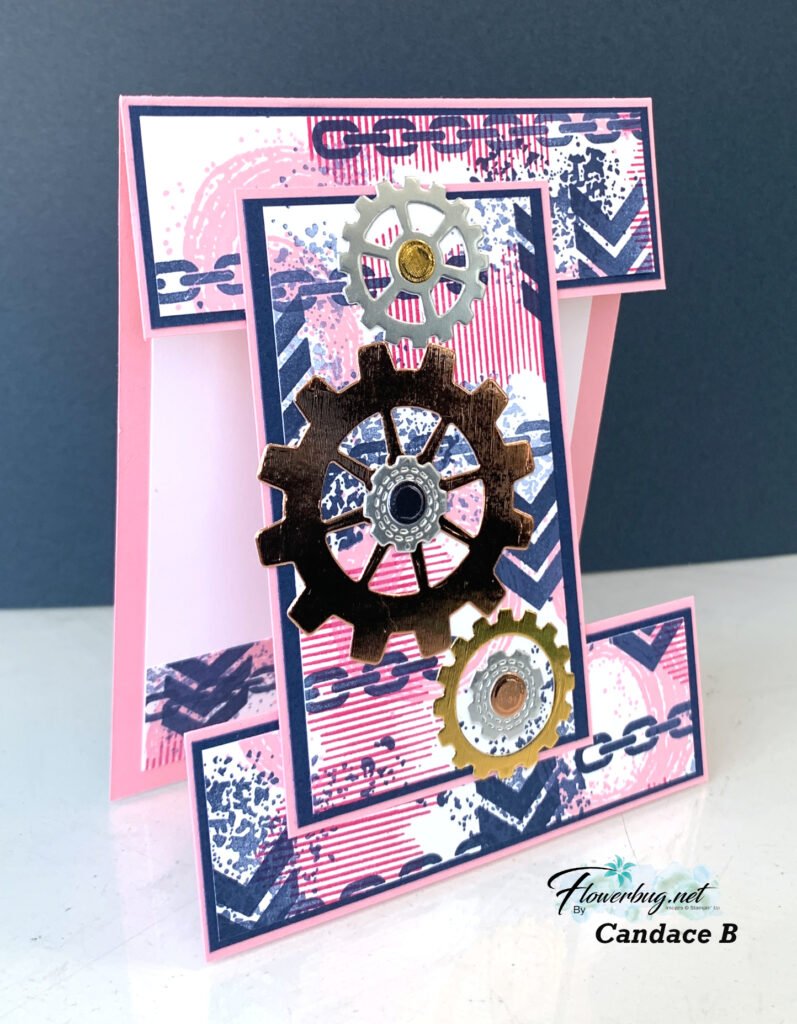
    Today I’m sharing a neat card made by Candace; my talented team member. She used the Gears & Textures bundle to make this:

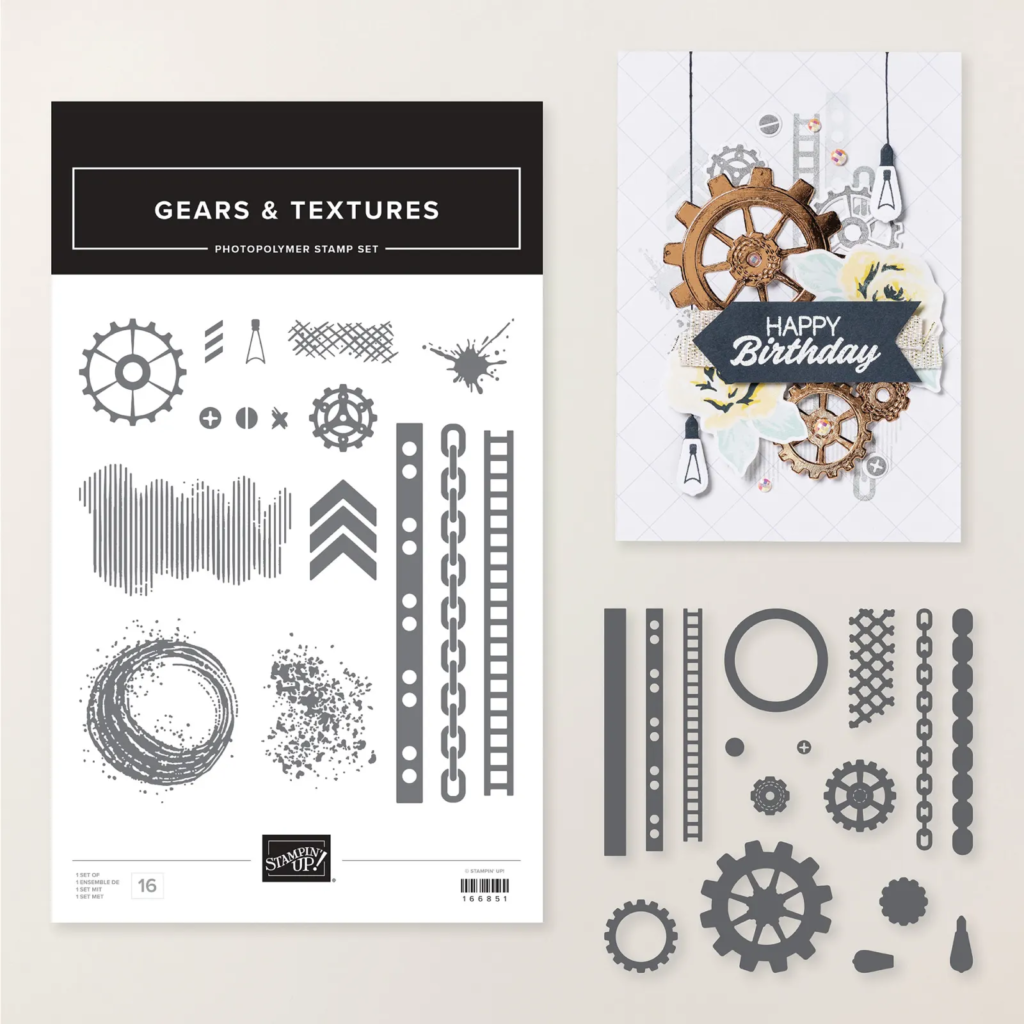
    You can see the Gears & Textures bundle here. It’s so special & unique and perfect for masculine cards. But as you can see in Candace’s card it’s great for gals too!

    She made her own paper with the stamps in the set. She used Pretty in Pink, Night of Navy & Flirty Flamingo inks. She added die-cut gears from the Metallic Textured Specialty papers seen here.

    If you want to make a card like this start out with a 4 1/4″ X 11″ piece of card stock scored at 5 1/2″. Trim off a 1 1/2″ piece from one end. Then trim off another 2 1/2″ piece which is the vertical center piece. The stamped paper layers are 1 1/4″ X 4″ on the top & bottom and the center is 2 1/4″ X 4″.

    Thanks for the amazing fun fold card Candace!

    January Specials:

    Bonus days are here!

    Get this free PDF with all online orders in January!

    The 2026 Spring Catalog is live!

    January’s Product of the Month
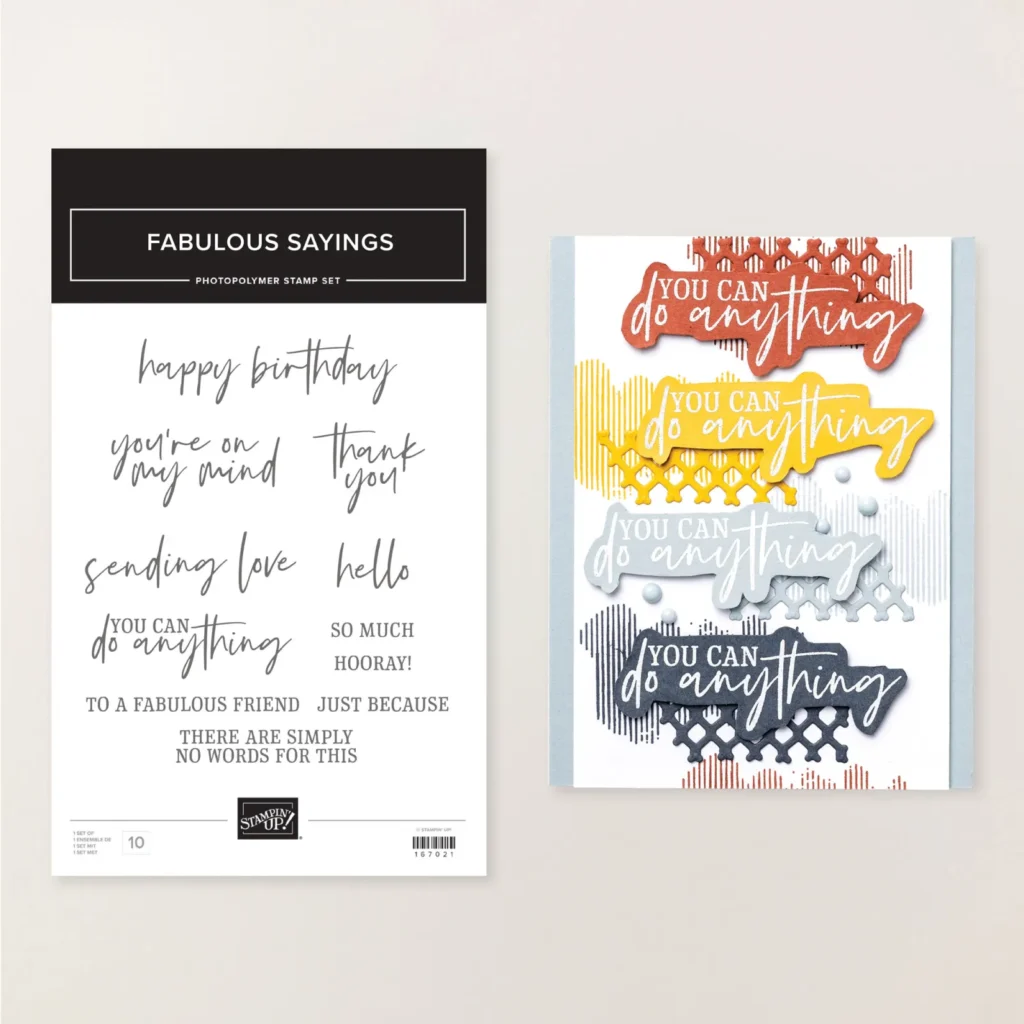
    Fabulous Sayings set
    Get it for $5 with any $75 purchase

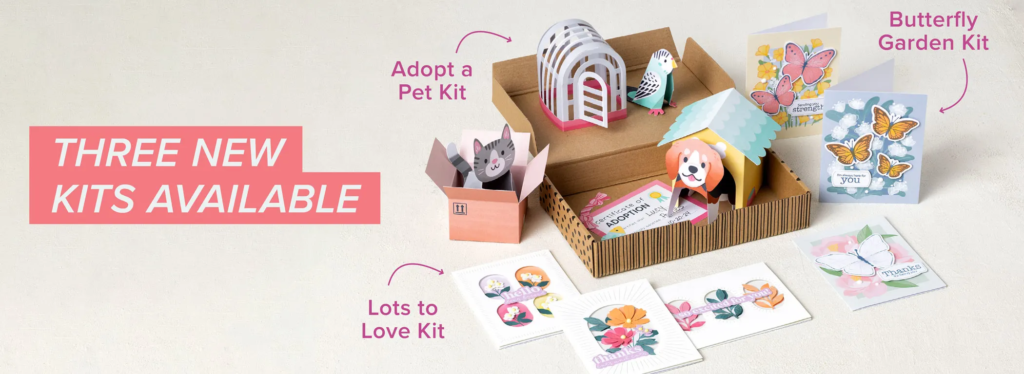
    Check out the newest Kits in our Kit Collection here.

    Leave a Reply

    Your email address will not be published. Required fields are marked *

  • Sweet Encircled with Love Valentine’s card


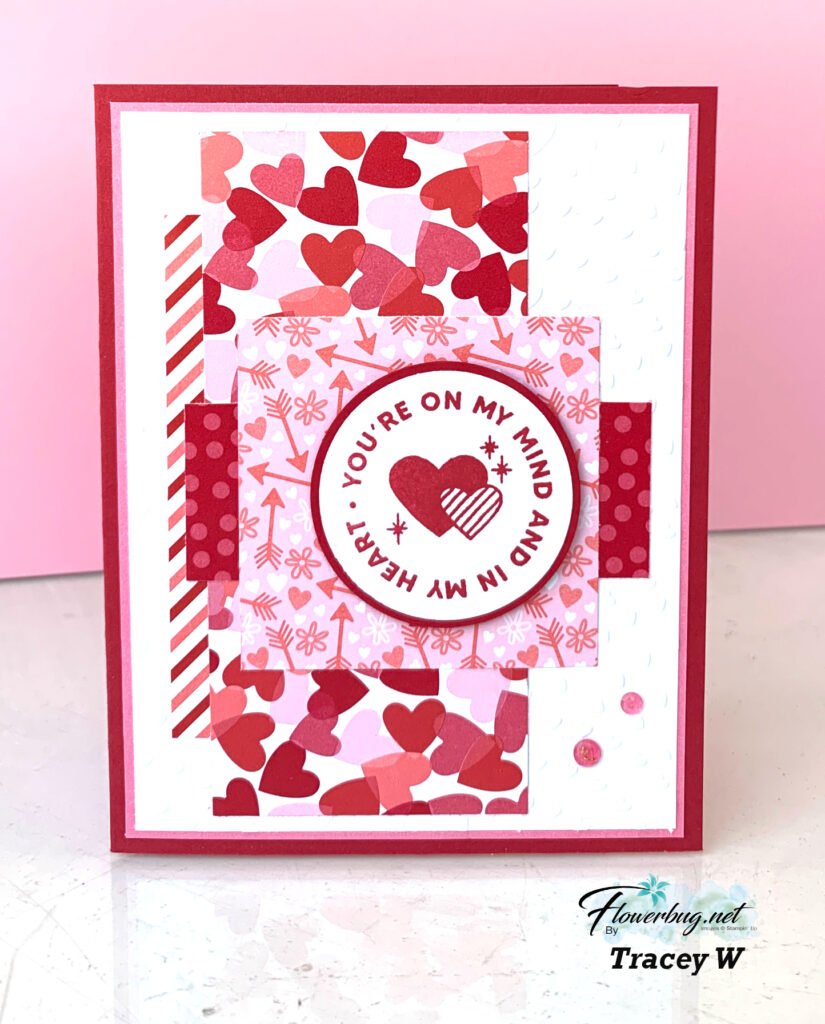
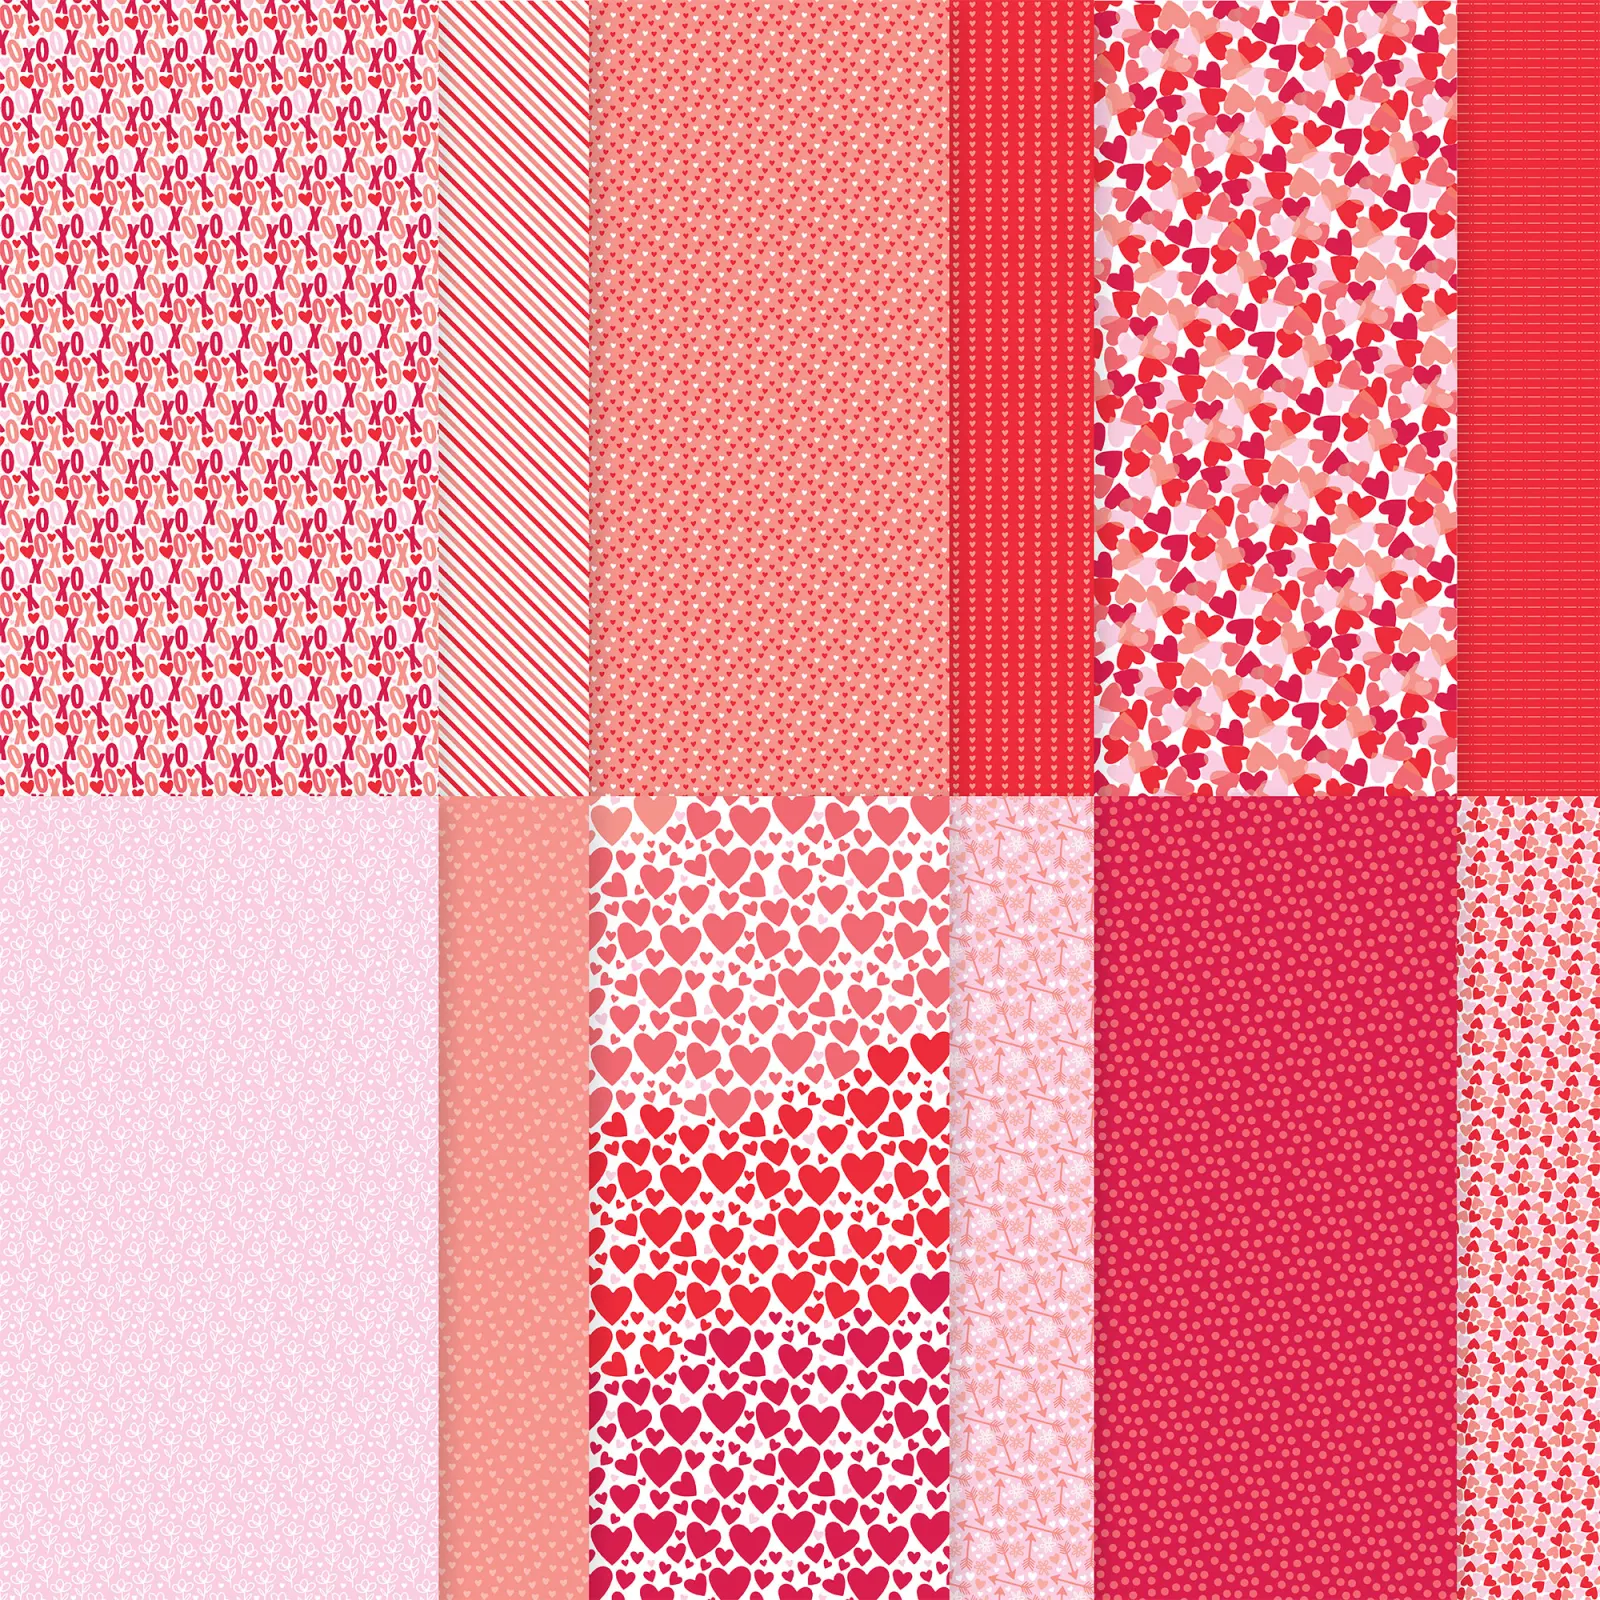
    Tracey created this striking card with the Made with Love designer paper:

    I love the abstract designer paper pieces she added to her White layer. Then to make sure the greeting was the focal point she added the top square of DSP. Perfect!
    This is a great example of taking leftover pieces of coordinating DSP and layering them up. A great way to use scraps!

    She used the Encircled with Love stamp set seen here along with the 1 3/4″ & 1 7/8″ circle punches. Her colors include Real Red, Flirty Flamingo with White which she got from the pretty designer paper.

    See the Made with Love designer paper here.

    Your card inspired me to look at and use my DSP scraps Tracey! Thank you.

    January Specials:

    Bonus days are here!

    Get this free PDF with all online orders in January!

    The 2026 Spring Catalog is live!

    January’s Product of the Month
    Fabulous Sayings set
    Get it for $5 with any $75 purchase

    Check out the newest Kits in our Kit Collection here.

    Leave a Reply

    Your email address will not be published. Required fields are marked *

  • Triple Z-fold with Friendly Foliage with video & free project sheet


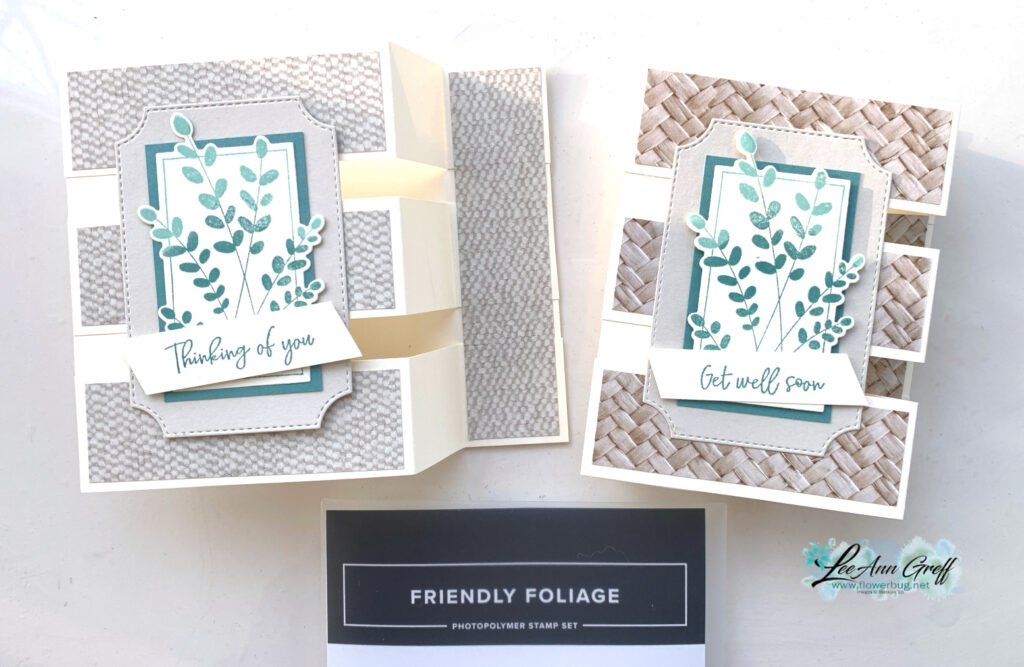
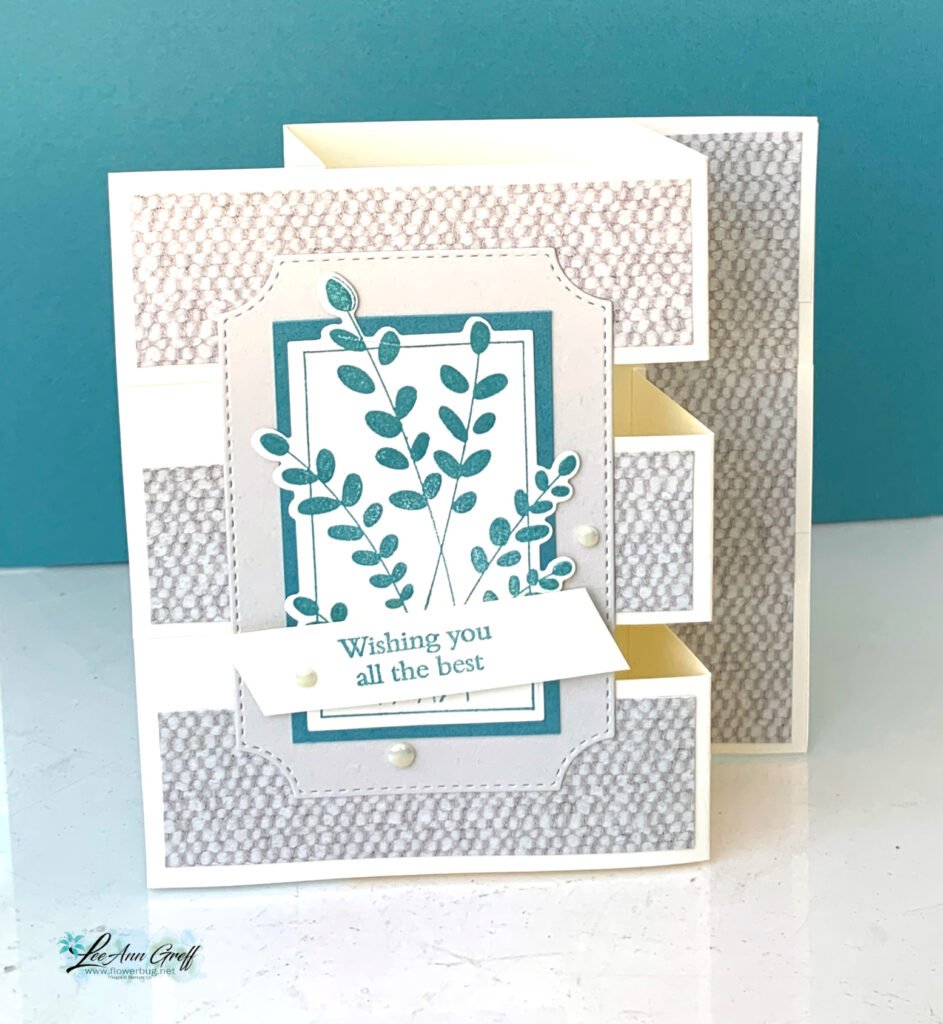
    We made this cool card at my Card Clubs in November. I adore the Friendly Foliage bundle!

    This fun fold looks difficult but it’s quite deceiving. It’s really so simple to make; I hope you try one! I’m a bit obsessed with this fold!

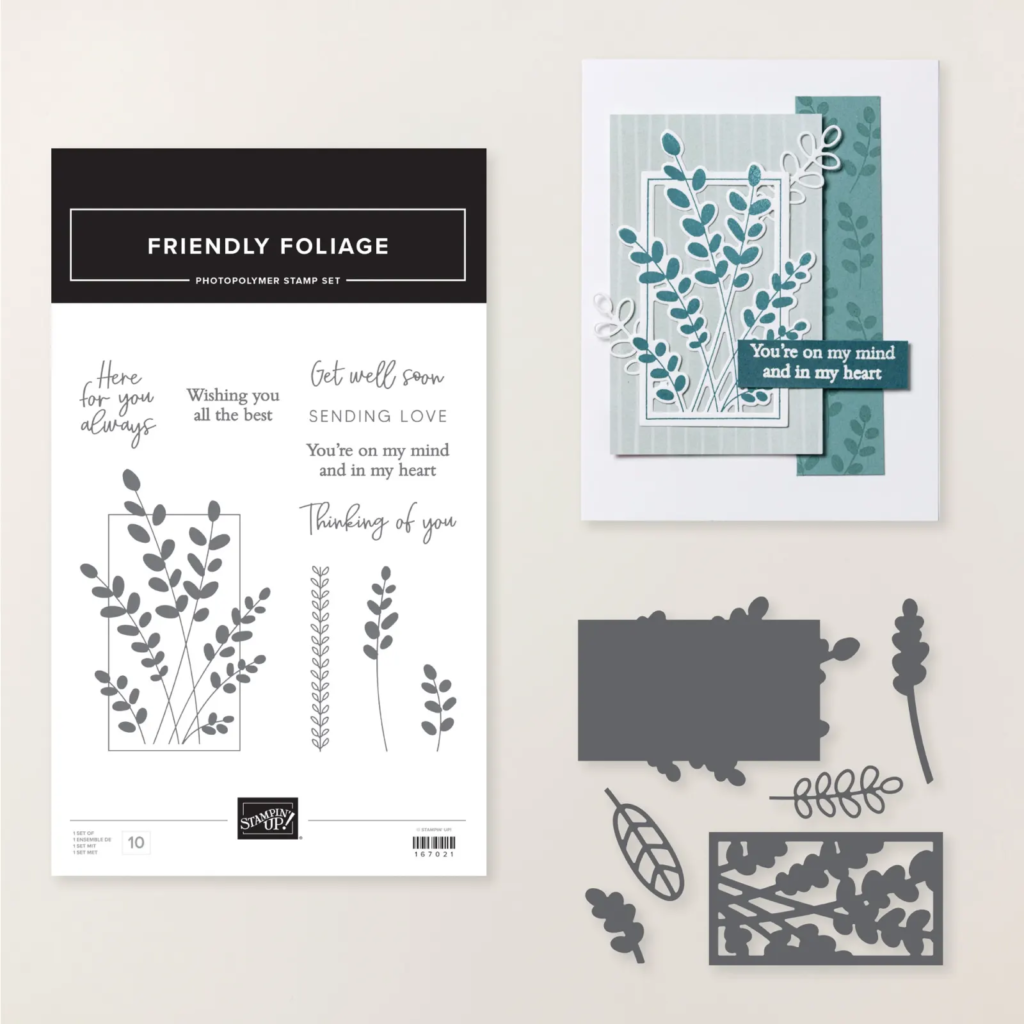
    The Friendly Foliage bundle is a big favorite of many since it came out in our Online store a few months ago.

    The designer paper seen below is from the Need for Tweed package which is on the Last Chance List right now and discounted. See it here.

    I also used the Branching Out dies for the outer frame. My colors include Very Vanilla, Lost Lagoon & Basic Beige. This soft & soothing color combo really works!

    Here is the free project sheet. Click here to download or print it.

    And here is the video tutorial for you.

    January Specials:

    Bonus days are here!

    Get this free PDF with all online orders in January!

    The 2026 Spring Catalog is live!

    January’s Product of the Month
    Fabulous Sayings set
    Get it for $5 with any $75 purchase

    Check out the newest Kits in our Kit Collection here.

    Leave a Reply

    Your email address will not be published. Required fields are marked *


Notice: LeeAnn Greff, Independent Stampin’ Up! Demonstrator, Manager. The content of this website is my sole responsibility as an independent Stampin’ Up! demonstrator and the use of, and content of, the classes, services, or products offered on this website is not endorsed by Stampin’ Up! Copyright 2025