/


Latest Post

Get multiple cards from one sheet of Designer Paper! Video & free project sheet too.


I shared these beautiful cards on a Live video a few weeks ago. I wanted to make the most of one of my favorite sheets of the Valley in Bloom designer series paper. It’s discounted through August!
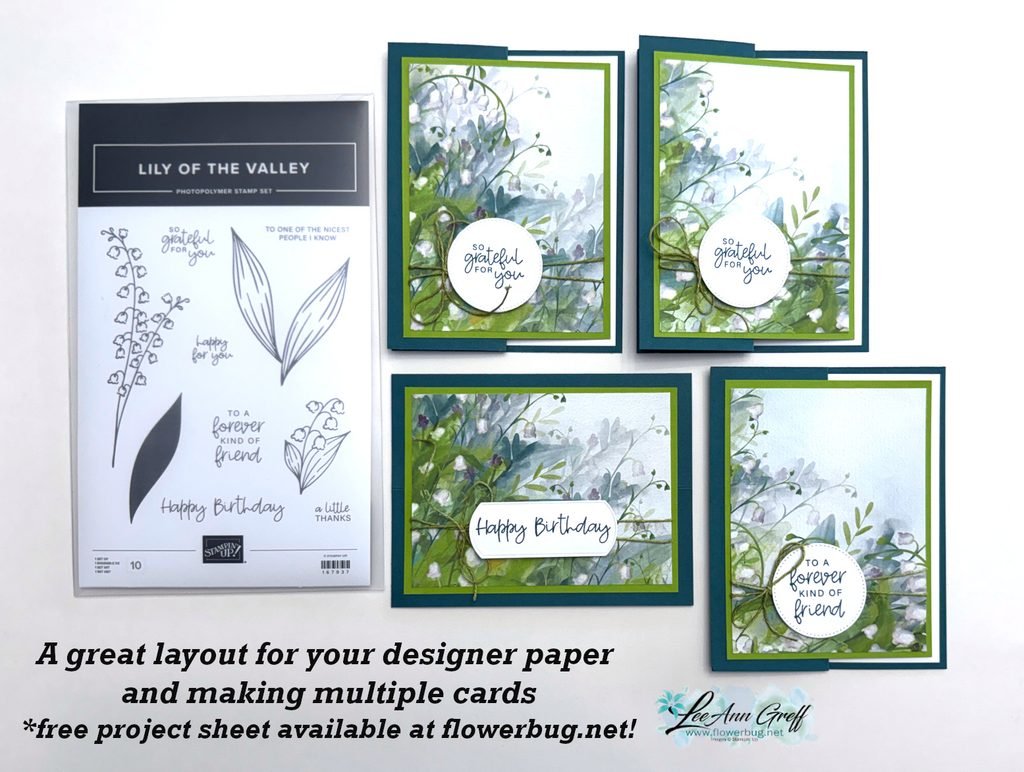
You can get more cards than I show above but I mistakenly cut in the wrong place and missed out on more. This pack of Valley in Bloom DSP has many beautiful sheets in it. Get some while it’s on sale.
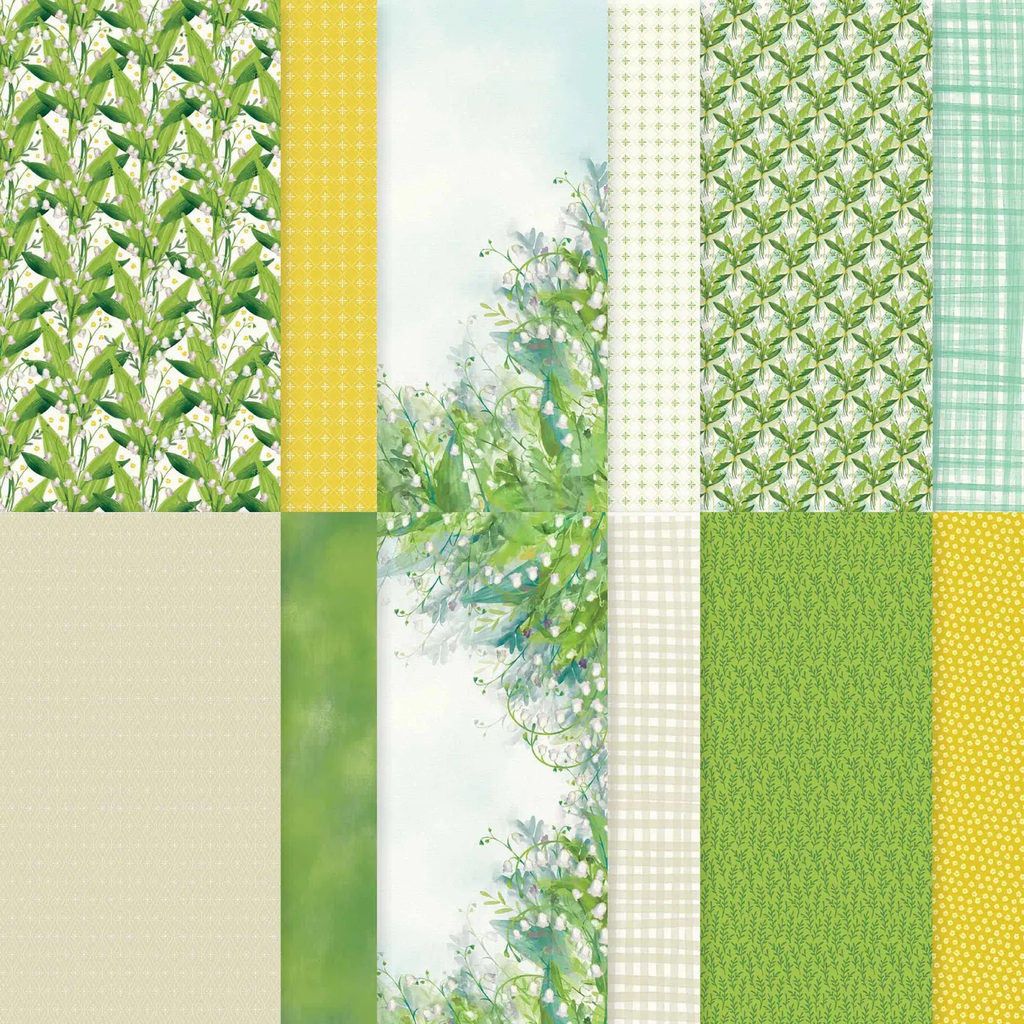
I recommend cutting the 12 X 12″ sheet into 6 pieces at 3 1/2″ X 4 3/4″. The two center pieces won’t have as much greenery on them but you could change the layout up a bit to reflect that.

My colors include Pretty Peacock with Old Olive & White. I used a variety of punches for my greetings; mostly from my stash of White elements.
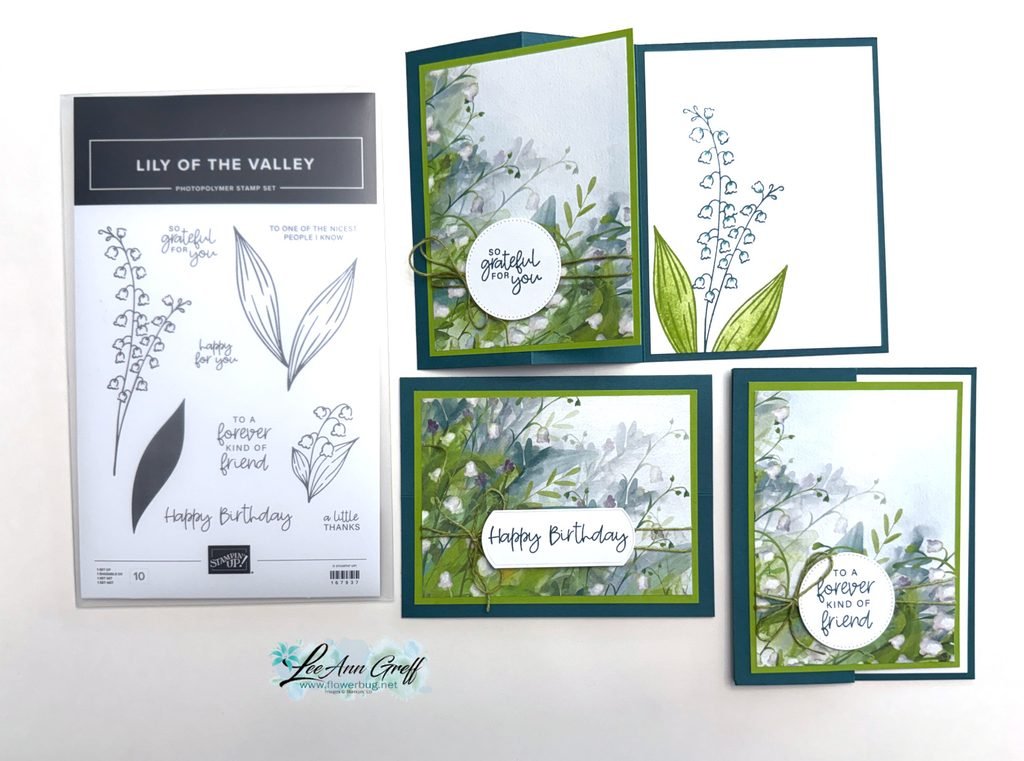
The card bases are 8 1/2″ X 5 1/2″ scored at 2 1/8″ & 4 1/4″. I made sure the Olive layer was small enough that the White inside piece shows as an inside layer. You can see the free project sheet with measurements, photos and supplies when you click here.

I stamped the inside of the cards with the Lily of the Valley stamp set and colored the flowers in with a Blender pen. I love this bundle so much. You can see it here.

You can see the video for this card and one more below. Don’t forget to subscribe to my YouTube channel!

August Specials

Don’t miss out on the Designer Paper & Cardstock sale! Click here to shop and save.

All Posts

  • Check out these Team Swaps featuring Specialty Paper – with measurements!


    Our card swap theme for February was to feature our beautiful specialty papers. Today I’m sharing three of them with you.

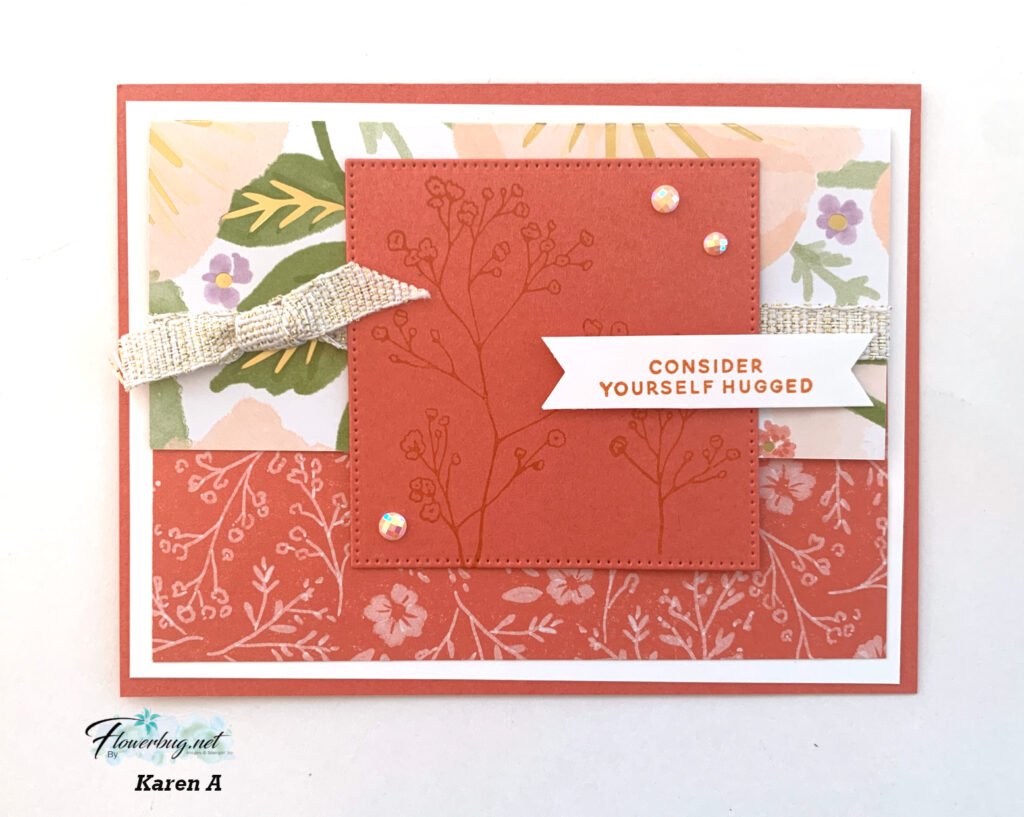
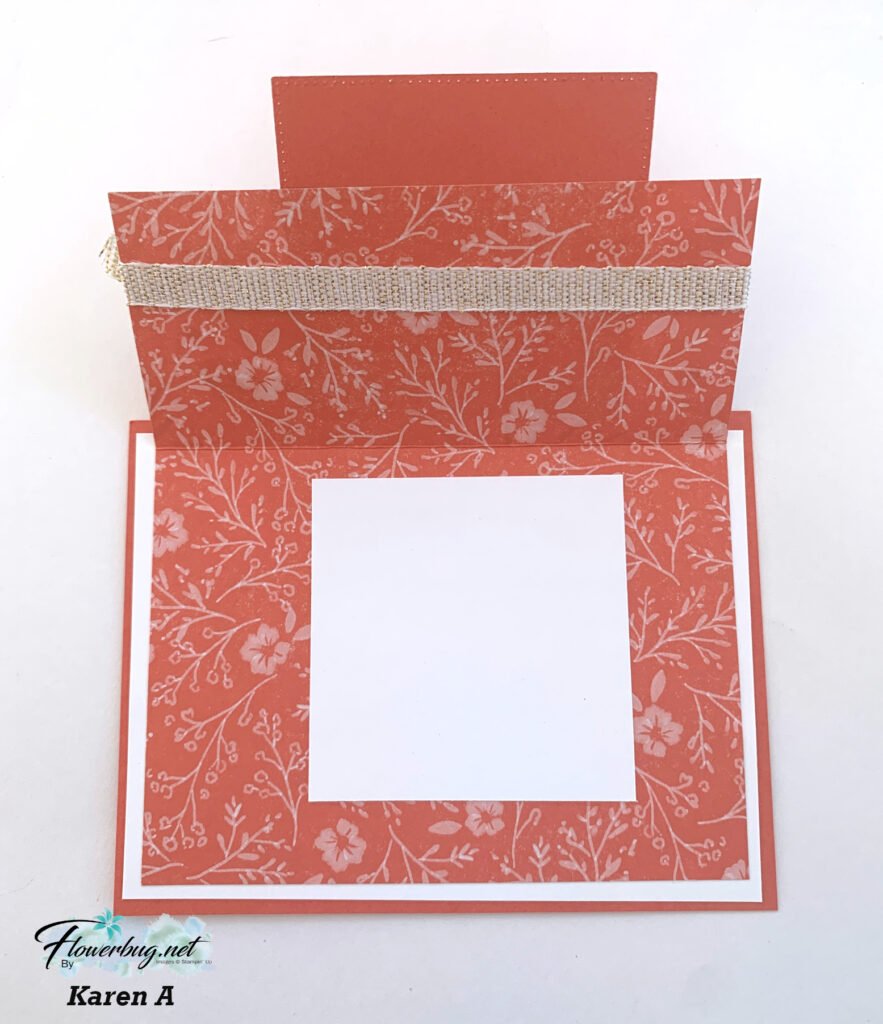
    First is a neat fun fold card by Karen. She chose the Lovely & Beautiful specialty DSP and her card shows off both sides wonderfully!

    She also used the Three Banner bundle for her greeting. Love that saying! See this punch bundle here.
    The stitched square die-cut from Stylish Shapes dies hides the inside panel perfectly.

    Measurements are as follows:

    • Card base 5 1/2″ X 4 1/4″
    • White 5 1/4″ X 4″, inside is 2 3/4″ square
    • DSP 5″ X 6″ score at 2″ on the 6″ side
    • Calypso Coral square die-cut 2 3/4″

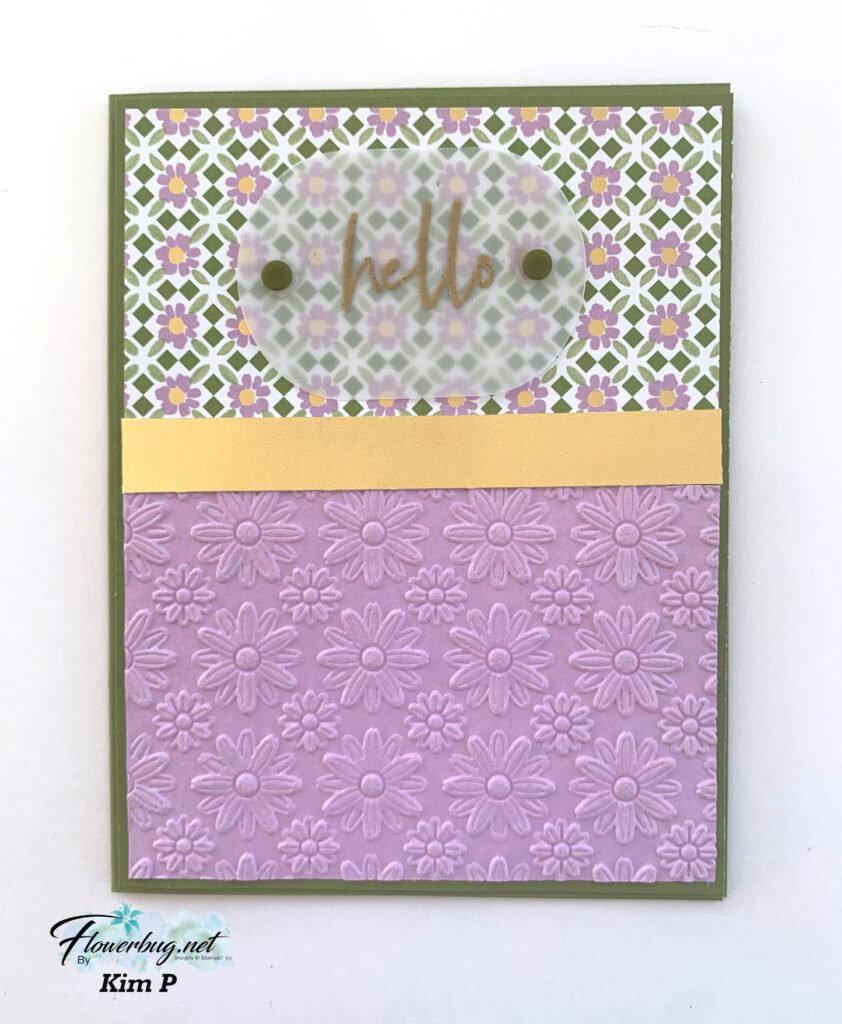
    Next is Kim’s card who also chose to use the Lovely & Beautiful DSP. She heat embossed her greeting on Vellum!

    Notice the brand new embossing folder – it’s called Lazy Daisy and coordinates great with the DSP she chose.

    Measurements:

    • Card base 8 1/2″ X 5 1/2″ score at 4 1/4″, Olive layer 4 1/8″ X 5 3/8″
    • DSP 4″ X 2 1/4″
    • Fresh Freesia 4″ X 3″
    • Gold strip 4″ X 1/2″

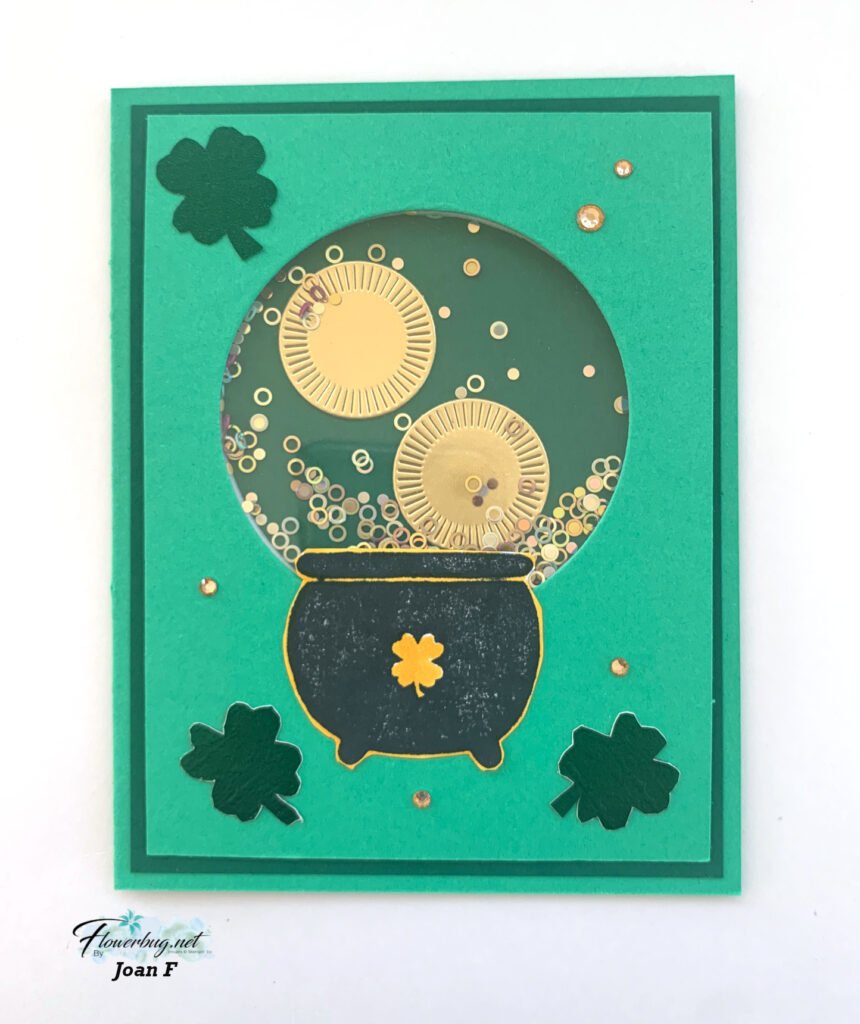
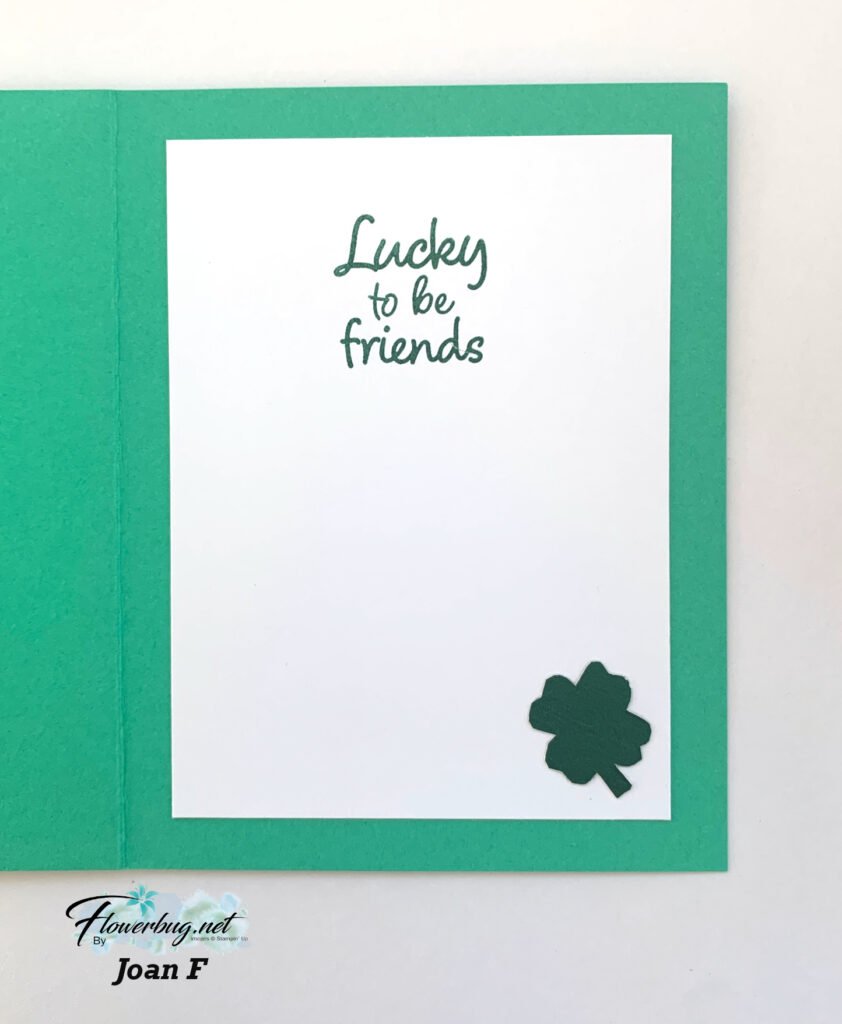
    Next is a neat shaker card made by Joan. She used the Good Luck stamp set.

    Her colors are Shy Shamrock (of course!) and Shaded Spruce with Gold accents.

    Measurements:

    • Shy Shamrock card base 8 1/2″ X 5 1/2″ score at 4 1/4″, top layer is 3 3/4″ X 5″
    • Shaded Spruce 4″ X 5 1/4″
    • circle window is 2 3/4″
    • White inside 3 1/2″ X 4 3/4″

    I’ll share more Team swaps tomorrow.

    March Specials!

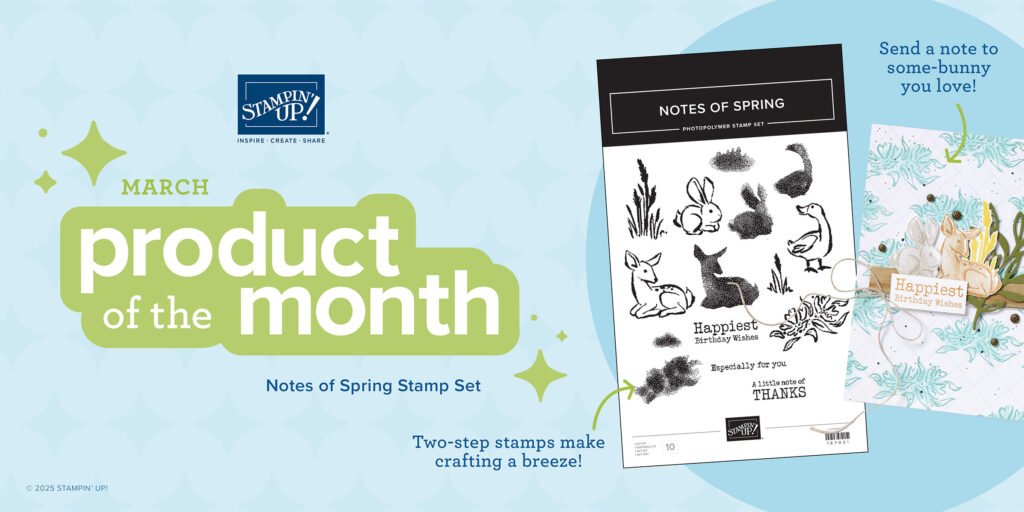
    March Product of the Month is the Notes of Spring stamp set!

    It’s just $5 with a $75 purchase.

    Get my March PDF free with any Online purchase!

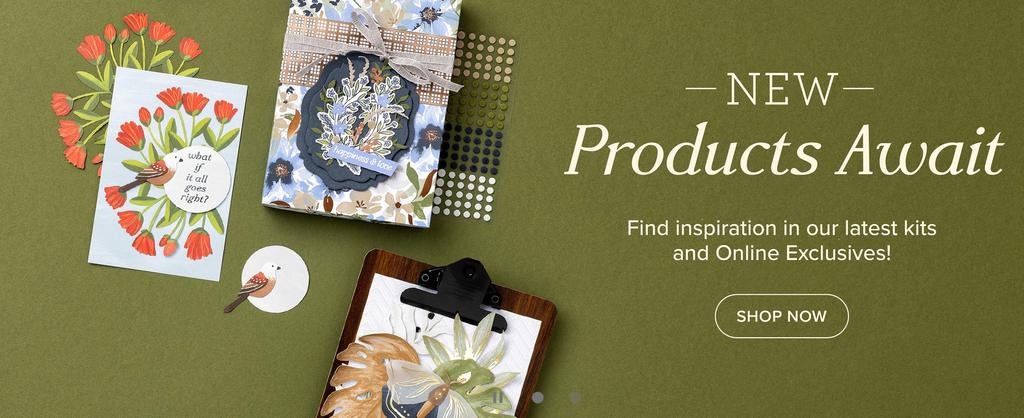
    NEW Online Exclusives are here!

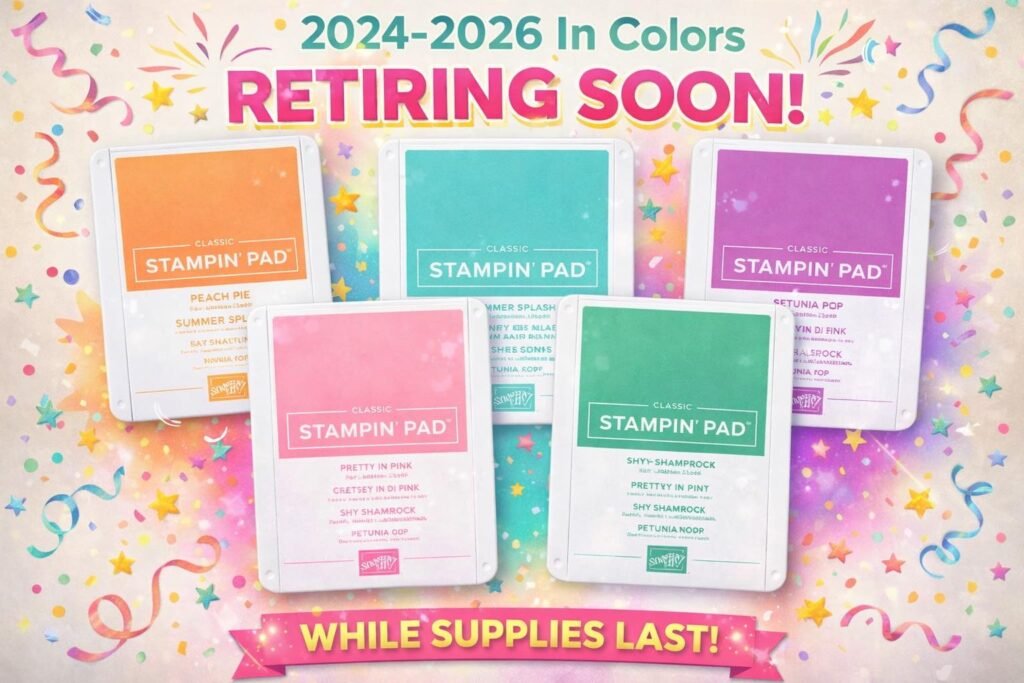
    Get the retiring In Colors while you can; they’re already going fast!

    Leave a Reply

    Your email address will not be published. Required fields are marked *

  • March Specials begin today!


    I’m super excited to share that the newest Online Exclusives are now available to customers! Us Demo’s have been able to pre-order them for over a month and there are sooo many you’re going to love! Go here to see them all.

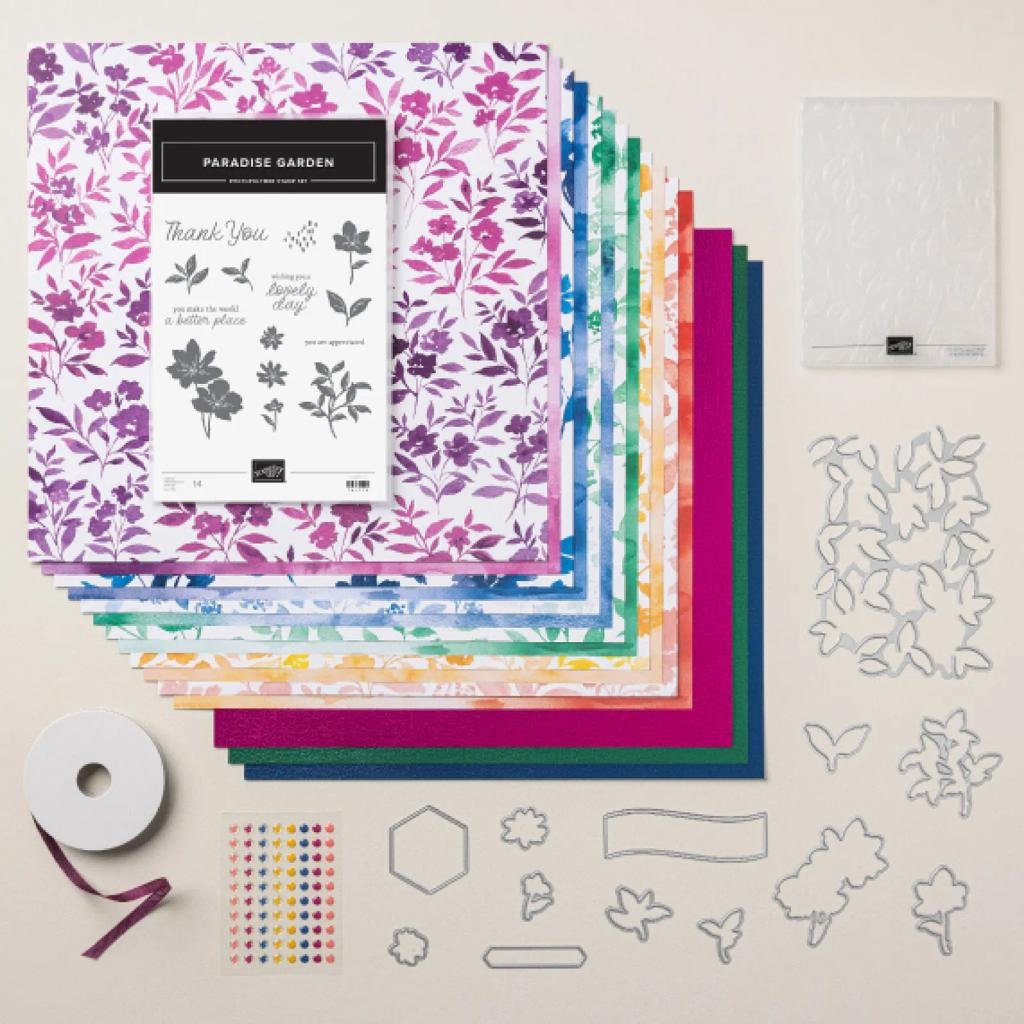
    Below is one of my favorite suites; the Paradise Garden suite.

    I absolutely love this designer series paper! In fact it will be featured in one of my March kits to go.

    Click here to see all of the newest Online products.

    The new Product of the Month for March is the Notes of Spring stamp set. A sweet 2-step photopolymer set you can redeem for just $5 once your order reaches the $75 mark.

    They’ve also added three new kits in our Kit Collection. Go here to see them all.

    I’m featuring the Cute as a Bug designer paper in my free PDF for online orders in March. You’ll find lots of inspiration here!

    Just place an order here to receive it!

    Leave a Reply

    Your email address will not be published. Required fields are marked *

  • Neat ‘Latch fold’ card with Nature’s Walk suite; video & free project sheet too!


    Today is the last day of the February/March specials!

    Be sure to use your bonus coupons by today.

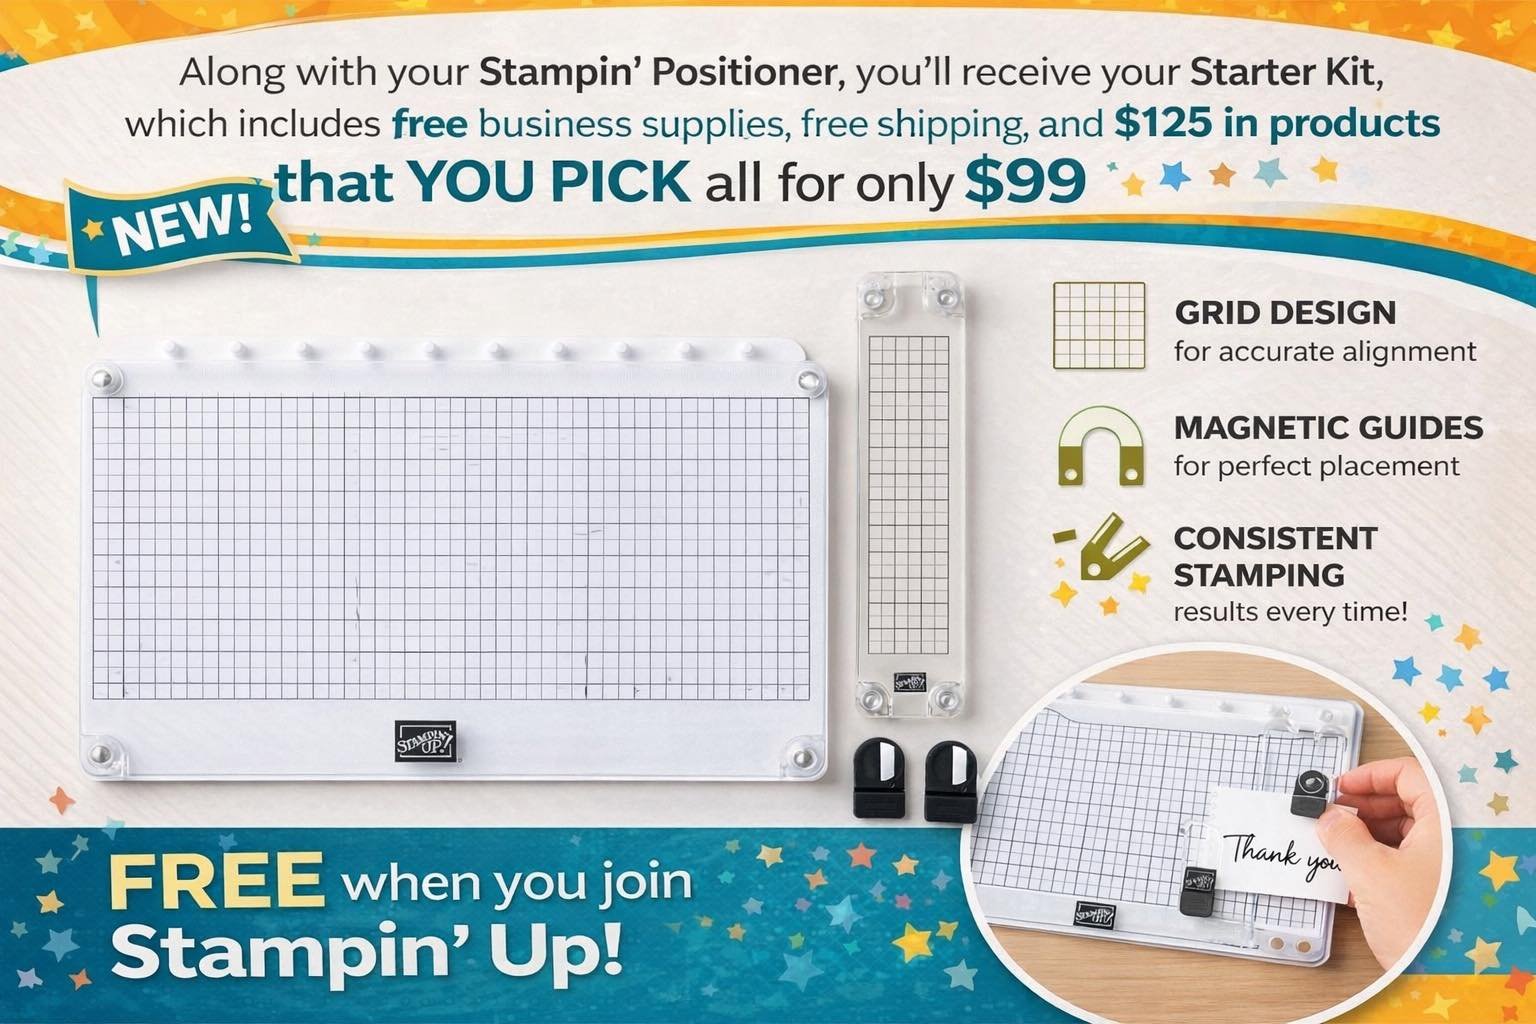
    And also if you want the new Stampin’ Positioner FREE grab the Starter kit today!

    ~~~

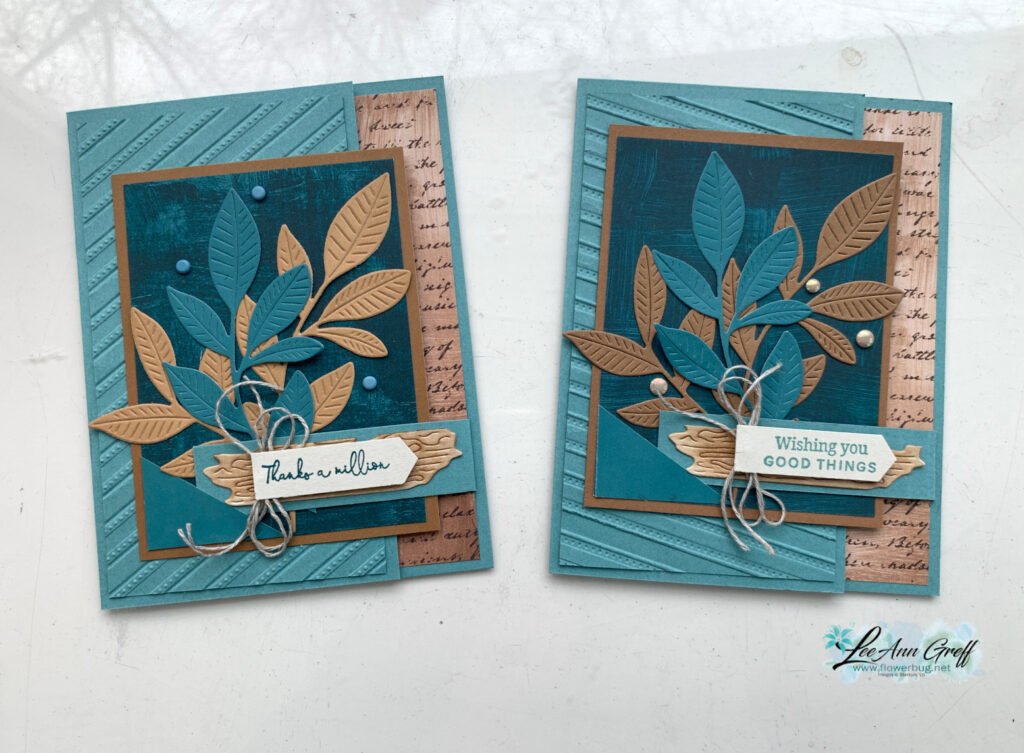
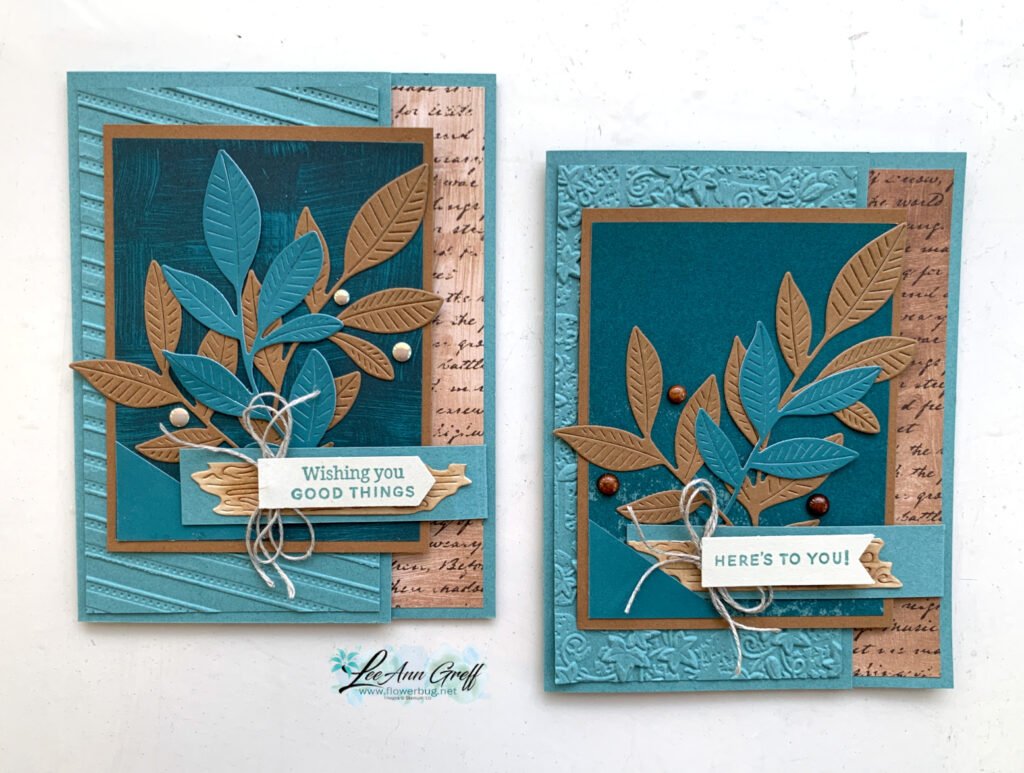
    Here’s the card I featured on last week’s video. We made it at my February card clubs locally and it was a big hit!

    My colors include Lost Lagoon, Pecan Pie & Basic Beige. There are two different pieces of the designer paper that’s called Nature Walk and can be seen here.

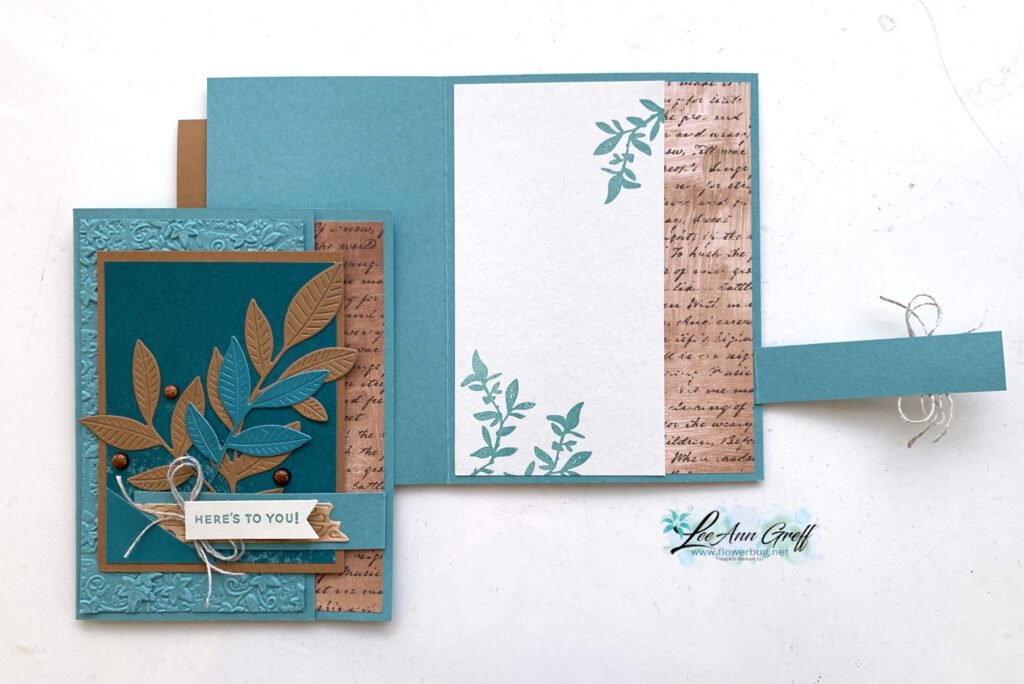
    There are lots of pieces and extra elements to this card. It was super fun to put together. That neat striped embossing folder on the extra Lost Lagoon layer is called Lovely Stripes and can be seen here. It’s one of my new favorites.

    This card is kept closed by the narrow ‘flap’ attached to the right side of the card. I added a small triangle to the DSP layer to tuck the corner into. Works great To hold that flap down!

    The flap is adhered ‘underneath’ the DSP layer inside the card. *note the other embossing folder used on the card above. It’s called Stone & Vine and is also a deeply textured folder seen here.

    There are many, many details on this card I want to highlight. Here goes:

    • The die-cut leaves and ‘wood’ piece under the greeting are from the Nature’s Symphony bundle seen here.
    • The die-cut leaves are cut out from our two-sided card stock. I love that you can choose the light or the dark side which gives more color choices!
    • I added Pecan Pie ink to that wood die-cut with a blending brush.
    • The greeting is from the Three Banner punch bundle seen here.

    I created a free project sheet you can print or download. Click to see it.

    Below is the video tutorial for this card; I hope you watch it as I give multiple tips and ways to make your crafting process easier.

    Leave a Reply

    Your email address will not be published. Required fields are marked *


Notice: LeeAnn Greff, Independent Stampin’ Up! Demonstrator, Manager. The content of this website is my sole responsibility as an independent Stampin’ Up! demonstrator and the use of, and content of, the classes, services, or products offered on this website is not endorsed by Stampin’ Up! Copyright 2025