/


Latest Post

Get & Go Starter Kit – TWO FREE Stamp sets, 16 card kits & more; all for $99! Plus new goodies on the Clearance Rack today!


The Clearance Rack has been updated with new goodies at amazing discounts! Don't wait; items go super fast!   Check it out here!!


Plus, as of today Stampin' Up! is offering a fabulous deal on the Starter kit!  It's always the best deal we have in the catalog but they've made it even better!  And you can add Clearance Rack items to your Starter kit!  

If you've ever considered becoming a Demonstrator this is a wonderful offer!  Remember you do not have to sell anything as a demonstrator.  You can be a discount shopper as long as you want to!

For just $99 you get to pick out $125 in Stampin' Up! products of your choice plus the following:

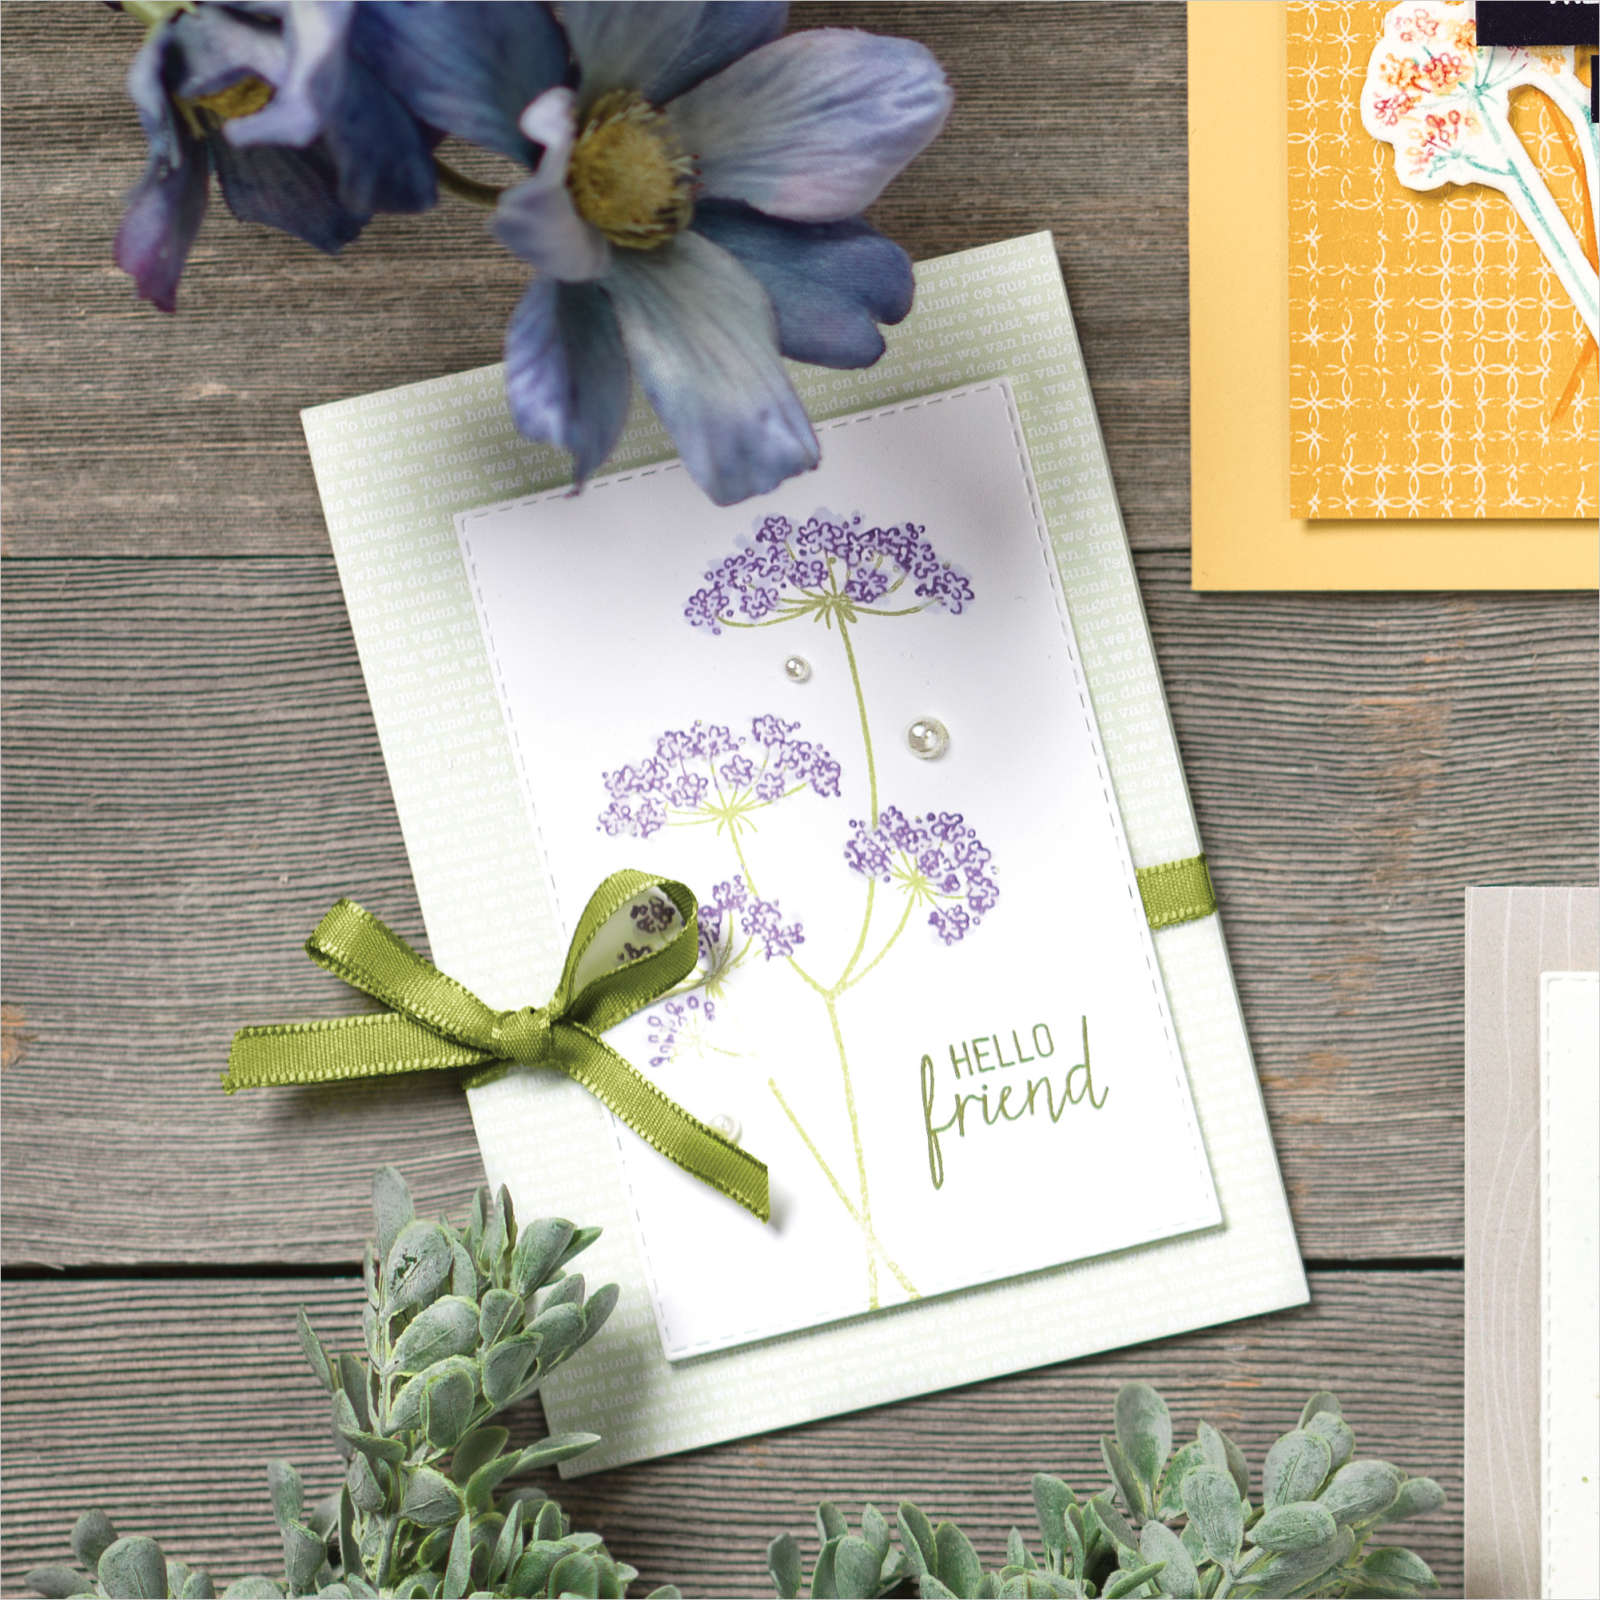
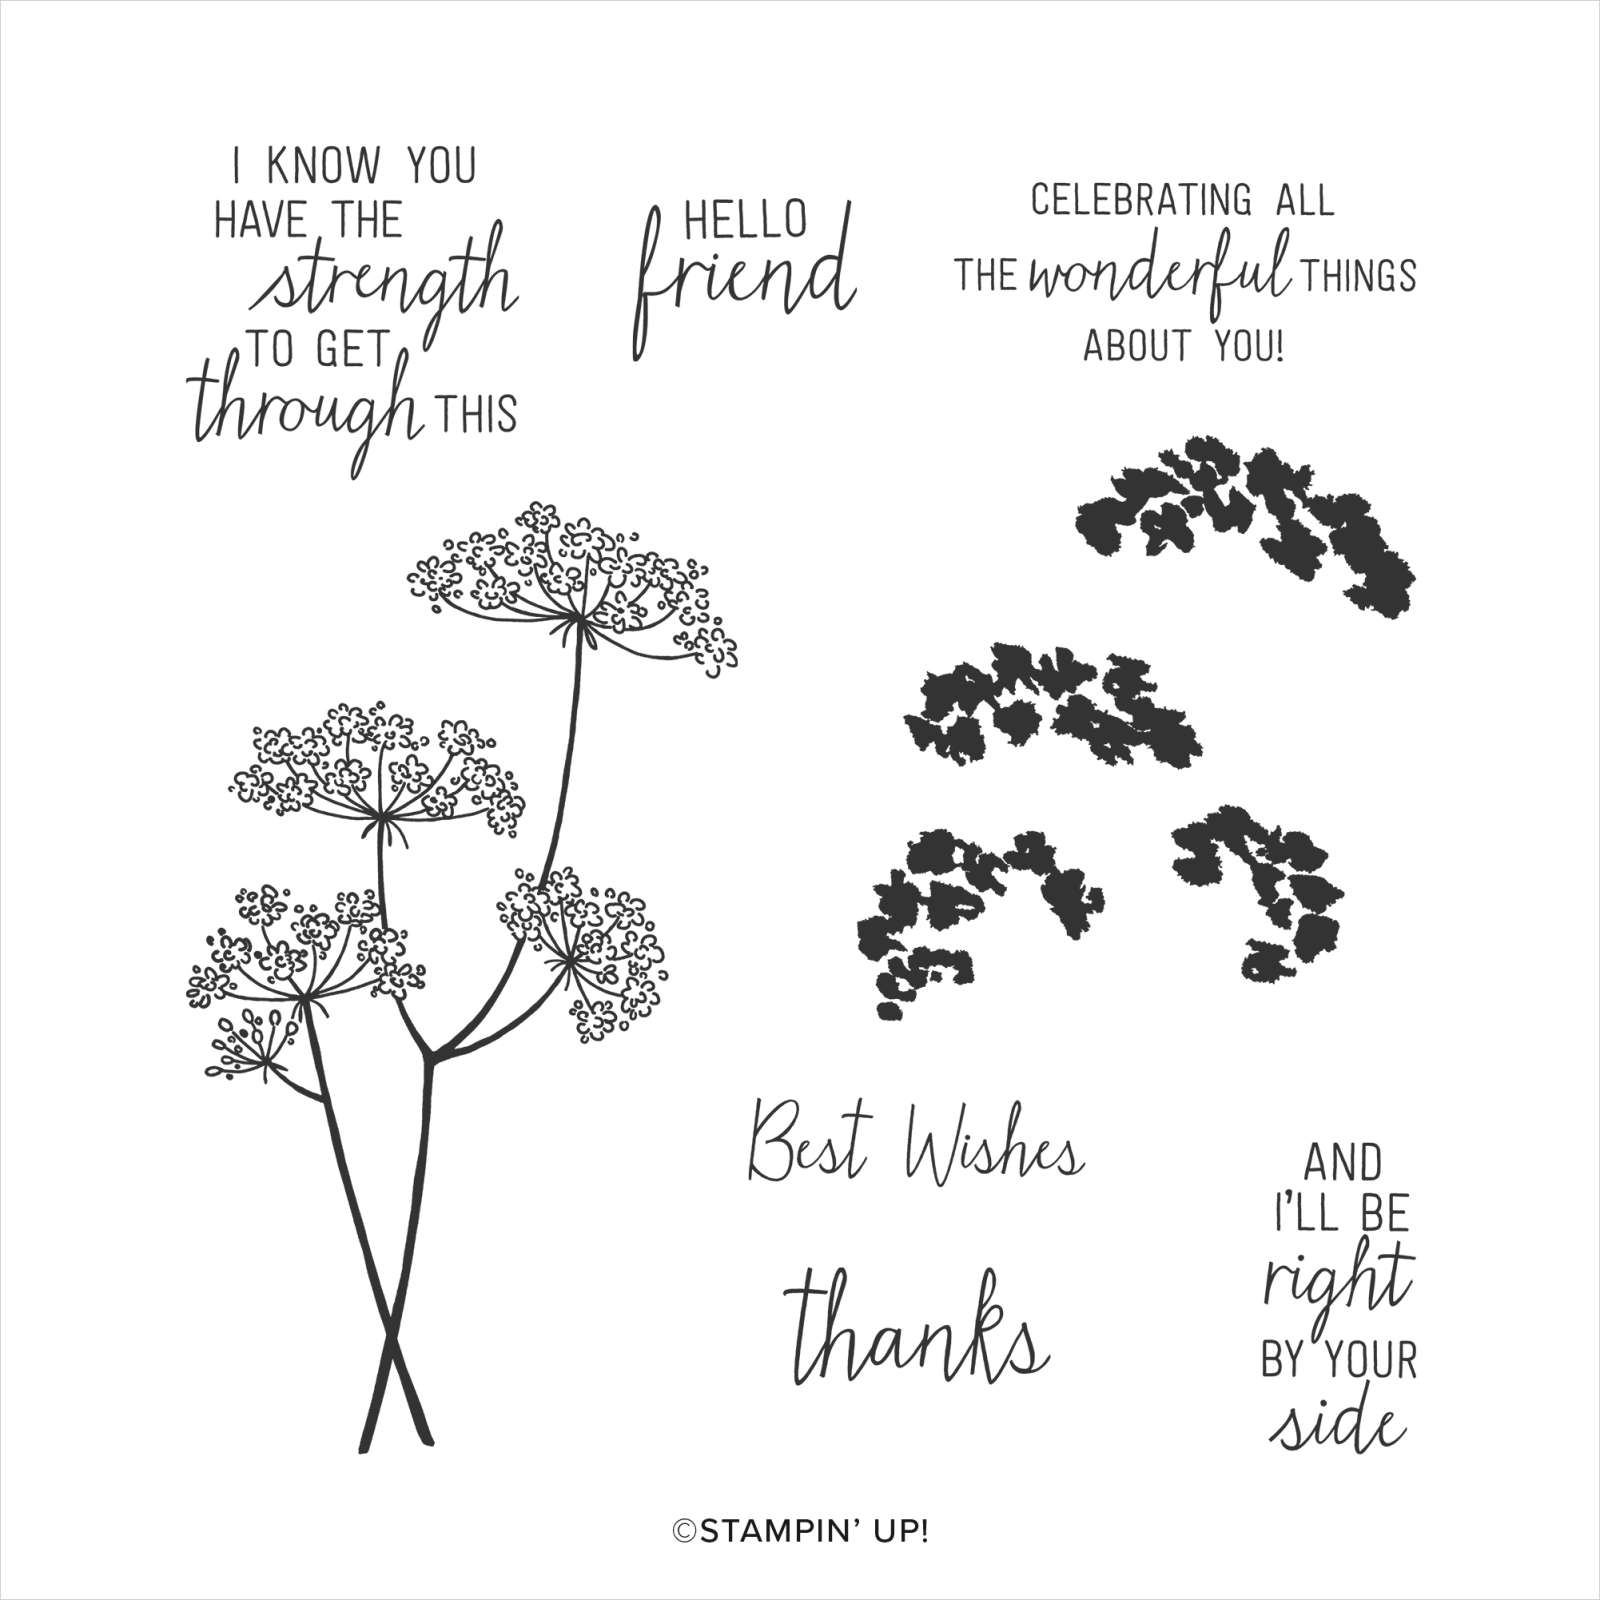
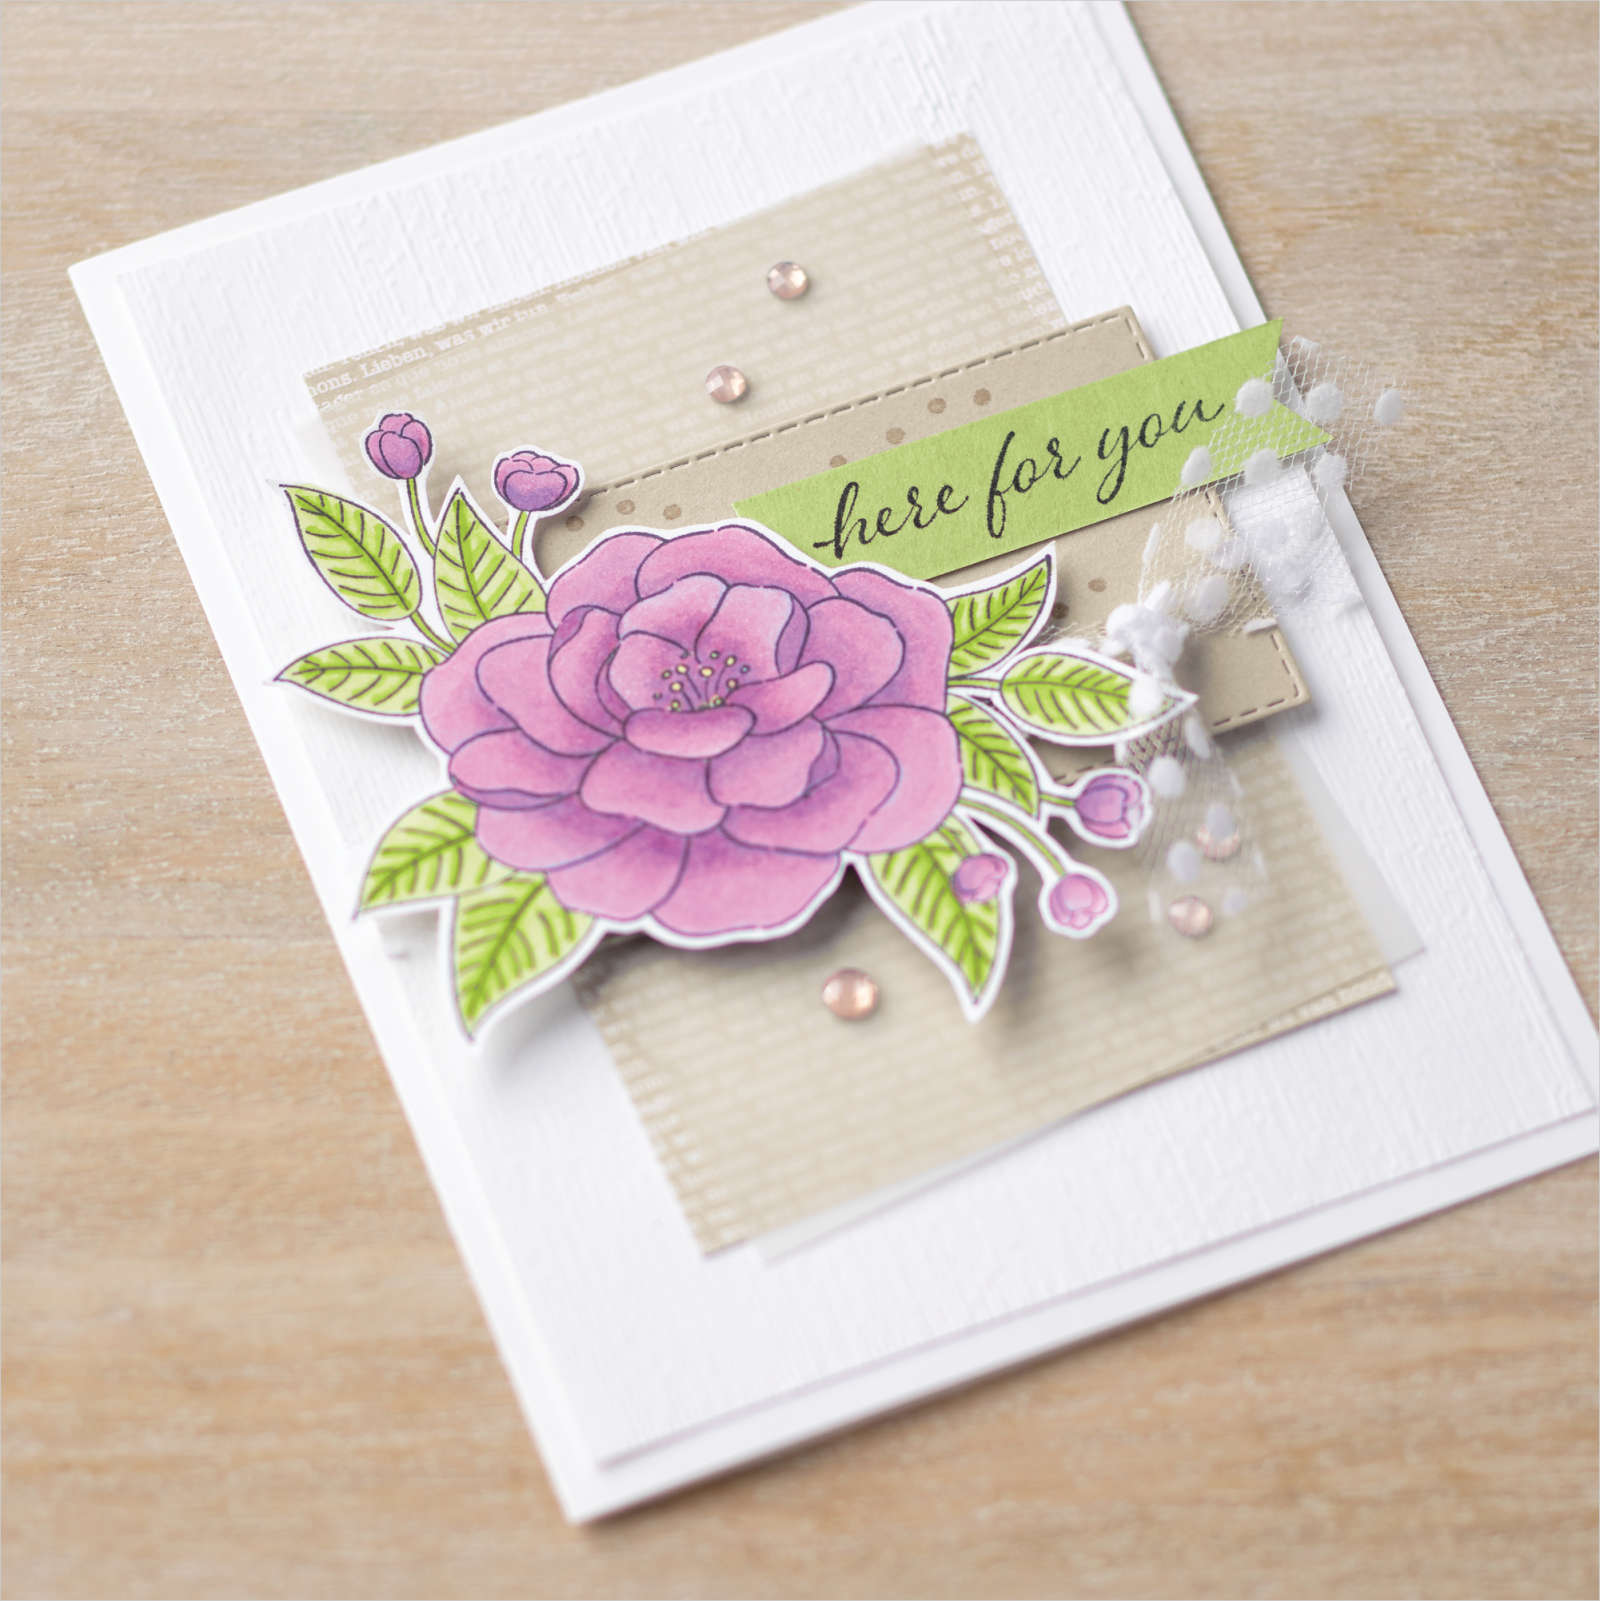
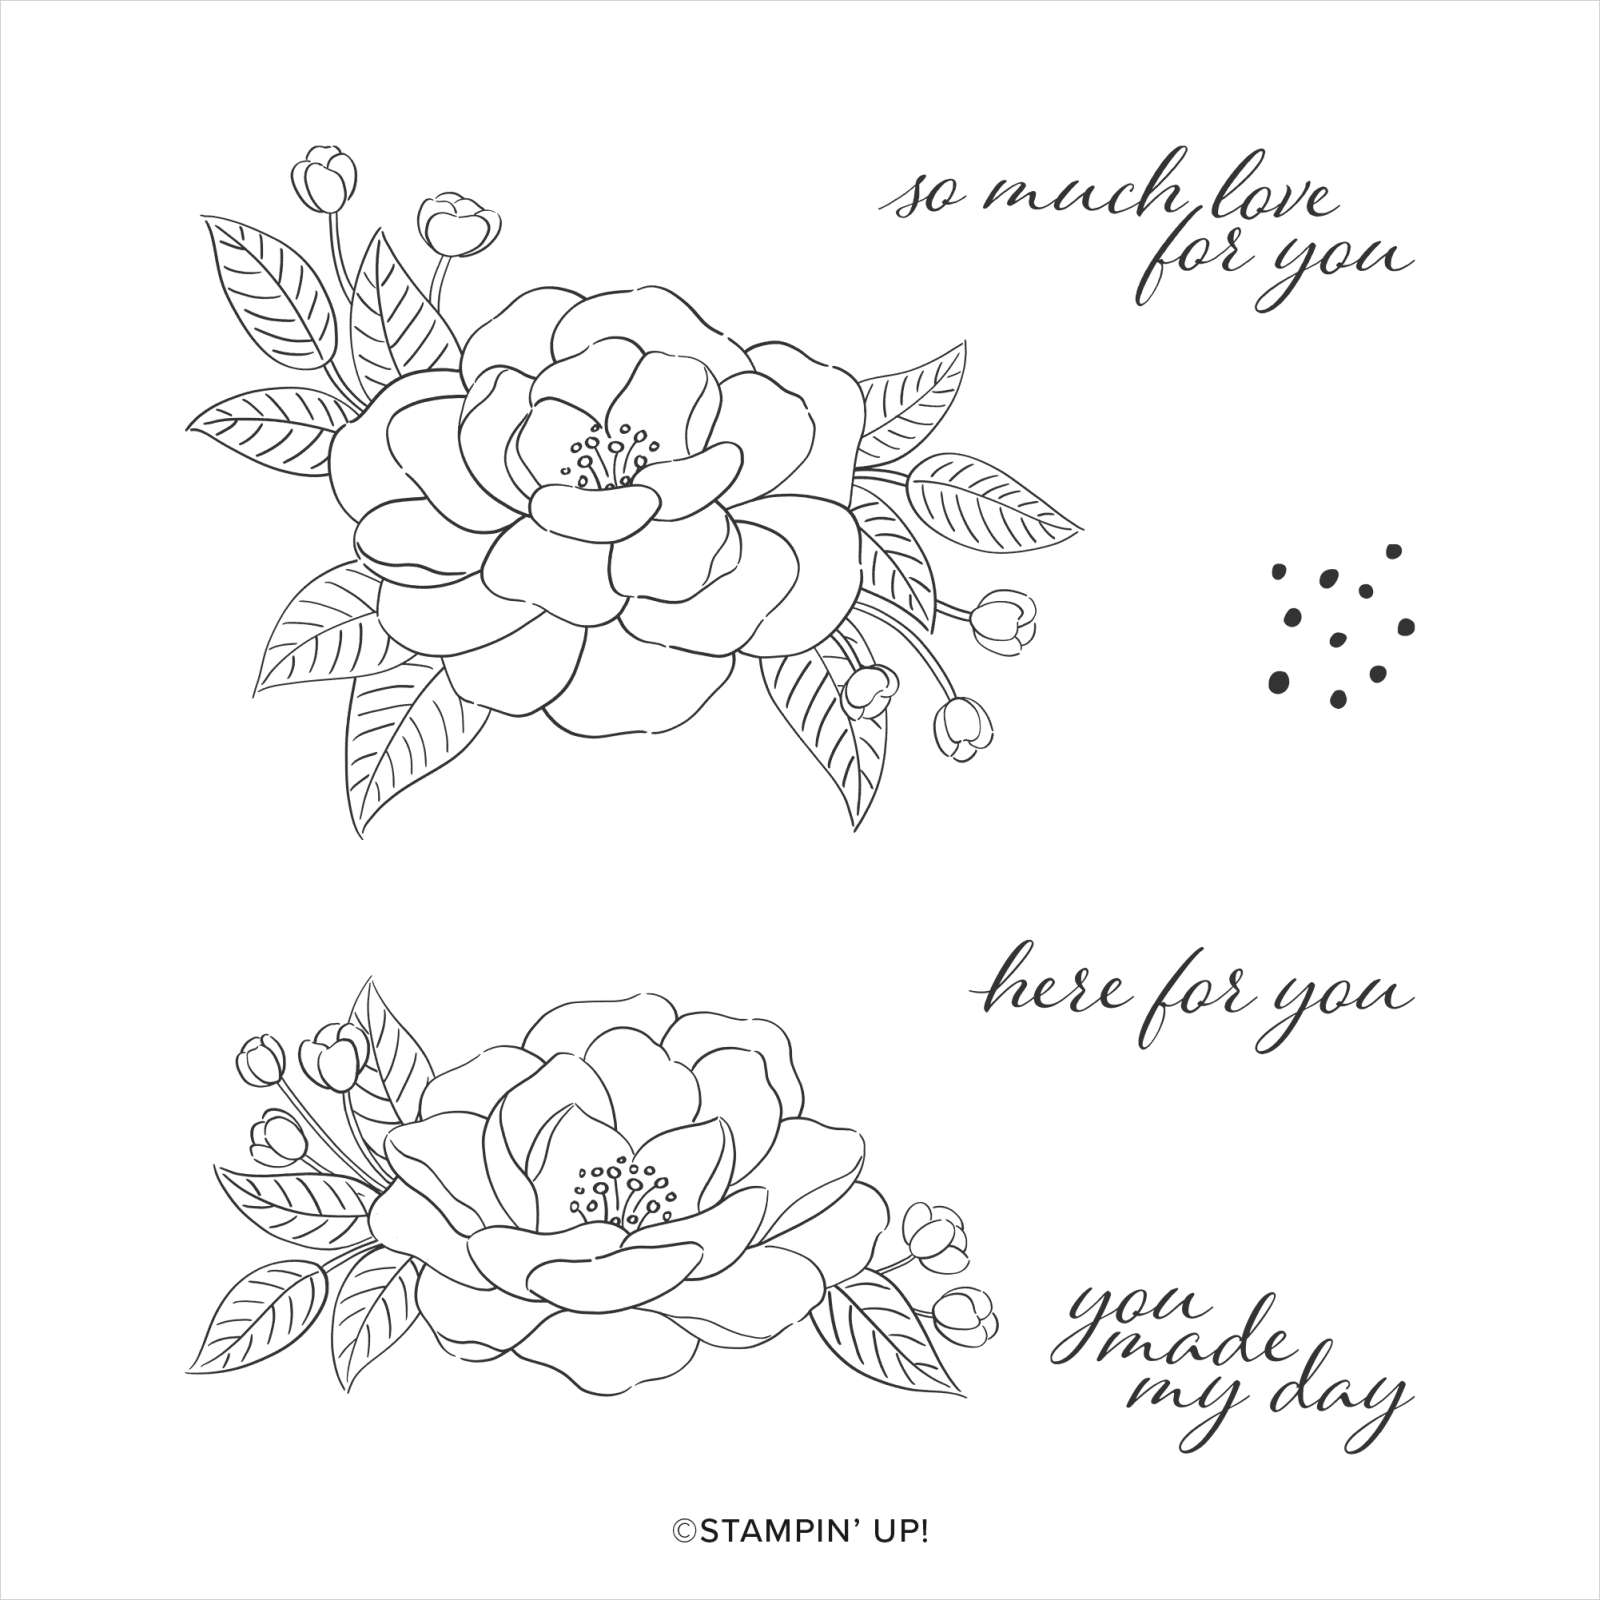
  • Two FREE stamp sets; the So Much Love and the Queen Anne’s Lace stamp set
  • enough card stock pieces to make 16 cards with the project sheets too – I love this!  
  • a pack of Rhinestone Basic Jewels,
  • Plus a business pack with 8 of each; Annual and Holiday catalogs, order forms, Beginner brochures & more
  • a coupon code for a FREE Paper Pumpkin kit! *sent out within weeks of joining

Go here to read more about being a discount shopper!  

Benefits of being a Flowerbug:

  1. Being a part of our fun Flowerbug's FB group!
  2. Enjoying the 20% discount with the opportunity to increase that to 25% & more!
  3. Receiving and ordering from new catalogs early!
  4. Having the option to take part in our group challenges, swaps & more with prizes & perks!
  5. Getting ALL of my class tutorials FREE!  
  6. Access to exclusive websites just for Demonstrators with tons of project ideas!  They're amazing! 

Remember there's never any pressure to sell or hold events.  Most of the gals on my Flowerbug's Team are happy shoppers and LOVE being a Flowerbug! 

The top three reasons they love it are:

  1. The discount on all purchases.
  2. Ordering early from new catalogs.
  3. Being a Flowerbug and enjoying the fun group we have. 

Below are the two stamp sets that you receive plus a few samples too. Tune in to my Facebook Live here.  I'm live today at 11 am CT!

~~~

Current Host code is 7VPEDARH

Get a free package of All the Trimming embellishments in September with an

online order over $55. 

Order online here

 Get my Beautiful Autumn pdf tutorial free with any online order in September!


It includes directions, photos and measurements for 13 cards!


All Posts

  • Gorgeous cards with my ‘5 at a time’ templates! Free project sheet, templates & video tutorial


    I shared these beautiful cards on last week’s Live video. They were a big hit!

    I love making cards with my 5 at a time templates. Making the most of my card stock gives me a great deal of satisfaction. I hope you’ll save these templates and use them in your own crafting.

    Below is the template I stamped on; it’s slightly smaller than the one I used for layering. I often use this or the larger one for the neutral layers inside my cards.

    Tip: I recommend making your first cut vertically at 4 3/4″. Then cut the left 3 pieces into 3 1/2″ layers. Once you cut all 5 pieces you’ll have one small piece left for a greeting or for punching.

    Next is the template for layering the above ‘stamped’ pieces on. It’s just slightly larger – 1/8″ so it’s quite a narrow margin.

    The above template has even less waste! It’s so nice to get 5 layered card pieces from 2 sheets of 8 1/2″ X 11″ card stock. Please save these templates!!

    In the past when I made cards with these templates I stamped before cutting the 5 pieces apart. This was a bit tricky to stamp in the right place. This time I cut my pieces before I stamped on them. *Always start with your greetings!

    As you can see I made sure I stamped three pieces landscape and two vertical. This isn’t necessary but it does change your cards up a bit.

    I used Cherry Cobbler, Timid Tiger; and Pretty Peacock here. I like adding Pretty Peacock and Cherry Cobbler to my fall cards. The stamp set is called Gathering Moments seen here.

    Tip on stamping – always stamp the greeting image first. Then start with the largest image and work your way down to the smallest to fill in any gaps. It’s okay to overlap your images.

    As you can see I blended a light wash of Timid Tiger over the stamped leaves. This softens the appearance and truly enhances your stamping.

    Here you can see the stamped pieces added to the larger layers from the 2nd template above.

    These were made simply with no punches or die-cuts. Sometimes it’s fun to just stamp and create. You can easily add the greetings on another layer (punches or die-cuts) to add more dimension.

    I’ll share my second set of cards using this template later this week. And I’ll also show the fabulous card box I made to gift them in!

    See how pretty they are once they’re added to the card bases and gems and twine have been added.

    I created a free project sheet that includes directions, photos, templates and supplies. Click here to download or print it. Please save this one!!

    Below is the video tutorial. Please subscribe to my YouTube Channel while you’re there.

    ~~~

      To see all of the new Online items click here.  Or download & save the Download Online Exclusives flyer 

    Get a free project tutorial with any online order in September! 

    Leave a Reply

    Your email address will not be published. Required fields are marked *

  • 2 pretty ways to use the emboss resist technique


    Look at these gorgeous projects featuring the Etched Autumn stamp set.

    These pretty cards are projects made by Stampin’ Up! and they’ve provided a free tutorial for both cards! Click here to access this tutorial.

    Both cards use the Etched Autumn stamp set from our newest Online products. See that here.

    ~~~

      To see all of the new Online items click here.  Or download & save the Download Online Exclusives flyer 

    Get a free project tutorial with any online order in September! 

    Leave a Reply

    Your email address will not be published. Required fields are marked *

  • Look at these 2 beautiful cards with the Autumn Toile Designer paper


    These pretty fall themed cards were made by my talented Flowerbug’s for our September Autumn themed card swap. They both feature the gorgeous Autumn Toile designer series paper from the 2025 Holiday catalog.

    This first card was made by Lori and it’s a fun fold card.

    Her colors include Pecan Pie, Early Espresso and Vanilla. The stamps are from The Right Words and More Messages sets. Gems are Streaked Dots and the metallic paper for that ‘tree’ die-cut is the Earthen Toned Metallic Paper. Can you see that pretty gold hoop around the tree? Wow!

    Here’s the inside view. The tree and deer dies are from the Autumn Trees dies.

    Measurements are:
    – Card base 8 1/2″ X 5 1/2″ scored at 3 1/4″ & 5 1/4″.
    – DSP on left is 3″ X 5 1/4″, DSP in the center is 1 7/8″ X 5 1/4″
    – Vanilla on the right inside is 3″ X 5 1/4″
    – largest circle is3 7/8″, DSP tree circle is 3 1/4″, Vanilla circle is 3 1/2″


    Next is a great card made by Ginny who also used the same exact sheet of paper in the Autumn Toile DSP pack.

    Her colors are Early Espresso with Very Vanilla. She stamped the greeting from the Amber Autumn bundle on the oval and added leaves from the Gathering Moments stamp set as well.

    Measurements:
    – card base 8 1/2″ X 5 1/2″ score at 4 1/4″
    – Vanilla 4″ X 5 1/4″
    – Early Espresso 3 1/2″ X 4 3/4″
    – DSP 3 1/4″ X 4 1/2″

    You can see this beautiful autumn paper here. I can see this going out of stock soon. It is one of my top selling products so far in September.

    ~~~

      To see all of the new Online items click here.  Or download & save the Download Online Exclusives flyer 

    Get a free project tutorial with any online order in September! 

    Leave a Reply

    Your email address will not be published. Required fields are marked *


Notice: LeeAnn Greff, Independent Stampin’ Up! Demonstrator, Manager. The content of this website is my sole responsibility as an independent Stampin’ Up! demonstrator and the use of, and content of, the classes, services, or products offered on this website is not endorsed by Stampin’ Up! Copyright 2025