There are so many benefits to joining as a Stampin’ Up! Demonstrator.
First of all you get 20-25% off all future SU purchases. Second is a favorite of many – you can see and pre-order new products before anyone else. Third – be on my Flowerbug’s Team! We have a wonderful group of talented, kind and sharing people!
Thinking about joining my team? New demonstrators now get 50% off their first Paper Pumpkin kit—which is a great way to try this monthly crafting subscription! It’s just one of the perks of getting started.
Enjoy the discount while you can. Or make a little money on the side while enjoying your hobby!
All Posts
Easiest Shake Card Ever; plus the quickest Christmas cards you can make!!
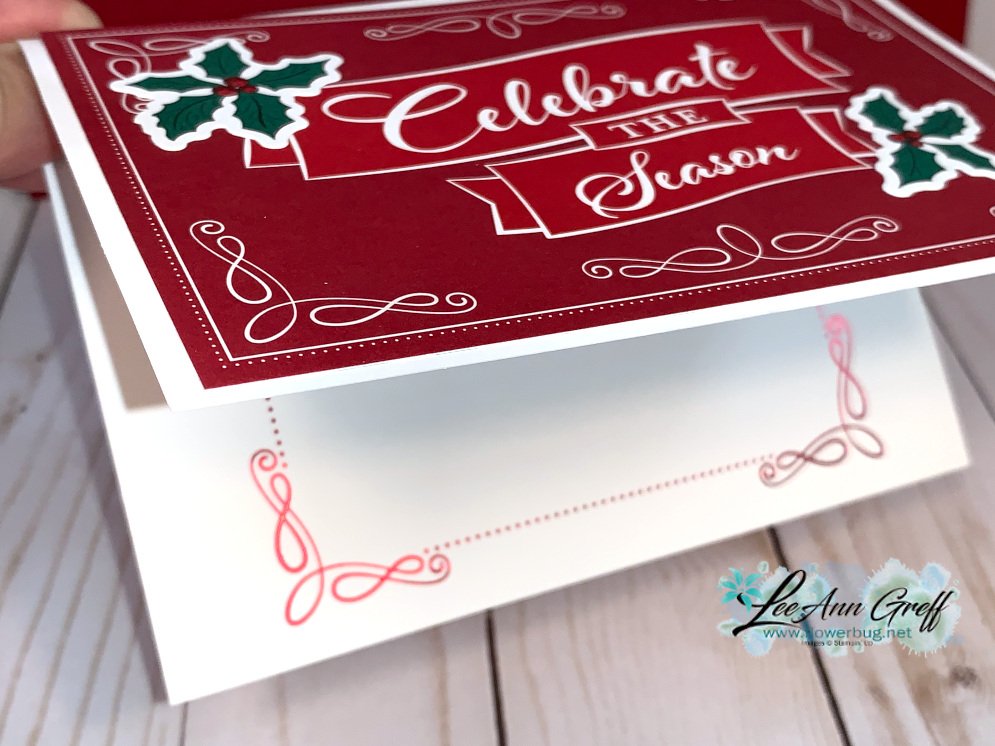
Have you wanted to make a shaker card but didn't want to deal with the Foam Adhesive and window sheets? Well I have a solution for you! Use a clear envelope! Yes; it works beautifully!
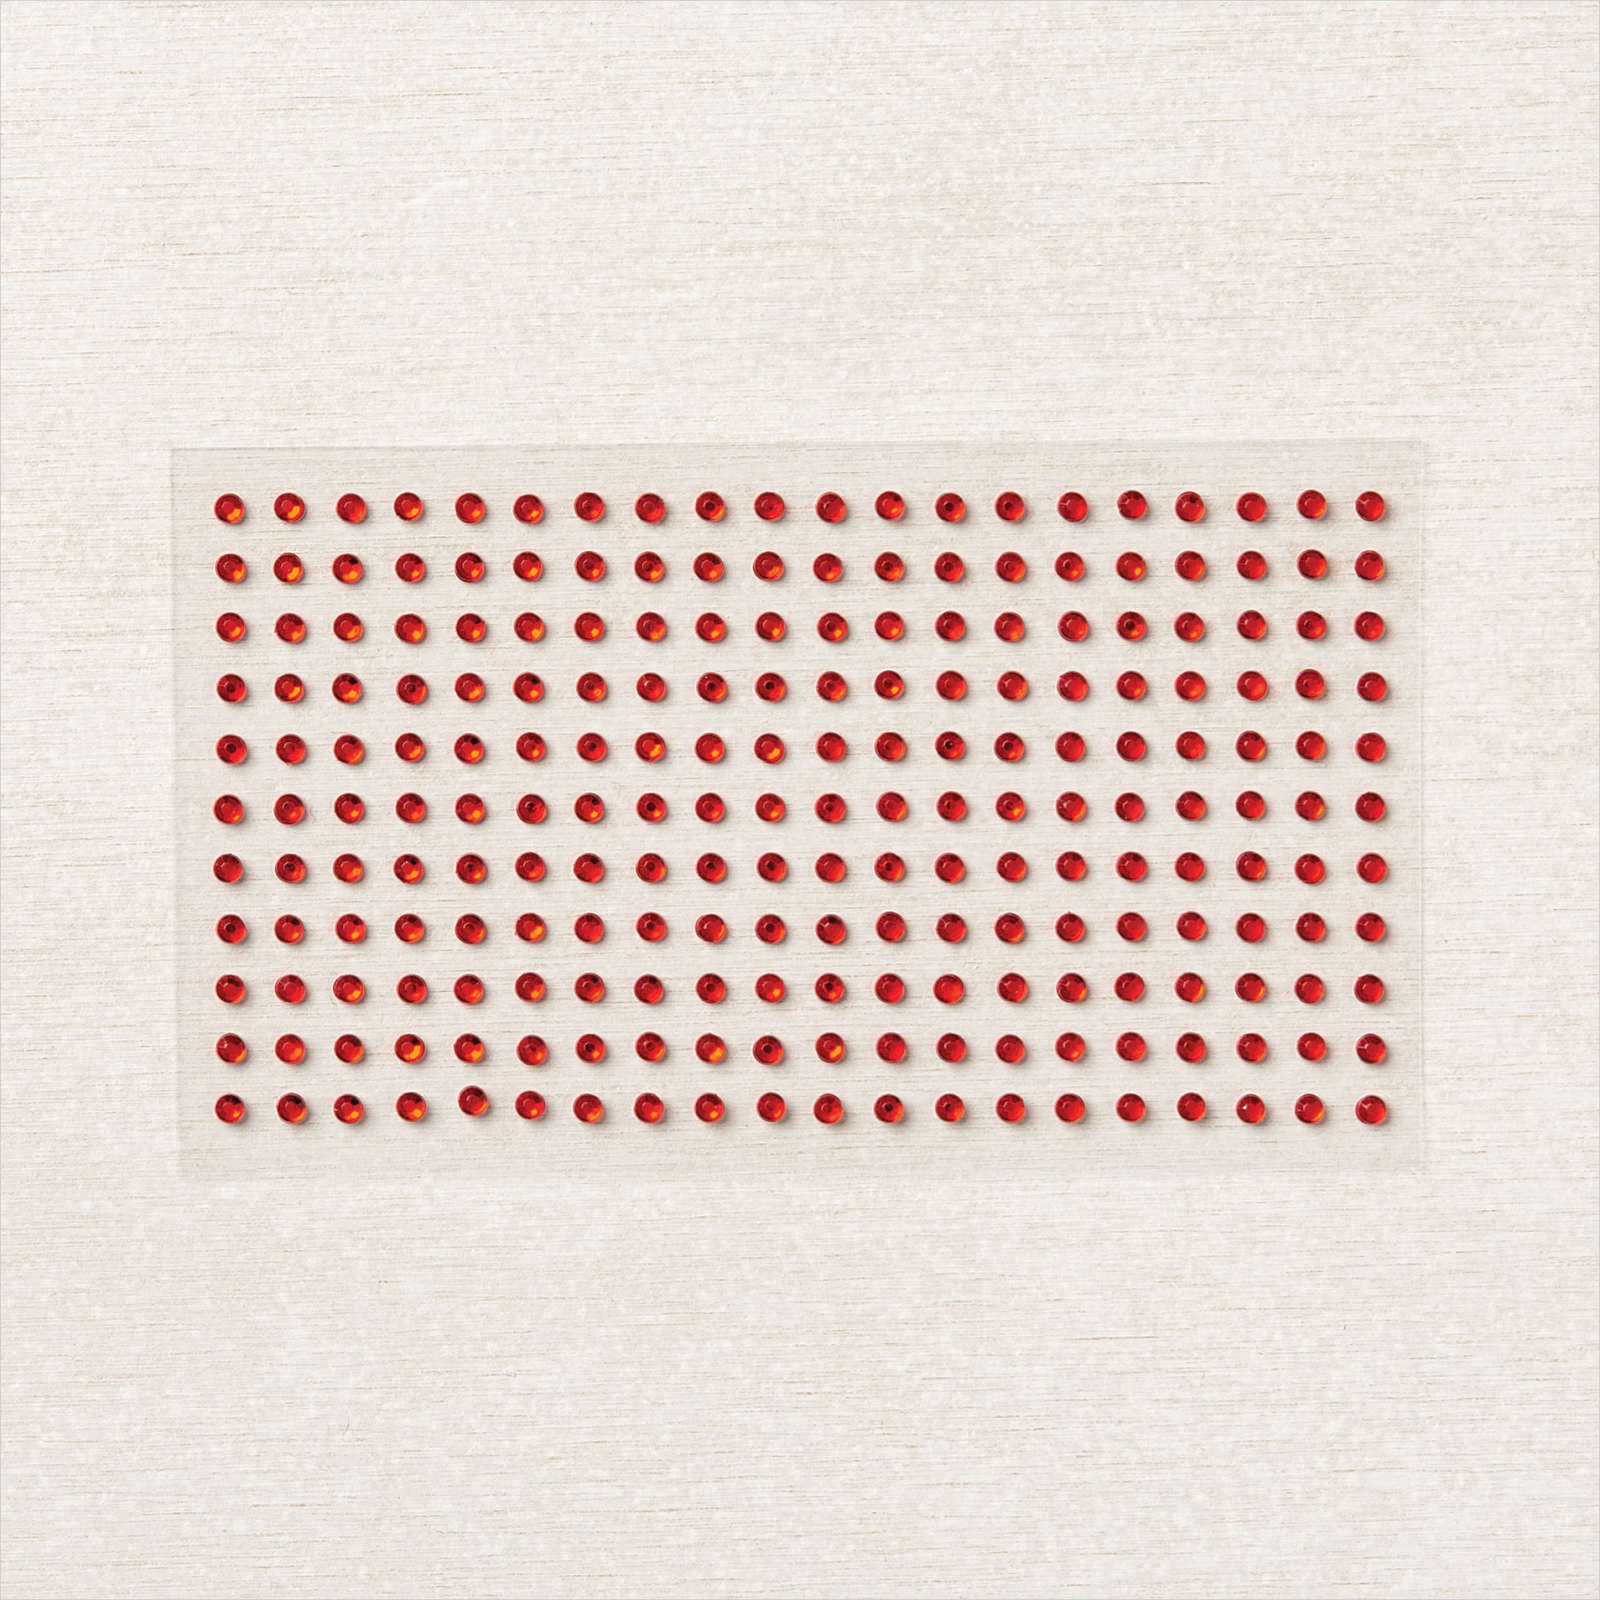
I used one of the Wonder of the Season cards, cutting it down to 4" X 5 1/4" and adding another layered strip. I then inserted it into one of our clear envelopes (seen here) and folded the excess to the back, securing it with Tear & Tape. Then I added some Sequins for Everything and sealed it up. It's adhered to a Real Red card base and the greeting is adhered to the front.
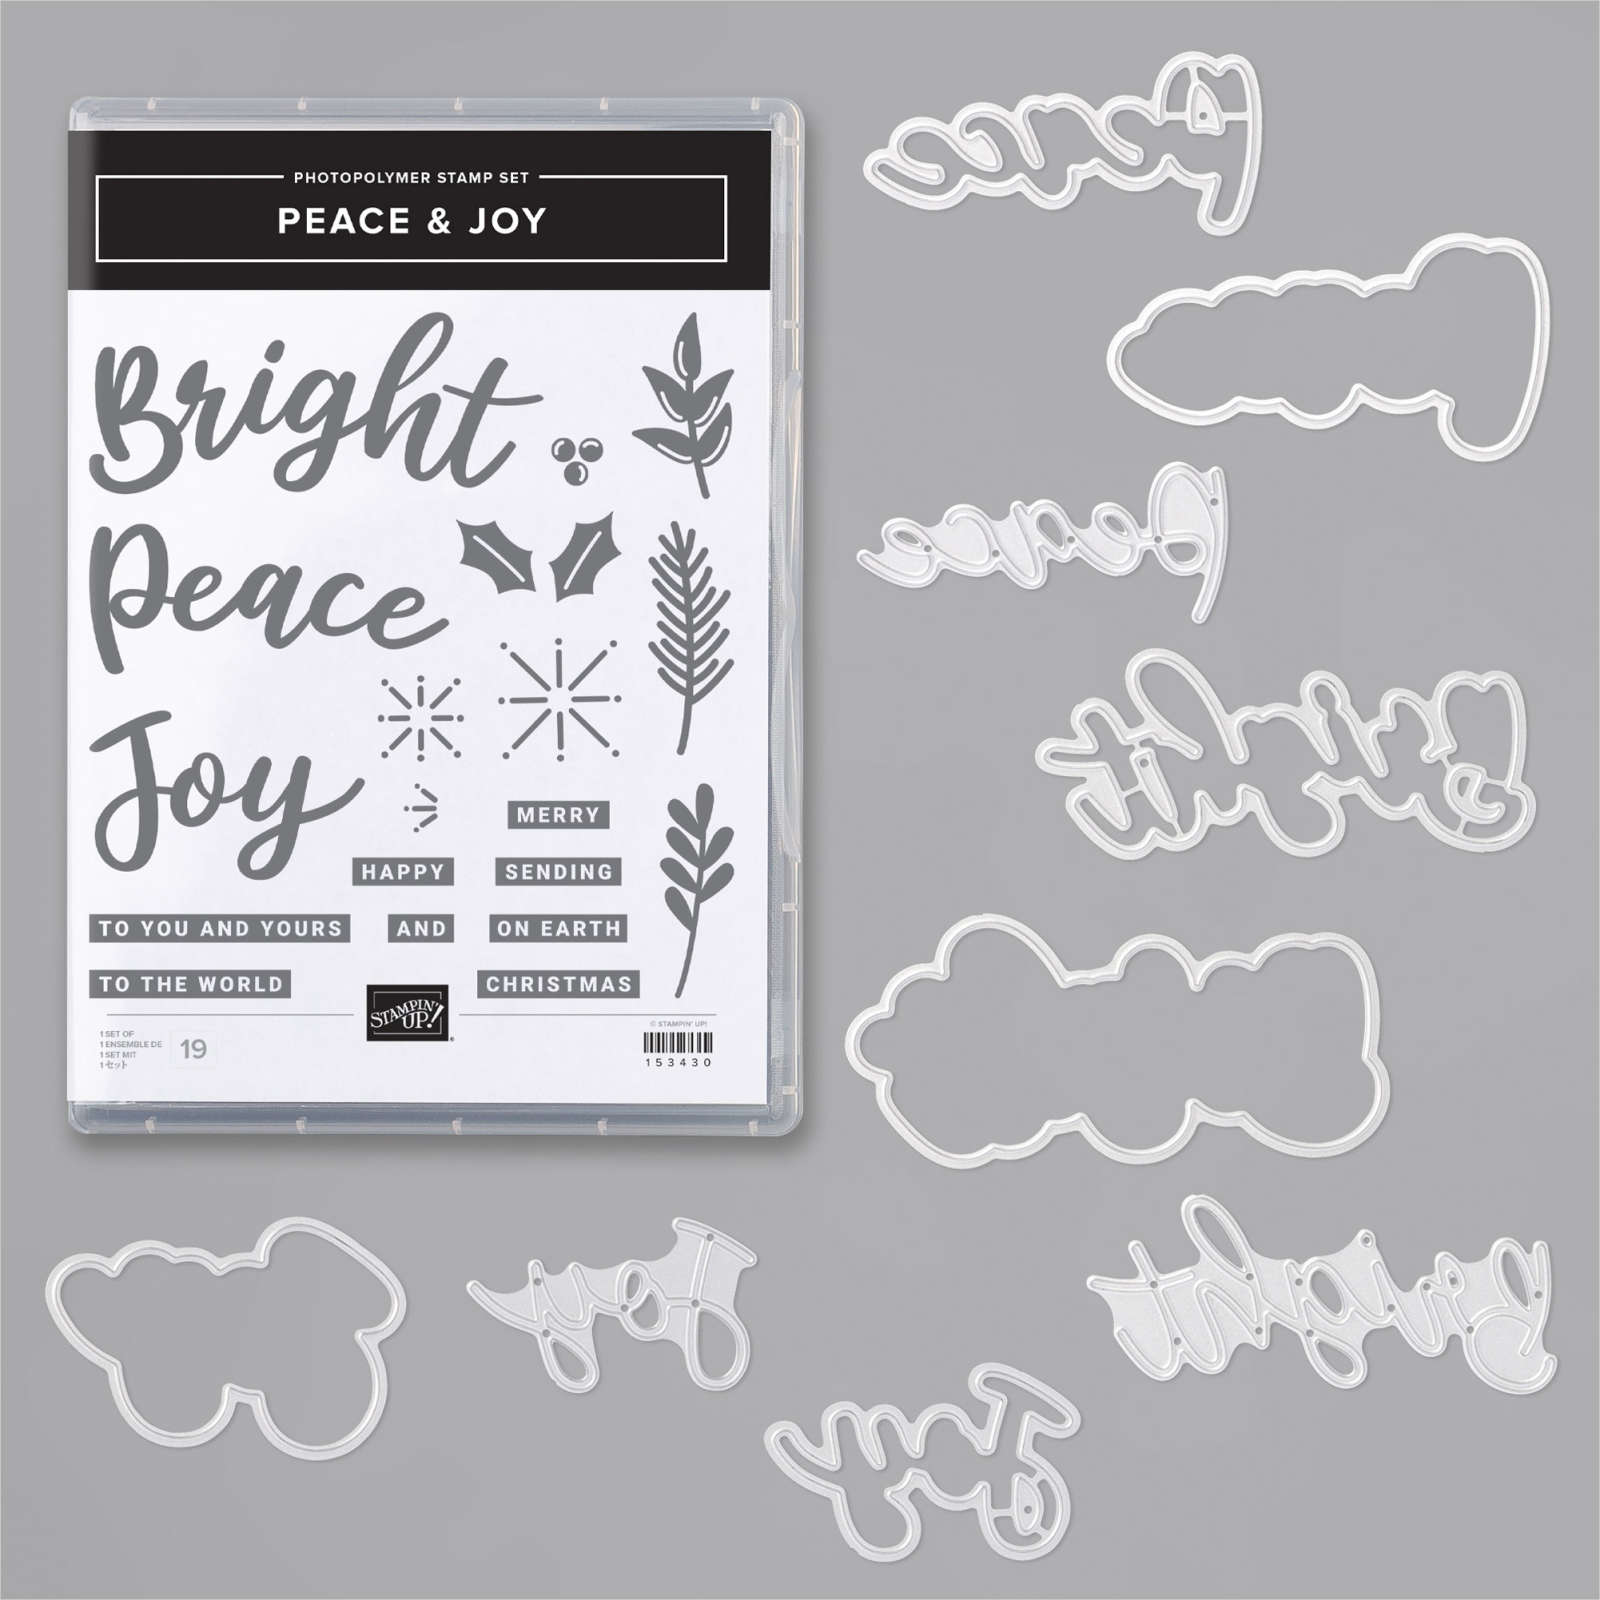
The stamps are from the Tag Buffet stamp set.
You can watch how I did this in the video below; it's one of the first projects.
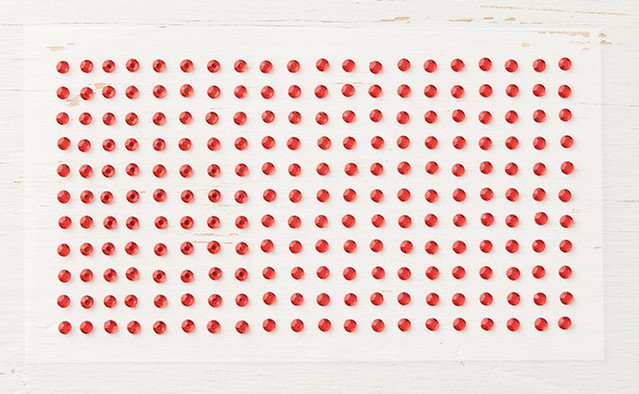
In the video I also shared the Wonder of the Season Memories & More projects. These cards are beautiful and filled with gold & red foil accents. I love these because they are super quick & easy! All I added were some Red rhinestones! No stamping or extra card stock!
You can use the 3 X 4" cards for the pretty card bases so the foil accents show. Or flip the front to the inside and use the larger 4" X 6" cards on the front. This way you can still see that pretty foil on the inside!
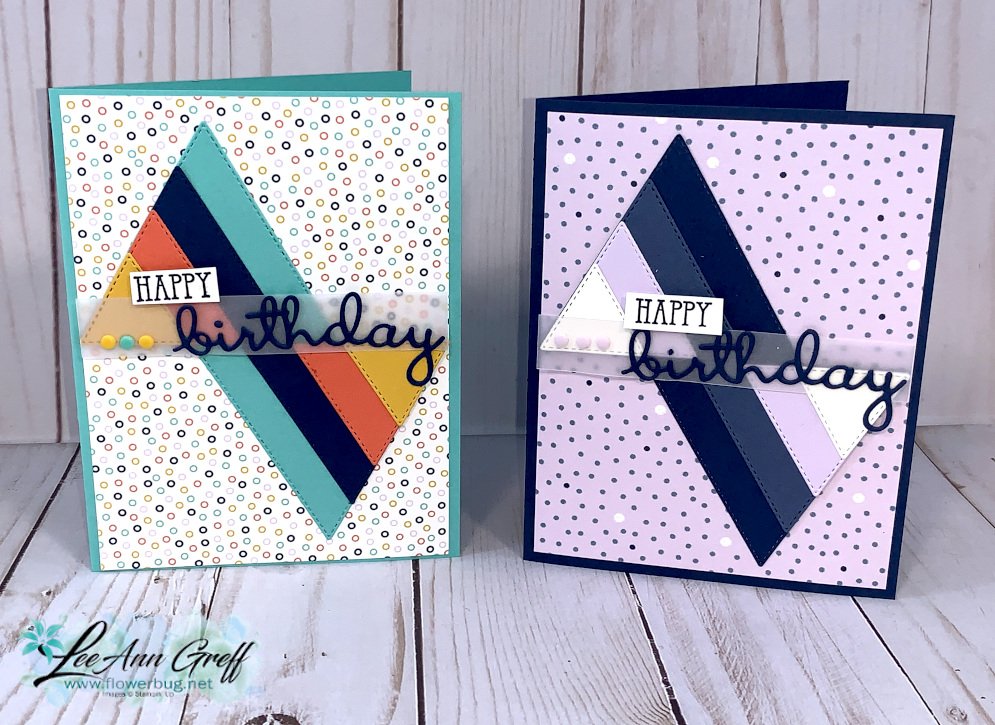
Aren't they neat? Our Stitched dies are quite versatile and can be used in a variety of ways as you can see!
I used the Well Said stamp set, Well Written & Stitched Triangle dies. The DSP is 5 1/4" X 4" and the Vellum ¾" X 4”
These cards were created on last week's FB Live video. If you're not following me yet here's the link to my FB page. Be sure to like & follow so you catch them every week on Tuesdays at 11 am CT.
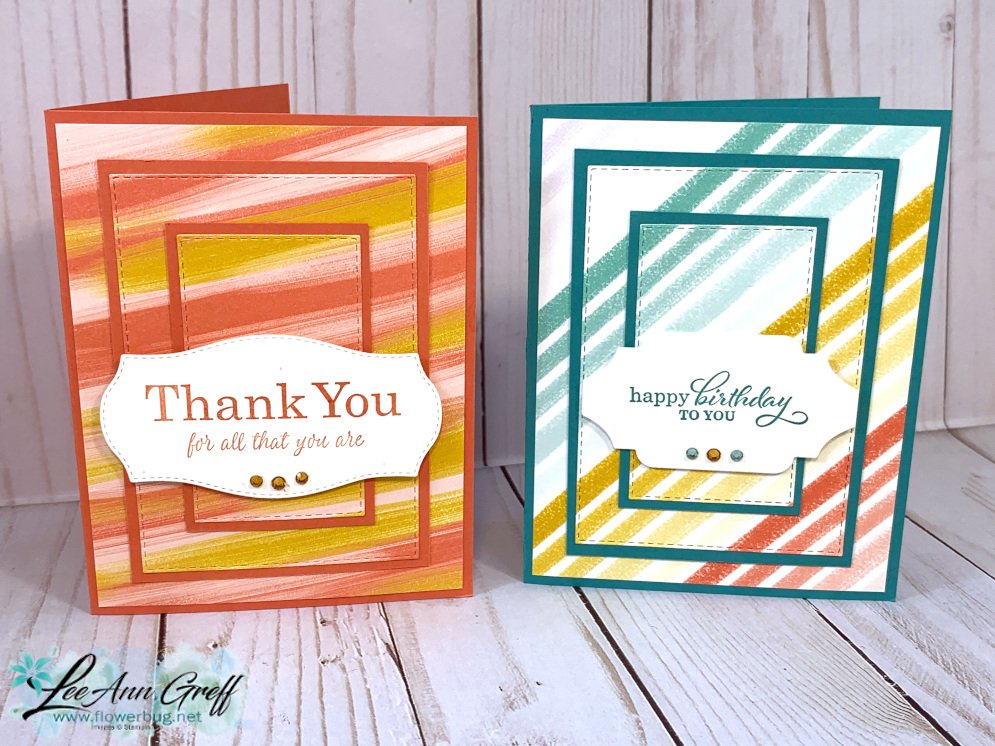
Check out the Stitched Rectangle cards below. I cut all of the Playful Patterns Designer Paper layers at the same time using just 2 dies.
We can fit three in a box for almost the same shipping cost. They are $6 each and shipping is about $3-4 in US. They make great gifts for your stamping friends!
Notice: LeeAnn Greff, Independent Stampin’ Up! Demonstrator, Manager. The content of this website is my sole responsibility as an independent Stampin’ Up! demonstrator and the use of, and content of, the classes, services, or products offered on this website is not endorsed by Stampin’ Up! Copyright 2025


Leave a Reply