
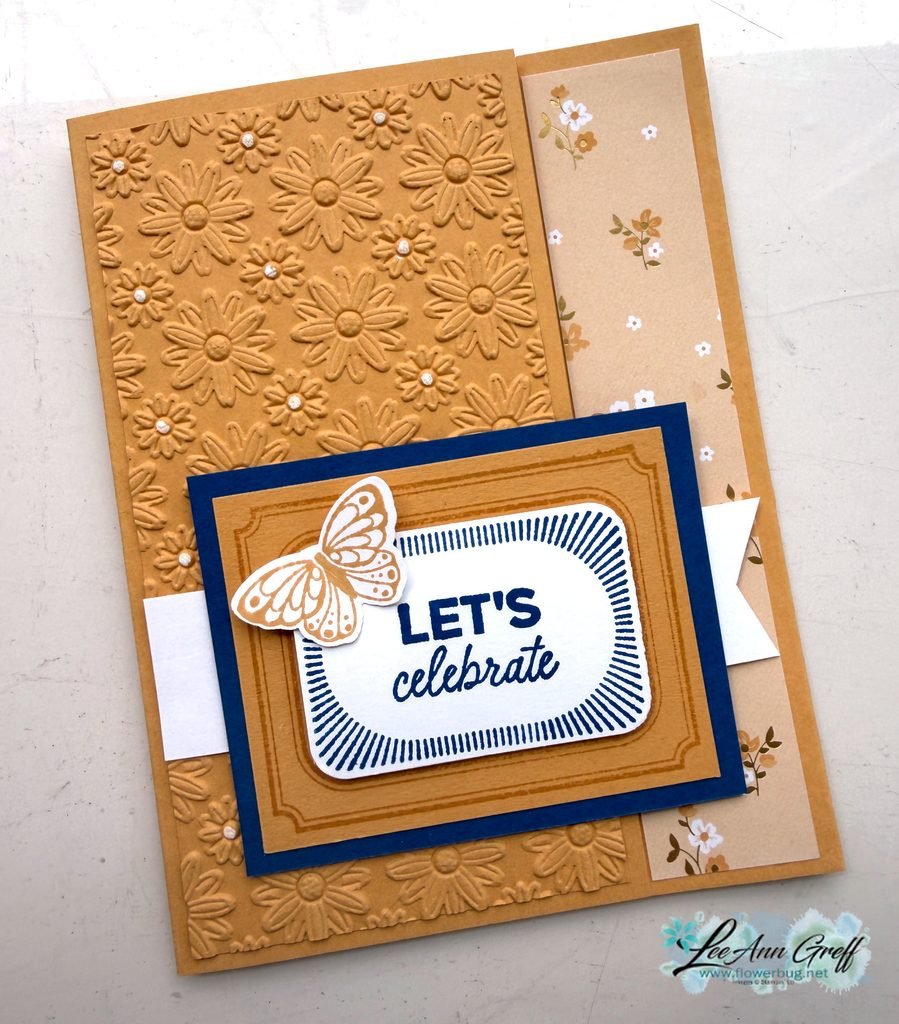
I shared this card on last week's Live video. It features the So Very Merry stamp set and the Snowflake Magic designer paper.

I made a bunch of these cards for our Flowerbug's October Christmas card swap. You might wonder how I achieved the starburst effect with the Snowflake Magic designer paper. Keep reading plus watch the video seen here or below!
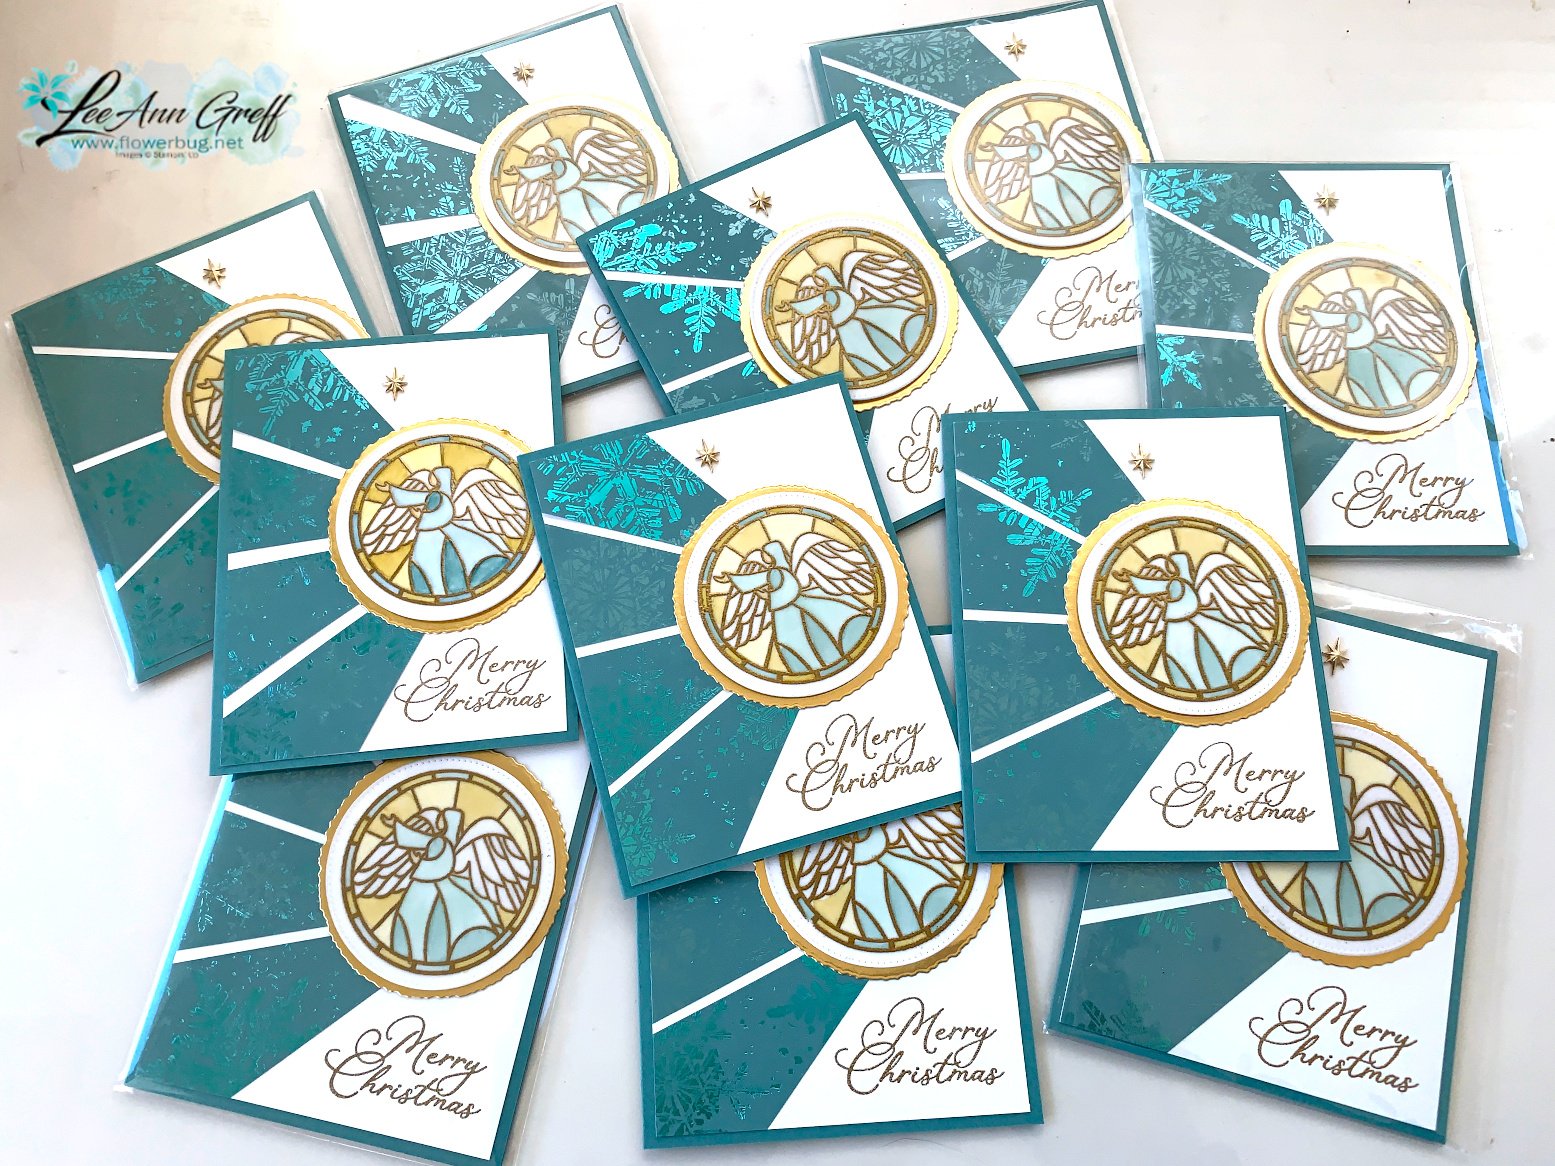
Other products used:
Vellum card stock, Gold Foil paper, Deckled circle dies, Stylish Shapes dies, Blends markers for coloring & Gold heat embossing.
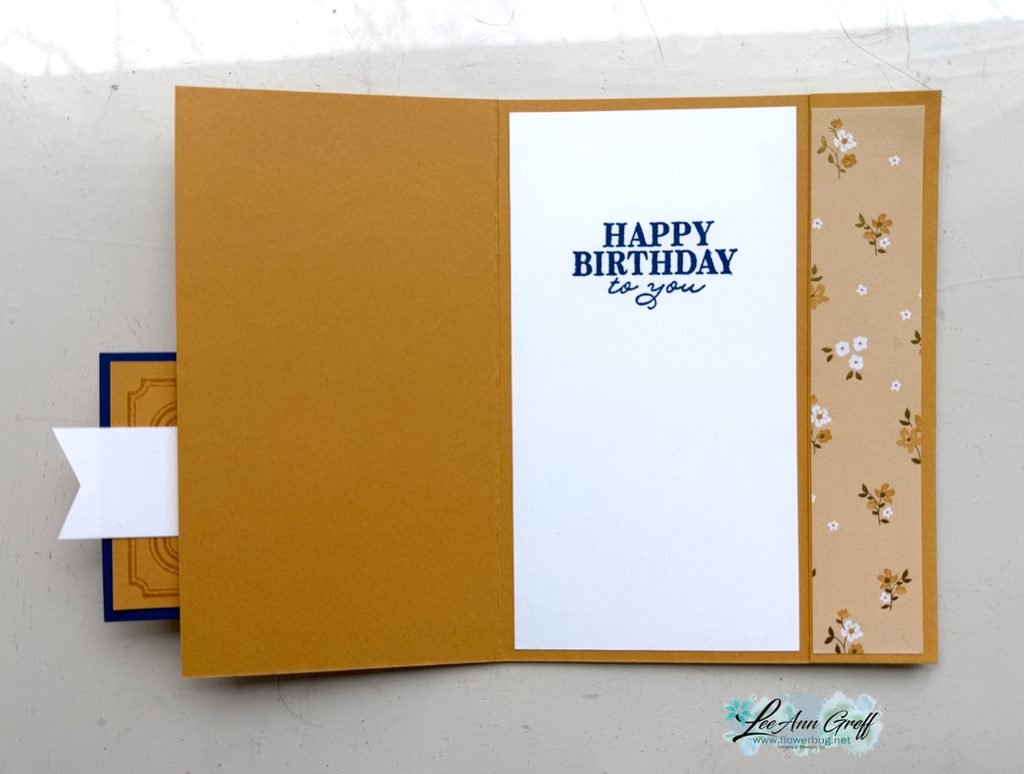
Here's what the inside looks like. Make note of the little designer paper triangles inside; remember this when you see the cutting templates below.
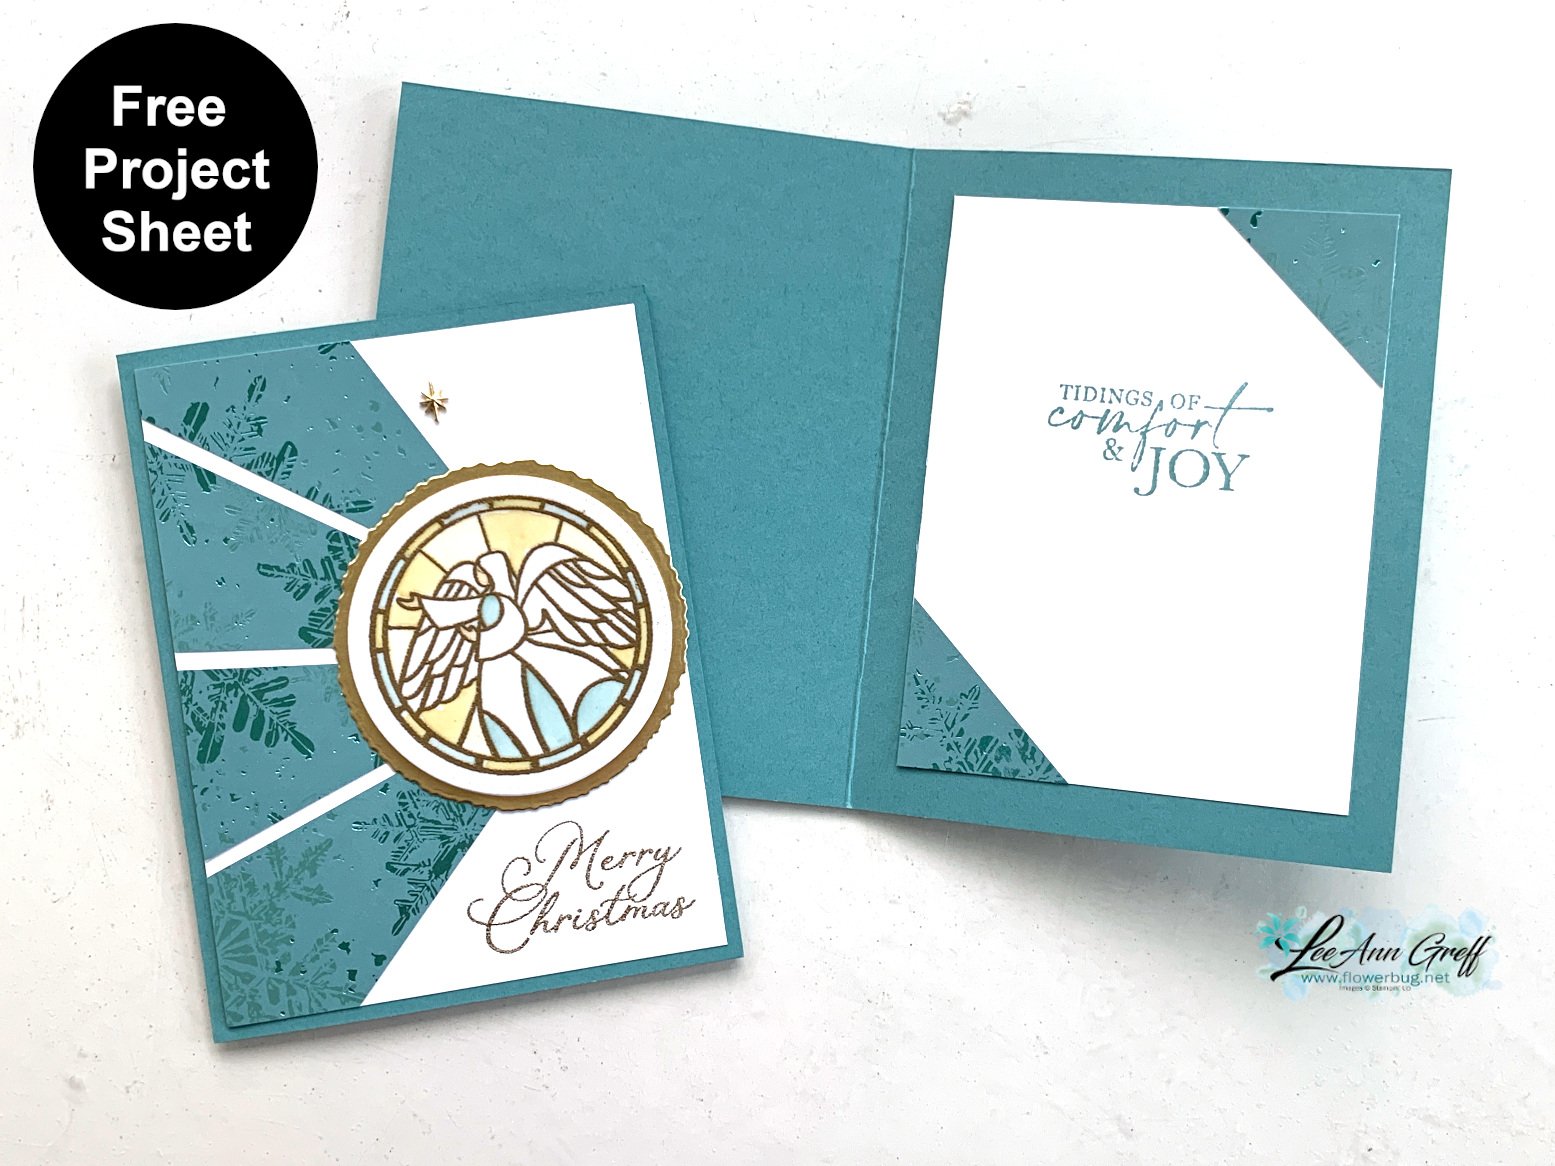
My friend Lyssa Zwolenek inspired these cards and created the template too. She is super creative and so great about sharing ideas!
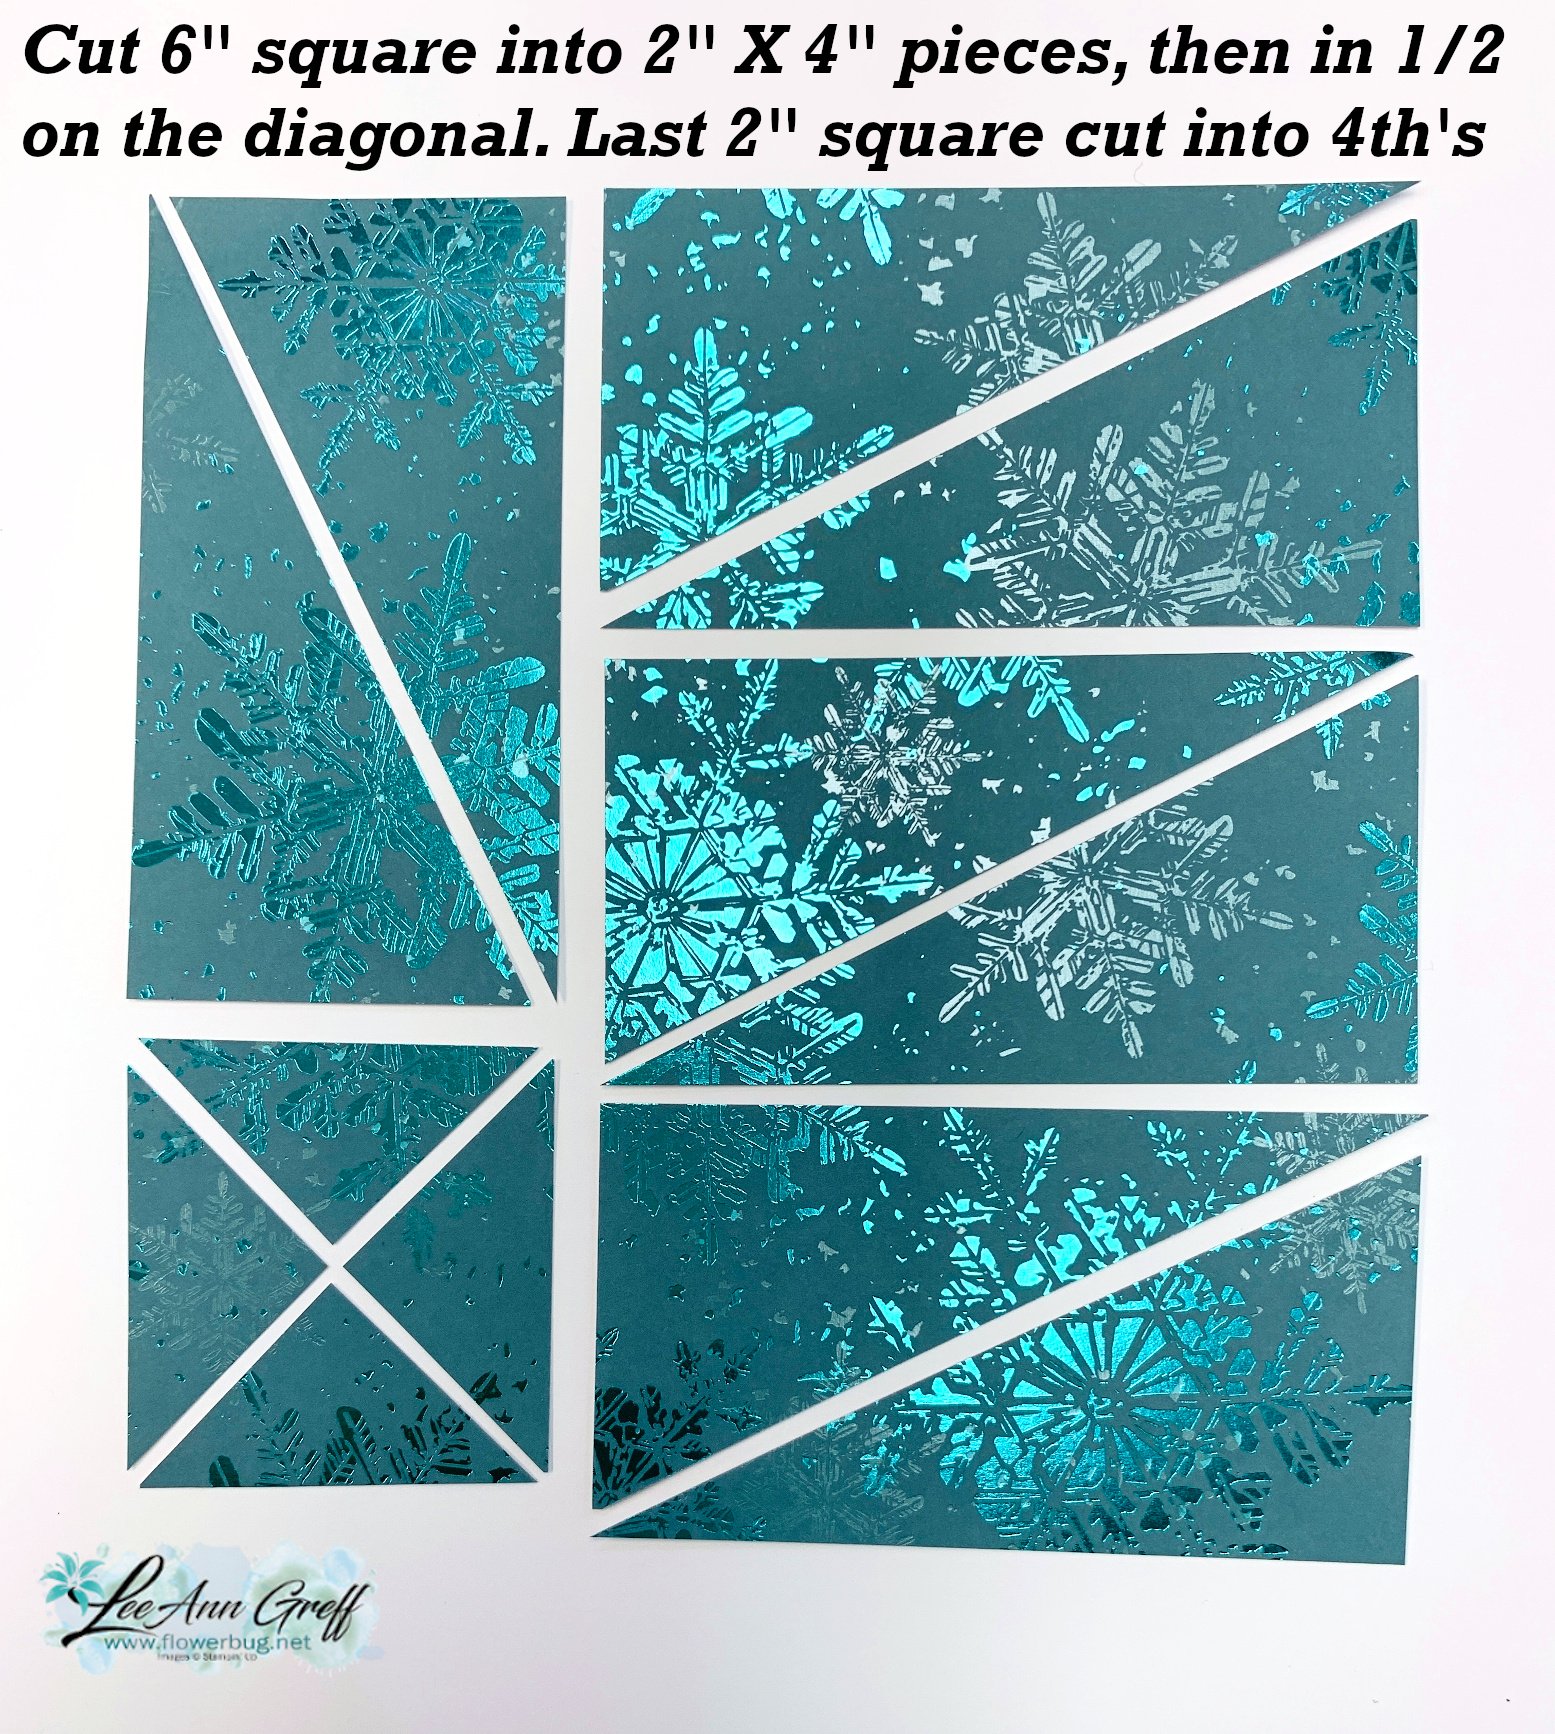
Below are a few cutting templates for you.
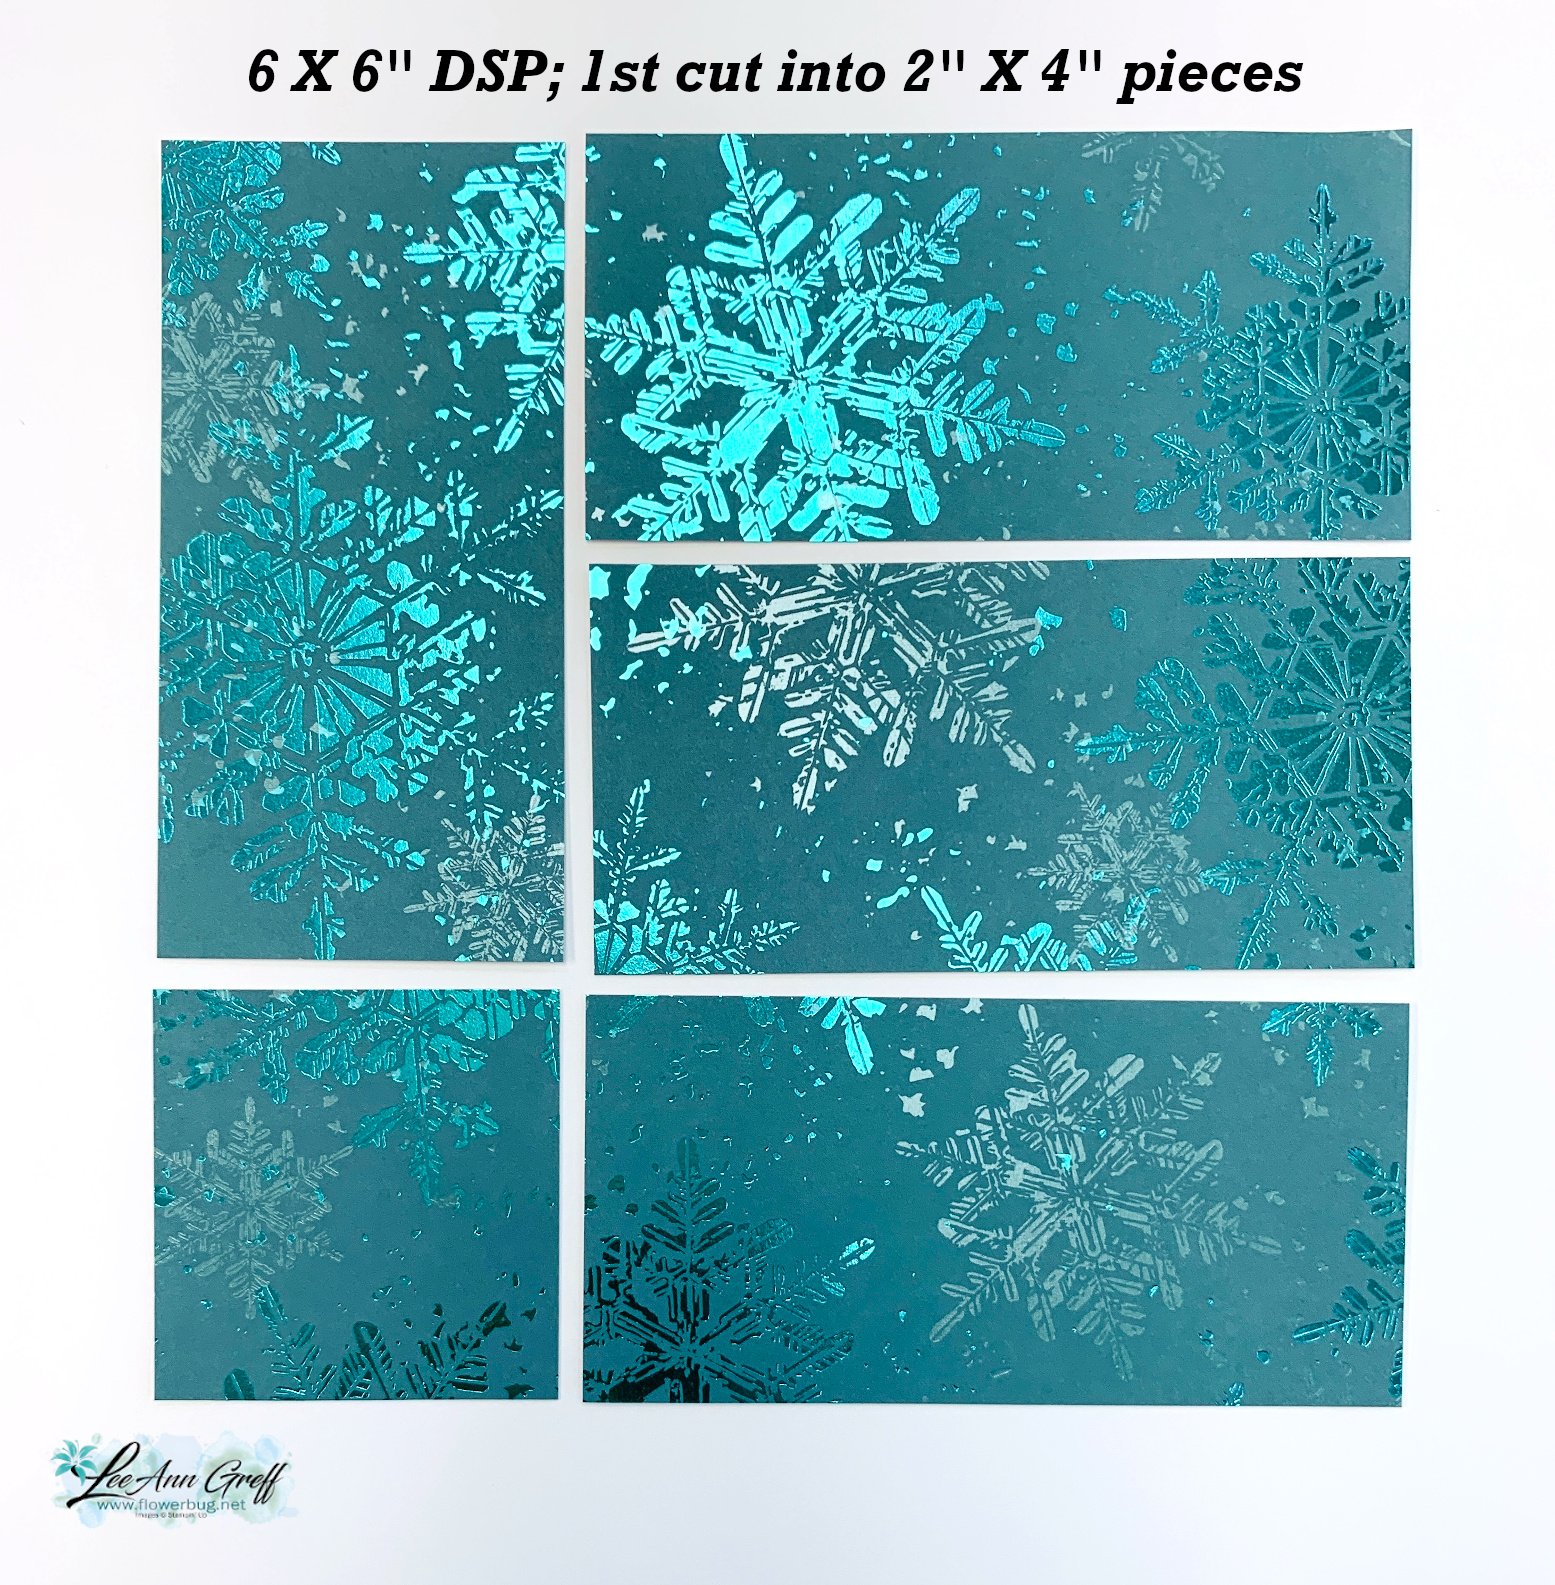
Watch the video here or below to see how this is done.
Directions:
- You'll start out with a 6" square of designer paper.
- First cut is at 2". You're left with a 4" X 6" piece on the right.
- Cut the 2" strip into a 2" X 4" piece, leaving you with a 2" square.
- Next cut the 4" X 6" piece on the right into three 2" X 4" pieces.
See this gorgeous Snowflake Magic specialty paper here.
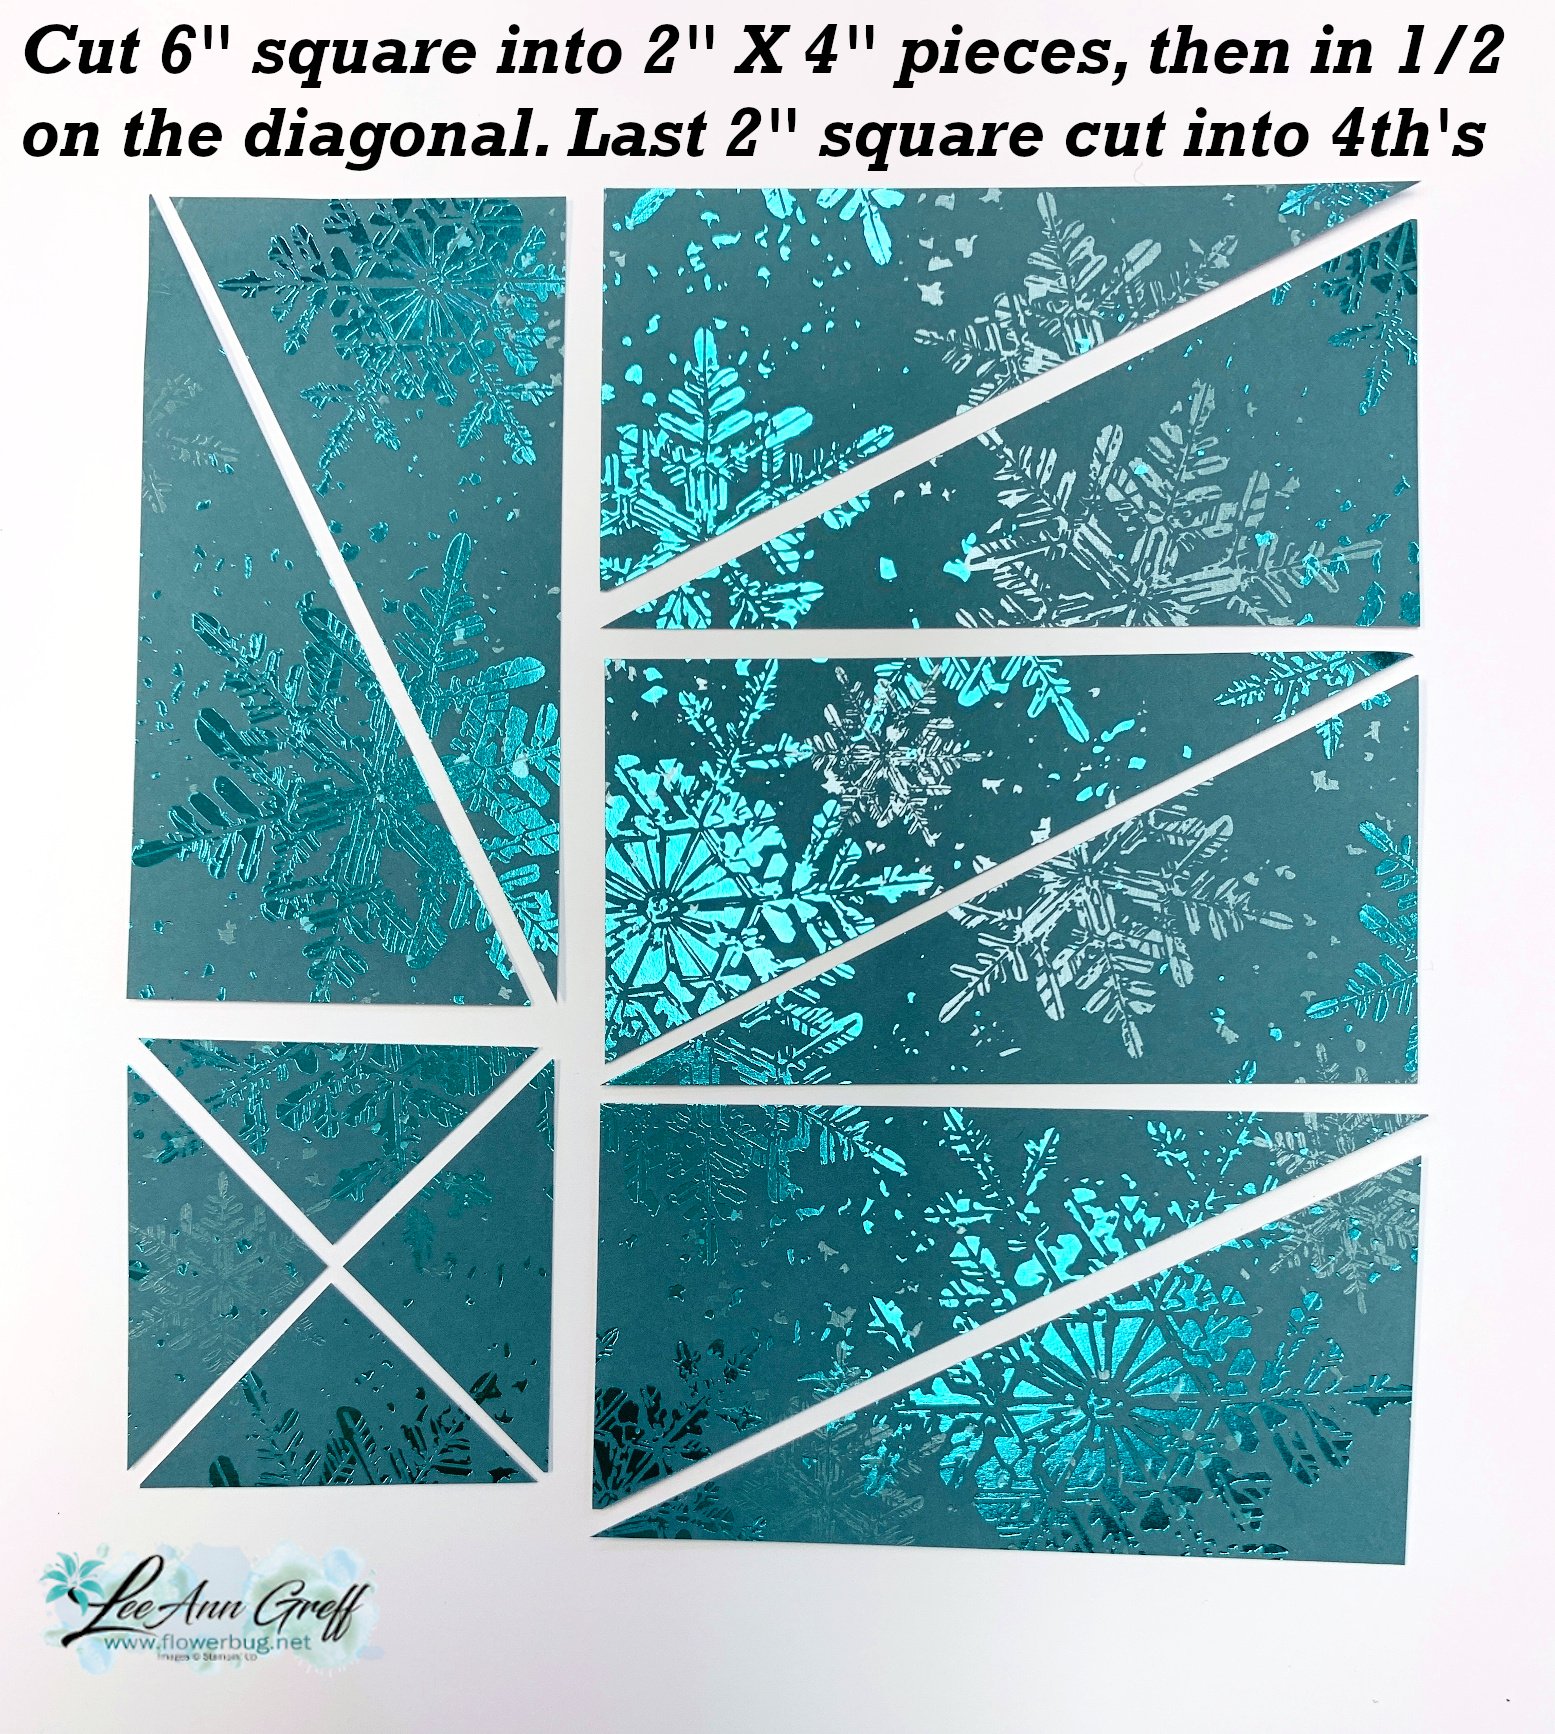
- Now you'll cut each 2" X 4" strip into two pieces by cutting it in half on the diagonal.
- Be sure you cut each one in the same direction.
- Cut the 2" square in half on the diagonal and then cut each triangle in half. These pieces are used on the inside of the card.
You'll use 4 of the large pieces and two small triangles on each card.
*Click here for the free printable project sheet. Download So Very Merry 2 in 1 card

You can see the So Very Merry stamp set here. It's seen in our Online Exclusive line.
Online Exclusives: did you know??
- Our Online Exclusive products can be ordered by anyone. The name means that they are only seen online and not in any printed catalog.
- These products may run out at any time. Some will be reordered and others will not. We never know!
- Many will remain in the Online store for up to 1 year before they'll be discontinued.
- Online Exclusives allow Stampin' Up! to offer timely products for seasons and holidays. Most of their other products are in catalogs that are printed over a year in advance!
Watch the video tutorial below:
~~~
October Specials:
Amazing Starter Kit choices!
Choose one and enjoy the 20% discount on all future orders! Click here

*current host code: HTHK4TQU or 4GHXYSDQ
*Get free glitter gems with online orders over $55 (Please use a host code)
















Leave a Reply