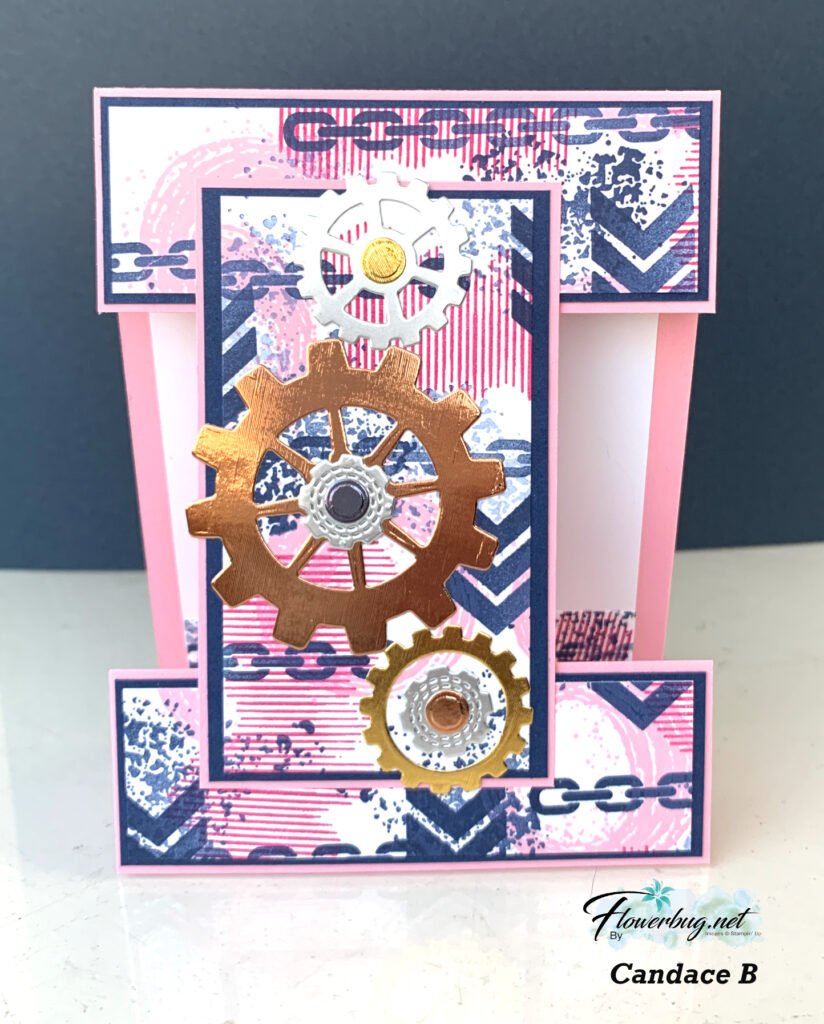
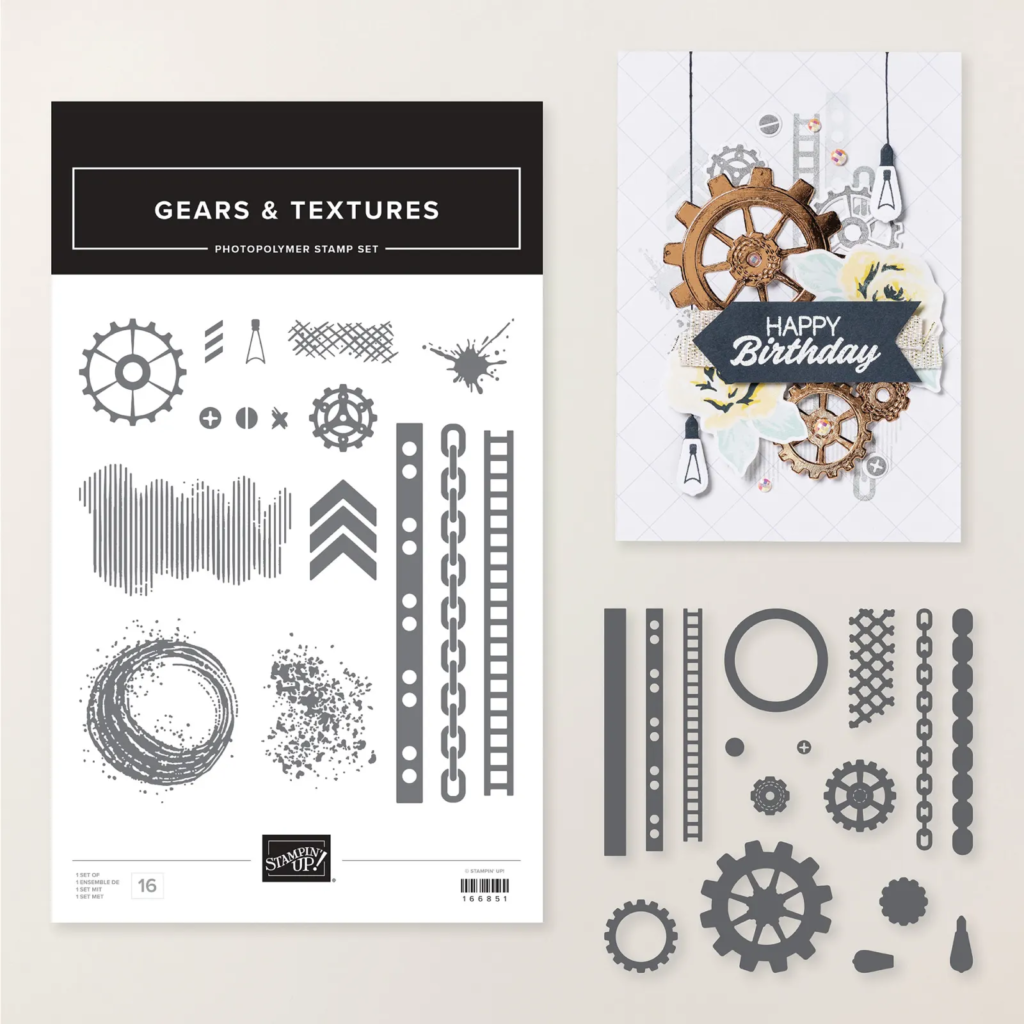
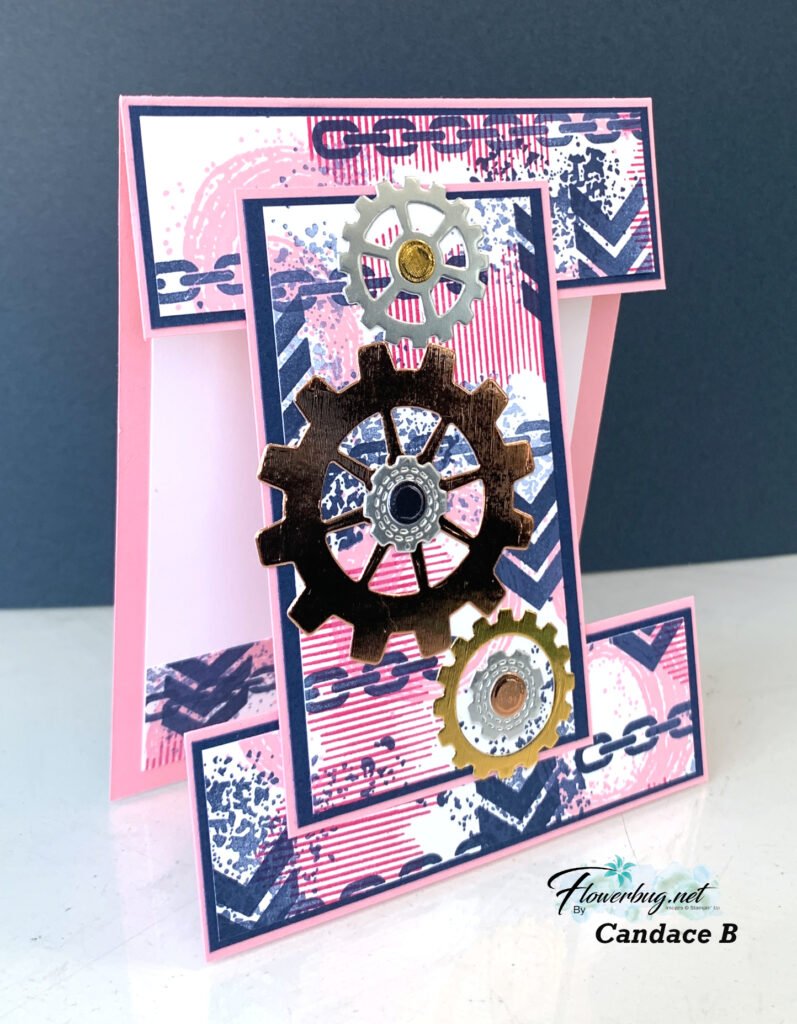
You can see the Gears & Textures bundle here. It’s so special & unique and perfect for masculine cards. But as you can see in Candace’s card it’s great for gals too!
She made her own paper with the stamps in the set. She used Pretty in Pink, Night of Navy & Flirty Flamingo inks. She added die-cut gears from the Metallic Textured Specialty papers seen here.
If you want to make a card like this start out with a 4 1/4″ X 11″ piece of card stock scored at 5 1/2″. Trim off a 1 1/2″ piece from one end. Then trim off another 2 1/2″ piece which is the vertical center piece. The stamped paper layers are 1 1/4″ X 4″ on the top & bottom and the center is 2 1/4″ X 4″.
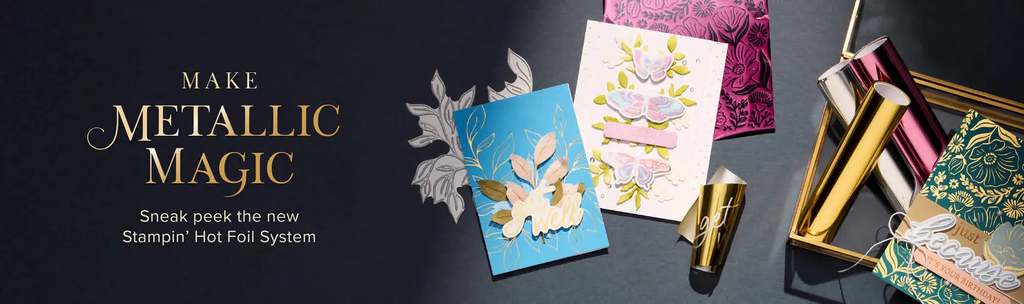
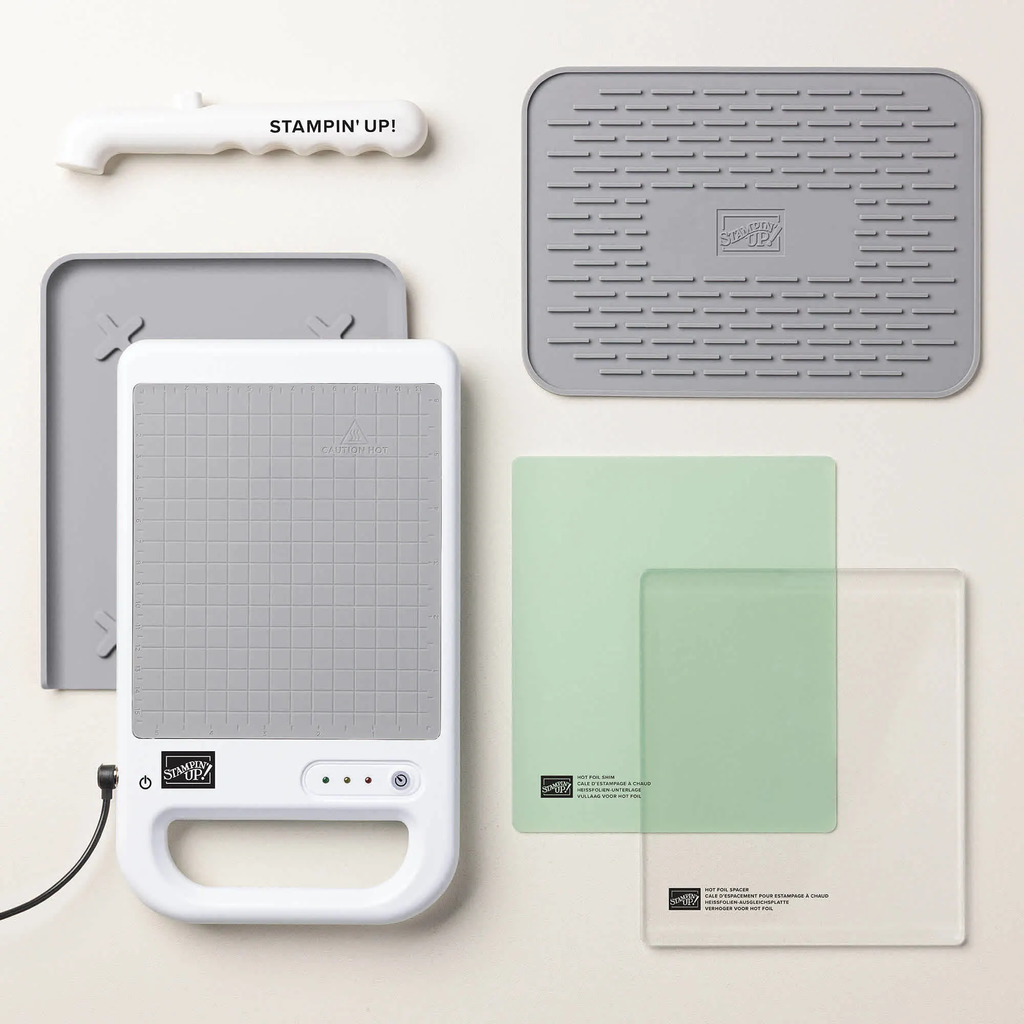
The metallic magic starts with Stampin’ Hot Foil Rolls, specially-made Hot Foil dies, and the Stampin’ Hot Foil System that works with our Stampin’ Cut & Emboss Machine (sold separately). The heat of the platform transfers the foil using hot foil dies designed specifically for this system, allowing you to add dazzling details to paper and more. (IMPORTANT NOTE: Cutting dies are not designed to be used with hot foiling. You cannot die cut using foiling dies. Doing so risks damaging the dies and the system.)
As an added bonus, everyone who purchases this system before January 4, 2027, will automatically be able to access the upcoming Metallic Magic Craft Class, a technique-centric virtual class. Attendees will make unique projects and learn crafting tips intended to elevate their hot foil crafting experience. This class is a special limited-time offer exclusive to this system and is an amazing tool when it comes to increasing skills, learning techniques, and making the most of this new product line.
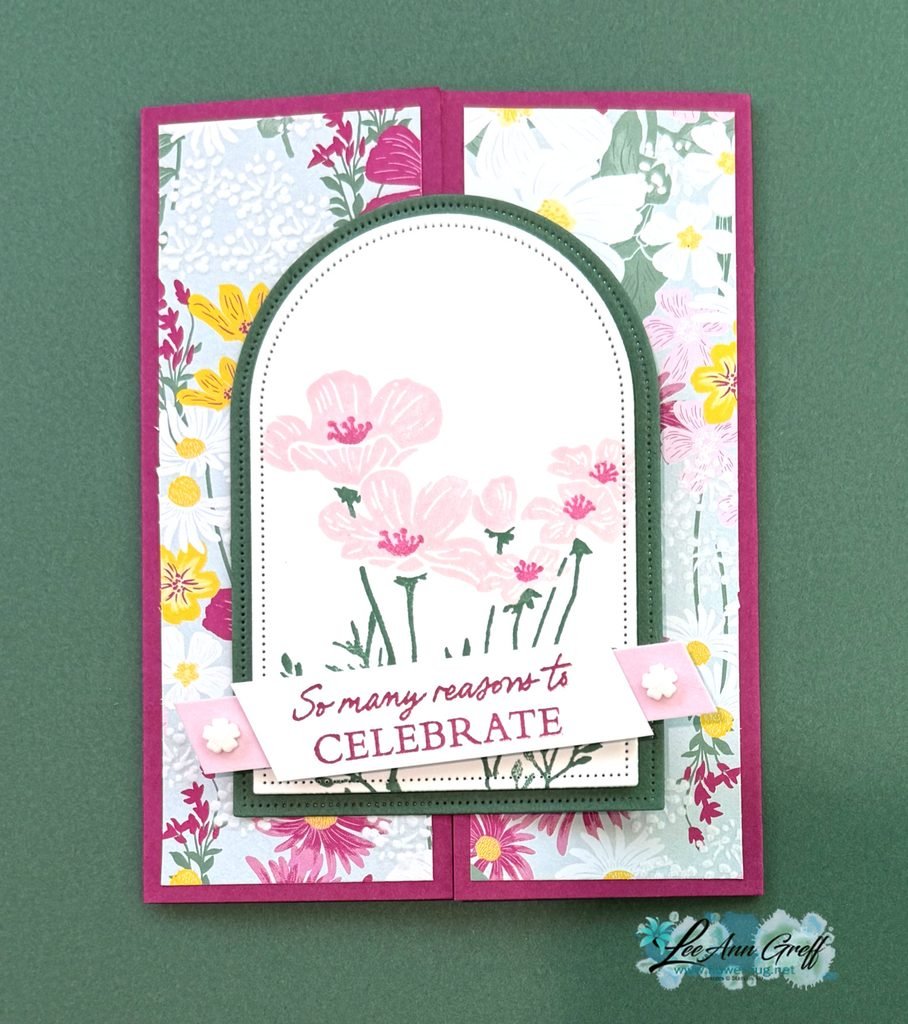
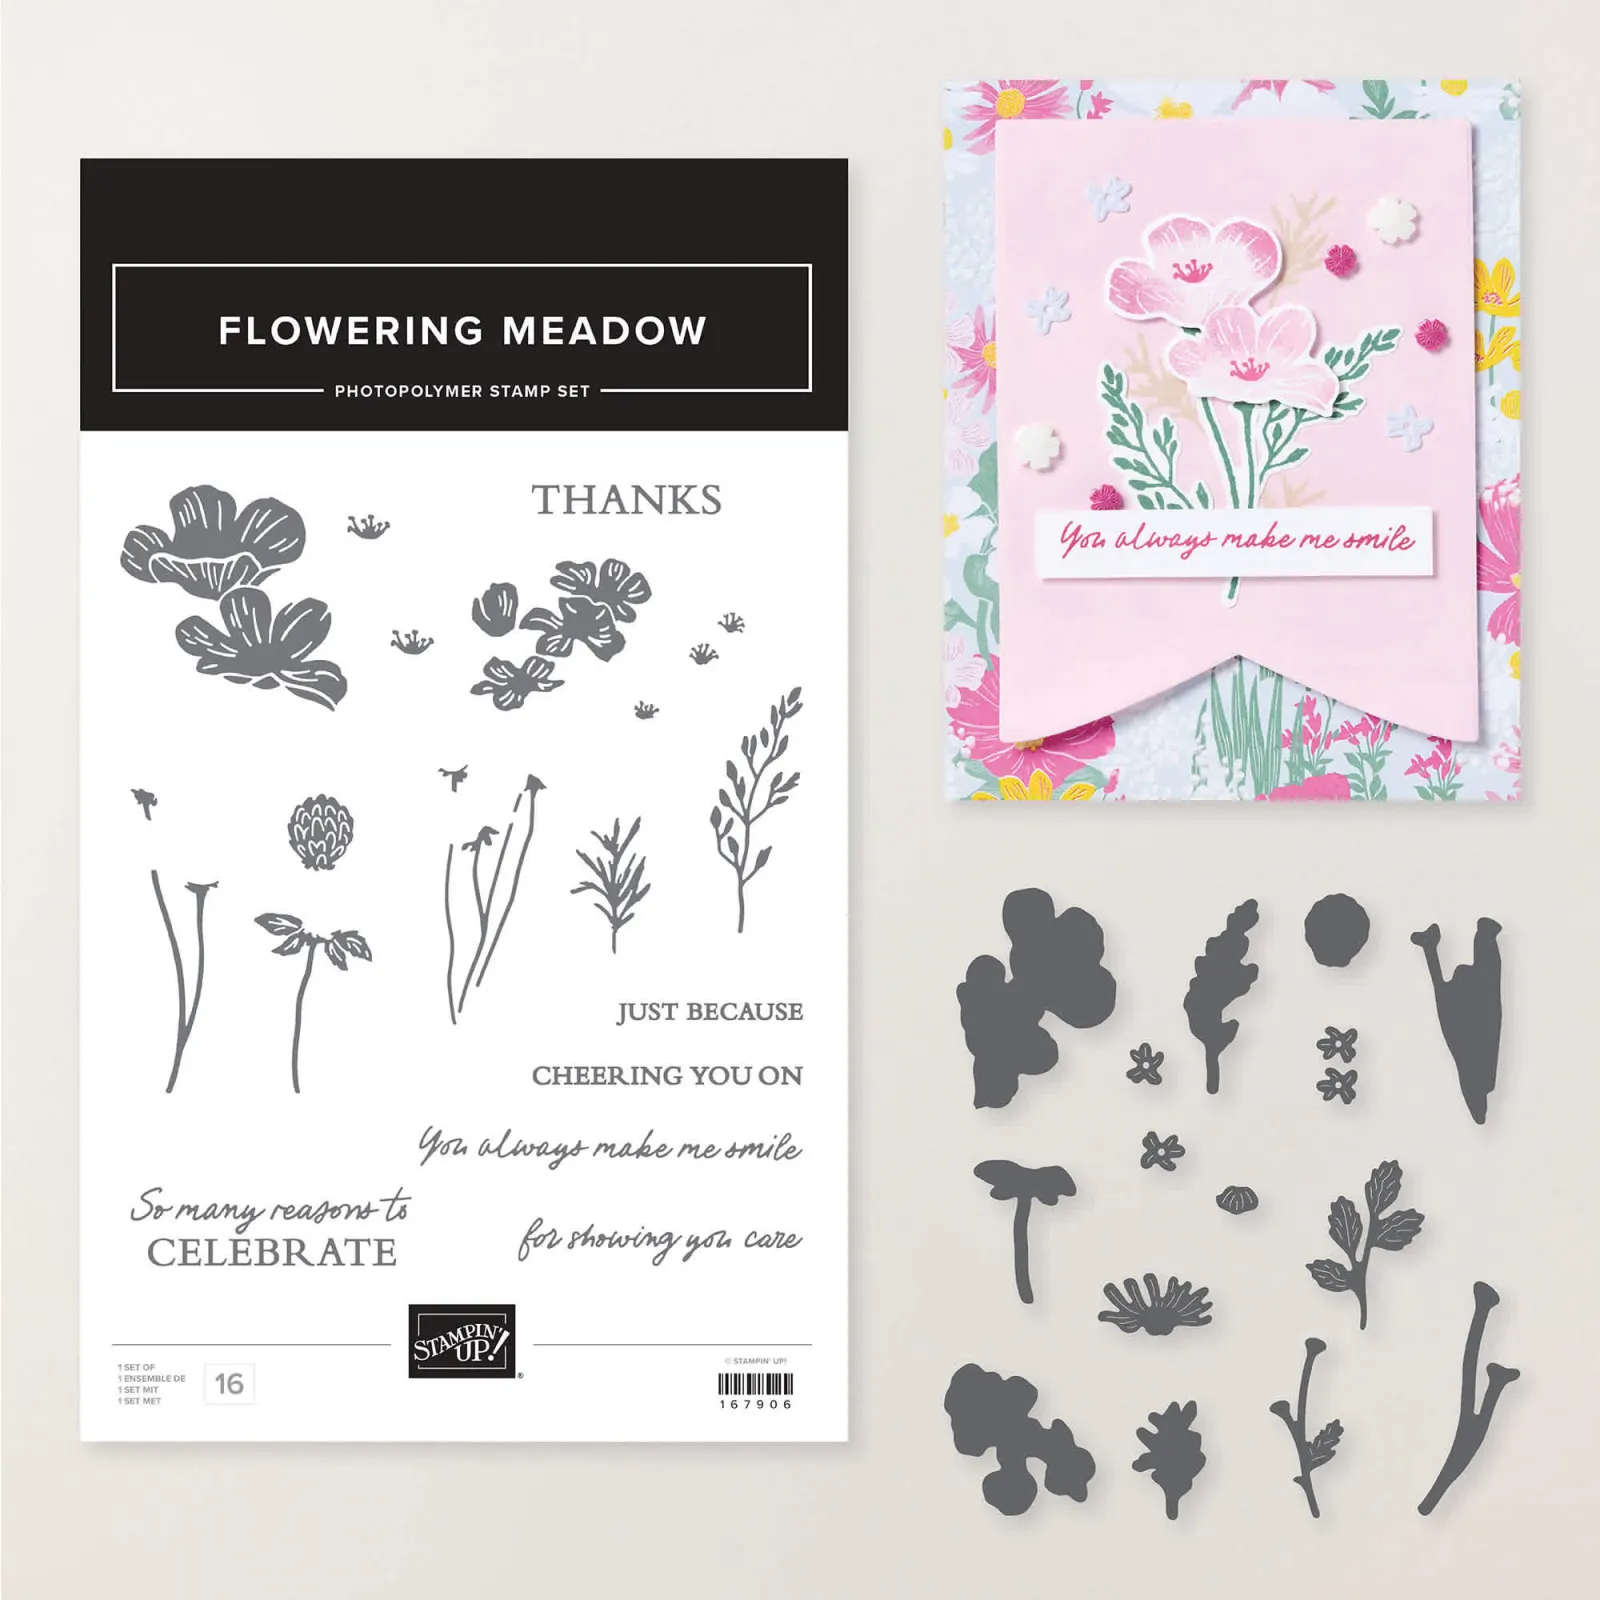
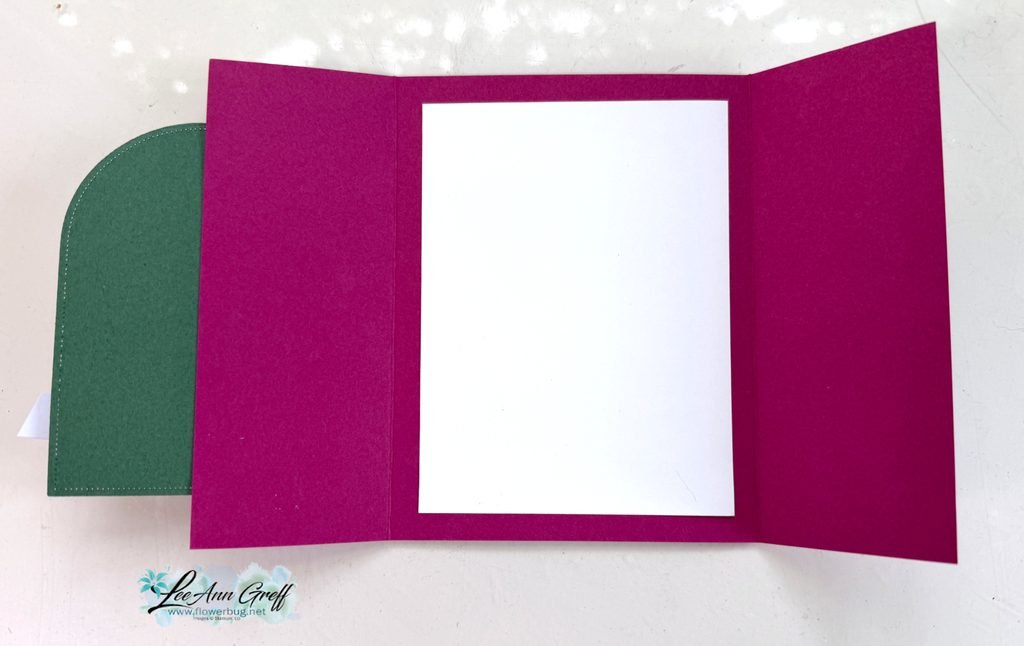
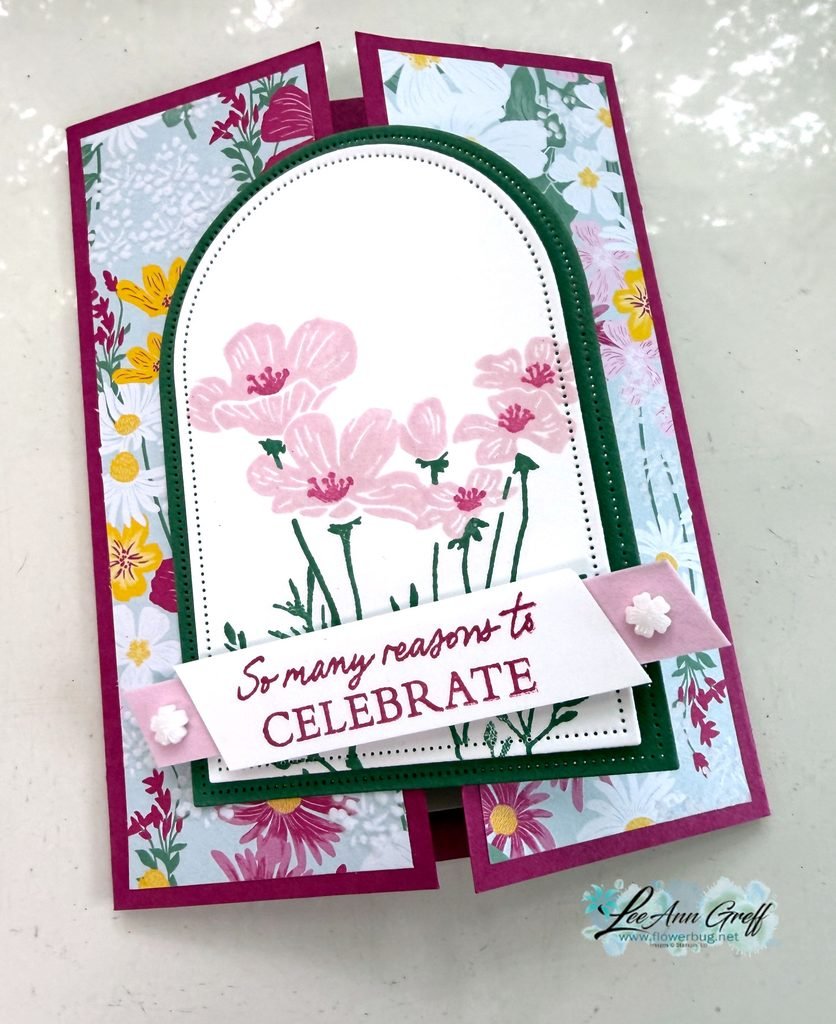
Gatefold cards are a great way to use your pretty designer series paper. Each side measures 1 7/8″ X 5 1/4″. I stamped the pretty flowers from the Flowering Meadow bundle seen here on the White arch die-cut; then layered it on the next size larger Peaceful Pine arch die-cut.
The Arches dies are out of stock currently but will be back.
I stamped the flowers in Bubble Bath, Berry Burst and Peaceful Pine ink. The greeting is stamped on a strip of White that is layered on the Velvet specialty paper in Bubble Bath color. A pretty but easy card.
The color combinations Stampin’ Up! comes up with in their designer paper continues to amaze me. They make it so easy to make beautiful, coordinating projects. Our color families and the matching products is what drew me to Stampin’ Up! over 21 years ago and is still one of my favorite things about them.
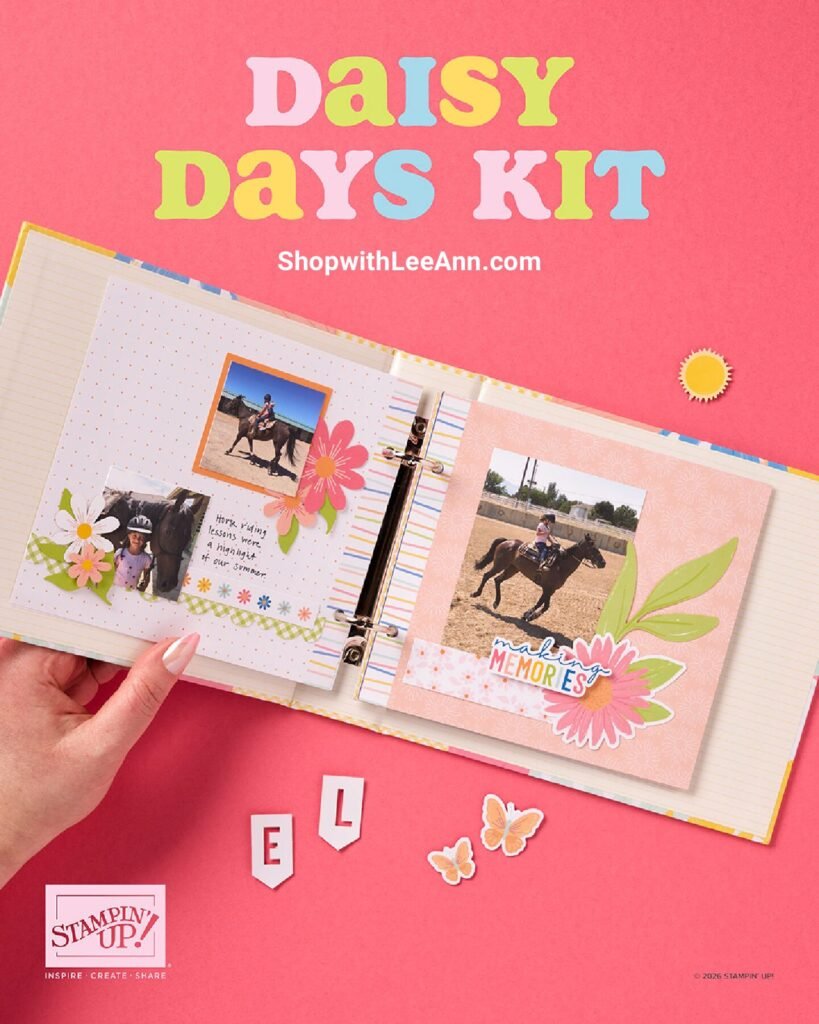
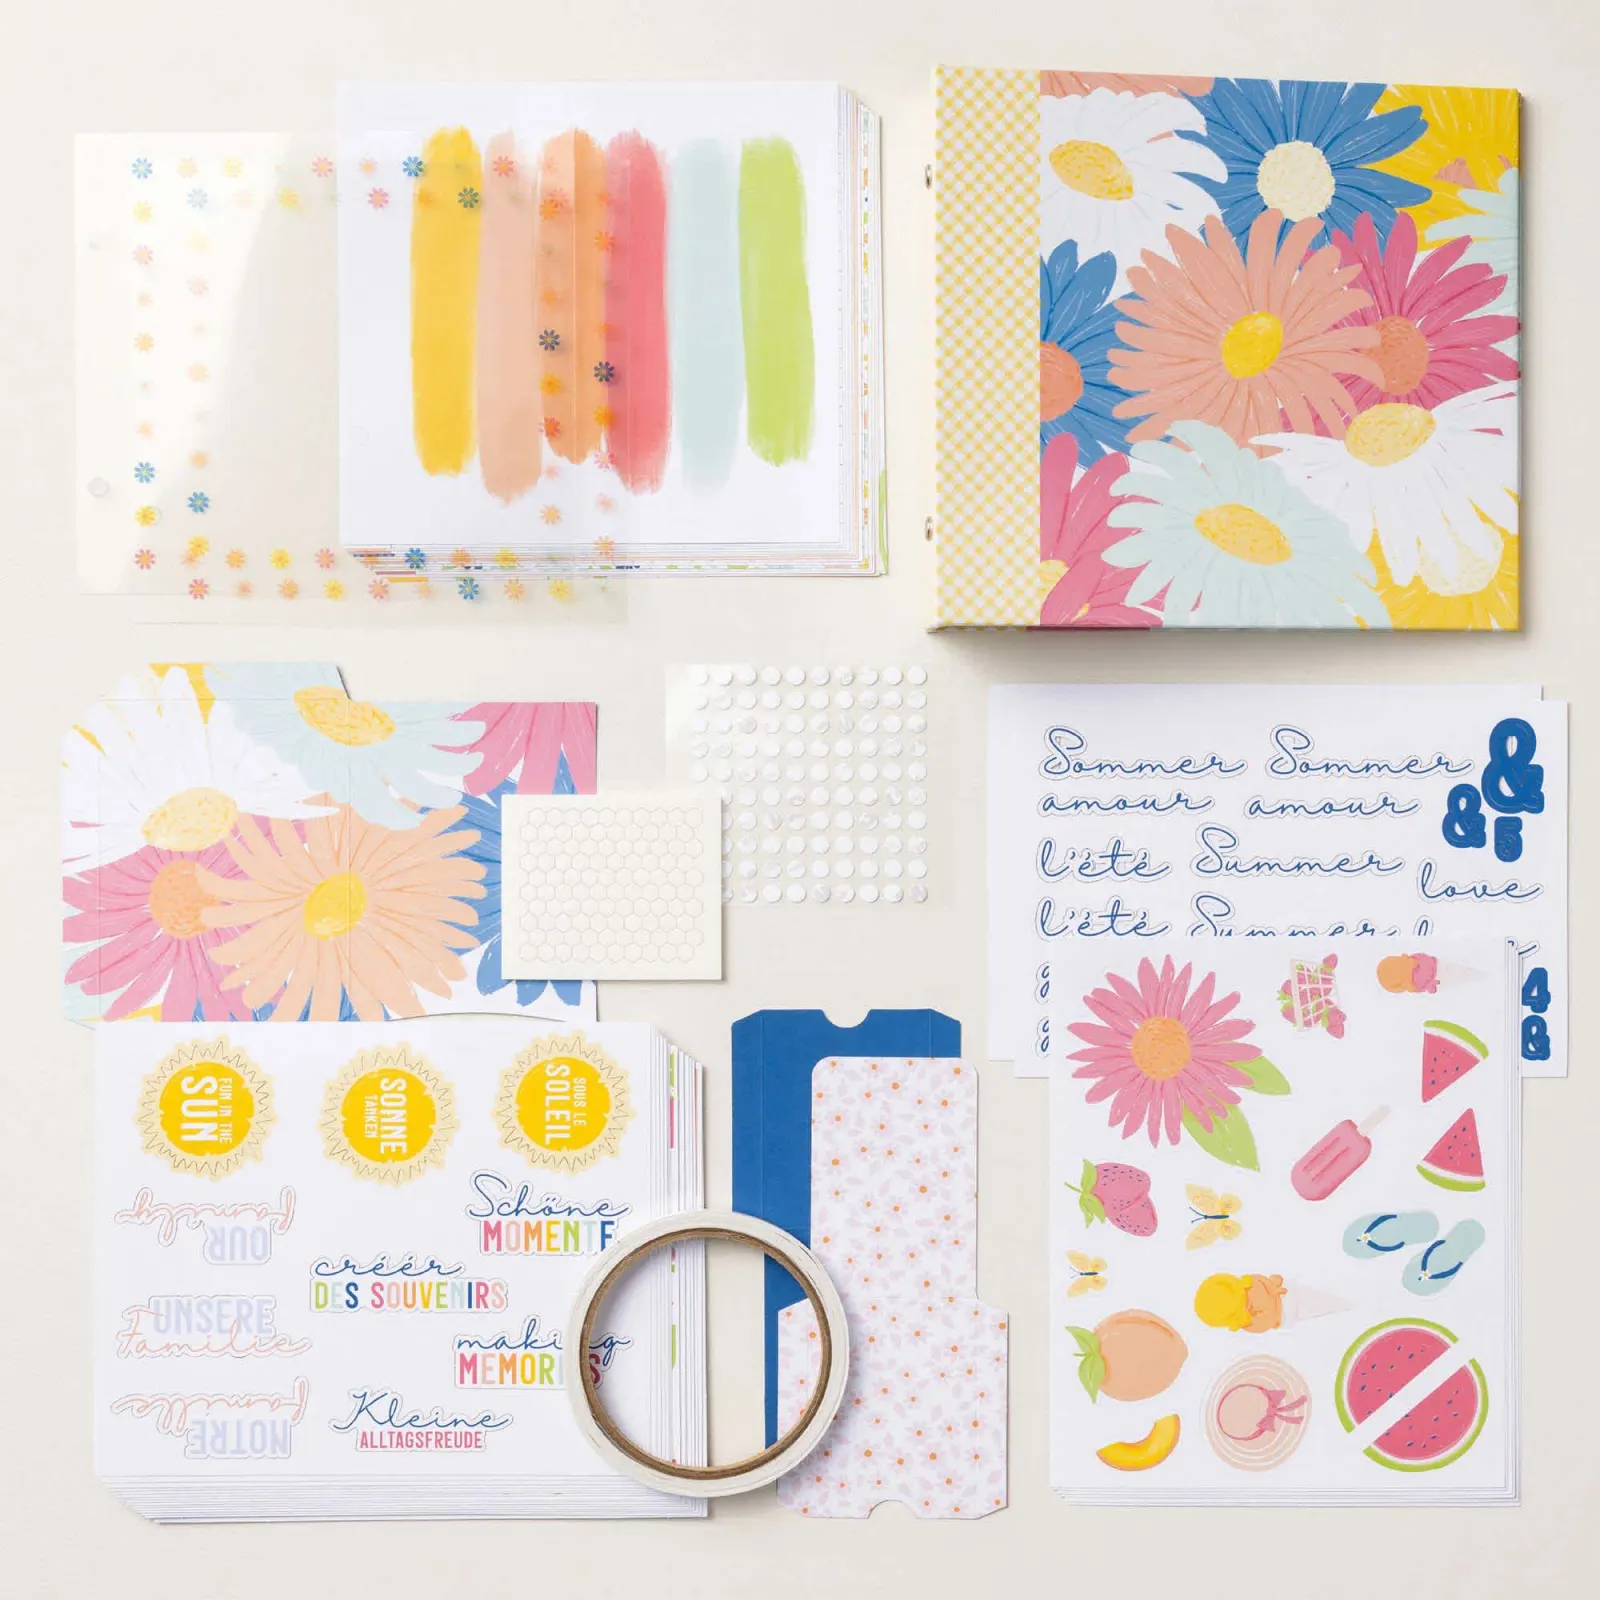
DETAILS – Makes 1 album with 28 pages – Album size: 7-3/4″ x 7″ x 1-7/8″ – Page size: 6.5″ x 6″ – Colors: Blueberry Bushel, Crisp Cantaloupe, Crushed Curry, Granny Apple Green, Pool Party, Strawberry Slush, Timid Tiger – Sentiments printed in English, French, and German
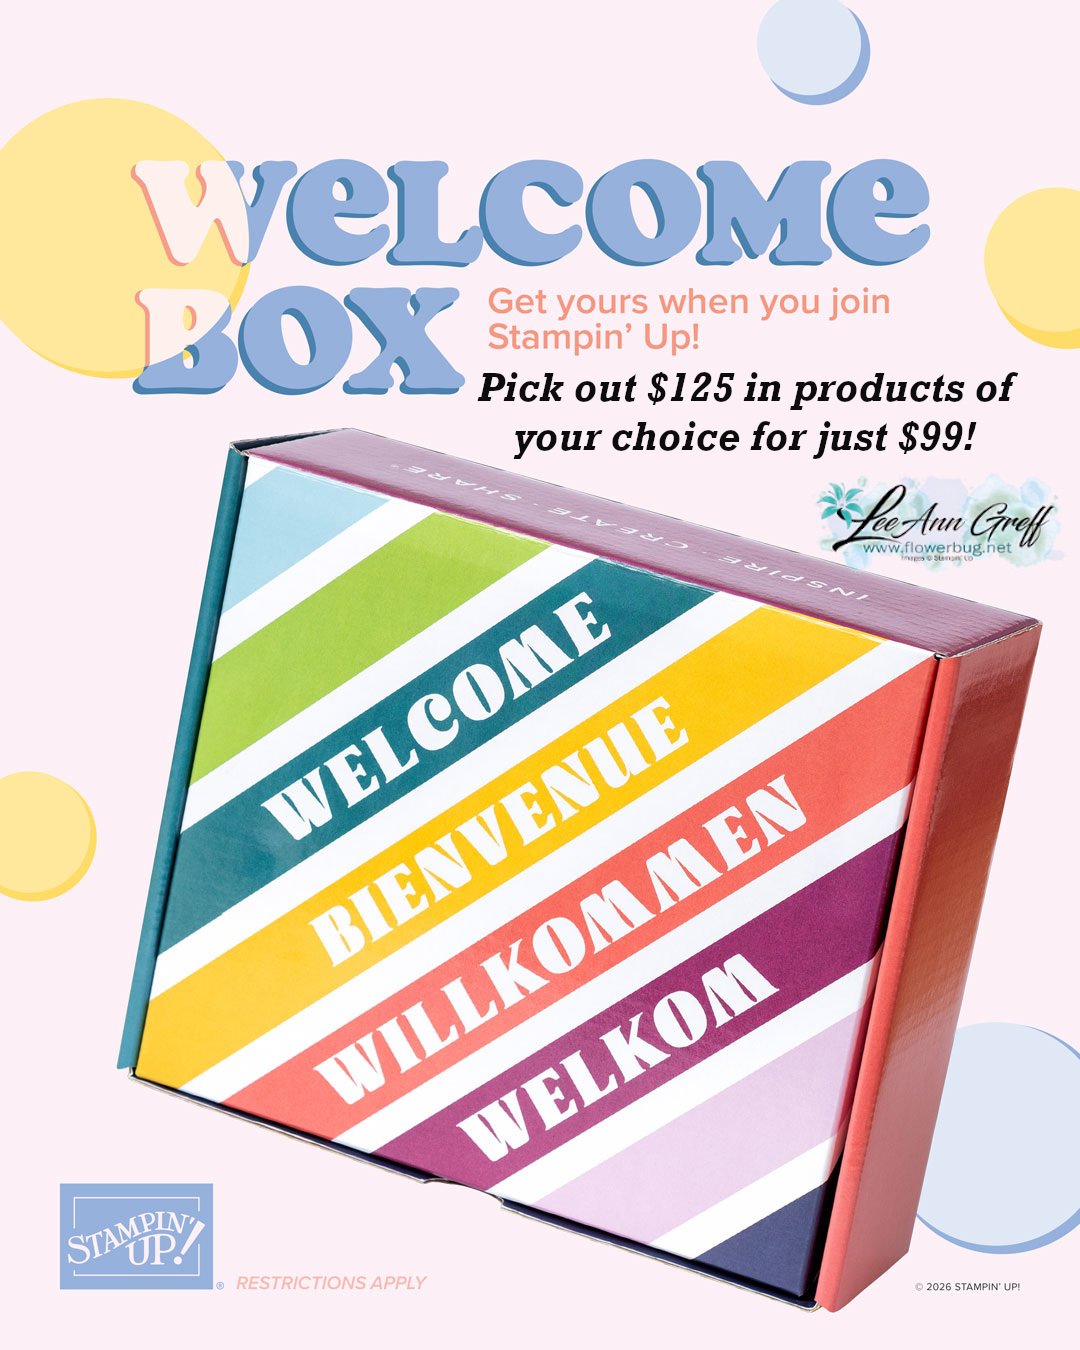
This is super exciting news! All first-time demonstrators (beginning July 1, 2026) will receive a surprise Welcome Box—a gesture of appreciation and a warm welcome into the global Stampin’ Up! creative community.
Here’s an easy way to see all of the newest releases in July; click on any of them to see them in my store.
Remember that Online Exclusives simply means it can be found online. It isn’t in any printed publication. However Stampin’ Up! has given us this PDF you can print out or view.
Notice: LeeAnn Greff, Independent Stampin’ Up! Demonstrator, Manager. The content of this website is my sole responsibility as an independent Stampin’ Up! demonstrator and the use of, and content of, the classes, services, or products offered on this website is not endorsed by Stampin’ Up! Copyright 2025


Leave a Reply