/


Latest Post

3 FUN ways to use Window Sheets – check out these Team swaps!


Our swap theme for our Flowerbug's Team was to feature either Window Sheets or Vellum on their cards.  The cards were amazing; as usual! 

Today we're focusing on Window Sheets. 

First is a special card made by Lori.  She used the Window Sheet as her card base!  I'm not sure I've ever seen that before…

She used the Cup of Tea bundle and the newest In Colors on her card.  Orchid Oasis, Parakeet Party & Sweet Sorbet.  

She used the Stitched Rectangle dies for her front 'frame'. It measures 3" X 4 3/8" at the largest. She made two frames; one for the front and one for the inside. The die-cut tea cup is also positioned on the front and the back of the front.  

She added a folded White layer inside that opens up.  It's 3 3/8" X 4" folded in half.  
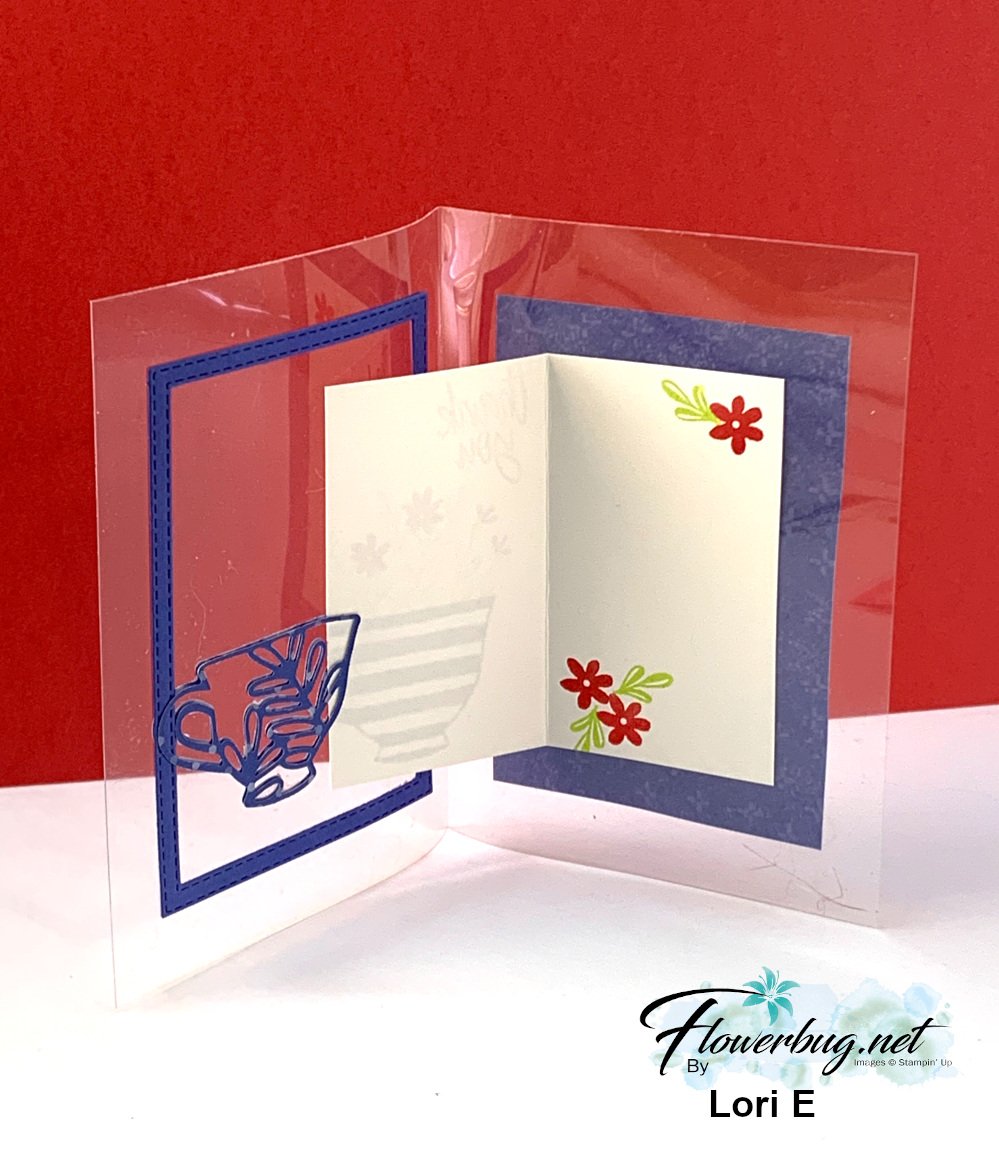
Then on the very back she added a piece of the Tea Boutique DSP that measures 3" X 4 1/4".  Such a unique card!  

~~~

This next card was made by Ginny.  She used the Dandy Designs DSP for her card front.  It's almost monochromatic but there is a bit of Pear Pizzazz and Black too. So pretty!!
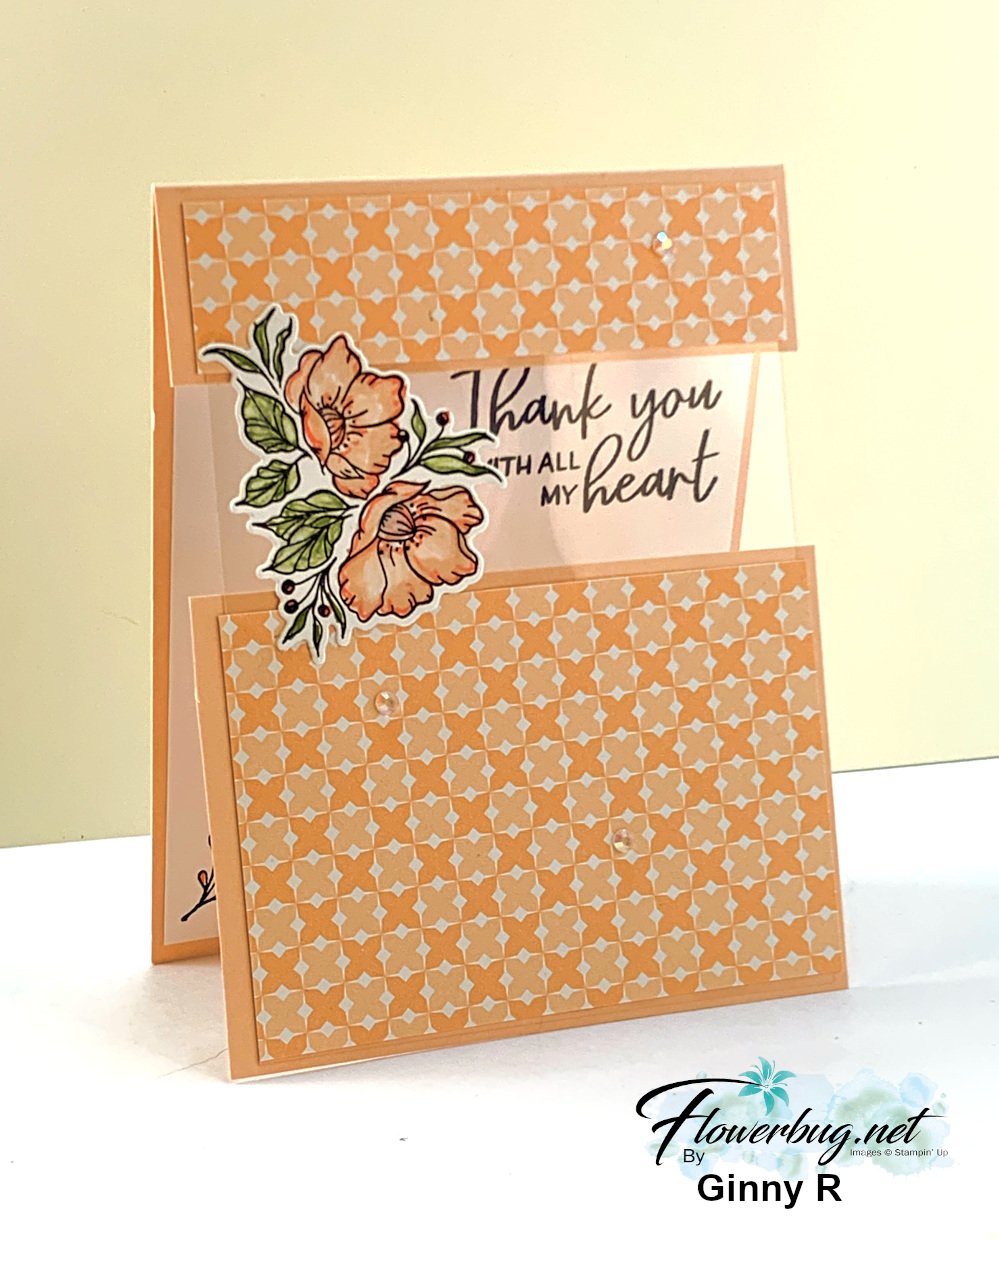

She added a window sheet to bridge the upper and lower layers of the card front.  You can see the greeting through the window sheet.  Her greeting and the pretty floral die-cut is from the Framed Florets bundle.  

Measurements:

  • Card base 4 1/4" X 6 3/4" scored at 5 1/2". Lower card stock layer is 4 1/4" X 3".
  • DSP is 4" X 1" and 4" X 2 3/4"
  • Window sheet is 4" X 2 1/4"

~~~

This next card was made by Paula.  She created a window from her DSP layer, adding Window Sheet behind it and a die-cut flower from the Framed Florets bundle in front. 
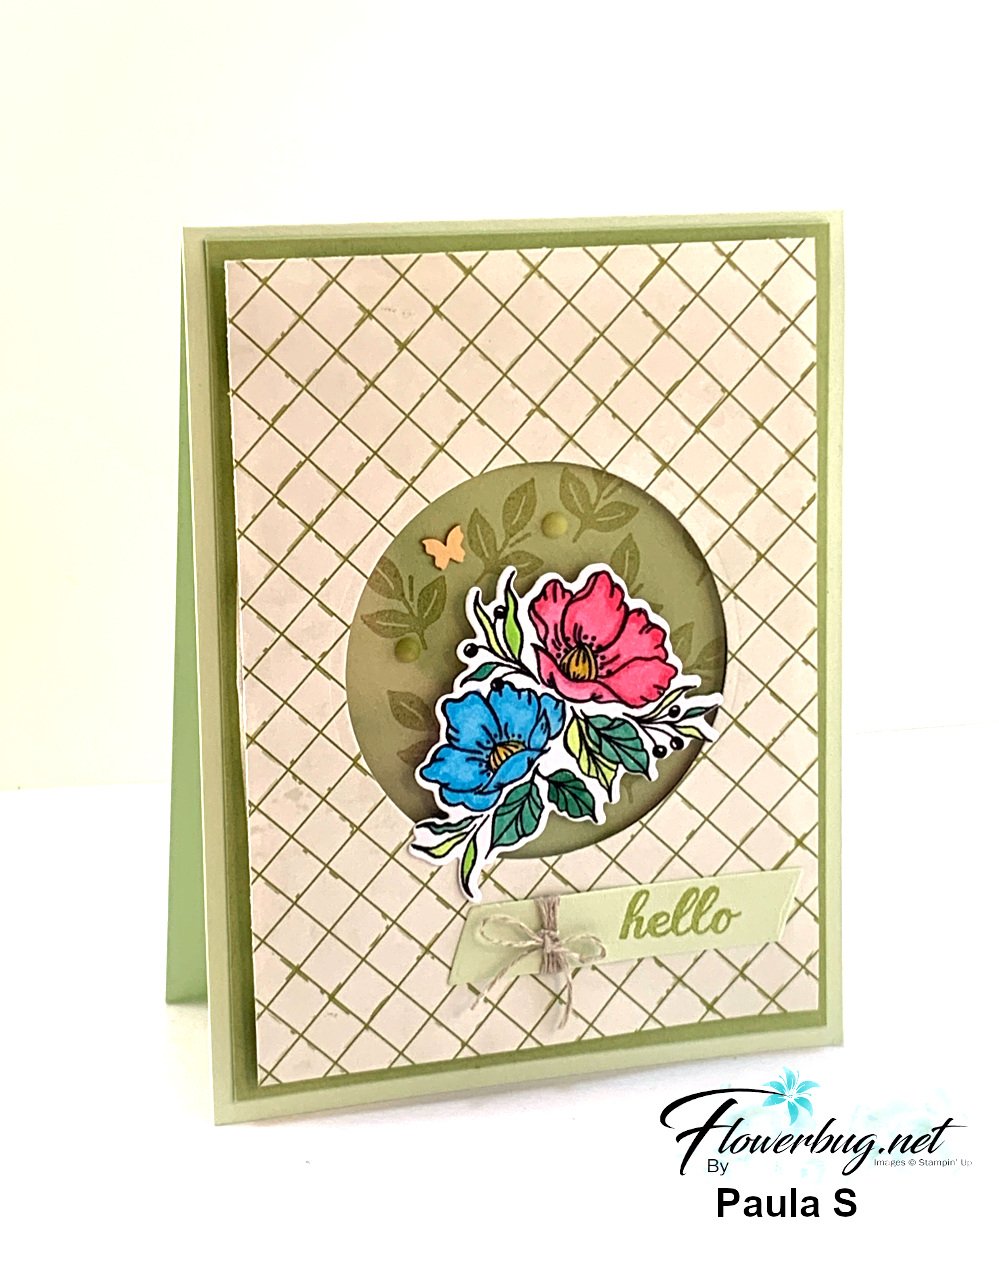
The Designer Paper is called Design a Daydream; it's in the annual catalog and is a big 48 pack for just $18.  You can earn it once your order is over $150 with host benefits. 

I love her wrap of linen thread with a tiny little bow as accent. 

Measurements:

  • Soft Sea Foam card base 4 1/4" X 11" scored at 5 1/2"
  • Pear Pizzazz 4" X 5 1/4"
  • DSP 3 3/4" X 5"
  • Window sheet 3" for the circle opening which is 2 1/2" 

~~~

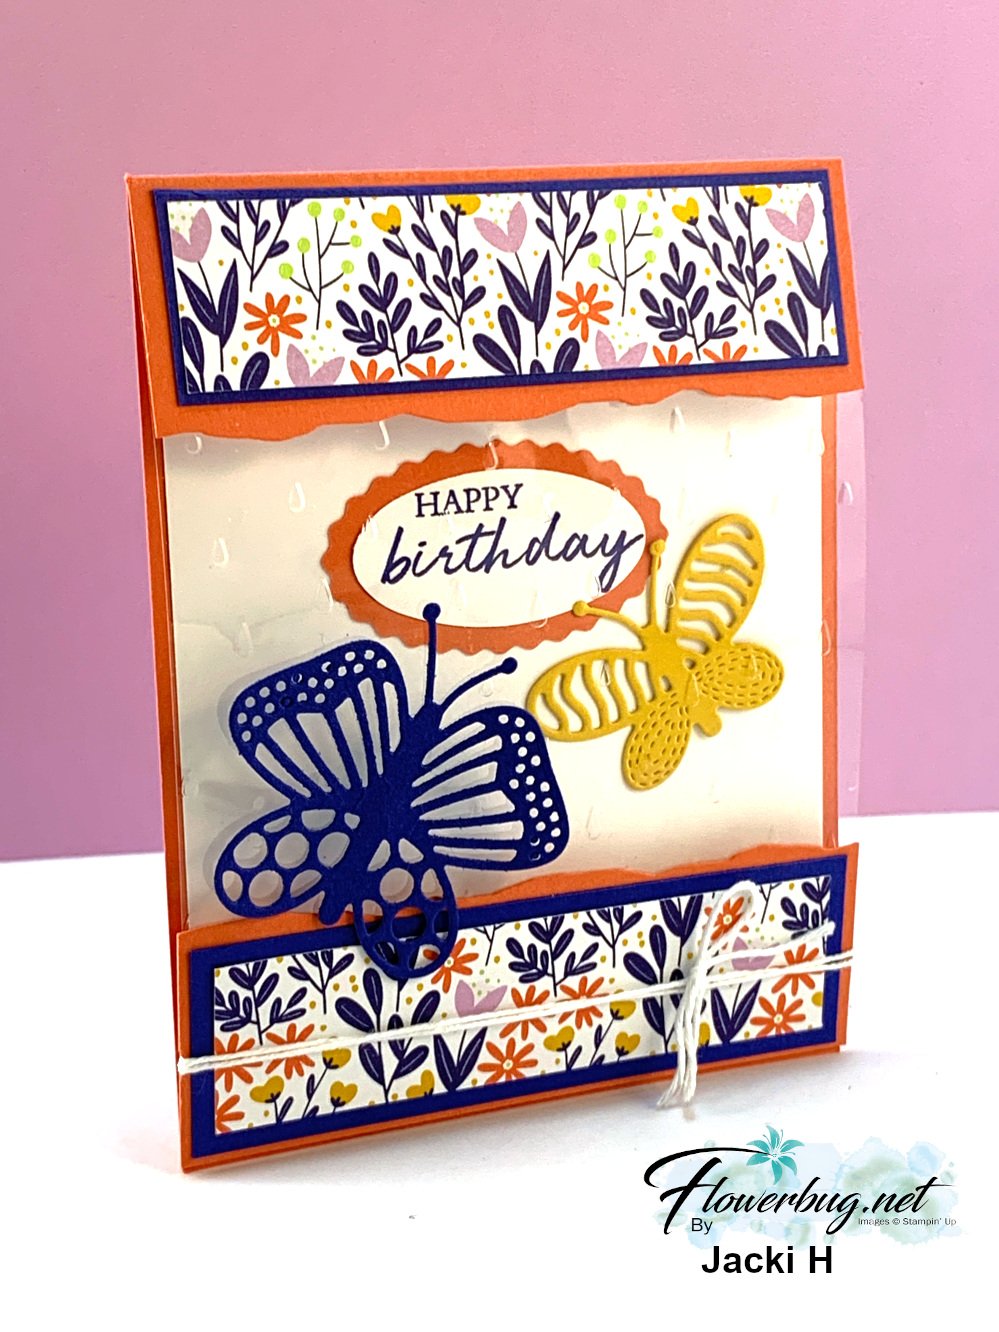
Next is a cute & colorful card that really shows off our Window Sheets! 

Jackie made a type of bridge card where the window sheet allows you to see the inside layer from the front.  
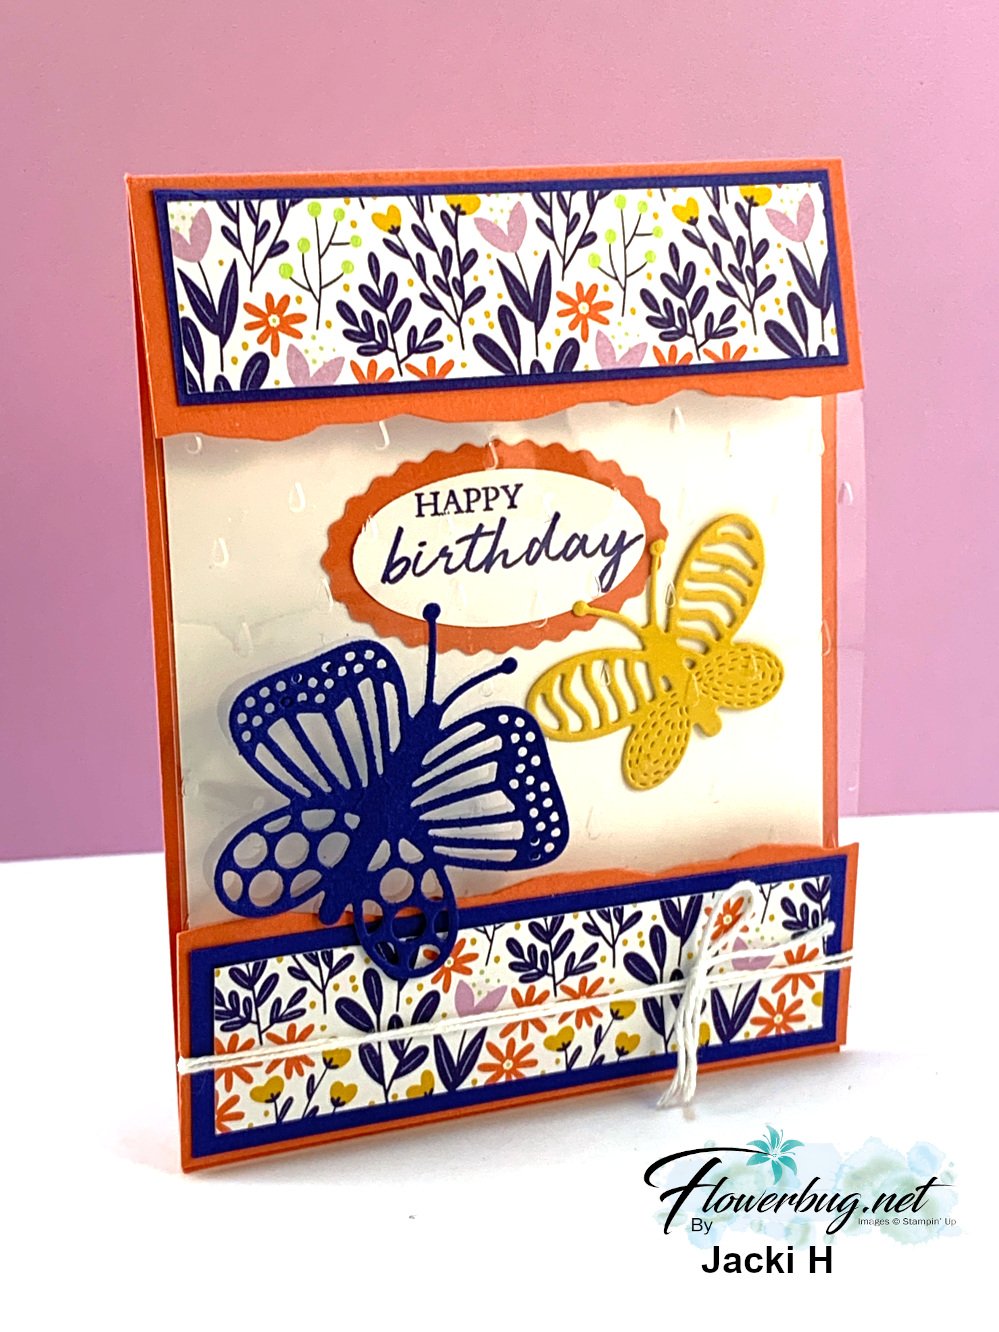
She is featuring the Butterfly Kisses suite here – the Butterfly Kisses 6" DSP and the Build a Butterfly dies. 

Her window sheet is 4 1/4" X 5 1/2" and she textured it with the Raindrops embossing folder from the Spring Catalog.  The lower layers are added to the base. 

Her colors include Calypso Coral, Starry Sky & Crushed Curry. The curvy borders are done with the Seaside Bay dies. Neat effect!  
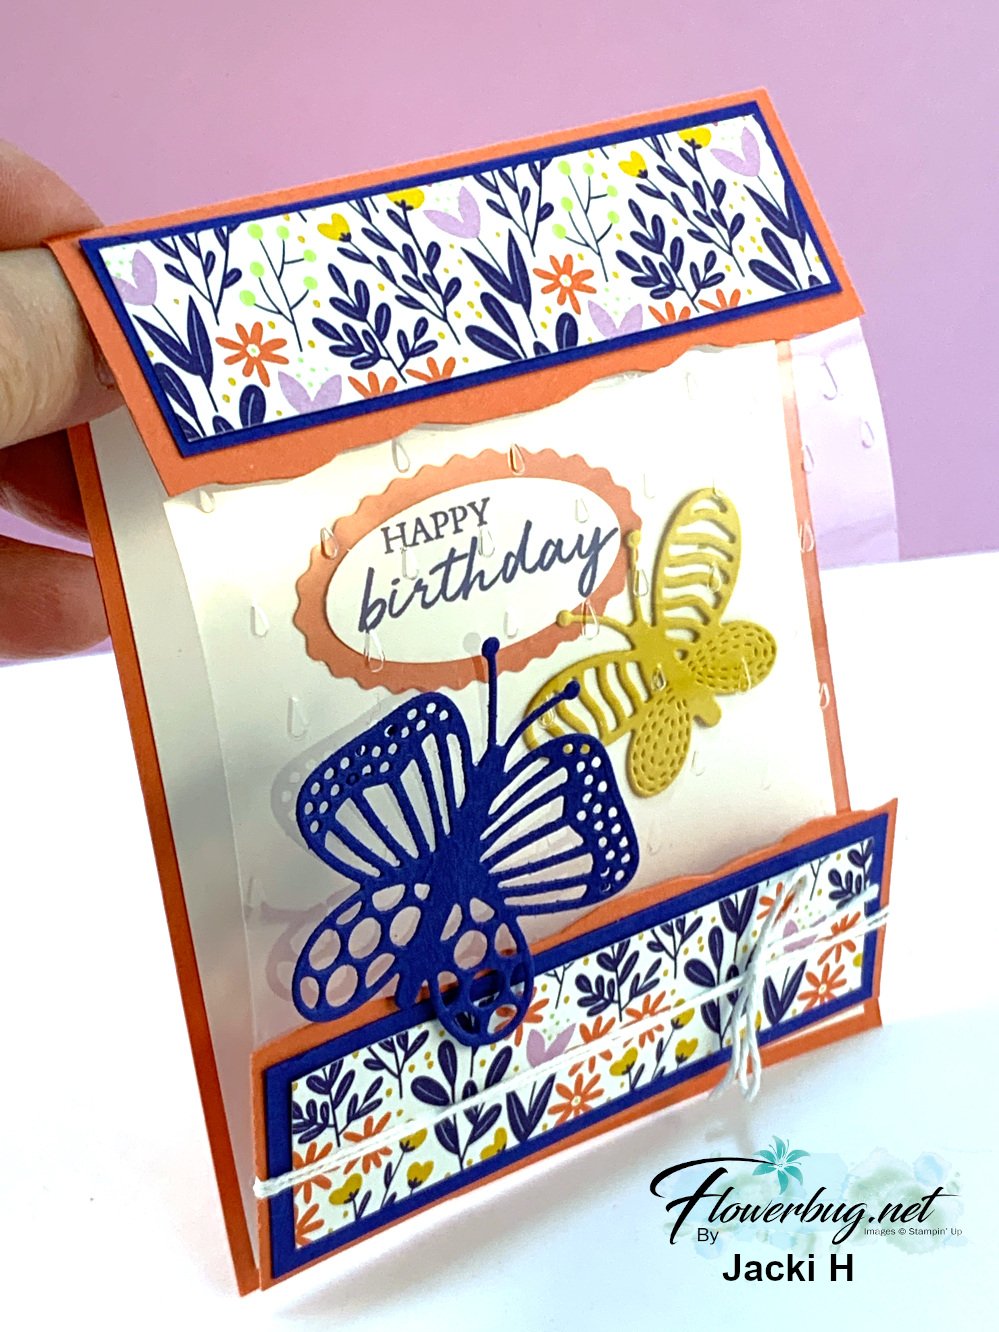
She added the greeting inside the card with the Double Oval punch seen here; it's a big favorite of mine that I had wished for.  

Measurements:

  • Card base 4 1/4" X 7", scored at 5 1/2".  Second Calypso Coral layer for the bottom front is 4 1/4" X 1 1/2"
  • DSP layers are 3 7/8" X 1"
  • Starry Night layers are 4 1/8" X 1 1/4" 

Stay tuned for more swaps soon! 

~~~

February specials:

February Host code links:

  CNV2VCBT or 7EUM6NB9 

Get free Pastel Sequins with online orders over $55 when using the host code above!

 Earn free products with my loyalty rewards! 
Click here to download yours and earn a $50 shopping spree!

~~~

Best Deal Ever on the Starter kit here!

Choose $175 in products for just $129 plus the new mini machine!

Or choose $175 for $99 without a new Mini.  AMAZING!

All Posts

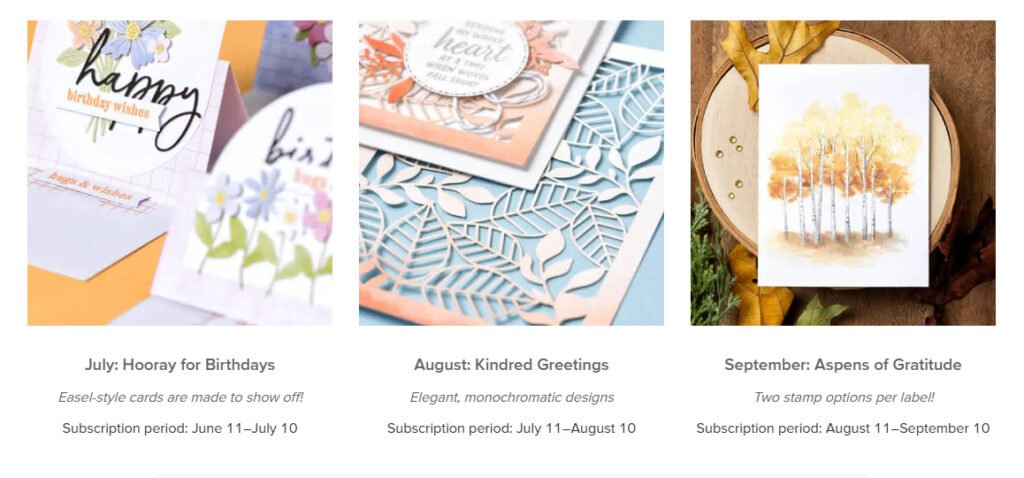
  • The next 3 months of gorgeous Paper Pumpkin kits – wow!


    If you love working with ready to create kits; you have to see the next 3 months of Paper Pumpkin card kits! I think they’ll be some of our favorites ever! Here’s a sneak peek:

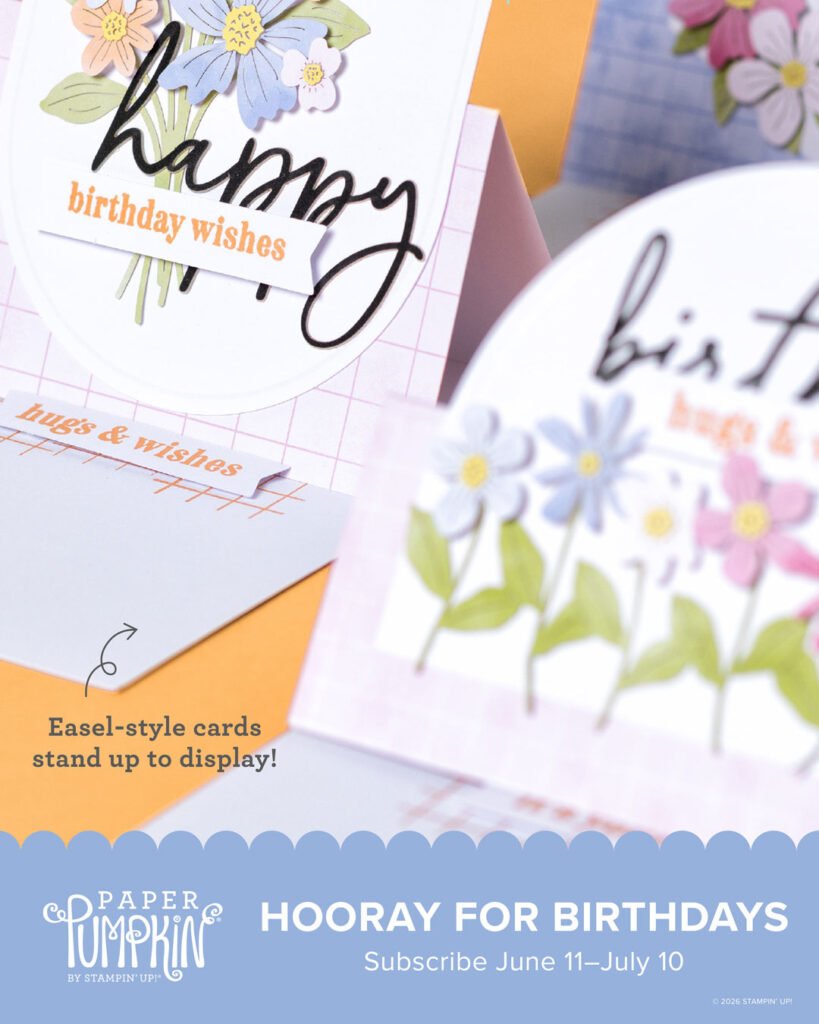
    If you subscribe before July 10th you’ll receive the Hooray for Birthdays kit. Go here to subscribe and get a fun kit in the mail each month.

    Remember you are in charge of which kits you receive. You can pause or skip any kit at any time. We always get a hint of what the upcoming kits will be.

    Or get a pre-paid subscription in either 3, 6 or 12 months increments. It’s so nice to get a fun surprise in the mail each month! And you save when purchasing a pre-paid subscription plus earn FREE product credits! Shop here for this option.

    And remember that once you’re a subscribe you have access to all of the past kits, refills and extras available. A great perk!

    Here’s the flyer for the next 3 months. It describes each kit in detail.

    Leave a Reply

    Your email address will not be published. Required fields are marked *

  • Striking and fun Black Magic technique with video!


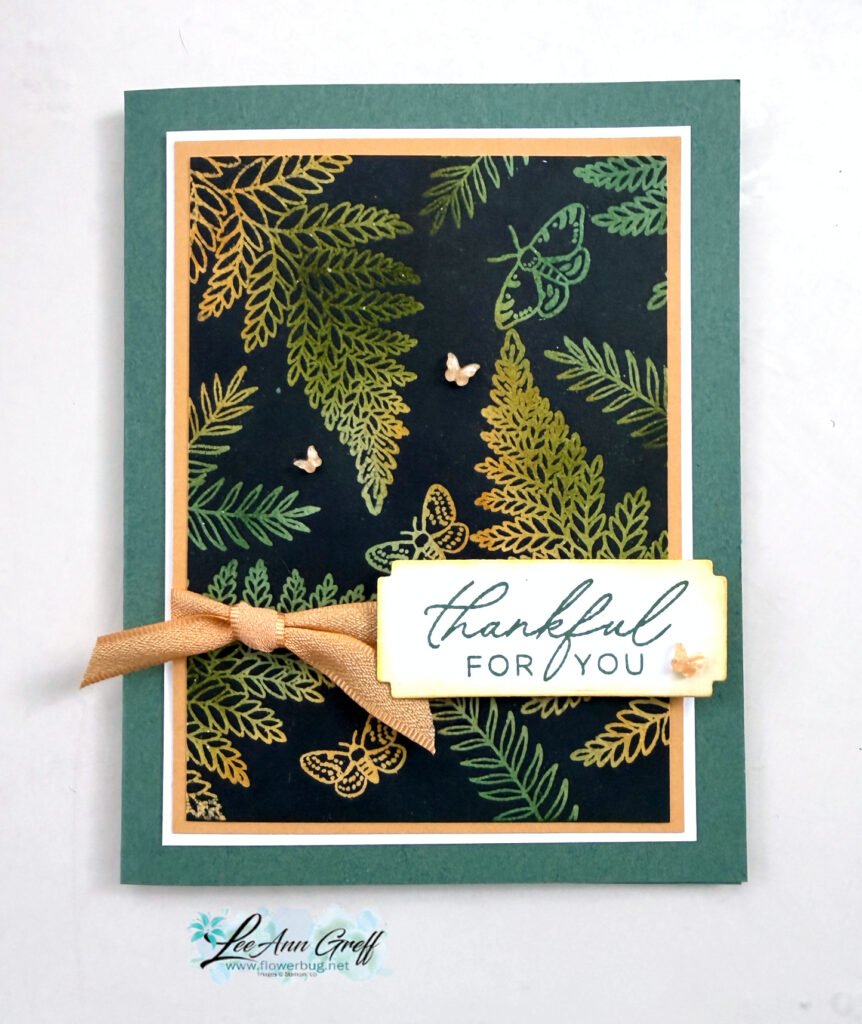
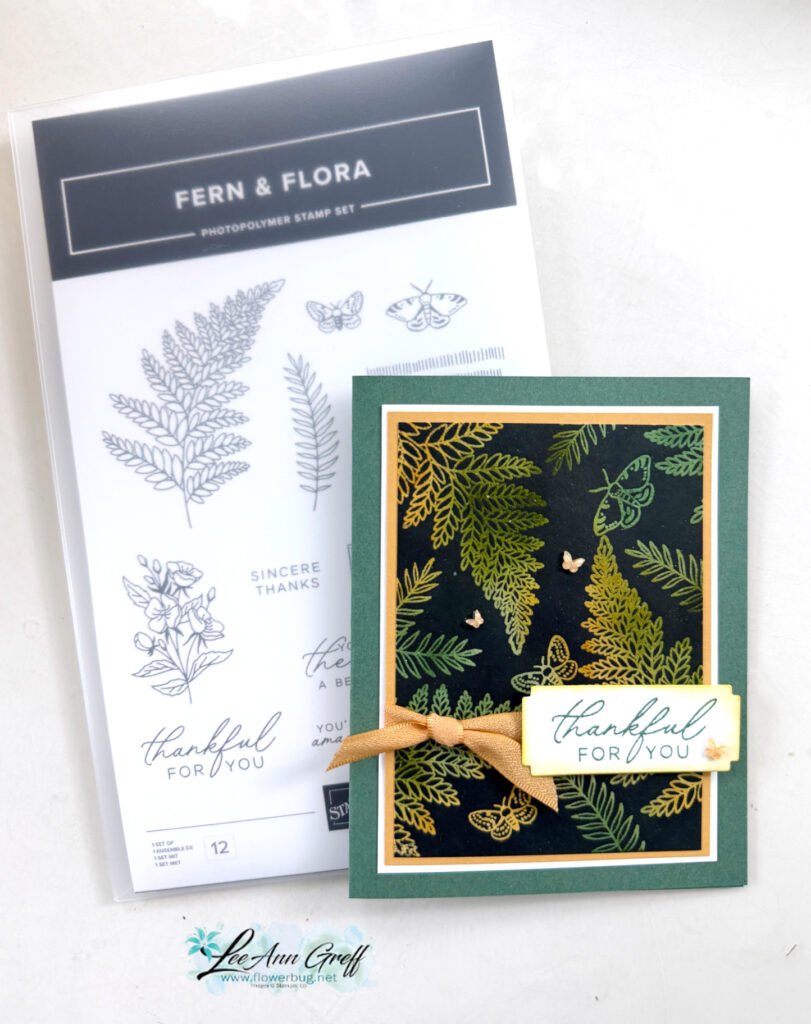
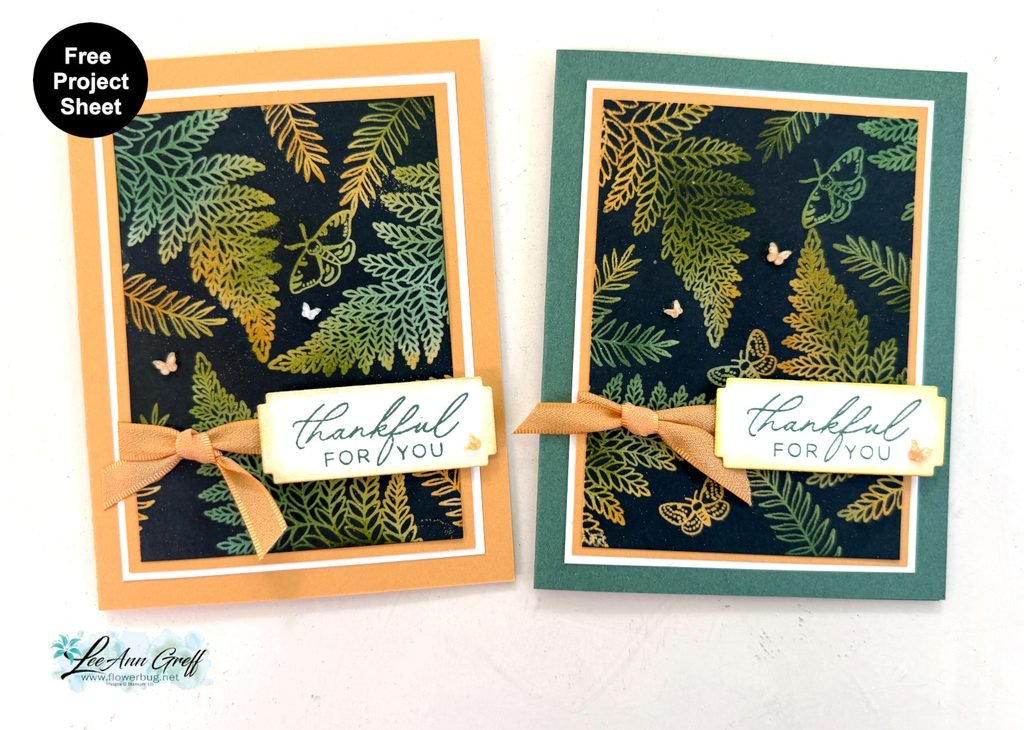
    I shared this pretty card on last week’s Live video. It’s the Black Magic technique!

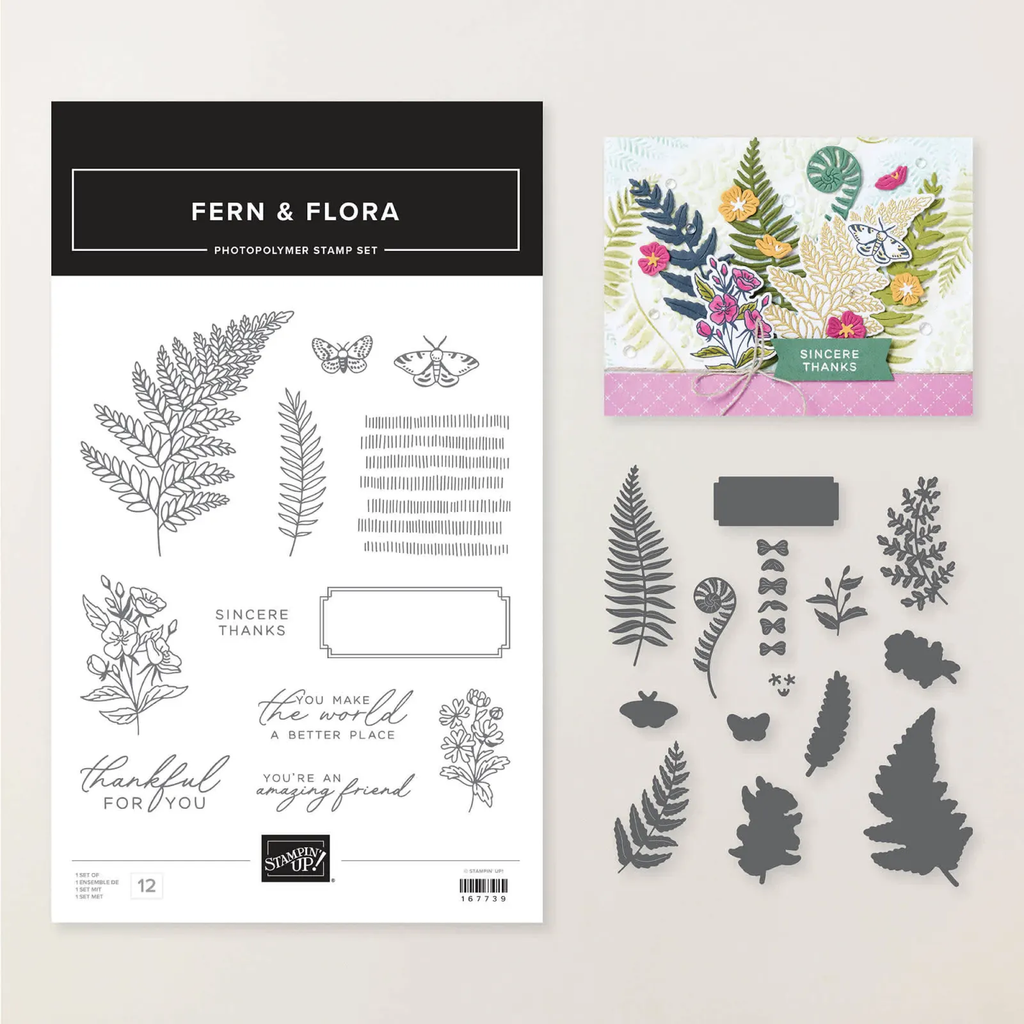
    My colors include Peaceful Pine, Old Olive (ink only), Golden Glow and White. It features the Fern & Flora bundle seen here.

    What is the Black Magic technique? It’s where you start with a light neutral piece of card stock and add color with sponges or markers. Then stamp images in Versamark and heat emboss with clear embossing powder. The magic happens when you cover it completely with a water based ink (here I used Secret Sea). Then wipe off the ink that does not ‘stick’ to the heat embossed areas. True magic!

    Watch my video tutorial further below to see this technique in action.

    On this card I used mostly the stamp images; only the greeting die-cut is from the dies. I added a few In Color butterfly gems and the pretty Golden Glow ribbon too.

    I created a free project sheet for this card; click here to download it or to print it.

    I made one with Golden Glow as the card base and the other as Peaceful Pine as the card base.

    Below is the video tutorial for this card and another.

    Leave a Reply

    Your email address will not be published. Required fields are marked *

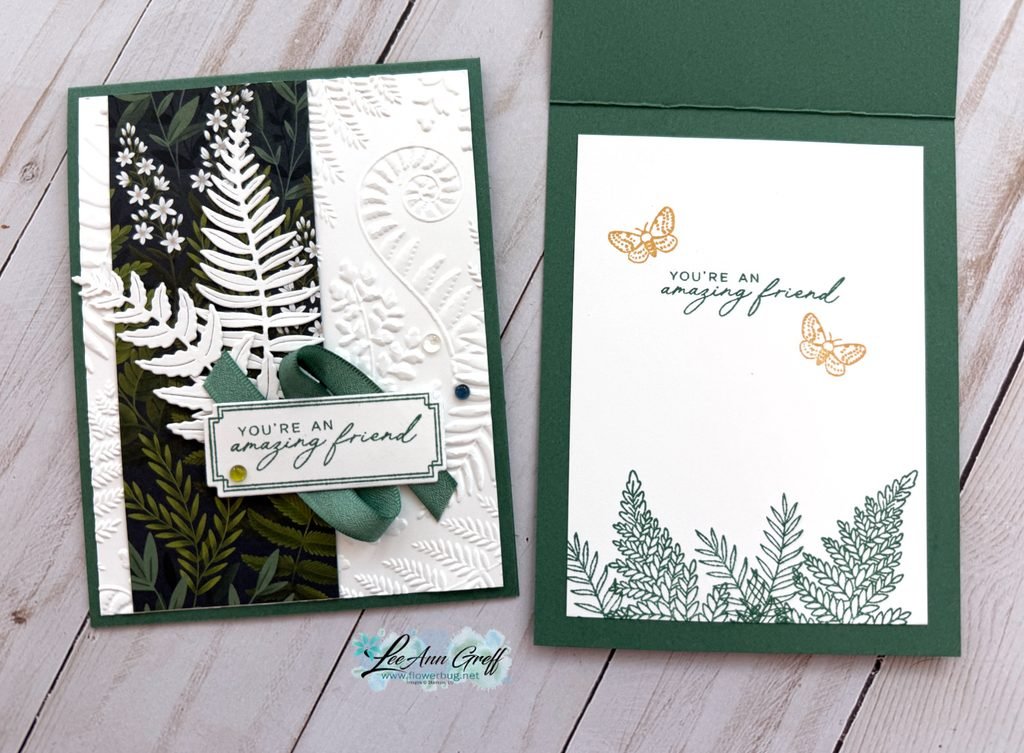
  • Pretty Fern & Flora card; with free project sheet & video tutorial


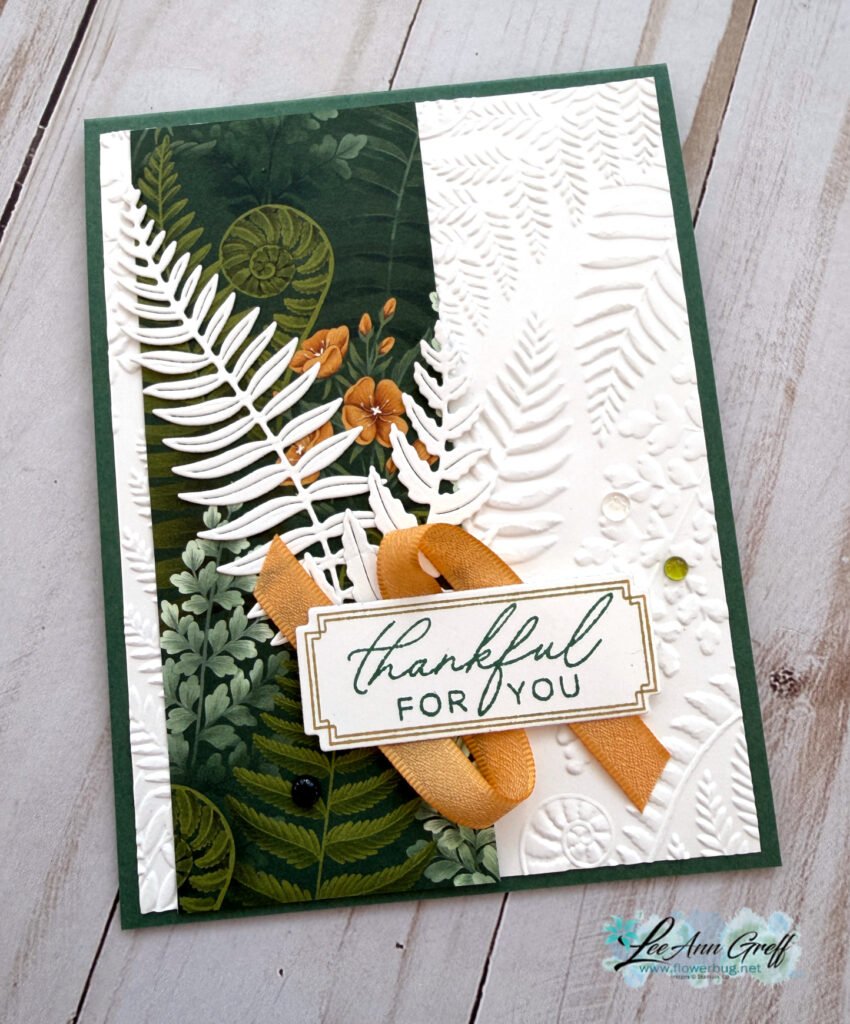
    There’s something about crisp white on a card. It gives a feeling of elegance to your projects.

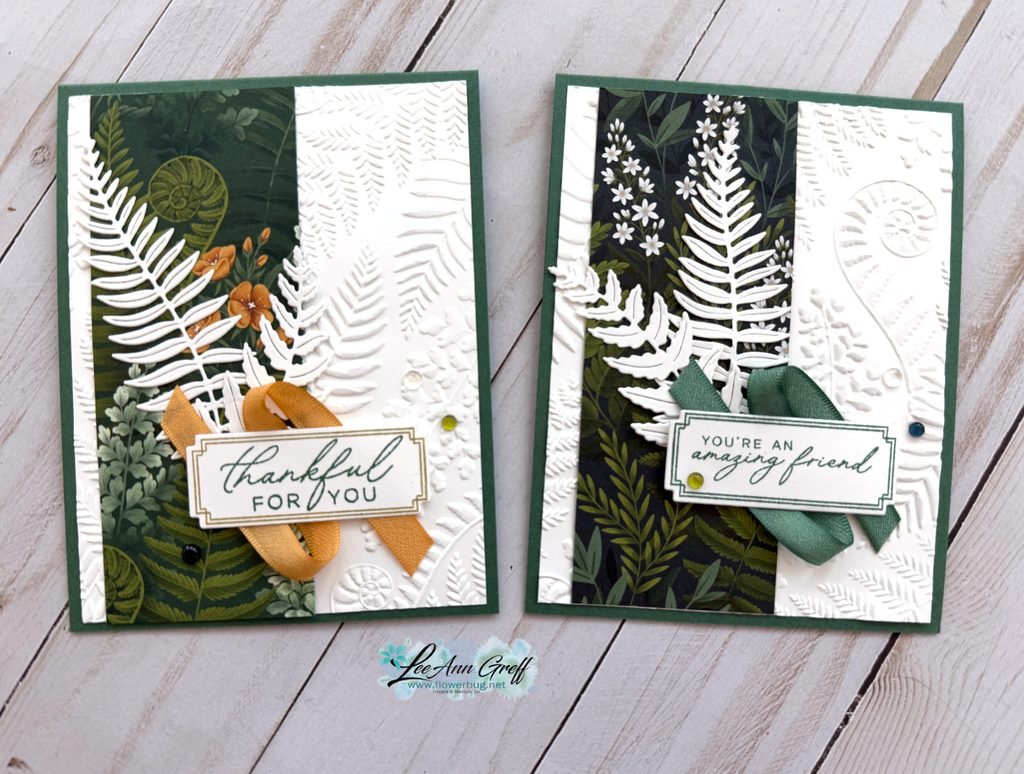
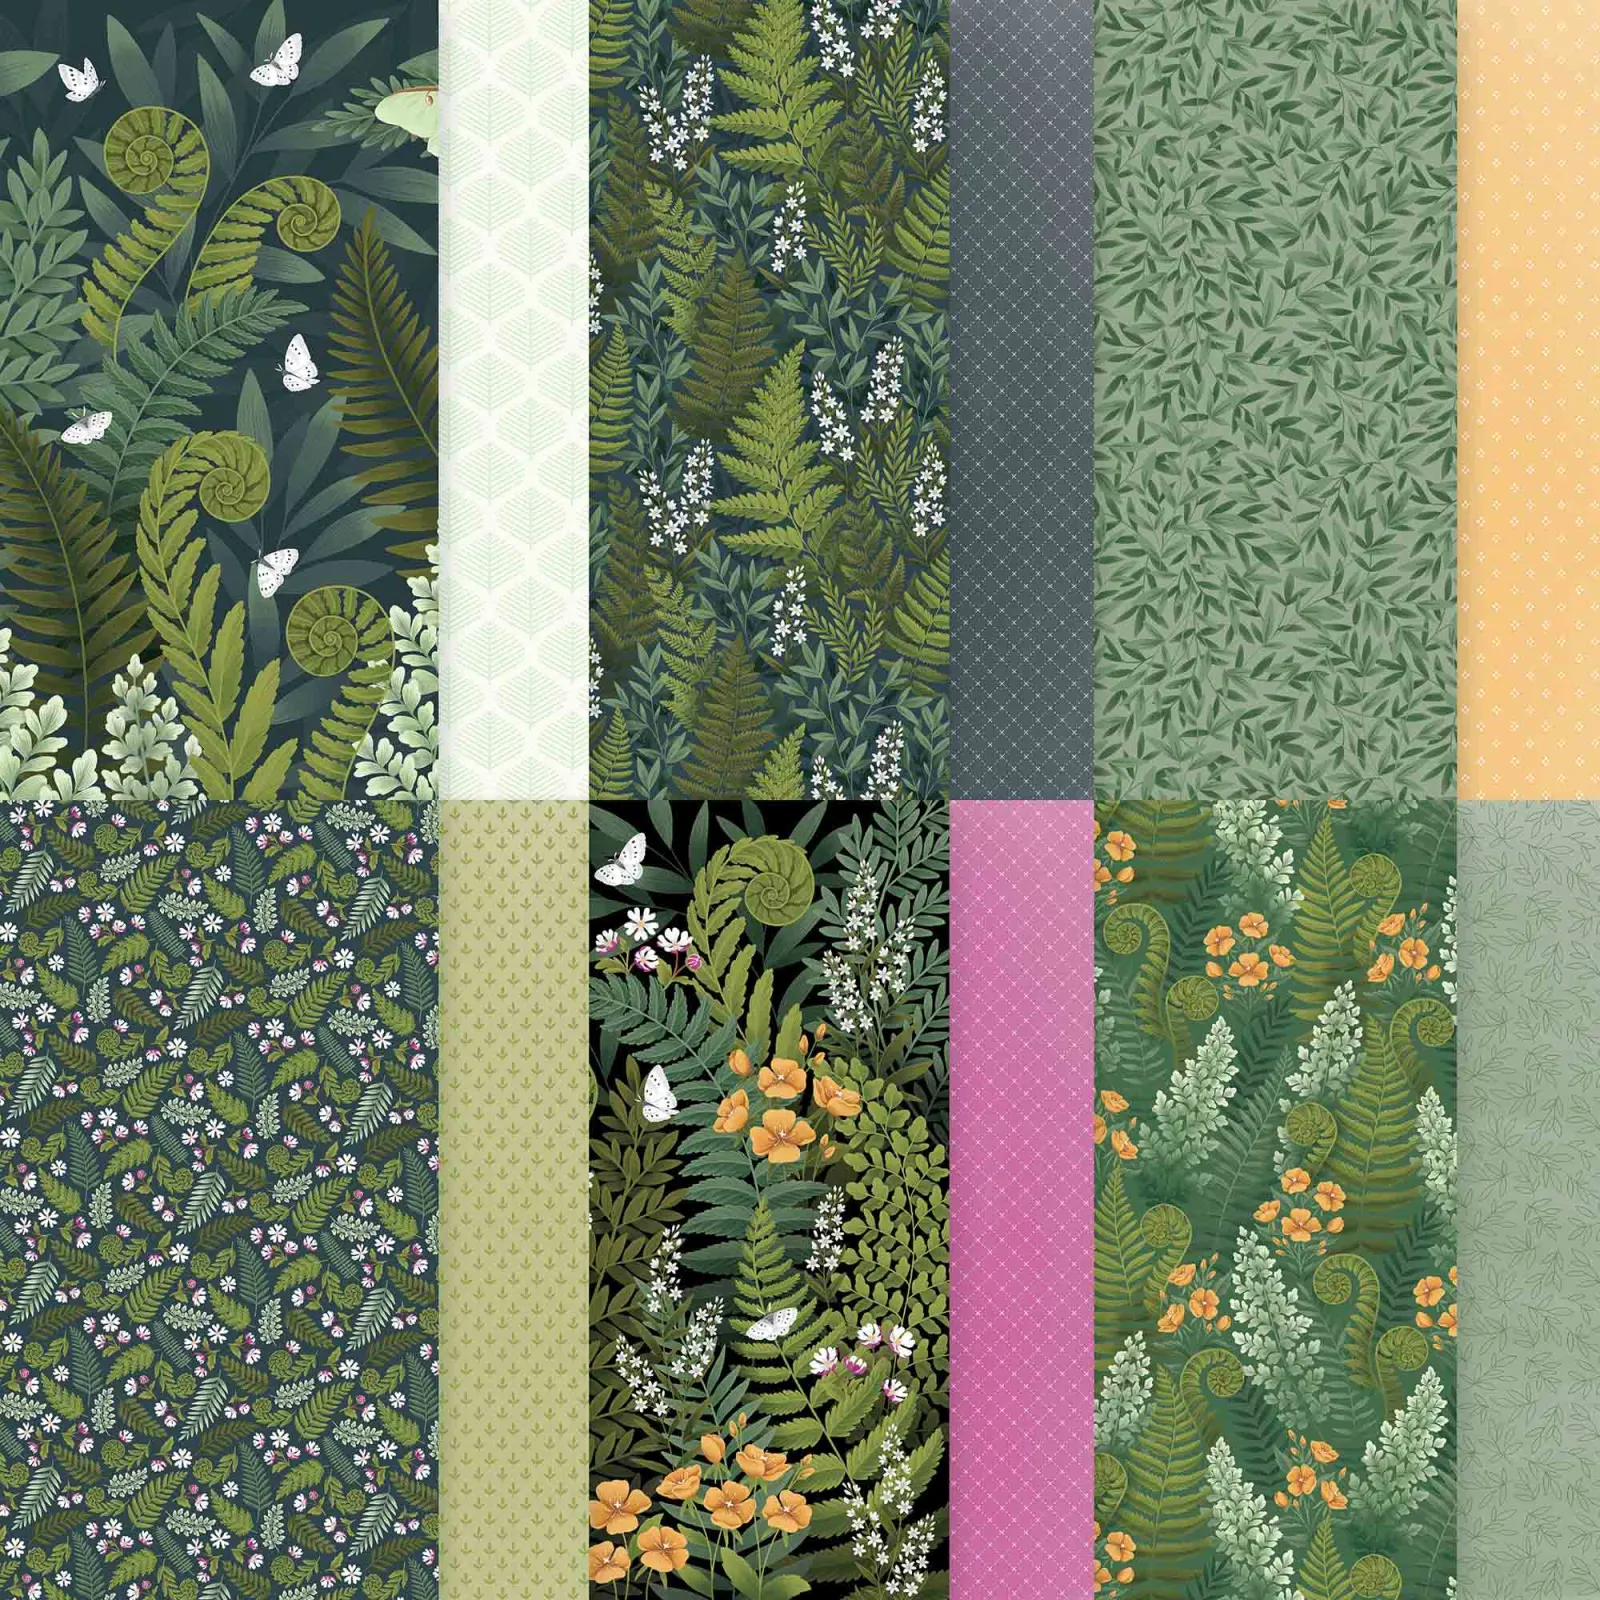
    This card features the Fern & Flora bundle seen here. The designer paper is called Moonlit Flora and the embossing folder is called Fern & Flora and can be seen here. Unfortunately the Designer paper AND the embossing folder are out of stock right now. Very popular products!

    I took a little creative license and added White fern die-cuts here. I love the way they show up against the Moonlit Flora designer paper strip.

    The colors include Peaceful Pine, with White and the new Golden Glow in color.

    Which do you like better? All green and White on the upper right, or the pop of the additional Golden Glow?

    The pretty Moonlit Flora designer paper offers multiple patterns: See it here. Be sure to add your name to the product so you get an email when it’s back in stock.

    I created a free project sheet for this card. Click here to download it or print it.

    I also shared a video tutorial for this card and one more using this pretty bundle. Click on it below.

    Leave a Reply

    Your email address will not be published. Required fields are marked *


Notice: LeeAnn Greff, Independent Stampin’ Up! Demonstrator, Manager. The content of this website is my sole responsibility as an independent Stampin’ Up! demonstrator and the use of, and content of, the classes, services, or products offered on this website is not endorsed by Stampin’ Up! Copyright 2025