/


Latest Post

3 FUN ways to use Window Sheets – check out these Team swaps!


Our swap theme for our Flowerbug's Team was to feature either Window Sheets or Vellum on their cards.  The cards were amazing; as usual! 

Today we're focusing on Window Sheets. 

First is a special card made by Lori.  She used the Window Sheet as her card base!  I'm not sure I've ever seen that before…

She used the Cup of Tea bundle and the newest In Colors on her card.  Orchid Oasis, Parakeet Party & Sweet Sorbet.  

She used the Stitched Rectangle dies for her front 'frame'. It measures 3" X 4 3/8" at the largest. She made two frames; one for the front and one for the inside. The die-cut tea cup is also positioned on the front and the back of the front.  

She added a folded White layer inside that opens up.  It's 3 3/8" X 4" folded in half.  
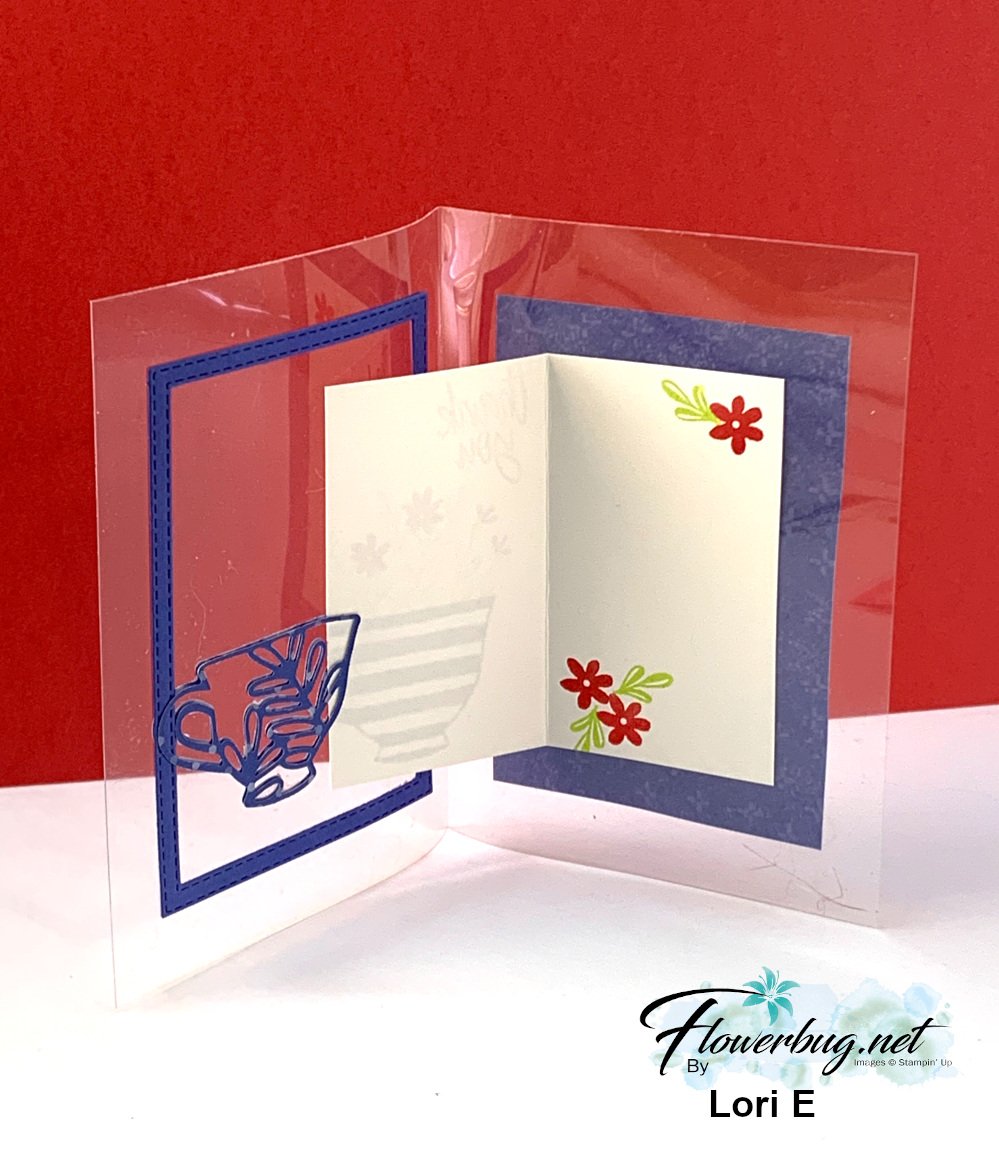
Then on the very back she added a piece of the Tea Boutique DSP that measures 3" X 4 1/4".  Such a unique card!  

~~~

This next card was made by Ginny.  She used the Dandy Designs DSP for her card front.  It's almost monochromatic but there is a bit of Pear Pizzazz and Black too. So pretty!!
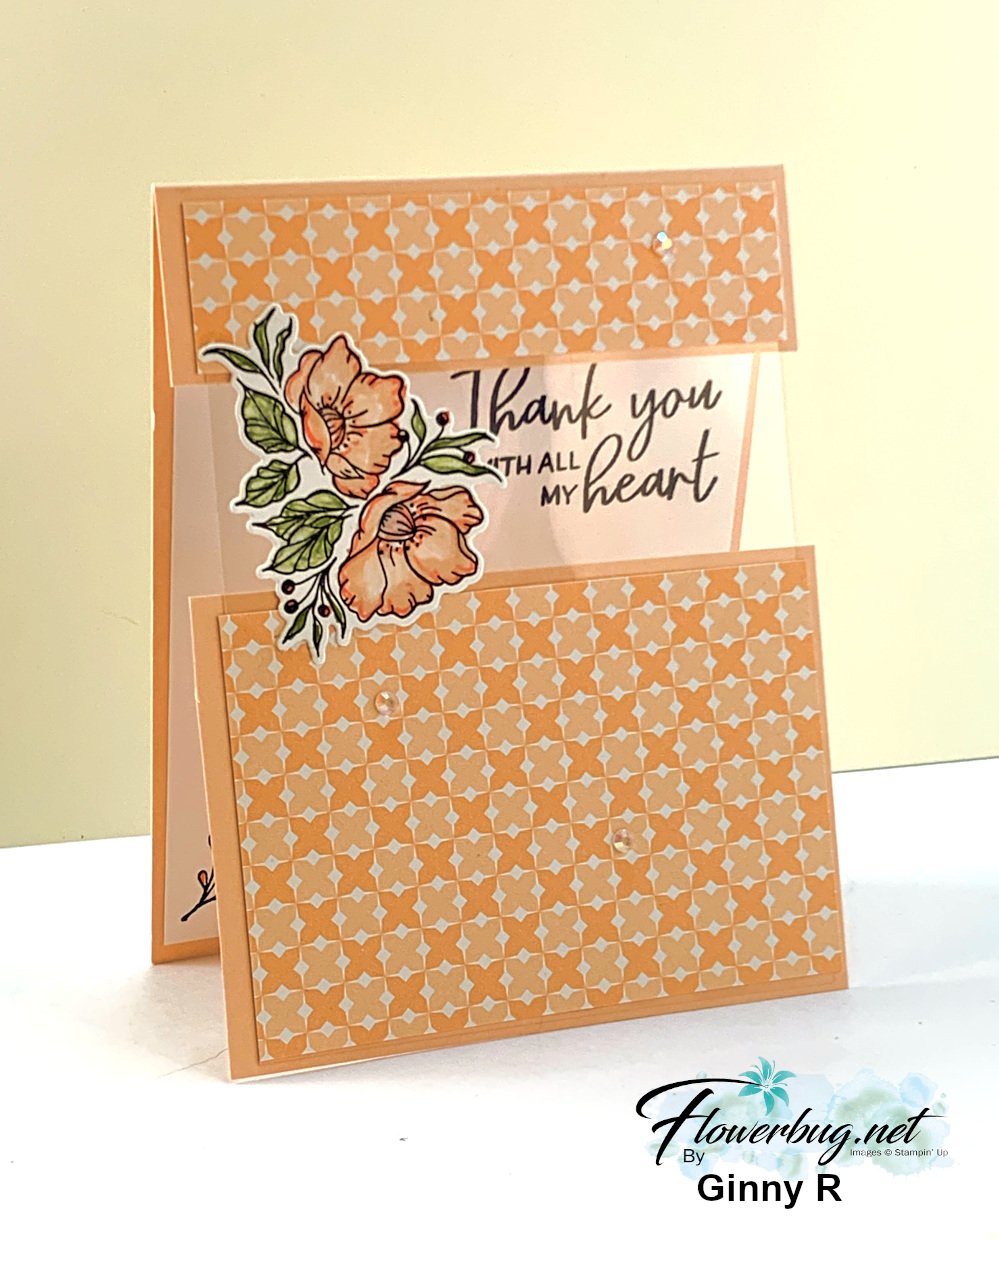

She added a window sheet to bridge the upper and lower layers of the card front.  You can see the greeting through the window sheet.  Her greeting and the pretty floral die-cut is from the Framed Florets bundle.  

Measurements:

  • Card base 4 1/4" X 6 3/4" scored at 5 1/2". Lower card stock layer is 4 1/4" X 3".
  • DSP is 4" X 1" and 4" X 2 3/4"
  • Window sheet is 4" X 2 1/4"

~~~

This next card was made by Paula.  She created a window from her DSP layer, adding Window Sheet behind it and a die-cut flower from the Framed Florets bundle in front. 
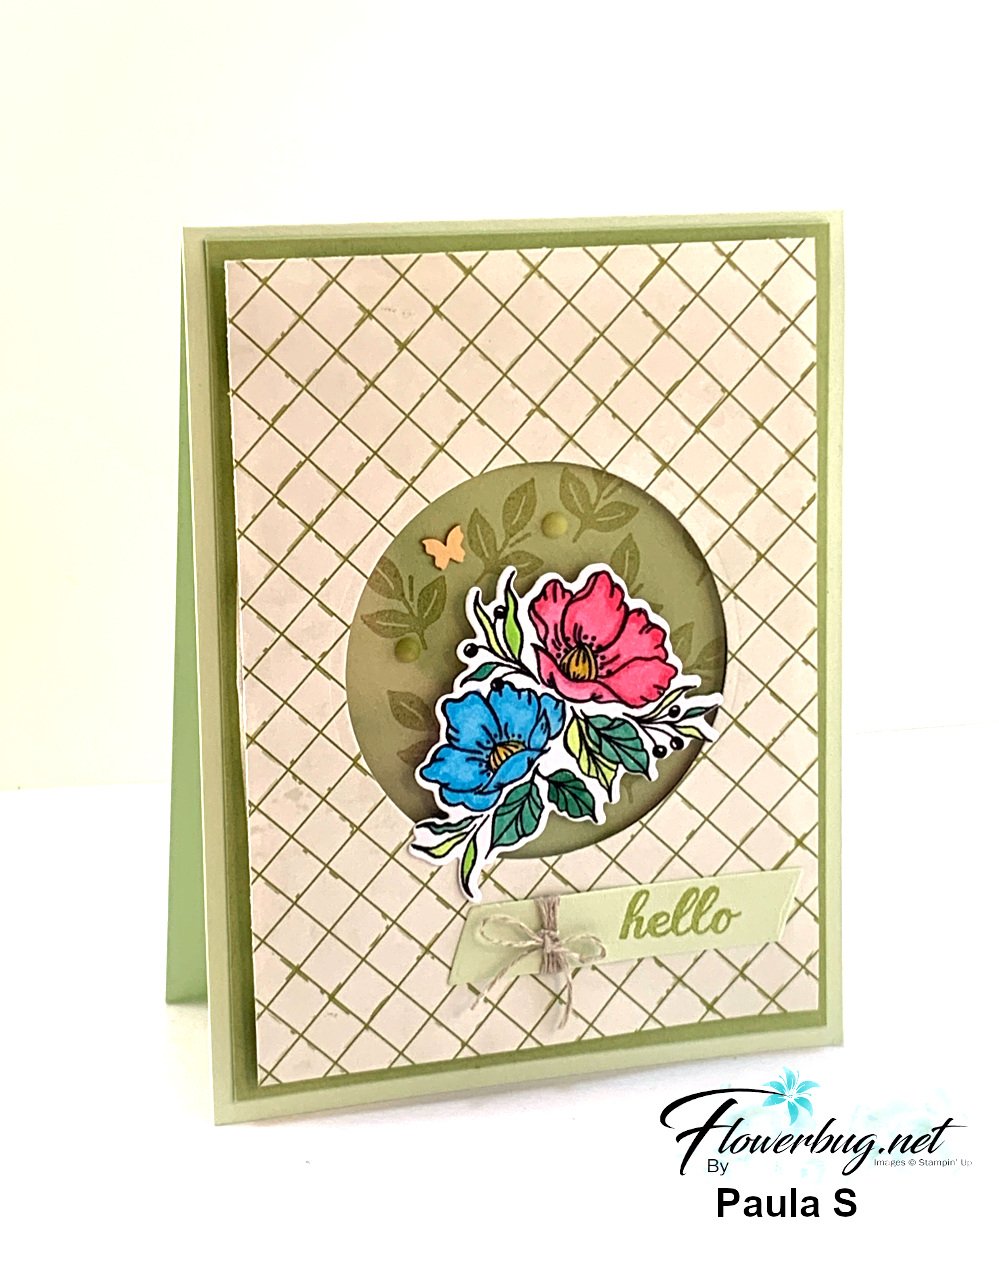
The Designer Paper is called Design a Daydream; it's in the annual catalog and is a big 48 pack for just $18.  You can earn it once your order is over $150 with host benefits. 

I love her wrap of linen thread with a tiny little bow as accent. 

Measurements:

  • Soft Sea Foam card base 4 1/4" X 11" scored at 5 1/2"
  • Pear Pizzazz 4" X 5 1/4"
  • DSP 3 3/4" X 5"
  • Window sheet 3" for the circle opening which is 2 1/2" 

~~~

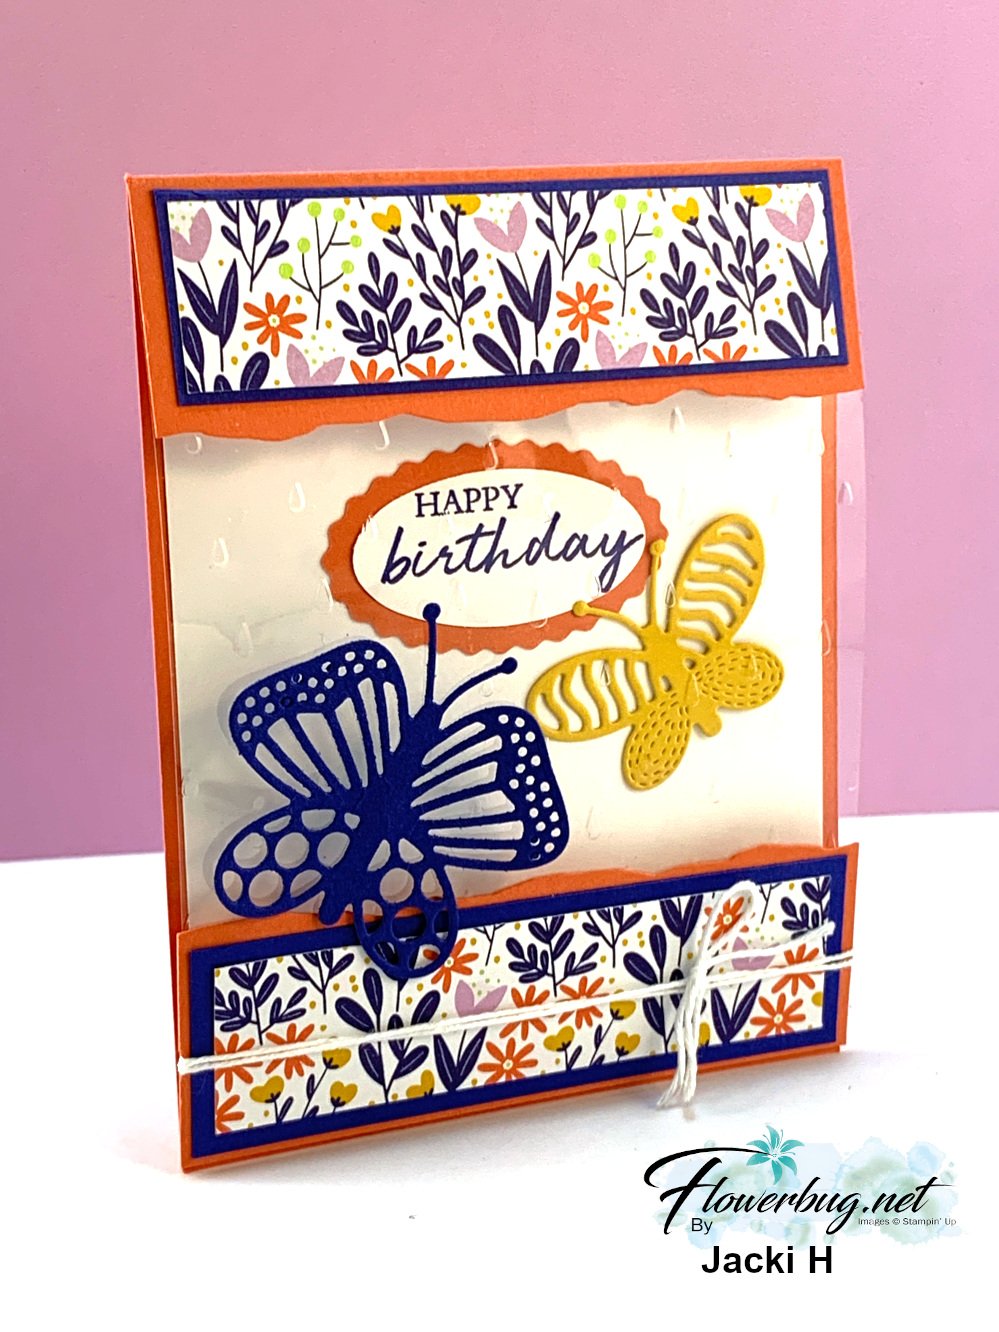
Next is a cute & colorful card that really shows off our Window Sheets! 

Jackie made a type of bridge card where the window sheet allows you to see the inside layer from the front.  
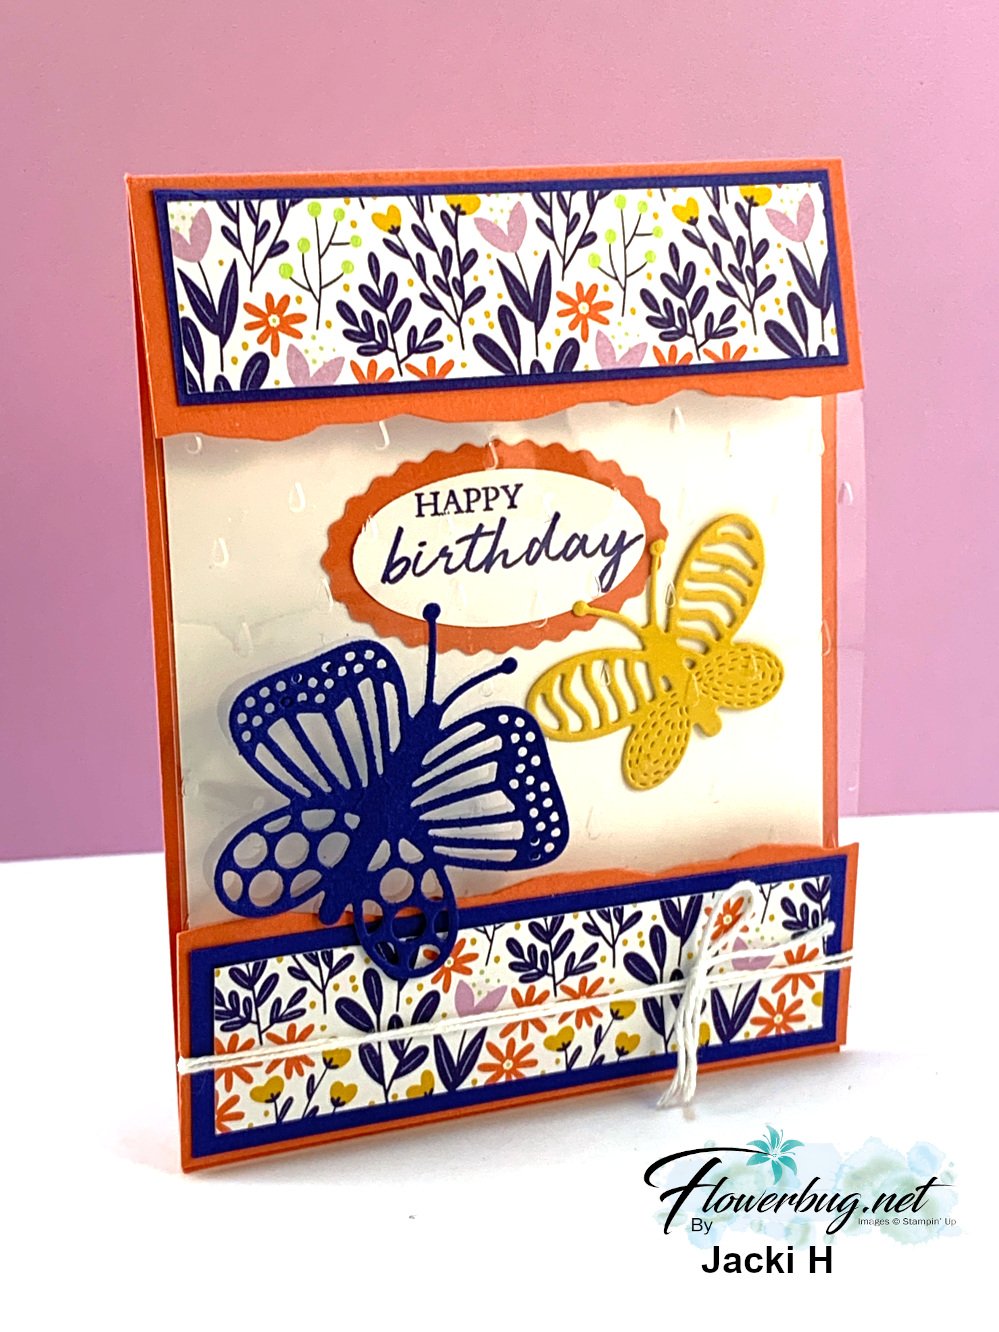
She is featuring the Butterfly Kisses suite here – the Butterfly Kisses 6" DSP and the Build a Butterfly dies. 

Her window sheet is 4 1/4" X 5 1/2" and she textured it with the Raindrops embossing folder from the Spring Catalog.  The lower layers are added to the base. 

Her colors include Calypso Coral, Starry Sky & Crushed Curry. The curvy borders are done with the Seaside Bay dies. Neat effect!  
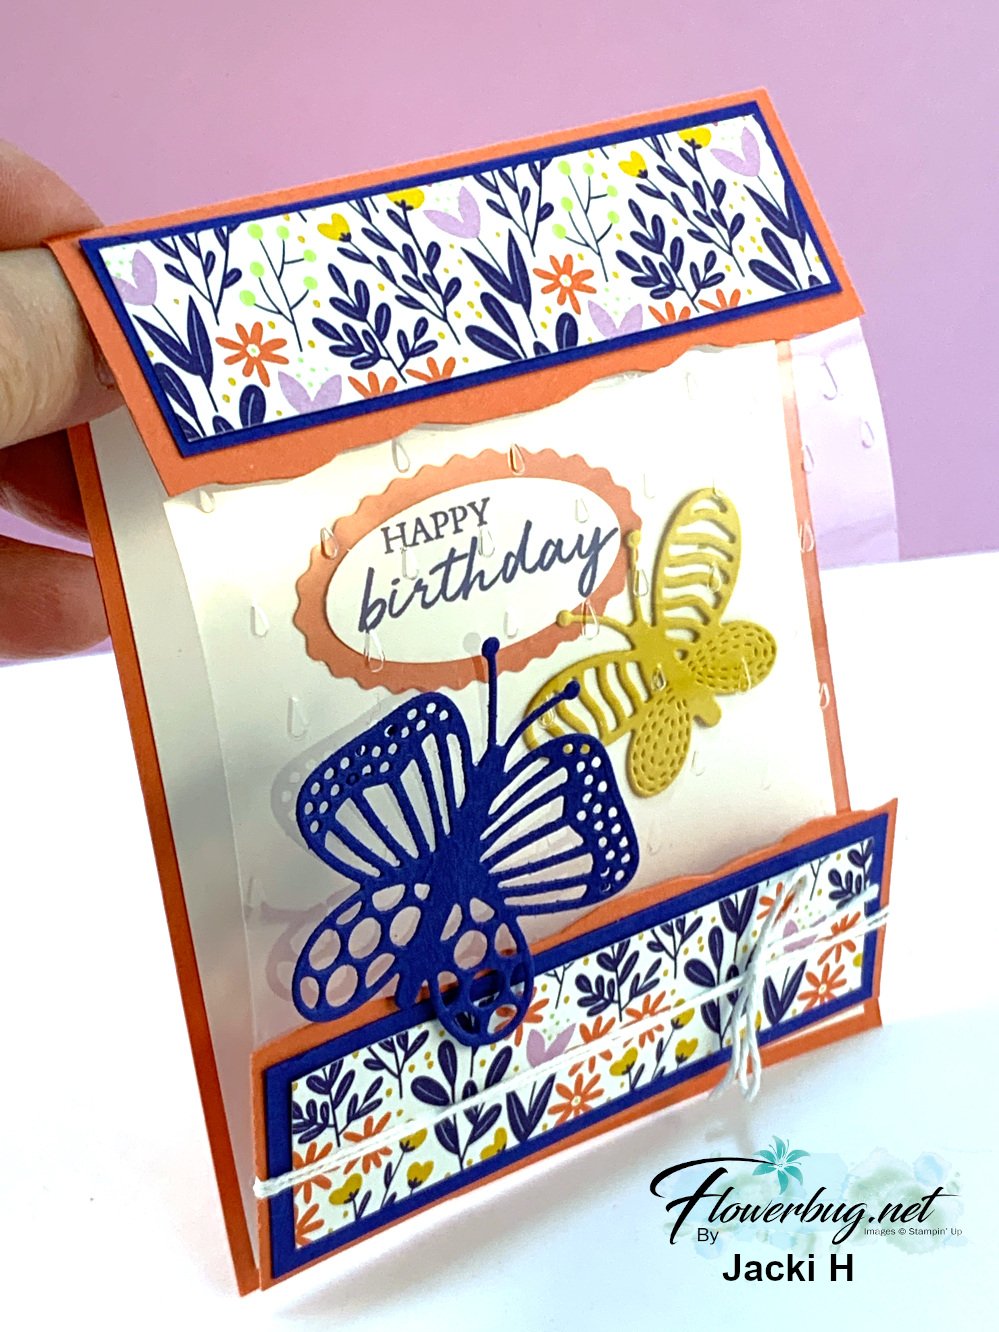
She added the greeting inside the card with the Double Oval punch seen here; it's a big favorite of mine that I had wished for.  

Measurements:

  • Card base 4 1/4" X 7", scored at 5 1/2".  Second Calypso Coral layer for the bottom front is 4 1/4" X 1 1/2"
  • DSP layers are 3 7/8" X 1"
  • Starry Night layers are 4 1/8" X 1 1/4" 

Stay tuned for more swaps soon! 

~~~

February specials:

February Host code links:

  CNV2VCBT or 7EUM6NB9 

Get free Pastel Sequins with online orders over $55 when using the host code above!

 Earn free products with my loyalty rewards! 
Click here to download yours and earn a $50 shopping spree!

~~~

Best Deal Ever on the Starter kit here!

Choose $175 in products for just $129 plus the new mini machine!

Or choose $175 for $99 without a new Mini.  AMAZING!

All Posts

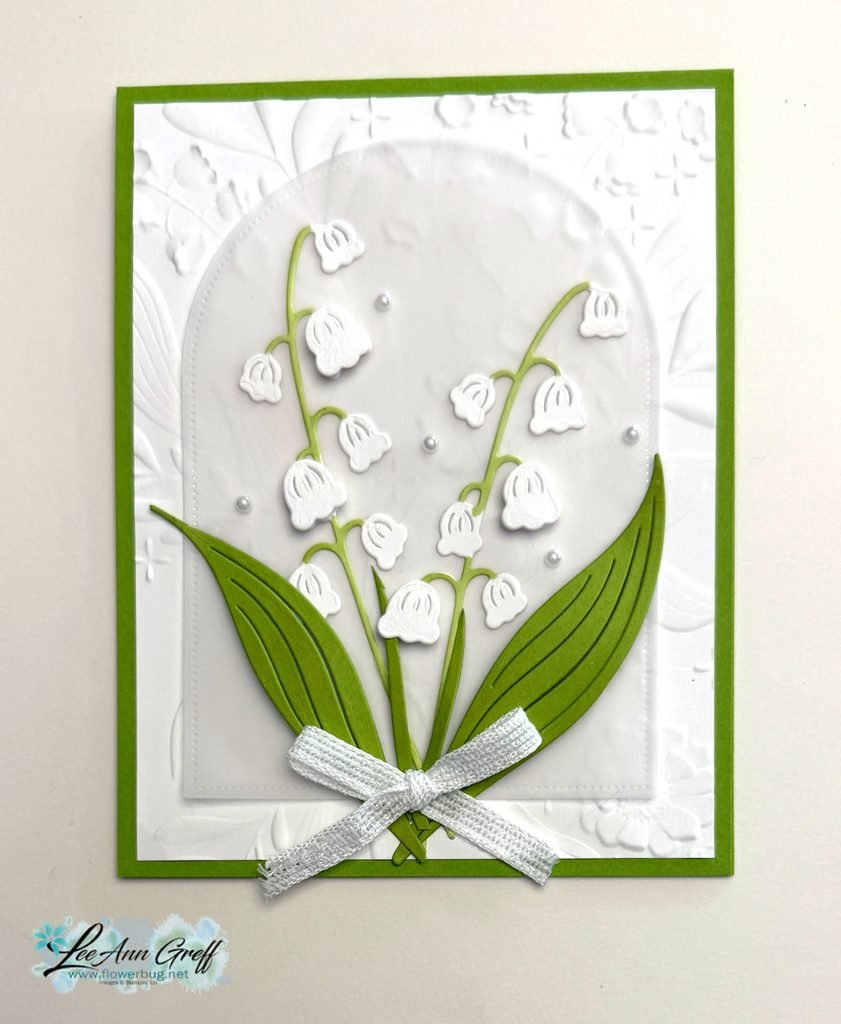
  • Simple Lily of the Valley card; it’s a WOW! Grab the free project sheet or watch the video


    I shared this beautiful Lily of the Valley card on last week’s Live video. It’s one of those cards that looks simple and easy but involves a bit of effort.

    I used the Lily of the Valley dies along with the Everyday Arches dies on the vellum and the Floral Spray 3D embossing folder (it’s back in stock) for the background. White & Granny Apple Green are my colors here.

    Since I did-cut the flowers from White CS I used a Granny Apple Green blends marker to color the stems on the flowers. I also curled the die-cut leaves a bit and cut one apart for the thicker stems in the center area. Watch the video to see how.

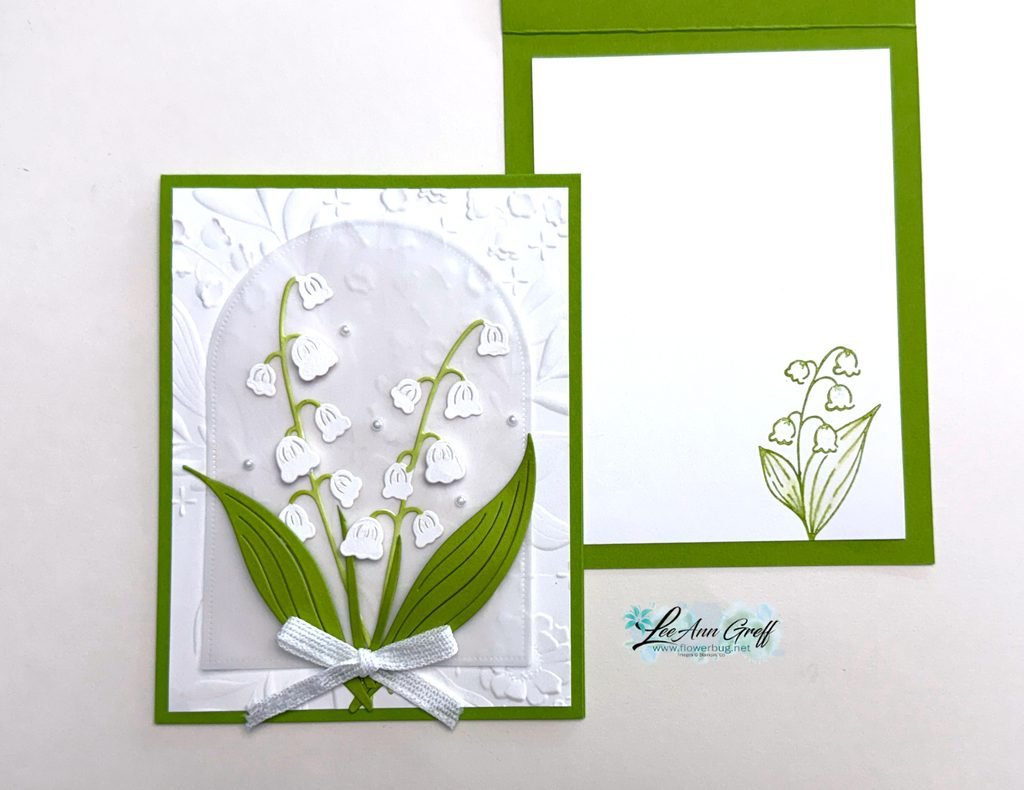
    Did you notice there isn’t a greeting on the front? It’s okay to leave them off now and then. This way my card can be used for any purpose.

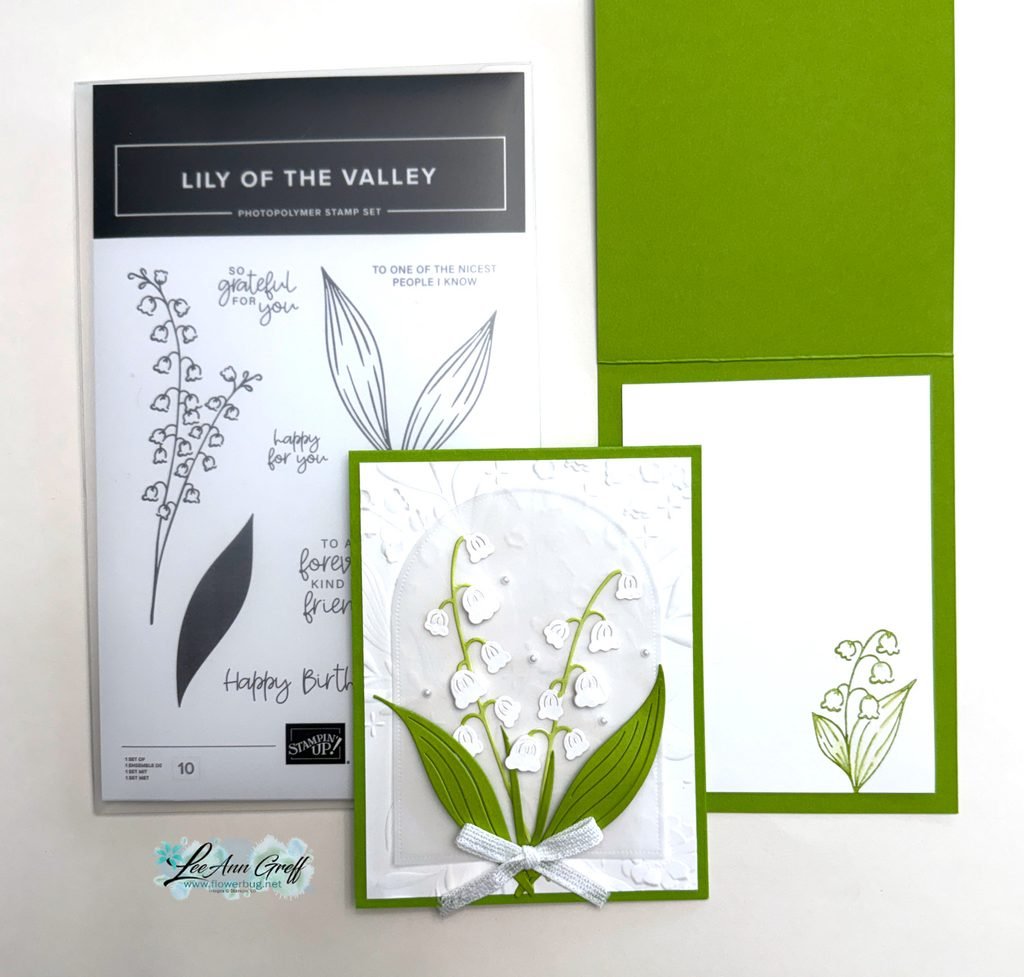
    I didn’t even stamp one on the inside. Just a simple leaf/flower image. Click here to see the Lily of the Valley in my store. It’s wonderful.

    I created a free project sheet for this card as well as my video below. Click here for the project sheet you can download or print.

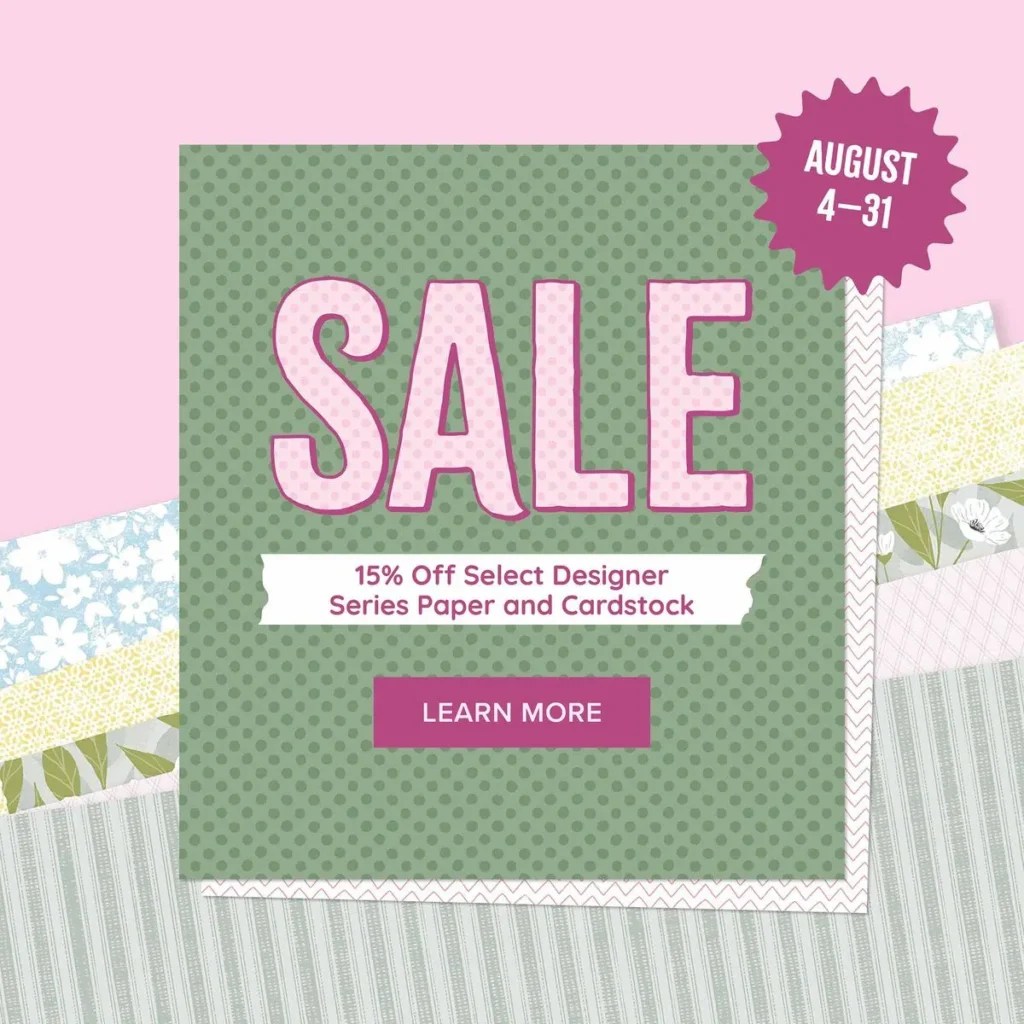
    Don’t miss out on the Designer Paper & Cardstock sale! Click here to shop and save.

    Double rewards for three days this week!

    Leave a Reply

    Your email address will not be published. Required fields are marked *

  • Golden Glow Specialty DSP is just $5 with a qualifying order; while supplies last.


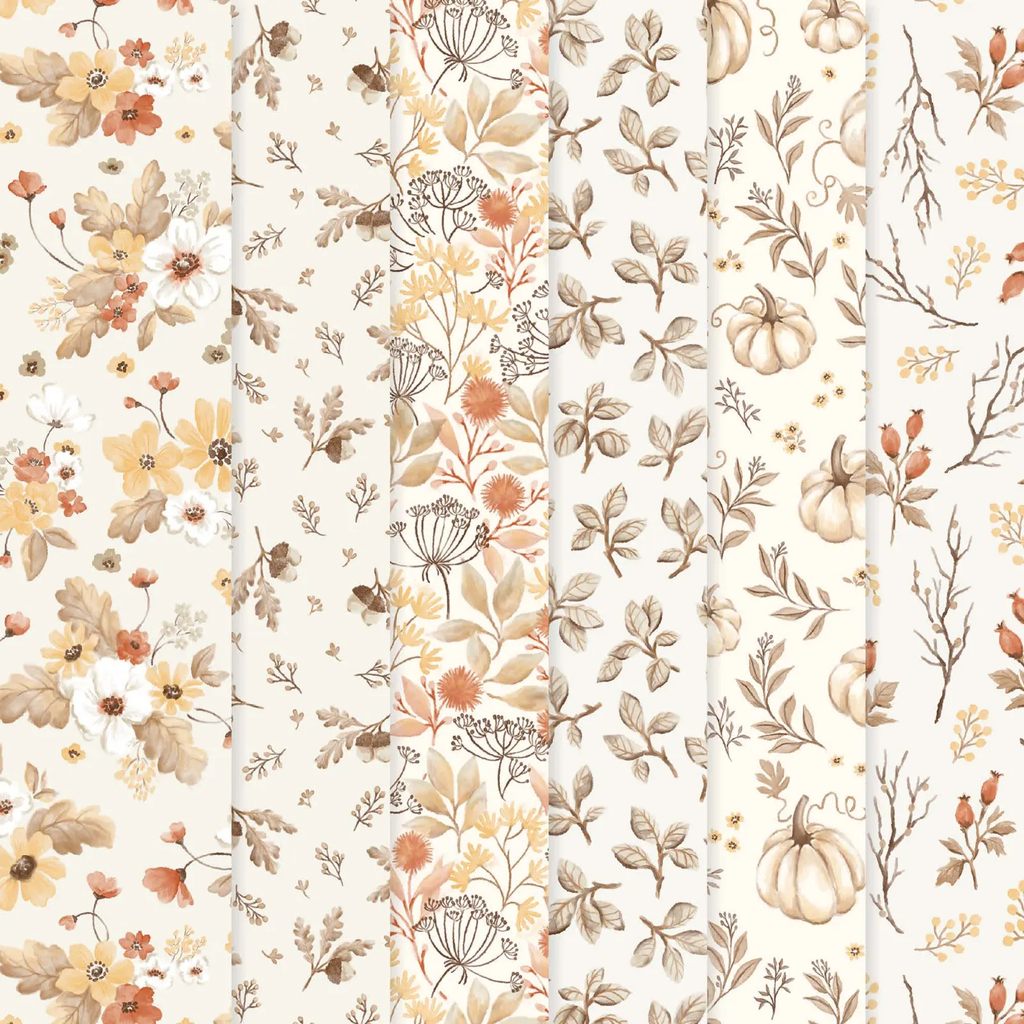
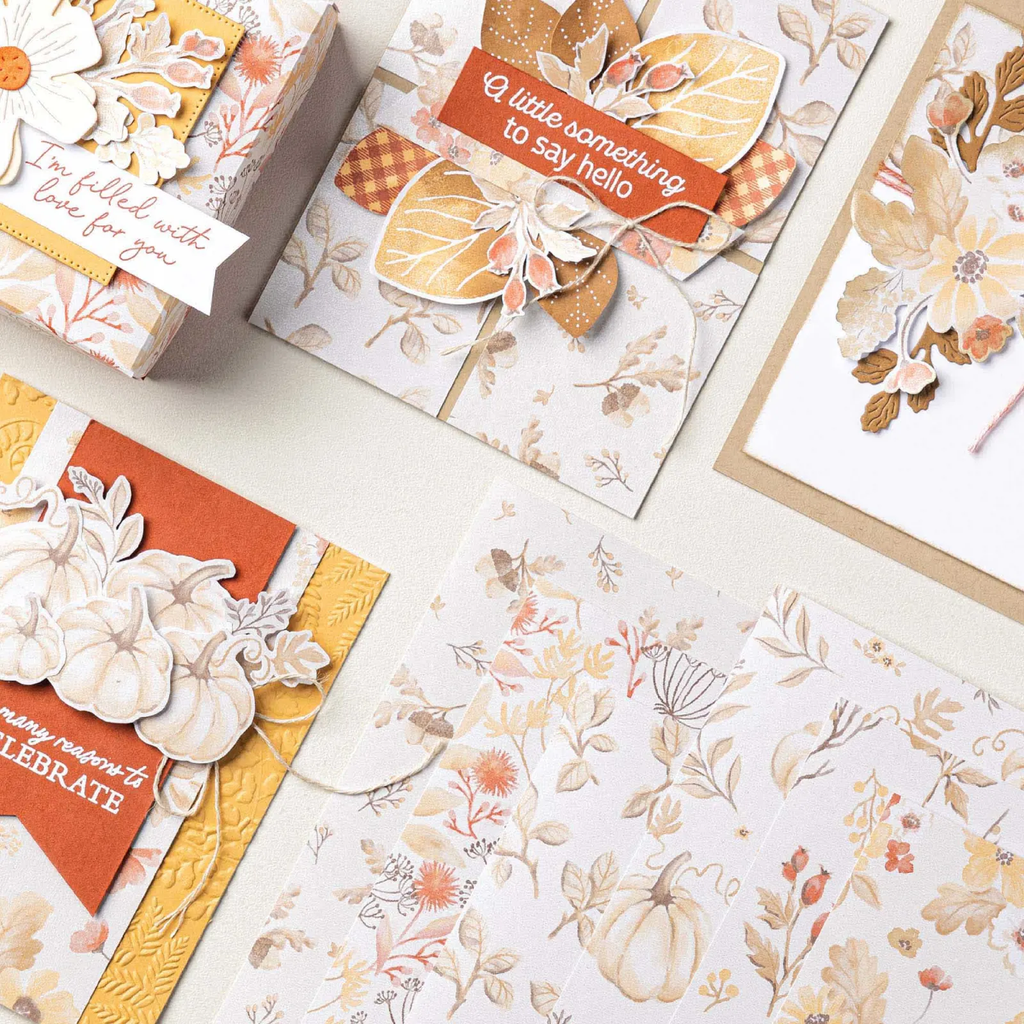
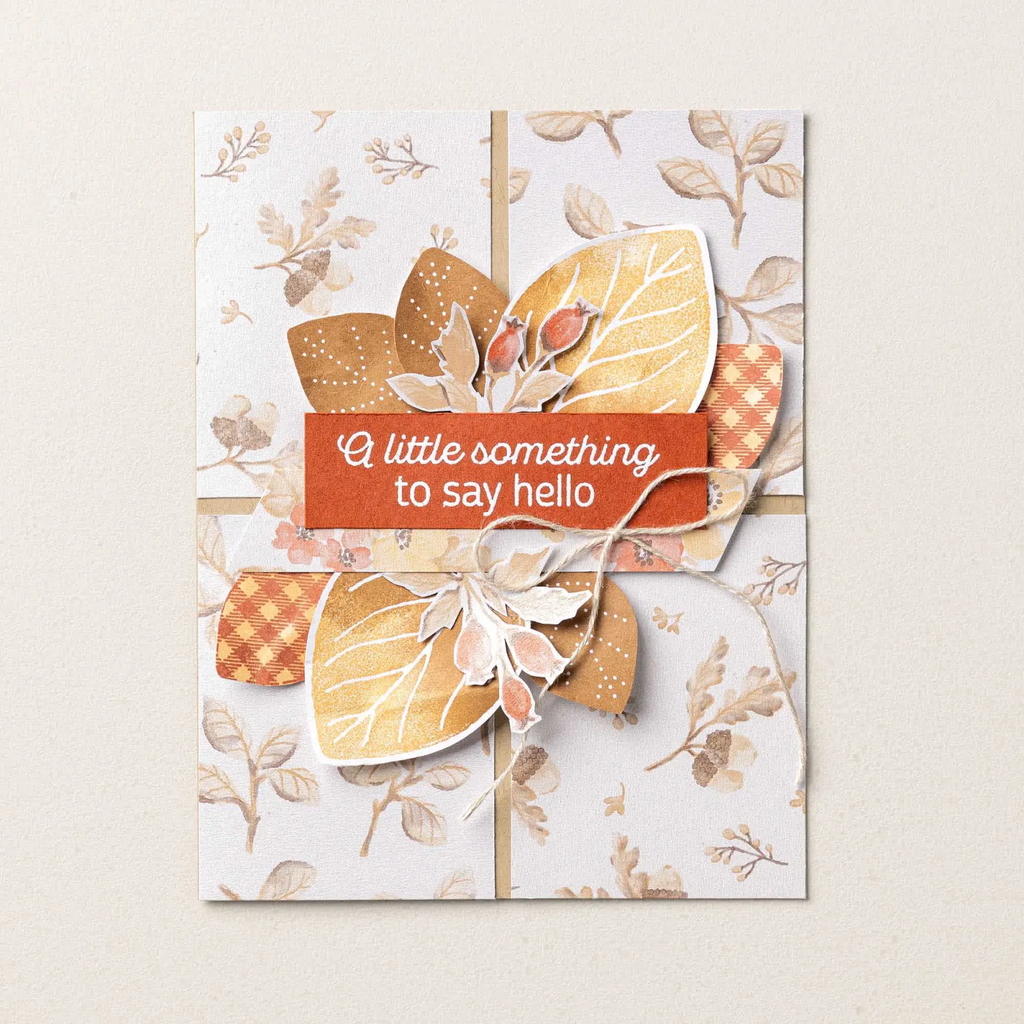
    I just received my gorgeous Golden Glow DSP and WOW; it’s amazing! It’s so soft and shimmery in person. I cannot wait to play with it.

    The Glow of Harvest 12″ x 12″ Specialty Designer Series Paper is the exclusive Product of the Month for August 2026! Only available until stocks run out—don’t wait to get yours! See it here.

    Once your order hits the $75 mark you can add it on for just $5. Such a deal!

    It includes these colors: Cajun Craze, Crumb Cake, Early Espresso, Golden Glow, Pecan Pie Each page has a soft, shimmery background.

    I think what I like the most about this pretty DSP is that it’s so soft in color. Many autumn papers are dark, deep with rich colors; this is so unique!

    Leave a Reply

    Your email address will not be published. Required fields are marked *

  • The Spooktakular 6 X 6″ DSP is perfect for these fun treat pouches!


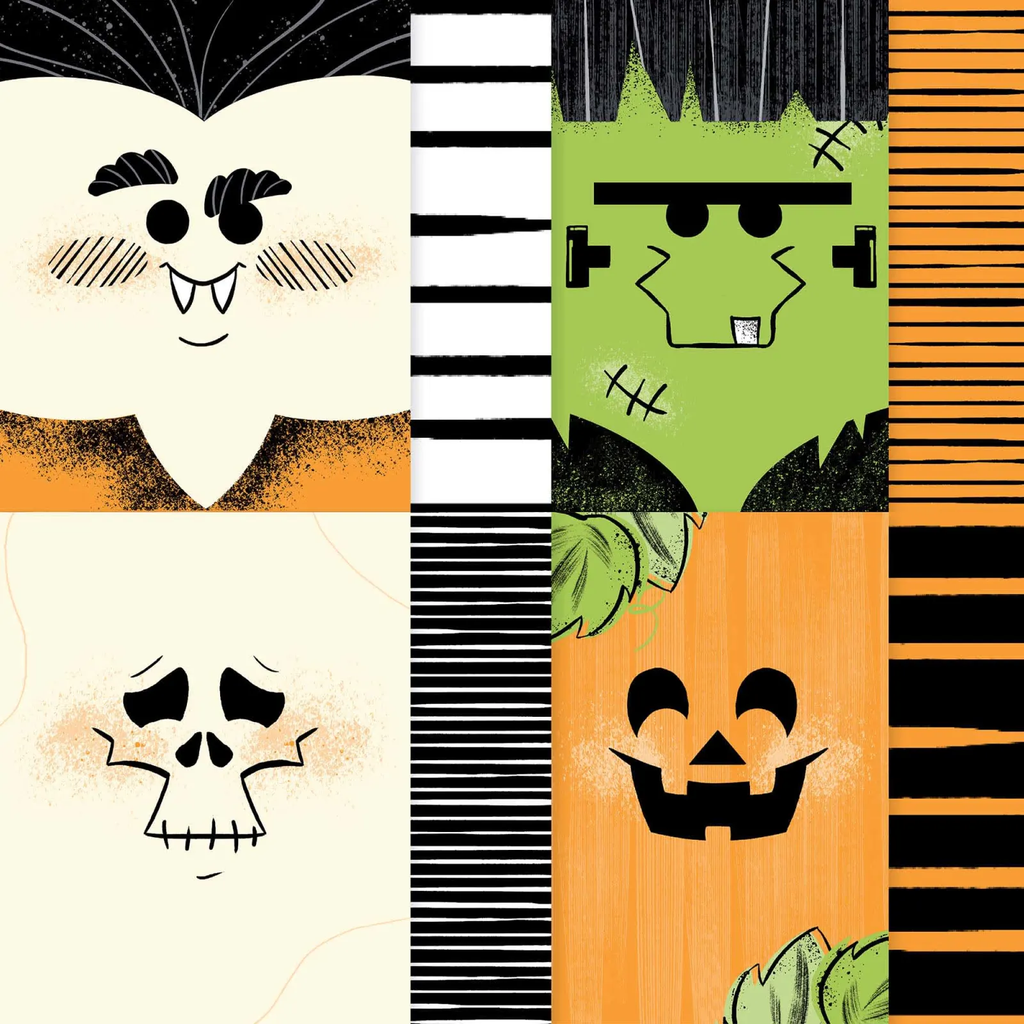
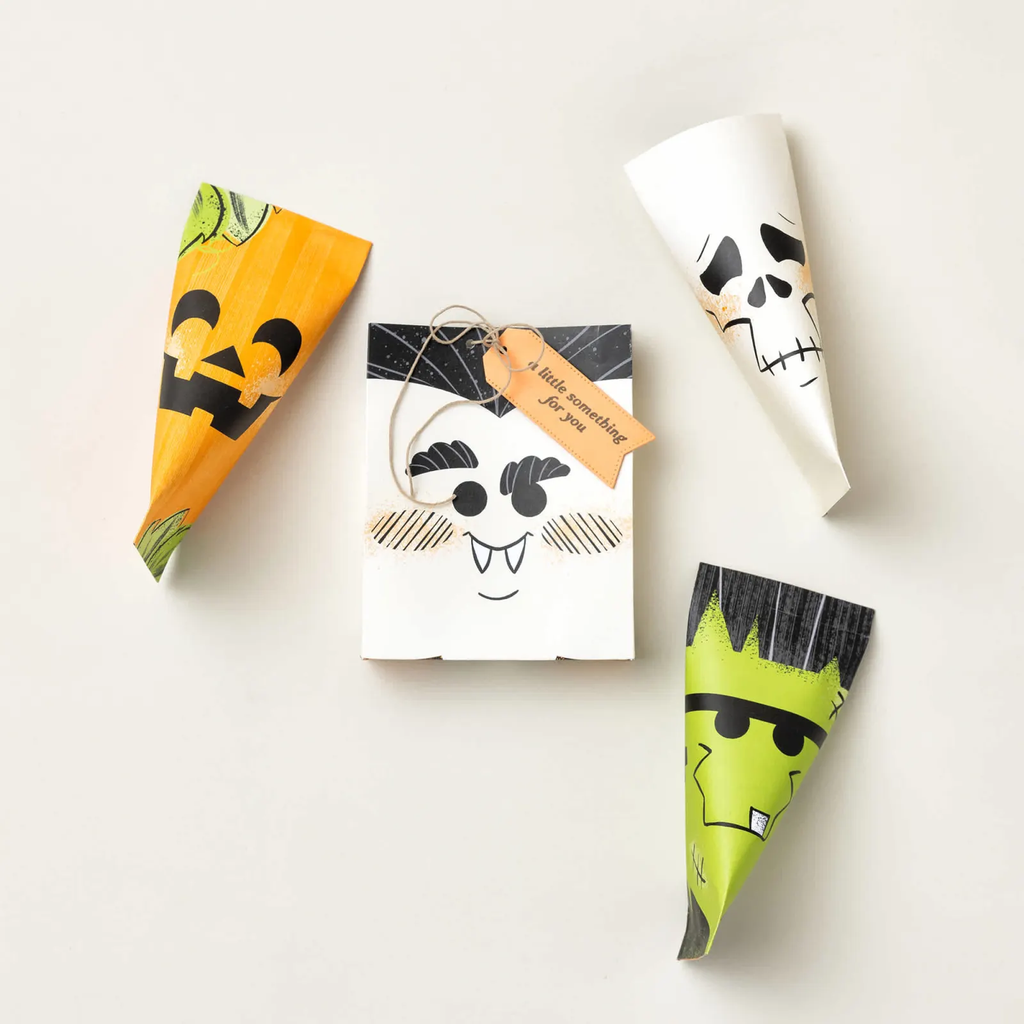
    Stampin’ Up! knocked it out of the park with this super fun Halloween designer paper! Each 6 X 6″ sheet has a fun ‘spooky’ character on it and the opposite side is colorful stripes. Think Frankenstein, a vampire, a skeleton, and a pumpkin. See it here.

    Colors: Basic Black, Granny Apple Green, Pumpkin Pie, Very Vanilla

    Stampin’ Up! shared this fun treat pouch that would be perfect for treats.

    Aren’t they cute?!
    This project is not just for Halloween. Browse through your designer paper and consider making one.

    https://youtube.com/shorts/5qPYFMKyKC0?si=_8ZK2f_iBYaoLf0f


    Leave a Reply

    Your email address will not be published. Required fields are marked *


Notice: LeeAnn Greff, Independent Stampin’ Up! Demonstrator, Manager. The content of this website is my sole responsibility as an independent Stampin’ Up! demonstrator and the use of, and content of, the classes, services, or products offered on this website is not endorsed by Stampin’ Up! Copyright 2025