/


Latest Post

Fun way to use paper strips! Live video tonight!


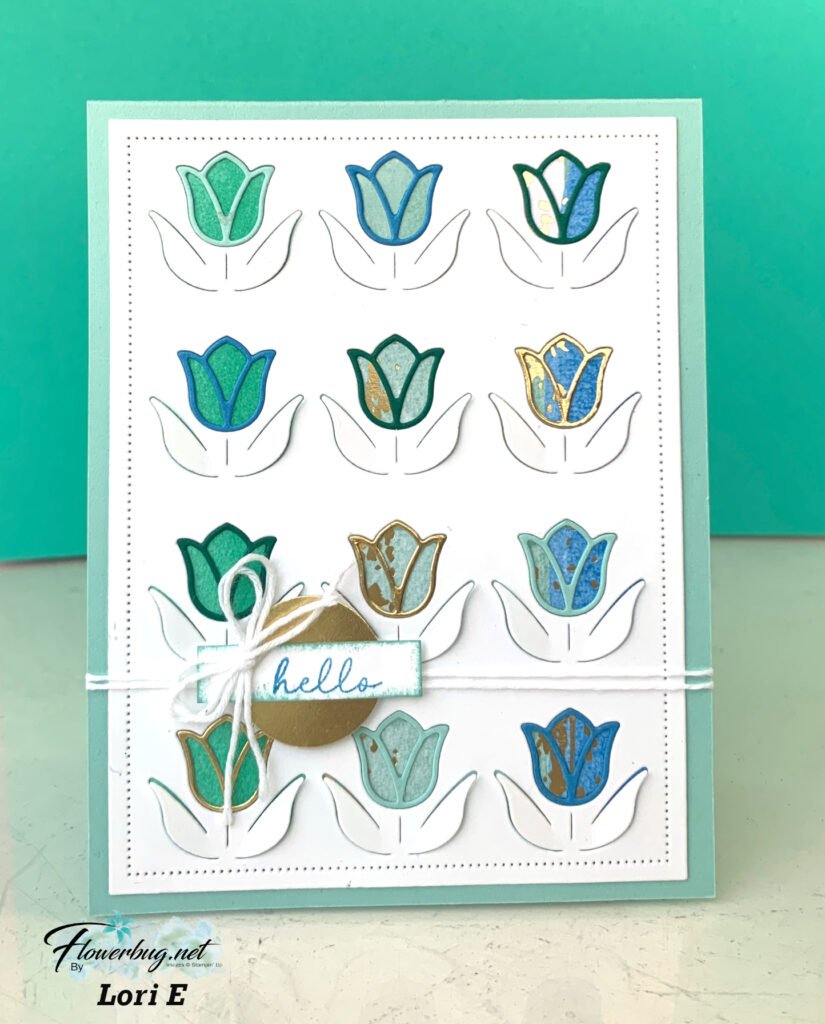
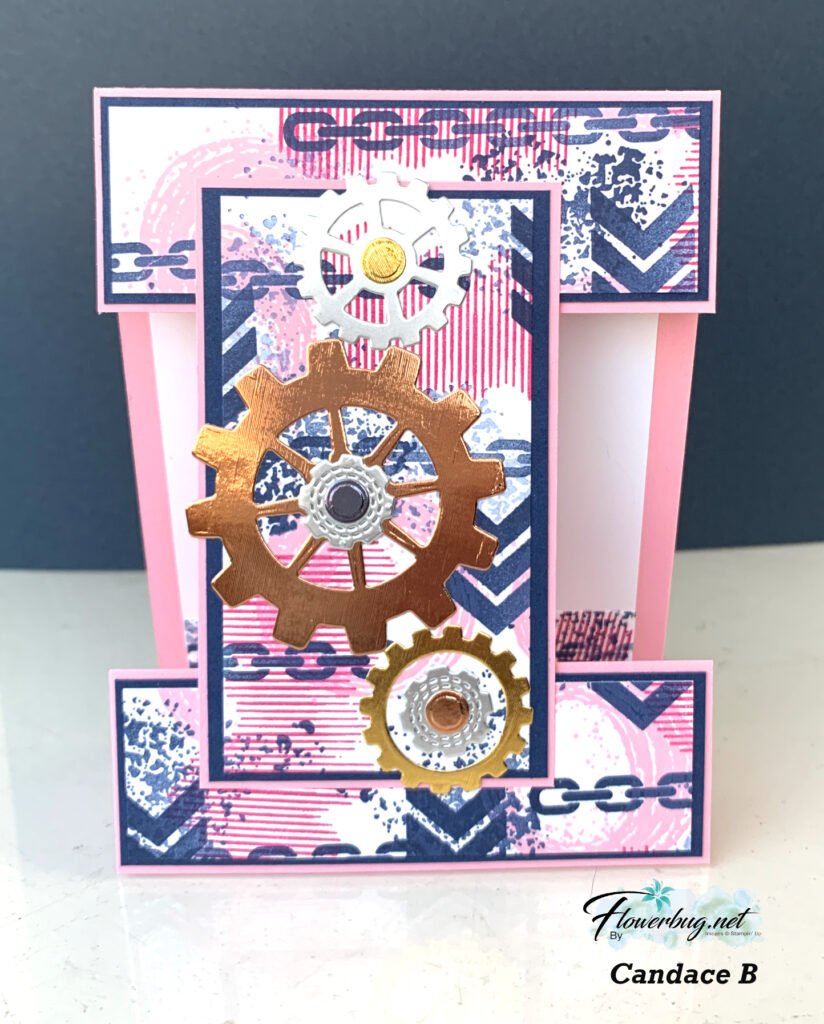
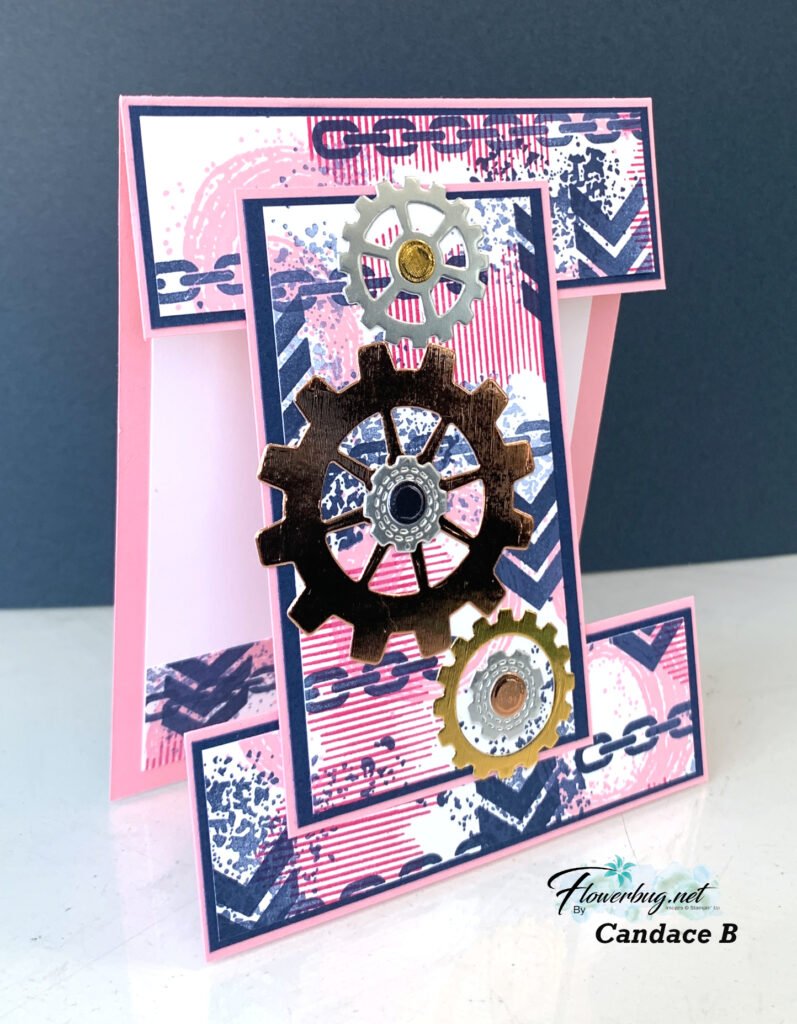
We made these cards on FB Live Monday night.  What a fun and easy way to use up your extra designer paper pieces! Click here to watch the video. 

I used the Pattern Party designer paper for these cards. It's a host choice in the back of the annual catalog seen here.  One side is Black & White and the other is colorful prints. I love the black & white patterns with a pop of color! 

Tips: 

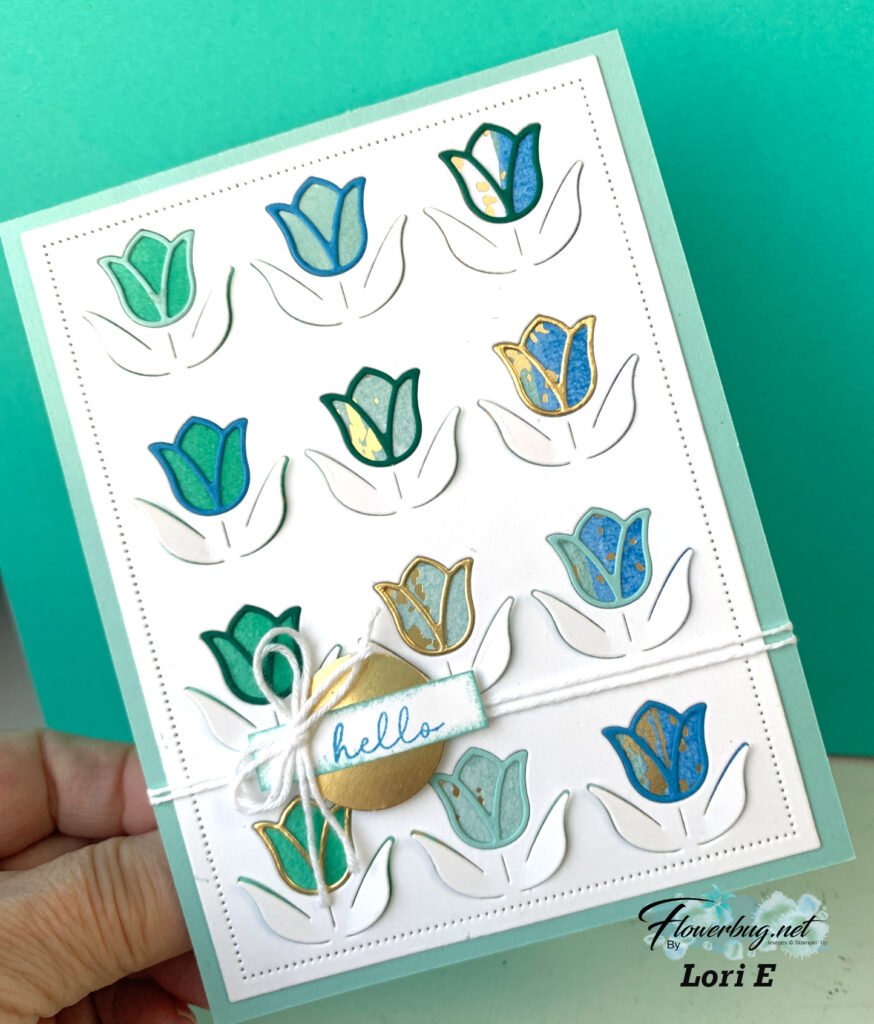
  • I start out with a 2 1/4" X 4 3/4" piece of neutral CS.  This is what I adhered the strips of Designer Paper to. 
  • I added Seal adhesive over the entire piece and added the strips one by one. 
  • Apply one strip across the middle at an angle first. Then keep filling in. 
  • I trimmed the excess off the edges once I had it well covered with strips.  
  • My DSP strips measure between 1/4" and 5/8" wide and about 3" long.  It doesn't matter how wide your strips are; it looks great if they're different widths.  
  • Add dimensionals to the back of this piece for added dimension. 
  • Add a greeting and accents if desired. 

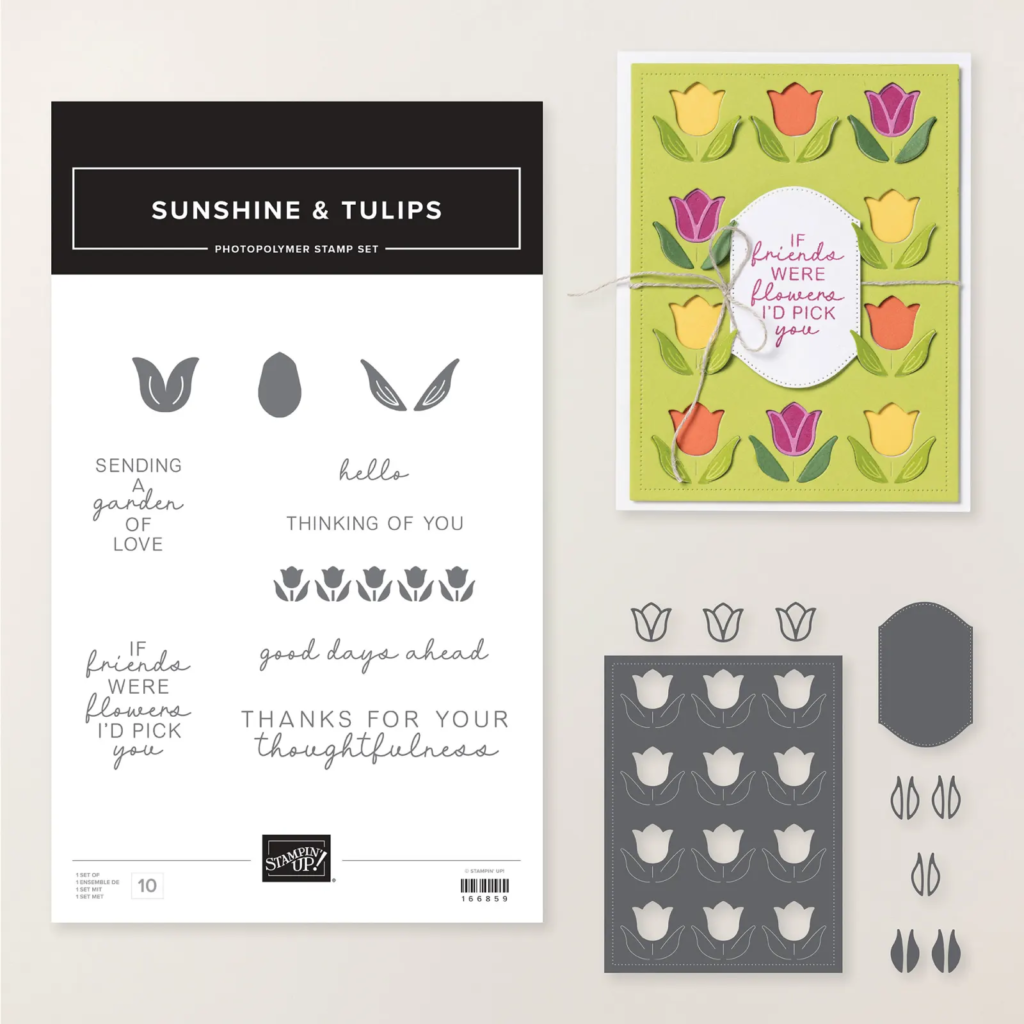
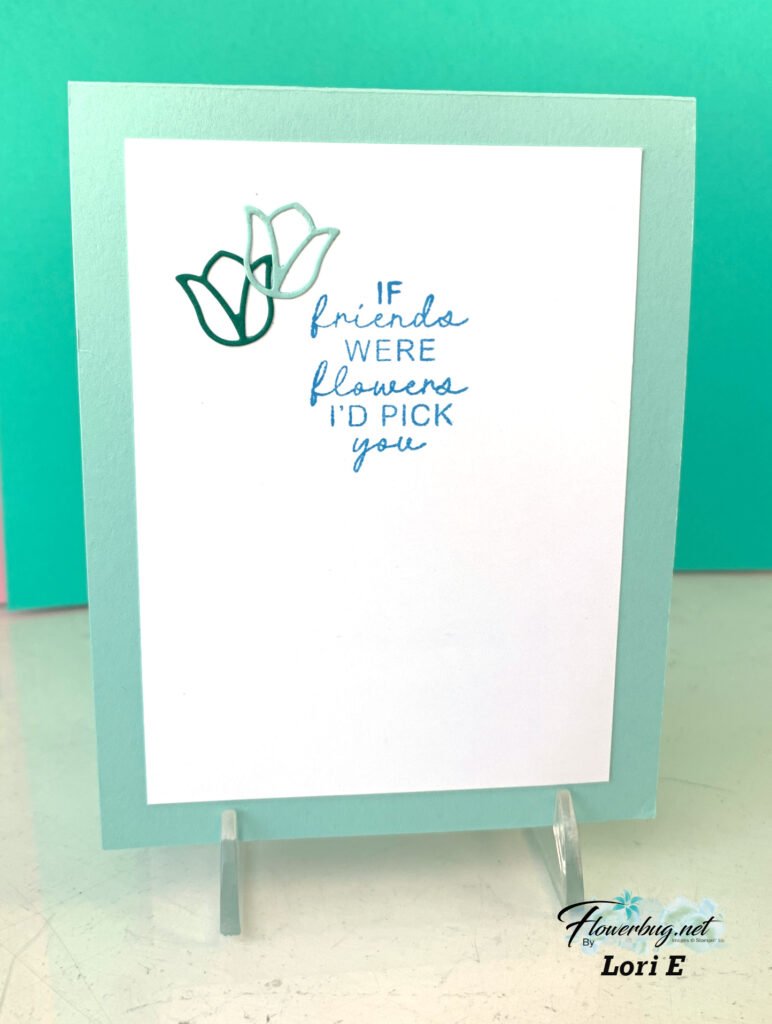
You might wonder where this greeting is from.  It's an upcoming Sale-a-Bration stamp set called 'Hello Friend'.  It's in a bundle with a pack of Designer Paper.  It will be free with a $100 purchase during SAB in January & February.  Of course Demo's can earn it free now during our pre-order period. 

The other new items here is a punch.  Can you spot it?  It's called the bough punch and has two options in the punch.  The large leaf and the 'buds' too.  

Below is the video for you: 

~~~

December Specials:

Host code:  6YCWV7QN

 *click here to order 

Use the host code above & get a free card stock sampler ring with a $50 order in December! 

See the last chance list here

See the July-December catalog carry over list here

All Posts

  • February Specials


    Below are the promotions for February; be sure to make note of them so you don’t miss out!

    ~~~

    February Specials

    Product of the Month is the new Painted Illusions 12 X 12″ designer paper

    Get the NEW Stampin’ Positioner FREE when you choose the Starter Kit in February! Click here

    Bonus Days – Redeem your coupons in February!

    February’s PDF of the Month!

    Two NEW kits just released here:

    Check out the Last Chance List; new items are added and available

    while supplies last

    Leave a Reply

    Your email address will not be published. Required fields are marked *

  • Lori’s card shows that the Sunshine & Tulips bundle is a big WOW


    My January Team swap included cards from our newest product offerings – the 2026 Spring catalog and our Online products. Lori chose to feature the Sunshine & Tulips bundle.

    Isn’t it gorgeous?! Her colors include Pool Party, Azure Afternoon, Gold & Shaded Spruce. The paper behind the tulip die-cuts is the Splash of Sparkles specialty paper seen here. It’s filled with amazing colors and patterns!

    This large, stitched edge die-cut is in the bundle. It also includes outline dies for both the tulips and leaves. You can see her tulip die-cuts above – in multiple colors including gold! See this special & unique bundle here.

    Here’s what she did for the inside of her card; so cute!

    Thank you for the amazing card Lori!

    January Specials:

    Bonus days are here!

    Get this free PDF with all online orders in January!

    The 2026 Spring Catalog is live!

    January’s Product of the Month
    Fabulous Sayings set
    Get it for $5 with any $75 purchase

    Check out the newest Kits in our Kit Collection here.

    Leave a Reply

    Your email address will not be published. Required fields are marked *

  • Gears & Textures bundle; another wow with Candace’s fun fold card


    Today I’m sharing a neat card made by Candace; my talented team member. She used the Gears & Textures bundle to make this:

    You can see the Gears & Textures bundle here. It’s so special & unique and perfect for masculine cards. But as you can see in Candace’s card it’s great for gals too!

    She made her own paper with the stamps in the set. She used Pretty in Pink, Night of Navy & Flirty Flamingo inks. She added die-cut gears from the Metallic Textured Specialty papers seen here.

    If you want to make a card like this start out with a 4 1/4″ X 11″ piece of card stock scored at 5 1/2″. Trim off a 1 1/2″ piece from one end. Then trim off another 2 1/2″ piece which is the vertical center piece. The stamped paper layers are 1 1/4″ X 4″ on the top & bottom and the center is 2 1/4″ X 4″.

    Thanks for the amazing fun fold card Candace!

    January Specials:

    Bonus days are here!

    Get this free PDF with all online orders in January!

    The 2026 Spring Catalog is live!

    January’s Product of the Month
    Fabulous Sayings set
    Get it for $5 with any $75 purchase

    Check out the newest Kits in our Kit Collection here.

    Leave a Reply

    Your email address will not be published. Required fields are marked *


Notice: LeeAnn Greff, Independent Stampin’ Up! Demonstrator, Manager. The content of this website is my sole responsibility as an independent Stampin’ Up! demonstrator and the use of, and content of, the classes, services, or products offered on this website is not endorsed by Stampin’ Up! Copyright 2025