/


Latest Post

Fun way to use paper strips! Live video tonight!


We made these cards on FB Live Monday night.  What a fun and easy way to use up your extra designer paper pieces! Click here to watch the video. 
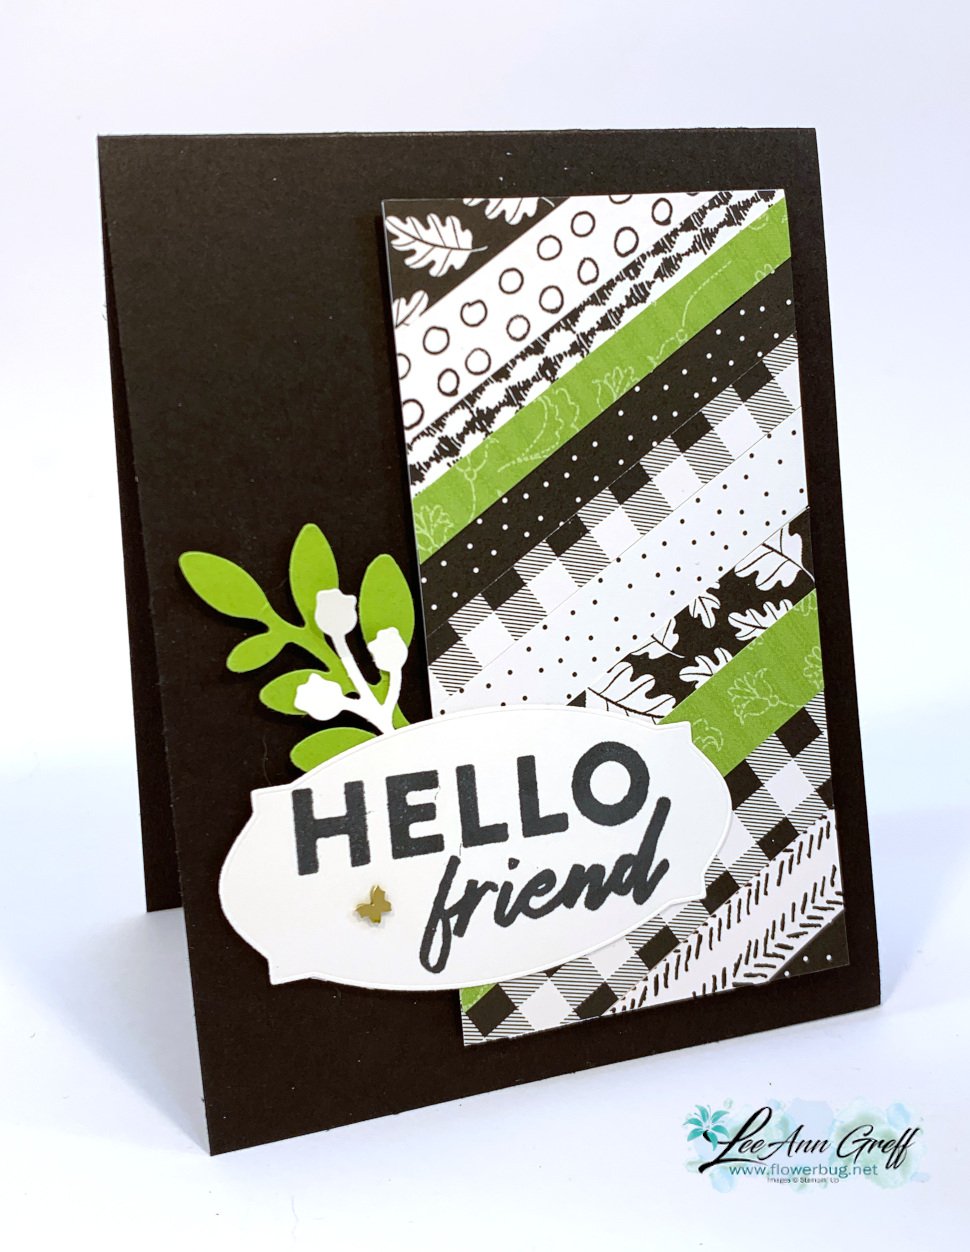
I used the Pattern Party designer paper for these cards. It's a host choice in the back of the annual catalog seen here.  One side is Black & White and the other is colorful prints. I love the black & white patterns with a pop of color! 

Tips: 

  • I start out with a 2 1/4" X 4 3/4" piece of neutral CS.  This is what I adhered the strips of Designer Paper to. 
  • I added Seal adhesive over the entire piece and added the strips one by one. 
  • Apply one strip across the middle at an angle first. Then keep filling in. 
  • I trimmed the excess off the edges once I had it well covered with strips.  
  • My DSP strips measure between 1/4" and 5/8" wide and about 3" long.  It doesn't matter how wide your strips are; it looks great if they're different widths.  
  • Add dimensionals to the back of this piece for added dimension. 
  • Add a greeting and accents if desired. 
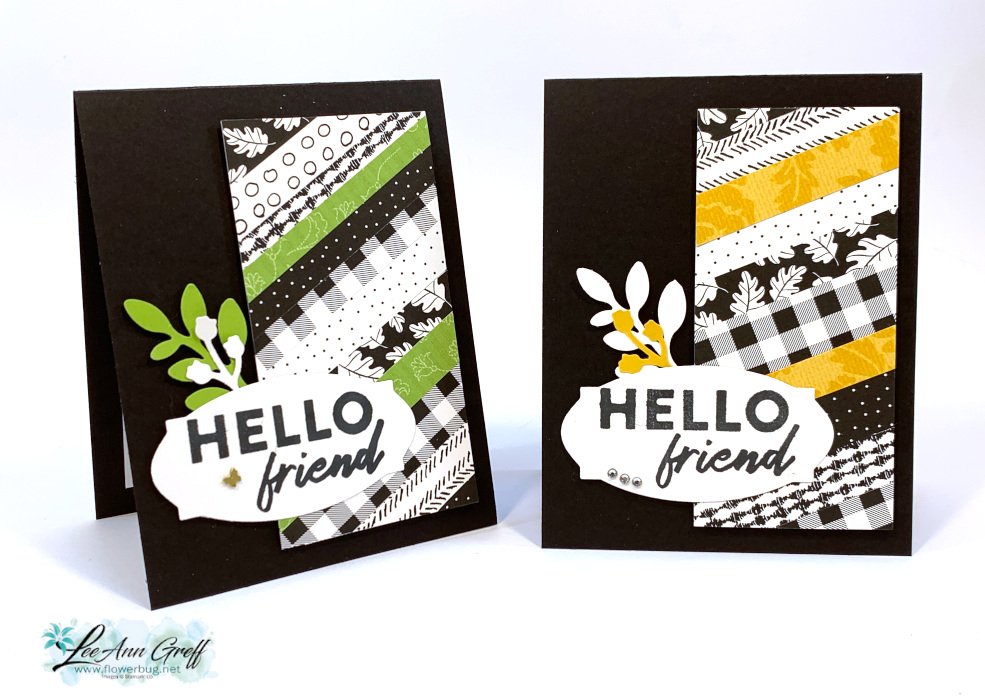
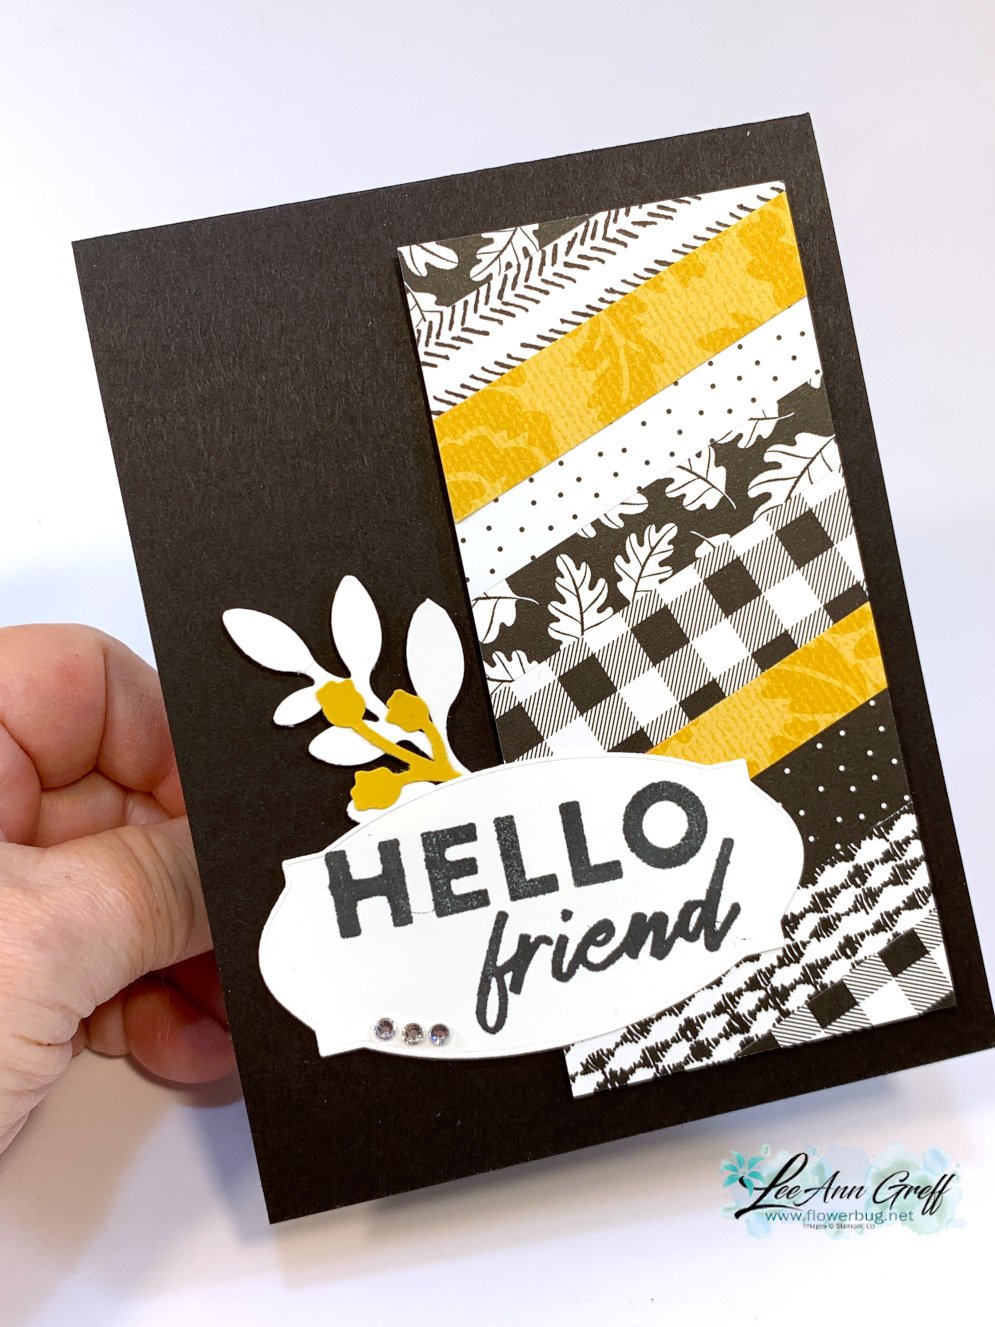
You might wonder where this greeting is from.  It's an upcoming Sale-a-Bration stamp set called 'Hello Friend'.  It's in a bundle with a pack of Designer Paper.  It will be free with a $100 purchase during SAB in January & February.  Of course Demo's can earn it free now during our pre-order period. 

The other new items here is a punch.  Can you spot it?  It's called the bough punch and has two options in the punch.  The large leaf and the 'buds' too.  
Below is the video for you: 

~~~

December Specials:

Host code:  6YCWV7QN

 *click here to order 

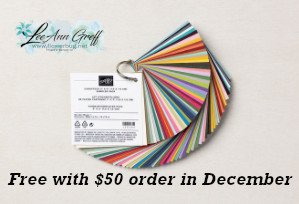
Use the host code above & get a free card stock sampler ring with a $50 order in December! 
See the last chance list here

See the July-December catalog carry over list here

All Posts

  • Paper Tags Joseph’s Coat technique with video tutorial


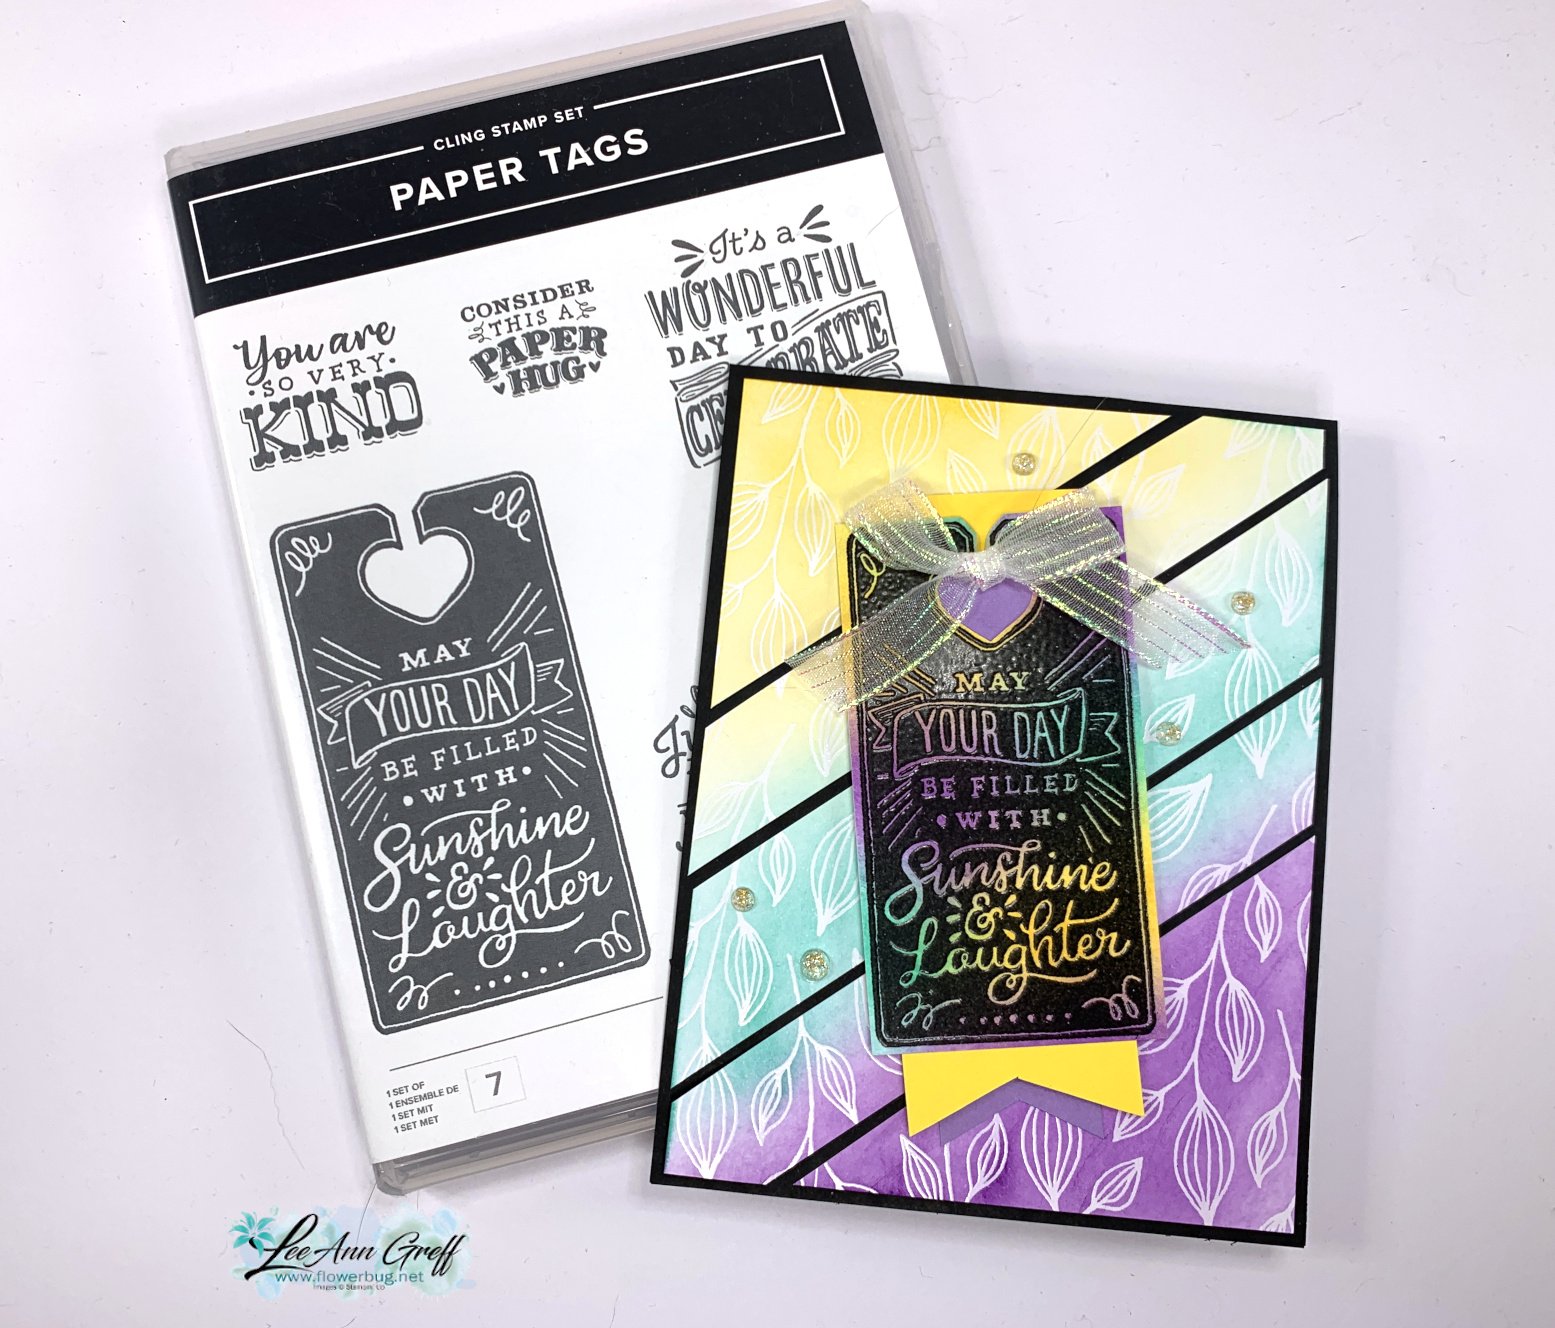
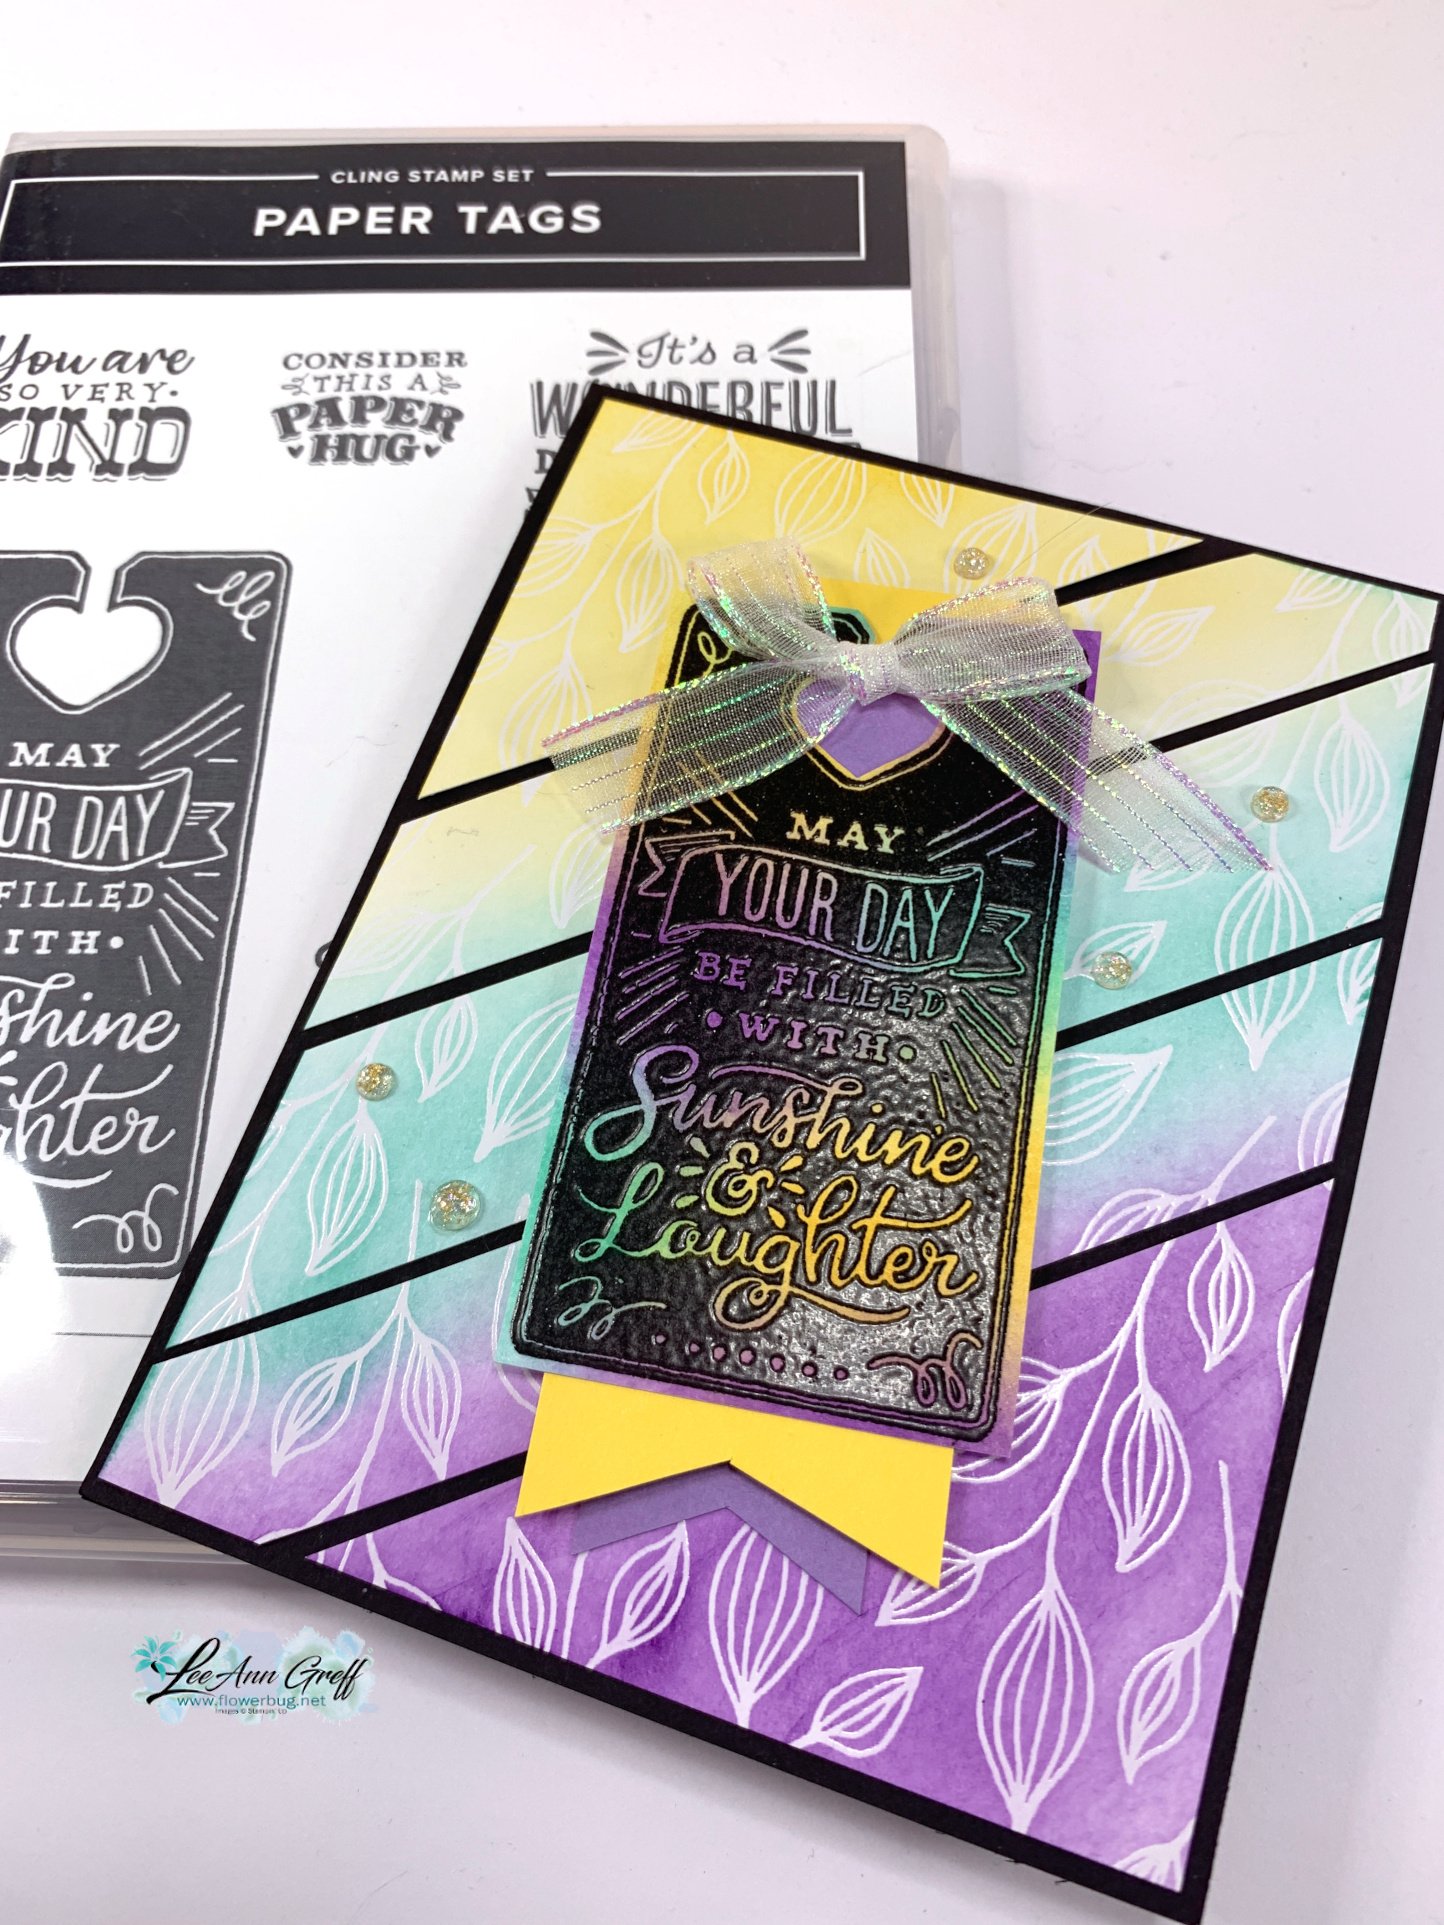
    I played with the Paper Tags stamp set and the Irresistible Designs Specialty Paper for last week's video.  Here's my favorite project: 

    The colors include Daffodil Delight, Coastal Cabana and Gorgeous Grape in inks.  The card stock is Black, White, Daffodil and Highland Heather. 

    For the colored designer paper panel I started with a piece at 4" X 5" and blended the three inks on it diagonally. This Irresistible specialty paper seen here resists the ink where they printed the resist designs. Once you add ink, it reveals their pattern.  So cool!  

    After I blended the colors on I randomly cut the single panel into 5 pieces on the diagonal. I share how I did this in the video here. I adhered each panel one at a time starting in the corner. You may need to trim one of the pieces slightly to fit the card base.  


    For the inside of the card I stamped the greeting and added color to it with coordinating Blends markers. 

    Here's how you do the Joseph's Coat technique:

    1. Sponge or blend multiple colors onto your neutral cardstock. 
    2. Swipe the embossing buddy over this layer; tap off excess powder. 
    3. Ink the stamp image in Versamark ink; stamp onto the layer. 
    4. Immediately heat emboss with Black embossing powder. 

    Once I had my tag, I trimmed it by hand (there are coordinating dies) and added a few extra pieces to lengthen the tag and add more layers. I finished it off with a bow. 

    Here's the free project sheet with directions, photo, measurements and a supplies list: Download Paper Tags Joseph's Coat card

    Below is the video tutorial for this card and another I shared in the video:

    ~~~

    June Specials:

    The Suite Sale is on! 

    Buy one get 50% the second item – on all available suite products. 

    Shop here or see products below: 

    ~~~

    Last Chance List has been updated!  see it all here. Don't miss out on the deals!

    ~~~

    Earn free card kits in June with online orders! Get 4 kits with a $50 order and orders over $80 receive all 6 cards. All you need are greetings, gems and adhesives to assemble. 

    Order here 

    ~~~

    Get my Celebratory Sips PDF tutorial free with any online order in June!

    Leave a Reply

    Your email address will not be published. Required fields are marked *

  • Awesome fun fold swaps by the Flowerbug’s


    Today I'm sharing two neat fun fold cards made by a few of my Flowerbug's for a recent card swap. Our them was to use a new 2025-27 In Color and make it a fun fold.  

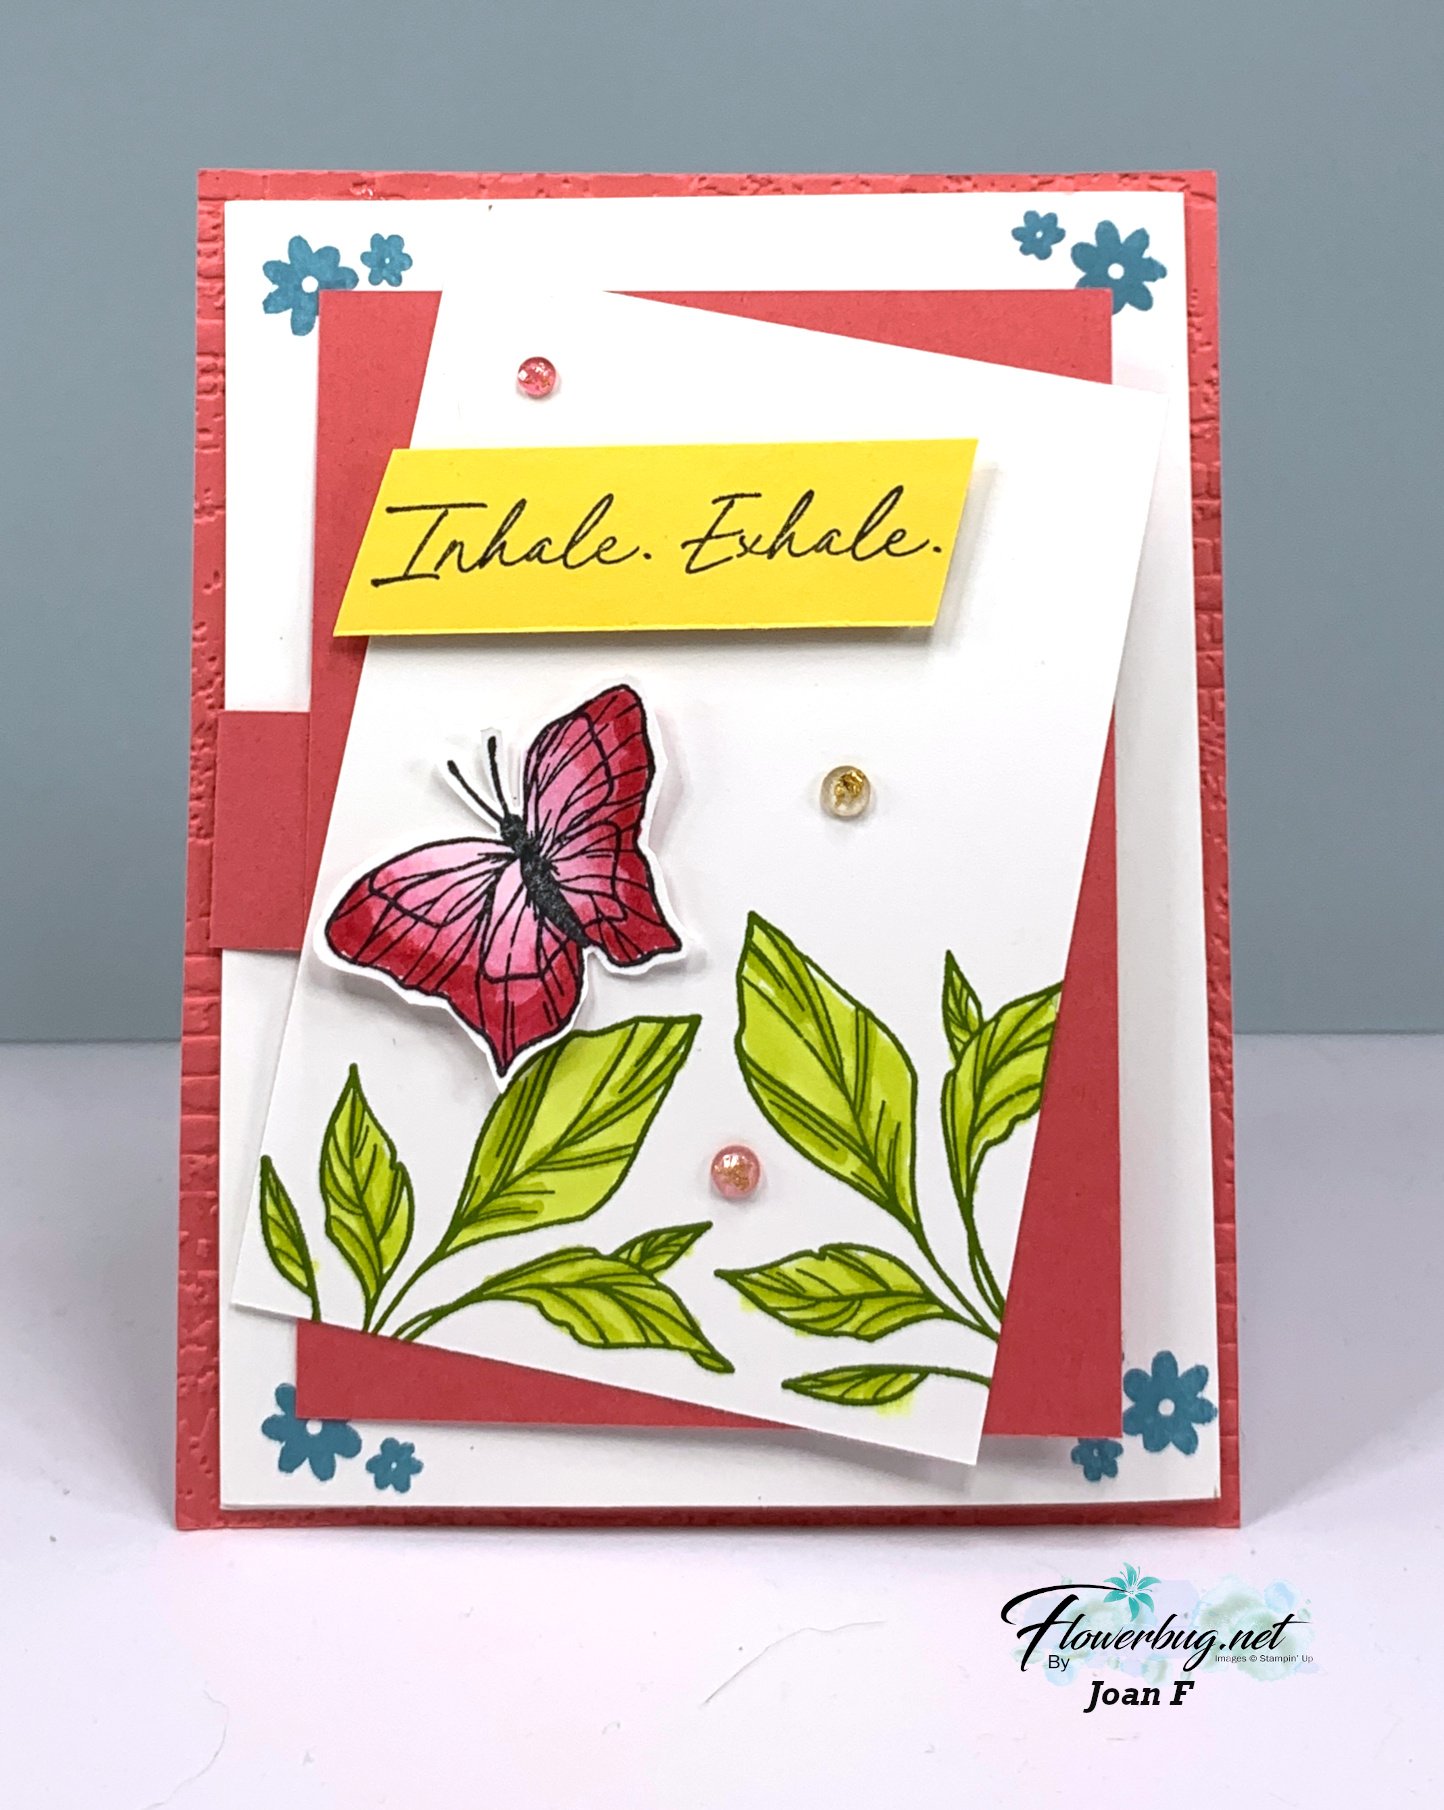
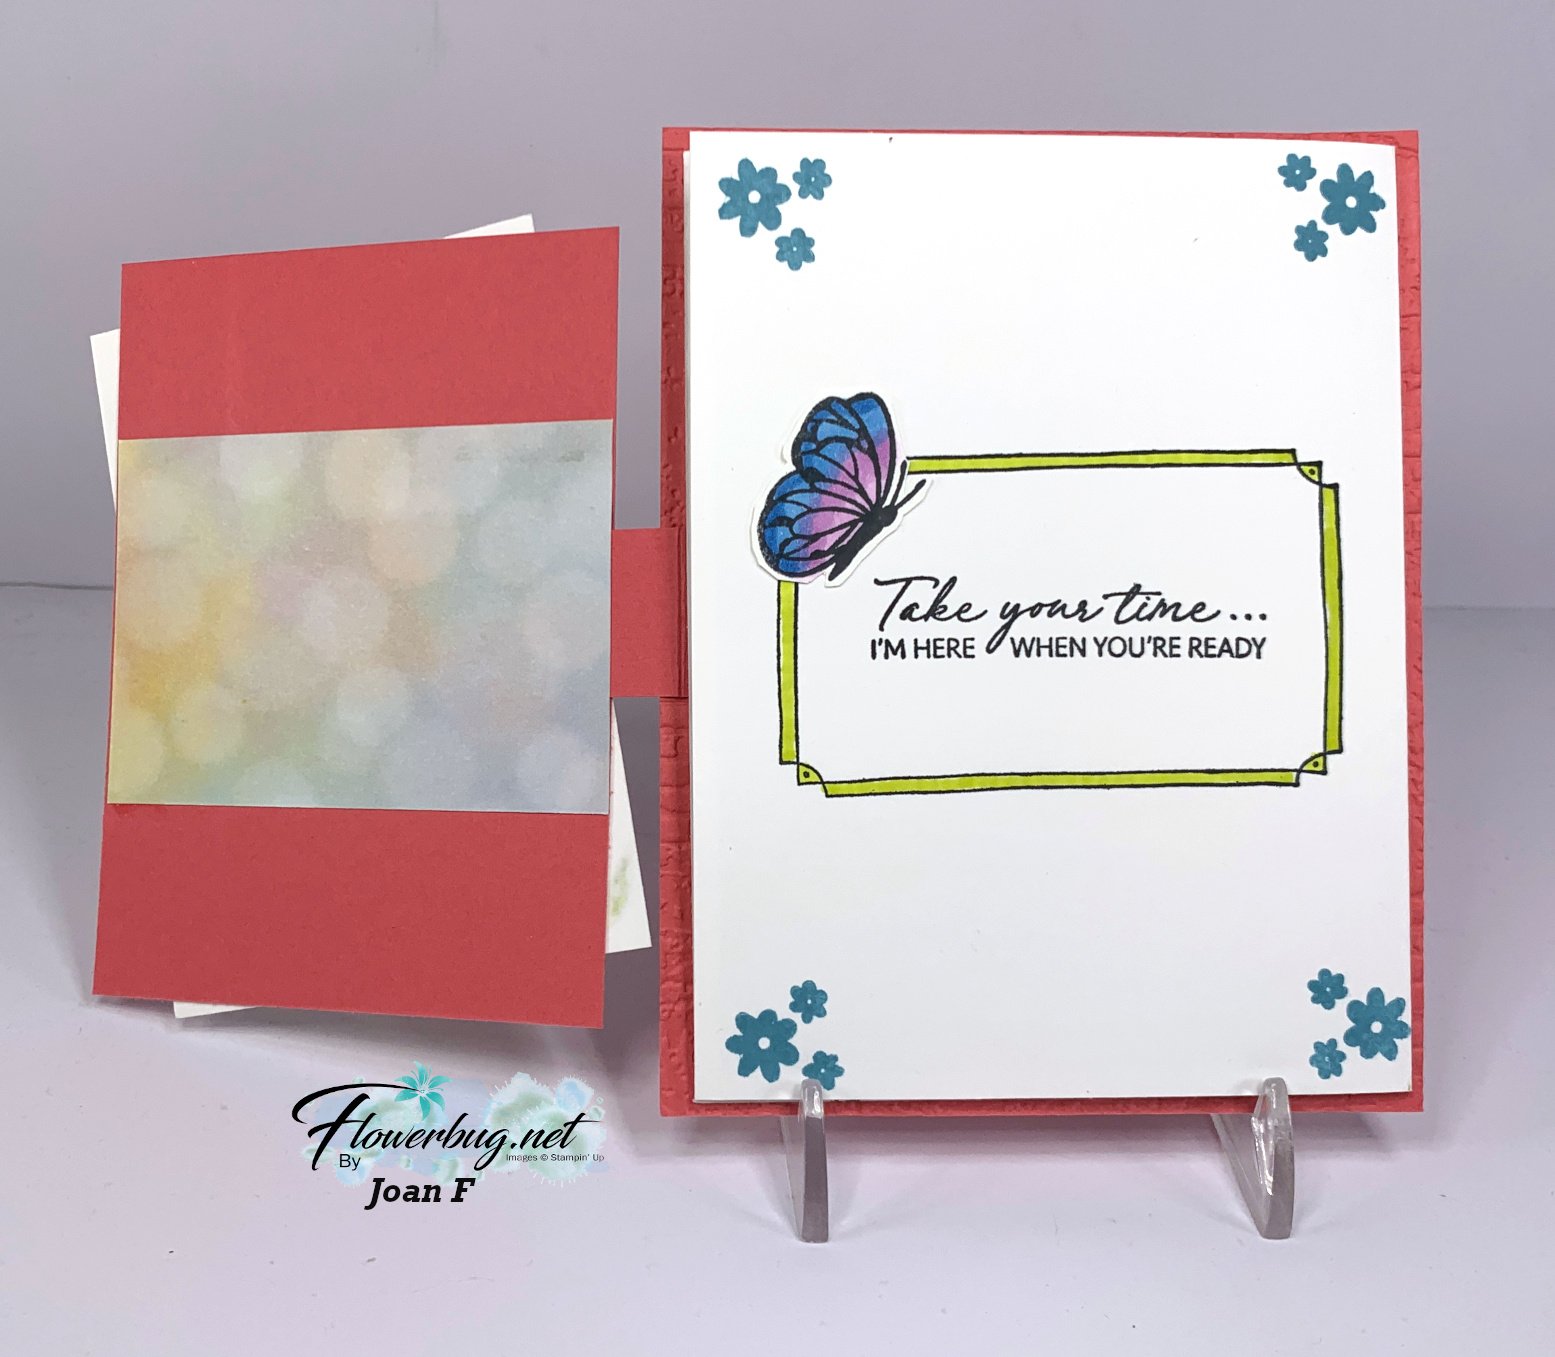
    First is a card made by Joan who used the new Online Exclusive set 'It's Okay' seen here.  

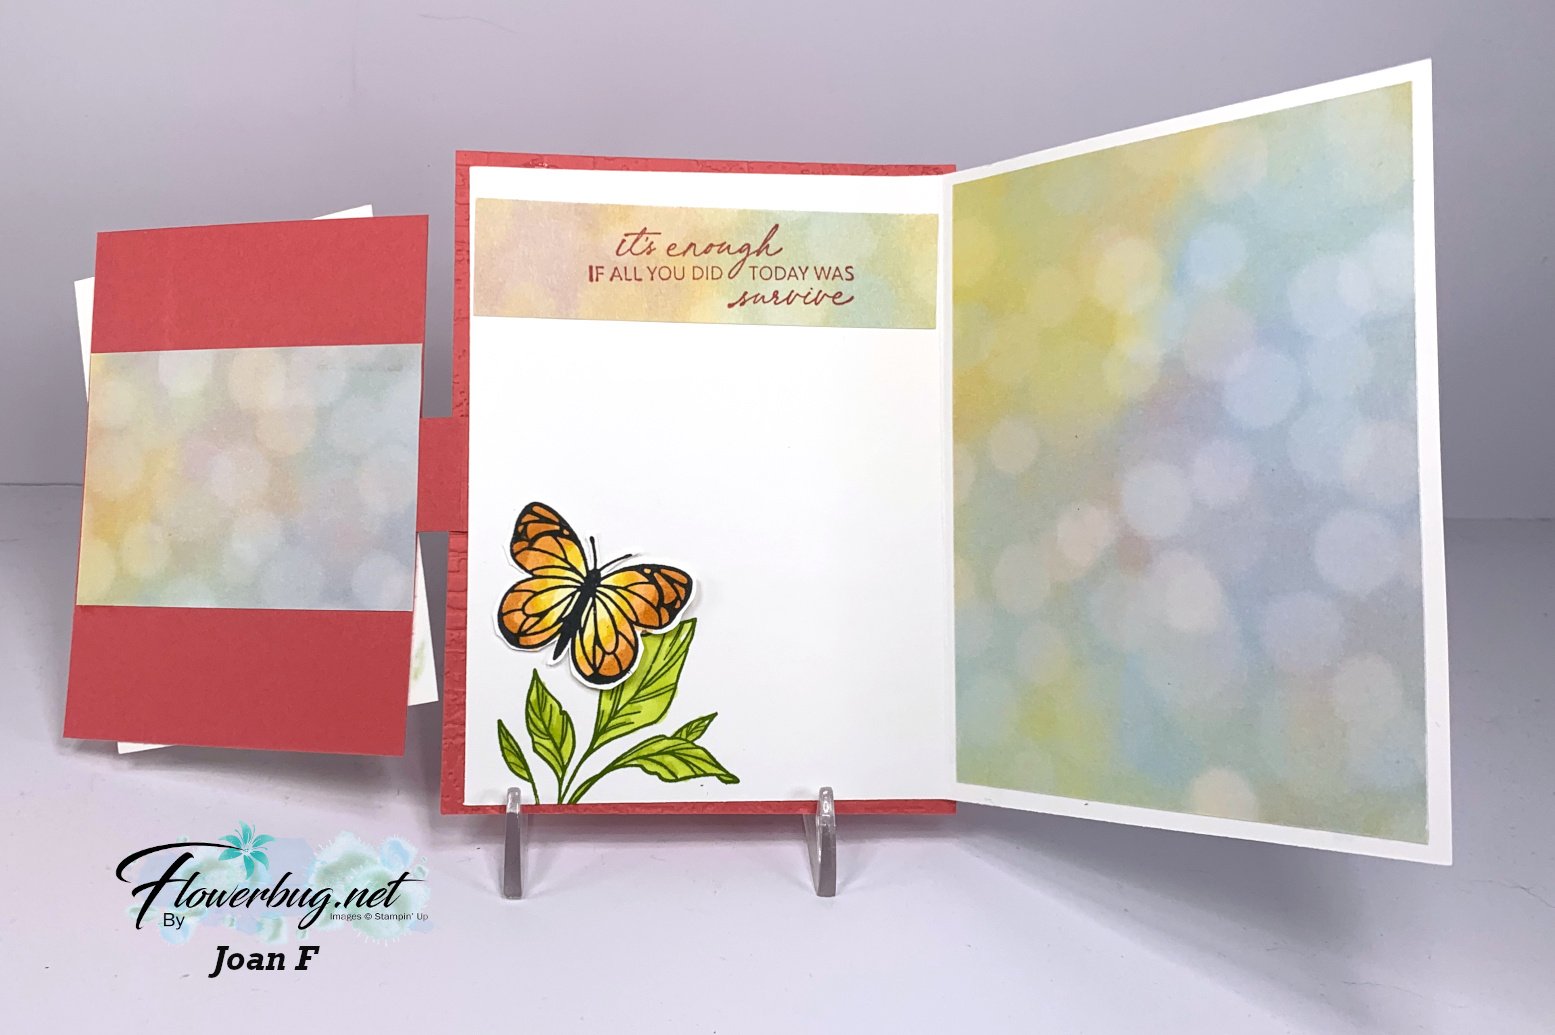
    Her In Color is Strawberry Slush and she loves to color; as you can see!  It's a triple fold card; here's how the first panel opens:

    Here are her measurements:

    • card base 4 1/4" X 5 1/2"
    • White opening panel 8" X 5 1/4" scored at 4"
    • inside DSP – large right panel is 3 3/4" X 5", greeting strip 3 7/8" X 1", back of the front panel 3 1/4" X 2 1/4"
    • front white panel 3" X 4 1/4"
    • Front Strawberry panel 3" X 4 1/4"
    • side strip to connect panels 3" X 1" scored in half

    Isn't her coloring gorgeous?  That Bokeh DSP is perfect here!  

    ~~~

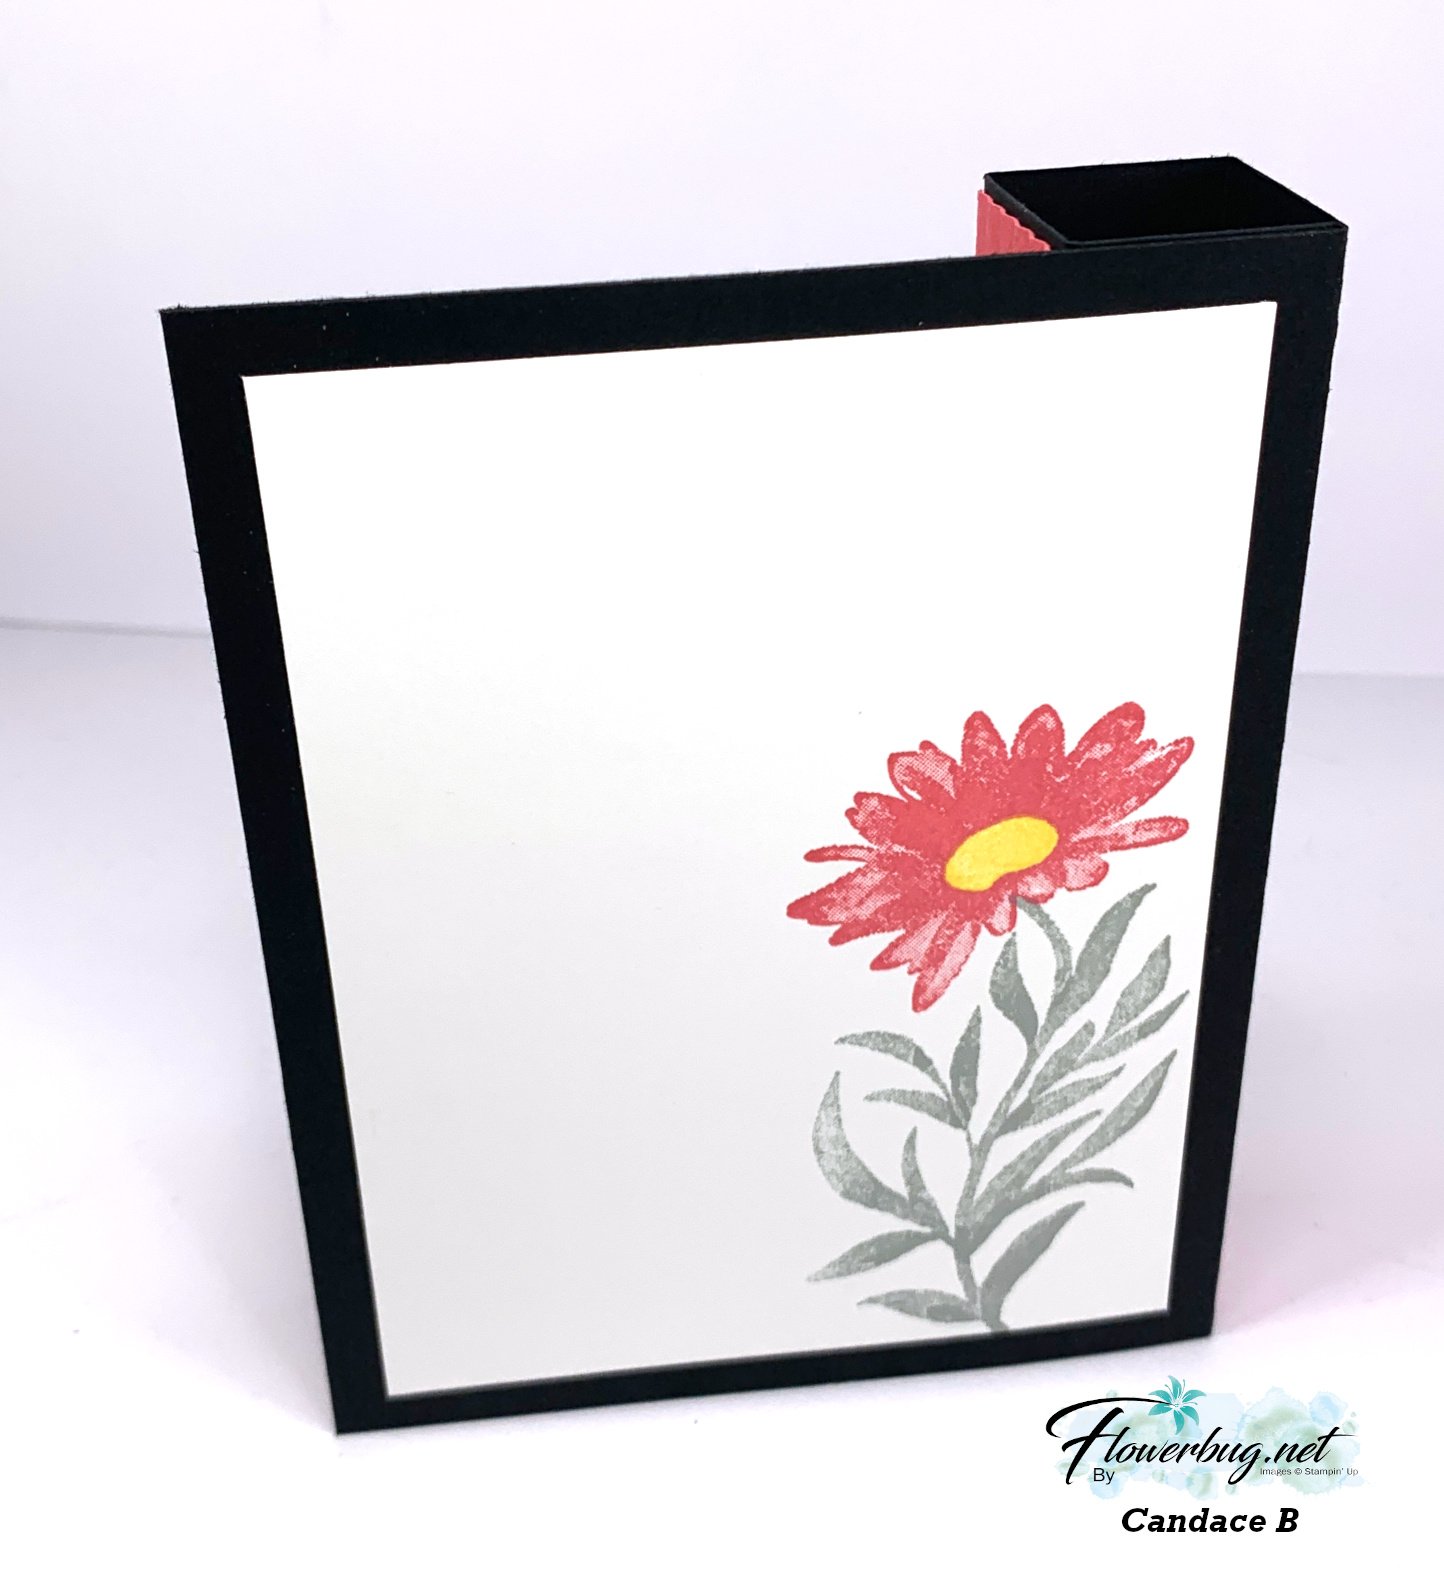
    Candace made this next card – a double box card! 

    She used the You are Remarkable stamp set seen here.  It's a great 2-step set with lots of possibilities.  Her colors include Strawberry Slush, Black, Gray and White.  The Designer Paper is the Botanical Textures; also in our Online Store here. 

    Here are her measurements:

    • card base 8 1/4" X 5 1/2" score at 1", 2", 3" & 4"
    • Strawberry Slush textured layers – 3 at 7/8" X 5 1/4", 1 at 7/8" X 3 7/8"
    • White front 2 7/8" X 3 7/8", back is 3 3/4" X 5"
    • Black 2nd box layer 4 1/4" X 4" scored at 3" & 4"
    • DSP 3 1/8" X 5 3/8" 

    ~~~

    June Specials:

    The Suite Sale is on! 

    Buy one get 50% the second item – on all available suite products. 

    Shop here or see products below: 

    ~~~

    Last Chance List has been updated!  see it all here. Don't miss out on the deals!

    ~~~

    Earn free card kits in June with online orders! Get 4 kits with a $50 order and orders over $80 receive all 6 cards. All you need are greetings, gems and adhesives to assemble. 

    Order here 

    ~~~

    Get my Celebratory Sips PDF tutorial free with any online order in June!

    Leave a Reply

    Your email address will not be published. Required fields are marked *

  • Huge Stamping Sale Saturday; stop in for amazing deals!


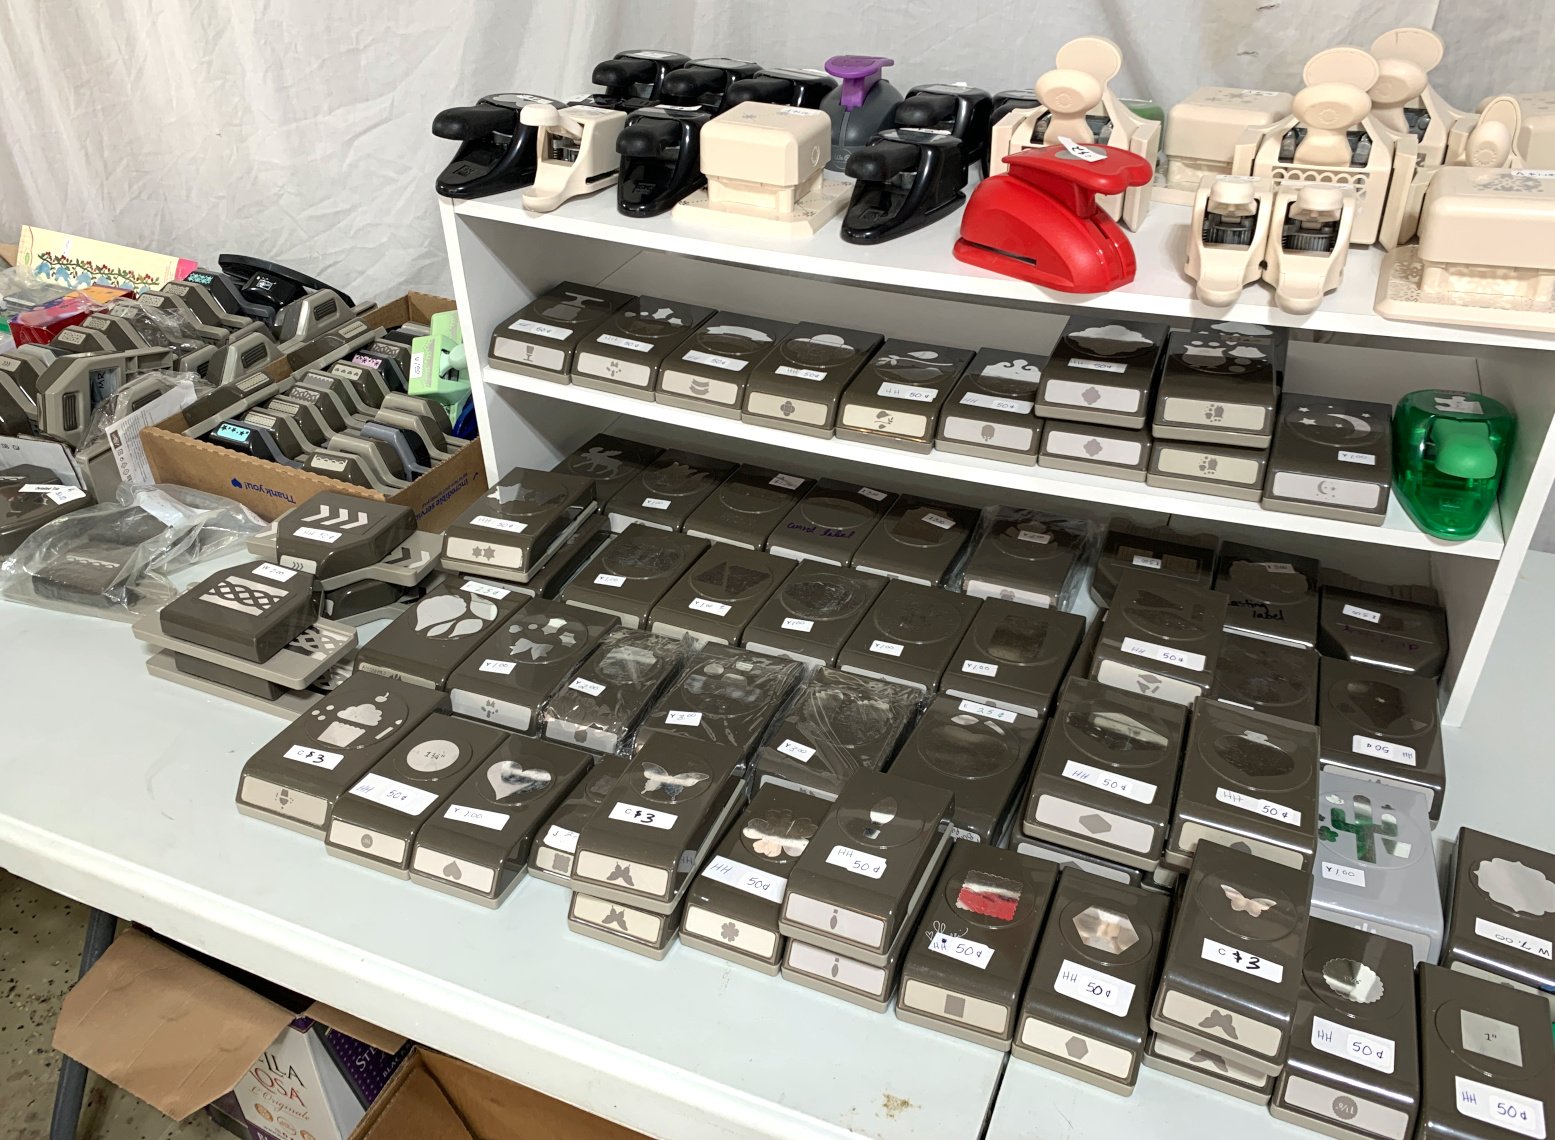
    Tomorrow is the big sale! 

    If you're local to North Dakota (Minot) you do not want to miss it!  

    There are 30 plus crafters selling their excess paper crafting supplies.  It's Saturday from 9-2 pm (Friday night for my current customers that have been invited for early bird shopping). 

    See the event on Facebook here for the address & details.  

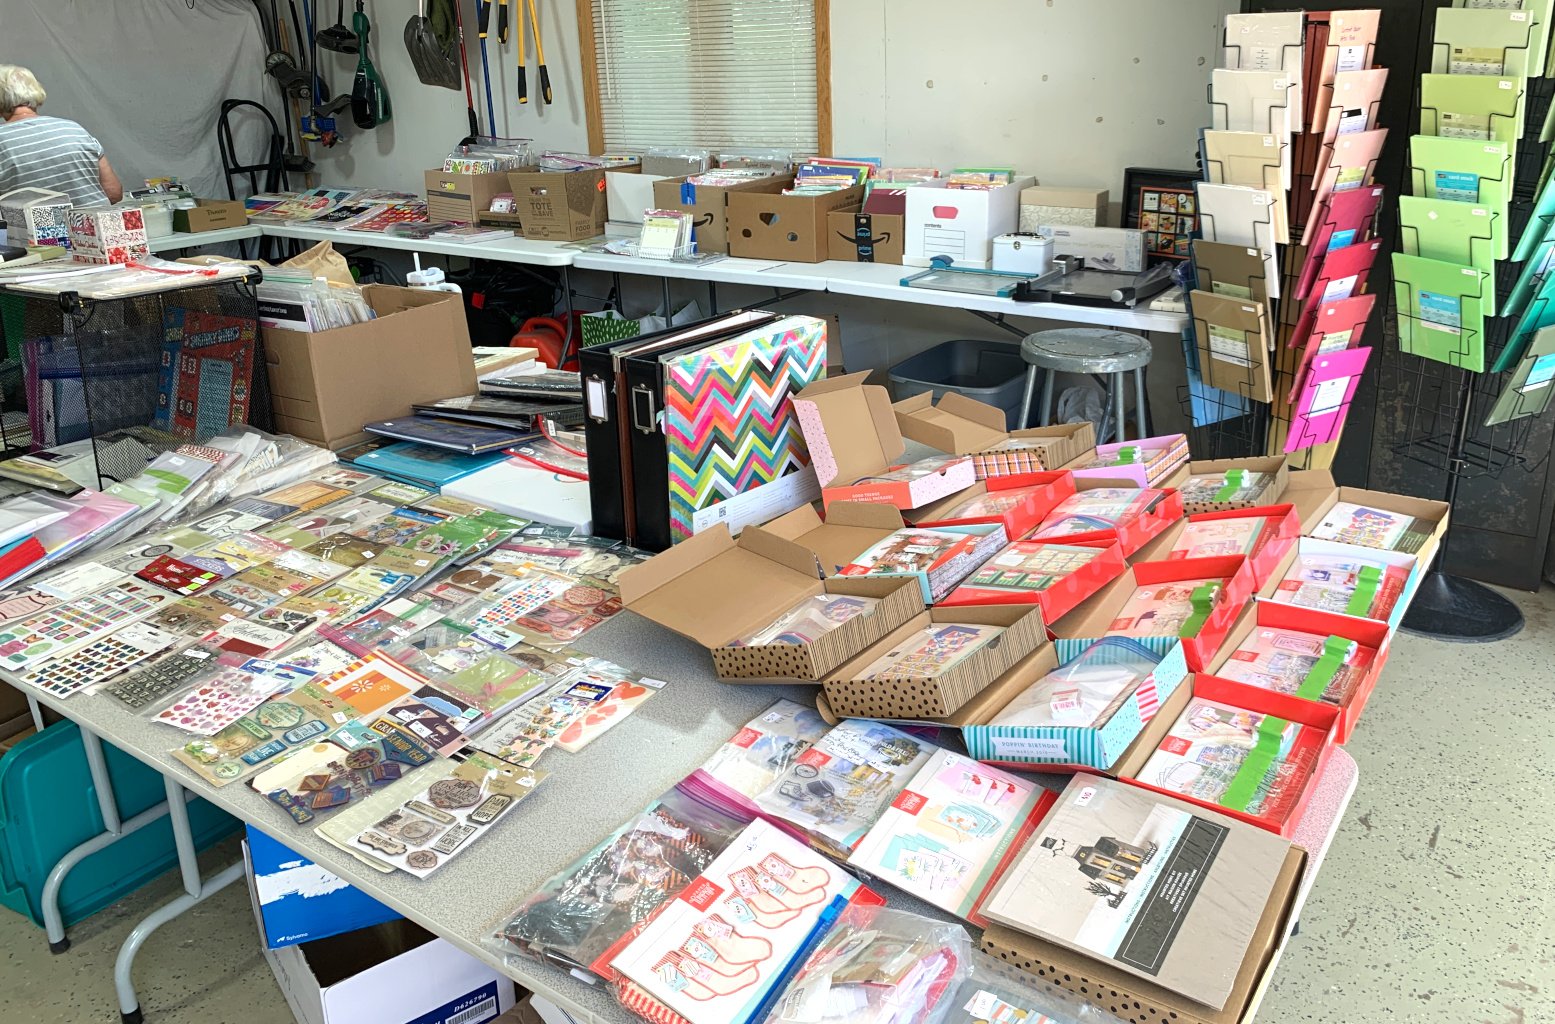
    So many punches!  And Stampin' Up! card stock below….. 

    Inks, tags, ribbons & embellishments galore

    Lots & lots of stamps! 

    I'm sorry but I cannot shop for anyone long distance; you must be here in person.  It's a crazy day! 

    I am sorry if these photos are a big tease for some of you.  But other local gals need to see this! 

    ~~~

    June Specials:

    The Suite Sale is on! 

    Buy one get 50% the second item – on all available suite products. 

    Shop here or see products below: 

    ~~~

    Last Chance List has been updated!  see it all here. Don't miss out on the deals!

    ~~~

    Earn free card kits in June with online orders! Get 4 kits with a $50 order and orders over $80 receive all 6 cards. All you need are greetings, gems and adhesives to assemble. 

    Order here 

    ~~~

    Get my Celebratory Sips PDF tutorial free with any online order in June!

    Leave a Reply

    Your email address will not be published. Required fields are marked *


Notice: LeeAnn Greff, Independent Stampin’ Up! Demonstrator, Manager. The content of this website is my sole responsibility as an independent Stampin’ Up! demonstrator and the use of, and content of, the classes, services, or products offered on this website is not endorsed by Stampin’ Up! Copyright 2025