/


Latest Post

Fun way to use paper strips! Live video tonight!


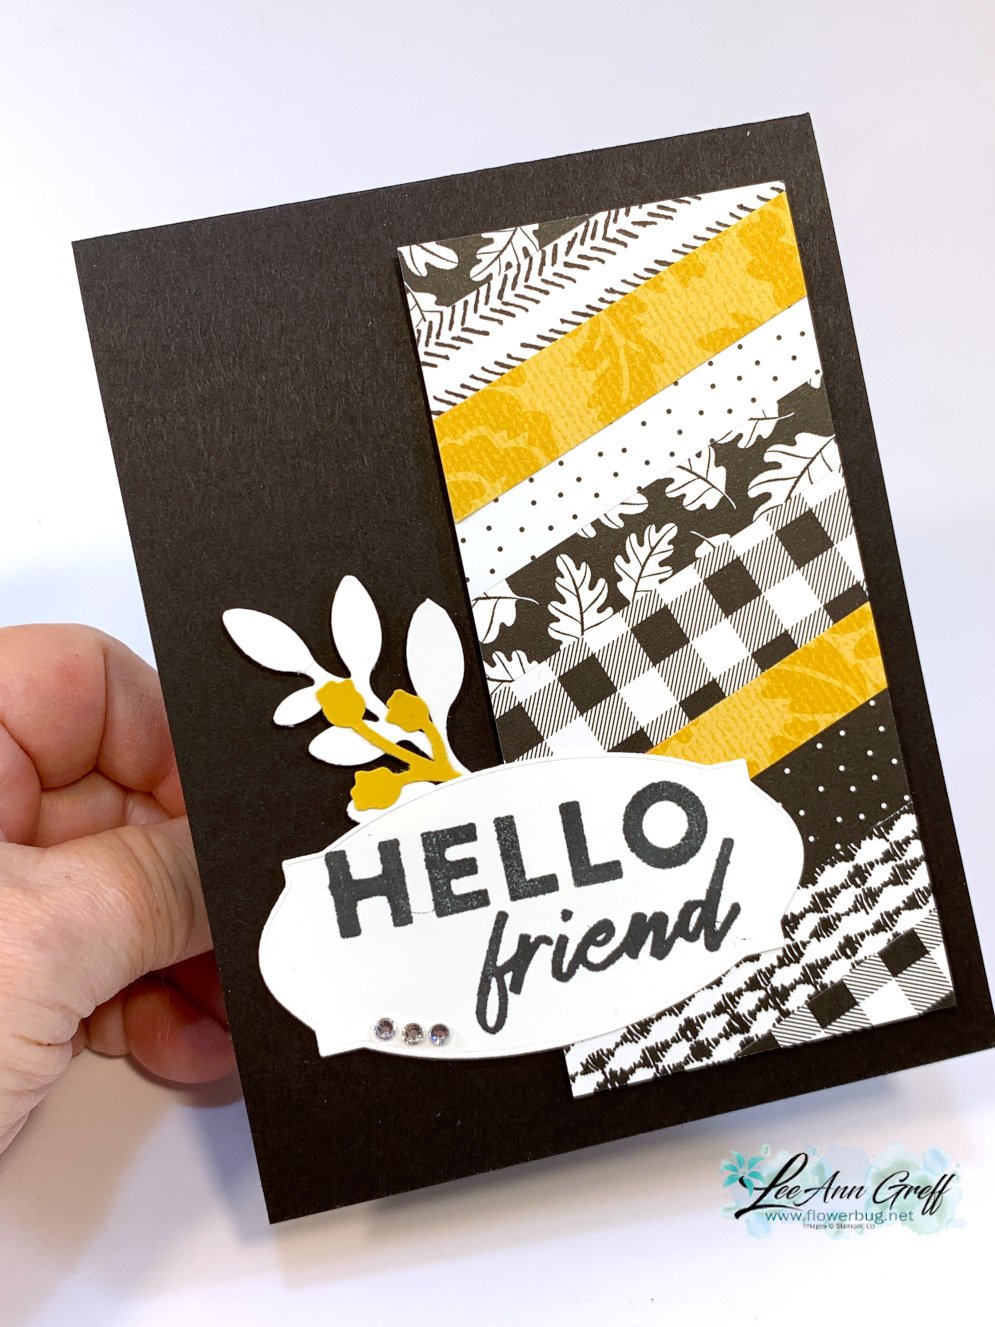
We made these cards on FB Live Monday night.  What a fun and easy way to use up your extra designer paper pieces! Click here to watch the video. 
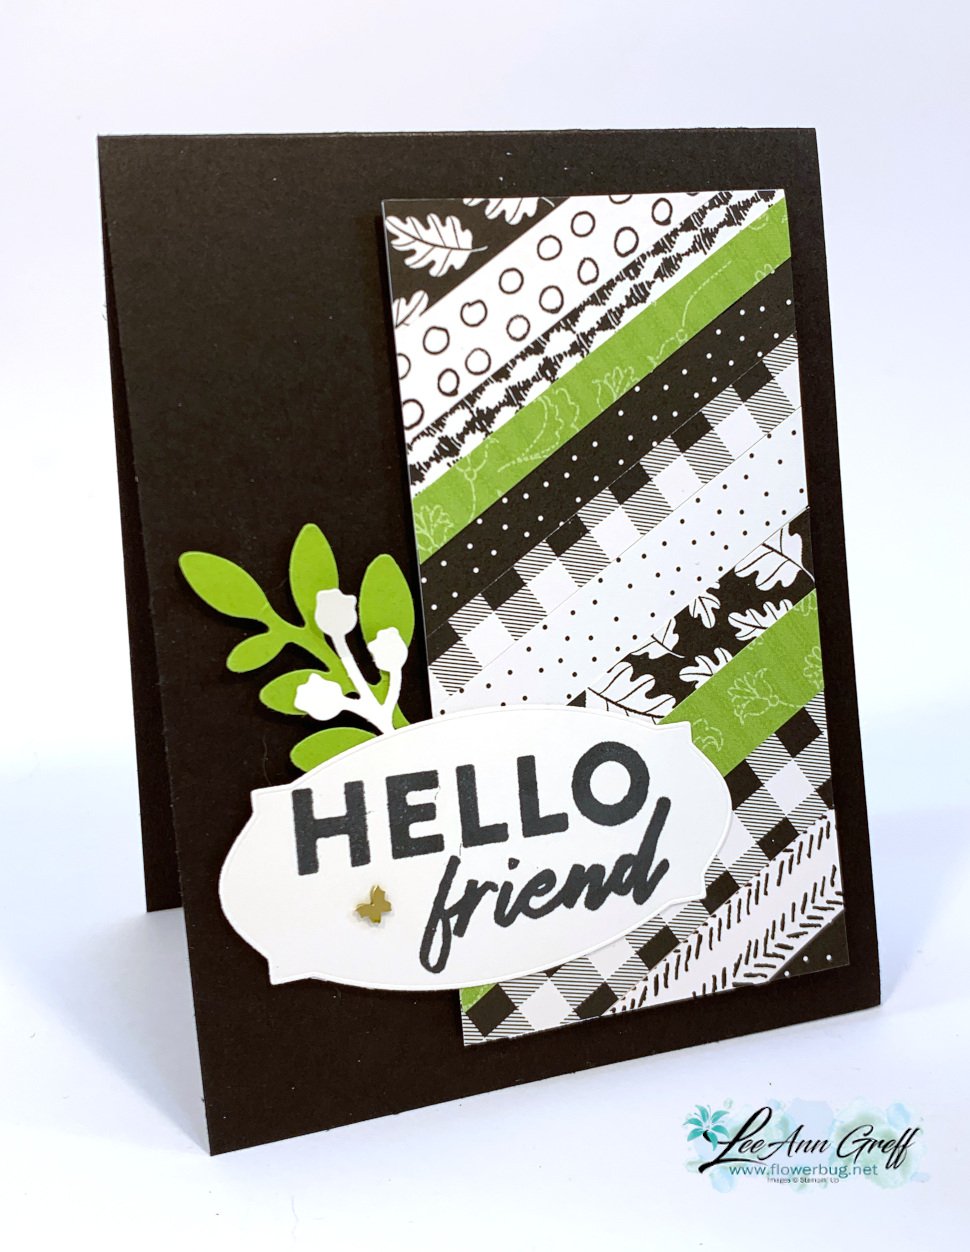
I used the Pattern Party designer paper for these cards. It's a host choice in the back of the annual catalog seen here.  One side is Black & White and the other is colorful prints. I love the black & white patterns with a pop of color! 

Tips: 

  • I start out with a 2 1/4" X 4 3/4" piece of neutral CS.  This is what I adhered the strips of Designer Paper to. 
  • I added Seal adhesive over the entire piece and added the strips one by one. 
  • Apply one strip across the middle at an angle first. Then keep filling in. 
  • I trimmed the excess off the edges once I had it well covered with strips.  
  • My DSP strips measure between 1/4" and 5/8" wide and about 3" long.  It doesn't matter how wide your strips are; it looks great if they're different widths.  
  • Add dimensionals to the back of this piece for added dimension. 
  • Add a greeting and accents if desired. 
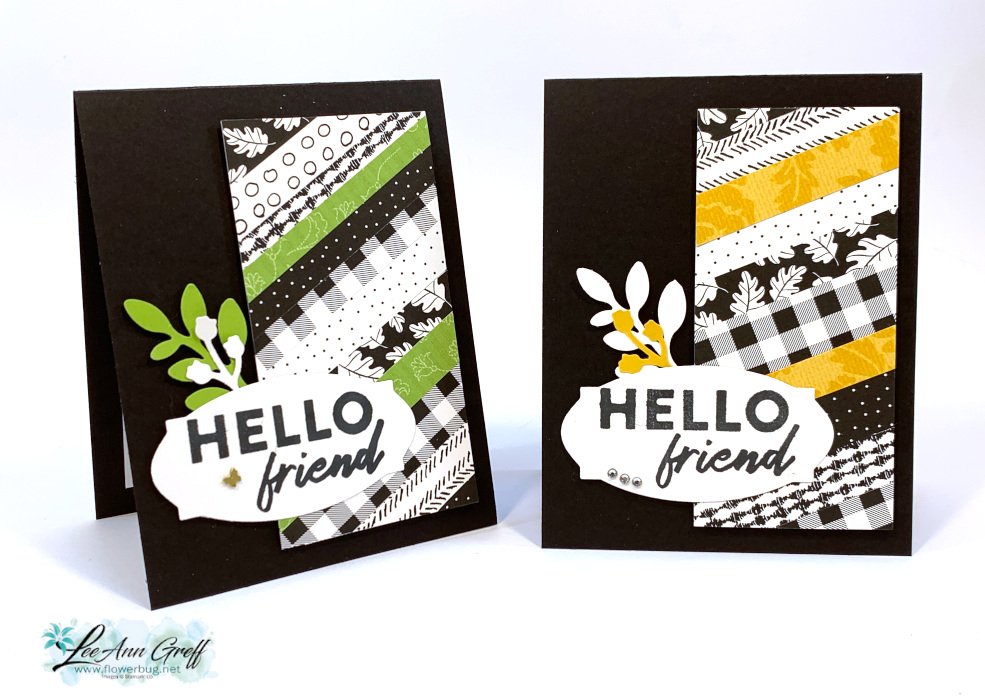
You might wonder where this greeting is from.  It's an upcoming Sale-a-Bration stamp set called 'Hello Friend'.  It's in a bundle with a pack of Designer Paper.  It will be free with a $100 purchase during SAB in January & February.  Of course Demo's can earn it free now during our pre-order period. 

The other new items here is a punch.  Can you spot it?  It's called the bough punch and has two options in the punch.  The large leaf and the 'buds' too.  
Below is the video for you: 

~~~

December Specials:

Host code:  6YCWV7QN

 *click here to order 

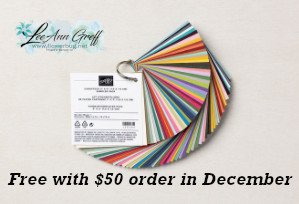
Use the host code above & get a free card stock sampler ring with a $50 order in December! 
See the last chance list here

See the July-December catalog carry over list here

All Posts

  • August Specials with Stampin’ Up!


    Each month Stampin’ Up! offers a NEW Product of the Month – it’s just $5 with any $75 purchase. It’s available as of today while supplies last….

    This month it’s the gorgeous Glow of Harvest Specialty designer paper. It has a pearlized sheen that makes it extra special.

    Click here to start shopping to earn yours.

    Each month I offer a full tutorial filled with projects featuring a new suite to anyone who purchases from me online. This month it’s the new A Stitched Season suite. It’s really not too early to start planning your Holiday projects!

    Here’s the list of the latest Online products available now! Click here to see it.

    Leave a Reply

    Your email address will not be published. Required fields are marked *

  • Velvet Meadow gatefold card with video & free project sheet


    This is another card we made at my July card clubs. It features the Velvet Meadow specialty DSP seen here.

    It’s a simple gatefold card. I matched most of the DSP so it created a full panel on the front. This DSP has fussy or flocked areas on it. It does feel velvety!

    I also used the new Exciting Times punch bundle for the center. You can see it here.

    Here’s what the inside looks like. I added a strip of the DSP along with the white for stamping and signing. Then added a skinny divider of Bubble Bath for a little accent color.

    My colors include Berry Burst, Bubble Bath and Peaceful Pine.

    I created a free project sheet for this card; click here to download or print it. Remember it’s a great idea to save these on your computer for easy access.

    The video tutorial for this card and one more neat fun fold is below. Thanks for popping in today!

    August Specials:

    Get this PDF FREE with any online order in August!

    As of tomorrow you can redeem this beautiful specialty DSP with any $75 purchase!
    Item #168598

    Leave a Reply

    Your email address will not be published. Required fields are marked *

  • Update on our move to Bismarck, ND


    If you haven’t watched my recent videos you may not know that we have moved from Minot, ND to Bismarck, ND this month. It’s been a super busy time of downsizing, selling excess, packing and moving.

    Why did we move? Well, there are many reasons but mostly my husband retired and we moved to be closer to our son and other family. It was very difficult to leave our beautiful home but we will love our new home too. Here’s a picture of my office/craft room before I was able to unpack. I’ll share new photos once I’m settled.

    In that back doorway is a walk in closet; that will help with storage! I did find a nice L shaped desk and hope to get that set up today; then I can really set up my room.

    This is why I’ve been missing in action lately; it’s hard to do both stamping/business and moving/getting settled. So I’m taking a bit of a break in August. Have patience with me; I’ll be back to blogging and videos soon!

    Leave a Reply

    Your email address will not be published. Required fields are marked *


Notice: LeeAnn Greff, Independent Stampin’ Up! Demonstrator, Manager. The content of this website is my sole responsibility as an independent Stampin’ Up! demonstrator and the use of, and content of, the classes, services, or products offered on this website is not endorsed by Stampin’ Up! Copyright 2025