/


Latest Post

Fun Treat box made from our Acetate Card Boxes


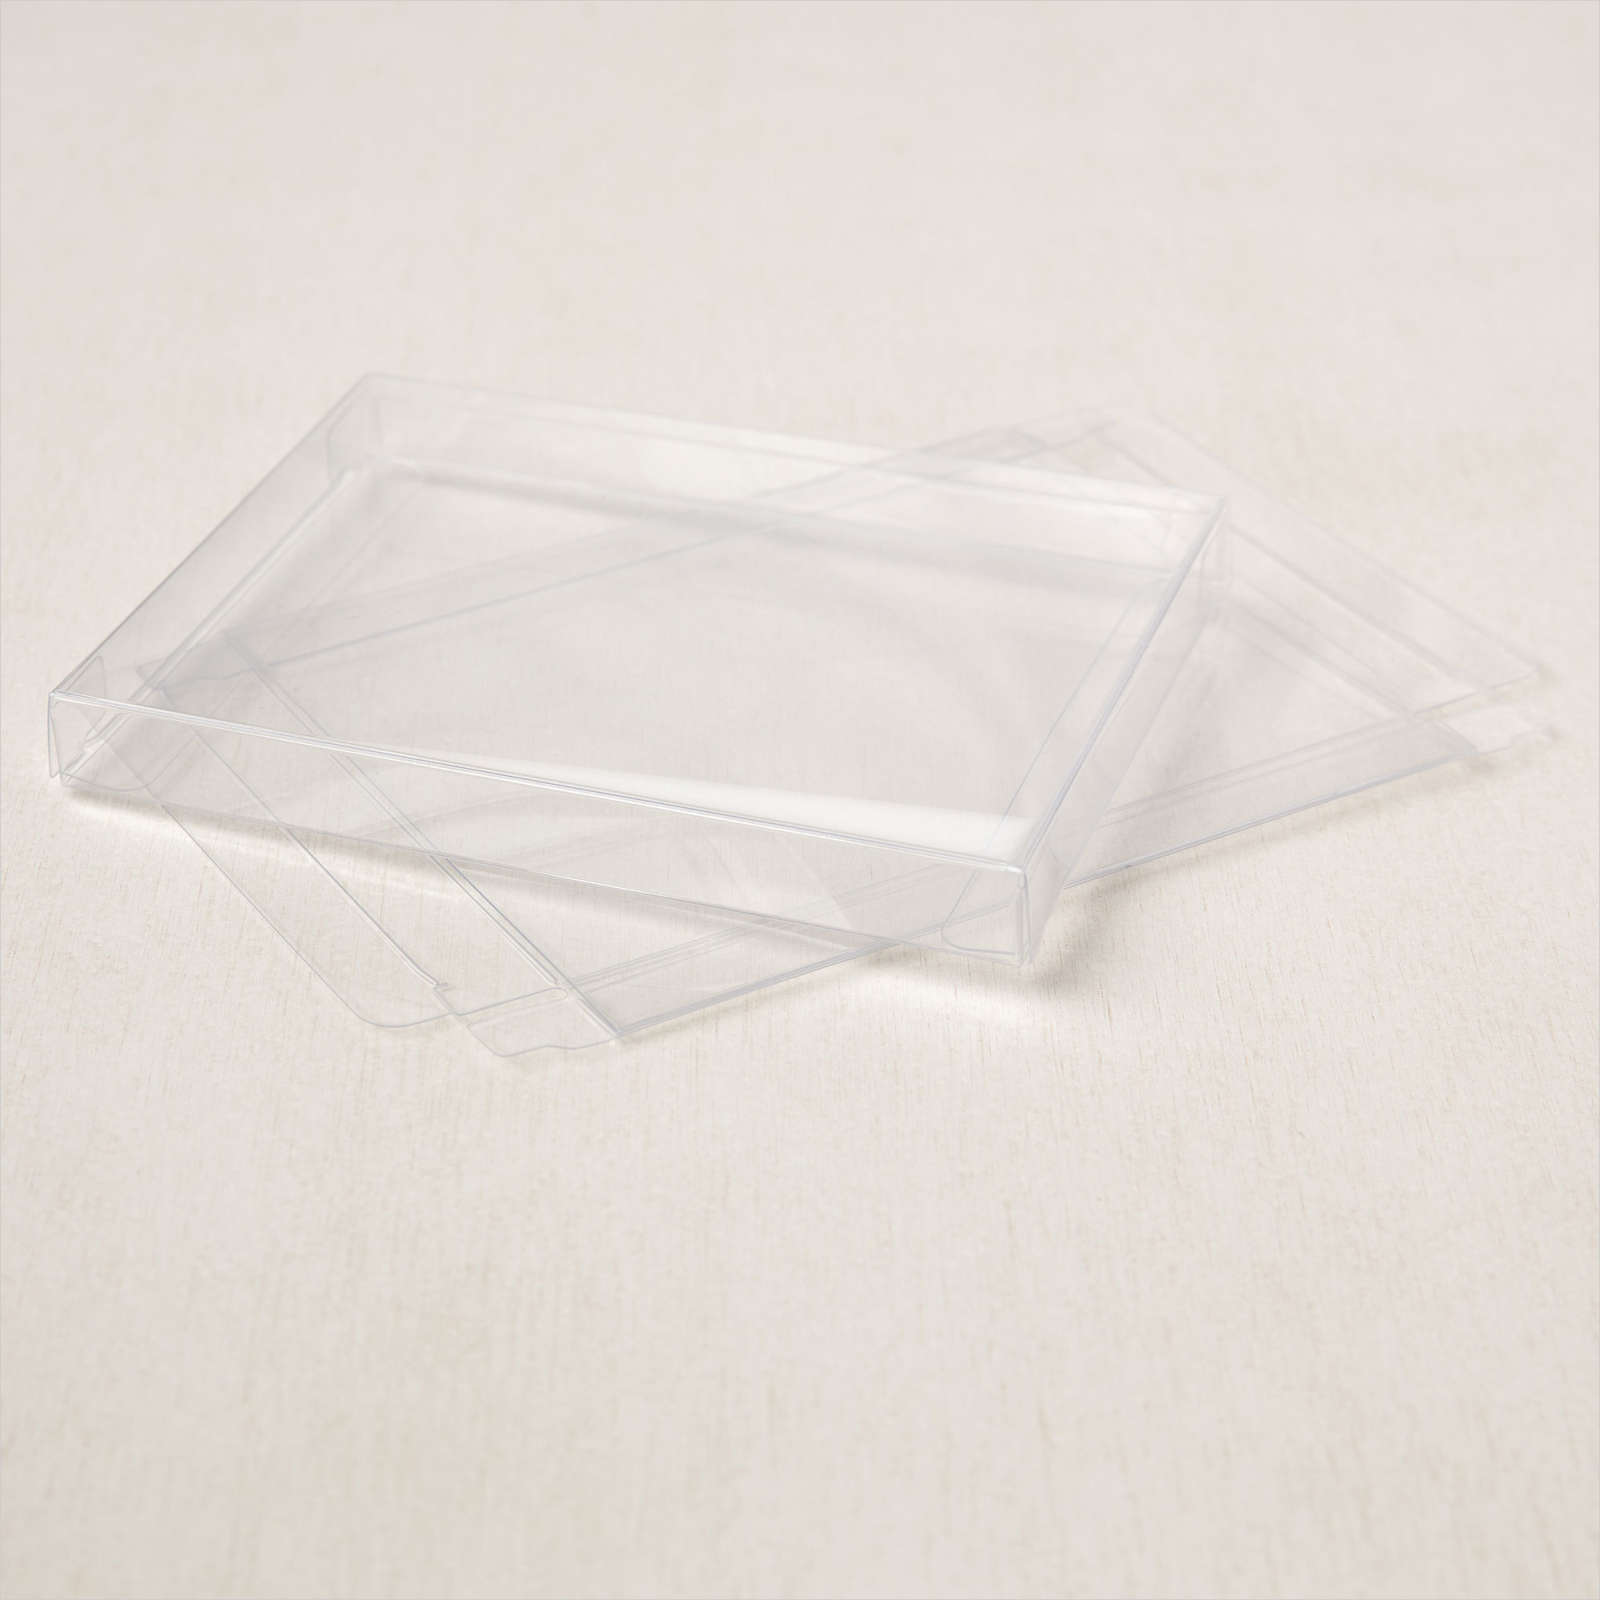
Did you know we carry the perfect size clear box for gifting a set of A2 cards?  You can see them here or on page 137 of the annual catalog. They fit about 4 cards inside depending on how many layers there are. 

Well Marilyn cut one box in half and created this adorable treat box for her Card Club friends!  

It features the Cute Halloween designer paper and Frightfully Cute stamp set. 

There's a template for the card stock below.  She used the Basic Border dies (seen here) to cut the bottom edge but you wouldn't have to.  If you don't use the Basic Borders Dies on the edge, you could cut the 5-1/2" down to 5".

She filled it with lots of treats & embellishments.  It also fits an entire full size Kit Kat bar! 

She uses a mini velcro dot for closure.  The card stock is actually inserted inside the box and mini glue dots are used to keep it in place.  

And here's the template for the card stock insert. 

~~~

September Specials

Host code: WGVUYXTF

*click here to order

Get 10 beautiful hand-made cards from me with a $50 online order

from September 20-30th! 

All online orders will receive a free PDF tutorial filled with projects featuring

the Painted Christmas Suite!

BEST DEAL!

Get a Free Bundle  from the Holiday Catalog when you choose the Starter kit! 

Plus pick out $125 in product of your choice for just $99 and shipping is free! 

You're getting up to $205 in products for just $99!

All Posts

  • Ornate Thanks & Ornate Borders with a clever fun fold idea


    I shared these two pretty cards on my Facebook Live last Tuesday. (Click here to see my page.)  I made another version using the Best Dressed designer paper.  I'll share those tomorrow. 

    They are made from a standard 5 1/2" X 8 1/2" piece of card stock but you add a second score to it.  It's scored on the long side at 1 1/2" and 4 1/4".

    The best part of this fun fold card is how it makes the most of your designer paper!  Each card uses one piece measuring 5 1/4" X 6".  Cut it into three pieces; the first (left) piece at 2 3/4" wide X 5 1/4" tall, the middle piece at 1 1/8" wide and the right (inside) piece at 2 1/8" X 5 1/4".

    Those three pieces add up to 6" across!  What a great way to use your designer paper! You can make 4 cards from a 12" sheet! 

    The white layer inside the card (for writing or stamping onto) is 5 1/4" X 1 3/4".  I used the To a Wild Rose stamp set for the greeting. The leaves and greeting die-cut are from the popular Painted Labels dies (now available again!!!) 

    Here's a close up view of the greeting.  It looks like I heat embossed it right?  

    I didn't but it is sparkly!  I used the Wink of Stella pen!  It's fun to trace the stamped greeting; it's large enough that it was easy to do. 

    You can find this pretty Ornate Garden specialty paper and the entire Ornate Garden suite of products here.  

    This card base is Terracotta Tile; one of our 2019-21 In Colors.  I paired it with Mint Macaron card stock.  

    I added an extra Ornate Border trim on the inside of the card too.  You might be able to spot more Wink of Stella on the designer paper and I added it to the die-cuts too.  See that pretty Terracotta Tile ribbon?  It's part of the Ornate Garden ribbon combo pack with Old Olive.  Gorgeous soft 1/4" ribbons! 

    The label and leafy die-cuts here are from the To a Wild Rose bundle seen here. 

    ~~~~

    April ordering specials:

    All online orders in April will receive my tutorial of the month; with 16 cards

    featuring the Ornate Garden products seen here.

    **Order either Ornate bundle from me and get a free 3 cards pre-cut kit! Order both and get a 6 cards kit with pdf tutorial! 

    Orders between $55 and $99 will receive a free Simple Shammy! If your order is over $150 please don't use the host code; you'll earn your own host benefits but still get a free Shammy. 

    Use this host code for April: MMM4SXSB  

    Leave a Reply

    Your email address will not be published. Required fields are marked *

  • Two days left and they’ll be gone!


    The retiring list is coming out this week Wednesday and these bright and vibrant In Colors will be gone within hours!  They're the 2018-20 In Colors seen on page 164 of the Annual Catalog. Click here to see everything available in these colors; there's a lot! 

    Be sure to order by Wednesday before they're gone!  

    I created 5 cute cards; one in each color using the Daisy Lane & Sweetly Swirled stamp sets.  These cards are going out to my family this week.  

    I used Black ink for the greetings and swirls and the In Color inks for the daisy. The Medium Daisy punch is part of a bundle with the Daisy Lane stamp set seen here. Remember that it will not be available as a bundle after May, 2020. Even if both items return in the next catalog, bundles always retire from one catalog to the next. 

    Here's the Lovely Lipstick version: 

    Details:
    Main cards 5 1/2" X 8 1/2"
    Black 3 1/2" X 4 1/2"
    White 3 1/4" square plus 3/4" strips for greetings
    In Color DSP 1" X 3 1/4"


    Products used:

    Sweetly Swirled & Daisy Lane stamp sets, Retiring 2018-20 In colors plus Black ink, Daisy punch, Faceted gems, In Color ribbons & In Color enamel dots

    See the Retiring In Color items here while supplies last! 

    ~~~~

    April ordering specials:

    All online orders in April will receive my tutorial of the month; with 16 cards

    featuring the Ornate Garden products seen here.

    **Order either Ornate bundle from me and get a free 3 cards pre-cut kit! Order both and get a 6 cards kit with pdf tutorial! 

    Orders over $55 will receive a free Simple Shammy!

    Use this host code for April if your order is under $150.  If it's over you'll get host benefits!

     MMM4SXSB  

    Leave a Reply

    Your email address will not be published. Required fields are marked *

  • Best Dressed FB Live cards


    I made these 3 pretty cards during my weekly 'Stamp with Me' Facebook Live last night.  

    Each Thursday at 8 pm CT we'll finish 3 cards together in about 30 minutes.   Prep your pieces ahead of time using the measurements I provide and you'll be surprised how quickly you can make your cards!  Join me here: 

    I used the Best Dressed Designer paper seen here but you can substitute other paper, colors, stamps and punches. The stamped greetings are from the Peaceful Moments set here. I use this stamp set so much; the sentiments are wonderful.

    After the video many people share their finished cards. It's so fun to see what products everyone uses and how similar (or not) they are to mine. 

    Here are the details and close up views of these three cards: 

    Old Olive 5 1/2" X 8 1/2", Best Dressed DSP is 4" X 3", Lovely Lipstick is 4 1/4" X 3 1/4", White strip is 3/4" X 4 1/4".  A fast, easy card. 

    Purple Posy 4 1/4" X 8 1/2" scored at 5 1/2", Mint Macaron 3 1/4" X 8 1/2" scored at 4 1/4", yellow DSP is 4" X 2 3/4", floral DSP is 3" X 4", Stitched So Sweetly die-cut in White, 2 1/4" Mint circle, punched butterflies , Mint 1/8" ribbon

    • Purple Posy 4 1/4" X 9 3/4" scored at 5 1/2", DSP is 4" square, Detailed Band die-cut (see it here) in Purple Posy (Or use a border and any punch or die-cut)

    ~~~~

    April ordering specials:

    ~~~

    All online orders in April will receive my tutorial of the month; with 16 cards

    featuring the Ornate Garden products seen here.

    **Order either Ornate bundle from me and get a free 3 cards pre-cut kit! Order both and get a 6 cards kit with pdf tutorial! 


    Leave a Reply

    Your email address will not be published. Required fields are marked *


Notice: LeeAnn Greff, Independent Stampin’ Up! Demonstrator, Manager. The content of this website is my sole responsibility as an independent Stampin’ Up! demonstrator and the use of, and content of, the classes, services, or products offered on this website is not endorsed by Stampin’ Up! Copyright 2025