/


Latest Post

Fruit Salad fun fold card with free project sheet & video tutorial


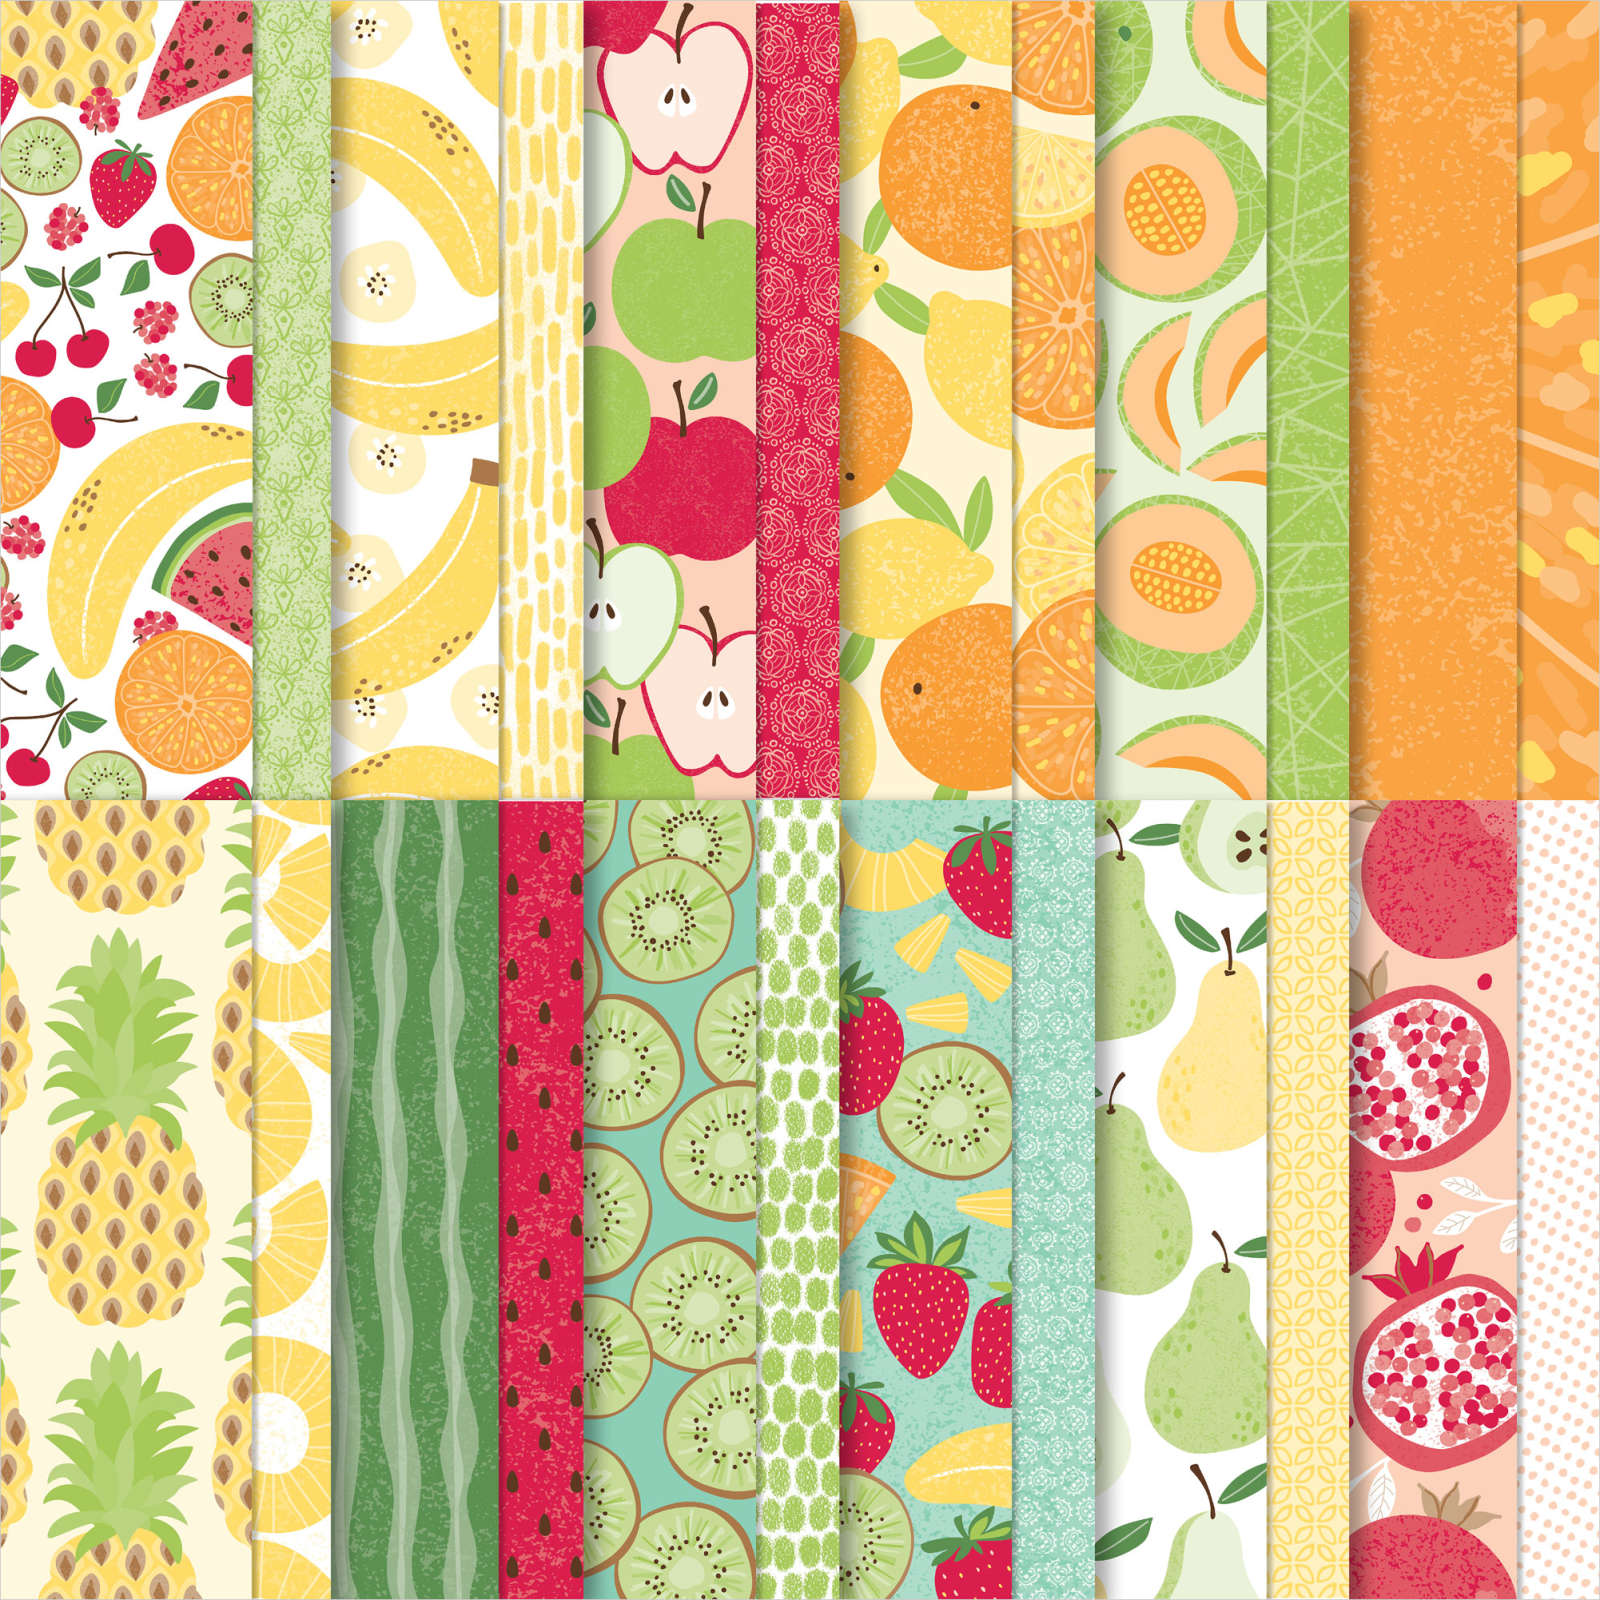
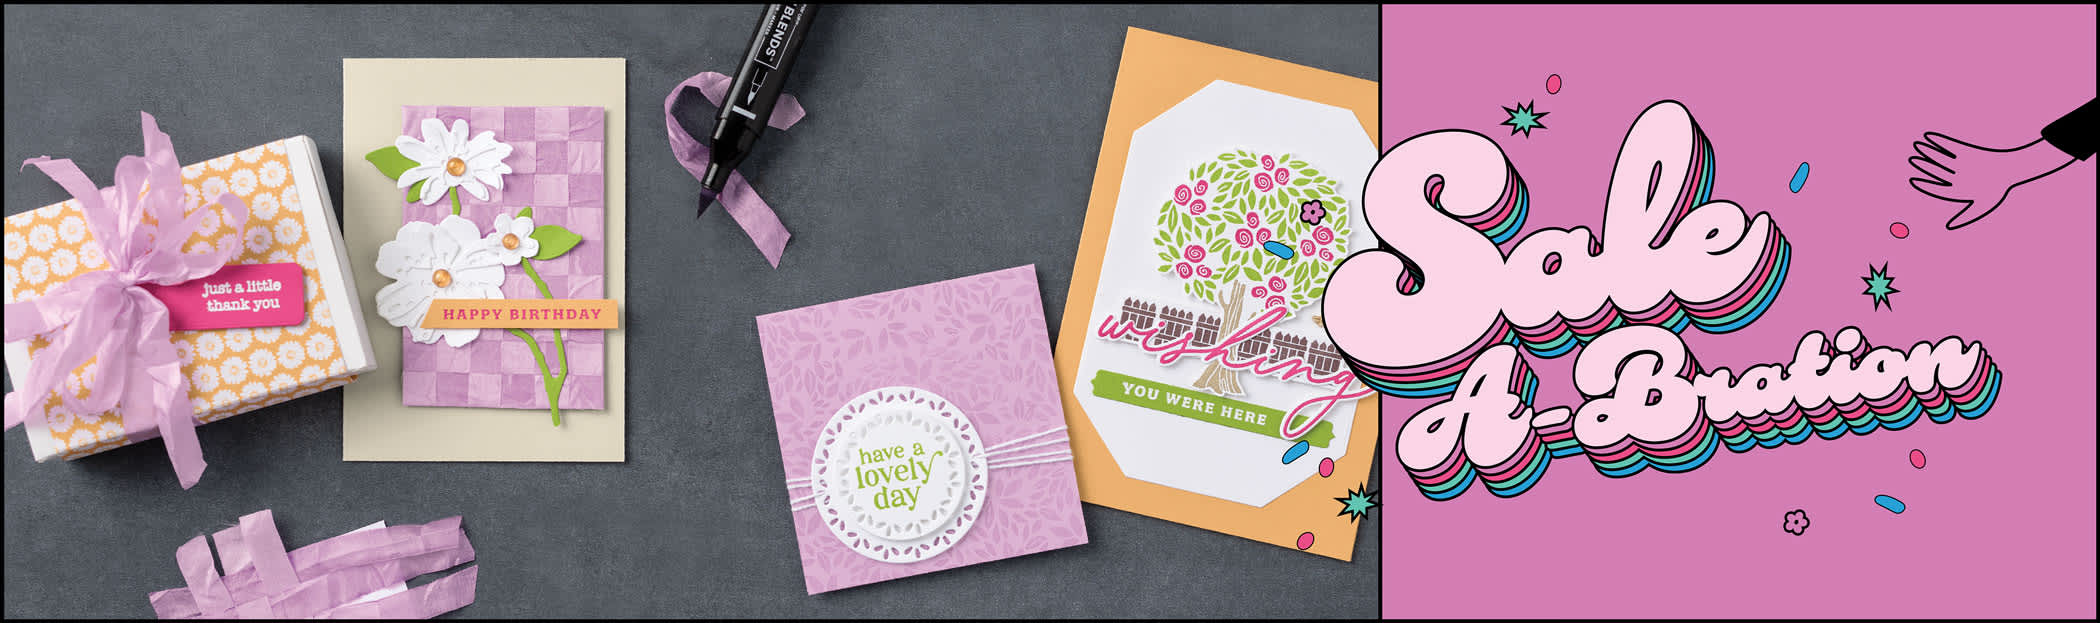
I shared this cute card on last week's Live video.  It features the colorful Fruit Salad 6 X 6" DSP from our Sale-a-Bration catalog.  It's free with any $60 purchase. 

I chose to highlight the red fruits in the Fruit Salad DSP along with a bit of Daffodil Delight or Granny Apple Green.  I absolutely love how our projects coordinate so perfectly!  This paper is free during Sale-a-Bration. 

The greeting is from the Mixed Labels Online Exclusive stamp set. I love the sentiments and have used them a lot. And the coordinating dies are awesome!

It's an easy fun fold card that has an extra fold on the right. Fold it back towards the center and add a coordinating strip of DSP to show off our double-sided papers!  I love this quick & easy fun fold and how well it makes good use of your designer paper.  I hope you save it and give it a try.  

I created a free project sheet with photos & measurements for this card.  Click on the following link to access it. Download or print it.  Download Fruit Salad fun fold card


Click here or below to watch the video for this card and two more!

~~~

January Specials:

*current host code link:  

P243X6VH or 6ZYNKJ6E

Get this free tutorial with any online order in January!

 Sale-a-Bration is Live! For every $60 (or $120) you spend you can choose a free item from the SAB catalog!  

Get a free card kit with any online order over $55 in January!


Opt in for my Spring catalog Designer Paper share and/or the Spring catalog embellishment share seen below. 

See the details here. 

Contact me here

All Posts

  • Curvy Christmas & the Postage Punch


    Check out this easy card using the new Curvy Christmas stamp set and the Postage Punch!  

    It's super simple! Here's how I made it:

    1. Stamp the curvy trees image on the White CS using Shaded Spruce ink.  Color the trees with a Light Shaded Spruce Blends marker.  Add a tiny star using Cherry Cobbler ink on one tree. Adhere it to the Cherry Cobbler layer and to the main card.
    2. Punch out three pieces of Classic Christmas designer paper with the Postage Punch seen here.  Adhere to the White CS. 
    3. Stamp the greeting in Cherry Cobbler ink on a 1/2" strip of White CS.  Punch the ends with the Banners Pick a Punch. Add it to the card with mini dimensionals. 
    4. Finish with a few Holiday rhinestones. 

    You can see this stamp set here; it's only available through January 4th.  And the Classic Christmas Designer Paper is here while supplies last. 

    Remember that everyone who orders any of these products or places an online order with me in November will receive a free 22 project PDF tutorial featuring the Curvy Celebration products! 


    ~~~

    November Specials!

    Current Host code is GRC9VVUU


    All online orders receive my FREE Curvy Celebrations 22 project PDF Tutorial! 

    Leave a Reply

    Your email address will not be published. Required fields are marked *

  • Gift Wrapped Box Fold Card with video


    Check out this cute Christmas card we made at my October Card Clubs!  It's a box fold card; a super cute but easy fun fold. 

    The colors are Real Red with Granny Apple Green & White. The dies on the front are the Stitched Shapes and Hippos & Friends.

    It even folds flat for mailing!  As you can see the back is similar to the front; leaving some space to write or sign the card.  

    I used the Gift Wrapped punch bundle from the Holiday catalog.  You can see it here. 

    Check out the video and measurements below. 

    Here's the video: 


    Measurements:

    Real Red 4 1/4" X 11" scored at 5 1/2", 7", 9" and 10 1/2"
    Granny Apple Green 3 5/8" X 4 7/8" (2 pieces) plus scrap for die-cut
    Whisper White 3 1/2" X 4 3/4" (2 pieces) plus scrap for circle die-cut and bow

    ~~~

    November Specials!

    Current Host code is GRC9VVUU


    All online orders receive my FREE Curvy Celebrations 22 project PDF Tutorial! 

    Leave a Reply

    Your email address will not be published. Required fields are marked *

  • Peaceful Nativity WOW card


    Look what happens when you combine a beautiful background with the Nativity Dies?!  

    Candace created this gorgeous card for our October Christmas cards swap with my Flowerbug's Team.  She is a master at sponging backgrounds.  I believe she used Pacific Point here.  She simply added a greeting (from For Unto Us set) embossed in Silver and the pretty scenic die-cuts in Black.  

    Click here to see the For Unto Us stamp set and here for the Peaceful Nativity bundle. 

    More Team swaps tomorrow! 

    ~~~

    November Specials!

    Current Host code is GRC9VVUU


    All online orders receive my FREE Curvy Celebrations 22 project PDF Tutorial! 


    Leave a Reply

    Your email address will not be published. Required fields are marked *


Notice: LeeAnn Greff, Independent Stampin’ Up! Demonstrator, Manager. The content of this website is my sole responsibility as an independent Stampin’ Up! demonstrator and the use of, and content of, the classes, services, or products offered on this website is not endorsed by Stampin’ Up! Copyright 2025