/


Latest Post

From the North Pole bonus card; so cute! Refills are available!


I had time to play with the latest Paper Pumpkin kit this weekend – From the North Pole.  From the hint they gave us beforehand I knew the tags would be cute! 
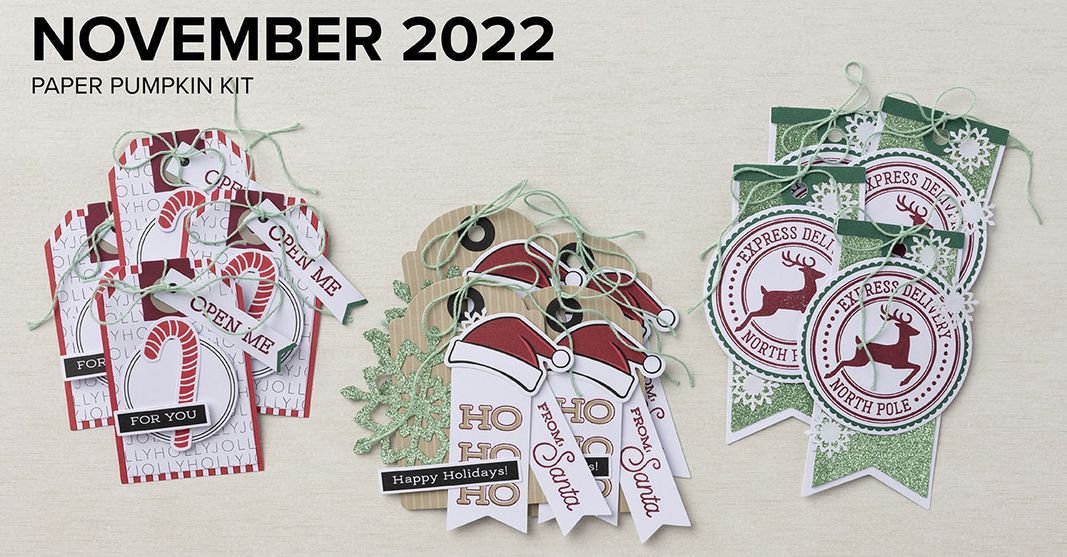
If you don't like or need tags, they can easily be changed into Christmas cards.  This kit is available in a refill for just $11 while supplies last. The refill kit does not include the stamp set or ink spot and is only available to current Paper Pumpkin subscribers.  Here's a link to it.  

Each month I send my subscribers AND my Team alternate projects using elements in the latest Paper Pumpkin kit.  I share lots of ideas for bonus cards or scrapbook ideas.  

Here's one of my projects using the 'From the North Pole' kit:  

I always enjoy stamping my own background; the candy cane & dot are stamps from the kit.  I used Sweet Sorbet and White Craft ink. I added the card base and the two card stock strips – the Mint layer is textured with the Gingham embossing folder.  Everything else is from the kit. 

Another bonus product available to current PP subscribers are these awesome Good Things cards and envelopes seen here:
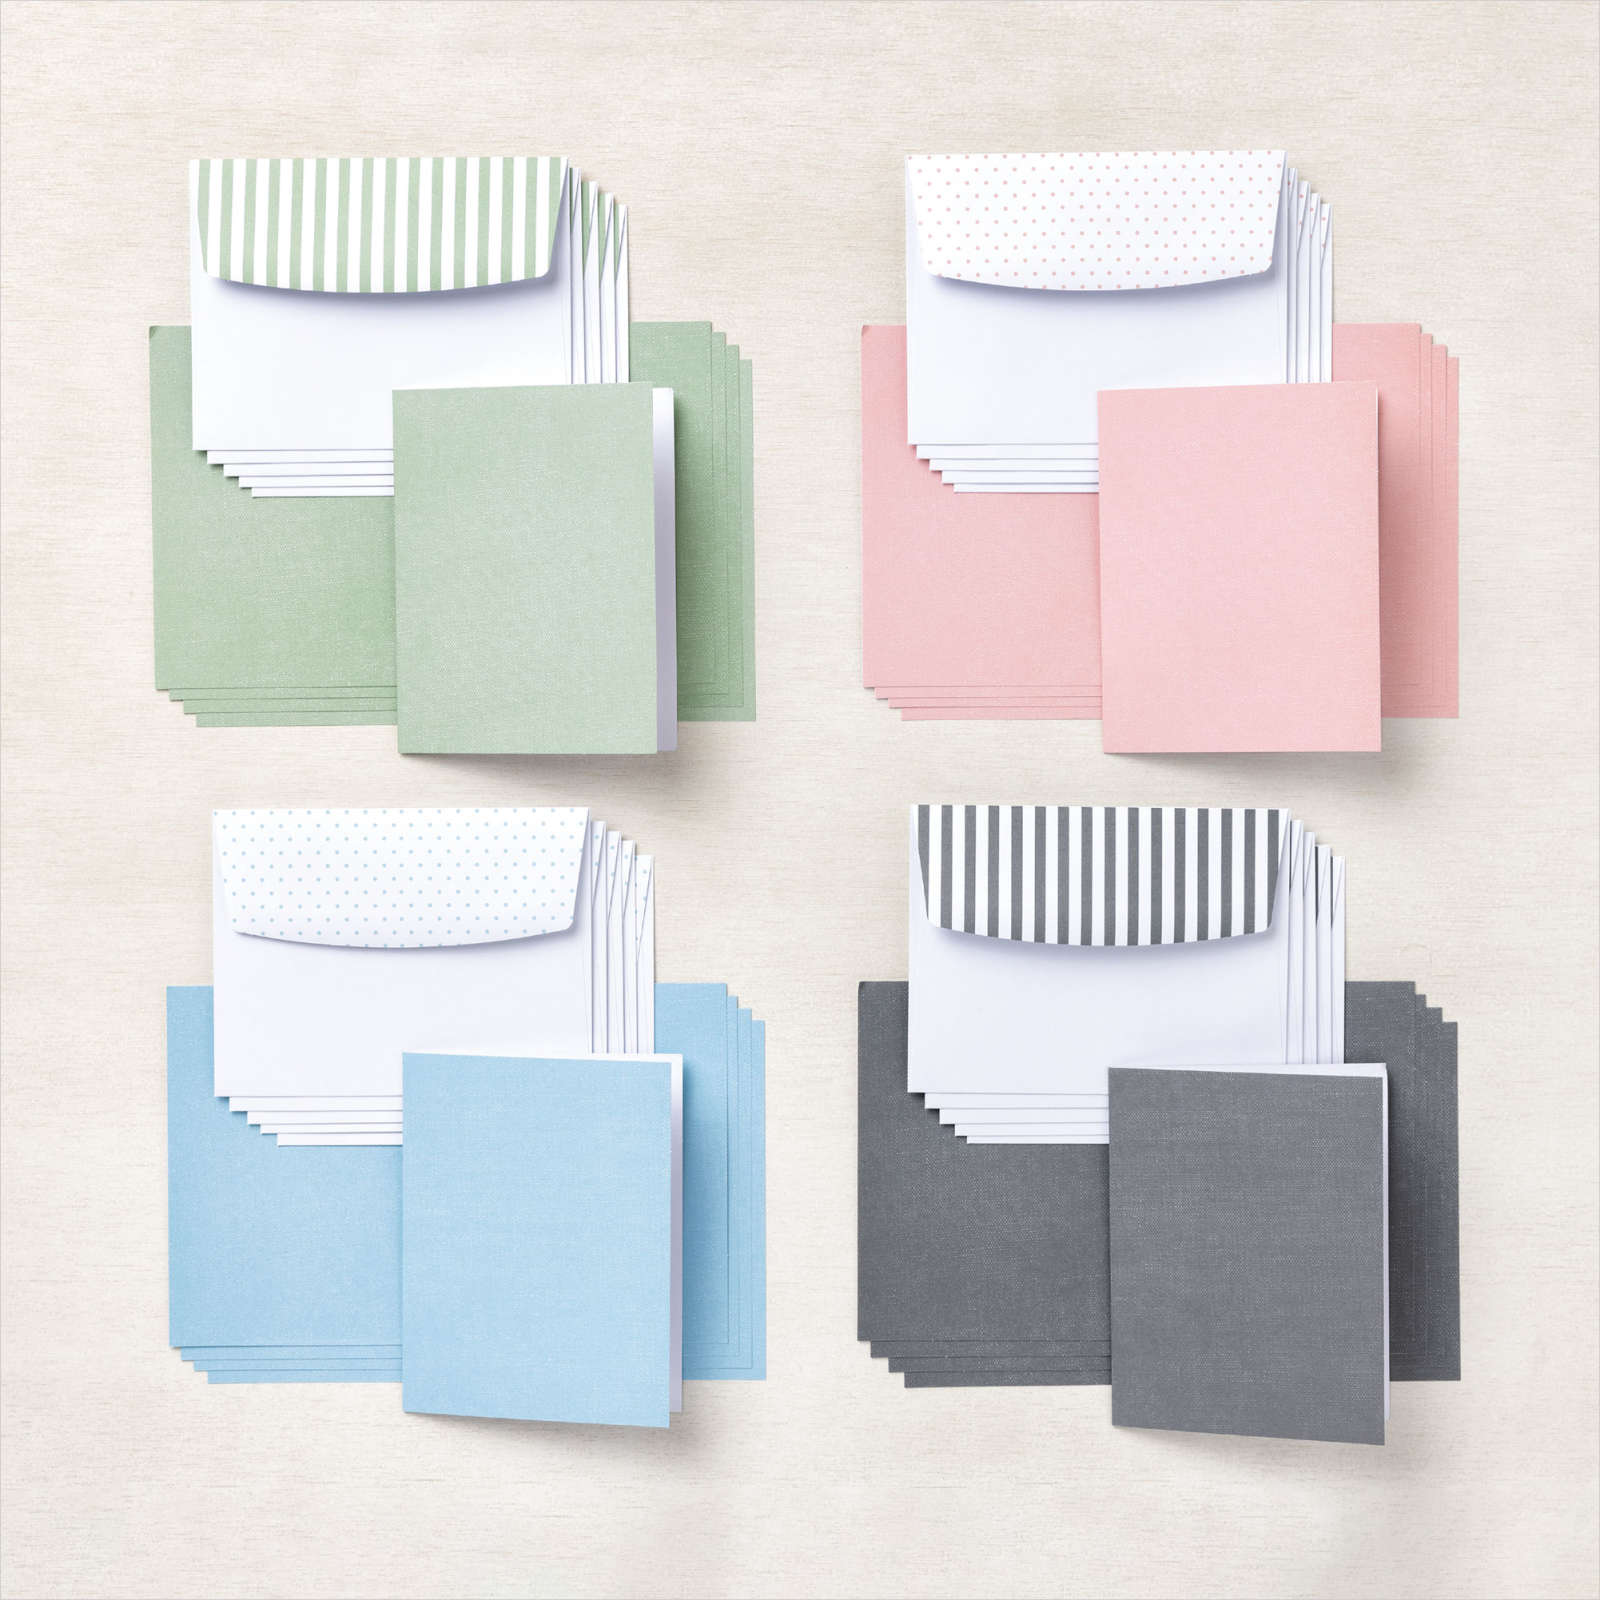
It includes 20 cards, 5 each of 4 designs &20 matching envelopes – all for just $10!  You must be a current subscriber to get these.  There are perks to subscribing!  These coordinate with the upcoming Good Things come in Small Packages kit – it's filled with gift card boxes.  Cut off date to receive this kit is December 10th. 


Click here to get a pre-paid subscription or click here to subscribe and get one monthly. 

Paper Pumpkin facts: did you know? 

  • You are in full control of which kits you receive as a subscriber.  They announce what the upcoming kit consists of – the theme and if it's cards or not.  You can log into your account and skip a month any time before the 10th of the month.  
  • Even with a pre-paid subscription you can skip or pause your kits. 
  • You can give a gift of a subscription too!  What a wonderful Christmas gift for someone crafty.  
  • These kits are all inclusive (except the refills).  They include stamps, ink, adhesives (usually glue dots & dimensionals) and other pre-cut elements. 
  • To activate a pre-paid subscription and begin receiving the monthly kit, the subscription code must first be redeemed at paperpumpkin.com.  You'll receive this in an email after purchase. 
  • Join the Paper Pumpkin Fan Club group for more ideas.  

~~~

Clearance Rack Refresh!
Last Chance list is here!  

Order online using the links below:

Host code link: DXYW7GV3

Free Card Class in December: 

Get a FREE card class from me with online orders over $55 when using either host code above!

 Earn free products with my loyalty rewards! 

Click here to download yours and earn a $50 shopping spree!
All Posts

  • New Nature’s Symphony top fold card with free project sheet & video tutorial


    I hope you had a very Merry Christmas last week. We sure did but we missed our youngest son & his wife. They were hit with the flu the day they were going to drive up here. It wasn’t the same without them! But we still had our Appetizer Showdown competition and played lots of games including our annual Minute to Win It games. Always lots of laughs! I highly recommend doing these with family or friends. It’s one of our highlights of the time we spend together.

    I shared this easy fun fold card on last week’s Live video. It features new product from the upcoming 2026 Spring catalog.

    I featured the Nature’s Symphony bundle and the new Nature’s Walk DSP. I cannot share links to these products because they’re not available for customers quite yet. Tomorrow on my week’s Live video I’ll share all of my new products from both the Spring catalog and the newest Online products – both coming out in early January. Join me here.

    My colors include Pretty Peacock, Lost Lagoon and Old Olive with White. Besides the Nature’s Symphony bundle I added a die-cut for the greeting from the Textured Notes dies seen here.

    This card is an easy fun fold layout. The back is simply 4 1/4″ X 5 1/2″ and the center is a full 3 1/4″ X 11″ scored at 5 1/2″. It gives you a large area to add your patterned paper on the front. I made many of these cards for a long distance swap I joined in.

    I created a free project sheet for this card Click here to download or print it. There’s also a video tutorial below as well.

    The Nature’s Walk designer paper is filled with textured patterns. I love the colors in it; the blues & greens are just my style.

    Here’s the video tutorial for you. I also share another pretty card idea featuring this beautiful bundle.

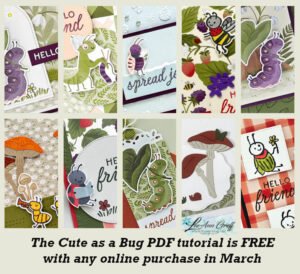
    *You’ll receive a PDF with multiple projects featuring this product
    after the 20th of the month.
    ~~~

    The Last Chance list has been updated!
    Click here to shop.

    Get a free PDF tutorial with any online order from me in December!

    Leave a Reply

    Your email address will not be published. Required fields are marked *

  • Merry Christmas to you!


    Merry Christmas! I hope you are able to spend it with loved ones.

    It’s my favorite time for our family! Our kids are coming as usual and we have a good time playing games, making puzzles, lots of sweet treats and good meals too. We also play Minute to Win It games and have an appetizer showdown too!

    Leave a Reply

    Your email address will not be published. Required fields are marked *

  • Pretty Bridge fold card with Snowflake Kisses with free project sheet & video tutorial


    I shared this pretty card on last week’s Live video. It features the Elegant Pine Snowflake designer paper and the Snowflake Kisses bundle.

    My colors include Pretty Peacock, White & Lost Lagoon above. The Elegant Pine Snowflake designer paper is beautiful and can be seen here.

    I created a second card with Secret Sea as the card base instead of Pretty Peacock. Which do you prefer?

    This card is a bridge fun fold layout. It starts out with a 5 1/2″ X 8 1/2″ card base but requires two extra cuts from the center score line down 1 1/8″ from each edge. It’s easy with our Paper Trimmer. Watch the video below to see how it’s done.

    I created a free project sheet for you with photos and measurements. Click here to print or download it.

    I hope you try one. If you haven’t made one before please watch the video below. They are quite fun to make & open!

    The photo below shows the card closed, the main panel lifted and the inside! Tip: We used a handmade stencil to sponge snowflakes on the inside. *cut snowflakes from a piece of card stock and sponge or blend ink through the windows.

    Below is the video tutorial which includes a second card with this bundle. I hope you watch it! Don’t forget to subscribe to my YouTube channel here.

    *You’ll receive a PDF with multiple projects featuring this product
    after the 20th of the month.
    ~~~

    The Last Chance list has been updated!
    Click here to shop.

    Get a free PDF tutorial with any online order from me in December!

    Leave a Reply

    Your email address will not be published. Required fields are marked *


Notice: LeeAnn Greff, Independent Stampin’ Up! Demonstrator, Manager. The content of this website is my sole responsibility as an independent Stampin’ Up! demonstrator and the use of, and content of, the classes, services, or products offered on this website is not endorsed by Stampin’ Up! Copyright 2025