/


Latest Post

Friends for Life cards; a quick layout you’ll love. Check out the free project sheet & video too


Today I'm sharing an eye-catching card made with the Friends for Life bundle.  I think they're fabulous if I do say so myself!
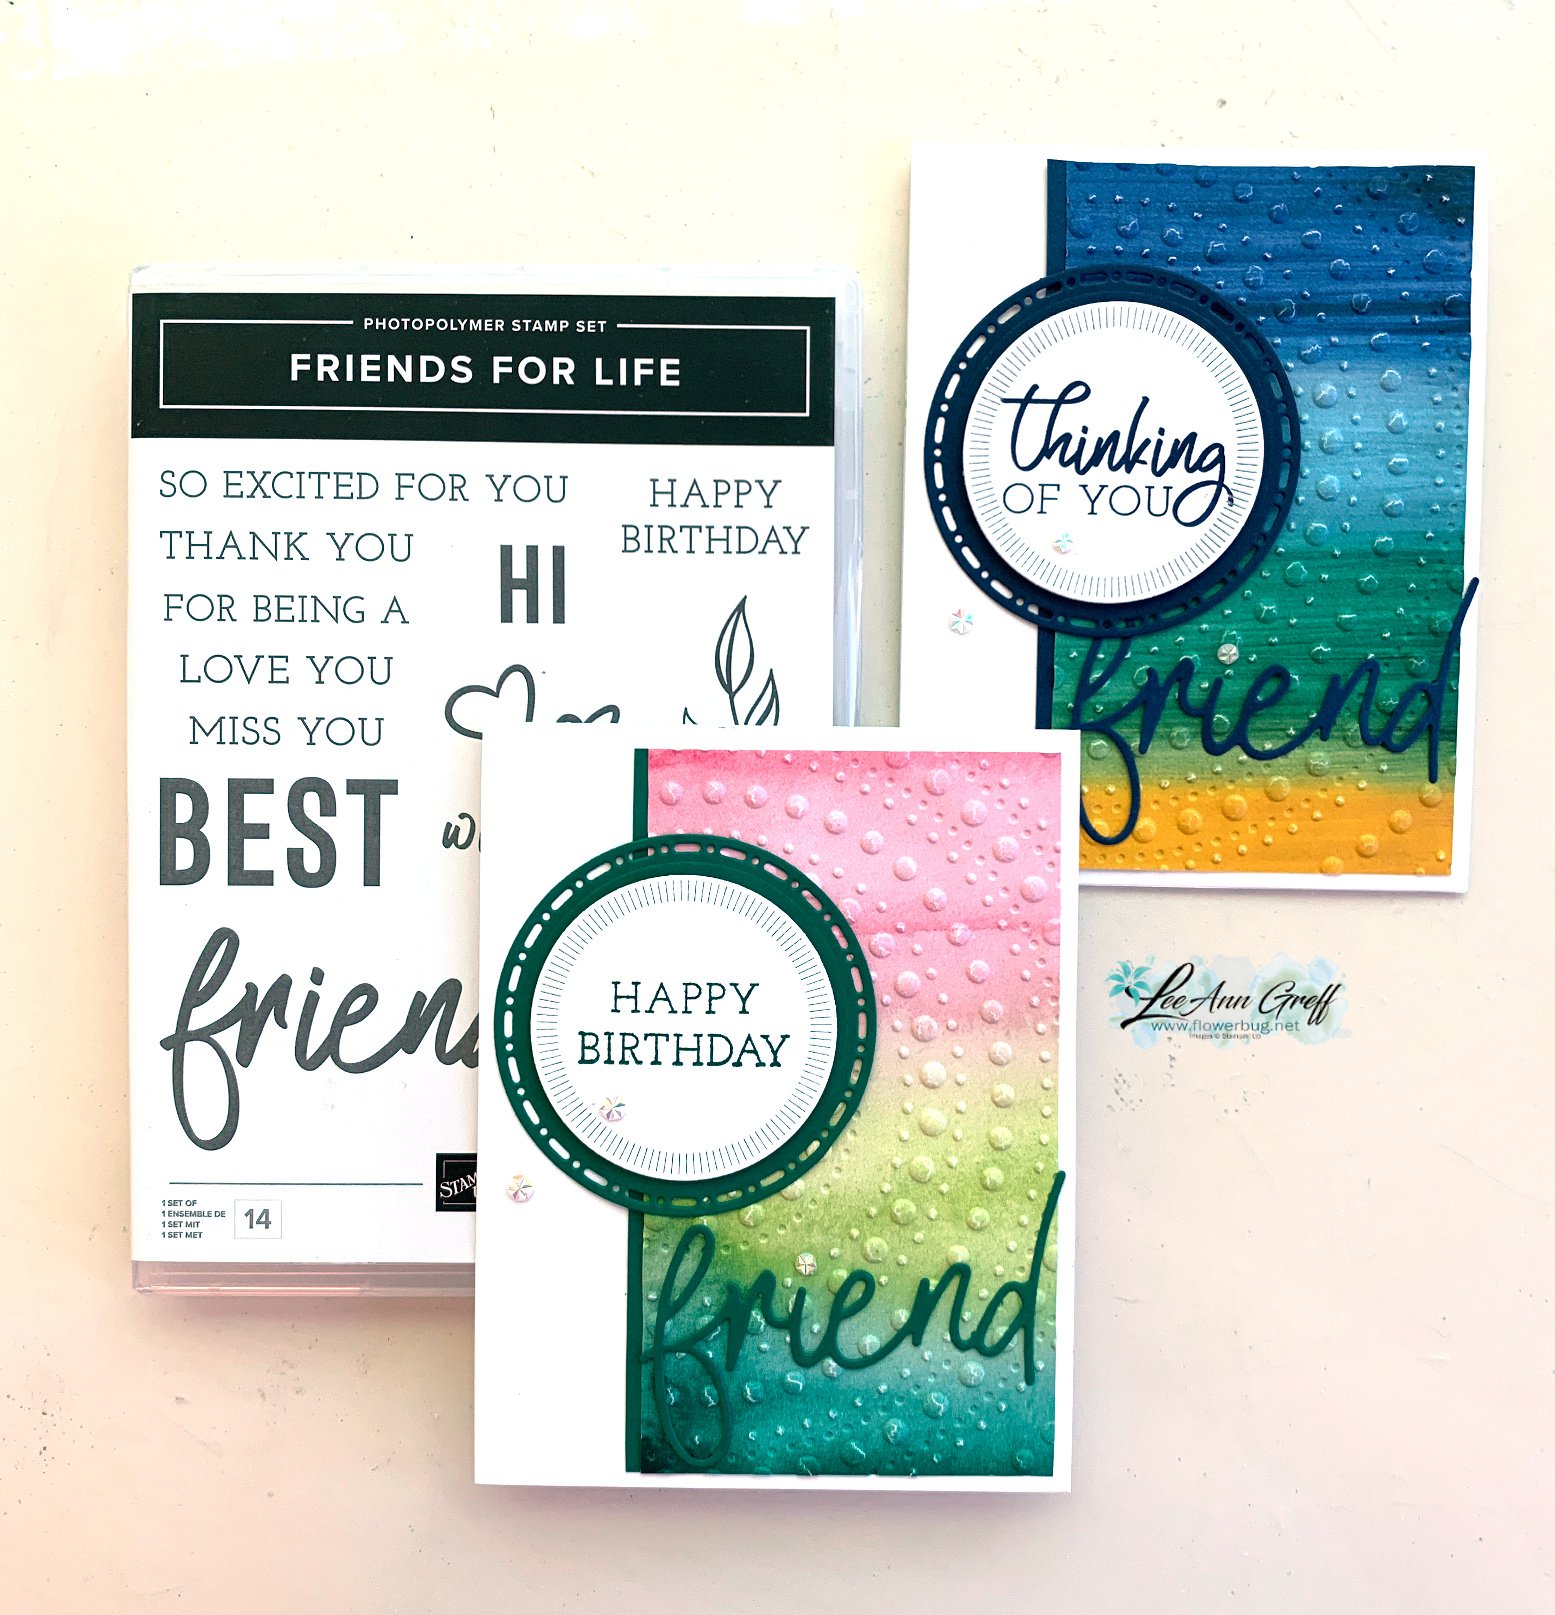
They feature the Friends for Life bundle seen here.  I also used two more favorites – the Spotlight on Nature dies and the Dotted Circles 3D embossing folder.  *Click on each title to see them in my store. 

The unique Designer paper is the Full of Life 6 X 6" paper seen here.  I love it so much; it includes bright bursts of colorful patterns filled with watercolor type prints.  *my free tutorial of the month features this suite!  See below. 
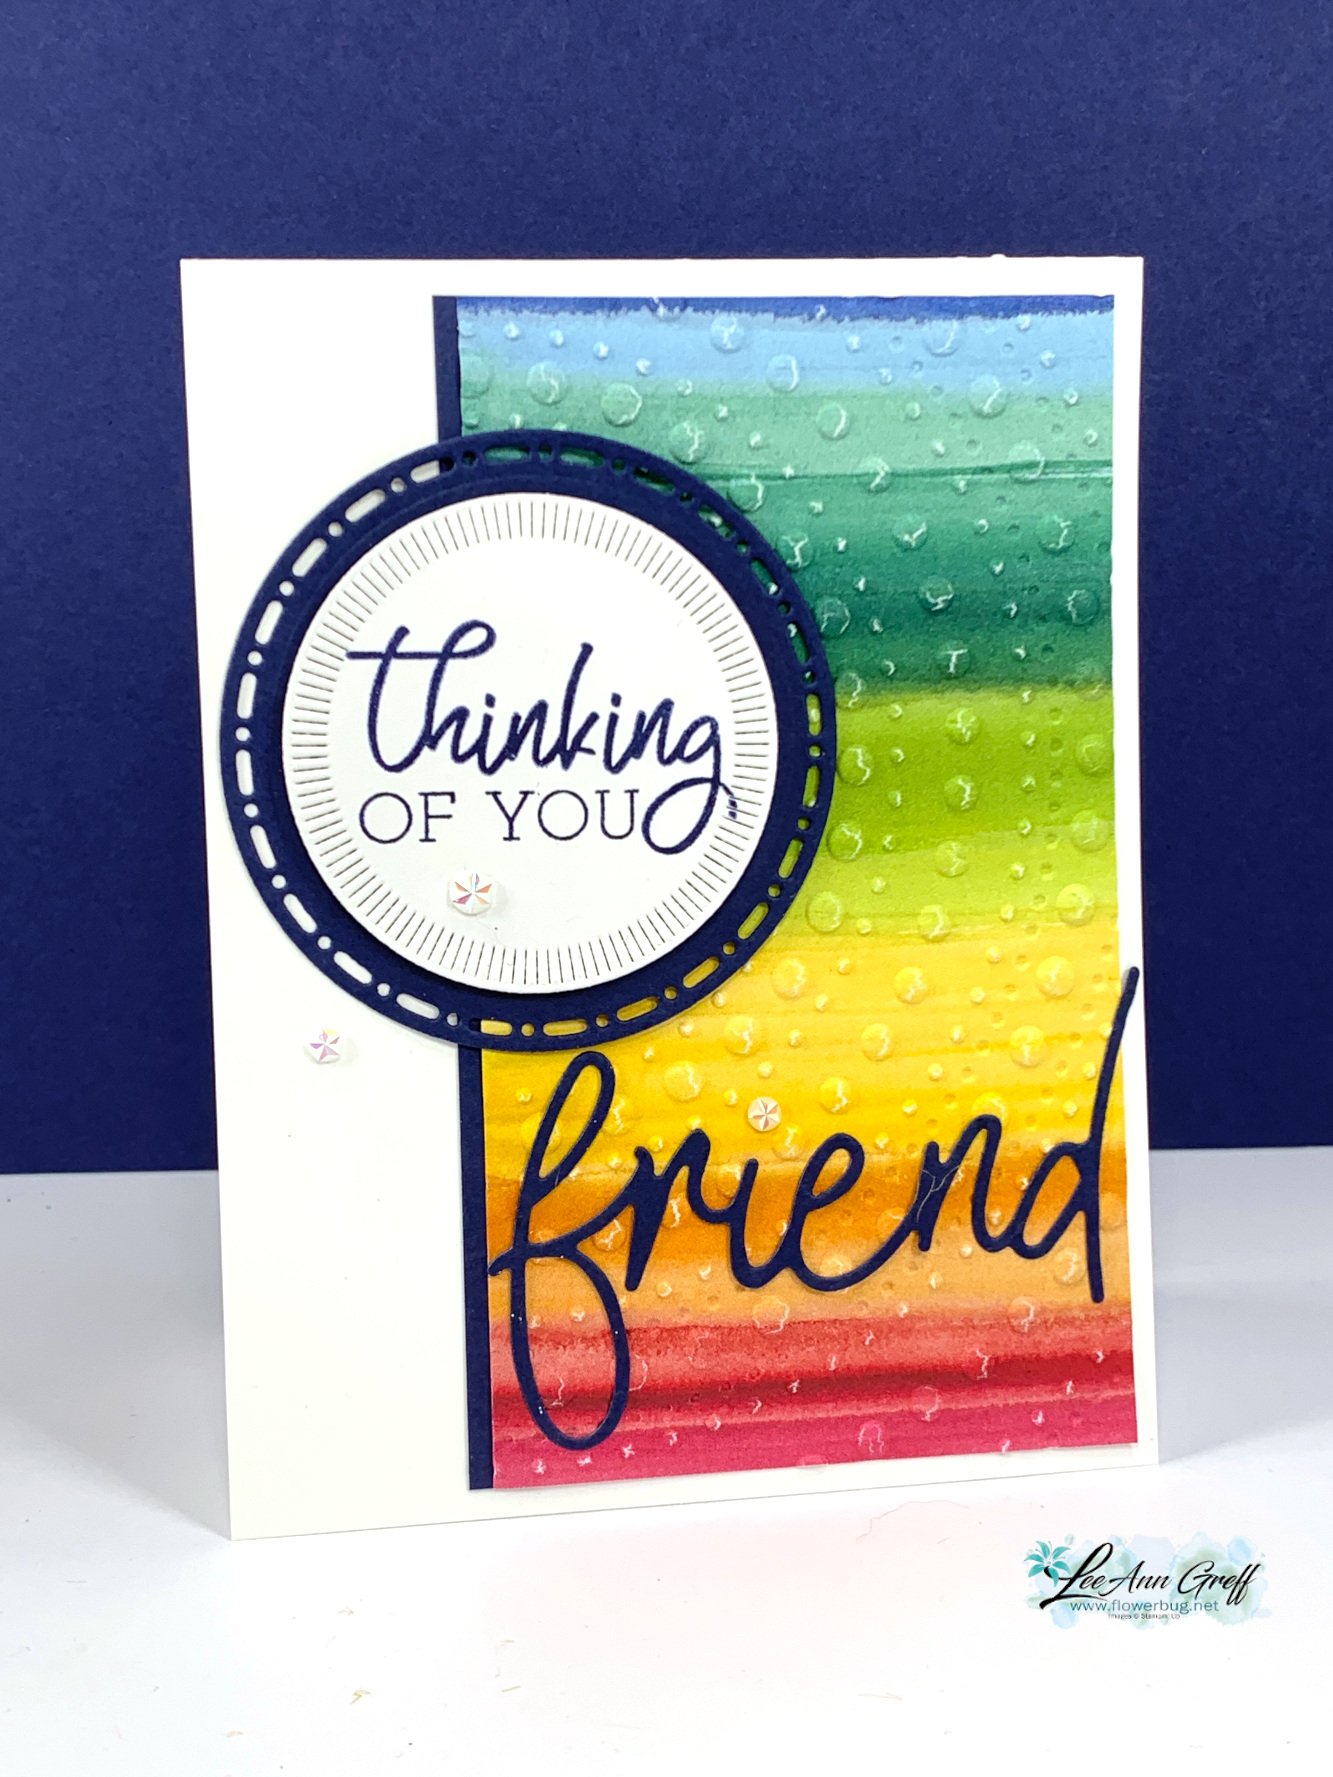
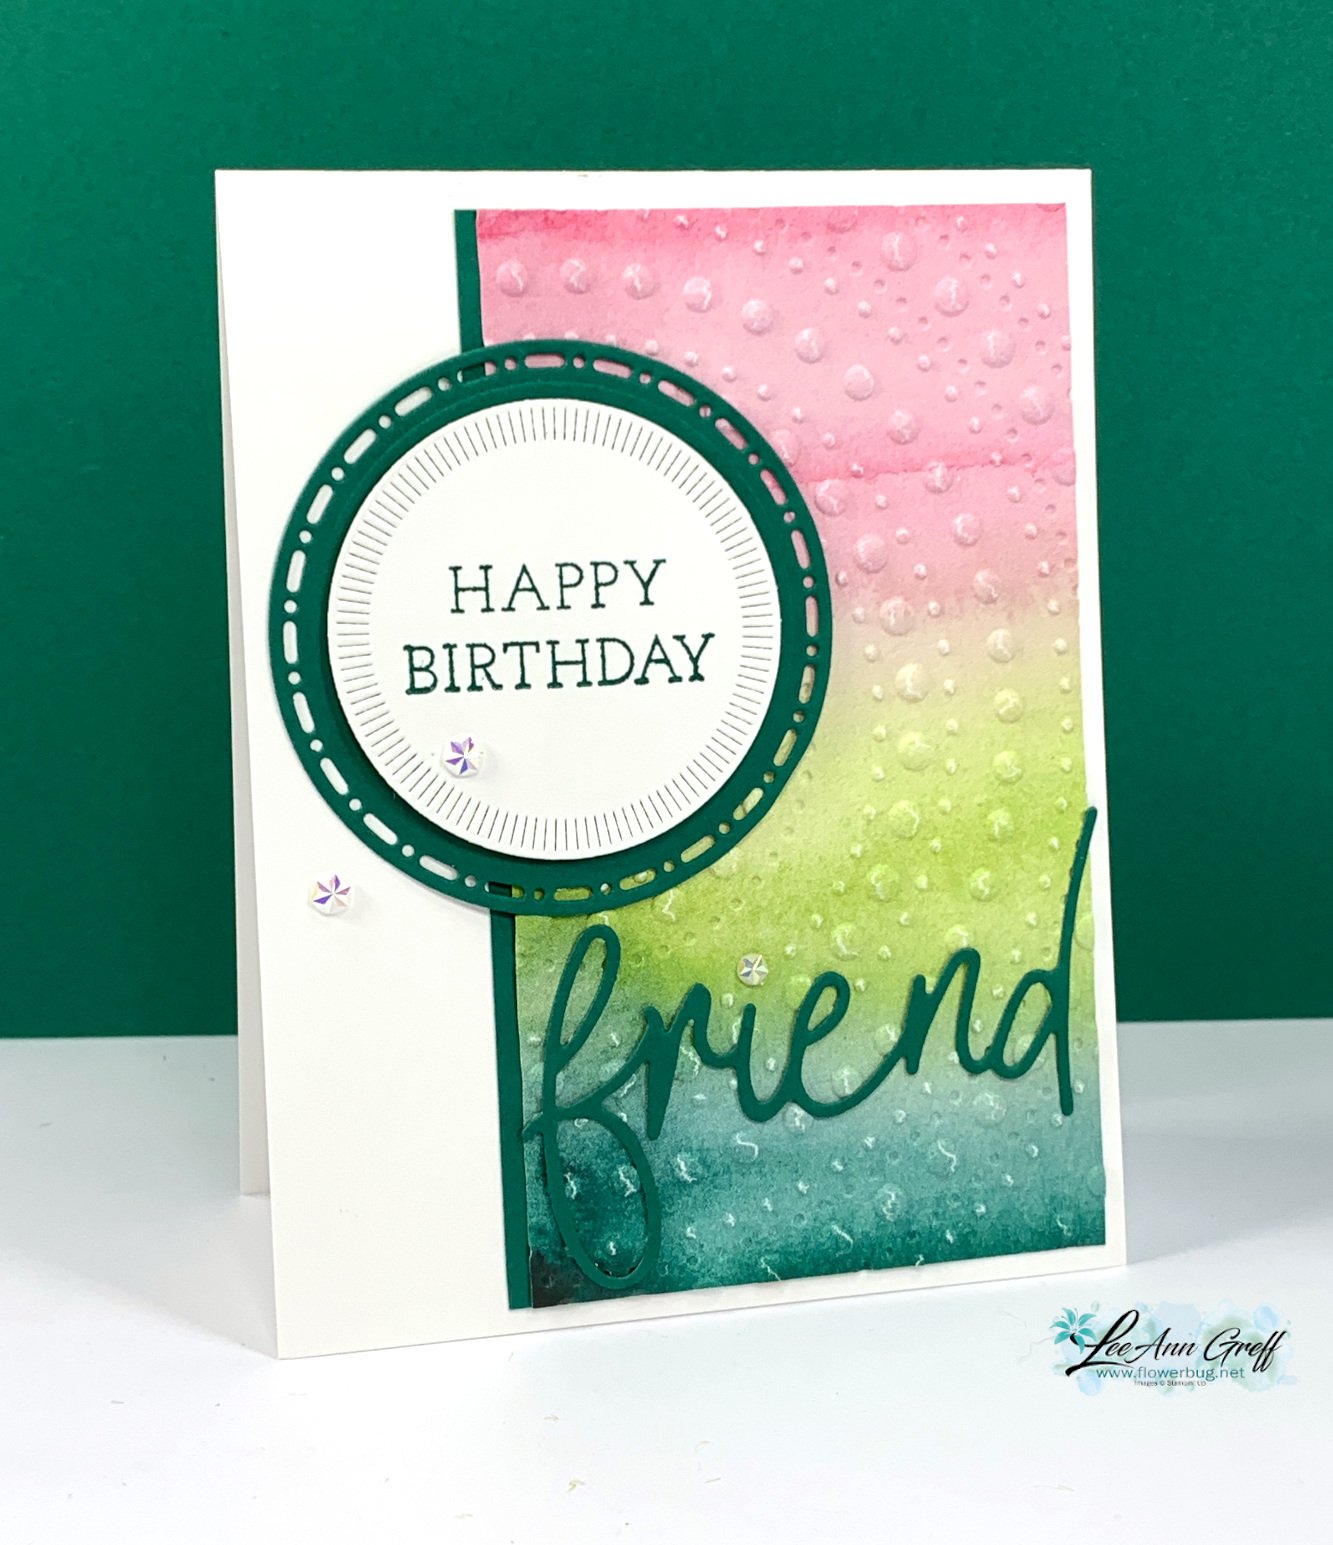
The measurements are so simple. I cut the 6" DSP down to 5 1/4" X 6" and then cut that into two pieces – one for each card. I then textured it with the Dotted 3D embossing folder and added it to a narrow strip of coordinating card stock on the left side. 

All that's left is to add the layered circles and friend die-cut. 

I matched the DSP with coordinating card stock. The card above is Night of Navy and this card below is Shaded Spruce.
Click on the following link to get the free project sheet you can print or download: Download June Friends for Life club

Which do you prefer? 

Below is the video for this project. You'll find quite a few tips as well as a 2nd project too. 

~~~

*current host code links: GF24T6XG or 3A73HXYB


Starting tomorrow (July 3rd), earn $5 coupon for every $50 you spend in July; redeem in August. 

~~~

All online orders will receive my PDF tutorial featuring the Full of Life suite

All Posts

  • Customize your cards with the Playful Alphabet!


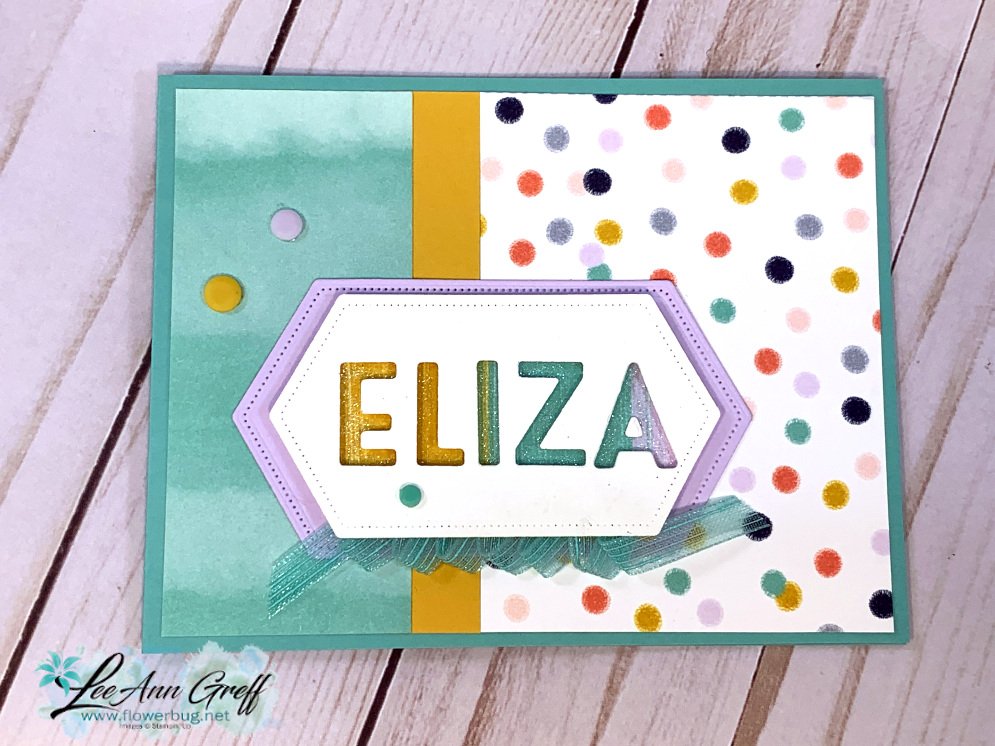
    Who doesn't like a customized card WITH your name on it!  You won't find that at Hallmark!  Use the Playful Alphabet dies to create a one of a kind card. 

    I made this for my granddaughter Eliza. She is almost 7 and loves anything with her name on it. 

    The color palette was chosen by the designer paper Playing with Patterns.  It's full of bright, unique colors and patterns.  In fact, behind her name is a piece of the paper.  The gradation of colors sure fits the card well doesn't it?  

    I used the Stitched Nested Label dies.  I cut out the letters from the White die-cut and popped that up over a strip of the DSP.  I added some Seal Plus to the bottom edge and pressed my ribbon onto that in small loops.

    Her favorite color is turquoise; just like mine!  I chose two pieces of Designer paper for the card front and separated them with a strip of Crushed Curry.  You can see these products below in my store. 

    ~~~

    Current Host code is HYSHW6QB

    Get a free package of All the Trimming embellishments in September with an

    online order over $55. 

    *Remember that if your order is over $99 you should consider purchasing the Starter kit here.

    And if it's over $150 you should definitely get the Starter kit.  

    Order online here

     Get my Beautiful Autumn pdf tutorial free with any online order in September!


    It includes directions, photos and measurements for 13 cards!


    Leave a Reply

    Your email address will not be published. Required fields are marked *

  • Quarter Diagonal cards; watch on FB Live tonight!


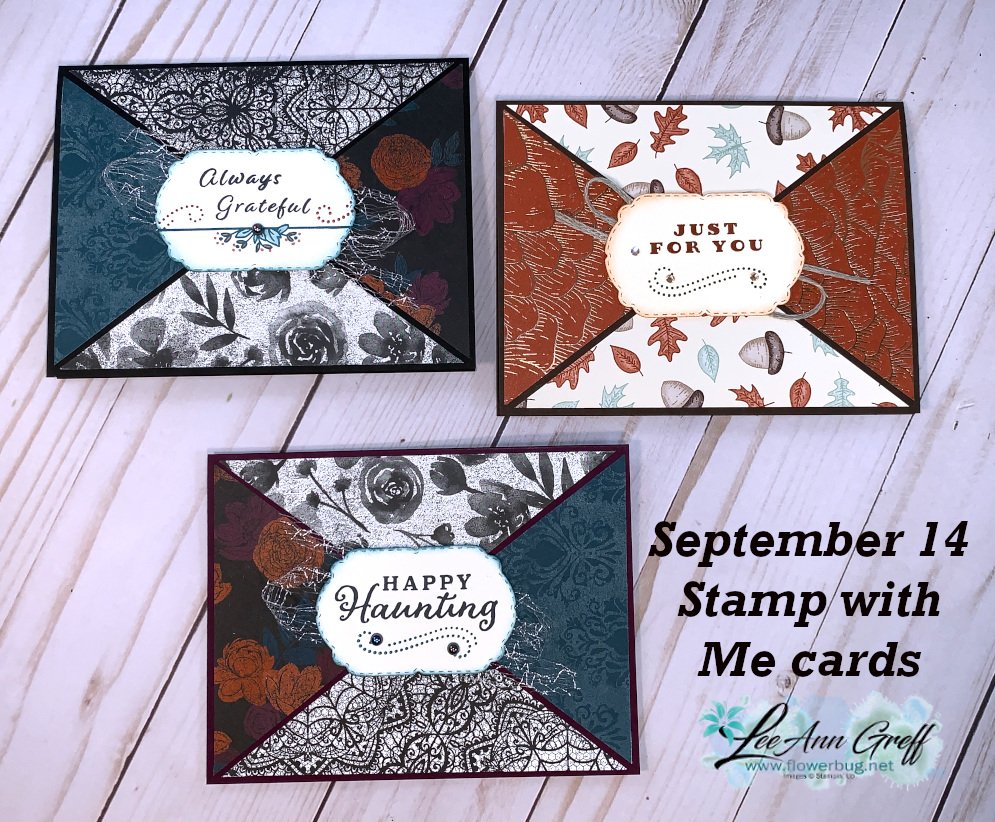
    If you're like most stampers you have a LOT of Designer Paper stocked up.  I've been on a mission to use mine up and help you with ideas to use yours too.  There's always more we want; so here's a way to use some so you don't feel so bad about purchasing more!  Ha! 

    Below are the cards we're making tonight on Facebook Live – Stamp with Me.  It's the 2nd and 4th Monday nights each month at 7:30 pm CT.  Join me here. 

    Be sure to follow my FB page so you get notified when I'm live.  

    I chose to use the Magic in the Night designer paper; seen here in our Halloween DSP in the 2020 Holiday catalog.  I love the colors of Pretty Peacock, Cajun Craze, Black, Blackberry Bliss and White.  And as you can see some of the designs are not all Halloween!  

    The greetings and die-cuts are from the Celebration Tidings Bundle seen here.  I love that it has multiple holidays and these dies are amazing! 

    Here's how you create the diagonal layers; it's so easy! 

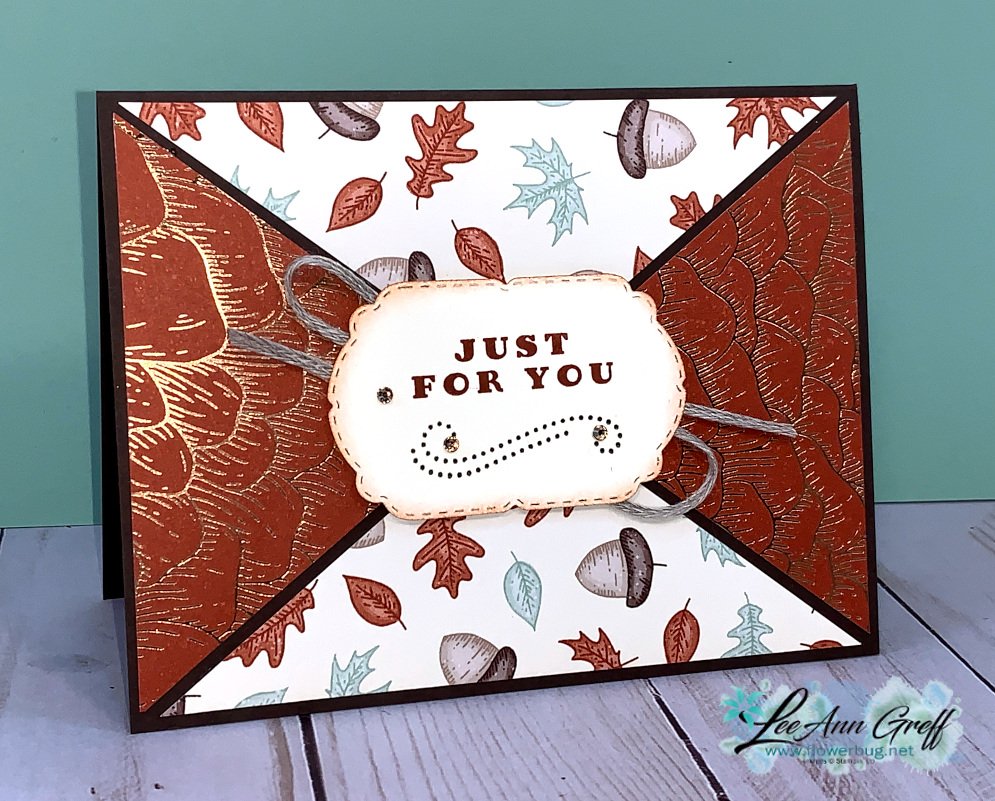
    For 2 cards, cut 2 pieces of Designer paper (or card stock) at 4" X 5 1/4". Then cut each in half on the diagonal. Next put those pieces back together on your paper trimmer to reform the full piece (just placing; not gluing) and cut on the diagonal in the other direction. Now you'll have 4 triangle shaped pieces from one 4" X 5 1/4" piece.
    I chose two coordinating pieces of DSP that would work on all 4 sides and that makes 2 full card fronts.

    For the card below I chose to use the Gilded Autumn specialty DSP.  The colors here are Early Espresso, Cajun Craze and Vanilla. 


    ~~~

    Current Host code is 7VPEDARH

    Get a free package of All the Trimming embellishments in September with an

    online order over $55. 

    *Remember that if your order is over $99 you should consider purchasing the Starter kit here.

    And if it's over $150 you should definitely get the Starter kit.  

    Order online here

     Get my Beautiful Autumn pdf tutorial free with any online order in September!


    It includes directions, photos and measurements for 13 cards!


    Leave a Reply

    Your email address will not be published. Required fields are marked *

  • Lots to Celebrate stamp set & fun card ideas


    I made time to play with the Lots to Celebrate stamp a few weeks ago and featured these cards on Tuesday's FB Live.  Remember that I host a weekly FB Live every Tuesday at 11 am CT here. Follow me so you don't miss any!

    This fun, versatile stamp set is my good friend Susie Wood's Million Dollar Achiever stamp set. She created it to coordinate with the Jar Punch.  Click here to see it online.  We've been stamping buddies for years since we met at my first Founder's Circle event and always hang out together at every SU event we can.  Click here to see her blog.  


    Aren't they fun?  I cased three cards she made and sent me and changed them up a bit; some more than others. 


    The colors above are Pumpkin Pie with Crushed Curry & Early Espresso.  That gorgeous designer paper is from the Plaid Tidings seen here. I used three punches here; the Fancy Tag Topper, the Jar punch and the Autumn Punch Pack. 


    Watch the video below to see her original cards and how I changed them.  Plus I show more of her creative cards too. 

    ~~~

    Current Host code is 7VPEDARH

    Get a free package of All the Trimming embellishments in September with an

    online order over $55. 

    *Remember that if your order is over $99 you should purchase the Starter kit here.

    And if it's over $150 you should definitely get the Starter kit.  Do not use the host code; you'll get your own host benefits! 

    Order online here

     Get my Beautiful Autumn pdf tutorial free with any online order in September!


    It includes directions, photos and measurements for 13 cards!


    Leave a Reply

    Your email address will not be published. Required fields are marked *


Notice: LeeAnn Greff, Independent Stampin’ Up! Demonstrator, Manager. The content of this website is my sole responsibility as an independent Stampin’ Up! demonstrator and the use of, and content of, the classes, services, or products offered on this website is not endorsed by Stampin’ Up! Copyright 2025