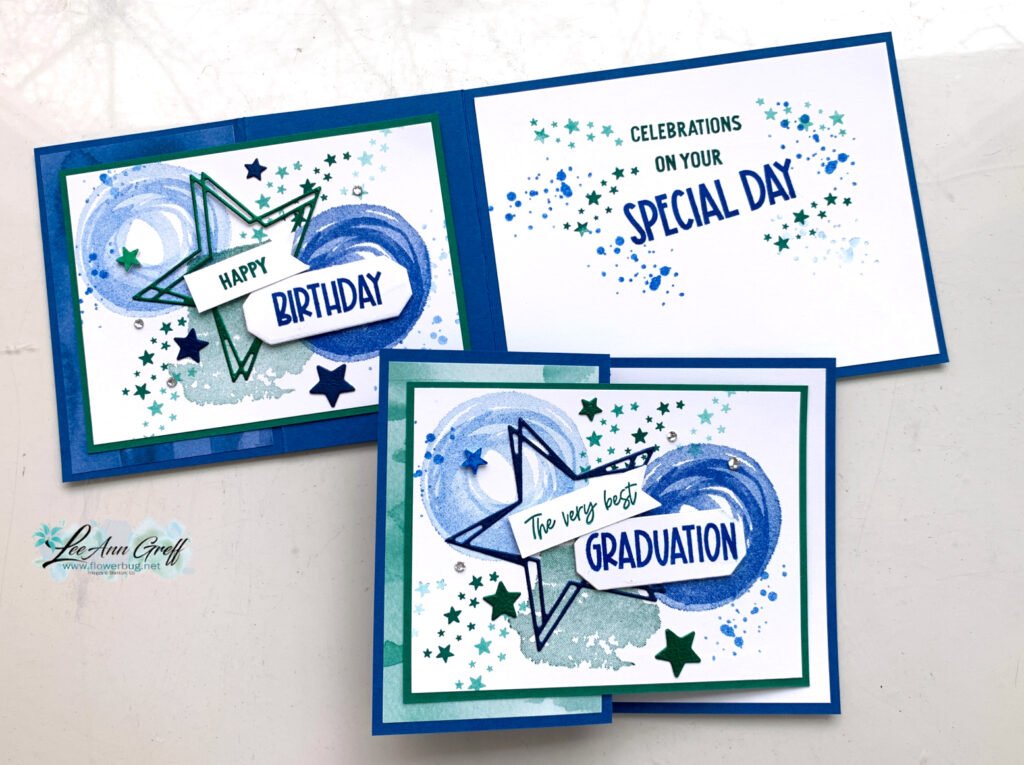
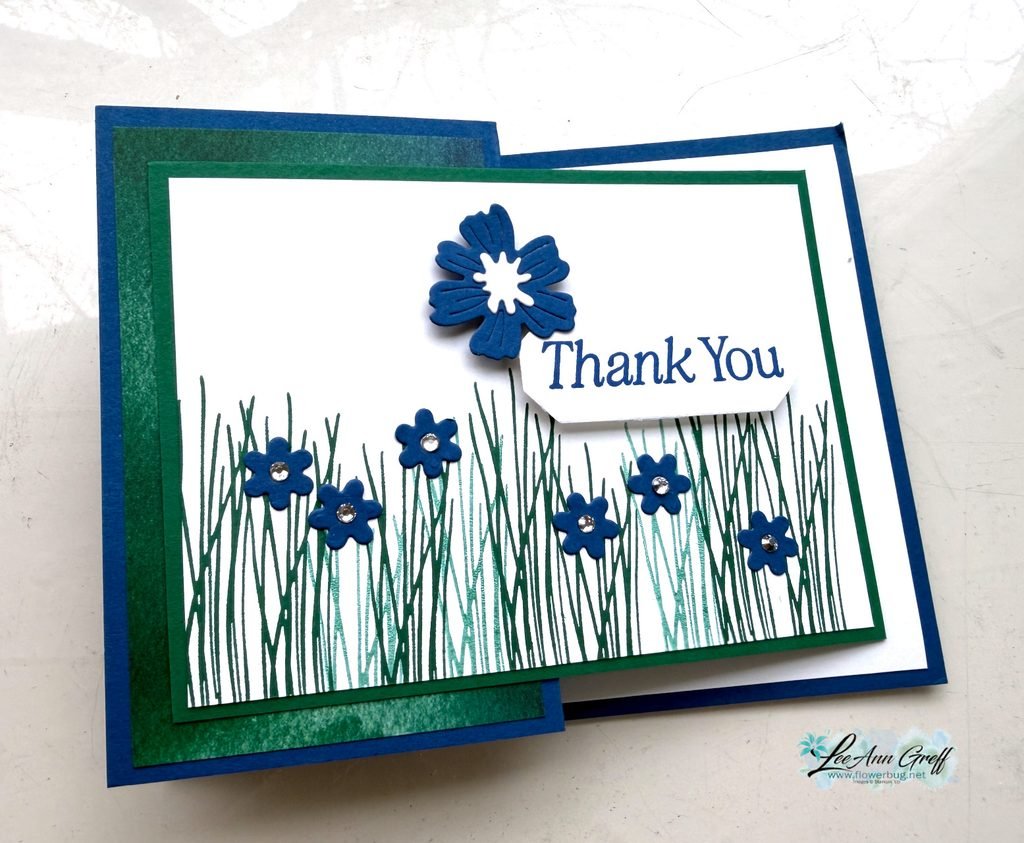
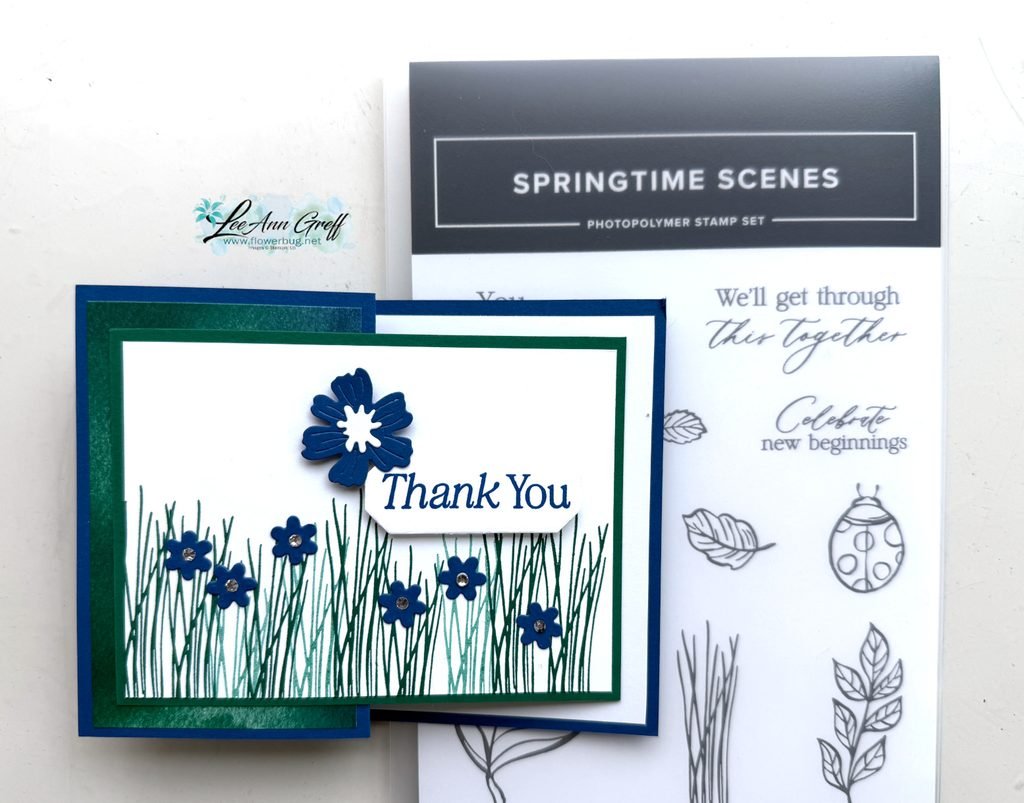
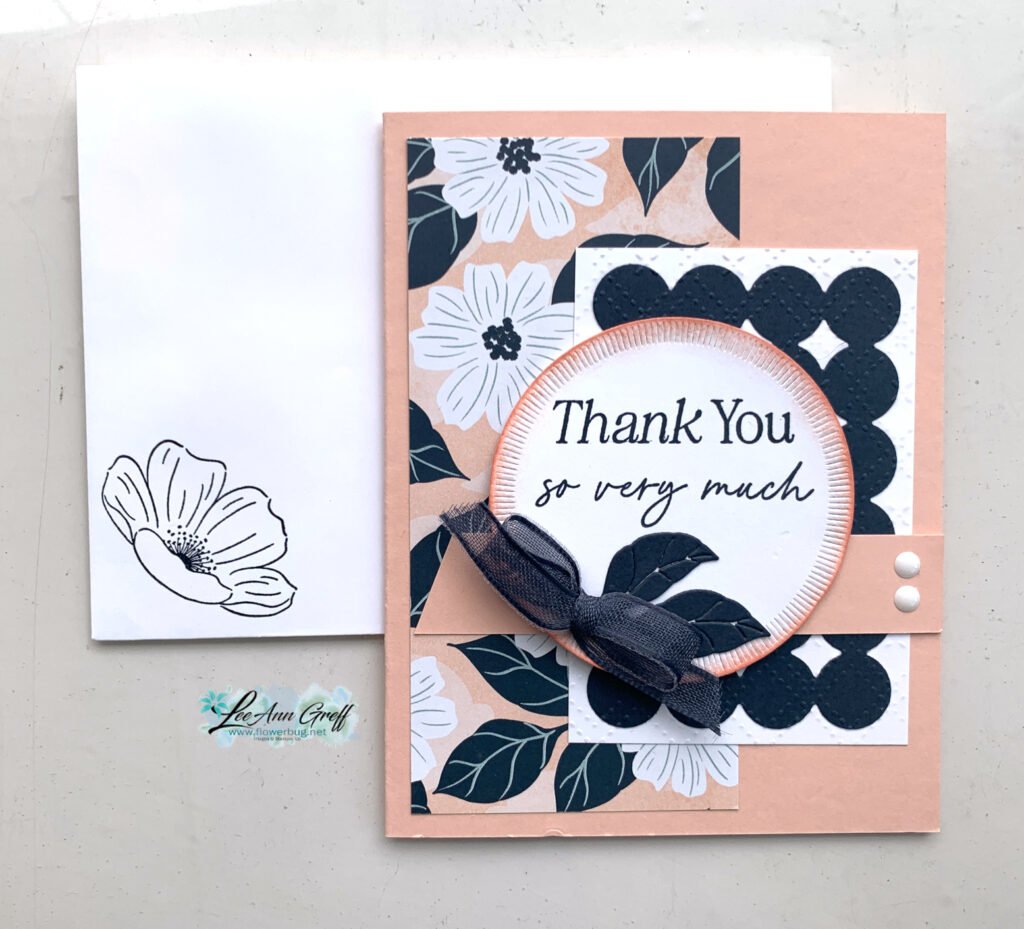
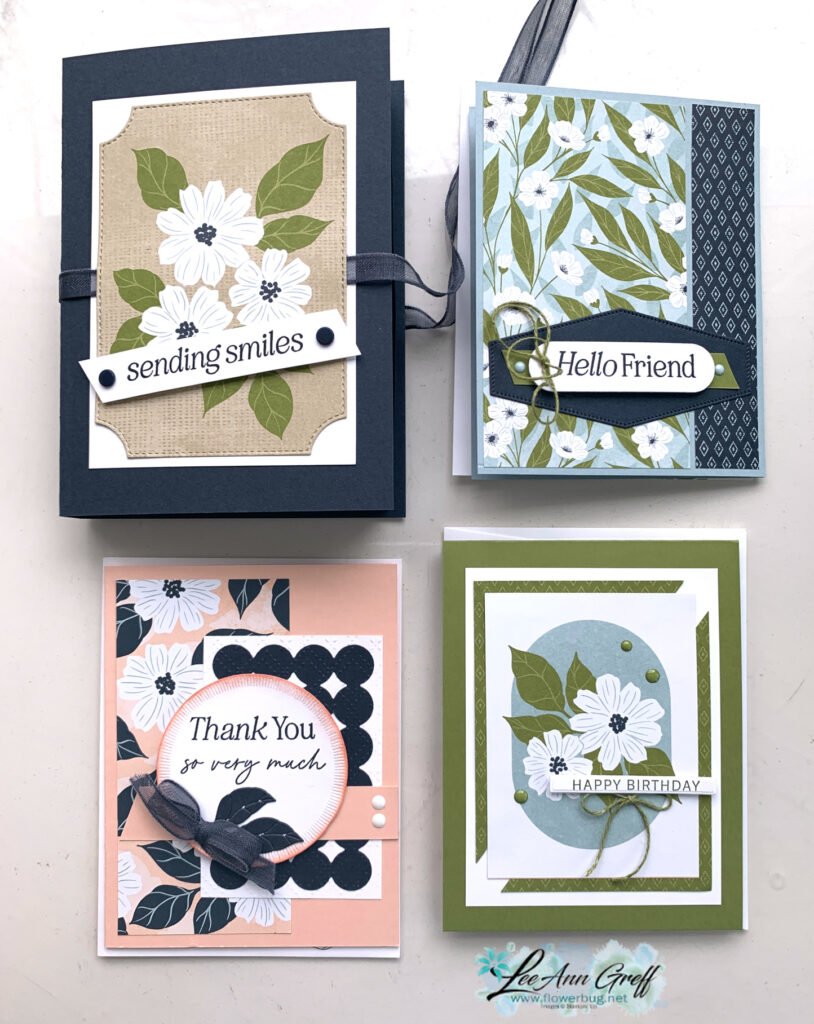
On last week's video I shared two cards featuring the neat Friends for Life bundle and the Full of Life designer paper. Here's the first card:

I love the bright colors here! The colors are inspired by the Full of Life DSP – Berry Burst, Lemon Lime Twist, Shaded Spruce, Balmy Blue & Daffodil Delight. There is a layer of Shaded Spruce under the White layer to show off the heart die-cut.
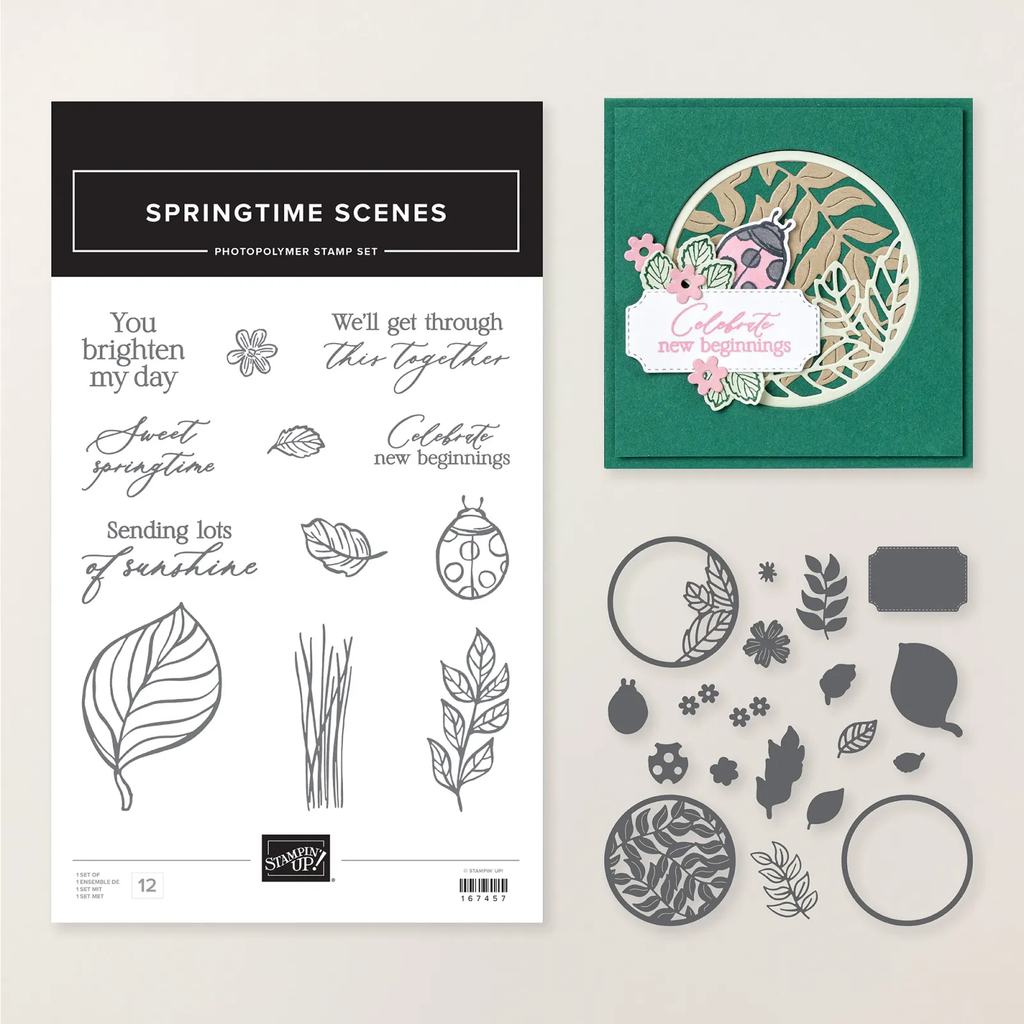
This neat bundle is on sale in June; discounted by almost 20%. See the Friends for Life bundle here.
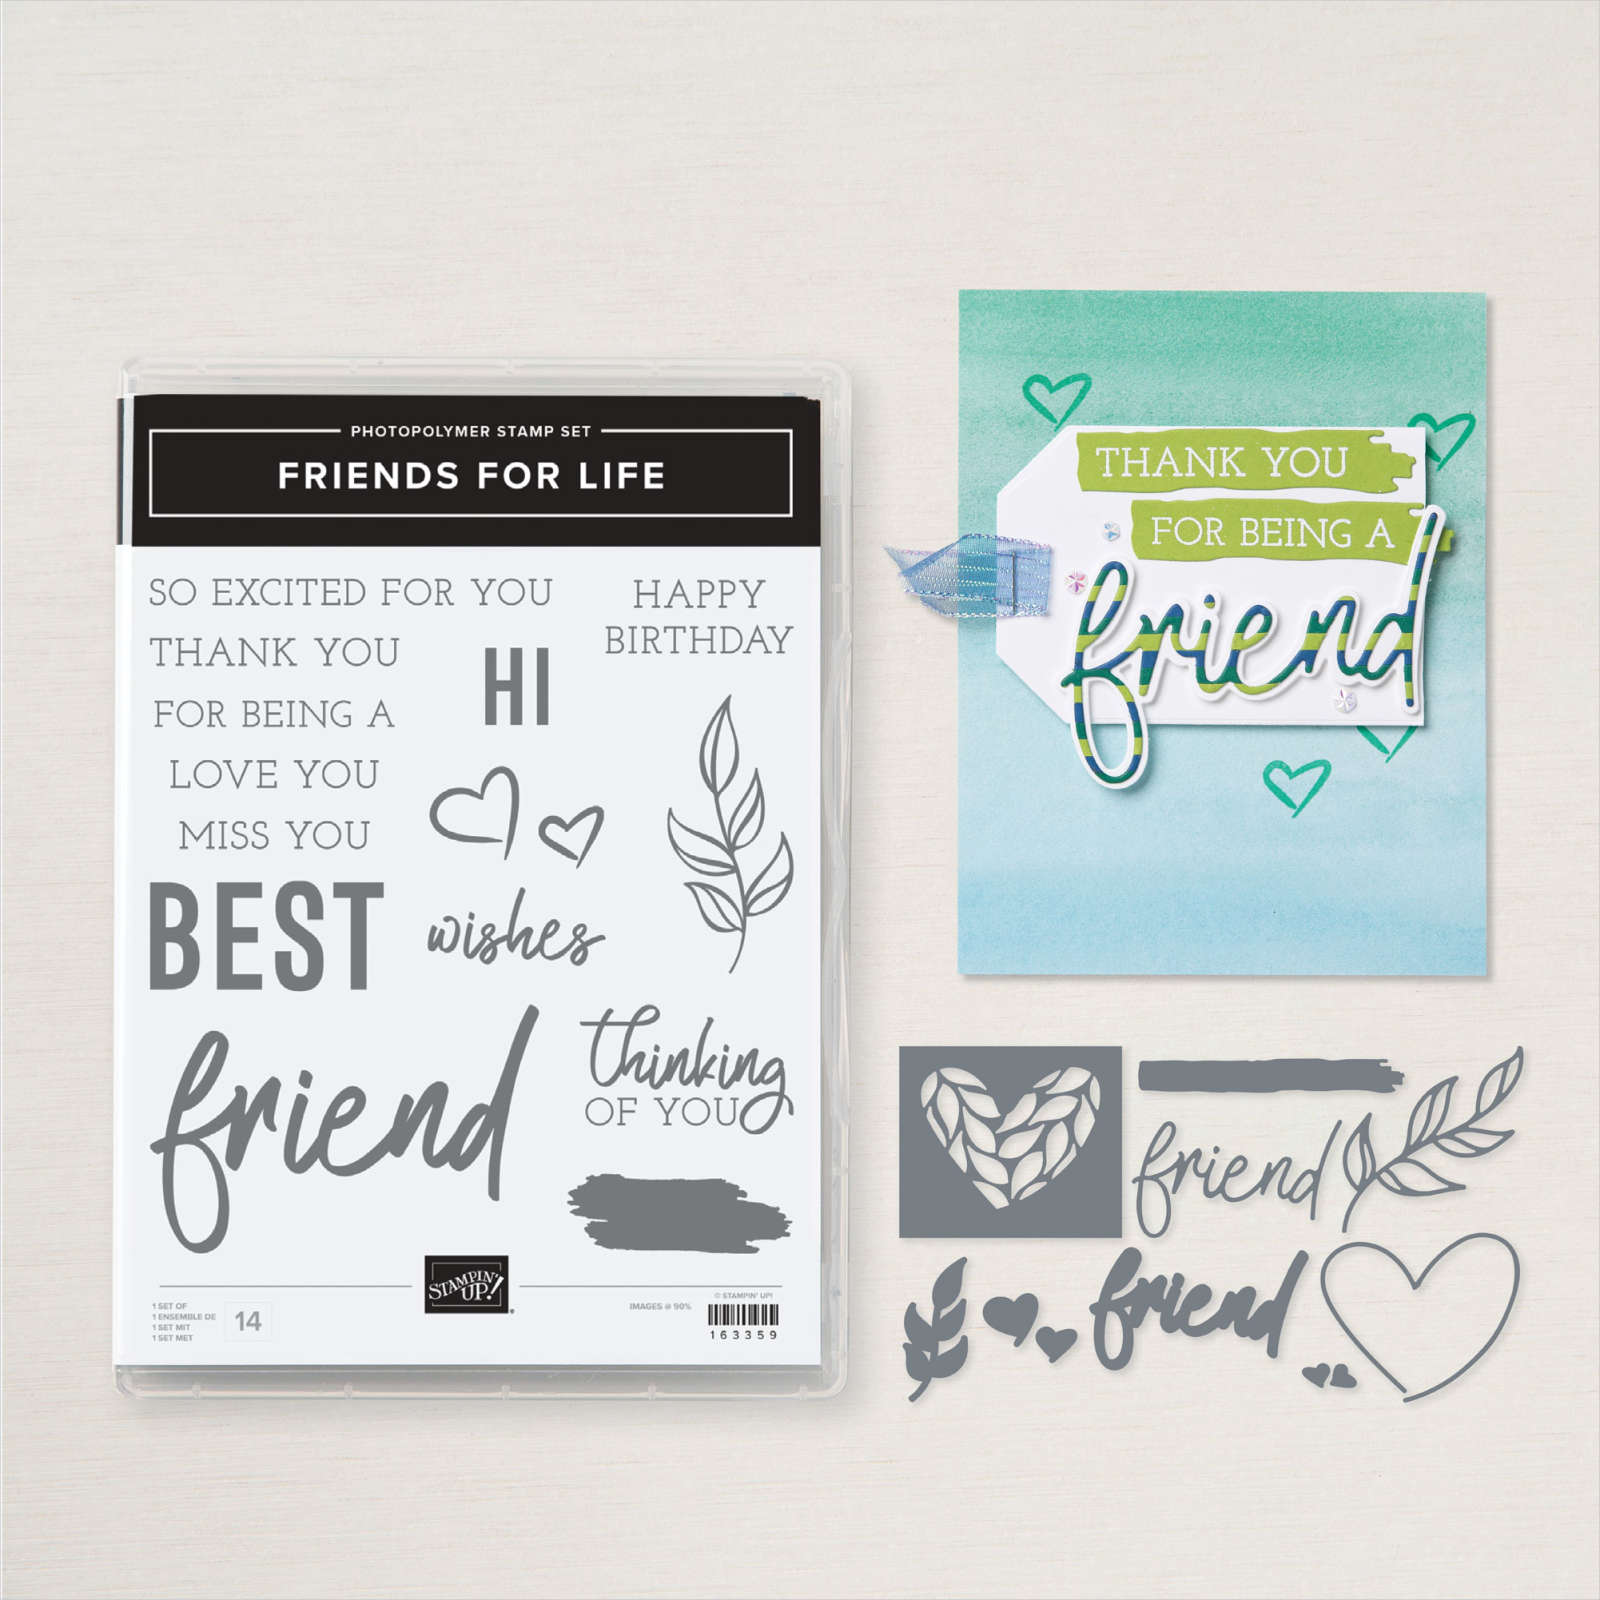
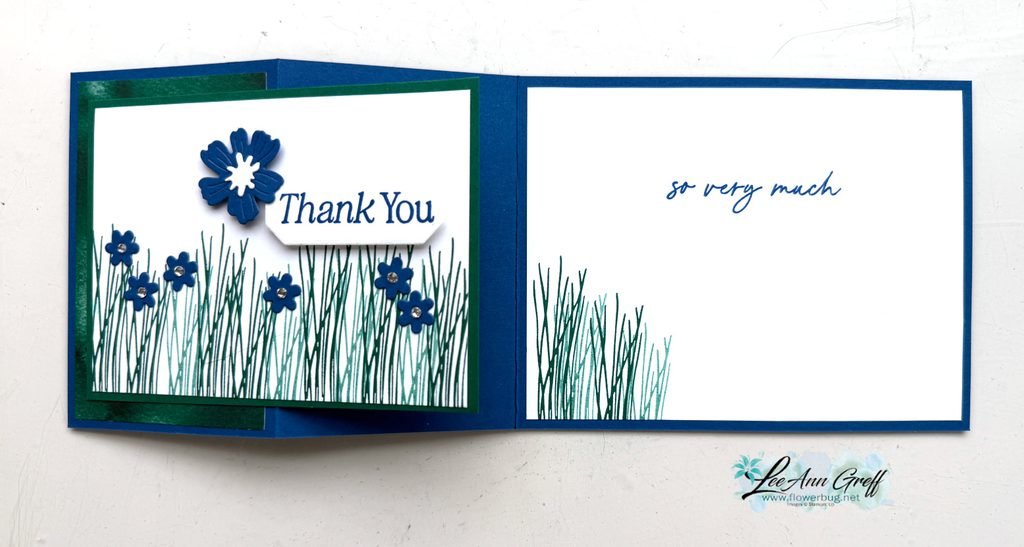
Notice the heart die-cut from the front layer? I saved it and added it inside the card.

I stamped the hearts on another part of the DSP and used the coordinating die to cut them out. The 'wishes' greeting is from the Perennial Postage dies seen here.
I kept the layout quite simple because the DSP, die-cuts and stamping are the star here. I die-cut the heart from the White layer before I stamped for ease of time during the video. I stamped the 'BEST' greeting first and then added the vertical highlight image in different colors, stamping off first for a lighter hue. I love the effect!

Here's the free project sheet you can print or download: Download Friends for Life Best Wishes here
Below is the video for this card and another; both featuring this Full of Life suite. I hope you watch it to get the many tips I like to share in my videos. Don't forget to subscribe to my YouTube Channel while you're there!
~~~
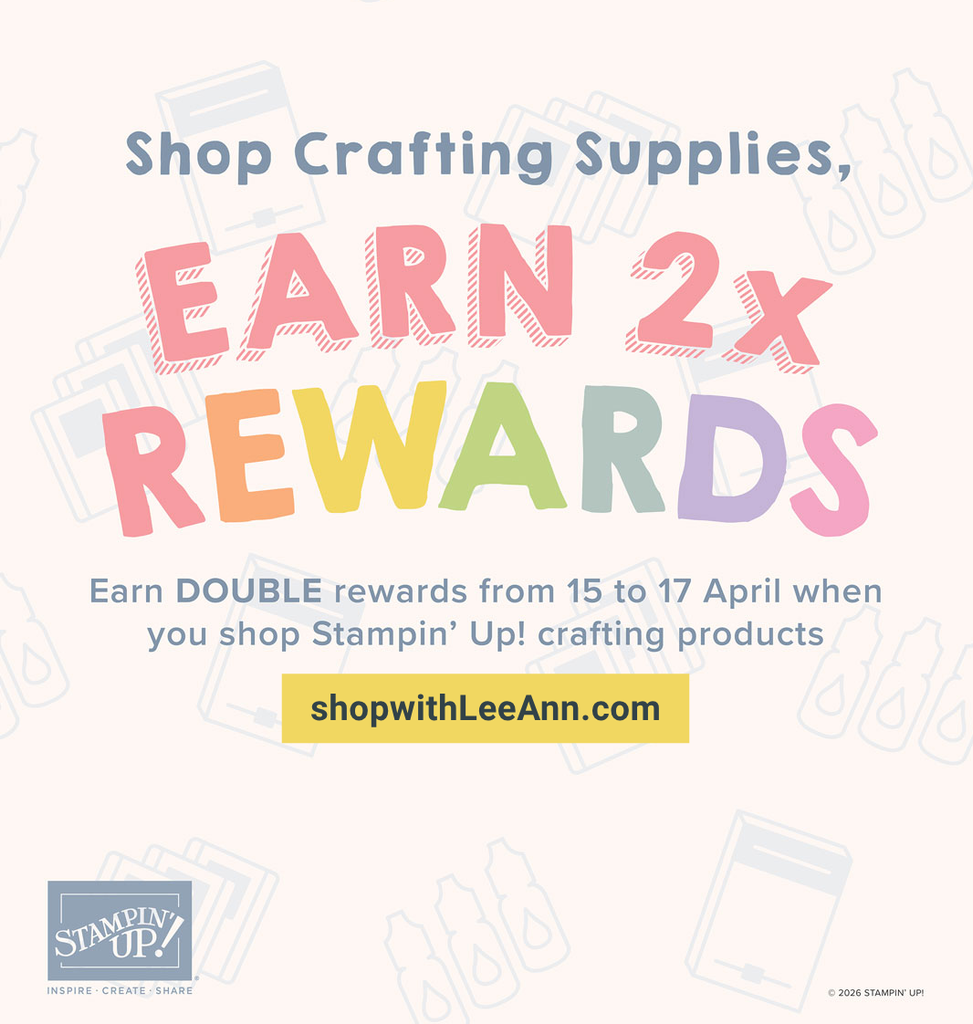
June Specials:
*current host code links: FERX3EKC or GF24T6XG
~~~
All online orders receive my free tutorial of the month & if your order is over $55 you'll also receive a free gift from me


Leave a Reply