/


Latest Post

Freestyle Creativity with ephemera & leftovers!


Have you ever gathered some of your extra die-cuts and layers and just played?  We did this at my Team Meeting this weekend and they loved it!  

I put out lots of extra die-cuts and layers plus the Fully Flowering and Greetings for All ephemera plus the Stripes & Florals cards and envelopes and they had fun making their style of cards.  These are mine: 

Here are each of them below.  The left two include some ephemera and the right two feature dies and greetings I had on hand. 
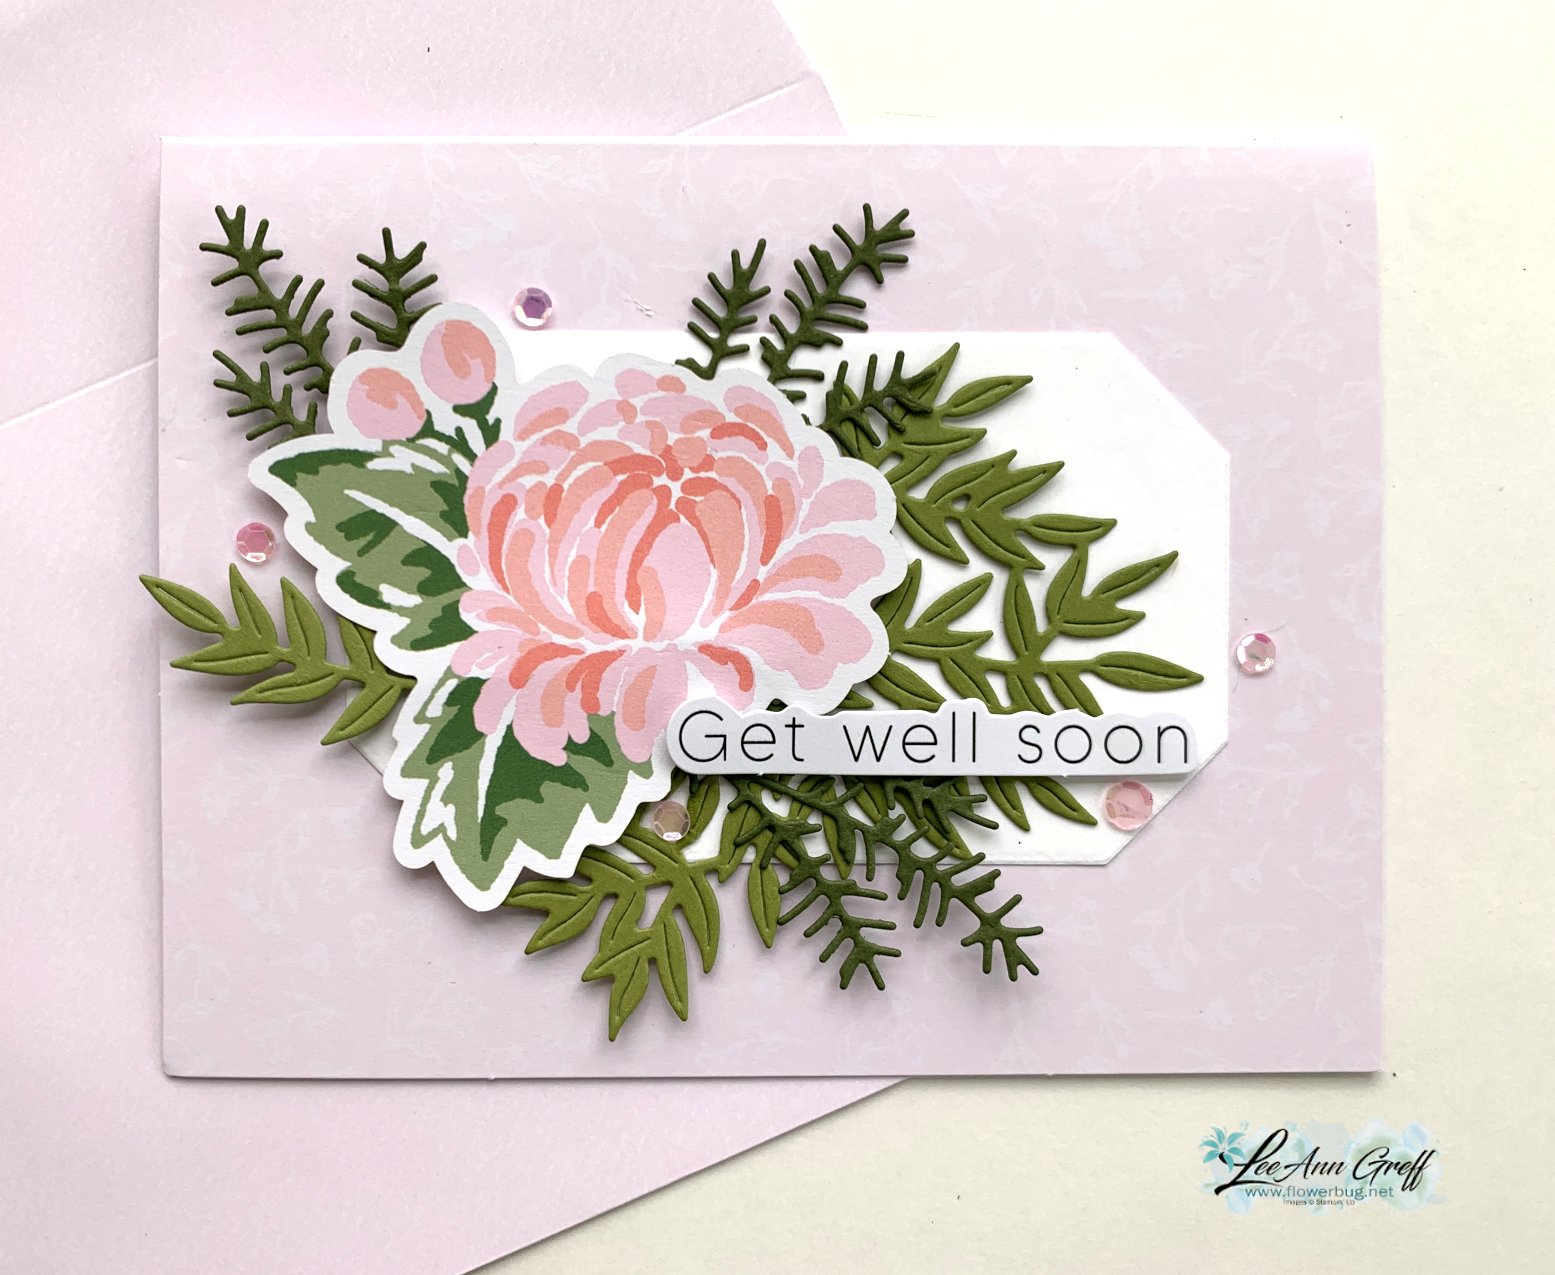
I found that layering dies and ephemera onto another layer like the white die-cut above or the Lemon Lolly & Black DSP layers below helps anchor them. 


The colors in the Stripes & Florals cards and envelopes are Balmy Blue & Bubble Bath.  Nice soft colors you can accent easily.

See these pretty cards & envelopes here.  
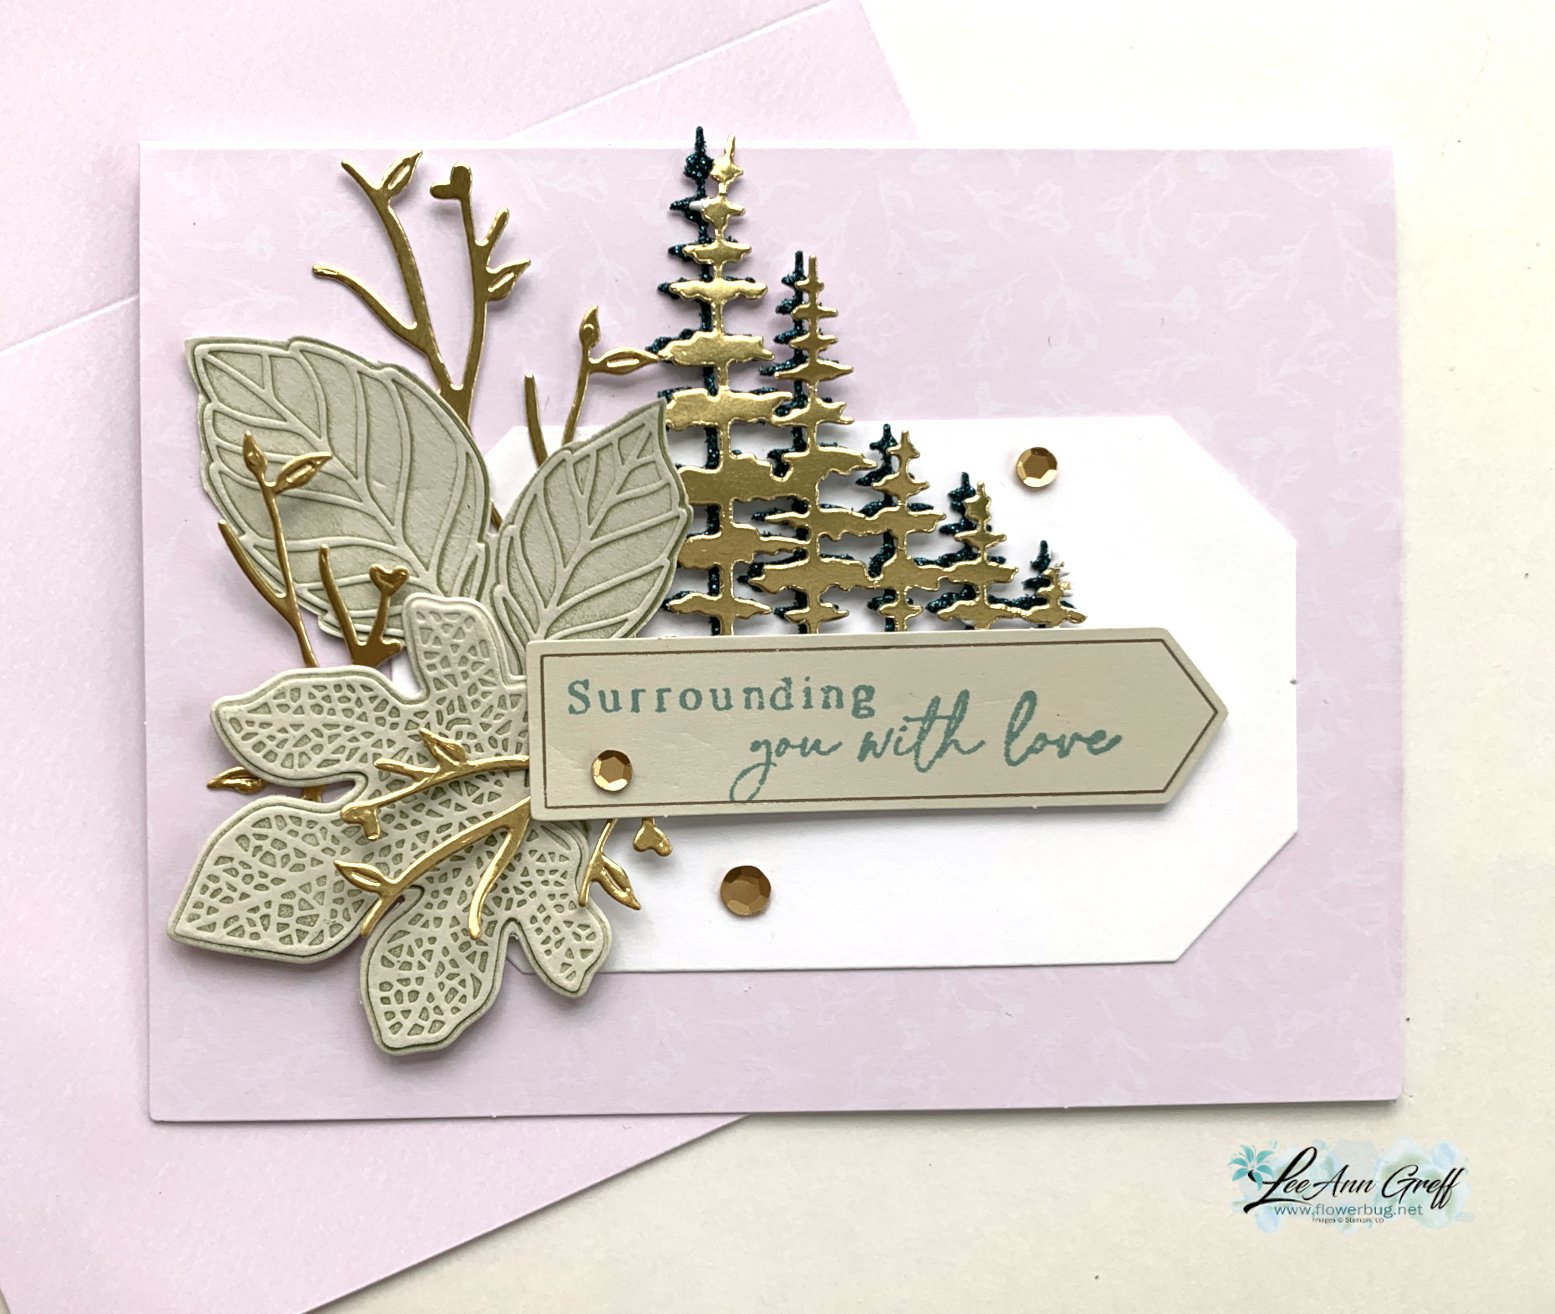
The cards above & below feature a bunch of dies I had on hand. Above includes Basic Beige and Gold. 

The card below includes Basic Gray & Pretty Peacock. 


I hope you're encouraged to try making cards using your leftovers.

~~~

April Specials

Don't miss the deals in the Last Chance list here!


*host codes have been discontinued; no need to add one. 

Now you'll earn host rewards on all orders over $20!

~~~  

Get a free Botanical Textures PDF tutorial with any online order in April!

See this gorgeous suite here
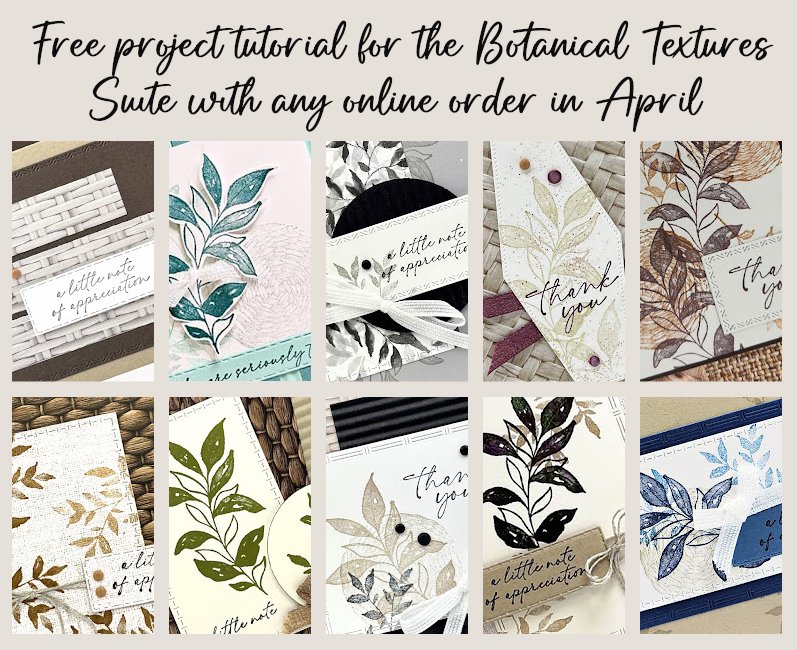
Get a free PDF tutorial of your choice with any order over $55 at my shop here 


All Posts

  • Colorful Autumn Trees card with a baby wipe technique


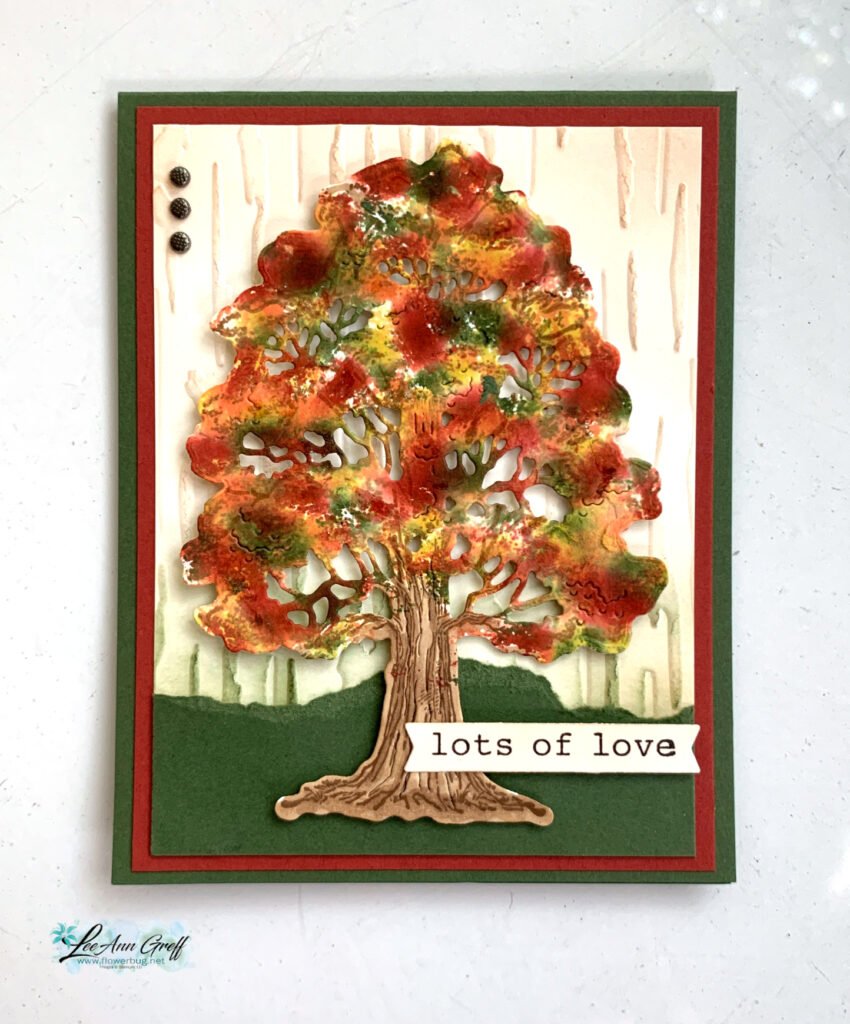
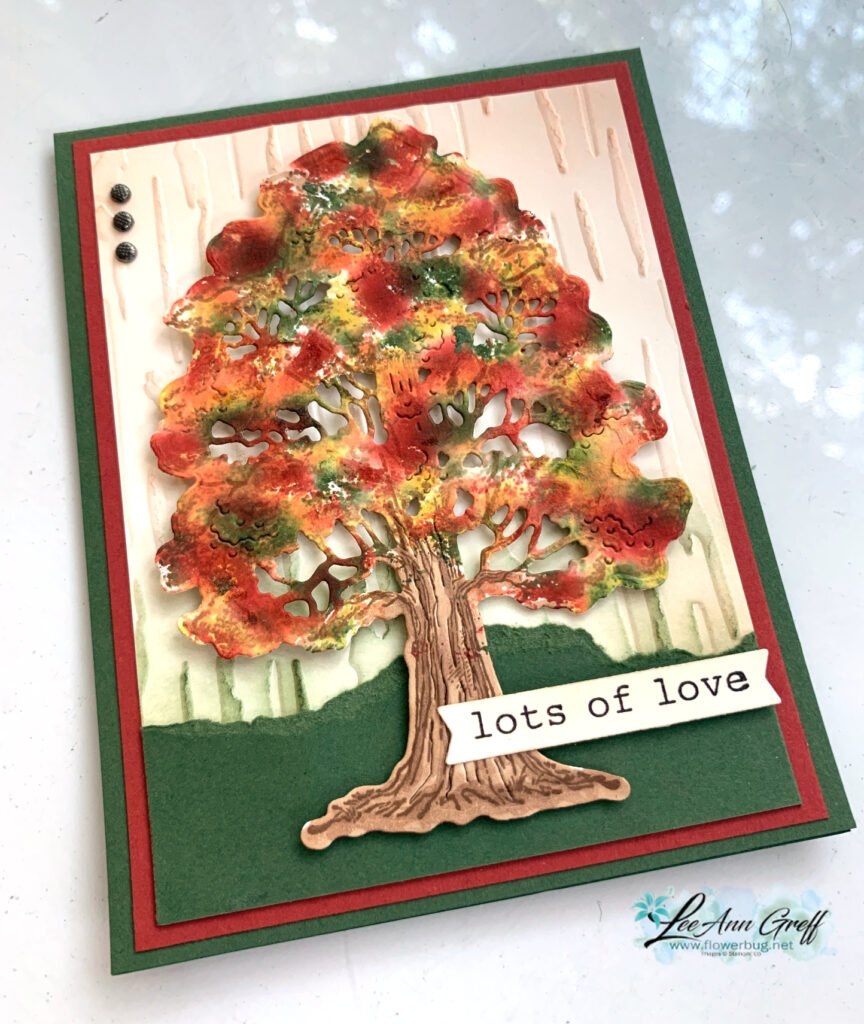
    Fall is in the air here in North Dakota.  Look at this gorgeous & colorful autumn tree!  

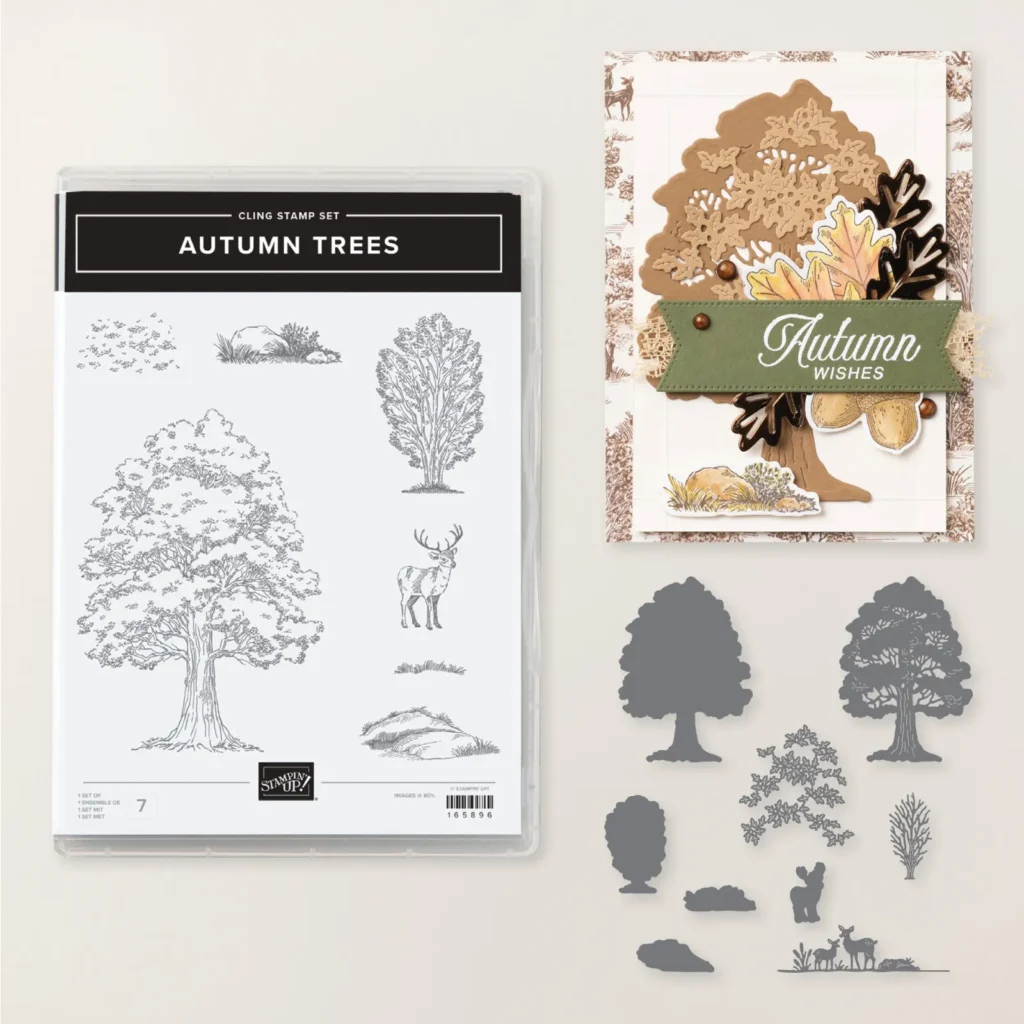
    It’s made with the new Autumn Trees bundle seen here.  Here’s how I did the tree:

    1. I stamped the tree onto Crumb Cake card stock using Crumb Cake ink.
    2. Then die-cut it with the tree die from the bundle. 
    3. Next I inked up a baby wipe with fall colors of Garden Green, Crushed Curry, Pumpkin Pie and Cajun Craze.  I rolled it up and pressed it onto the tree die-cut repeatedly. 
    4. Lastly I used a Crumb Cake Blends marker to add more detail to the trunk.  

    I used the Birch Wood embossing folder on the Vanilla background and lightly blended Cajun Craze ink over it.  The greeting is from the More Messages bundle. 

    Thanks for stopping in today!  

    ~~~

    ~~~

      To see all of the new Online items click here.  Or download & save the Download Online Exclusives flyer 

    Get a free project tutorial with any online order in September! 

    ~~~

    Leave a Reply

    Your email address will not be published. Required fields are marked *

  • Stack, cut & shuffle card with Gathering Together DSP – free project sheet too!


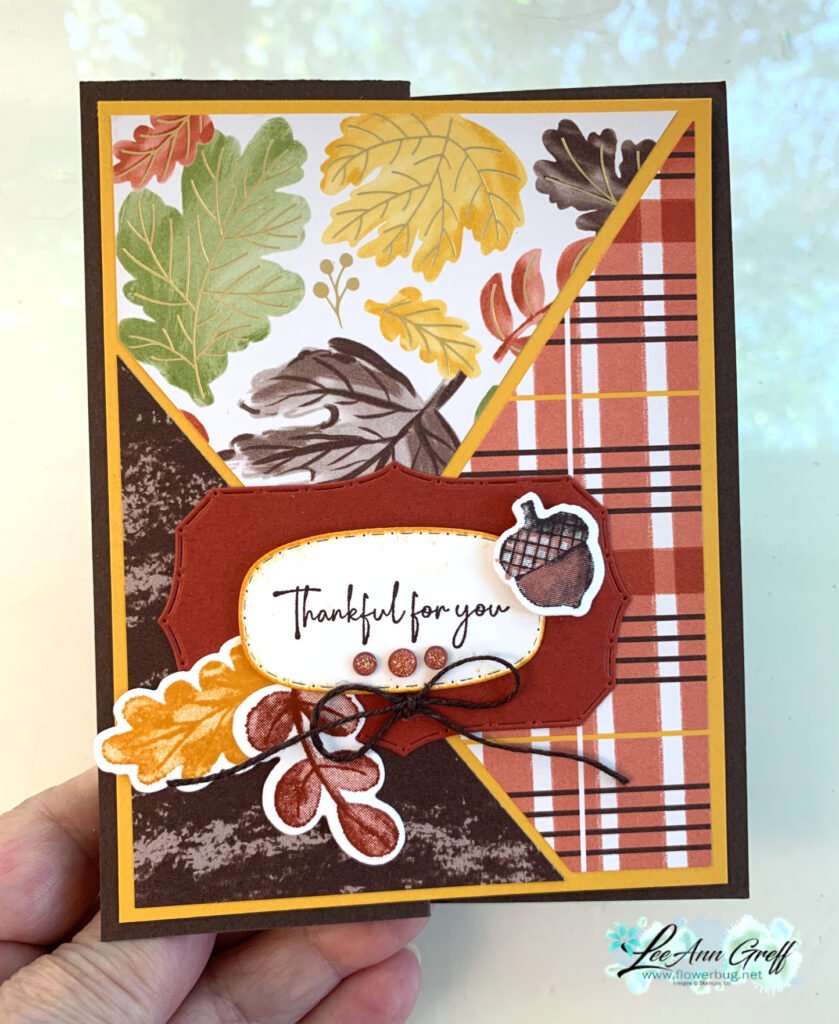
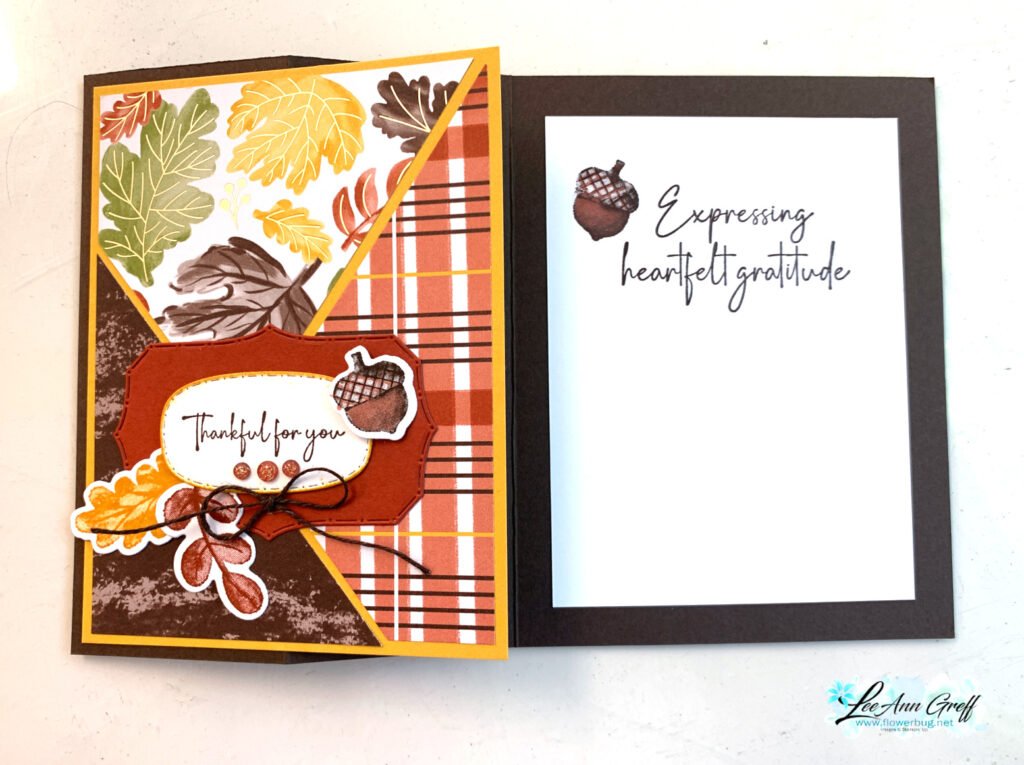
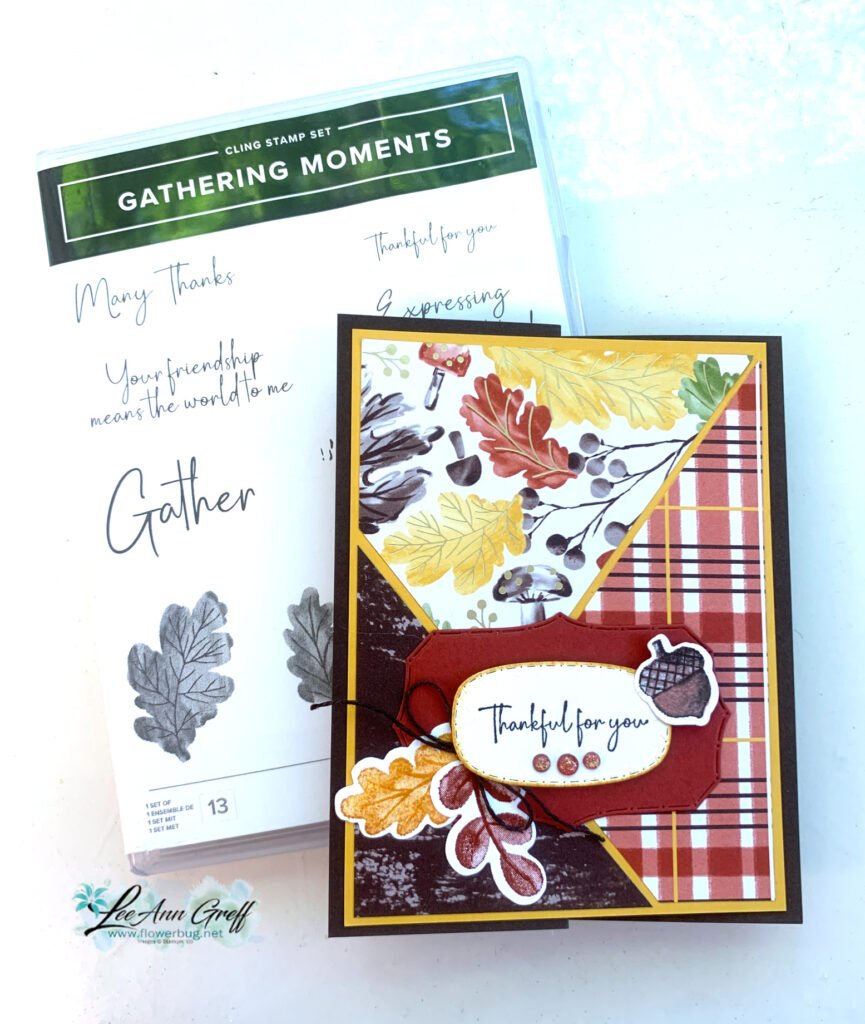
    Here’s another beautiful autumn themed card I shared on last week’s Live video.  

    Have you ever made a triple stack, cut & shuffle card?  It’s a great way to make multiples of a card layout and use your designer paper.  Simply cut three different patterns of designer paper at 3 3/4″ X 5″.  Stack them together and cut all at the same time.  This way they’ll all fit together well once you shuffle them into 3 piles. What’s neat is that you don’t really have to measure your cuts! Watch the video below to see how it’s done.

    The designer paper here is the new Gathering Together seen here. It’s gorgeous with Champagne foil accents. This paper is part of our Online Exclusives.  To see all of these just released new items click here.  Or download & save the Download Online Exclusives flyer 

    My colors include Early Espresso, Crushed Curry and Cajun Craze.  The greeting and stamped die-cuts are from the Gathering Moments bundle seen here. The greeting die-cuts are from the Traditional Labels dies seen here. They’re my new favorite set of label dies!  

    I created a free project sheet for this card.  Click on the following link to print or download it.  Download Gathering Moments Stack & Shuffle card

    Below is the video tutorial for this card and a neat fun fold card.  I hope you try making these stack, cut & shuffle cards! 

    ~~~

    ~~~

    ~~~

      To see all of the new Online items click here.  Or download & save the Download Online Exclusives flyer 

    Get a free project tutorial with any online order in September! 

    Leave a Reply

    Your email address will not be published. Required fields are marked *

  • Center pop-out Fun fold card with video & free project sheet


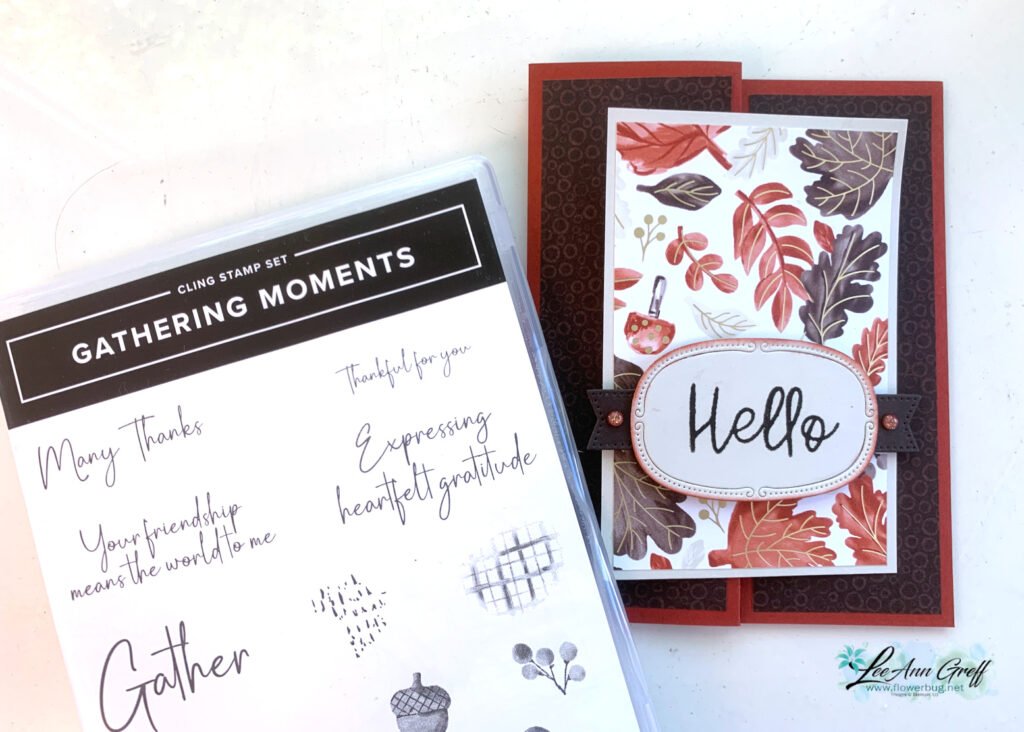
    This fun fold card I’m sharing today is super fun to open and to make.  It looks like a normal card from this photo: 

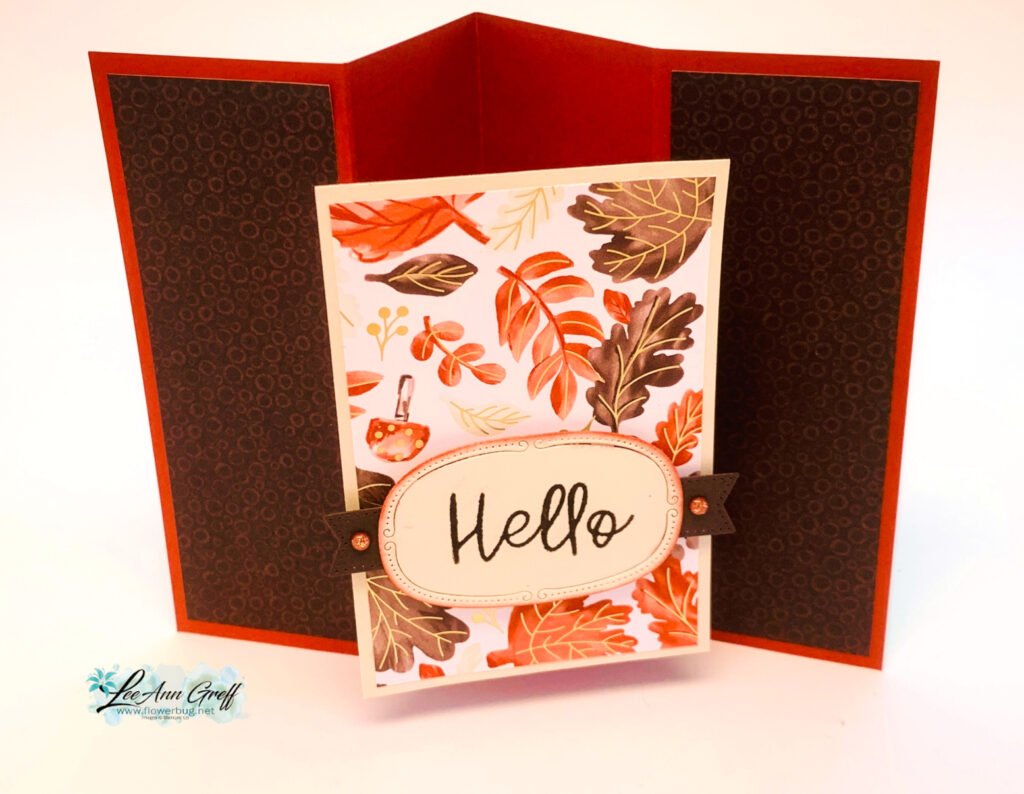
    But look how it opens!  The center pops out for a nice surprise.  

    My colors include Cajun Craze, Early Espresso & Basic Beige.  The designer paper is from the Gathering Together pack seen here.  

    This designer paper is part of our Online Exclusives.  To see all of these new items click here.  Or download & save the Download Online Exclusives flyer 

    I used the Branching Out stamp set for the greeting and the fabulous new Traditional Labels dies seen here.  

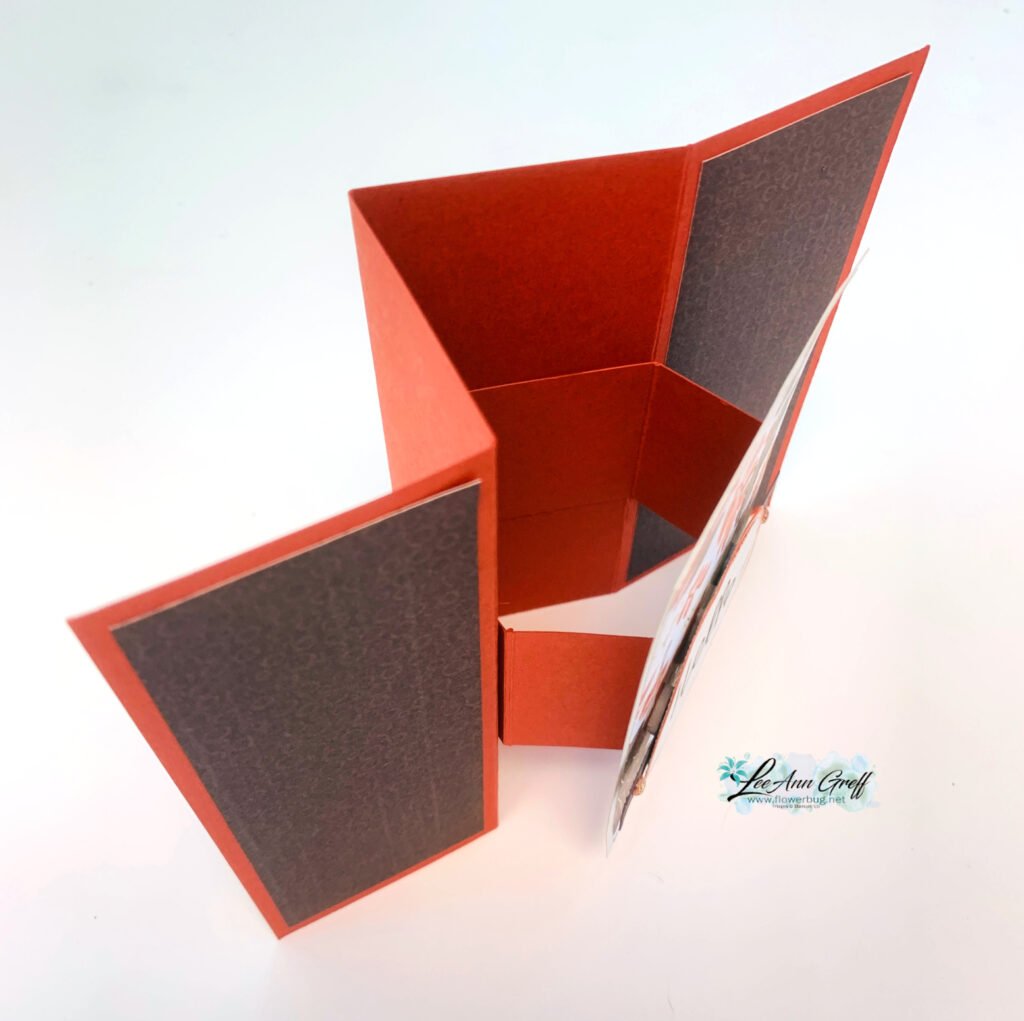
    In the photo below you can see the scored bridge strip that pops out the center.  To understand how to assemble this card please watch the video below.  It will make sense then!  

    Here is the free project sheet with measurements.  Click on the following link to print or download it. Download Gathering Moments center pop-up card 

    Below is the video tutorial for this card and one more.  I hope you try making one! 

    ~~~

    ~~~

      To see all of the new Online items click here.  Or download & save the Download Online Exclusives flyer 

    Get a free project tutorial with any online order in September! 

    Leave a Reply

    Your email address will not be published. Required fields are marked *


Notice: LeeAnn Greff, Independent Stampin’ Up! Demonstrator, Manager. The content of this website is my sole responsibility as an independent Stampin’ Up! demonstrator and the use of, and content of, the classes, services, or products offered on this website is not endorsed by Stampin’ Up! Copyright 2025