/


Latest Post

Free-form waves using the Floating Technique


We made this gorgeous 'wave' card at a Team meeting last month.  I used the Waves of Inspiration bundle and a Blending Brush for the sky. 
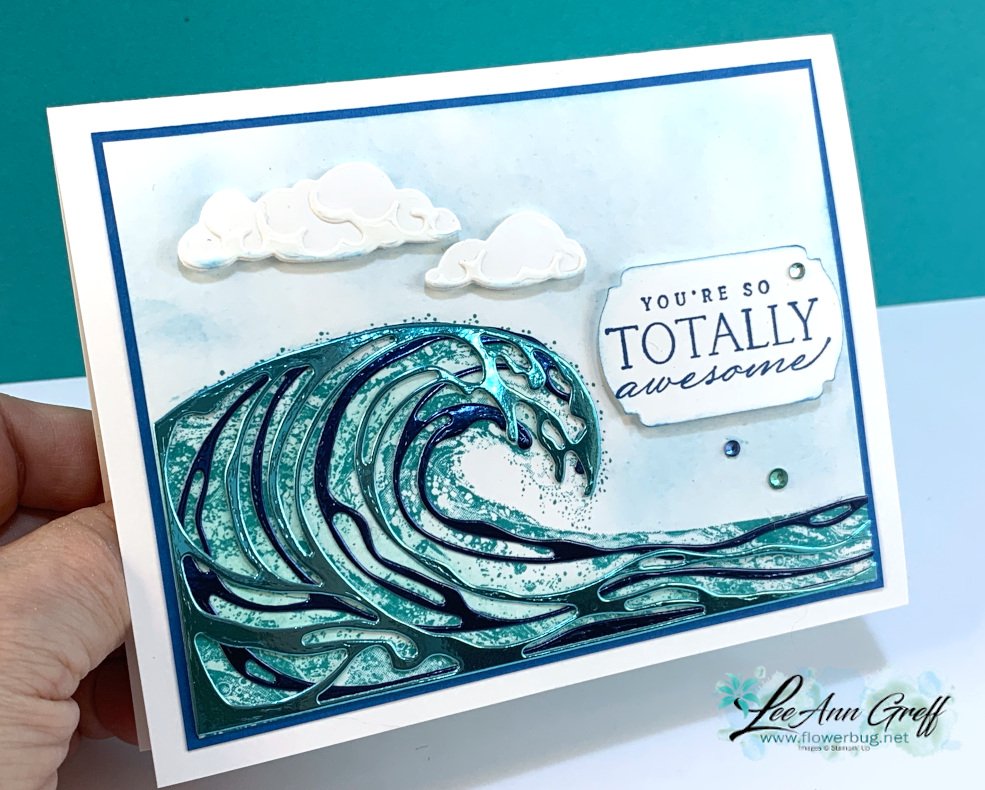
The colors are Bermuda Bay, Pacific Point and White.  See those gorgeous gems?  They're called Rhinestone Waves Basic Jewels and there are 168 in a package for just $6.50!  See them here. 

I had a bunch of curvy foil pieces left over after die-cutting a bunch of these waves from the two blue colors in the Blue Foil paper seen here.  I challenged myself to use them and came up with a free-form wave using the Floating Technique.  

I adhered various die-cut foil pieces to a Window Sheet using Multipurpose liquid glue and added them to the card with Stampin' Dimensionals.  This take a bit of patience as you can imagine!    

Here are some tips to achieve this:

  • It's best if you start at the bottom and add just a few pieces. Let it set to dry. 
  • Adding a weight over them while they dry helps keep them flat. The foil likes to curl up.
  • Next form the top of the wave.  I used one of the long curved pieces for this.  
  • Add just a few pieces at a time and let them dry.  They slide easily!
  • Fill in the center of the wave a few at a time. Again, add weight over it all to set & dry.  
  • Trim off the sides of the Window sheet at 4" to fit the White layer. I fussy cut the top to match the foil wave.  
  • I adhered it to the textured 'Bark 3D' White 4" X 5 1/4" piece of CS with mini dimensionals.  

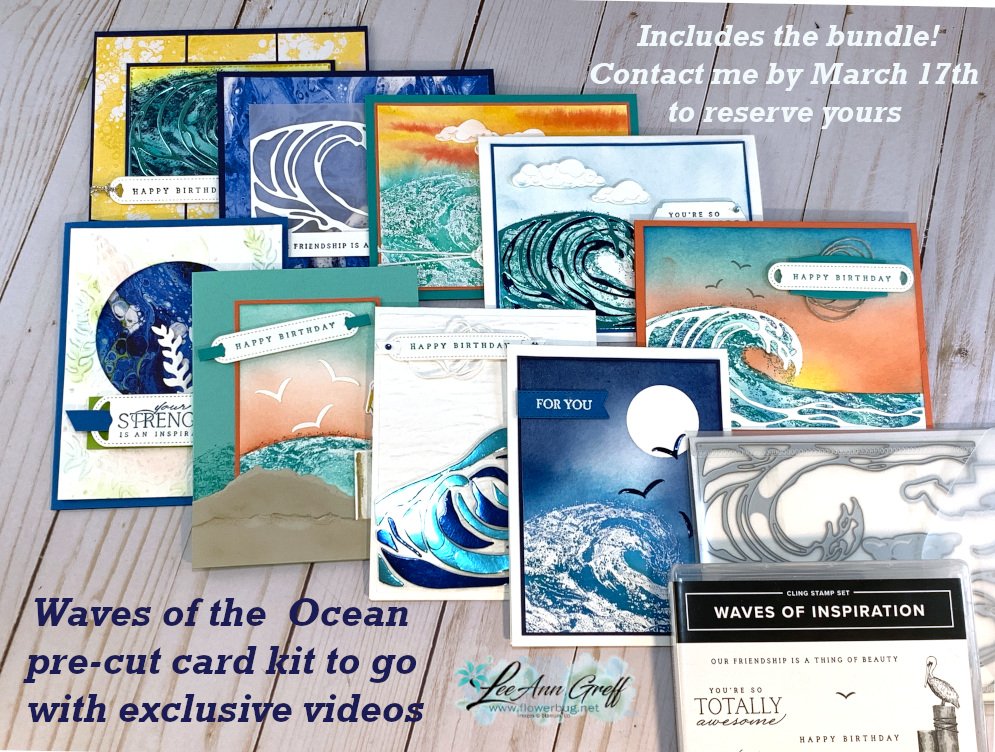
This card is part of my Waves of Inspiration tutorial and video with 11 projects!  This is available to anyone who purchases the Waves of the Ocean Collection from me or purchases my Waves of Inspiration kit to go. 

Click here for the details.  Be sure to opt in for the kit by March 17th. 

~~~

March Specials: 

Host codes: EU76H4H7

 *click here to order 

If your order is over $50 you'll receive a free embellishment

from the Jan-June catalog in your thank you card.

Email me to opt in for my Waves card kit to go here; it includes the Waves bundle!

Or the Flowering Fields kit seen here. 
  

Don't forget about my loyalty rewards! 

Click here to download yours and earn a $50 shopping spree!  
All Posts

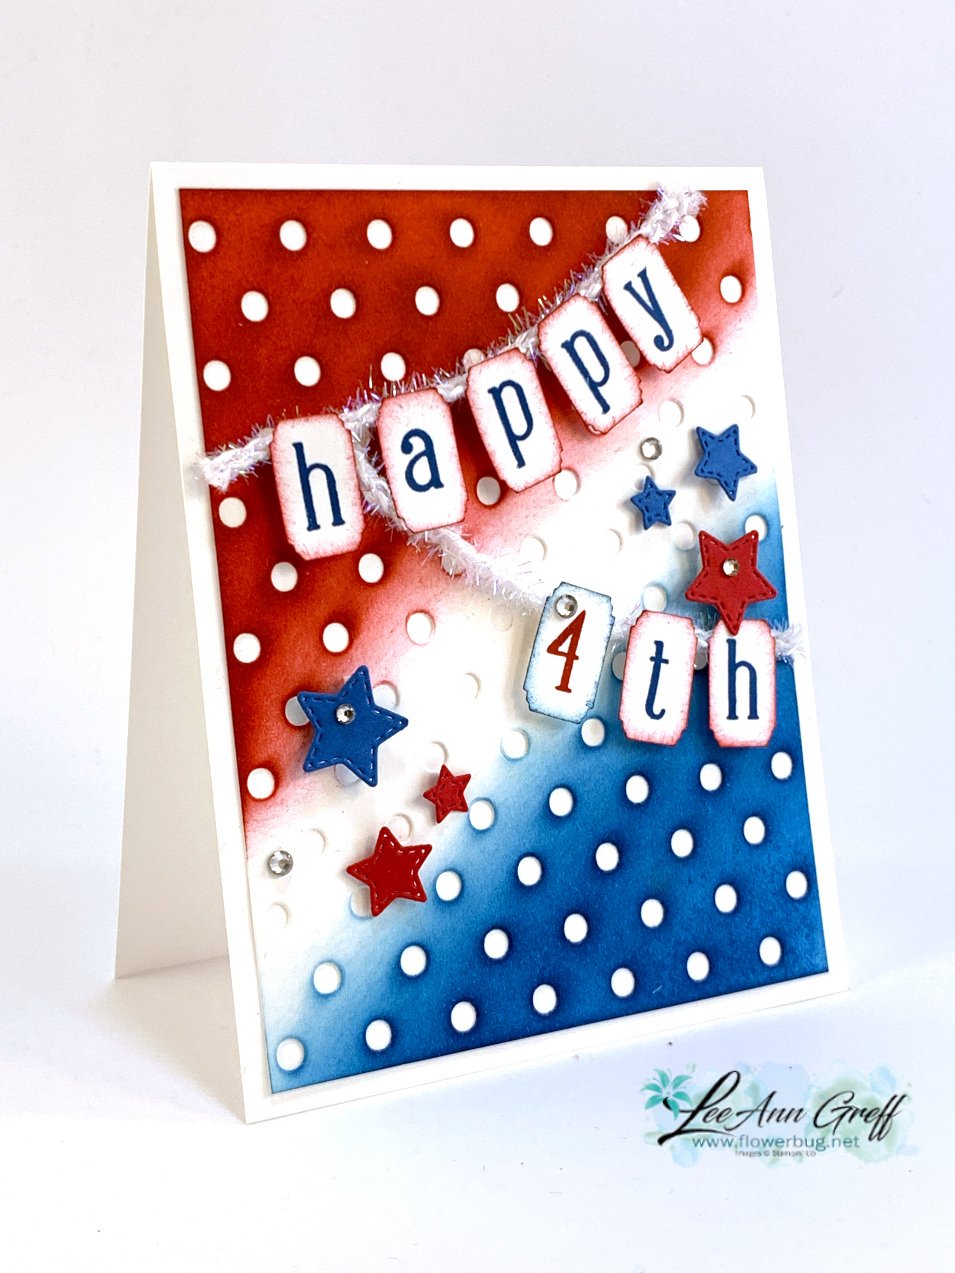
  • Happy 4th of July – Fun Dots & Spots card


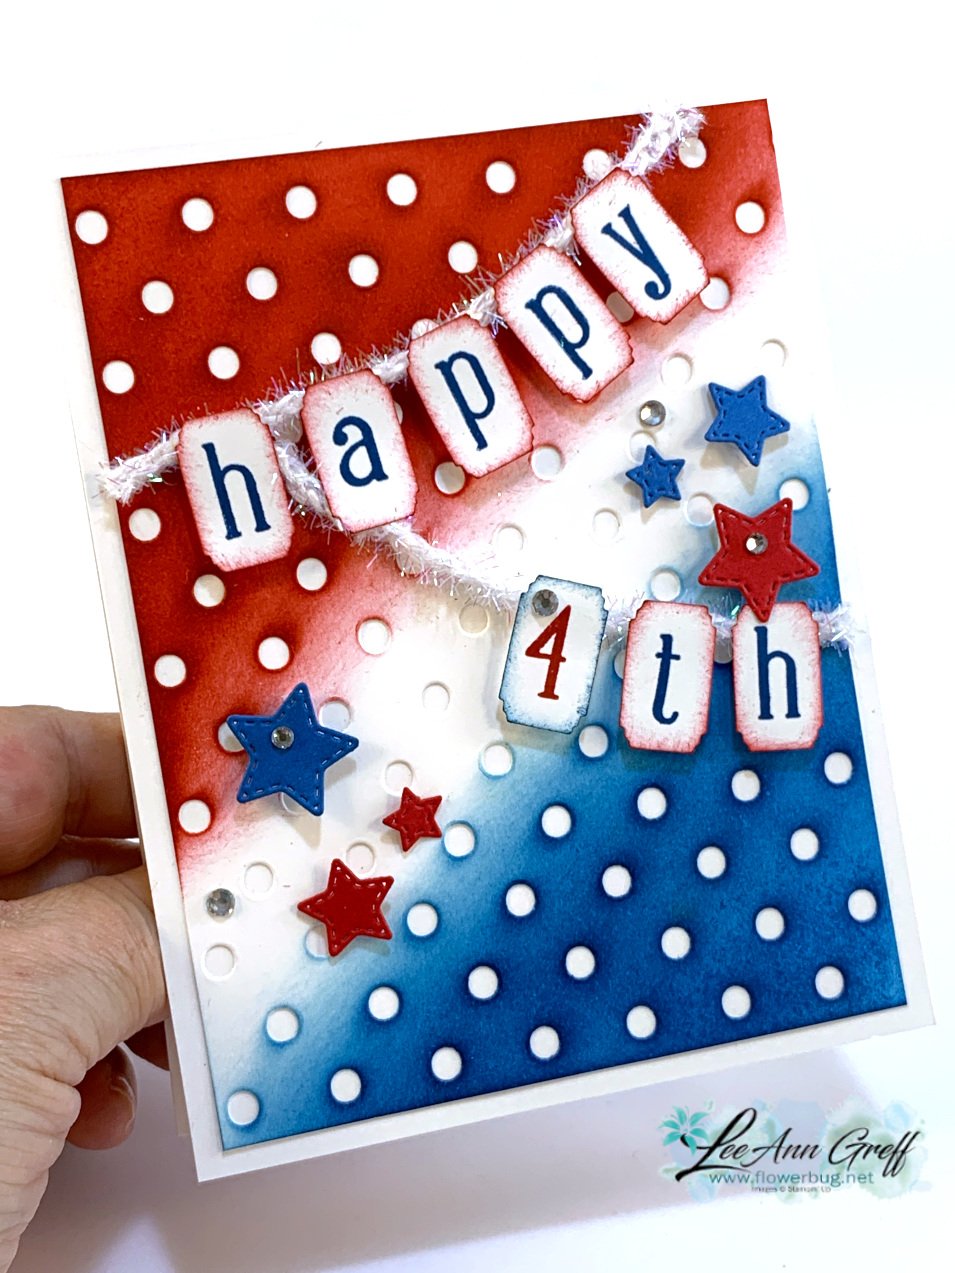
    Happy 4th of July!  

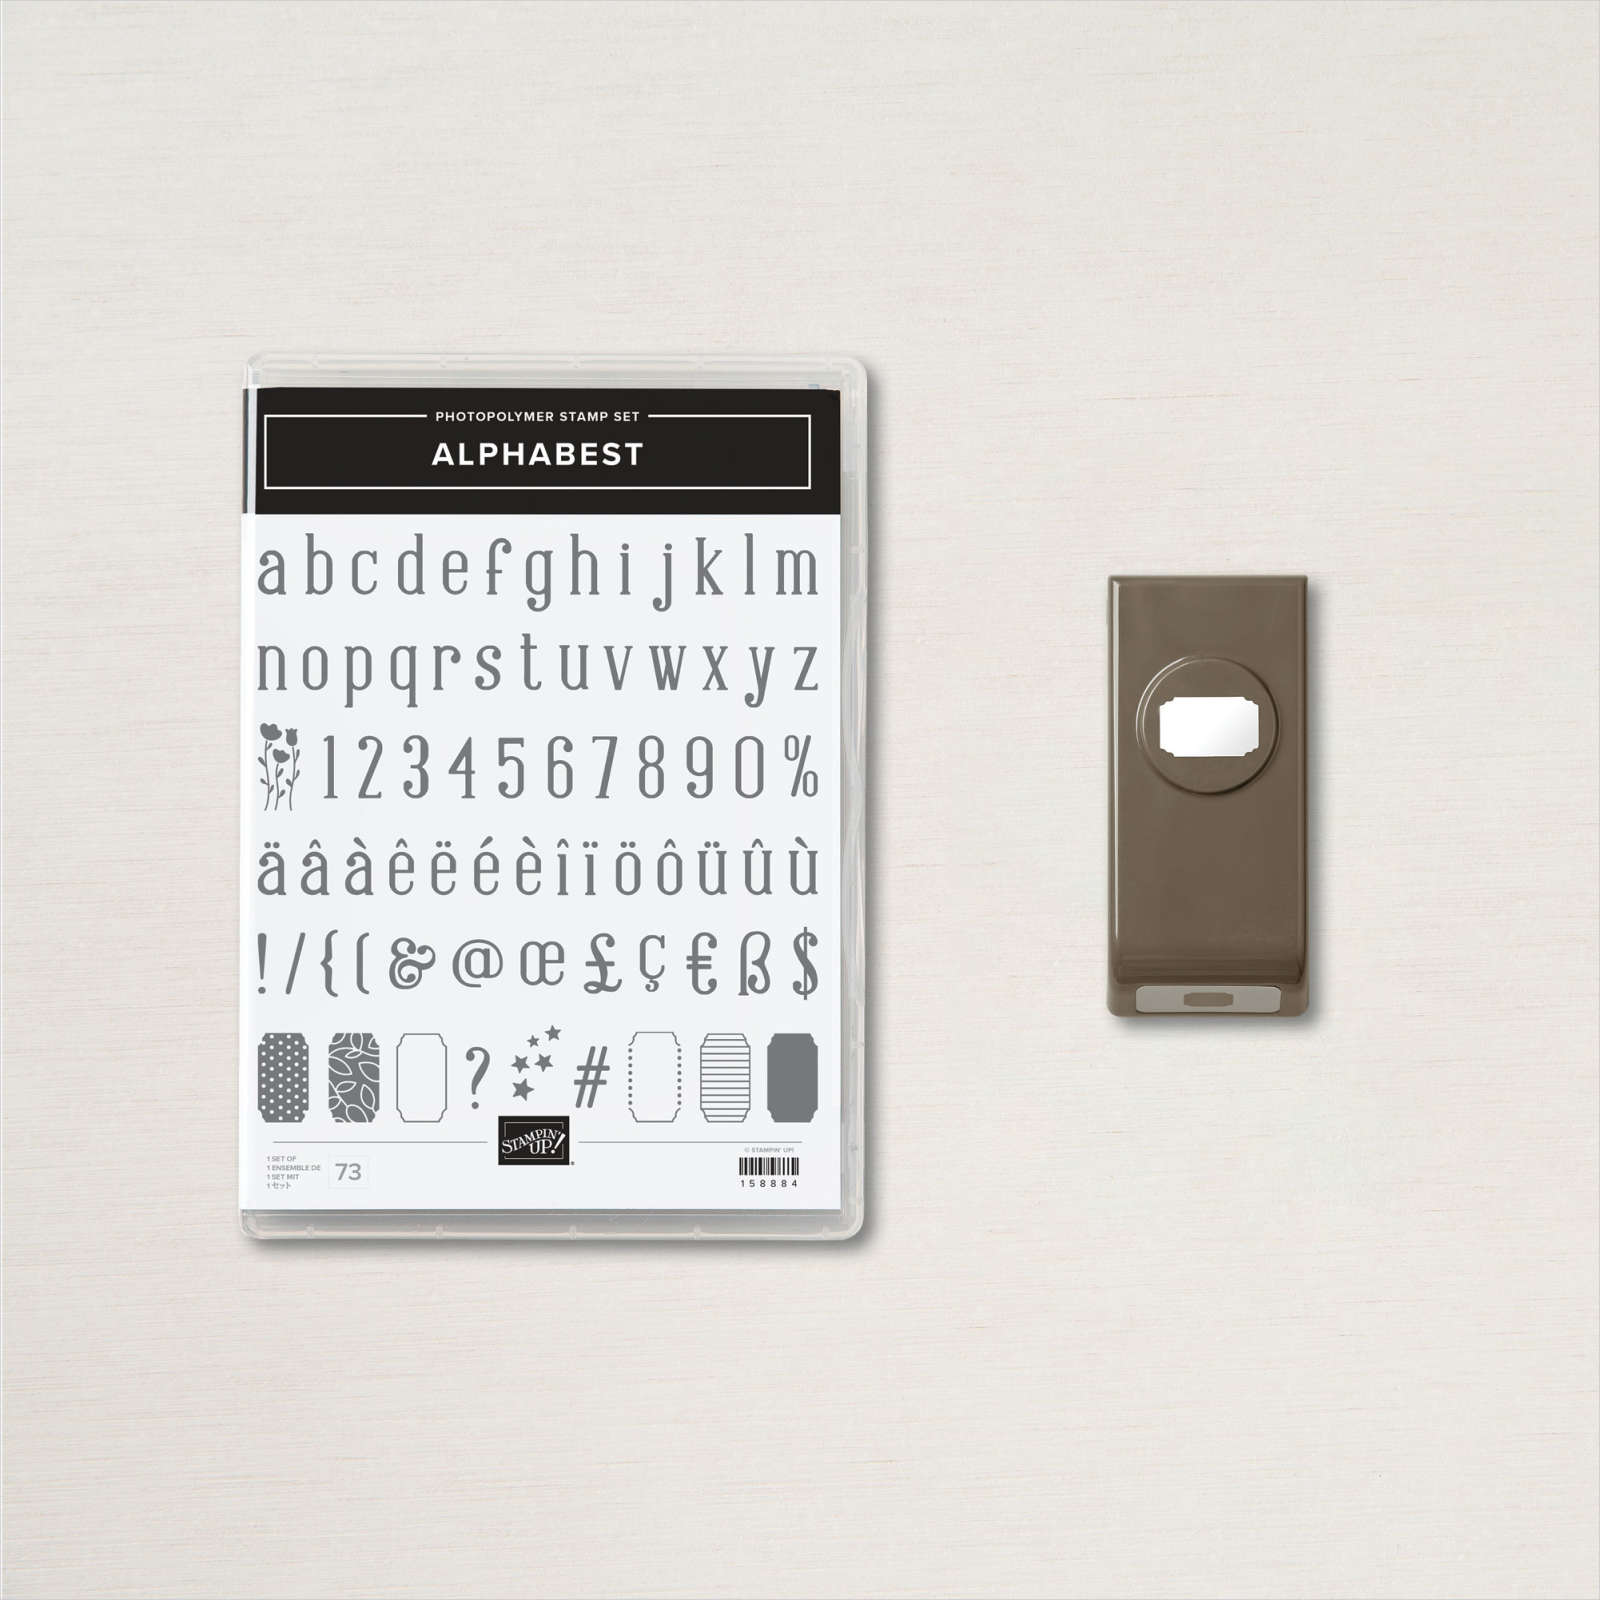
    This fun card is made with a two new products from the Annual Catalog.  The Dots & Spots die seen here and Alphabest Bundle seen here.  The stars are die-cuts from the Give it a Whirl dies seen here. (also from the Annual Catalog)

    This cute punch bundle is so easy to say what you want on your projects; punching makes it fast!  Think about the birthday cards you could personalize! 

    I also added a new trim from the 2022 Holiday catalog called 3/16th Iridescent Trim.

    Download the Dots & Spots project sheet for this card with measurements & step by step directions. 

    ~~~

    July Specials

    Host codes: SX67P4XQ or 9F9AJHYG

    Get a free card class in the mail with a $55 order in July.

     *click here to order 

    Earn free products with my loyalty rewards! 

    Click here to download yours and earn a $50 shopping spree!
     

    Leave a Reply

    Your email address will not be published. Required fields are marked *

  • Holiday Catalog & Sale-a-Bration start today!!!


    The new Holiday & Sale-a-Bration catalogs go live today!!  Click here to see it all online. 


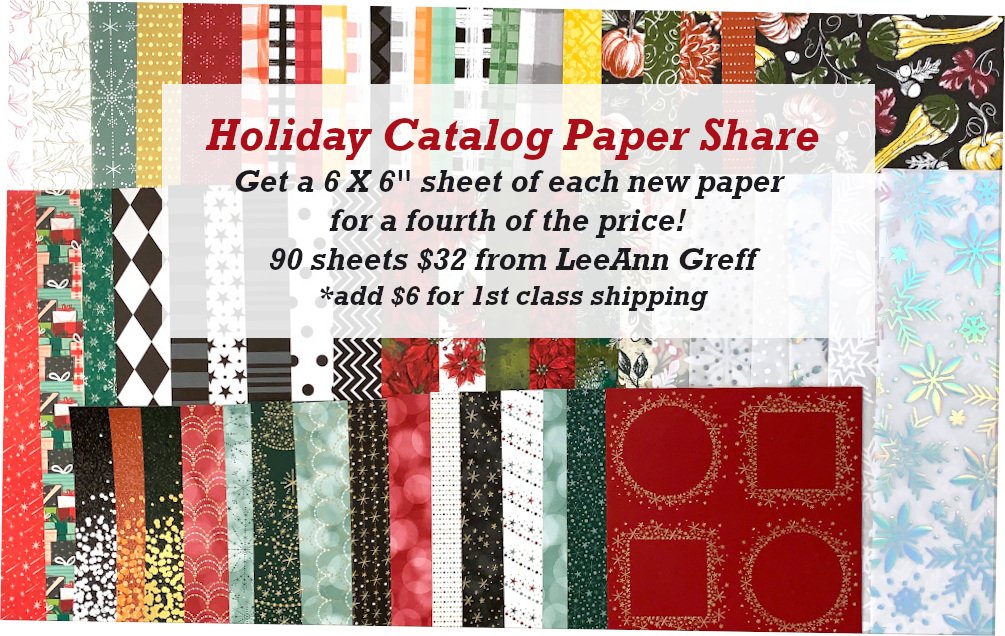
    I am offering a Holiday Catalog designer paper share that includes 15 different paper packs in the new catalog (including all specialty papers).  Message me here if you'd like a share. 

    Double it and get your paper in 6 X 12" pieces (except those in 6 X 6" size) and you'll also earn a free Sale-a-Bration choice!  Or add on other catalog product valued at $30 and earn a free SAB choice. 


    ~~~

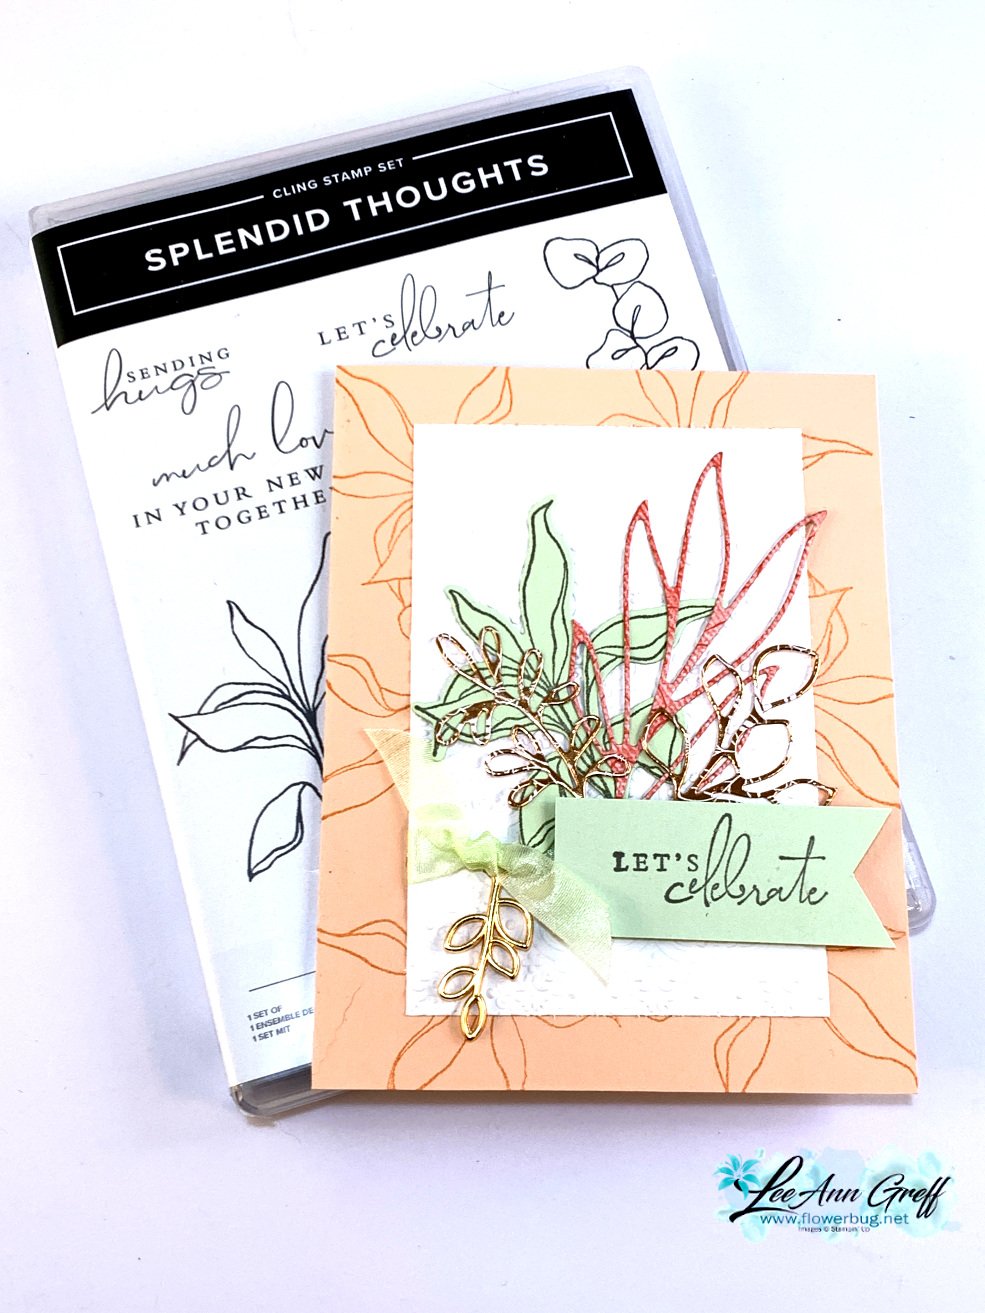
    On this week's Live video I shared 3 pretty projects featuring the new Splendid Thoughts bundle from the upcoming Holiday catalog.  Here's the first one: 

    The colors include Petal Pink, Soft Sea Foam, White and Calypso Coral with a few Copper elements too.  

    I stamped the background on the Petal Pink card base using one of the leaf images in Petal Pink ink. The textured White adds a soft background to the many leaf die-cuts. 

    Can you spot the main difference between these two cards? 

    I used one of the dies in the Splendid Stems dies for the greeting piece on the right card. Which do you prefer?  

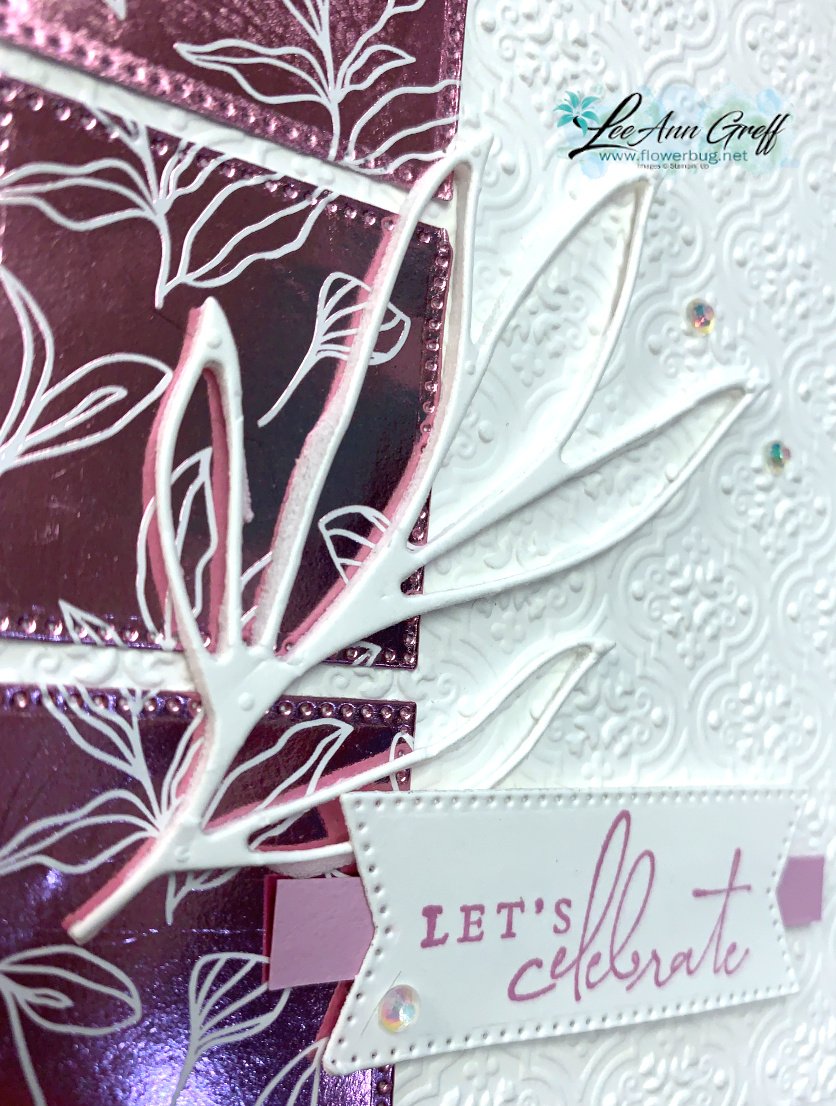
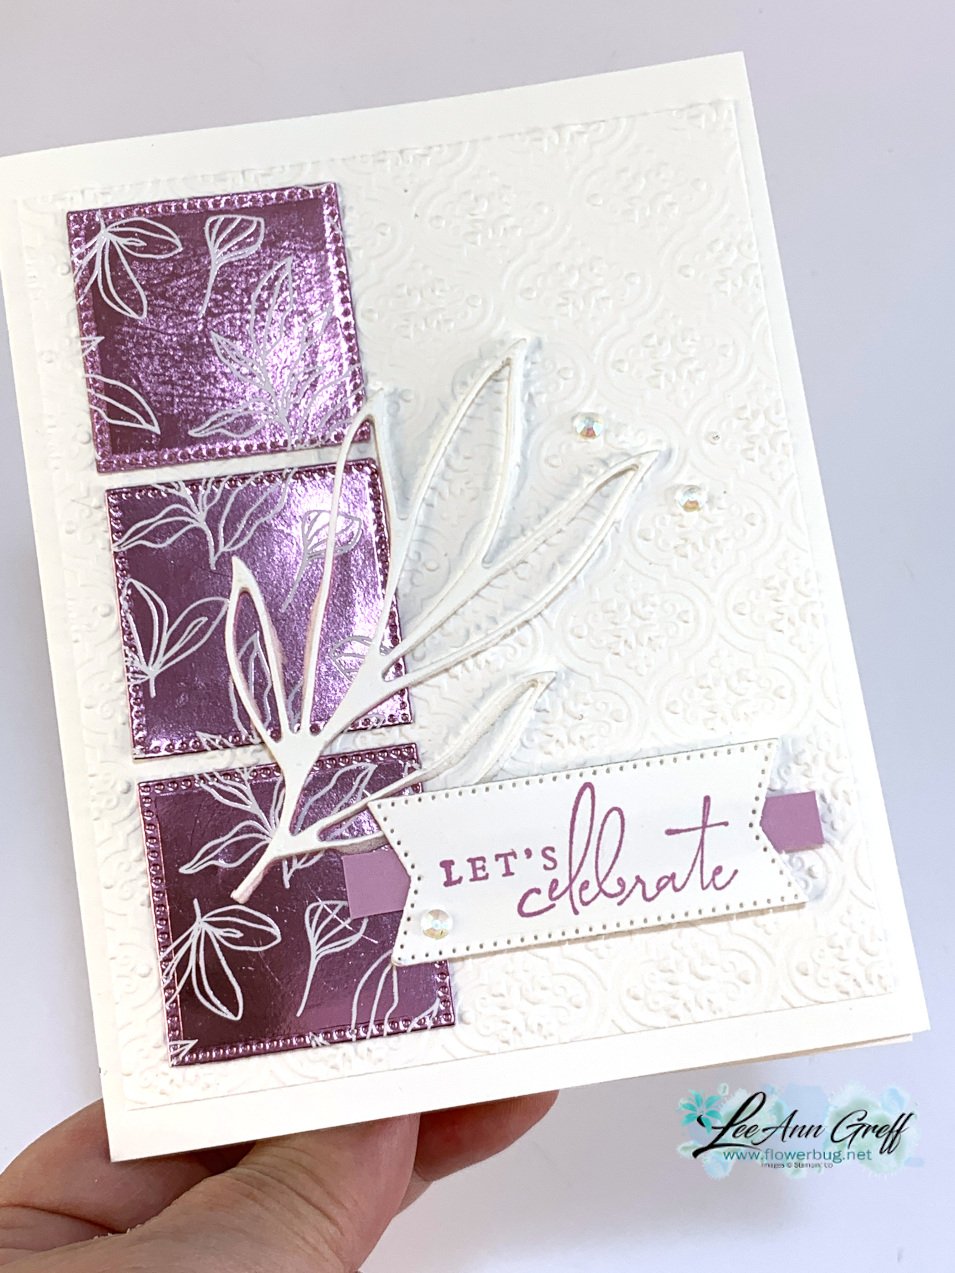
    And here's my favorite card I shared in the video.  I cased the idea from my friend Lorri Heiling.  It's so simple but super special with the foil stitched squares and die-cut leaf.  There's something extra special about this leaf die-cut. Can you tell what it is?  

    It's hard to see in the photo but the entire leaf is on dimensionals.  What?!  Yes!  I adhered a piece of White card stock to our Foam Adhesive Sheets seen here and then die-cut it all at once.  So not the entire leaf is popped up.  So cool and easily noticed in person.  


    The card above is made with a copper colored foil piece and the one below is in Fresh Freesia.  I also added an extra textured layer to the card base. 


    The greetings are from the Splendid Thoughts stamp set on a die-cut from the Stylish Shapes dies.  A thin strip of Fresh Freesia CS under the greeting pulls it all together.  

    Click on the photo below to watch the video. You'll see all 3 projects with the Splendid Thoughts bundle. 

    ~~~

    July Specials

    Host codes: 9F9AJHYG

    Get a free card class in the mail with a $55 order in July.

     *click here to order 

    Earn free products with my loyalty rewards! 

    Click here to download yours and earn a $50 shopping spree!
    Leave a Reply

    Your email address will not be published. Required fields are marked *

  • Splendid Day cards with an easy background technique; video too.


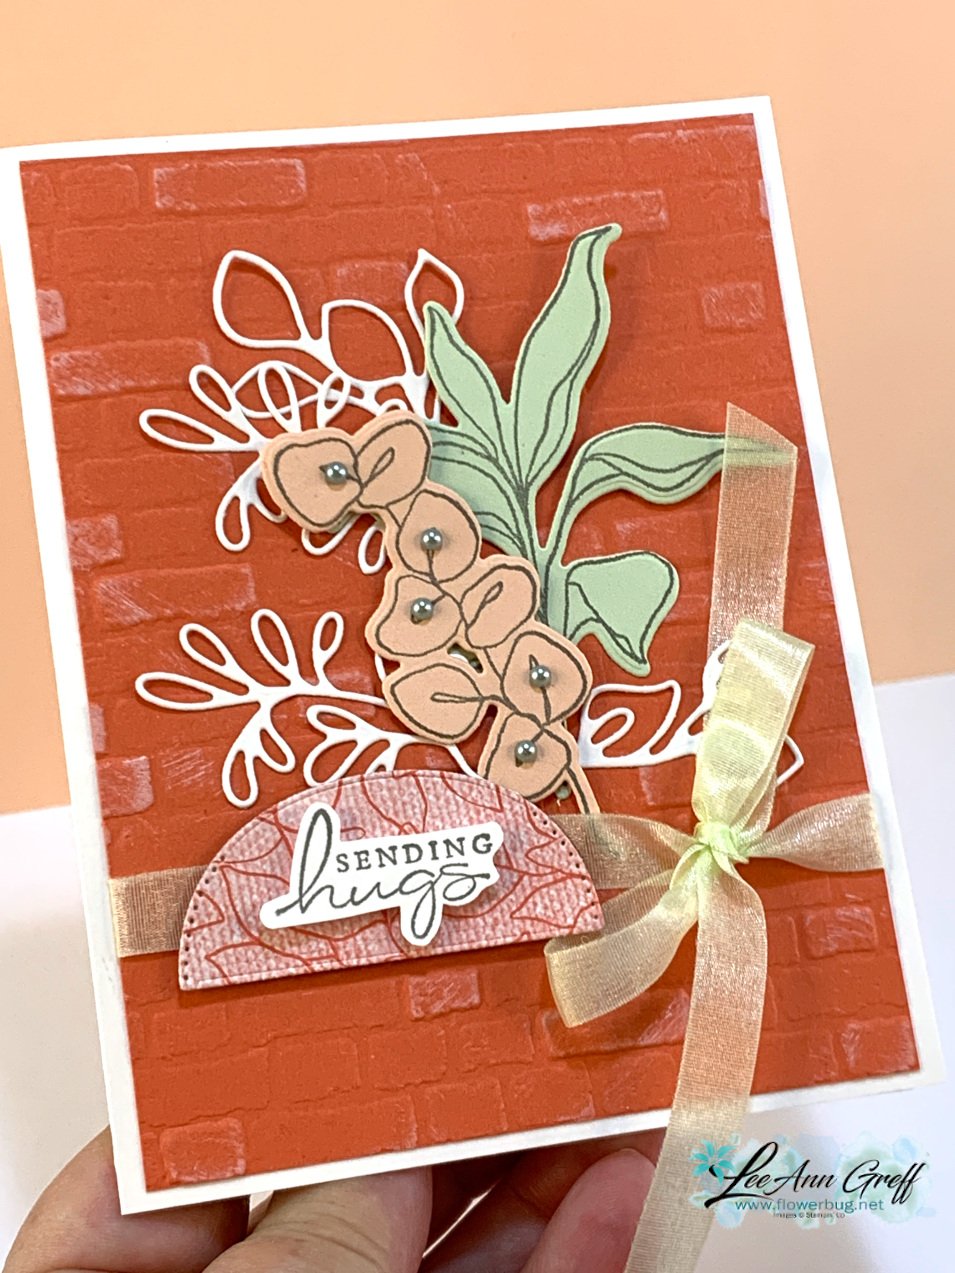
    Check out this pretty card using the Splendid Thoughts bundle.  I shared how to make it in a recent Live video seen here.  

    I think the Brick background is so pretty with the die-cuts.  I used the 'Direct to Paper' technique.  I used the Brick Wall embossing folder on the Calypso Coral CS and then used an open White Craft ink pad to lightly brush ink onto the textured CS.  I purposely keep my White Craft ink less inked than desired because I love doing this!  If yours is well inked you may want to use a sponge instead.  

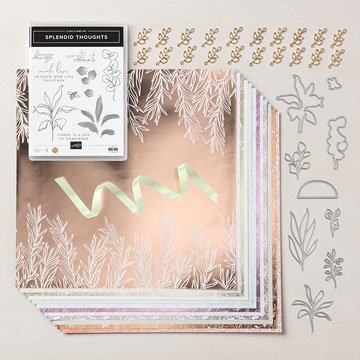
    The colors include White, Calypso Coral, Soft Sea Foam and Petal Pink.  The Splendid Day Specialty designer paper is gorgeous and full of Foil & Copper accents on one side and subtle prints on the other.  Here's what the entire suite looks like.  It will be available tomorrow, July 1st.

    You can get a share of this beautiful paper in my new Holiday Catalog paper share.  Reserve yours here now! 


    I stamped a few of the die-cuts and the greeting in Smoky Slate ink.  I fussy cut the greeting and added it to the curved 'half circle' die-cut over the ribbon.  I'll share more Splendid Thoughts projects tomorrow. 

    Click on the photo below to watch the video. You'll see all 3 projects with the Splendid Thoughts bundle. 

    ~~~

    Last Chance items are selling out!  


    It's the last day for June's Kit Collection BOGO – buy 1 get 1 50% off!  

    Host codes: 9F9AJHYG

    If your order is over $50 you'll receive a set of Solid Faceted Gems from me. *click here to order 


    Earn free products with my loyalty rewards! 

    Click here to download yours and earn a $50 shopping spree!


    Leave a Reply

    Your email address will not be published. Required fields are marked *


Notice: LeeAnn Greff, Independent Stampin’ Up! Demonstrator, Manager. The content of this website is my sole responsibility as an independent Stampin’ Up! demonstrator and the use of, and content of, the classes, services, or products offered on this website is not endorsed by Stampin’ Up! Copyright 2025