/


Latest Post

Fragrant Forest & Countryside Corners in a fun fold layout with video


I've been sharing my Fragrant Forest projects from last week's Live; this is the third one. I have a video below to watch plus free project sheets for each card too.  See this stamp set here.
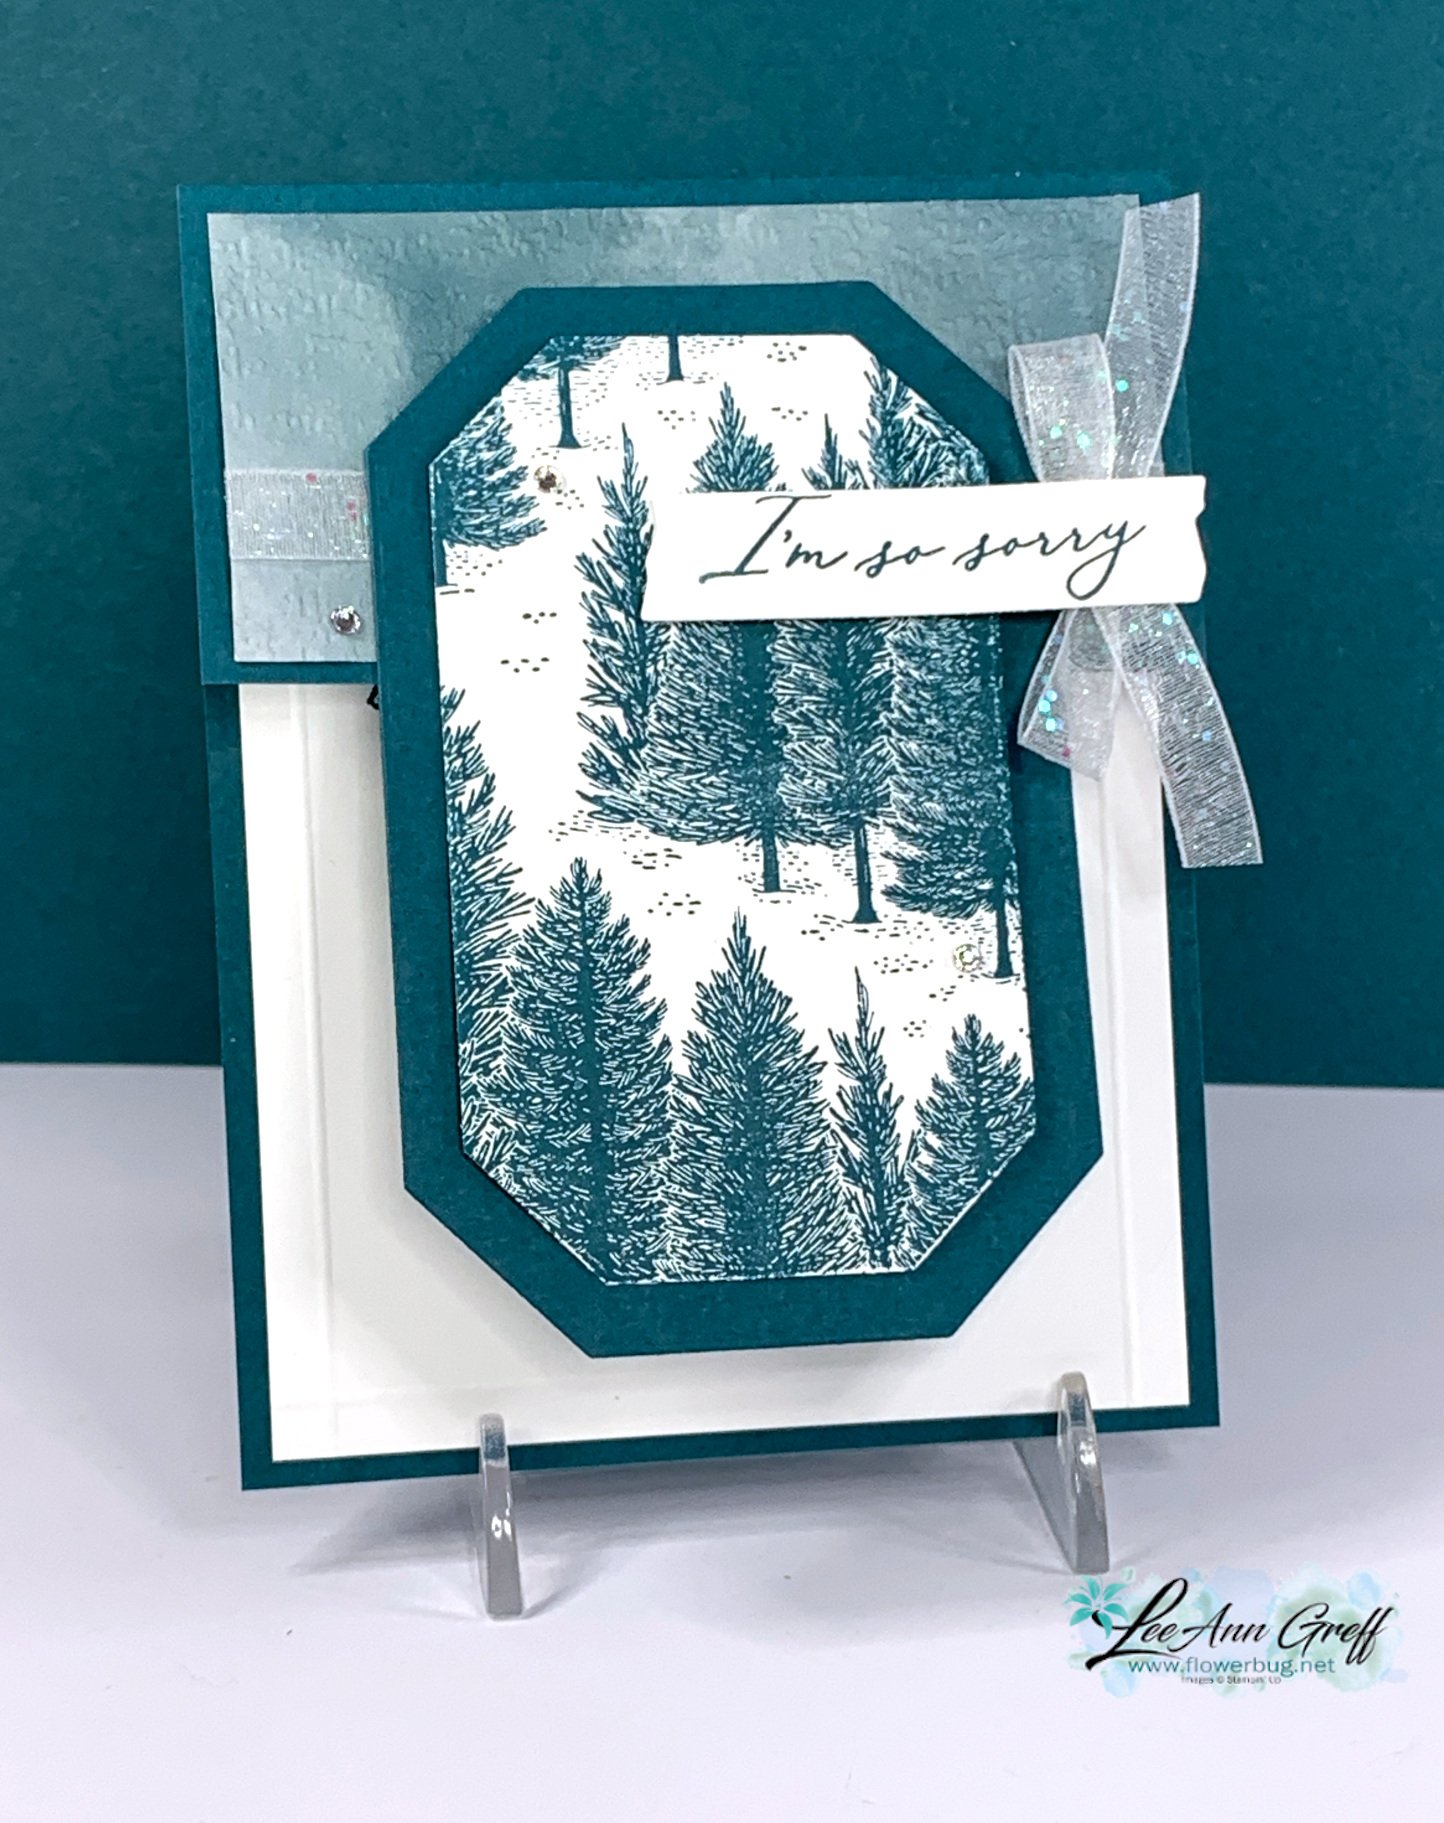
I chose a simple color combo of White & Pretty Peacock. The designer paper on the upper flap is the Hello, Irresistible from our Online Exclusives line. 

The die-cuts are the Countryside Corners from the Annual catalog; seen here. Can you see the raised lines on the inside white? I used my Simply Scored 1/4" from each edge. 

Here's the free project sheet with measurements, photo and more: Download Fragrant Forest Funfold card

I couldn't decide if I like the clean look of the card on the lower right or the added forest on the lower left card. Which do you prefer? 

Here's the inside view of the upper left card.  I used the Lasting Joy stamp set for my greeting and sentiments. I find I'm reaching for this one often. See it here. 
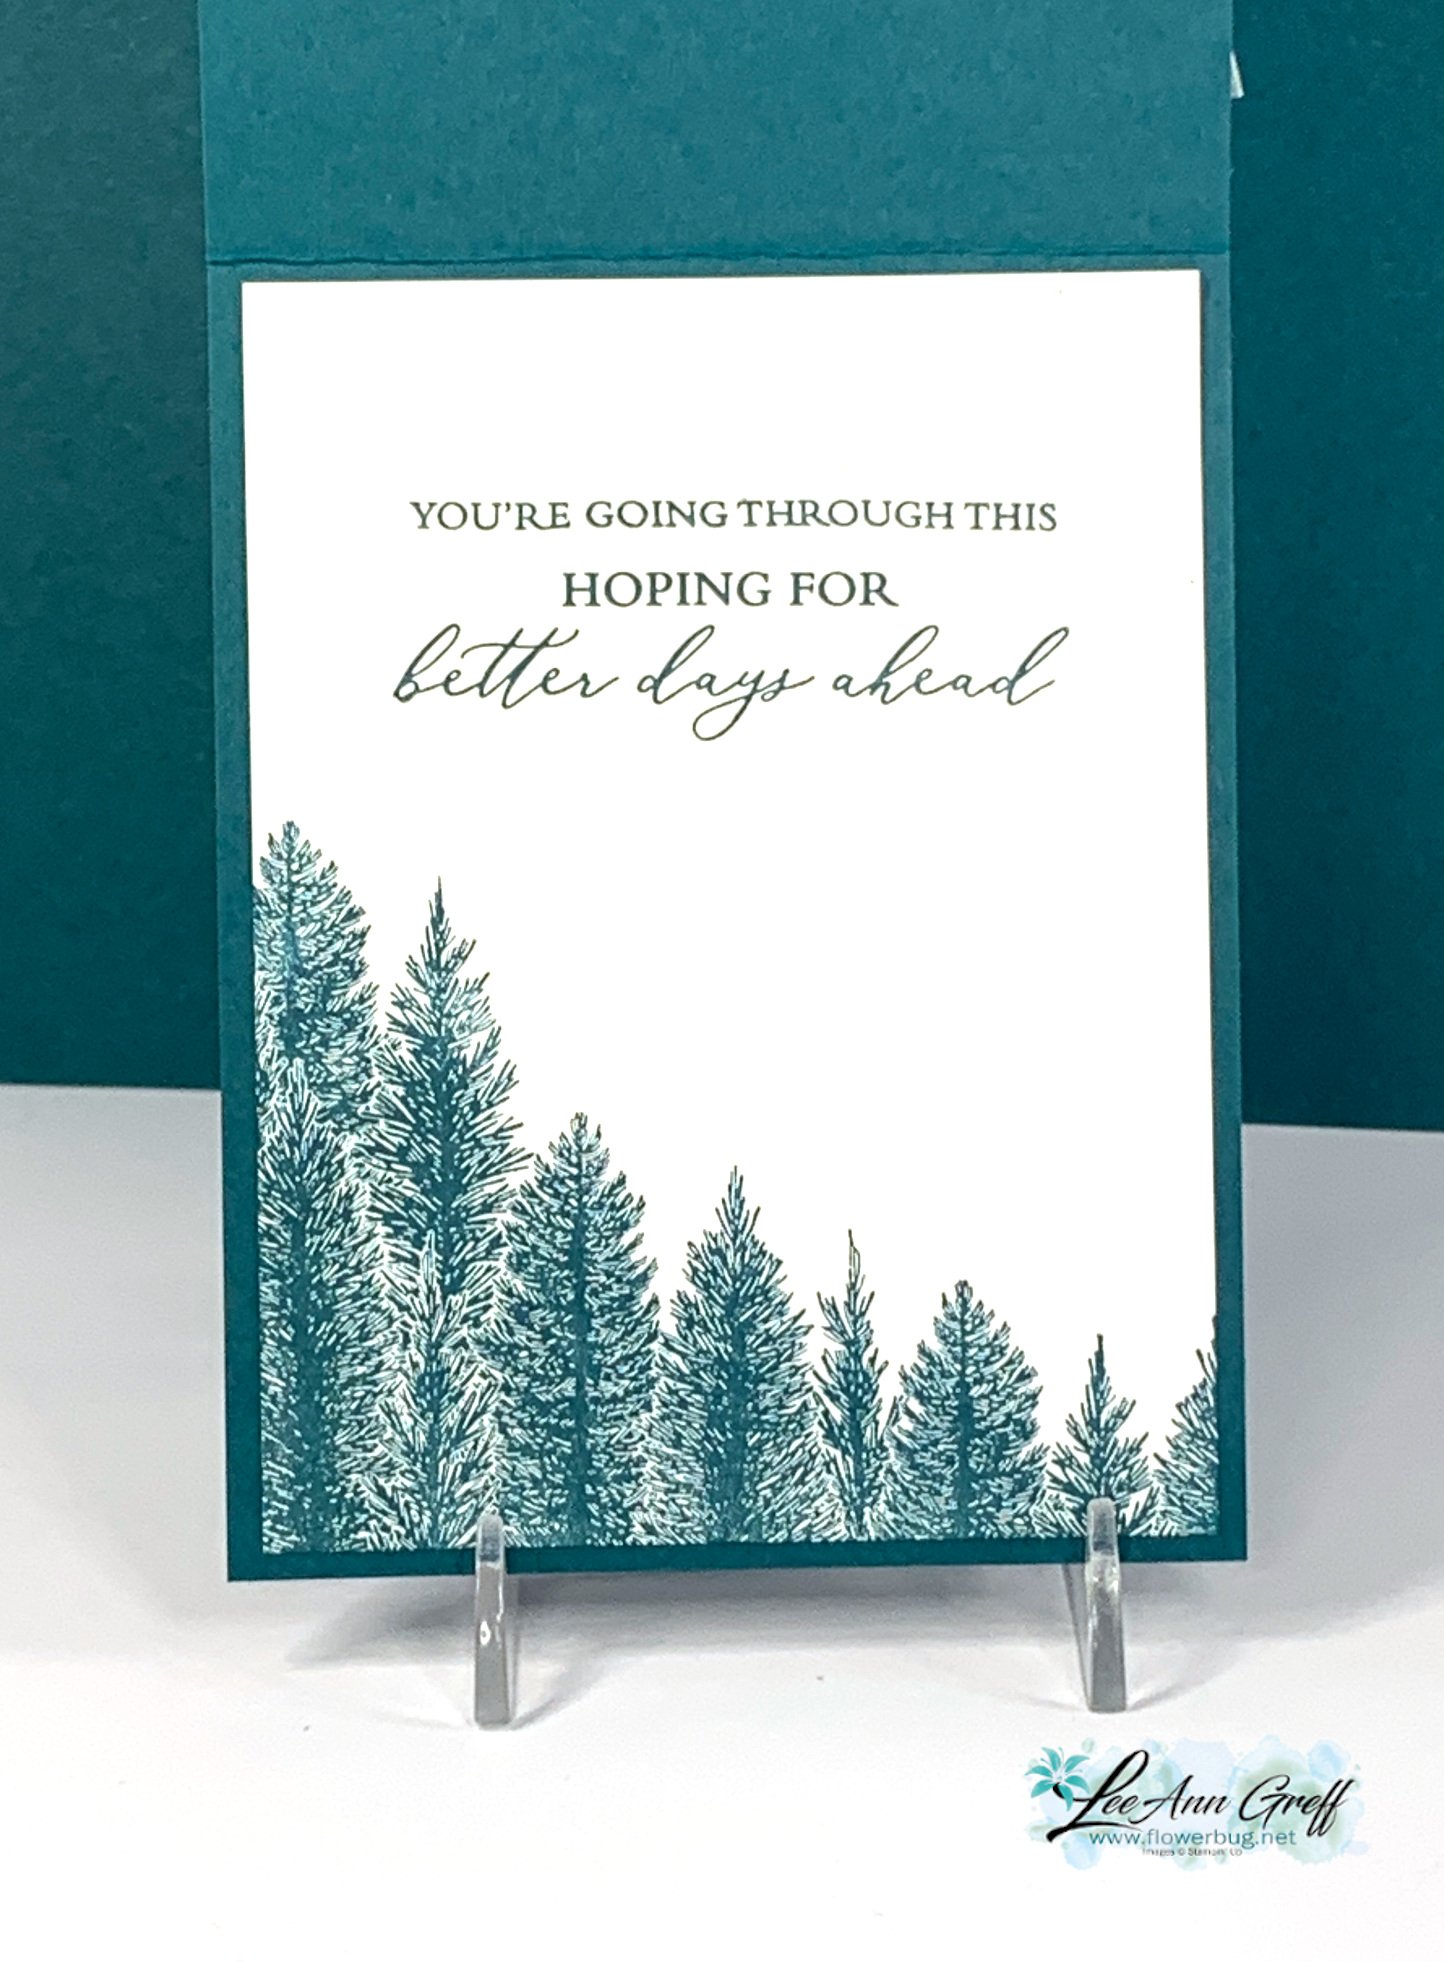
You might wonder just how I achieved inking only the bottom half of this stamp on the inside of the left card above. Watch the video here. 

I cut my stamp apart! 
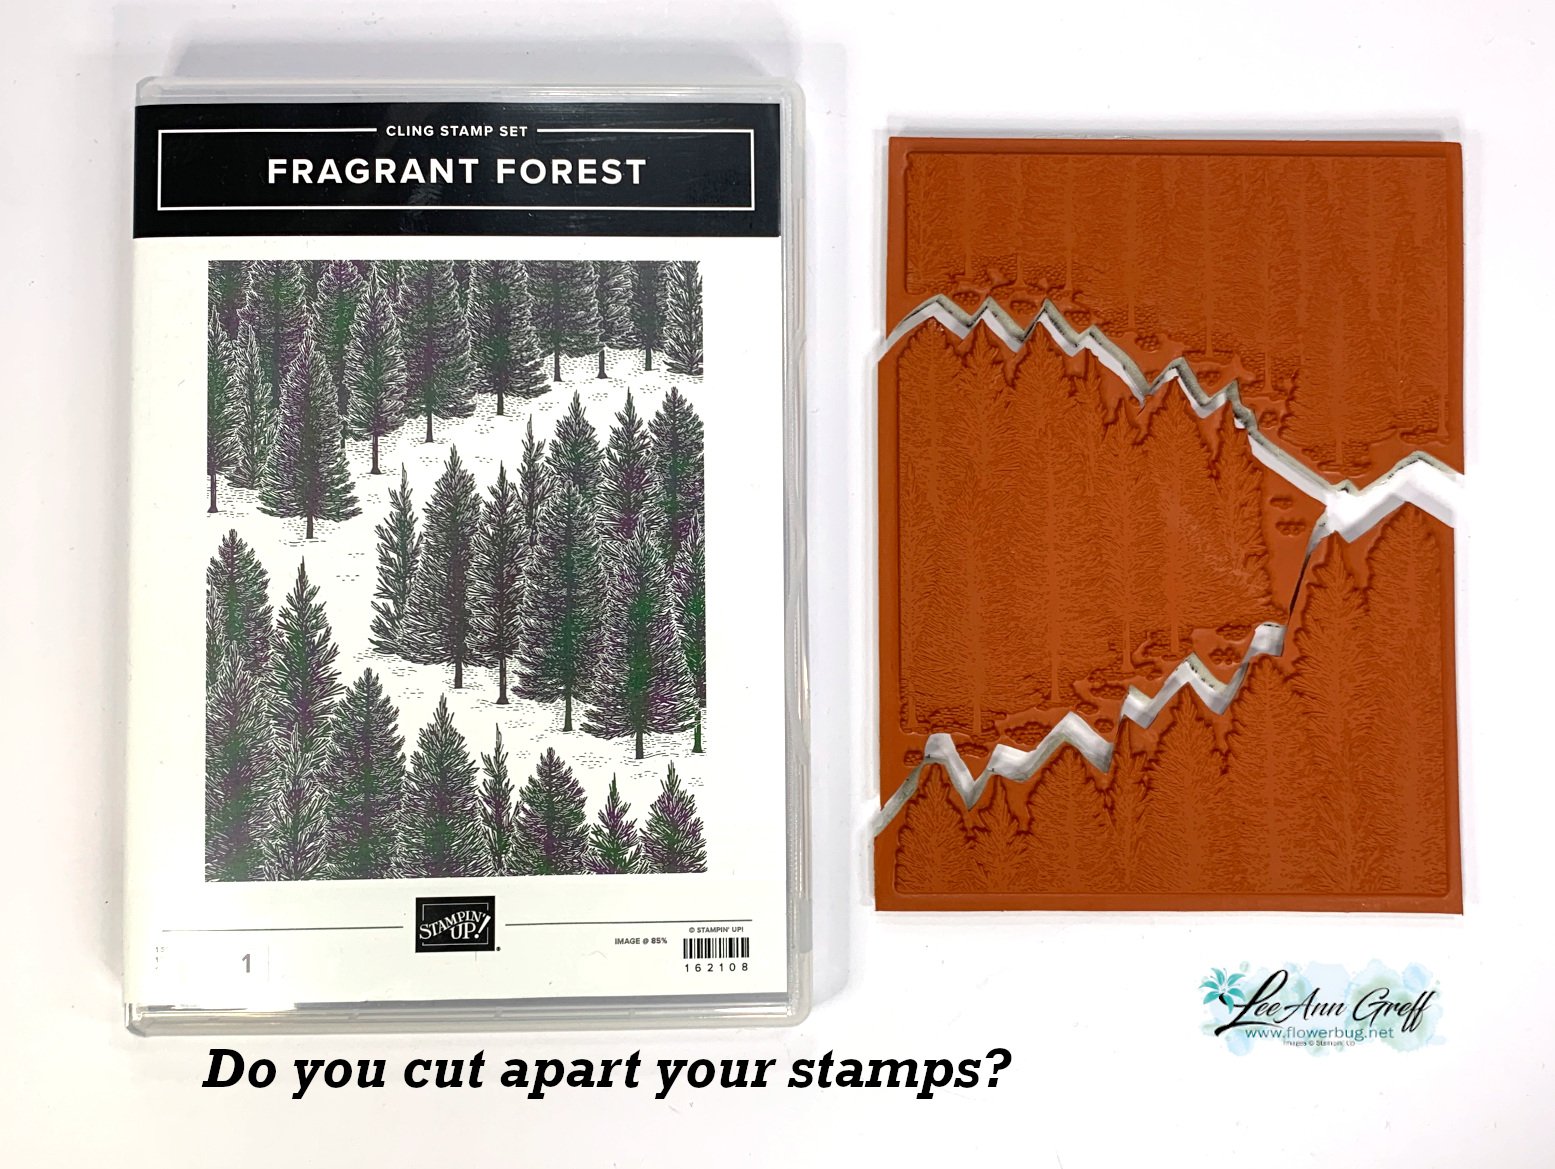
Cutting your stamps can make them so much more versatile!  And they fit right back together on your block if you do want to use the entire stamp.  Try it! 

Click here or on the photo below to watch my video.  Please subscribe to my YouTube channel too!  

~~~

December Specials: 

Get a free embellishment from the 2023 Holiday catalog with an

online order over $50


*current host codes:  PN2C7Z4E or 77277NNH

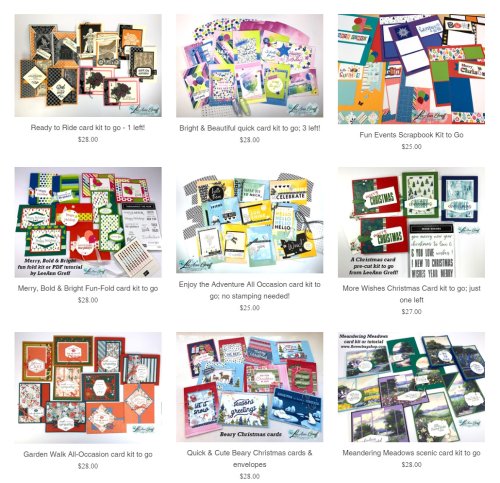
Love kits?  Check out my pre-cut card kits to go here!

I offer two new kits & tutorials each month!
 

All Posts

  • More Cutest Cow projects by our Artist of the Month!


    Wait until you see the rest of Deloris's projects with the Cutest Cow bundle! 

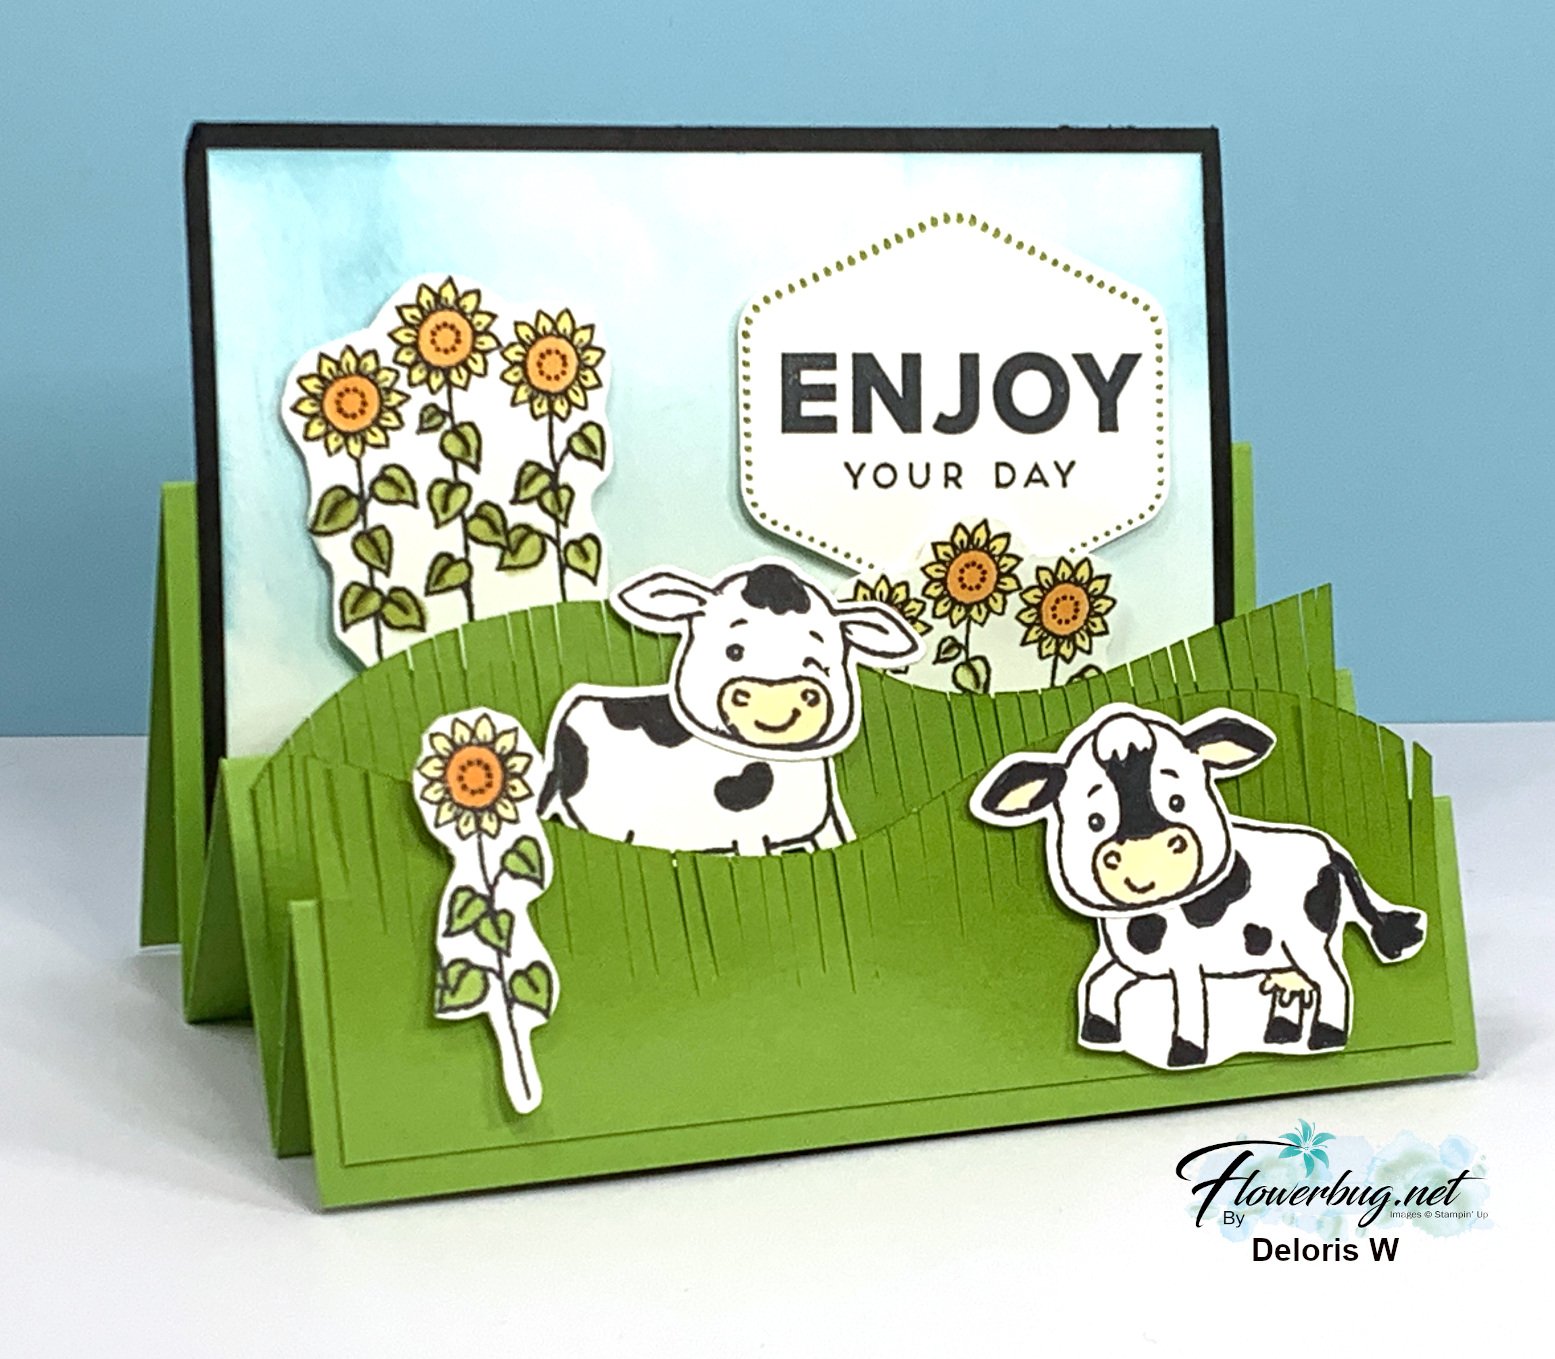
    This first card is a fun scene in an accordion style or 'stepper card' that she cased from Queen Bee Creations. 

    She used Granny Apple Green with Black & White. She added a sky background using blending brushes. She fussy cut her grass. The greeting is punched with the Heartfelt Hexagon punch. 

    Measurements:

    • Card base 5 1/2" X 11" scored at 2 1/2", 5", 6 3/4", 8 1/2" & 9 3/4"
    • Grass layers are 5 1/4" wide and approximately 2" & 1 5/8" high
    • White sponged layer 5" X 3 3/4"
    • Black is 5 1/4" X 4" 

    Next is a fun play on a 'purple cow'. Have you ever had that drink?  Ice cream added to grape soda – yum!

    How cute is this!?  Her colors include Highland Heather, Gorgeous Grape, Black & White. The die-cuts are from the wonderful & popular Nested Essentials dies seen here. 

    And lastly a scene directly from the farm! Deloris used to have milk cows on her farm so she knows cows!   

    Her colors include Blueberry Bushel, Crushed Curry, Old Olive, Black & White. The designer paper is from the Glorious Gingham pack seen here. The Banner greeting die is also from the Nested Essentials dies. 

    Thank you Deloris for sharing your incredible projects with us!  


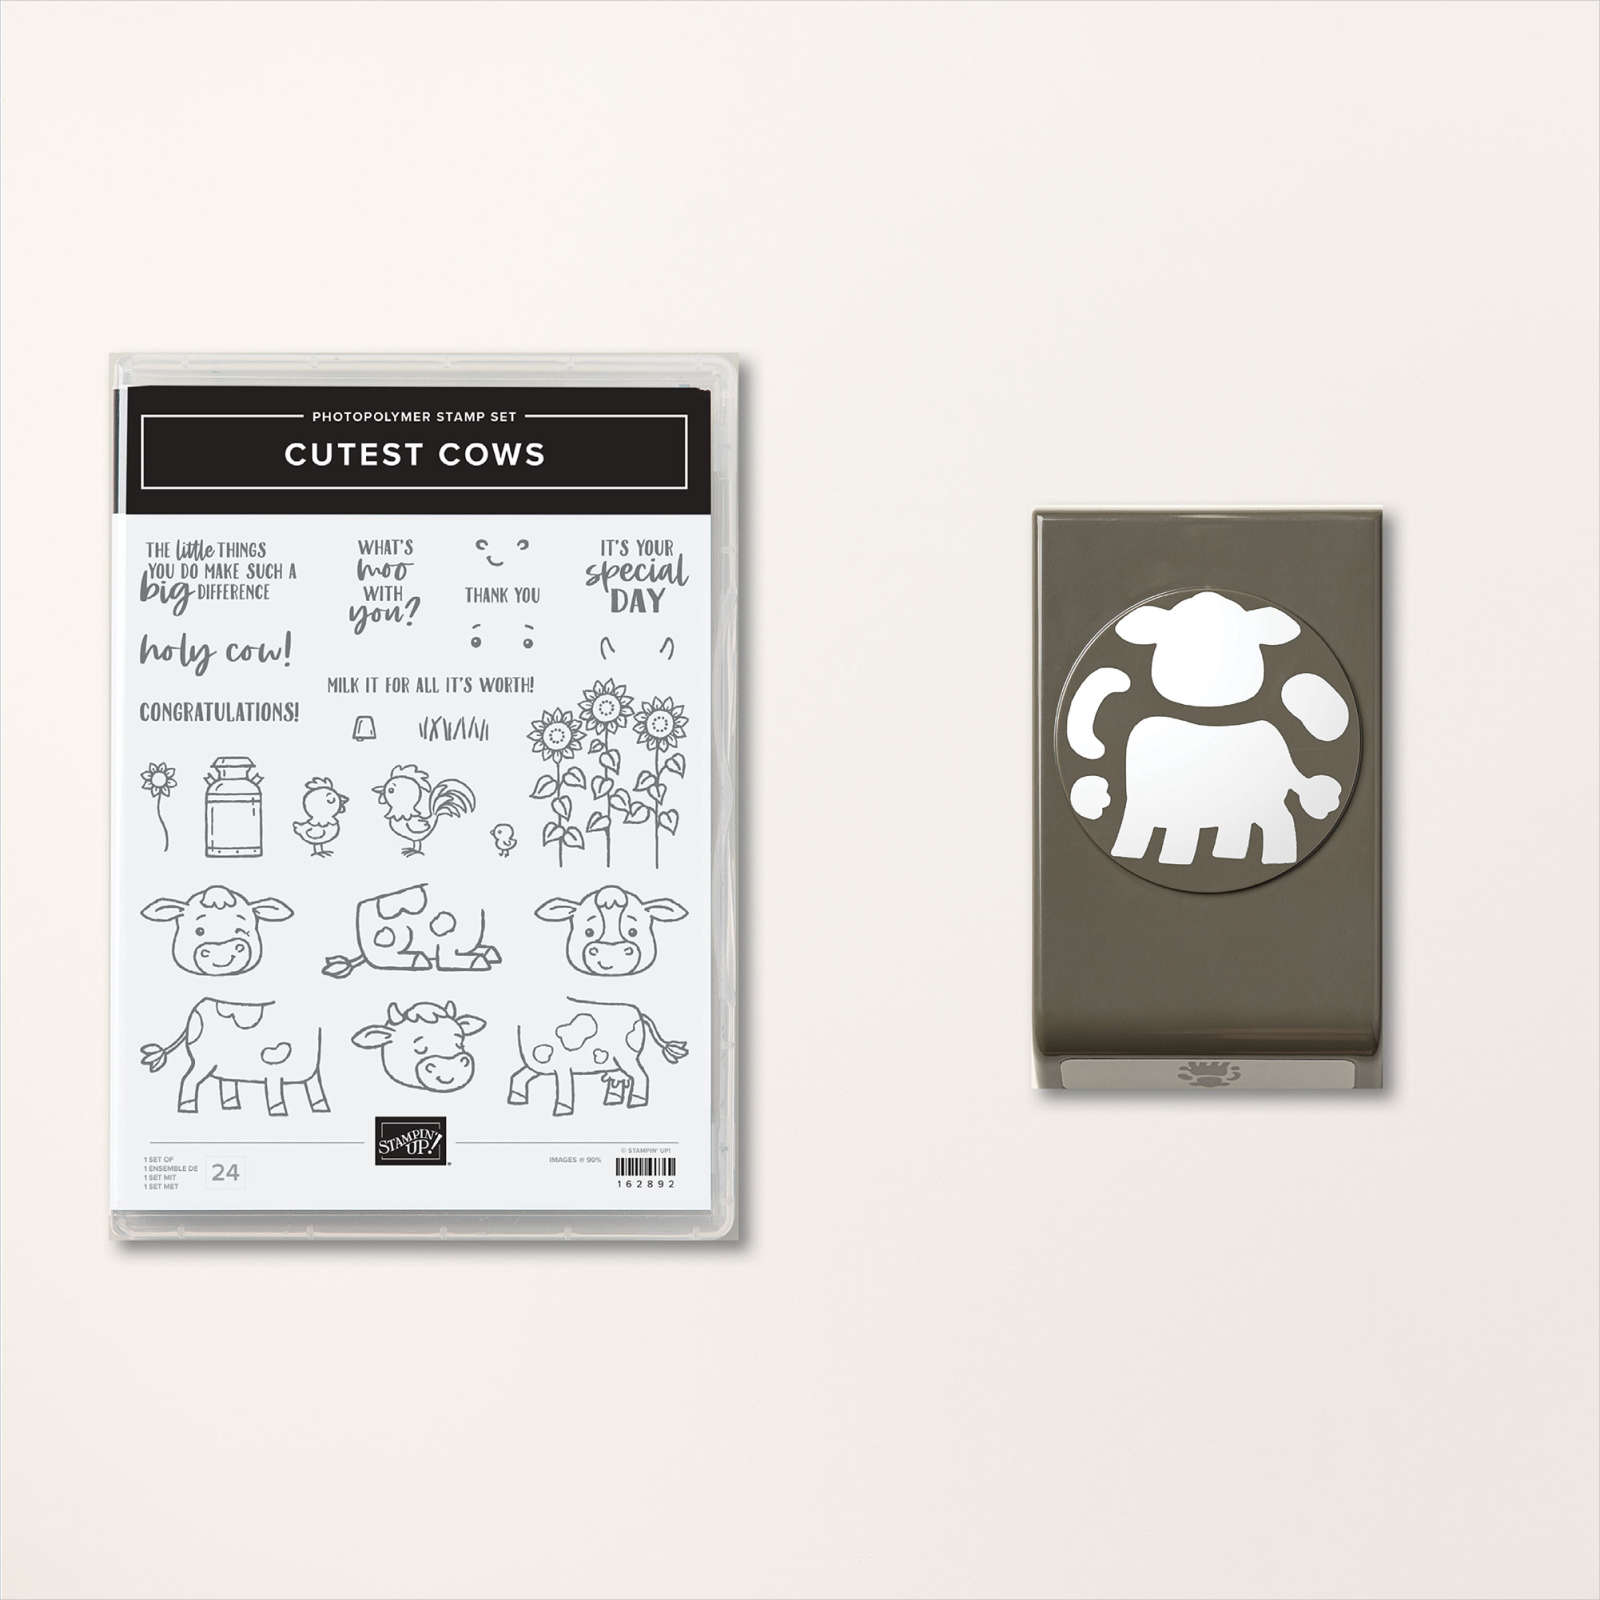
    As you can see with her adorable projects, the Cutest Cow bundle is super cute & fun to create with!  The stamp set & punch will be sold in the new Annual Catalog coming out in May. It will not be available in a bundle at 10% off though; the items will be sold separately. 

    ~~~

    March Specials: 

    See over 20 brand new Online Exclusive products here!

    *current host code links:   ZDUGF6KY or TQWBXR4T

    ~~~

    Get a free package of Rainbow Dots

    with online orders over $55 in March

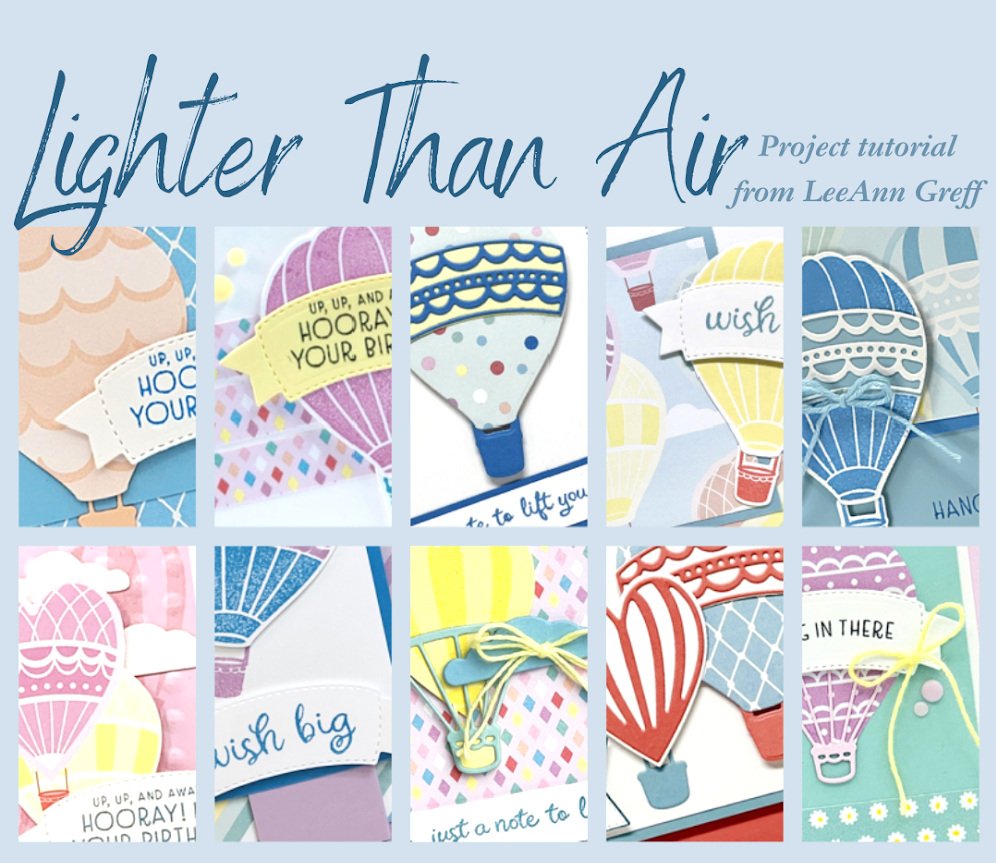
    All online orders in March will receive this free Hot Air Balloon tutorial with 8 projects!

    Leave a Reply

    Your email address will not be published. Required fields are marked *

  • Amazing Artist of the Month projects with the Cutest Cow bundle!


    Deloris chose to feature the Cutest Cow bundle for her Artist of the Month projects. She did an incredible job showcasing this cute bundle! 

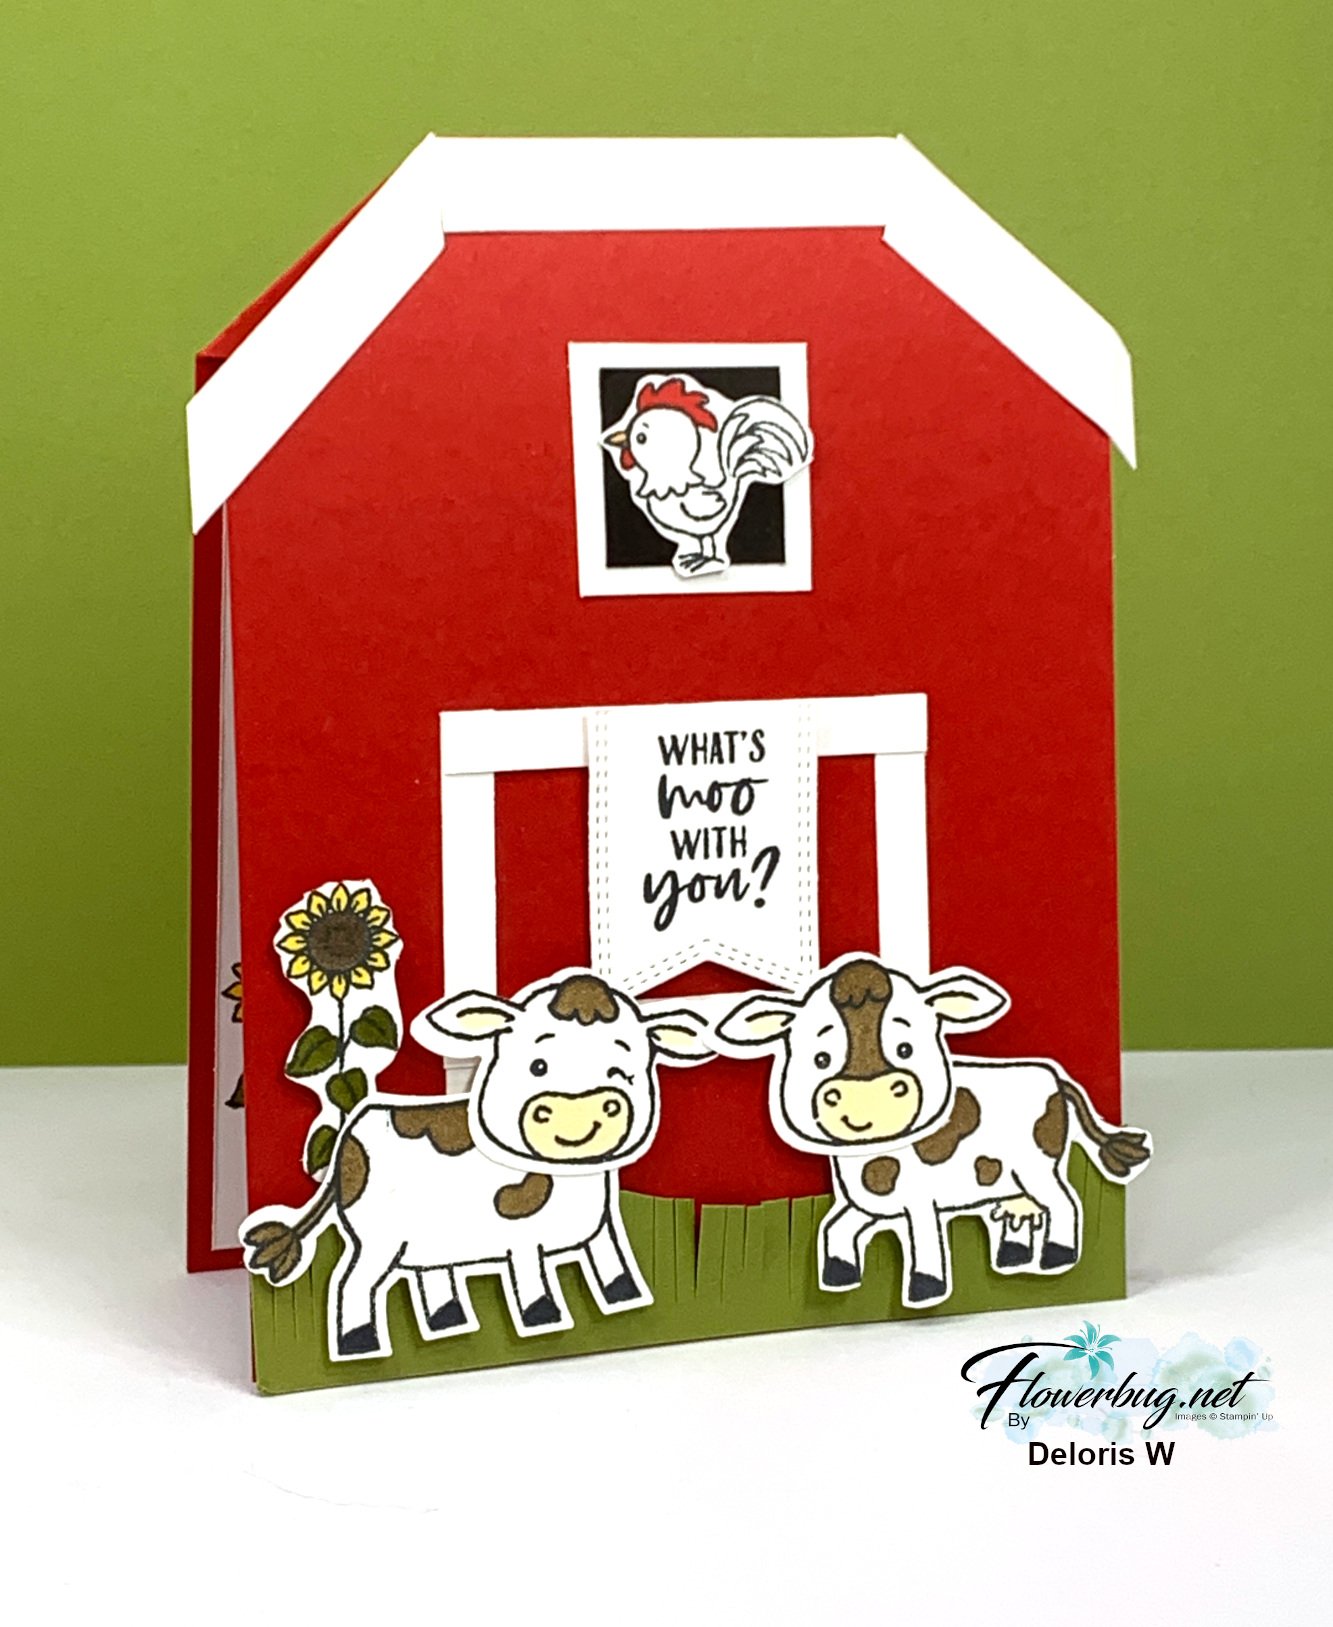
    First is an adorable 'barn' card. Who wouldn't love to receive this fun card? 

    Isn't that the best way to feature these cows!?  She cased Queen Bee Creations for this idea. I love the rooster in the window! 

    Measurements: 

    • Red card base 4 1/4" X 11" score at 5 1/2". Make a mark 1" inside the fold and 1" above & below the fold line on the edge. Score. 
    • White inside 4" X 5 1/4" – trim off upper corners to fit the fold
    • White strips to form the barn roof are 3/8" and the door are 1/4". 
    • Old Olive grass she cut into a wave shape and used her scissors to create grass

    Here's the inside view: 

    Next is a sunrise 'Rocker' card using Old Olive & Daffodil Delight. 

    The Deckled Circles are a must for these cards! See them here in our Online Store. 

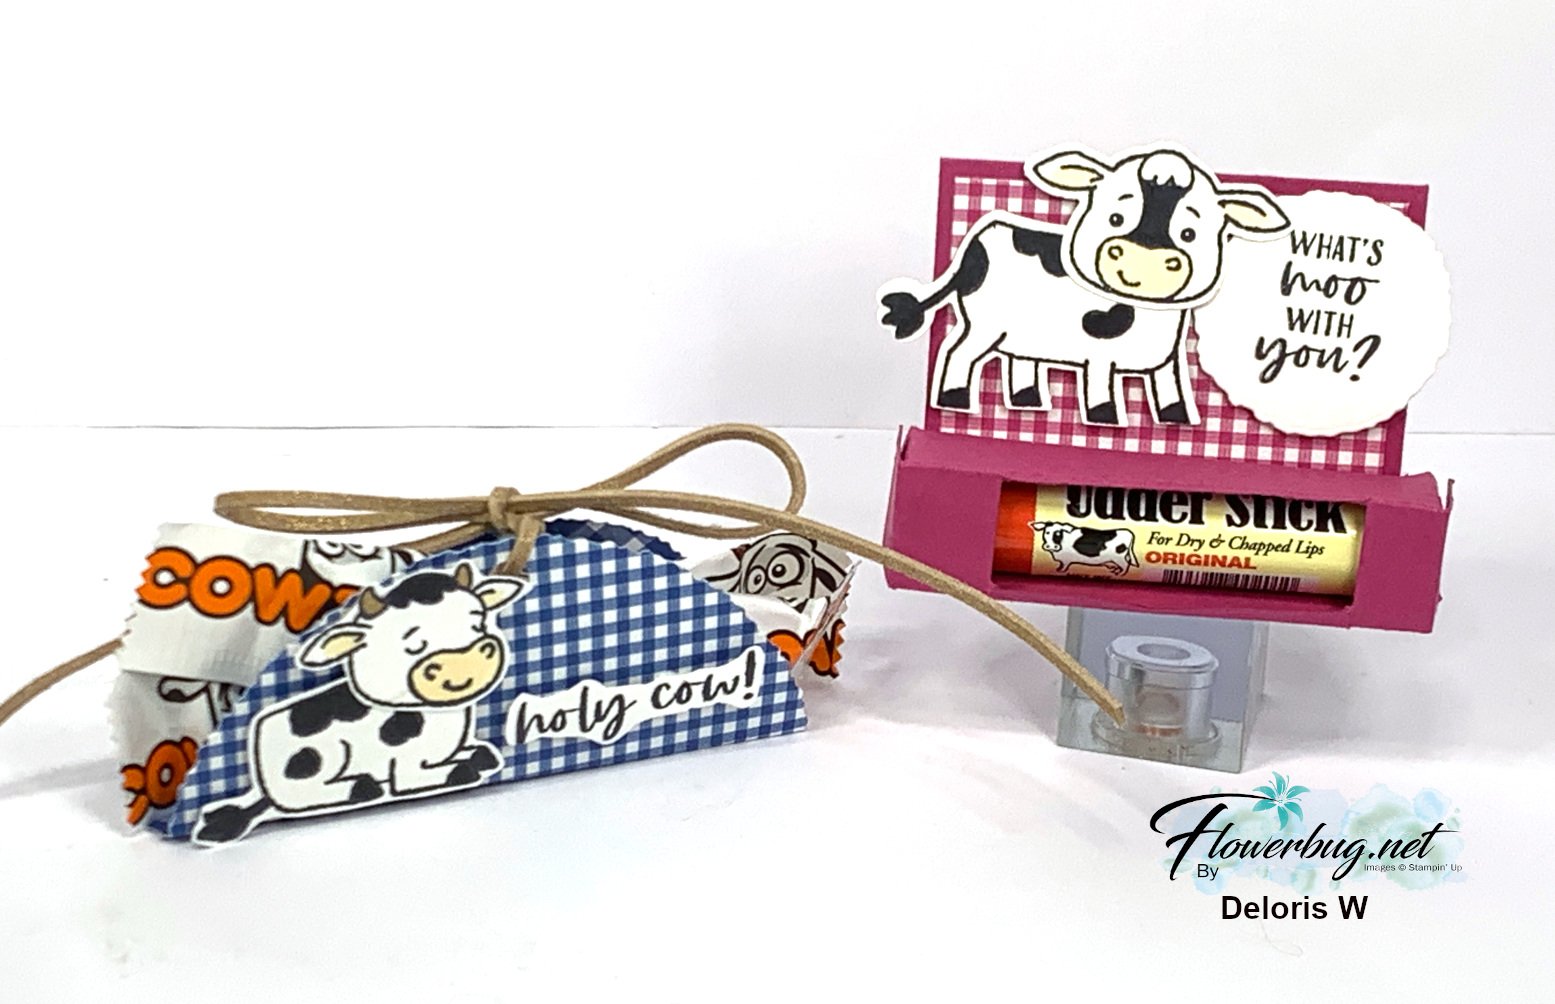
    Here are her fun 3d projects: 

    For the cow tail candy wrap she used our Blueberry Bushel Glorious Gingham DSP cut with a Deckled circle die. She simply added a few score lines to the middle so it would stand up.

    The Udder Stick (chapstick) holder was cased from Cards by TLC and features Berry Burst Glorious Gingham DSP. 

    I'll share more of her cute projects tomorrow!

    As you can see with her projects, the Cutest Cow bundle is super cute!  The stamp set & punch will be sold in the new Annual Catalog coming out in May. It will not be available in a bundle at 10% off though; the items will be sold separately. 

    ~~~

    March Specials: 

    See over 20 brand new Online Exclusive products here!

    *current host code links:   ZDUGF6KY or TQWBXR4T

    ~~~

    Get a free package of Rainbow Dots

    with online orders over $55 in March

    All online orders in March will receive this free Hot Air Balloon tutorial with 8 projects!

    Leave a Reply

    Your email address will not be published. Required fields are marked *

  • Latte Love Book Binding Z-fold with free project sheet


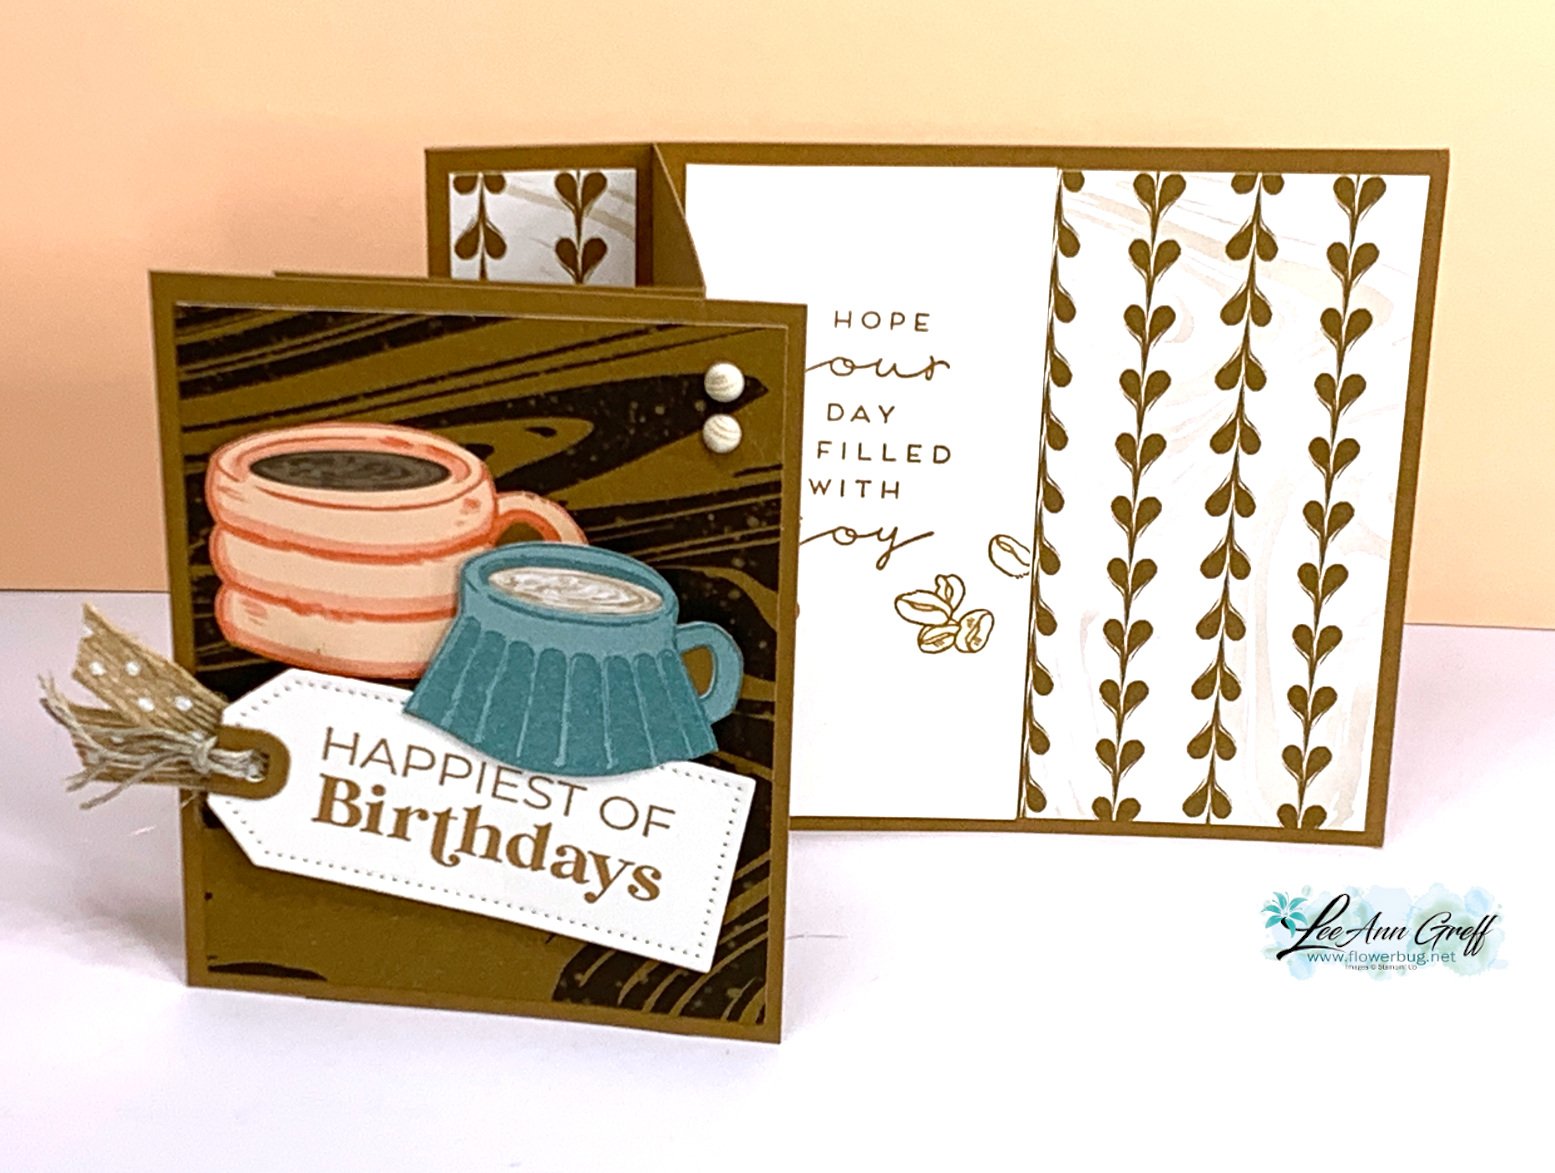
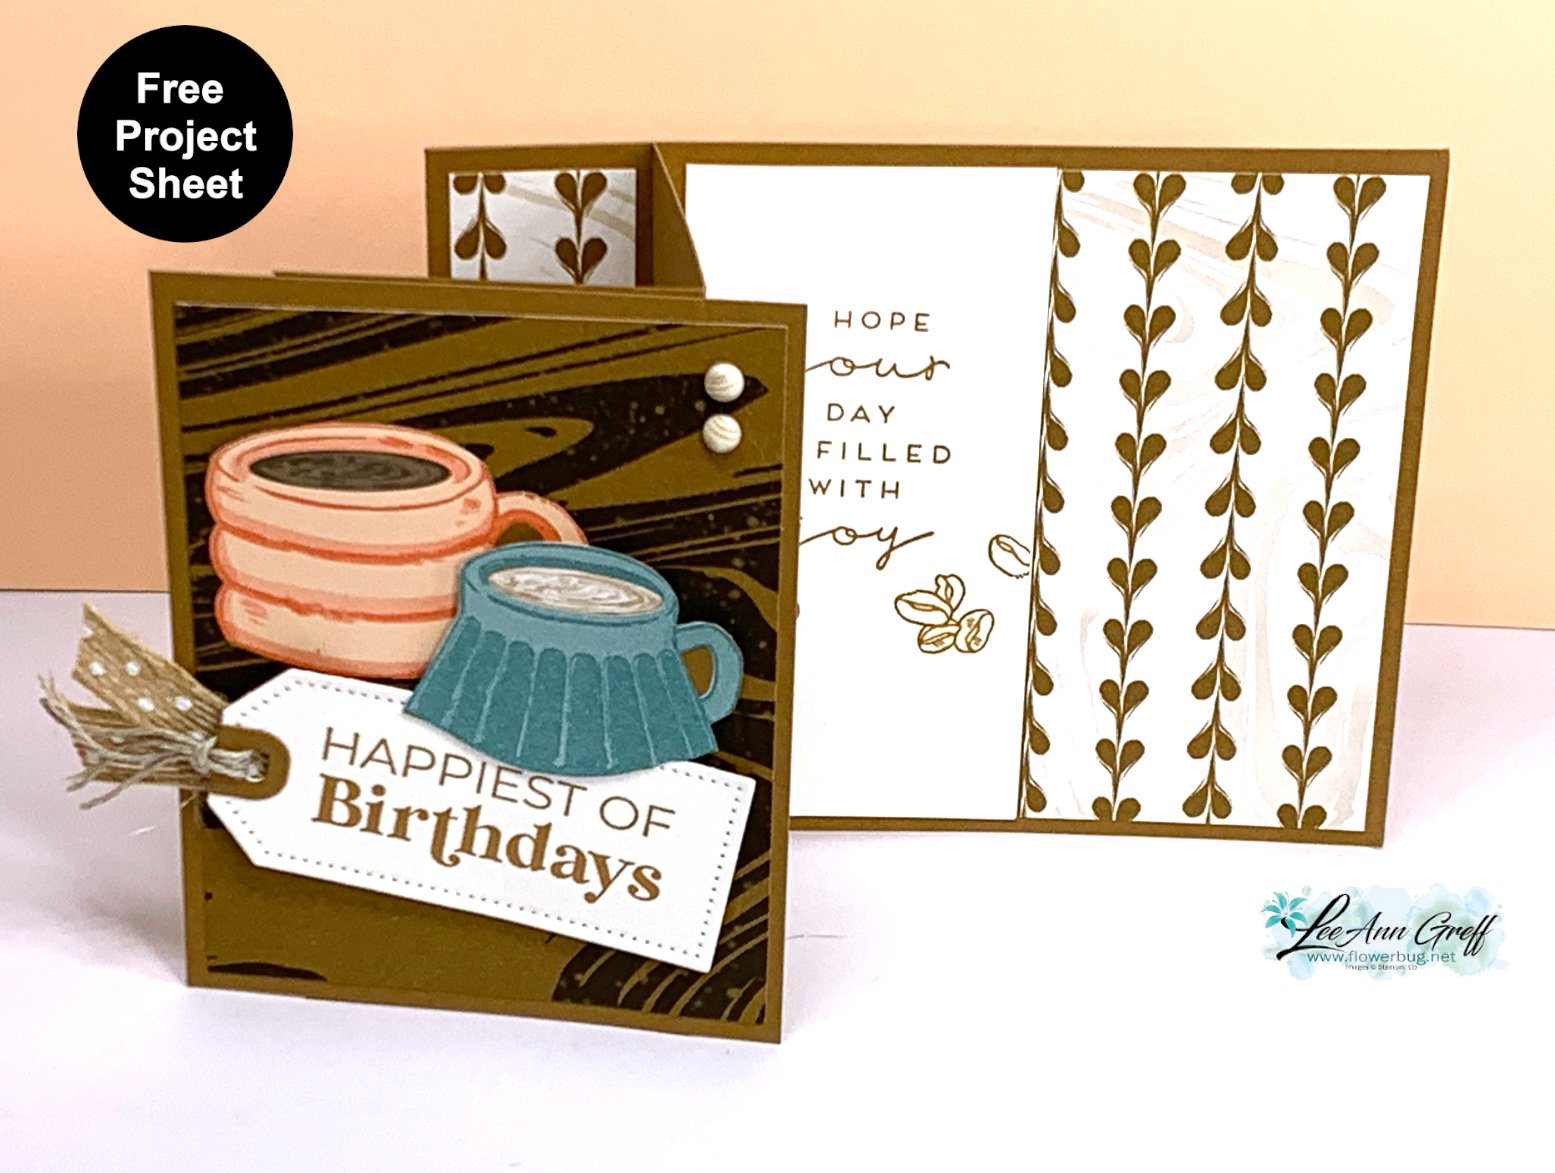
    I am in love with this fun fold!  I call it a 'Book-binding' Z fold card.  

    This one is made with the A Little Latte designer paper seen here.  It's part of our huge bunch of Online Exclusive products.

    The card starts out at 11" X 4 1/4" with two score lines (see the measurements in the free project sheet below). Then you add a second layer to the front flap to create this unique but easy fold.  

    I'm surprised this trendy designer paper hasn't sold out yet!  

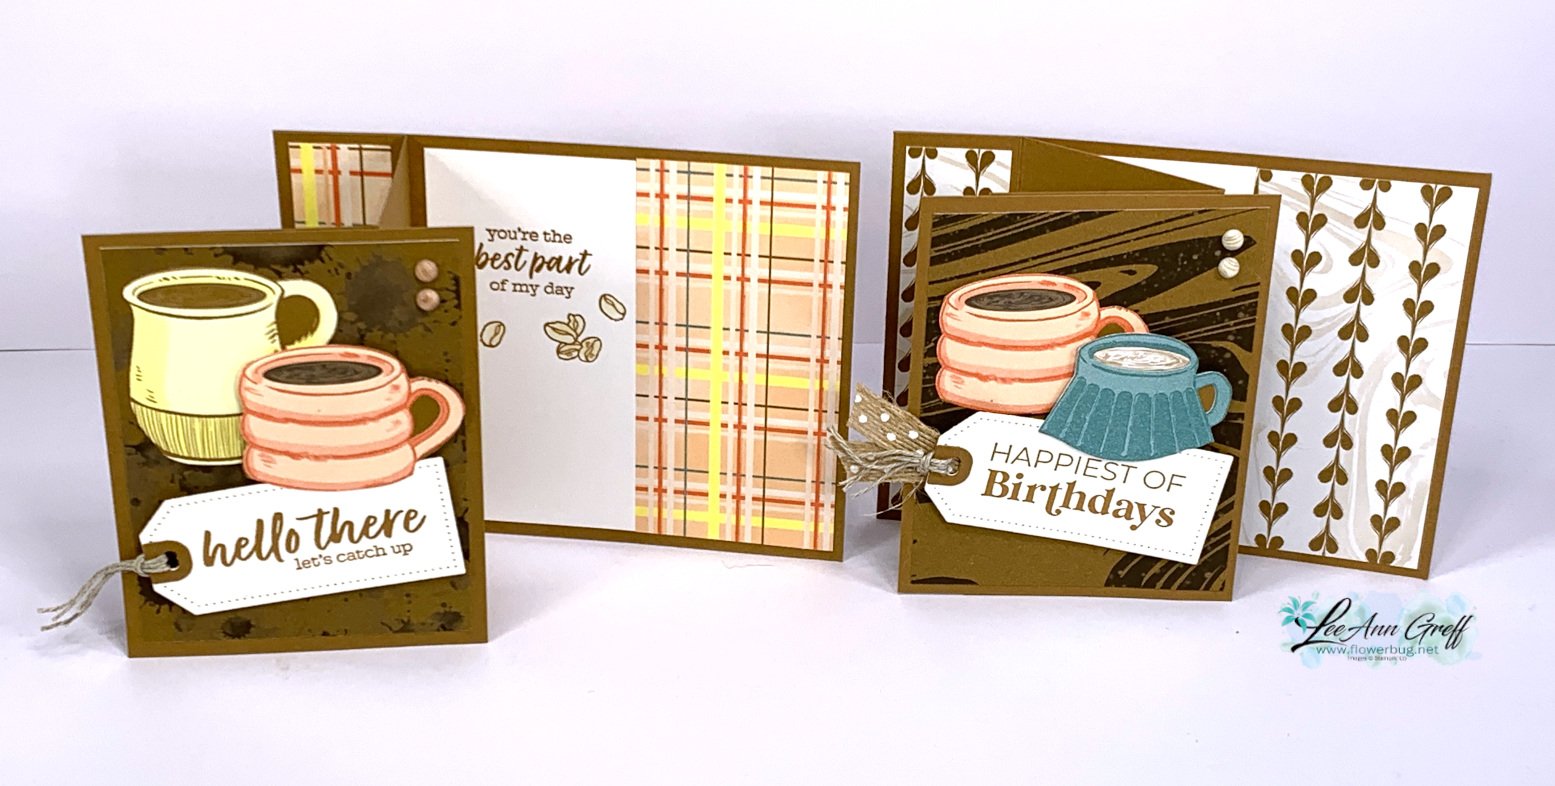
    Below you can see both versions of this card we made at my March card clubs.  

    The coffee cups were fussy cut from the designer paper.  The stamps on the left are from the Latte Love bundle seen here.  The tag on front is from the Tailored Tags dies seen here.  I use these all of the time!  

    I created a free project sheet you can download or print. These project sheets are so handy to have in an idea binder or folder. Download March 24 Club A Little Latte book binding

    If you own this fun designer paper you might like my PDF tutorial for 5 more card designs on my Tutorial Shop here.  

    ~~~

    March Specials: 

    See over 20 brand new Online Exclusive products here!

    *current host code links:   ZDUGF6KY or TQWBXR4T

    ~~~

    Get a free package of Rainbow Dots

    with online orders over $55 in March

    All online orders in March will receive this free Hot Air Balloon tutorial with 8 projects!

    Leave a Reply

    Your email address will not be published. Required fields are marked *


Notice: LeeAnn Greff, Independent Stampin’ Up! Demonstrator, Manager. The content of this website is my sole responsibility as an independent Stampin’ Up! demonstrator and the use of, and content of, the classes, services, or products offered on this website is not endorsed by Stampin’ Up! Copyright 2025