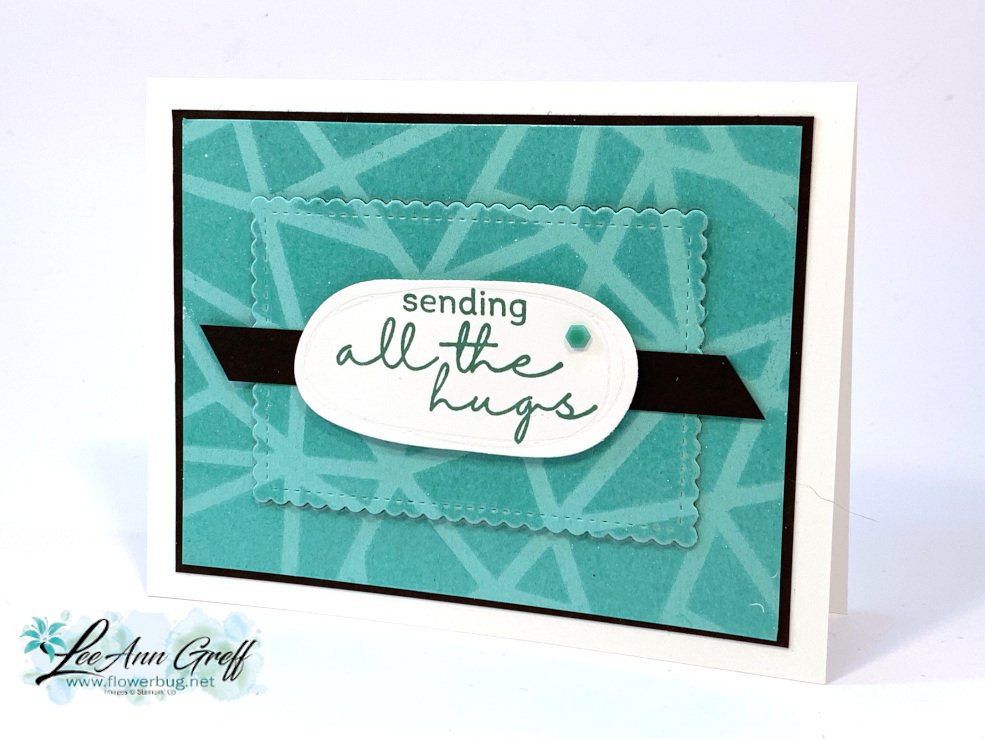
I explain how it's done in the video here.Basically I laid the mask over my card stock and repeatedly pressed my Versamark ink pad directly over it. Then I heat embossed with Clear embossing powder & my heat tool. I love this effect!
The greeting is from the Artfully Layered stamp set in the upcoming 2022 Jan-June catalog. It will be in a bundle with the Tropical Layer dies at 10% off.
After I created the embossed grid background layer I used a scalloped stitched rectangle from the Stitched So Sweetly dies to die-cut a piece from the center. Then I adhered the outside piece to my Black layer and added the center piece on Stampin' Dimensionals. I wanted the Black to show a bit behind it.
The oval die-cut for the greeting is from the Beautiful Layers dies; also from the upcoming new catalog. Adding a 1/2" Black strip brings the Black outer layer forward a bit.
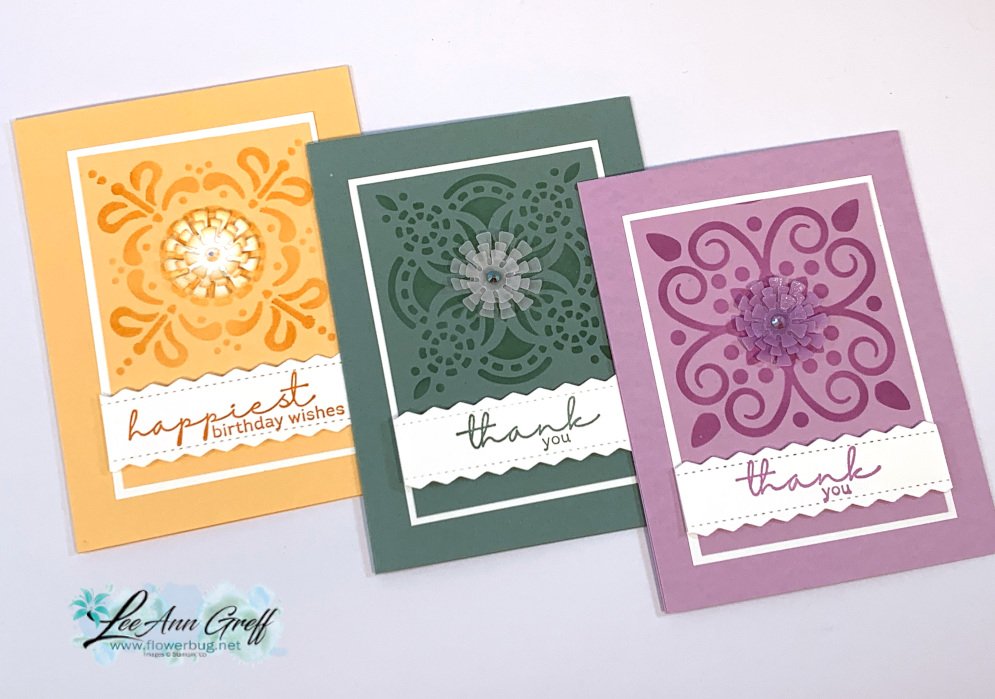
I used Blending Brushes and Fresh Freesia ink to add the medallion to the CS. The flower in the center is made with our Shimmer In Color Vellum paper & the Dandy Wishes dies seen here.
The greetings are stamped on a strip of White CS. The edges are created with a new set of dies coming out in the 2022 Jan-June catalog called the Tropical Layer dies. It's a scalloped/stitched edge die I ran through twice.
I received it from Bobby, one of my Flowerbug team members. It's elegant in the all White & Gold colors. She added two main layers of the large pine dies; one in white & another in Gold under it offset a bit. Then a few layered pinecones too.
It's made with the Christmas to Remember bundle with White, Gold Foil paper, Brushed Metallic Adhesive-Backed dots, Gold heat embossing & Gold shimmer ribbon. You can see this bundle here.
Notice: LeeAnn Greff, Independent Stampin’ Up! Demonstrator, Manager. The content of this website is my sole responsibility as an independent Stampin’ Up! demonstrator and the use of, and content of, the classes, services, or products offered on this website is not endorsed by Stampin’ Up! Copyright 2025


Leave a Reply