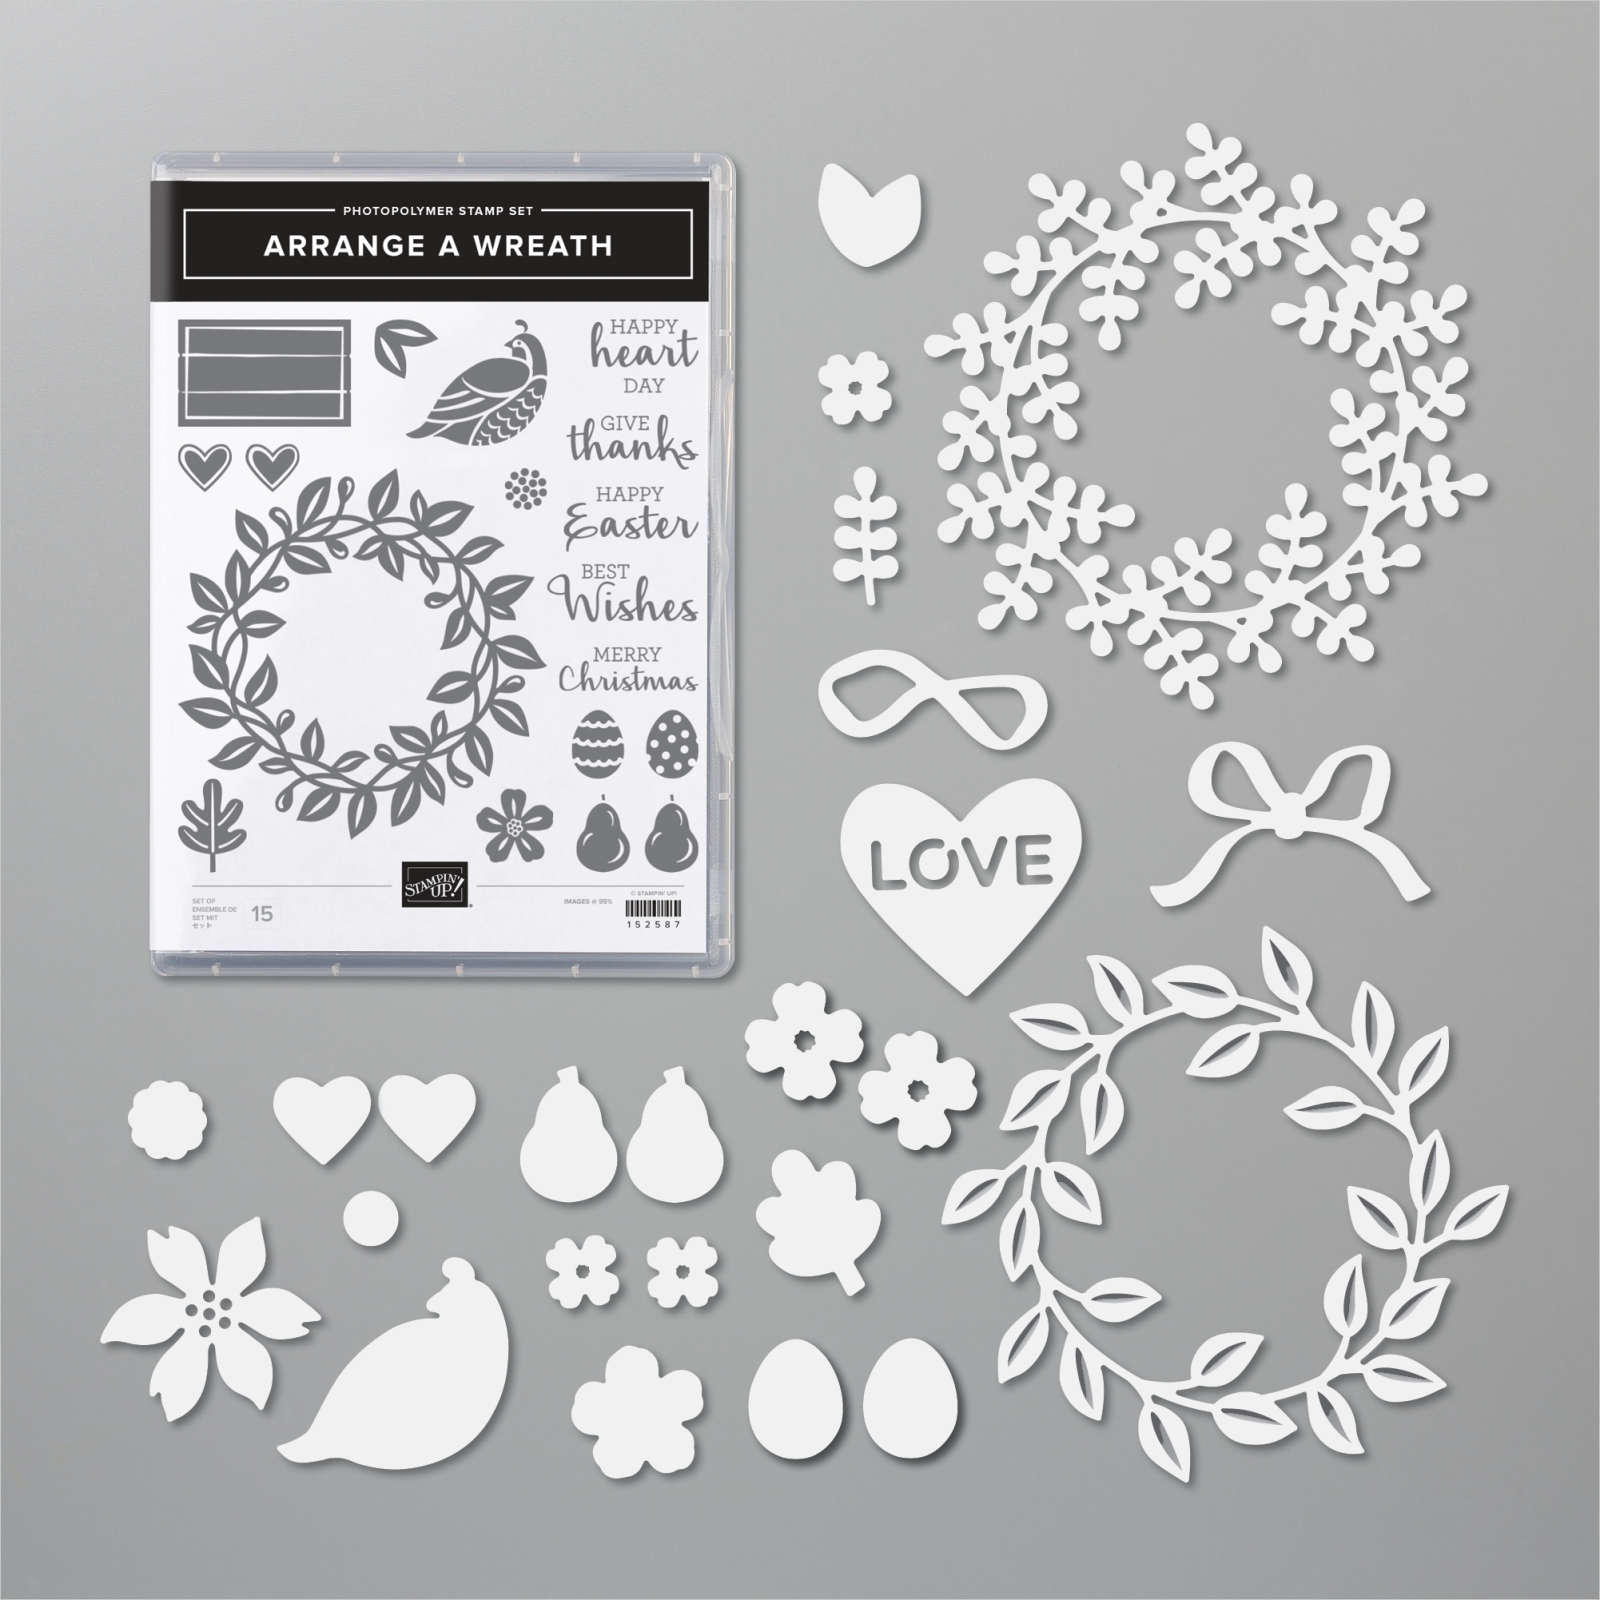
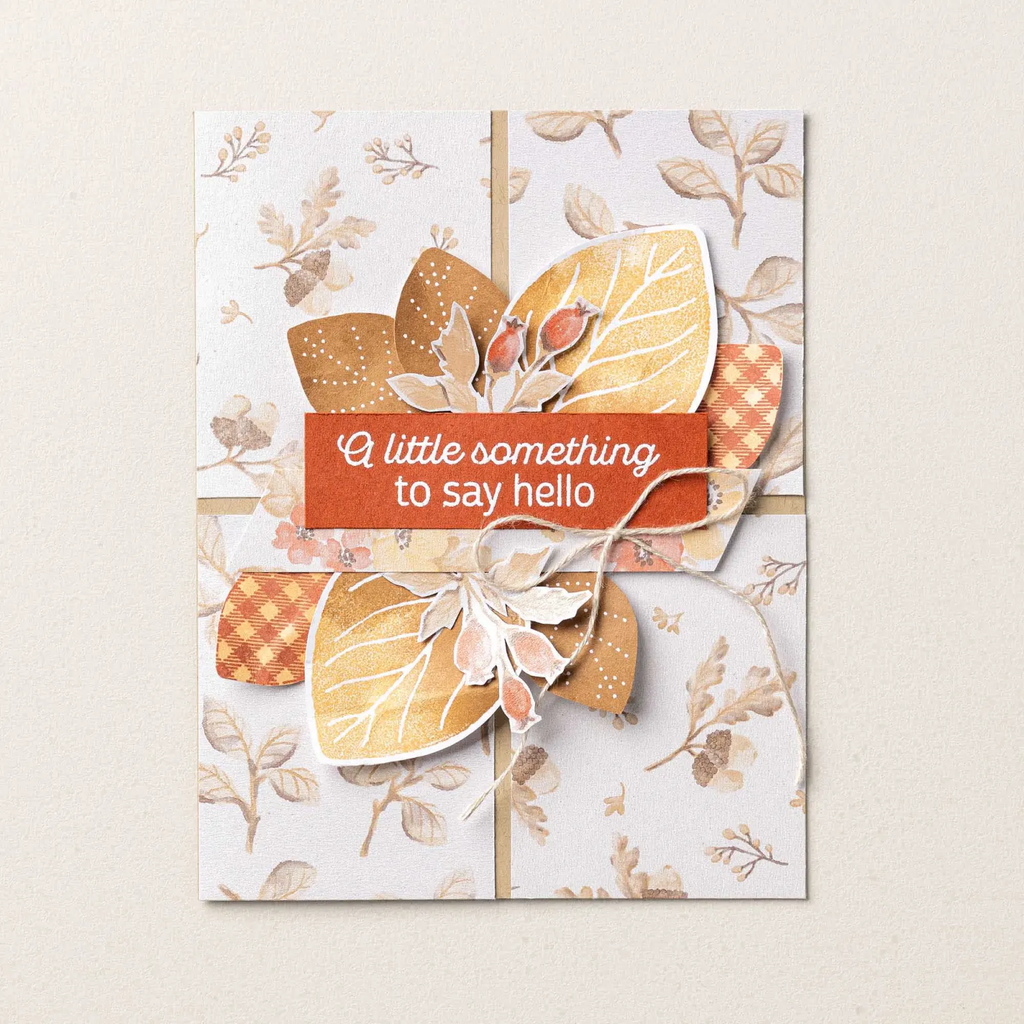
Fancy Easel Fold card with the Arrange a Wreath bundle
We made this fancy fold card at October card clubs. The Easel really shows off the wreath from the Arrange a Wreath bundle in the Annual catalog. You can see it in the video below.
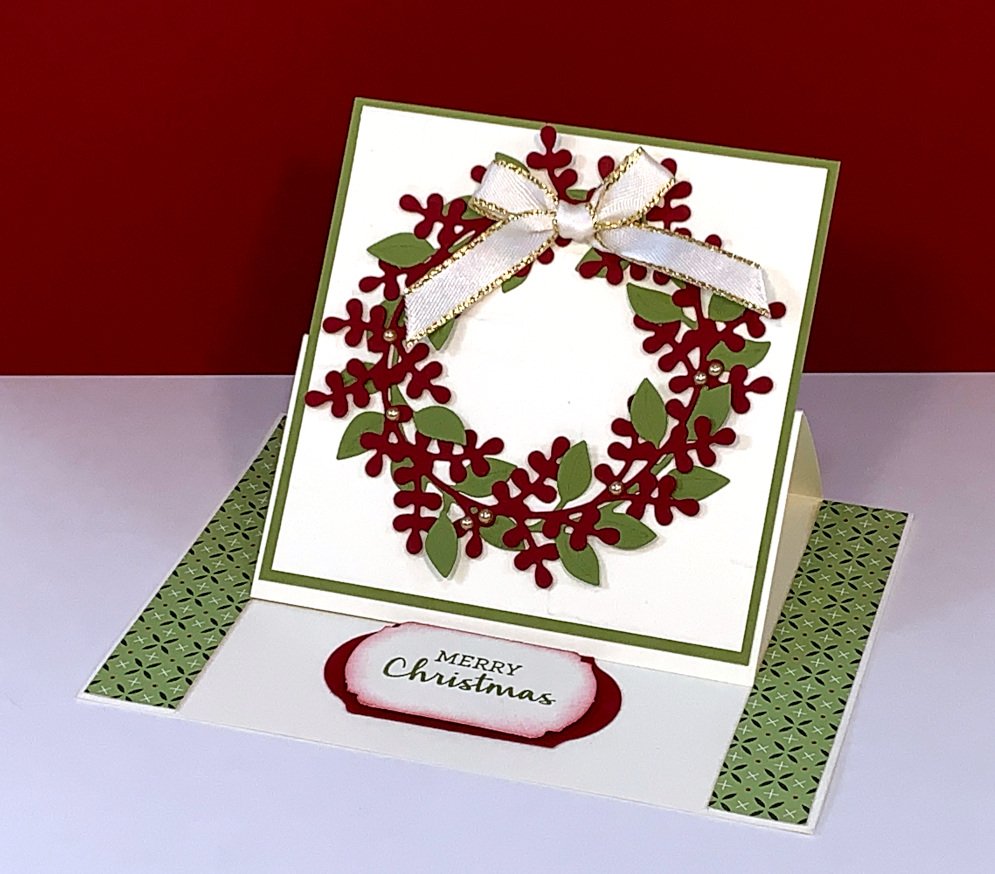
5 1/2" X 8 1/2" scored in half at 4 1/4" first. Then cut on one half of the card at 3/4" from each edge to the score line. Now score the large, center area for the easel in half at 2 1/8"
Very Vanilla 3 3/4" X 3 1/2"
Old Olive 4" X 3 3/4"
Cherry Cobbler & Old Olive 3 3/4" squares for the wreath die-cuts plus scraps for the greeting punches
Heartwarming Hugs Designer Paper 5/8" X 4" (2 pieces)
There are so many benefits to joining as a Stampin’ Up! Demonstrator.
First of all you get 20-25% off all future SU purchases. Second is a favorite of many – you can see and pre-order new products before anyone else. Third – be on my Flowerbug’s Team! We have a wonderful group of talented, kind and sharing people!
Thinking about joining my team? New demonstrators now get 50% off their first Paper Pumpkin kit—which is a great way to try this monthly crafting subscription! It’s just one of the perks of getting started.
How to make the embossing folder the star of your card; with video!
I shared a few ways to highlight the texture on your 3D embossing folders on last week’s video. I shared the cards I created with the 5 new In Colors and how it’s done.
Steps: I textured the CS first. Then rubbed my Craft White ink pad over it lightly. It catches on all the pretty raised areas, highlighting them beautifully. This can take some practice and I recommend you ink pad not be fully inked.
Below is the video tutorial with tips for success on this technique.
I still have a few Mystery Boxes left! It’s a buy one get two free deal! Each box is valued at over $200 and is shipped to you FREE when you place a $100 order from me (before tax & shipping).
She used multiple new products here. First is the Scenic Coast DSP seen here and the Sunset Coast bundleherefor the main image. I love how she added yellow to the lighthouse and green to the hills. They are small itty pieces inserted in the die-cut windows. Wow!
The background is Crisp Cantaloupe textured with the So Swirly embossing folder. The White ‘Thank You’ die-cuts are from the Words & Wishes dies seen here.
Just plain stunning! And she is a very new swapper on my Team too! You did a wonderful job Darla!
Notice: LeeAnn Greff, Independent Stampin’ Up! Demonstrator, Manager. The content of this website is my sole responsibility as an independent Stampin’ Up! demonstrator and the use of, and content of, the classes, services, or products offered on this website is not endorsed by Stampin’ Up! Copyright 2025
Leave a Reply