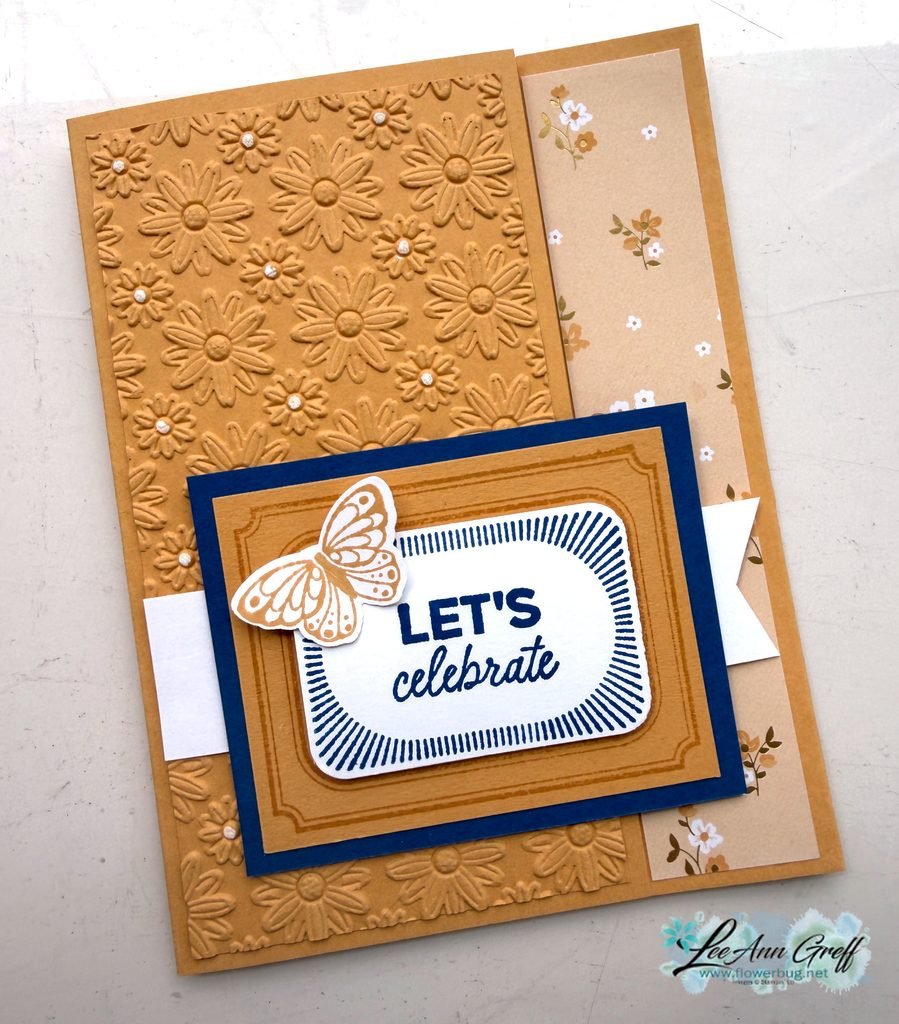
I chose to use the colors in the gorgeous Gilded Autumn specialty designer paper; Early Espresso, Cajun Craze, Vanilla and Mint Macaron. This pretty paper was out of stock but it's back now; get it here while you can!
Details:
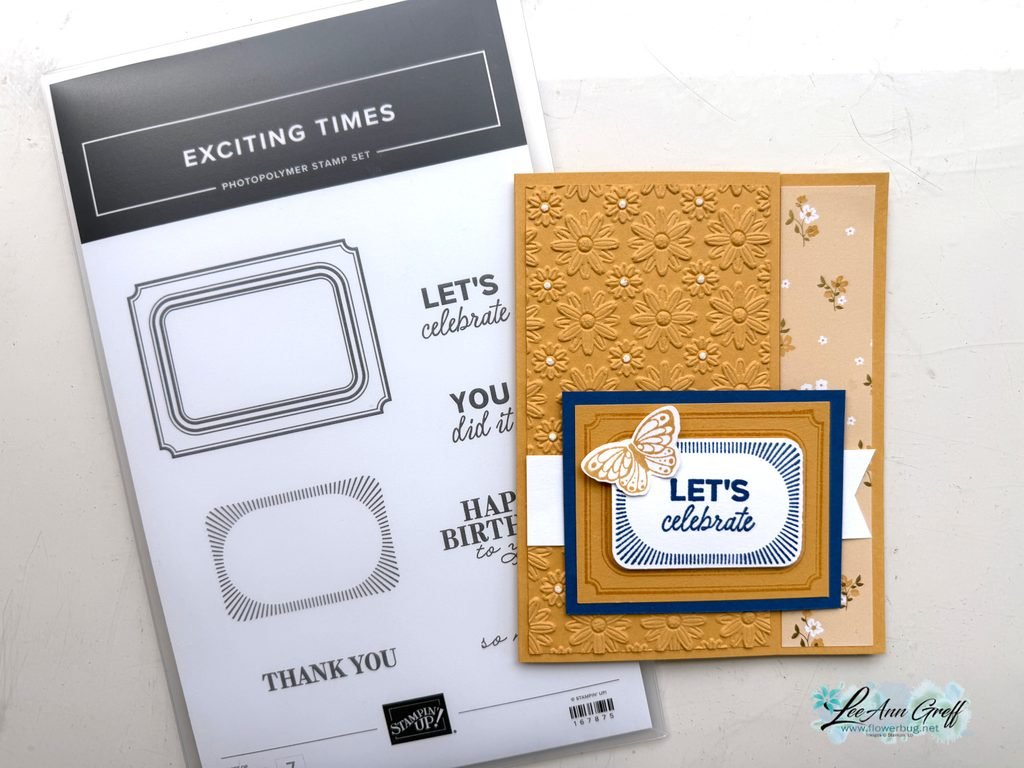
The pumpkins are fussy cut from one of the sheets in the Gilded Autumn DSP
The leaves are inked in Cajun Craze and Mint Macaron and stamped off once or more for a lighter hue
the greeting tag is die-cut with the Ornate Frames dies.
The grass image on the bottom is from the Field of Flowers stamp set
I featured the Addressed to You stamp set for all three cards. See the cute ovals & rectangle with the ‘filled in’ images on the right? Those are all part of this unique stamp set! See it here.
I used the retiring Textured Notes dies seen here. They’re the stitched edge rectangle dies used twice on this card. They are on the last chance list right now and reduced in price too!
This card opens with a type of flip/flap feel. Here’s how we cut off the tabs on the card base. Once you score your card you’ll make a pencil mark from the top and bottom at 1″. Then trim off the corners.
I was in the middle of the video tutorial for this card but the video failed right before I started the project. And I made my last packet. So I do not have a video for it. But hopefully the project sheet above helps you out.
~~~
February Specials
Product of the Month is the new Painted Illusions 12 X 12″ designer paper
Isn’t it beautiful?! Can you tell that the front, main layers are ‘caught’ on the diagonal textured layer on the lower left? That’s what is keeping the flap tucked in. This is how it opens:
Her colors include Cloud Cover, Secret Sea, Old Olive & Basic White. I’ll share measurements below. Did you catch the pretty textured layer? That’s the new Stone & Vine 3D embossing folder. And did you notice the ‘wood look’ die-cut in Olive near the greeting? That and the greeting are included the Nature’s Symphony bundle seen here.
She used the Nature Walk suite for her card which includes gorgeous nature focused products. See it all here.
-card base 7″ X 5 1/2″ scored at 4 1/4″ -White 7″ X 5″ scored at 3 3/4″. Make a mark on the shorter end at 1″ from the top and the bottom. Trim off the rectangle to the score line for the front flap -Secret Sea front is 3″ square, side is 2 1/2″ X 5 1/4″, the diagonal piece is 2 1/2″ X 2 3/4″ cut in half and inside is 4″ X 5 1/4″ -DSP front is 2 3/4″ square, side is 2 1/4″ X 5″
Notice: LeeAnn Greff, Independent Stampin’ Up! Demonstrator, Manager. The content of this website is my sole responsibility as an independent Stampin’ Up! demonstrator and the use of, and content of, the classes, services, or products offered on this website is not endorsed by Stampin’ Up! Copyright 2025
Leave a Reply